X3-DM3 - Kit d'installation SSV Works - Free user manual and instructions
Find the device manual for free X3-DM3 SSV Works in PDF.

User questions about X3-DM3 SSV Works
0 question about this device. Answer the ones you know or ask your own.
Ask a new question about this device
Download the instructions for your Kit d'installation in PDF format for free! Find your manual X3-DM3 - SSV Works and take your electronic device back in hand. On this page are published all the documents necessary for the use of your device. X3-DM3 by SSV Works.
USER MANUAL X3-DM3 SSV Works
WARRANTY INFORMATION:
All SSV Works enclosures are covered by a limited lifetime warranty against defects in material or workmanship. All SSV Works Electronics are covered by a limited 1 year warranty against defects in material or workmanship. All SSV Works Speakers are covered by a limited 1 year warranty against defects in material or workmanship. Labor for replacement of defective components is not covered. Contact SSV Works for further warranty information.

Please read and understand these instructions completely before installation to avoid possible injury, or damage to the accessory or vehicle.
TOOLS NEEDED FOR INSTALLATION P
-
2 Phillips Screw Driver - 1/2" drill bit
-
1/8" drill bit - Drill
-
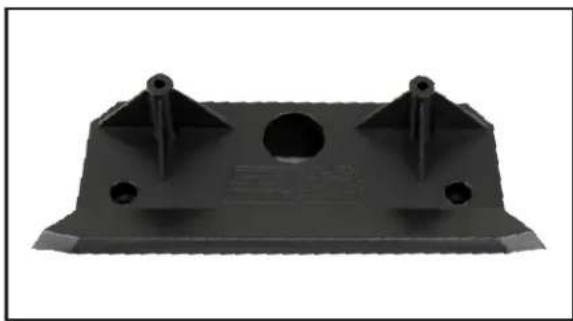
X3-DM3 Base Plate 4. M3 x 20mm Screws x2
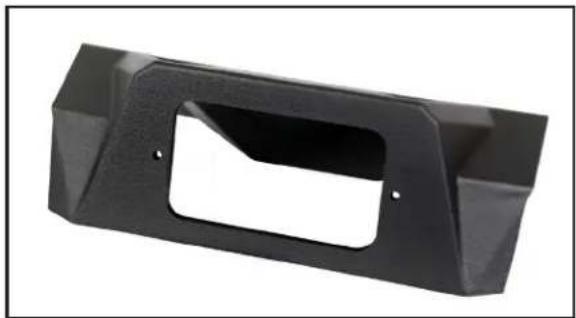
- X3-DM3 Top Panel 5. M3 Washers x 2
-
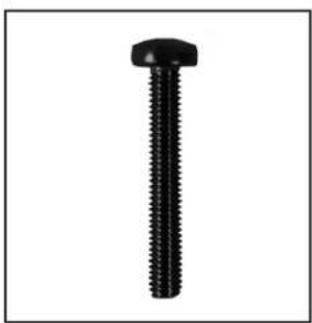
7 x 1.25 Kit Screws x4 6. M3 Hex Nuts x 2
PARTS LIST IMAGES
natural_image
Black plastic mechanical bracket with three mounting holes and a central hole (no text or symbols visible)- X3-DM3 Base Plate
natural_image
Black plastic mechanical bracket component with cutouts and mounting holes (no text or symbols visible)- X3-DM3 Top Panel

natural_image
Close-up of a black screw with threaded shaft (no text or symbols visible)-
7 x 1.25 Kit Screws x4
natural_image
Black screw with a hexagonal head (no text or symbols visible)- M3 x 20mm Screws x2

natural_image
Simple black ring shape on white background (no text or symbols)- M3 Washers x 2

natural_image
Close-up of a hexagonal nut with a circular hole, isolated on white background (no text or symbols)- M3 Hex Nuts x 2
INSTALLATION NOTES
For instructons regarding the MRB3 black box, refer to the MRB3 manual.
natural_image
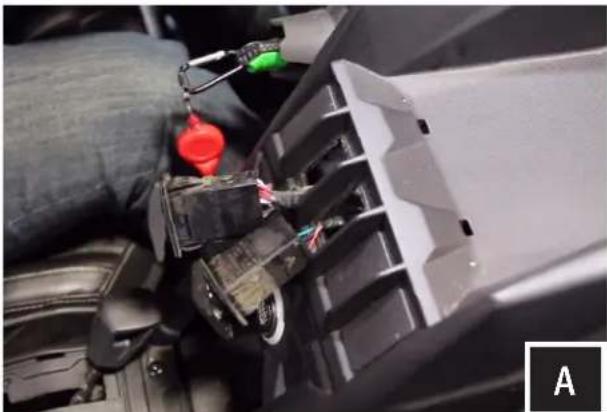
Close-up of a car interior showing a mechanical assembly with wires and components, no visible text or symbolsA. Remove the factory rocker switches.
natural_image
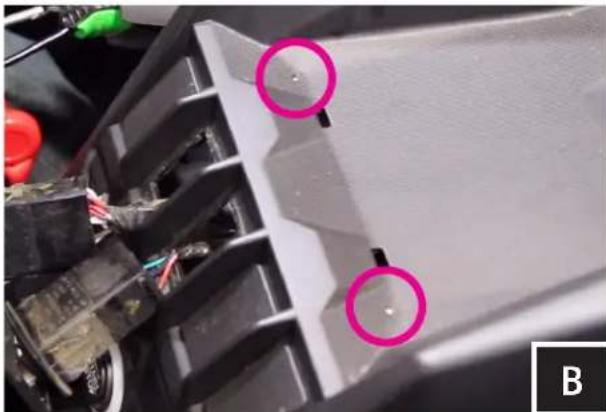
Close-up of a mechanical component with two pink circular annotations highlighting features (no readable text or symbols)B. Locate the two dimples at the top of the dash. These dimples are actual screw bosses on the underside of the dash.
natural_image
Close-up of hands installing or adjusting a black plastic component on a car intake manifold (no visible text or symbols)Line up base plate Drill pilot hole Drill 1/2" hole
natural_image
Close-up of a car interior with a precision tool in operation, no visible text or symbols
natural_image
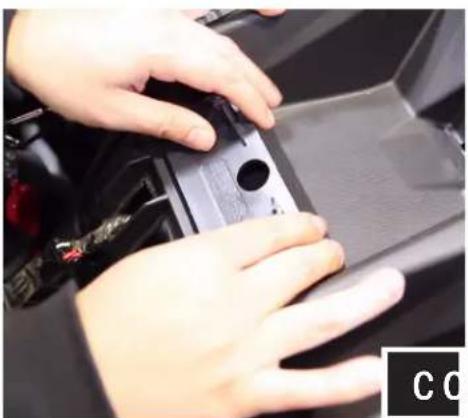
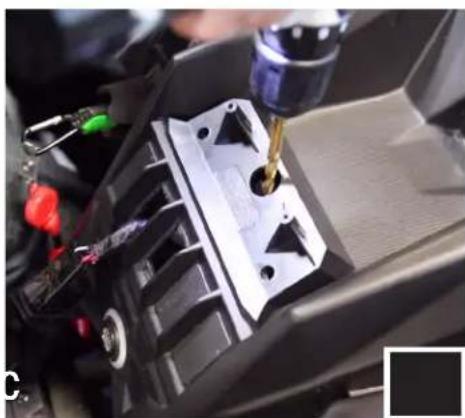
Close-up of a hand using a power tool to press or inspect internal components (no visible text or symbols)C. Rest the X3-DM3 base plate on the dash. Line up the two outside screw holes with the dimples of the dash. Do not screw the kit in yet.
While holding the base plate down to the dash, use the center hole on the base plate to drill your 1/8" pilot hole.
Remove the base plate and open the pilot hole up using a 1/2" drill bit.

natural_image
Close-up of a hand adjusting a black plastic component on a car chassis (no visible text or symbols)D. Place the base plate back on the dash lining up the outside screw holes to the dimples on the dash. Using (2) #7 Screws and a philips screw driver secure the base to the dash. Make sure the screws are driving into the dash dimples for best results.
text_image
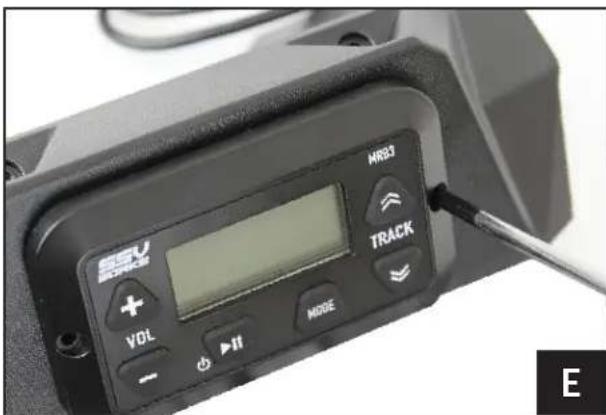
SEU FORCE VOL + - +II MODE MR3 TRACK EE. Fasten the MRB3 Remote to the dash kit using (2) M3 screws.
natural_image
Close-up of a hand using a tool to adjust or install a black plastic component, no visible text or symbols.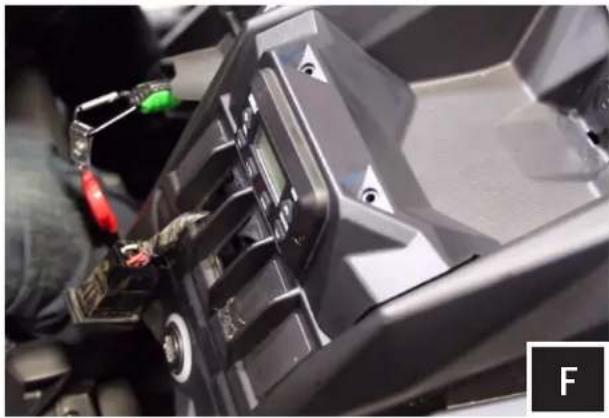
natural_image
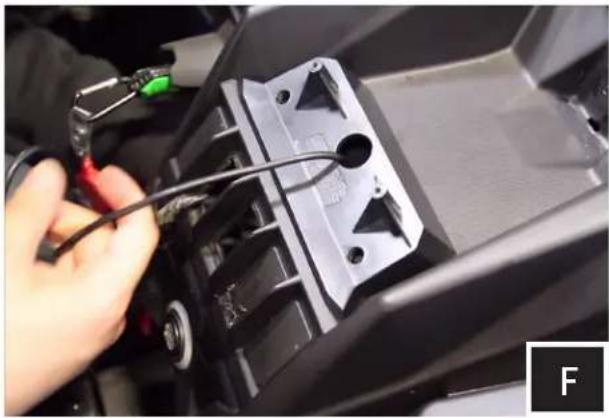
Close-up of a black automotive component with visible wiring and mounting holes (no text or symbols)F. Now that the MRB3 remote is mounted to the dash kit route the din cable through the base plate so that it drops into the dash.
Pull the din cable all the way through until the X3-DM3 Top Panel rests on the Base Plate.
natural_image
Close-up of a person using a tool to adjust or install a vehicle's internal components (no visible text or symbols)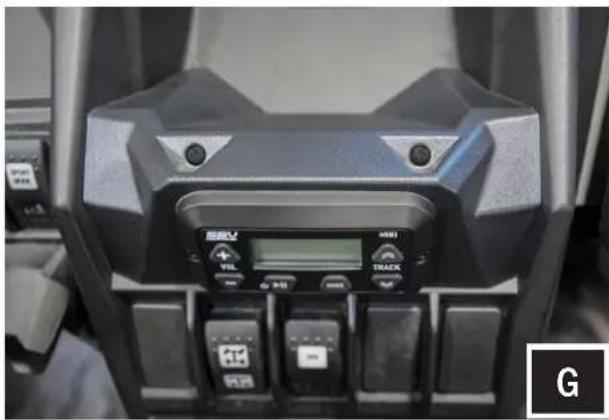
natural_image
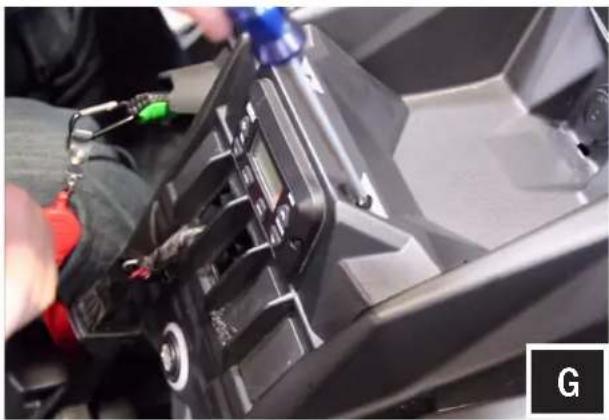
Close-up of a black sports equipment dashboard with control buttons and a digital display (no readable text or symbols)G. Using (2) #7 screws, secure the top of the Top Panel to the Base Plate.
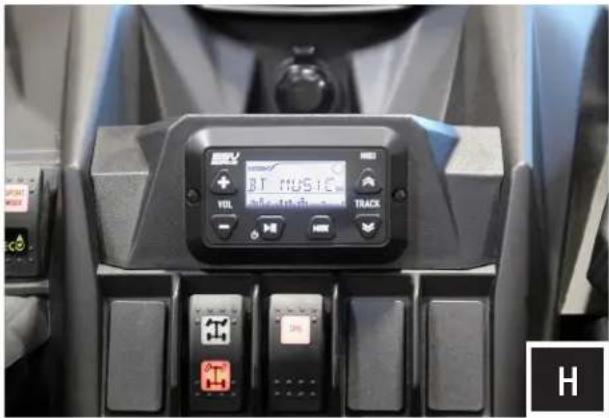
text_image
BT MUSIC VOLT TRACK H H H H H H H H H H H H H H H H H H H H H H H H H H H H H H H H H H H H H H H H H H H H H H H H H H F GH. Refer to the MRB3 manual for wiring instructions.