RZ3-DM3 - Unspecified SSV Works - Free user manual and instructions
Find the device manual for free RZ3-DM3 SSV Works in PDF.

User questions about RZ3-DM3 SSV Works
0 question about this device. Answer the ones you know or ask your own.
Ask a new question about this device
Download the instructions for your Unspecified in PDF format for free! Find your manual RZ3-DM3 - SSV Works and take your electronic device back in hand. On this page are published all the documents necessary for the use of your device. RZ3-DM3 by SSV Works.
USER MANUAL RZ3-DM3 SSV Works
WARRANTY INFORMATION:
All SSV Works enclosures are covered by a limited lifetime warranty against defects in material or workmanship. All SSV Works Electronics are covered by a limited 1 year warranty against defects in material or workmanship. All SSV Works Speakers are covered by a limited 1 year warranty against defects in material or workmanship. Labor for replacement of defective components is not covered. Contact SSV Works for further warranty information.

Please read and understand these instructions completely before installation to avoid possible injury, or damage to the accessory or vehicle.
TOOLS NEEDED FOR INSTALLATION
- #2 Phillips Screw Driver
- 10mm Socket & Rachet
- T40 Torx Socket
- 5.5mm Socket & Rachet
PARTS LIST
-
RZ3 Dash Panel x1
-
M3 Hex Nut x2
-
Mounting Brackets x2
-
M3 Washer x2
-
M3 Screw x6
-
Blank Rocker Switches x4
PARTS LIST IMAGES
natural_image
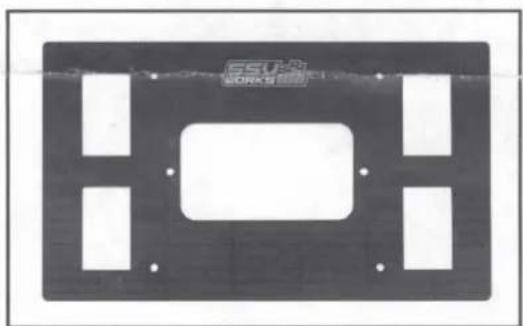
Pure electrical circuit lines without any symbols- RZ3-DM3 Base Plate
natural_image
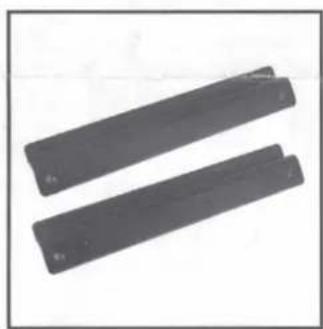
Two dark rectangular objects with no visible text or symbols on them- Mounting Brackets
natural_image
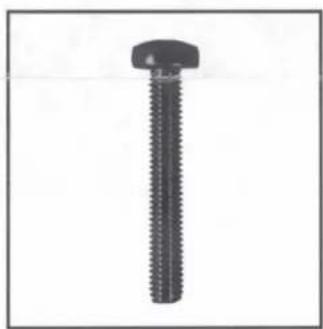
Close-up of a black threaded bolt with a flat head (no text or symbols visible)- M3 Screw x6

natural_image
Close-up of a hexagonal nut with a circular hole, shown in grayscale (no text or symbols)- M3 Hex Nuts x 2

natural_image
Simple black circular ring on white background, no text or symbols present- M3 Washers x 2
natural_image
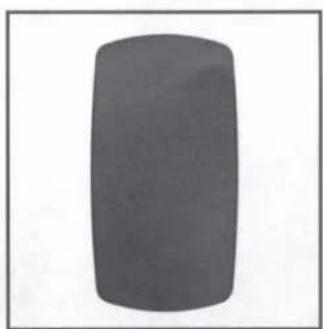
Solid dark gray rectangular object with rounded edges, isolated on white background (no text or symbols)- Blank Rocker Switches x4
INSTALLATION NOTES
For instructons regarding the MRB3 black box, refer to the MRB3 manual.
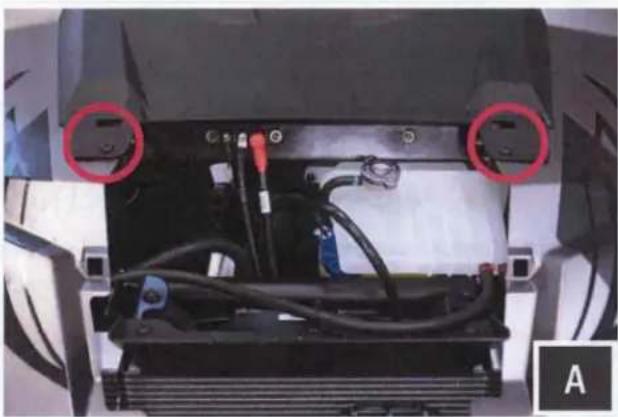
natural_image
Interior view of a vehicle chassis showing battery pack, wiring, and two red-circled components (no text or symbols visible)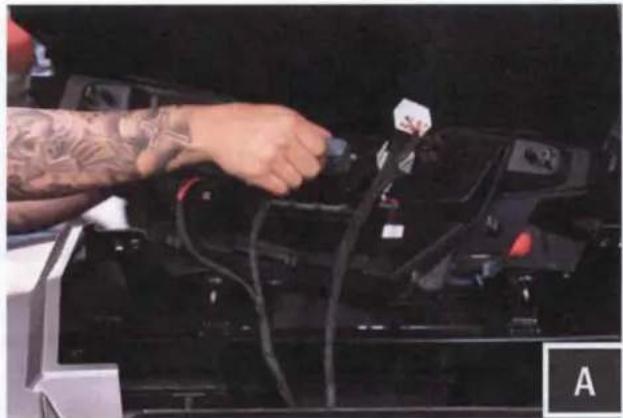
natural_image
Close-up of a person's hand inserting a cable into a car battery (no visible text or symbols)A. Remove the vehicles hood, and extract (2) T40 Torx screws securing the dash panel. Pull the dash panel forward to unsnap it from the vehicle. Unplug all connectors and remove panel.
natural_image
Close-up of hands adjusting a black mechanical component with wires and connectors (no visible text or symbols)
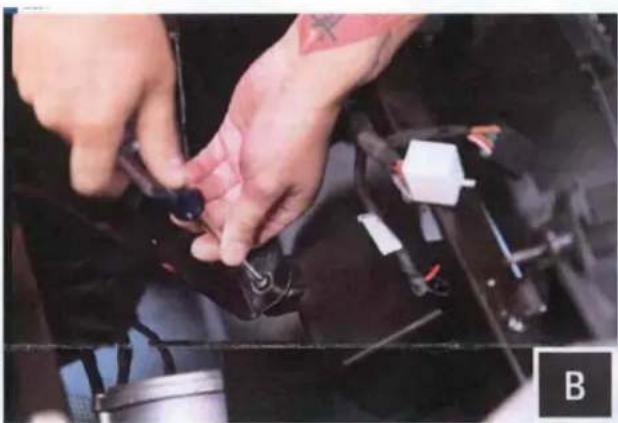
natural_image
Close-up of a mechanical assembly with a red circle highlighting a small component (no visible text or symbols)B. Extract 1 screw securing the top of the pocket to the bracket. Remove 1 socket screw securing pocket bracket from the vehicle.

natural_image
Close-up of a hand using a tool to adjust or install components on a car chassis (no visible text or symbols)C. We recommend removing the sub dash from the vehicle for ease of installation. Extract (2) T40 Torx screws and unsap the dash from the vehicle. This will allow for easier access behind the sub dash panel.

natural_image
Close-up of hands assembling a black flexible keyboard with a remote control (no visible text or symbols)
natural_image
Close-up of hands holding a black electronic device with a display and control panel (no visible text or symbols)
natural_image
Close-up of a hand adjusting a black electronic component with wires and a small labeled part (no readable text or symbols)D. Take the MRB3 Remote and pass the din cable through the dash kit panel. Once MRB3 remote is laying flat on the dash panel pass (2) M3 Screws through the remote and kit panel. Flip the kit around and use (2) M3 washers and (2) M3 Nuts to secure the MRB3 down into position. Do not over tighten the nuts, this can cause damage to the dash kit panel.

text_image
TSU 1 SOMENCK TEV + - + - + - + - + - + - + - + - + - + - + - + - + - + - + - + - + - + - + - + - + - + - + - + - + - + - + - + - + - + - + - + - + - + - + - + - + - + - + - + - + - + - + - + - + - + - + - + - + -
natural_image
Close-up of hands holding a black electronic device with wires, no visible text or symbols
natural_image
Close-up of a hand holding a black electronic device with visible components and wiring (no text or symbols)E. Loosley assembe the top mounting bracket to the dash kit panel using (2) M3 Screws. Peel off the double sided stick from the back of the dash kit panel. Hook the top bracket that is mounted to the kit panel behind the dash.
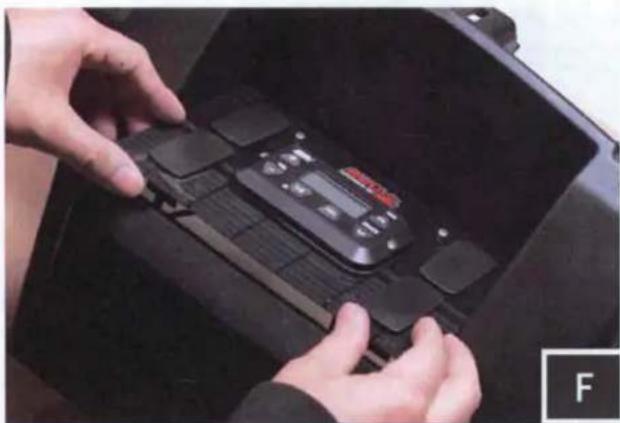
natural_image
Close-up of hands installing or adjusting a black electronic device on a dark surface (no visible text or symbols)F. Lay the panel flat and firmly press down along the outside edges to ensure double sided stick tape has stuck to the dash surface. Fully tighten the top bracket. Using (2) M3 screws secure the bottom bracket to the dash panel. Tighten the bracket to a snugged position. Do not over tighten screws, this can cause damage to the dash kit panel.

text_image
WORKS 11.0V/512 TRACK GG. The installation of the dash kit panel is complete. Re-assemble the dash.
Refer to the MRB3 manual for wiring instructions.