V1P Max - Dash cam Rexing - Free user manual and instructions
Find the device manual for free V1P Max Rexing in PDF.

| Product Type | Dash Cam |
| Brand | Rexing |
| Model | V1P Max |
| Dimensions | Approximately 2.5 x 1.5 x 1.5 inches |
| Weight | About 1.8 ounces |
| Power Supply | 5V/1A via USB car charger |
| Video Resolution | 1080p Full HD at 30fps |
| Lens Angle | 170-degree wide angle |
| Loop Recording | Yes, with adjustable segment lengths |
| G-Sensor | Built-in, locks files on impact |
| Parking Mode | Supported with optional hardwire kit |
| Night Vision | Enhanced with WDR technology |
| Storage | MicroSD card up to 256GB (Class 10 or higher) |
| Display | 2.4-inch LCD screen |
| Care and Cleaning | Use a soft microfiber cloth; avoid solvents |
| Safety Notes | Do not install where it obstructs driver's view |
| Spare Parts and Repairability | Replacement mounts and chargers available via Rexing |
| General Information | Please read user manual before installation |
Frequently Asked Questions - V1P Max Rexing
User questions about V1P Max Rexing
0 question about this device. Answer the ones you know or ask your own.
Ask a new question about this device
Download the instructions for your Dash cam in PDF format for free! Find your manual V1P Max - Rexing and take your electronic device back in hand. On this page are published all the documents necessary for the use of your device. V1P Max by Rexing.
USER MANUAL V1P Max Rexing
The information in this manual is subject to change without notice. Rexing All Rights Reserved
www.rexingusa.com
About Us
Thank you for choosing REXING!
We hope you love your new products as much as we do. If you need any assistance, or have any suggestions to help us improve, please contact us.

care@rexingusa.com

(877) 740-8004
Our support team will respond to you as soon as possible.
Always a surprise in Rexing.
Check us out here
- https://www.facebook.com/rexingusa/
- https://www.instagram.com/rexingdashcam/
- https://www.rexingusa.com/support/registration/
- https://www.rexingusa.com/support/product-support/

Facebook Instagram Site Product Support

text_image
QR code image containing encoded data, no visible human-readable text
text_image
teProduct Support
text_image
QR code with a circular logo above it and a horizontal line below it, likely linking to a digital resource or webpage.
text_image
QR code with a small circular icon above it, likely linking to a digital resource or website.Package Contents
natural_image
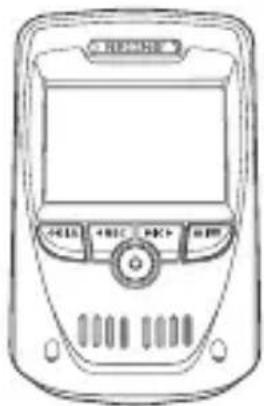
Line drawing of a mobile phone with control buttons and display screen (no text or symbols)|
1

natural_image
Illustration of a camera module with no text or symbols on the body|
2
natural_image
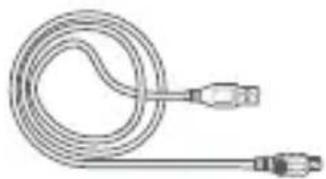
Coiled cable with connectors, no visible text or symbols|
3


|
4

|
5
natural_image
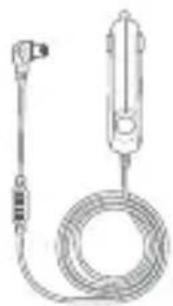
Line drawing of a handheld electrical device with coiled cable and terminal connector (no text or symbols)|
6

natural_image
Simple curved line drawing without any text, numbers, or symbols|
7

text_image
RECONO V1P Max User Manual|
9
- Rexing V1P Max Dash Cam
- Rear camera with rear camera cable
- Mini-USB Cable
- Mount Plate & 3M Adhesive
-
Cable Clips
-
Car Charger
- Cable Management Tool
- Safety Guide
- User Manual
Camera Overview
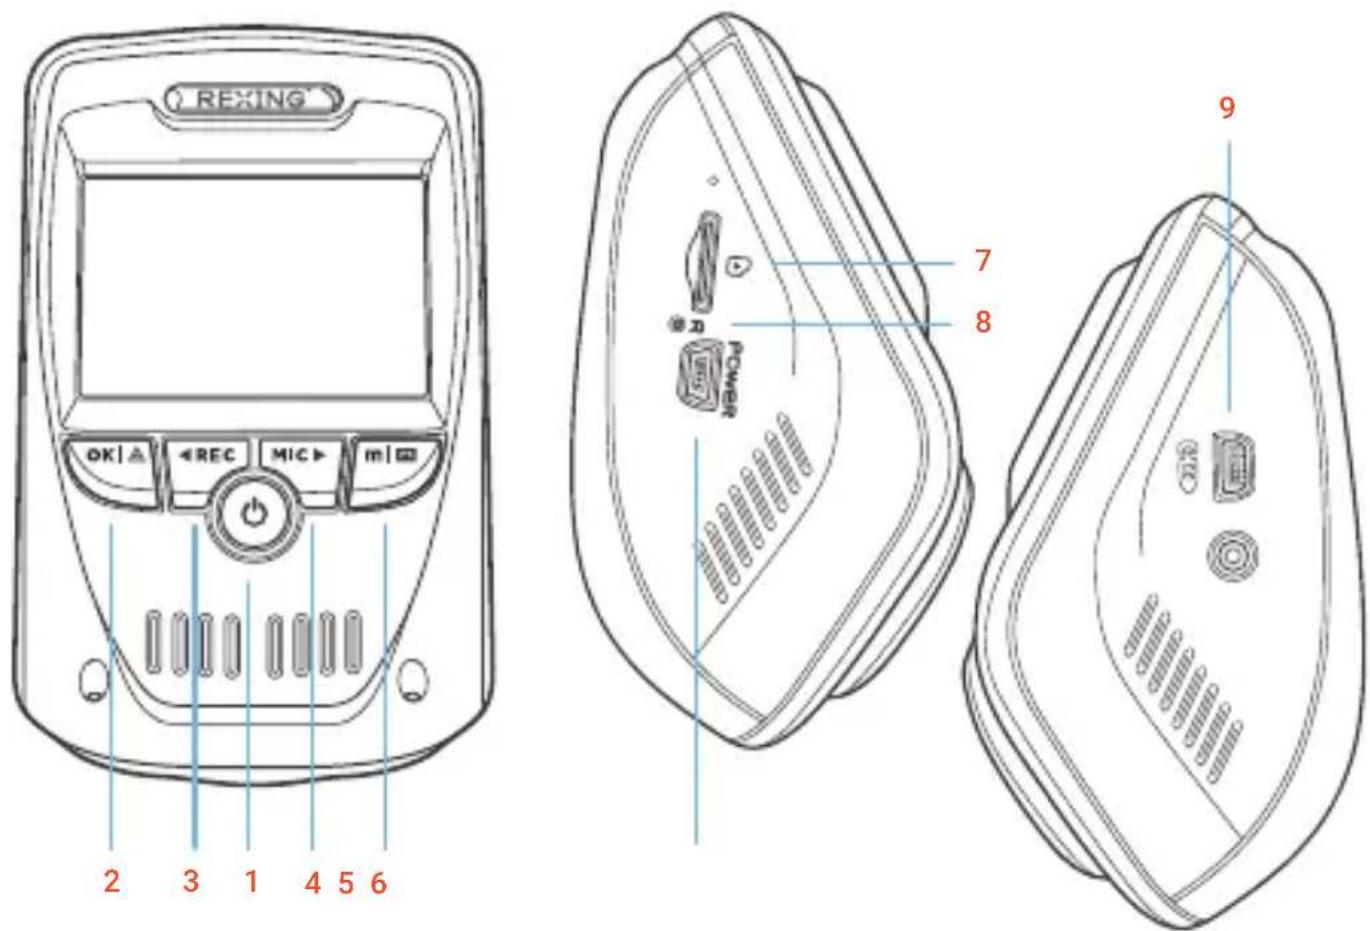
- Power Button
- OK (Confirm) Button
- REC (Record) Button
- MIC (Microphone) Button
- Menu (Mode) Button
-
Mini-USB Power Port
-
Micro SD Card Slot
- Reset Button
- Rear Camera Port

text_image
1 2 4 53 WDR 00:00:20 UHD P24+FHDP24 6 7 8 9 14 13 12 A A A A A A A A A A 04 / 10 / 2021 17 : 25 : 45 11 10
text_image
WDR 00:00:20 UHD P24+FHDP24 15 AAAAAAAA 04 / 10 / 2021 17 : 25 : 45 18 17 16- Recording Mode
- Recording (On)
- WDR Mode (On)
- G-Sensor Sensitivity Level
- Recording Time (Current Clip)
- Video Resolution
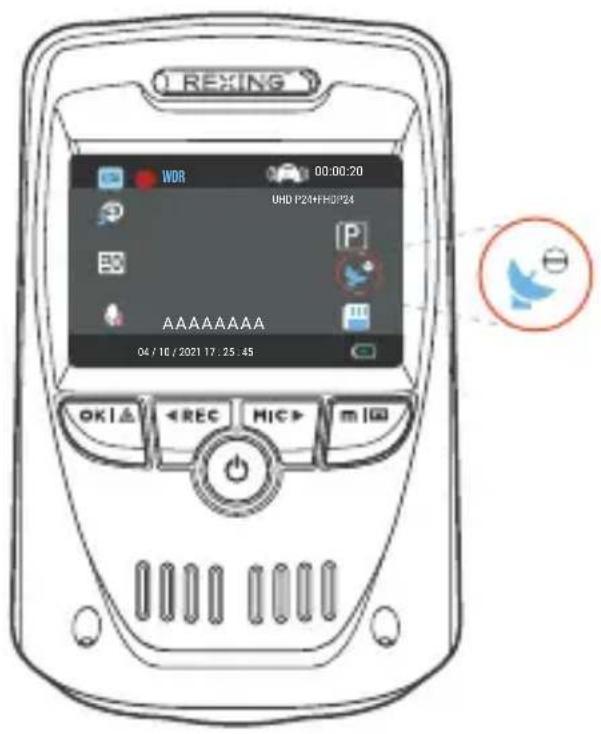
- Parking Mode (On)***
- GPS Signal (not connected)
-
Memory Card (Inserted)
-
Time (24H)
- Current Date Time
- MIC (Off)
- Exposure Value
- Loop Recording Time Interval
- GPS Signal (connected)
- Battery Charging
- Plate Number
- MIC (On)
Get Started
Step 1
Installing Adhesive Mount
Place the 3M adhesive on the mount plate and properly orient the mount piece to the roof and hood line of the vehicle.
Important! Ensure the T-interlock on the mount is oriented in the correct direction.
Firmly press the mount onto the windshield. Wait at least 20 minutes before mounting the camera.

text_image
Orient the mount as shownStep 2
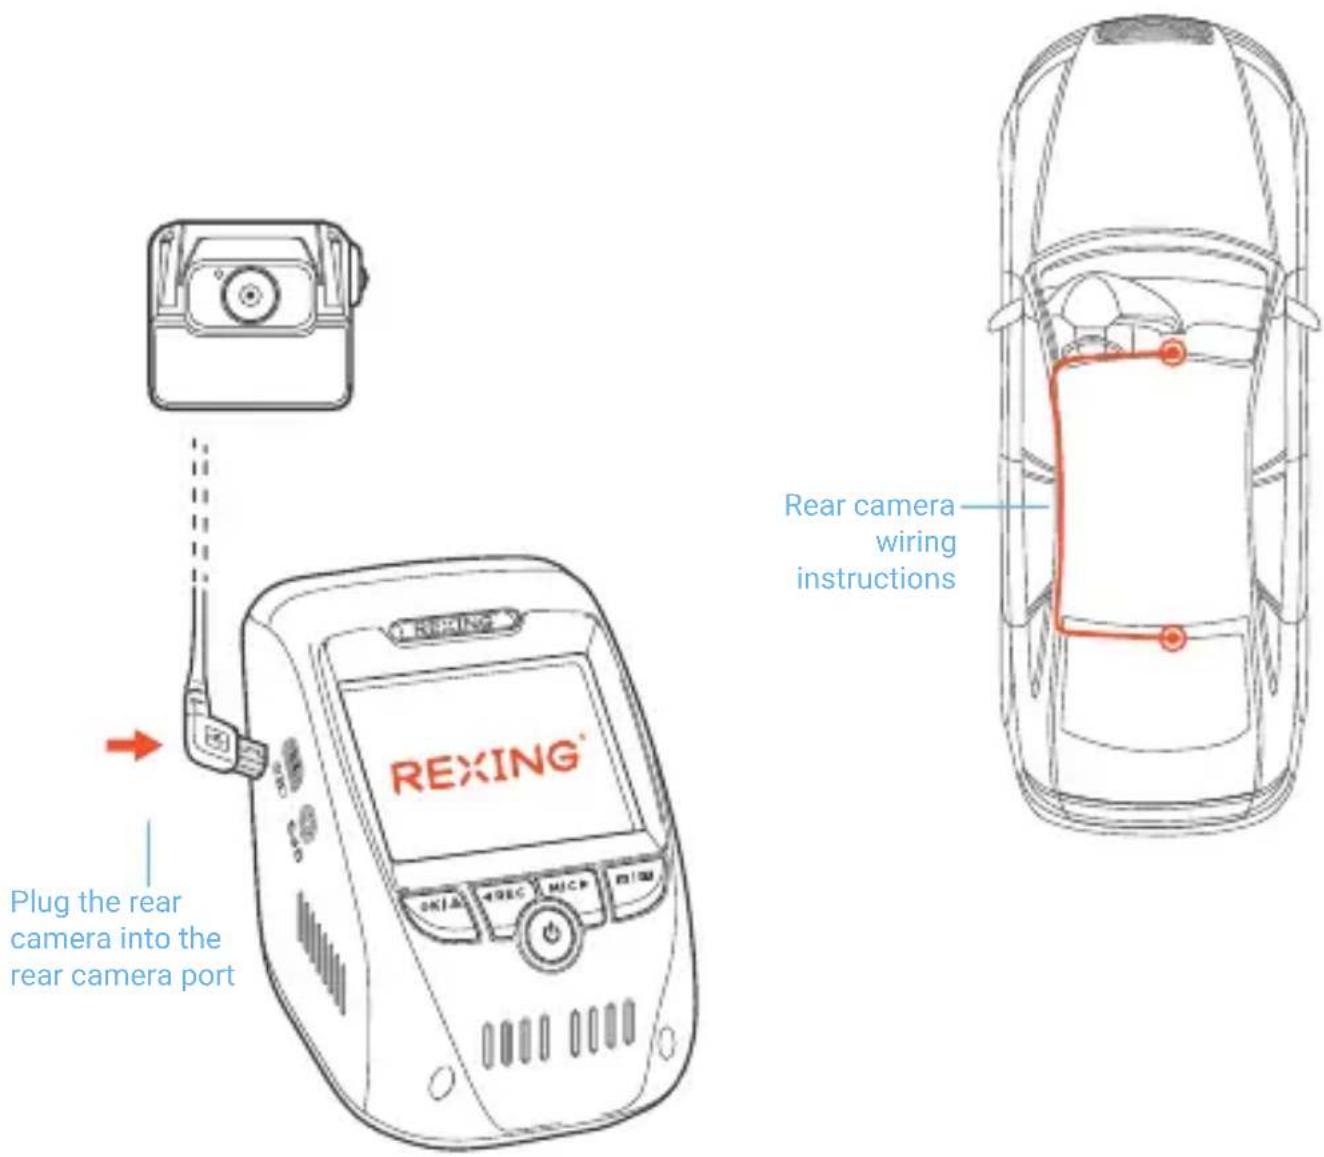
Mount the Rear Camera
Mount the rear camera as shown below. Use the included rear camera cable to connect the rear camera to the front camera.
text_image
Plug the rear camera into the rear camera port REXING® Rear camera wiring instructionsStep 3
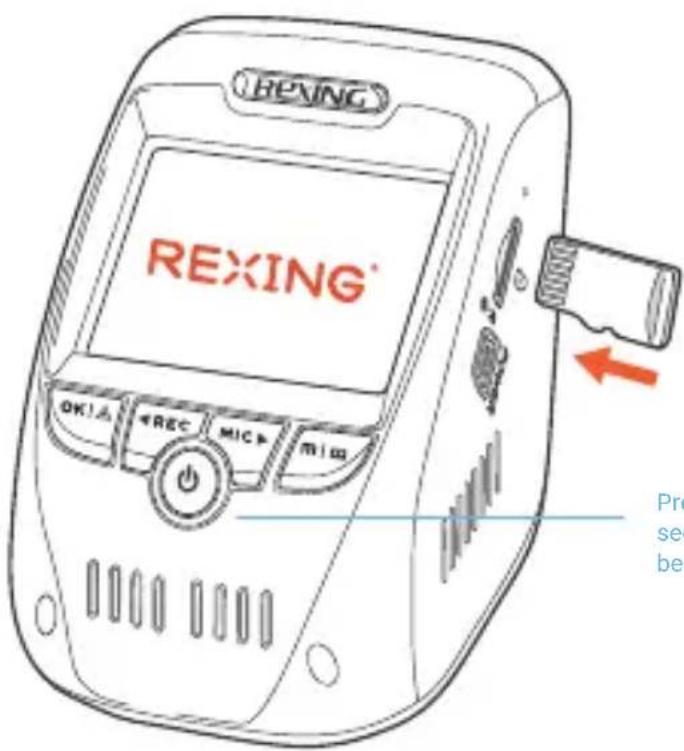
Insert the Memory Card
The Rexing V1P Max accepts Class 10/ UHS-1 or higher Micro SD memory cards up to 256GB. You will need to insert a memory card before recording. Before inserting or removing a memory card, ensure you've powered down the device.
Gently push the memory card in until you hear a click, and allow the spring release to push out.
text_image
REXING® OK!A REC MIC MIU Pre se bePress the POWER button for 3 seconds to turn the power off before inserting the card.
Step 4
Power on the Camera and Format the Memory Card
Place the camera on the mount and carefully route the power cable around the windshield and tuck it in under the trim.
Power the camera by connecting the charger to the car cigarette lighter and the camera.

text_image
Plug the Mini USB connector to the dash cam Route the power cable Plug the charger into the power outlet or a cigarette lighterThe camera will shut down after 3 seconds when it's disconnect from the power source and it should begin recording automatically the next time it is powered on.
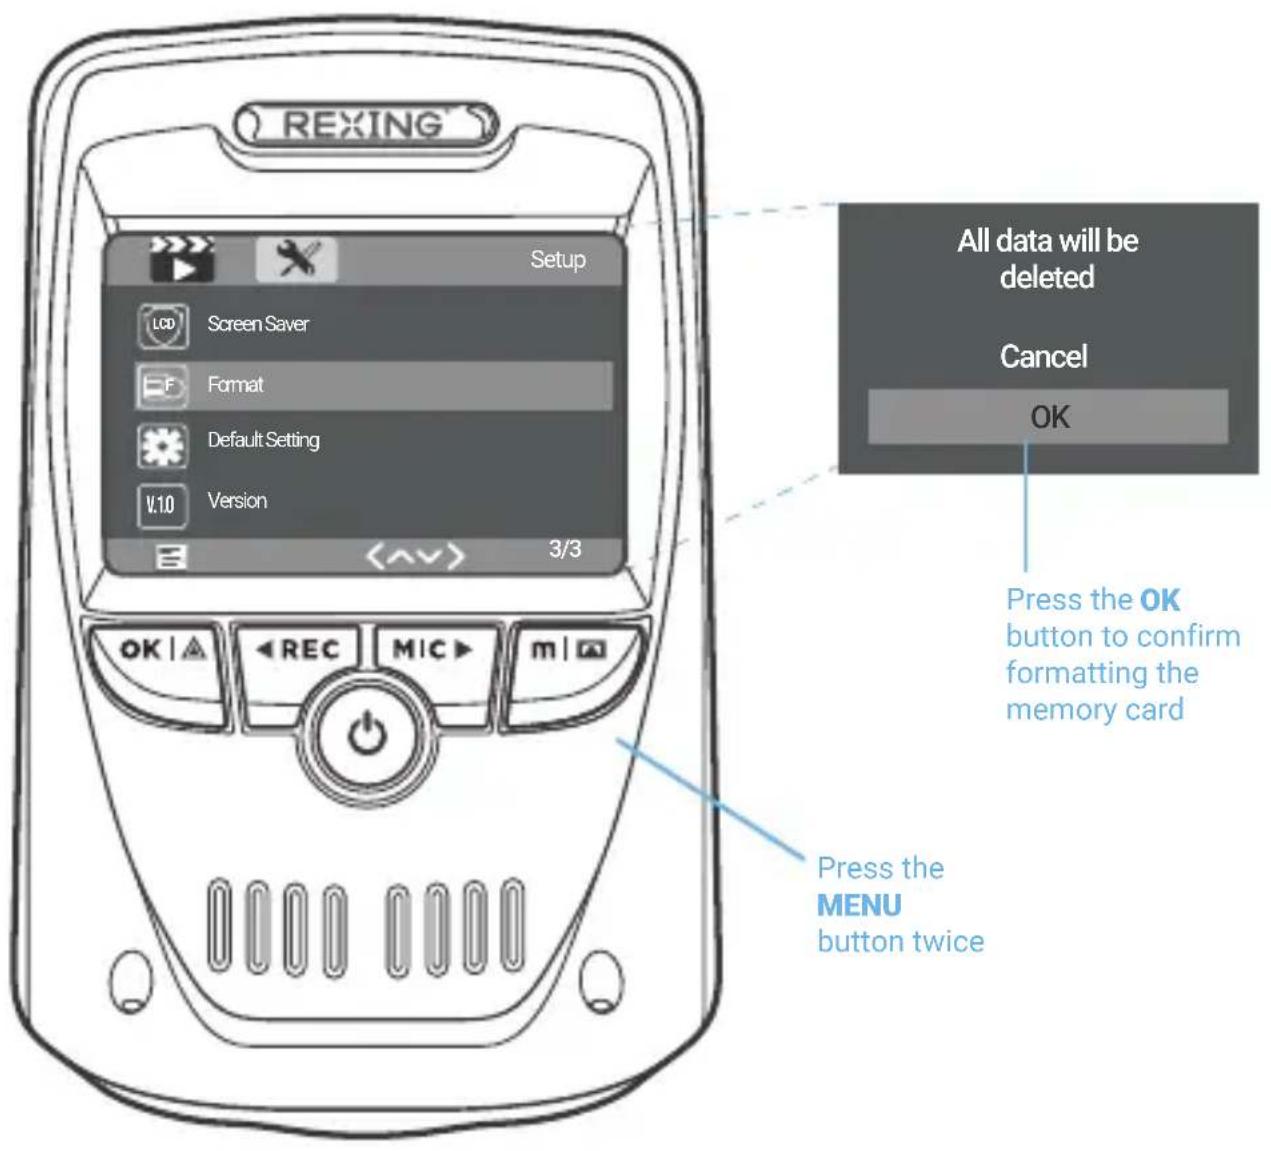
To ensure the V1P Max records to your memory card properly and without error, we strongly recommend you to format the card within the camera when you're using the dash cam for the first time.
Note:
Always remember backup important data stored on the memory card before formatting.
To format the memory card, first press the REC button to stop recording. Then press the MENU button twice to enter the Setup Settings. Use the REC and MIC buttons and toggle to the Format. Press the OK button to confirm the format.
text_image
REXING Setup Screen Saver Format Default Setting Version 3/3 All data will be deleted Cancel OK Press the OK button to confirm formatting the memory card Press the MENU button twiceBasic Operation
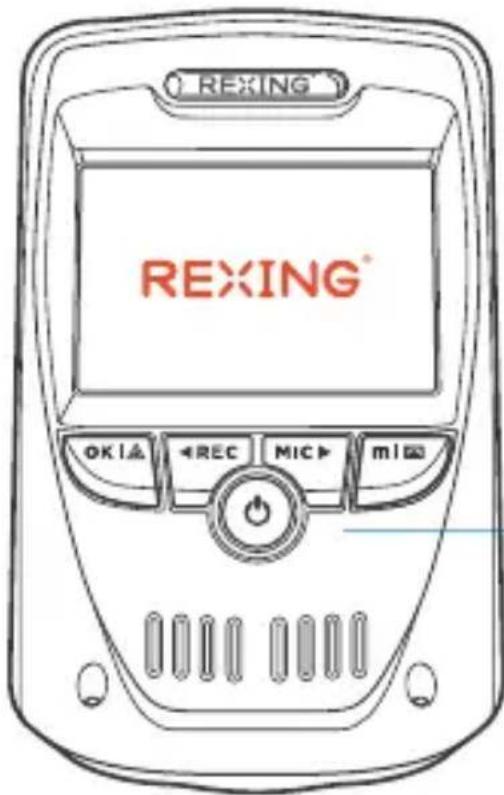
Device Power
The device is automatically powered on when plugged into a 12V accessory socket or cigarette lighter and receives a charge (i.e.: the vehicle is started).
To turn the device on manually, press and hold the POWER button until the welcome screen appears.
The camera will automatically start recording when power on.
text_image
REXING REXING® OK IA REC MIC > m1Press and hold the POWER button to turn the device on manually
Menu Settings
Power the camera on, then press the REC button to stop recording. Press the MODE button and switch among video mode, image mode and playback mode.
Press the MENU button once to enter the Video Settings, or press the MENU button twice to enter the Setup Settings menu.
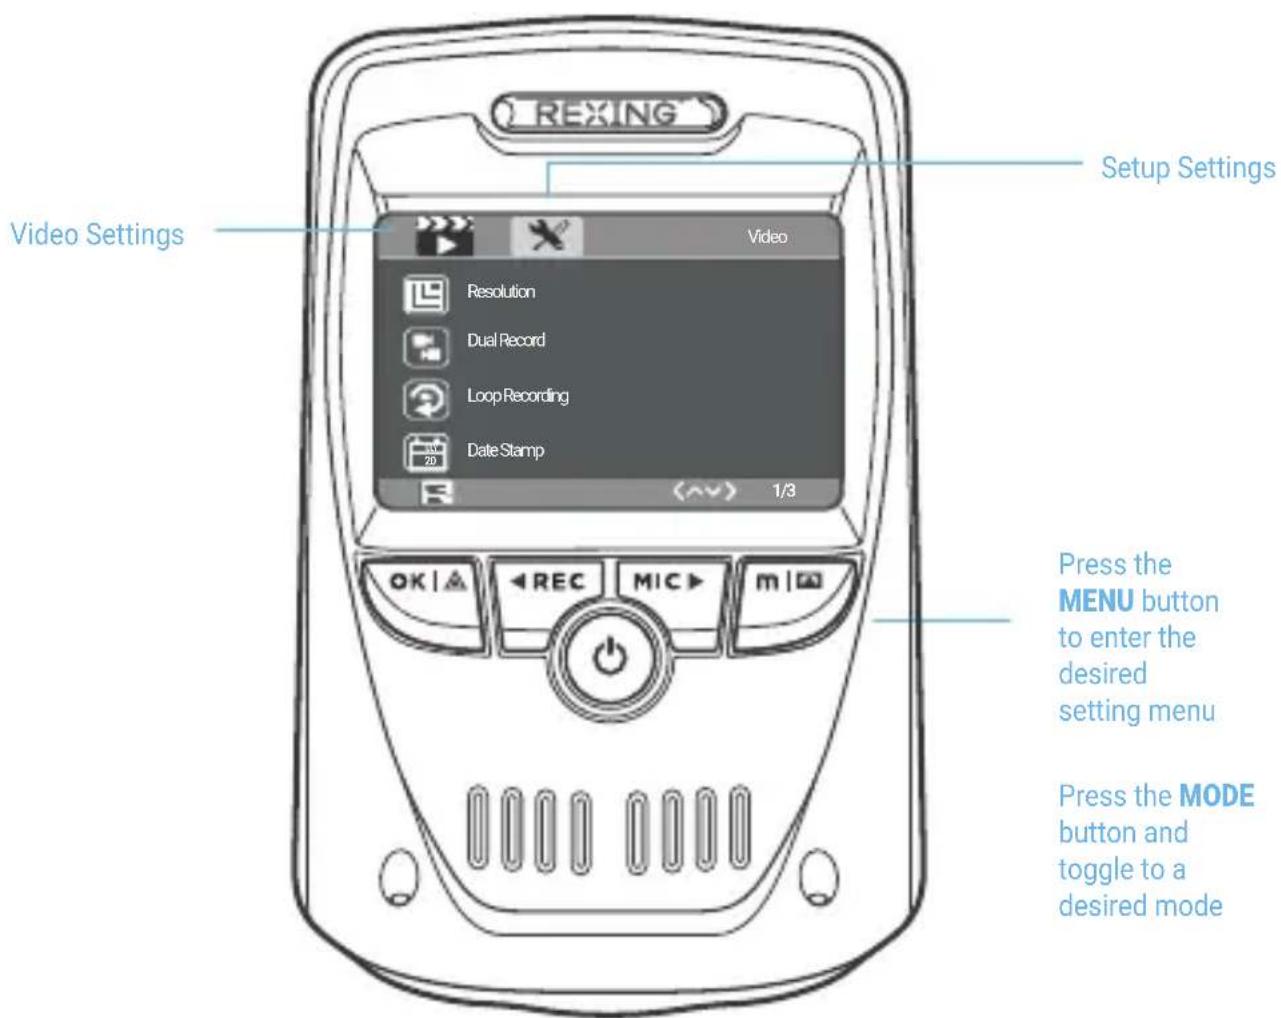
text_image
REXING Setup Settings Video Settings Video Resolution Dual Record Loop Recording Date Stamp 1/3 OK | REC MIC > m | 0 Press the MENU button to enter the desired setting menu Press the MODE button and toggle to a desired modeVideo Recording
The camera will automatically start recording when the device receives a charge. The LED lights and the red dot will blink when the device is recording. Press the REC button to stop recording.
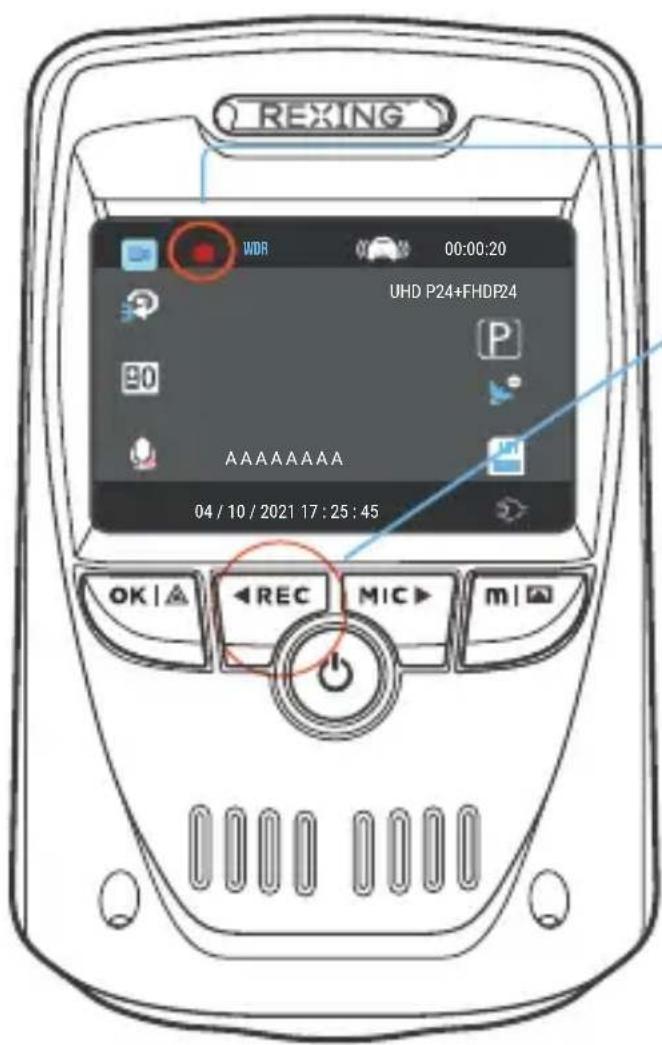
text_image
REXING WDR 00:00:20 UHD P24+FHDP24 A A A A A A A A A A 04 / 10 / 2021 17 : 25 : 45 OK | ▲ REC MIC ▶ m | ▲These indicators will blink in red when the dash cam is recording.
Video Playback
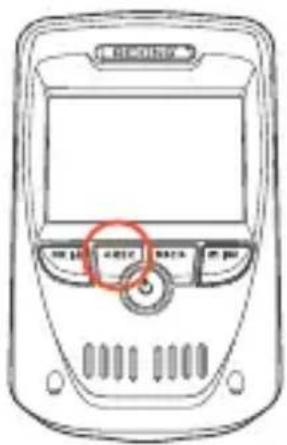
To playback a video on the device, press the REC button to stop recording. Press and hold the MODE button to enter the Playback mode. Use the REC and MIC buttons to toggle to the desired video. Press the OK button to play.
During playback, use the OK (pause), MIC (fast forward) and REC (rewind) buttons to control the video playback.
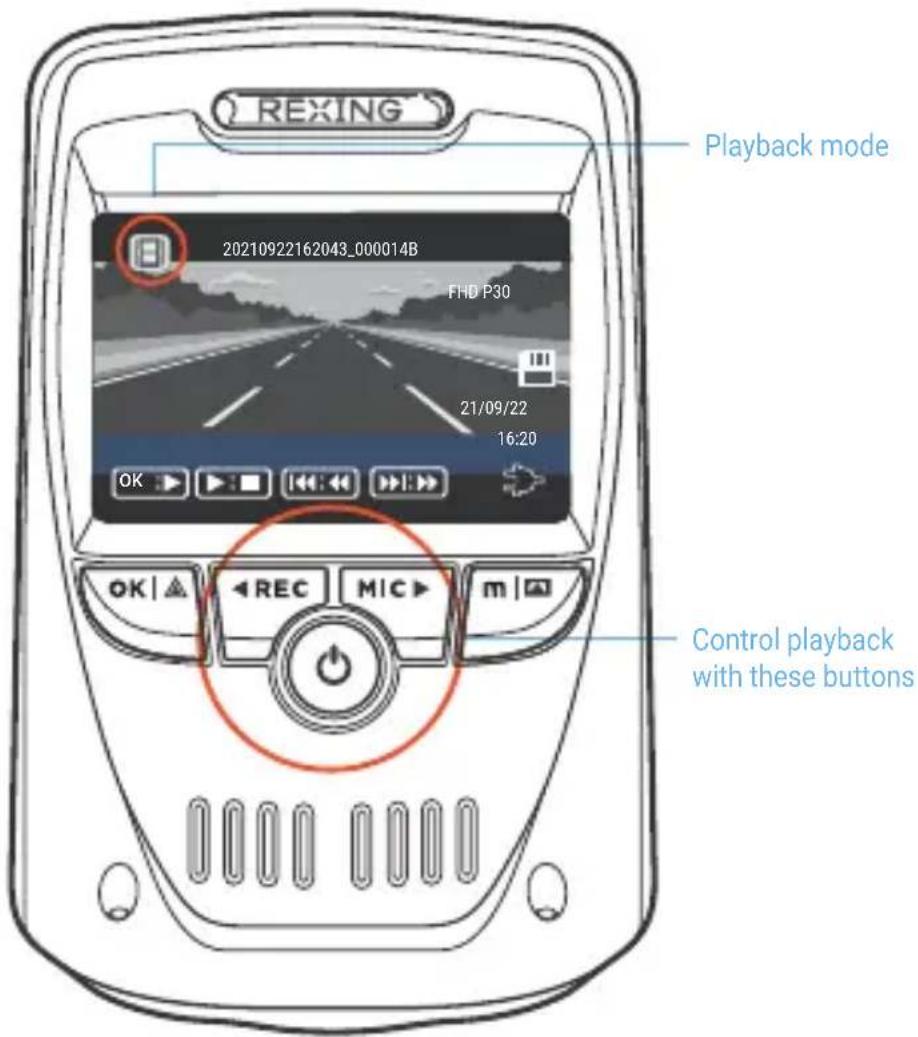
text_image
REXING Playback mode 20210922162043_000014B FHD P30 21/09/22 16:20 OK OK | ▲ REC MIC ▶ m | ▲ Control playback with these buttonsTo playback a video by using an SD card reader, remove the memory card and insert it into an SD card adapter. Place the adapter in the computer.

natural_image
Diagram showing two devices with red arrows indicating movement or interaction (no text or symbols present)Parking Mode (Parking Monitor)
To activate the Parking Mode, you'll need to connect to a smart hardwire kit or an intelligent hardwire kit.
Parking mode provides surveillance on your parked vehicle. When the engine is off, hardwire kit is used to provide continuous power and protect your car battery from being discharged.
Option 1: Vibration Detection
To activate the Parking Mode, you need to connect it with a Smart hardwire kit (ASIN:B07RN24B7V, sold separately).
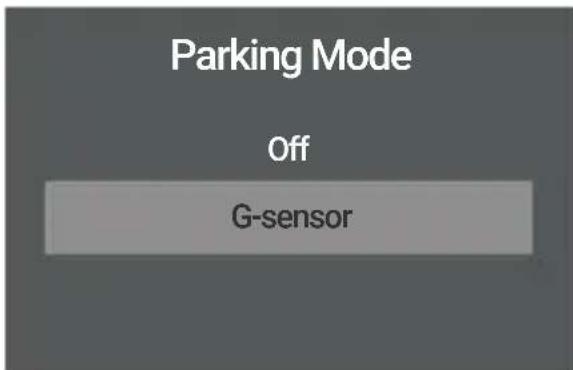
text_image
Parking Mode Off G-sensorG-Sensor Trigger Recording:
The G-sensor detects significant or sudden movement (such as an impact or collision), it will trigger an event recording. We suggest setting the "Gravity Sensing" to High sensitivity for Parking Mode Recording. The dash cam will remain off until a movement is detected.
Note
If you do not use the parking mode function, please change the G-Sensor setting to low sensitivity. Otherwise, the dash cam will easily lock the videos and these videos cannot be deleted by the loop recording function. This will cause the memory card to be full of locked videos and cause the recorder to fail to work normally.
Option 2: Motion Detection
To use this feature, you need to connect it with an Intelligent Hardwire Kit (ASIN B0973MBCT8, sold separately). Make sure that the Parking Mode is turned off on your dash cam.
Once the sensor has detected MOTIONS. The intelligent hardwire kit will powerup the dash cam automatically and start recording until the MOTION is cleared.

natural_image
Pure electrical circuit lines without any symbolsWi-Fi Connect


Download the Rexing Connect app from the App Store/Google Play.
- Press the REC button to stop recording then press the MENU button once to enter the Video Settings.
- Use REC/MIC buttons and toggle to Wi-Fi to turn it on.
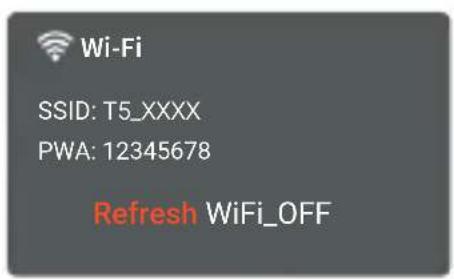
- Turn on Wi-Fi on your phone, then find T5_XXXX from the network list and enter the default password 12345678 to connect.
- Open the Rexing Connectapp, tap "Connect" to enter the realtime video streaming view.
- You can always access or turn off the Wi-Fi by pressing and holding down the REC button.

text_image
Wi-Fi Connect Connect How to Connect ? Unpair Camera4
text_image
Wi-Fi SSID: T5_XXXX PWA: 12345678 Refresh WiFi_OFF3
text_image
RECISEN ON ON ON ON5
Built-in GPS Logger
GPS logger will record the speed and location of your vehicle as you drive.
You can then access this information while playing back your recordings using the GPS Video player.
Press the MENU button twice and enter the Setup Settings. Toggle to the GPS Speed Unit and select your preferred speed unit.
After a GPS signal is found, the screen icon will turn from blue to green.
Please visit https://www.rexingusa.com/support/videos/ to watch a video tutorial.
text_image
REXING WDR 00:00:20 UND P24NHDP24 P AAAAAAAAA 04/16/2021 17:25:45
text_image
REXING WOR 00:00:20 UID P24HFICP24 B0 A A A A A A A A 04/10/2021 17:25:45 OK I ADownload GPS Video player
Please download GPS logger player through the link OR Scan the QR Code below.

text_image
QR code image containing encoded data, no visible human-readable textTaking and Reviewing Videos/Photos
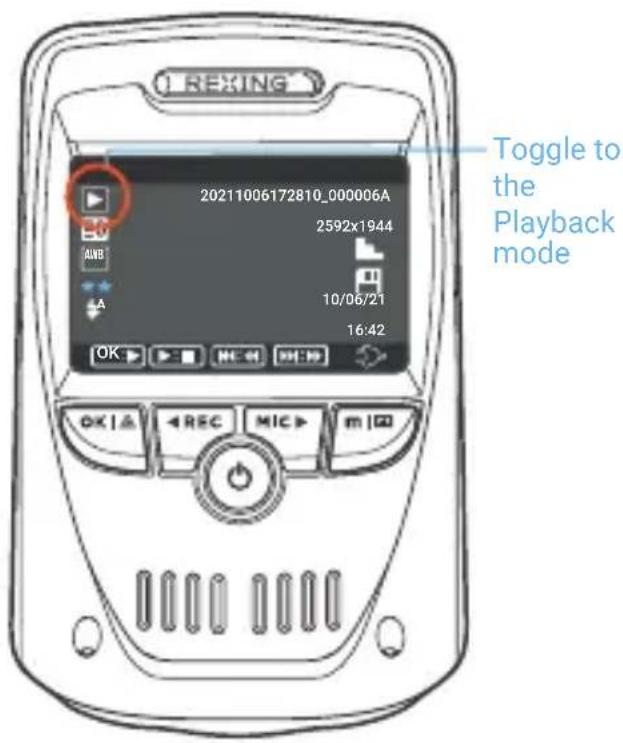
To take a photo, press REC button to stop recording. Press the MODE button once to enter photo mode. Then press the OK button to take a photo.
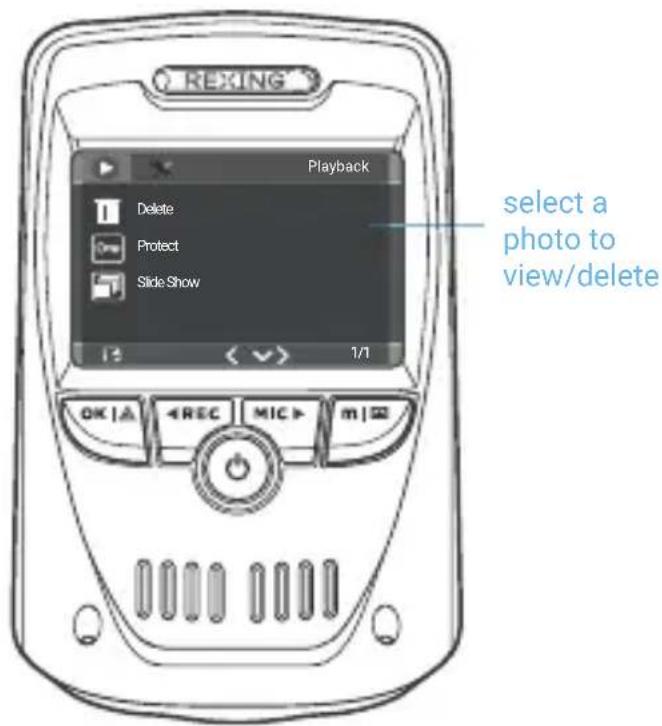
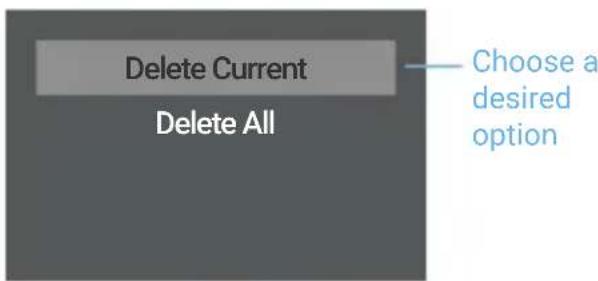
To view/delete a video/photo, stop video recording and enter the Playback Mode. Toggle through the videos/photos to the one you want to view/delete. Press the MENU button once and toggle to the Delete option. Press the OK Button and select Delete Current or Delete All.
text_image
REXING 20211006172810_000006A 2592x1944 10/06/21 16:42 Toggle to the Playback mode1
text_image
REXING Playback Delete Protect Slide Show 1/1 OK | A REC MIC m | B select a photo to view/delete2
text_image
Delete Current Delete All Choose a desired option3
Warranty & Support
Warranty
The Rexing V1P Max Dash Cam comes with a full 12-month warranty. If you register your product on our official site
(https://www.rexingusa.com/support/registration), you can extend the warranty to 18 months.
Support
If you have any questions regarding your product, please do not hesitate to contact us at care@rexingusa.com, or call us at (877) 740-8004. Queries are typically answered within 12-24 hours.
Your opinion matters
Rexing is firmly committed to always improving our products, services, and user experience. If you have any thoughts on how we can do even better, we welcome your constructive feedback and suggestions.
Connect with us today at care@rexingusa.com
Thank you for choosing Rexing!
FCC ID: 2AW5W-V1PMAX
This device complies with part 15 of the FCC Rules. Operation is subject to the following two conditions: (1) This device may not cause harmful interference, and (2) this device must accept any interference received, including interference that may cause undesired operation.
Changes or modifications not expressly approved by the party responsible for compliance could void the user's authority to operate the equipment.
REXING®


MADE IN CHINA