LA-CEF-CFD - Lens Adapter Vello - Free user manual and instructions
Find the device manual for free LA-CEF-CFD Vello in PDF.


| Product Type | Lens Adapter |
| Model | LA-CEF-CFD |
| Compatibility | Canon FD lenses to Canon EF cameras |
| Construction | Metal mount with precision engineering |
| Dimensions | Approx. 70mm diameter, 25mm thickness |
| Weight | Approx. 50g |
| Magnification Factor | 1.25x |
| Focus to Infinity | Retained |
| Mount Types Supported | Breech-lock and bayonet |
| Auto Diaphragm | Not supported (manual or stop-down metering required) |
| Power Supply | None (passive adapter) |
| Installation | Align dots, rotate to lock; collar for open/lock positions |
| Removal | Unlock collar (or press release) and rotate counterclockwise |
| Special Functions | Collar can be opened for easier focusing at low f/stops |
| Warranty | 1 year limited warranty |
| Manufacturer | Vello (Gradus Group) |
| Care Instructions | Clean with dry microfiber cloth; avoid dust and moisture |
| Safety | Handle with care; avoid dropping; store in protective case |
| Spare Parts | Not available (integrated unit) |
Frequently Asked Questions - LA-CEF-CFD Vello
User questions about LA-CEF-CFD Vello
0 question about this device. Answer the ones you know or ask your own.
Ask a new question about this device
Download the instructions for your Lens Adapter in PDF format for free! Find your manual LA-CEF-CFD - Vello and take your electronic device back in hand. On this page are published all the documents necessary for the use of your device. LA-CEF-CFD by Vello.
USER MANUAL LA-CEF-CFD Vello
INTRODUCTION
Thank you for choosing a Vello Lens Adapter. Vello lens adapters allow you to use lenses from manufacturers other than the maker of your camera body. Vello Lens Adapters fit securely to the lens, but not so tightly that they are difficult to remove. Please follow these instructions to mount and remove your Vello Lens Adapter.
Although the lens will fit physically, automatic diaphragm (AE metering), and other functions dependent on communication between the camera body and lens, will be disrupted by a lens adapter. You will need to set exposures manually or meter in aperture priority (stop-down) mode. The lens adapter adds a 1.25 magnification to the lens. Focusing to infinity is retained.
All images are for illustrative purposes only.
3
Some Canon FD lenses have a breech-lock mount instead of a bayonet mount with a release button. If your Canon FD lens has a breech-lock mount, follow these instructions. If your Canon FD lens has a bayonet mount, follow the next set of instructions.
BREECH-LOCK MOUNT
TO MOUNT THE LENS ADAPTER
- Line up the alignment dots on the lens adapter and the camera. Rotate the lens adapter clockwise until it locks into place.
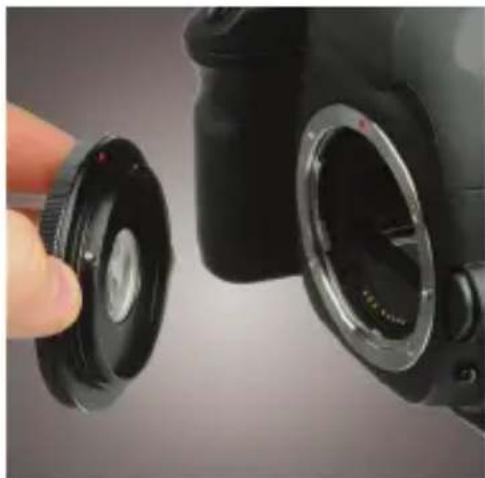
natural_image
Close-up of a hand holding a black camera lens, showing the interior and exterior views (no text or symbols visible)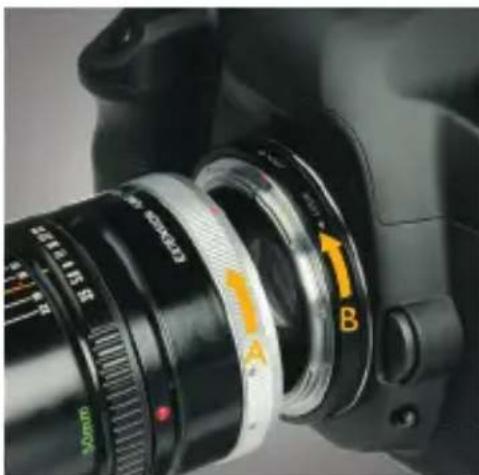
natural_image
Close-up of a DSLR camera lens with orange and yellow directional arrows indicating rotation (no text or symbols)- Make sure the locking collar on the lens is rotated completely counterclockwise (A).
Note: On some lenses, this is not necessary.
Rotate the collar on the lens adapter in the direction of the arrow to the OPEN position (B).
natural_image
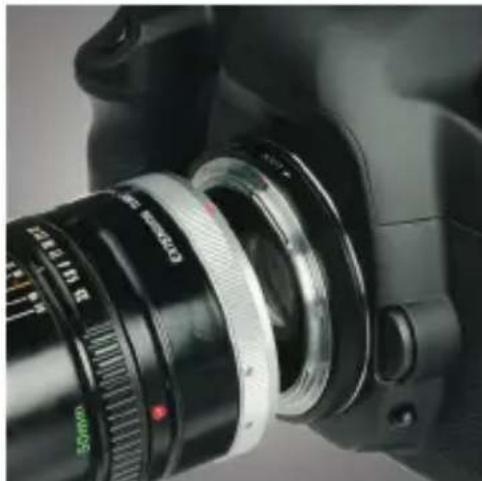
Close-up of a DSLR camera lens with visible focal point and aperture (no text or symbols)- Line up the alignment dots on the lens and the lens adapter.
5
natural_image
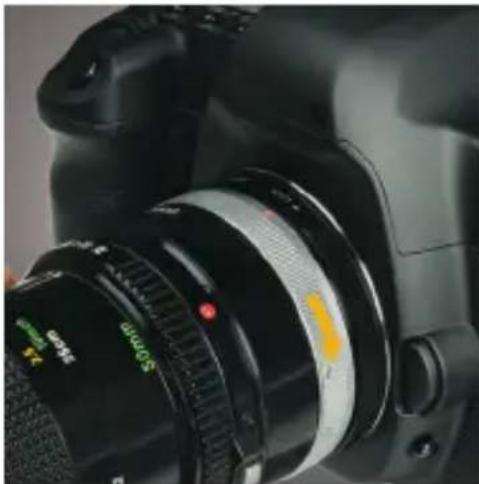
Close-up of a DSLR camera with visible lens and adjustment knobs (no readable text or symbols)- Rotate the locking collar on the lens clockwise until it is secure.
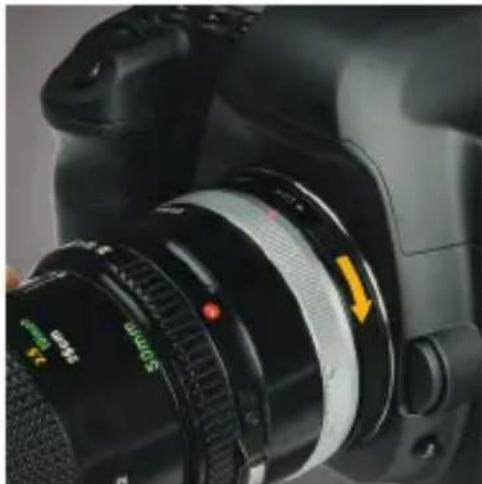
natural_image
Close-up of a DSLR camera with visible lens and adjustment knob (no text or symbols on body)- Rotate the collar on the lens adapter in the direction of the arrow to the LOCK position.
TO REMOVE THE LENS ADAPTER
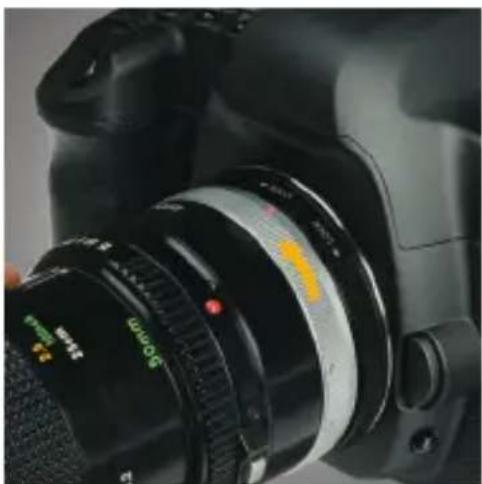
natural_image
Close-up of a DSLR camera with visible lens and adjustment knobs (no text or symbols on the lens itself)I. Rotate the locking collar on the lens counterclockwise to release the lens.
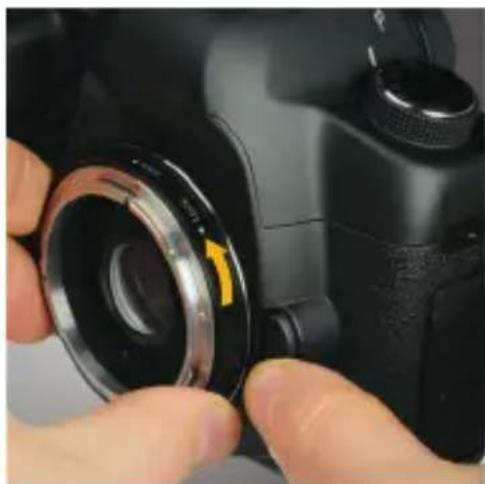
natural_image
Close-up of hands adjusting a black digital camera lens with a yellow arrow pointing to the lens (no text or symbols visible)- Press and hold the lens release button on the camera. Rotate the lens adapter counterclockwise to release.
BAYONET MOUNT
TO MOUNT THE LENS ADAPTER
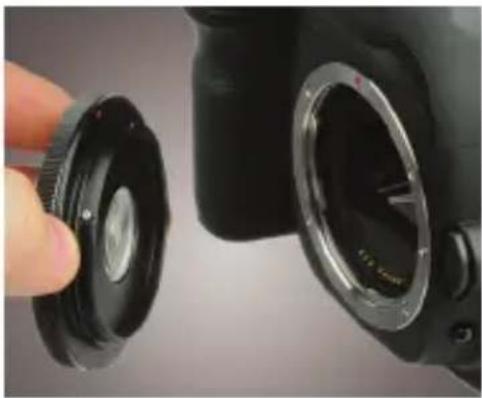
natural_image
Close-up of a hand adjusting a black camera lens, showing the aperture and lens assembly (no text or symbols visible)- Line up the alignment dots on the lens adapter and the camera. Rotate the lens adapter clockwise until it locks into place.
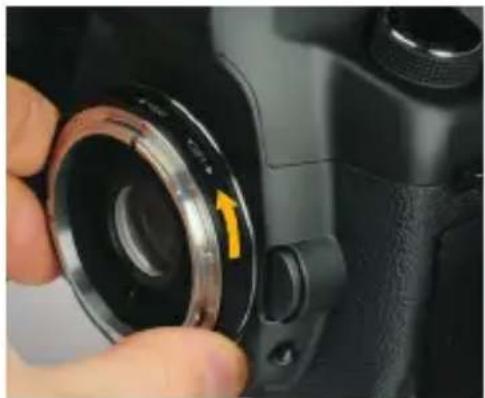
natural_image
Close-up of a hand adjusting a camera lens with a yellow arrow indicating the adjustment (no text or symbols visible)- Rotate the collar on the lens adapter in the direction of the arrow to the OPEN position.
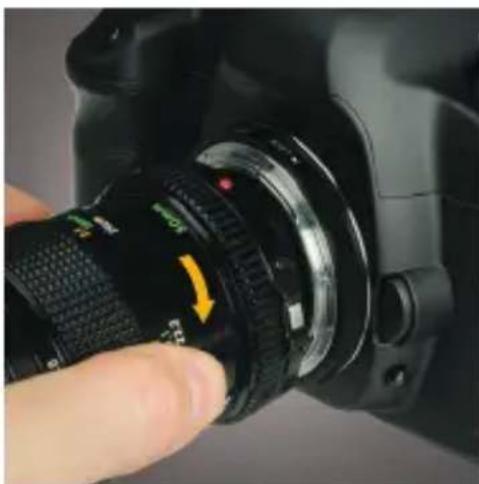
natural_image
Close-up of a hand adjusting a black DSLR camera lens with a yellow directional arrow (no text or symbols visible)- Line up the alignment dots on the lens and the lens adapter. Rotate the lens clockwise until it locks into place.
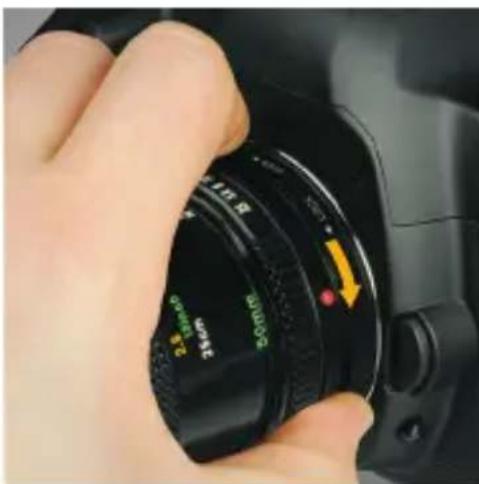
natural_image
Close-up of a hand holding a DSLR camera lens with a yellow arrow indicating the left side (no text or symbols on the lens itself)- Rotate the collar on the lens adapter in the direction of the arrow to the LOCK position.
TO REMOVE THE LENS ADAPTER
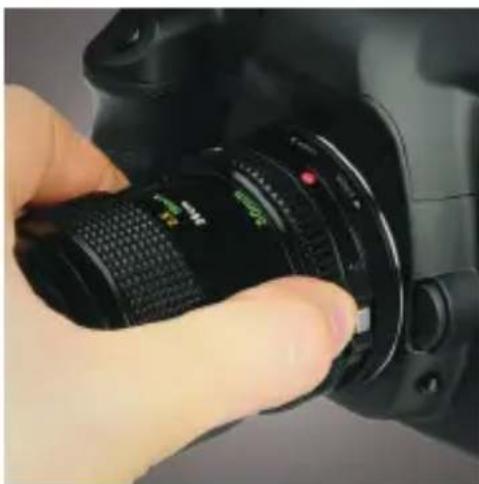
natural_image
Close-up of a hand holding a DSLR camera lens with a red indicator light (no visible text or symbols)I. Press and hold the release button on the lens.
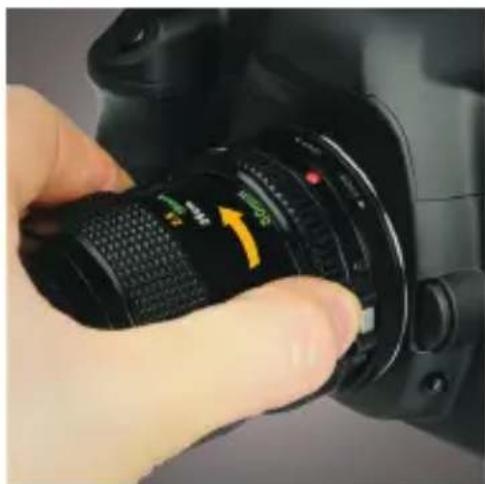
natural_image
Close-up of a hand holding a DSLR camera lens with a yellow directional arrow (no text or symbols visible)- Rotate the lens counterclockwise to release.
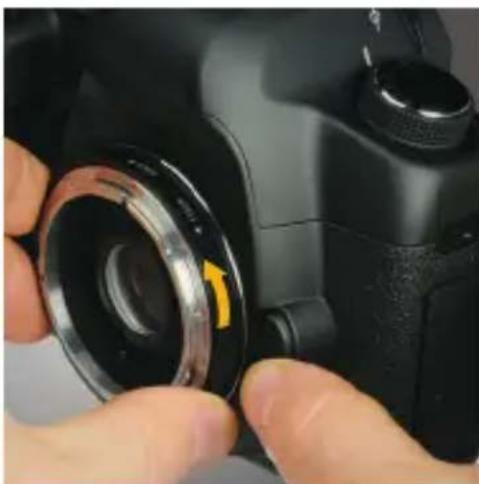
natural_image
Close-up of hands adjusting a black DSLR camera lens with a yellow arrow pointing to the lens (no text or symbols visible)- Press and hold the lens release button on the camera. Rotate the lens adapter counterclockwise to release.
For Micro Four-Thirds (MFT) cameras, enable the "Shoot without Lens" function in the menu of the camera.
Tip: When shooting at a low f/stop, rotate the collar on the lens adapter to OPEN position to let in more light for easier focusing. Once you have focused the image, rotate the collar on the lens adapter to the LOCK position before taking the picture.
ONE-YEAR LIMITED WARRANTY
This VELLO product is warranted to the original purchaser to be free from defects in materials and workmanship under normal consumer use for a period of one (1) year from the original purchase date or thirty (30) days after replacement, whichever occurs later. The warranty provider's responsibility with respect to this limited warranty shall be limited solely to repair or replacement, at the provider's discretion, of any product that fails during normal use of this product in its intended manner and in its intended environment. Inoperability of the product or part(s) shall be determined by the warranty provider. If the product has been discontinued, the warranty provider reserves the right to replace it with a model of equivalent quality and function.
This warranty does not cover damage or defect caused by misuse, neglect, accident, alteration, abuse, improper installation or maintenance. EXCEPT AS PROVIDED HEREIN, THE WARRANTY PROVIDER MAKES NEITHER ANY EXPRESS WARRANTIES NOR ANY IMPLIED WARRANTIES, INCLUDING BUT NOT LIMITED TO ANY IMPLIED WARRANTY OF MERCHANTABILITY OR FITNESS FOR A PARTICULAR PURPOSE. This warranty provides you with specific legal rights, and you may also have additional rights that vary from state to state.
To obtain warranty coverage, contact the Vello Customer Service Department to obtain a return merchandise authorization (“RMA”) number, and return the defective product to Vello along with the RMA number and proof of purchase. Shipment of the defective product is at the purchaser’s own risk and expense.
For more information or to arrange service, visit www.vellogear.com or call Customer Service at 212-594-2353.
Product warranty provided by the Gradus Group.
www.gradusgroup.com
VELLO is a registered trademark of the Gradus Group.
© 2014 Gradus Group LLC. All Rights Reserved.

VELLO™ A Gradus Group Brand

VELLO™
www.vellogear.com
© Copyright 2014 Gradus Group
Vello and other names of Vello products are trademarks of Gradus Group. Other product and corporate names mentioned herein are trademarks of their respective holders.
GG2
Brand : Vello
Model : LA-CEF-CFD
Category : Lens Adapter