L07EGG13E - Egg cooker Logik - Free user manual and instructions
Find the device manual for free L07EGG13E Logik in PDF.
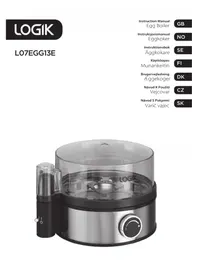


| Product Type | Egg Cooker |
| Brand | Logik |
| Model | L07EGG13E |
| Capacity | 7 eggs |
| Power | 350 W |
| Dimensions (L x W x H) | 20 cm x 15 cm x 15 cm |
| Weight | 0.5 kg |
| Power Supply | 220-240 V, 50/60 Hz |
| Main Functions | Hard-boiled, medium-boiled, soft-boiled eggs; poaching; omelet |
| Auto Shut-off | Yes |
| Boil-Dry Protection | Yes |
| Material | Plastic housing, stainless steel heating plate |
| Non-stick Coating | Yes, on heating plate |
| Measurement Cup | Included with egg piercer |
| Cleaning | Wipe with damp cloth; removable parts dishwasher safe |
| Safety Features | Overheat protection, cool-touch handle |
| Spare Parts | Replacement heating plate, egg trays, measuring cup available |
| Repairability | Easy disassembly for part replacement |
| Country of Origin | China |
Frequently Asked Questions - L07EGG13E Logik
User questions about L07EGG13E Logik
0 question about this device. Answer the ones you know or ask your own.
Ask a new question about this device
Download the instructions for your Egg cooker in PDF format for free! Find your manual L07EGG13E - Logik and take your electronic device back in hand. On this page are published all the documents necessary for the use of your device. L07EGG13E by Logik.
USER MANUAL L07EGG13E Logik
Instruction Manual Egg Boiler
GB
Contents
GB
Safety Warnings....5
Unpacking....34
Product Overview....35
Main Unit....35
Measuring Cup 35
Control Dial 36
First Time Use 36
Keeping the Mains Cable Tidy......36
Egg Boiler Operation 37
Care and Maintenance....39
Cleaning Your Egg Boiler 39
Descaling the Water Basin....39
Specifications....39
When using electrical appliances, basic safety precautions should always be followed, including the following:
- Read all instructions and retain this instruction manual.
- Do not touch hot surfaces. Always use handles and knobs.
- Be careful, burns and scalding can occur from touching hot parts, hot water, steam or food. • Position appliance away from walls and cabinets to prevent damage from steam. • To prevent burns, remove lid slowly with the inside of the lid pointing away from you and let the steam escape gradually.
- Do not reach over the appliance while it is generating steam.
- Never start up the appliance without filling the basin with water.
- Unplug the appliance when not in use. Unplug and allow it to cool before cleaning.
- To protect against electrical shock, do not immerse mains cable, mains plug or base unit in water.
- Close supervision is necessary when any appliance is used by or near children.
- Keep the appliance out of the reach of children when in use.
- Do not operate appliance with a damaged mains cable or mains plug, or after any appliance malfunctions or damage. Return appliance to authorised service facility for repair.
- This appliance can be used by children aged 8 years and above and persons with reduced physical, sensory, or mental capabilities or lack of experience and knowledge if they have been given supervision or instruction concerning use of the appliance in a safe way and understand the hazards involved. Children shall not play with the appliance. Cleaning and user maintenance shall not be made by children unless they are older than 8 and supervised. Children should be supervised to ensure that they do not play with the appliance.
- Never immerse the appliance, mains cable, or mains plug in water or any other liquid.
- Use the appliance on a stable, level work surface away from water.
- Do not unplug the appliance by pulling on the mains cable.
- If the mains cable is damaged, it must be replaced by the manufacturer, its service agent, or similarly qualified persons in order to avoid a hazard.
- Do not place the appliance or any part of the unit near a heat source or in an oven.
- Do not allow the mains cable to hang over the edge of the work surface, as it could be accidentally pulled.
- Do not use the appliance if the appliance or mains cable is damaged.
- Do not line the water basin with aluminium foil. Use of accessory attachments not recommended.
- Do not let the mains cable touch hot surfaces.
- Do not place near hot gas or electric burner or in a heated oven.
- Caution when moving an appliance containing hot food or other hot liquids.
- Lift and open the cover carefully to avoid scalding, and allow water to drip into the appliance.
- Do not place the appliance directly under cabinets when operating as this product produces large amounts of steam. • Some water will remain in the water basin after the unit has turned off; this is normal.
- Do not use any parts in a microwave or on a heated surface.
- Fill the water basin with water before plugging the mains cable otherwise the appliance may be damaged.
- Do not refill during operation as the hot water and steam will scald.
- Let the appliance cool down for 30 mins before refilling the water or storing the appliance.
- Only use the appliance for its intended domestic use. • This appliance is designed for indoor, household use only, and similar applications such as:
- staff kitchen areas in shops, offices and other working environments;
- by clients in hotels, motels bed and breakfasts, farmhouses, and other residential environment types.
Thank you for purchasing your new Logik Egg Boiler.
We recommend that you spend some time reading this instruction manual in order to fully understand all the operational features it offered. Read all the safety instructions carefully before use and keep this instruction manual for future reference.

Unpacking
Remove all packaging from the unit. Retain the packaging. If you dispose of it please do so according to local regulations.
The following items are included:
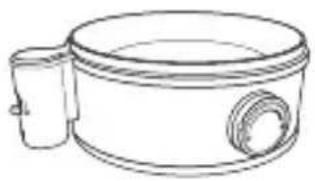
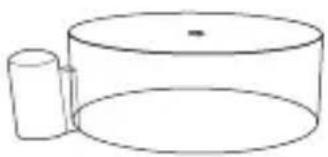
Egg Boiler Base
Egg Tray Lid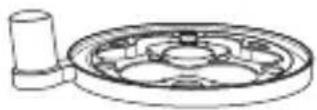
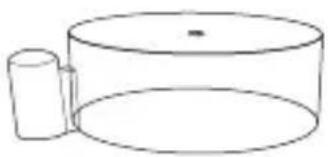
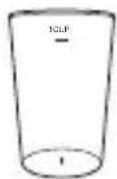
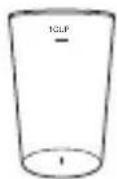
Measuring Cup with Egg Pricker
Instruction Manual
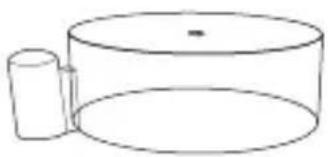
Main Unit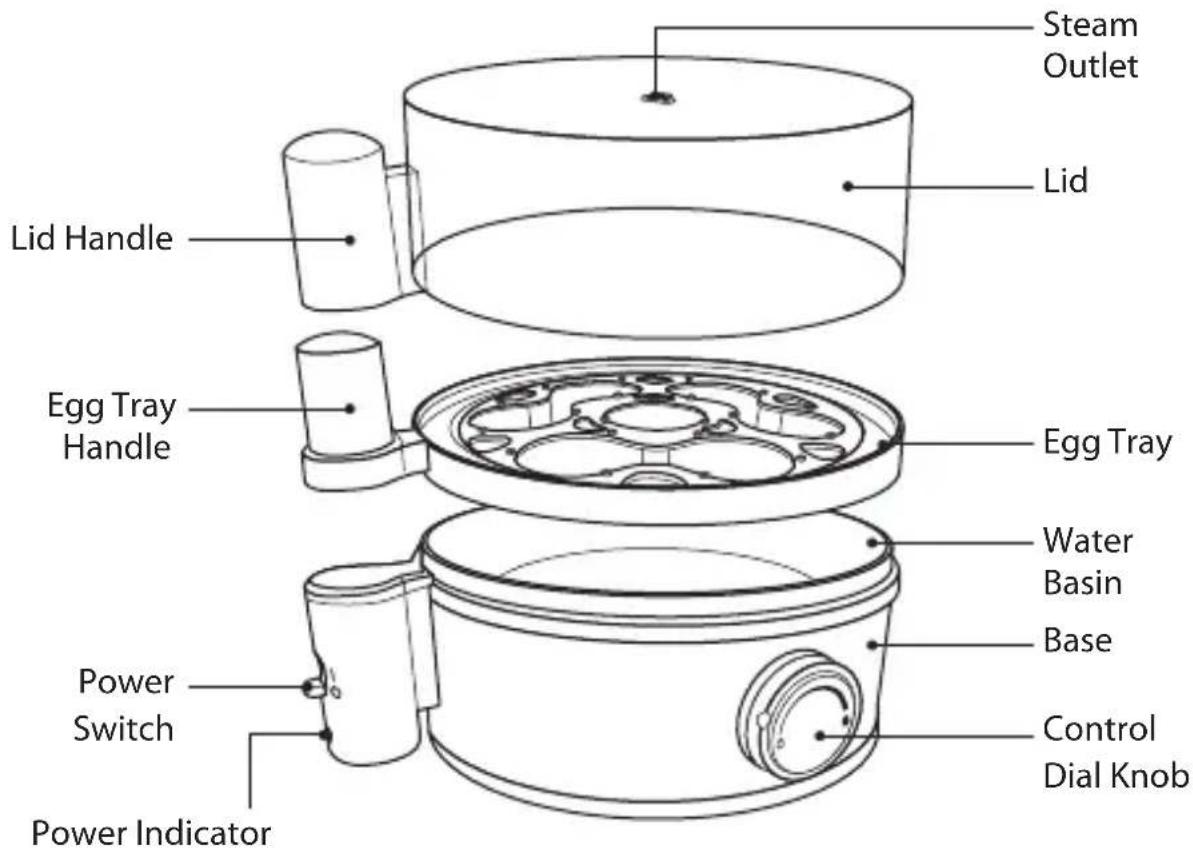
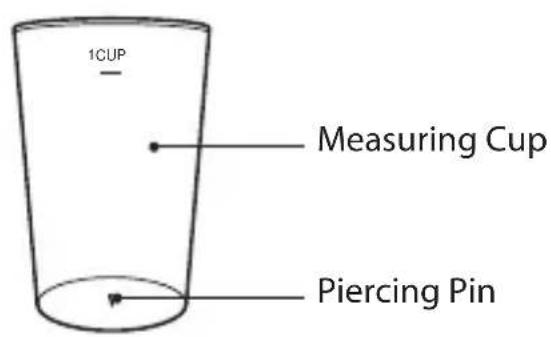
Measuring Cup

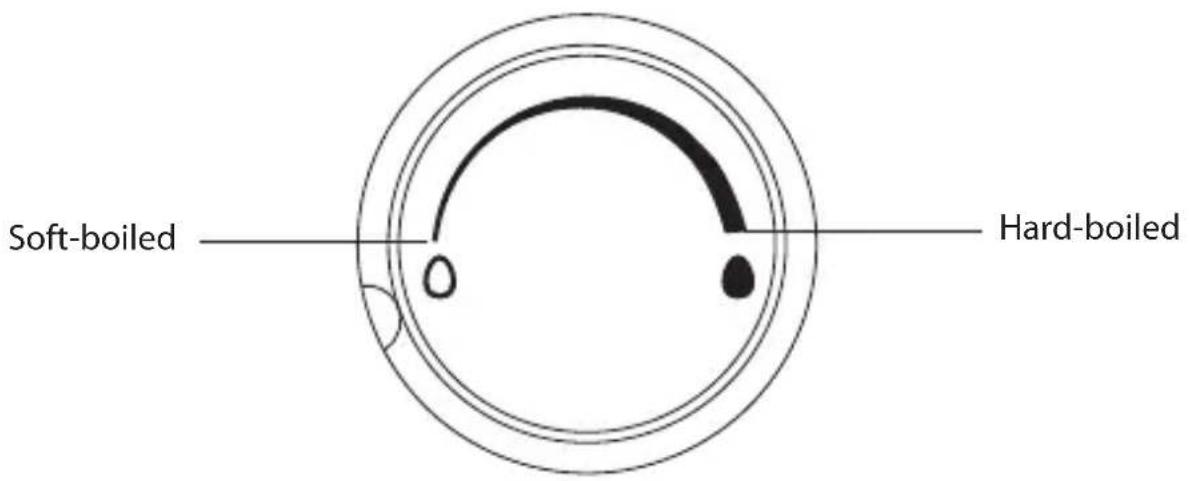
Control Dial

First Time Use
- After removing all packaging from the egg boiler and accessories, peel off any adhesive labels.
- Wash the lid, egg tray and measuring cup in warm soapy water before first use. Rinse and dry thoroughly. Do not immerse the egg boiler base in water.

The Piercing Pin on base of measuring cup is extremely sharp.
- Wipe the inside of the water basin with a damp cloth.

Keeping the Mains Cable Tidy
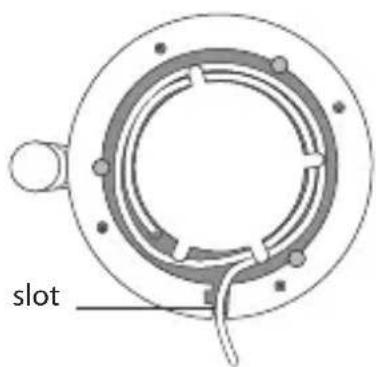
Extend the mains cable to the required length. Locate the mains cable in the slot in the base. For safety purposes it is recommended that the length of exposed mains cable is kept as short as possible.

Egg Boiler Operation
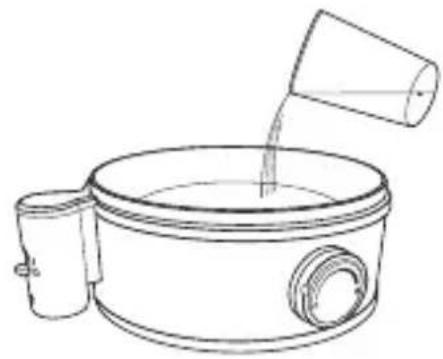
- Use the measuring cup to fill the basin with 1 cup of water.

• Take care not to spill any water on the housing of the motor unit. Do not add any salt, pepper, seasonings, herbs, wine, stock, or any liquid other than tap water to the water basin.
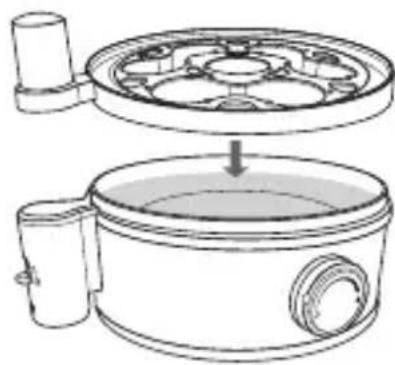
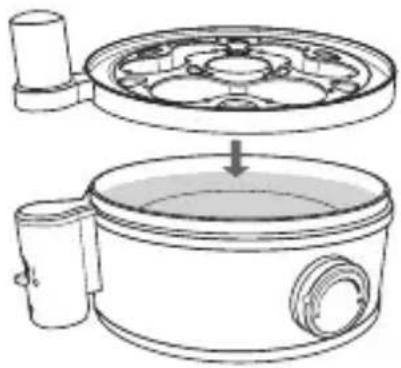
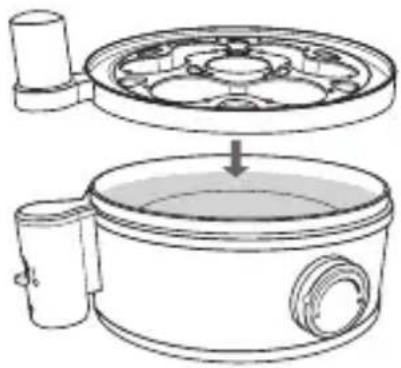
- Place the egg tray on top of the base so that the handle aligns with the base's handle.
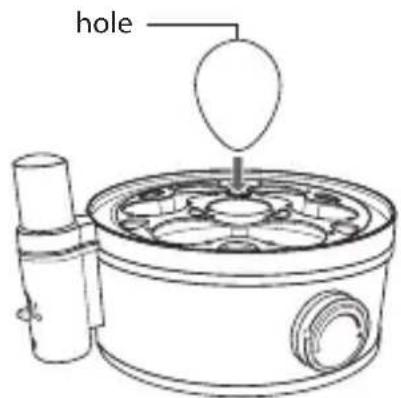
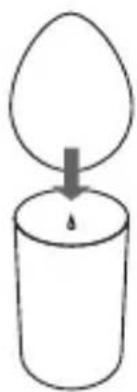
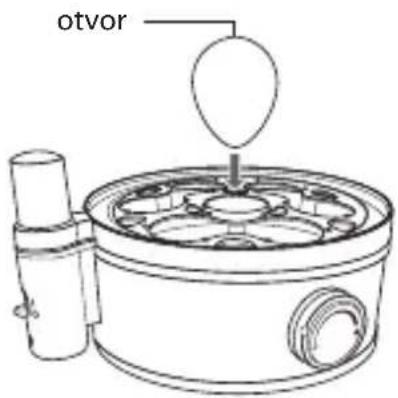
- To prevent the eggs from cracking, pierce the round end of the egg with the piercing pin located under the measuring cup.

• The piercing pin is very sharp. Use with care. • Do not use force, otherwise the egg might break. Do not make too large a hole in the egg, else the egg white will leak out.
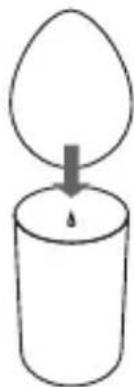
- Place the narrower end of the egg into the egg tray.
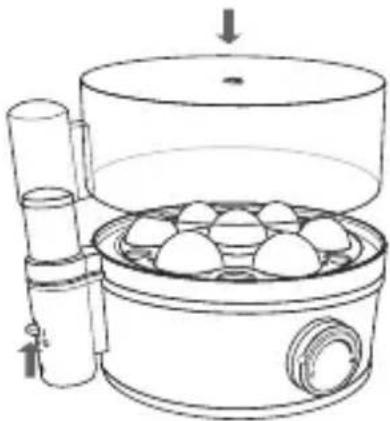
- Cover the unit with the lid, making sure the lid handle slots over the egg tray handle. Plug the unit into the mains socket. Turn on the unit by pulling the power switch up to the "I" position. The power indicator will light up.

Do not operate the egg boiler without the egg tray and lid in place.
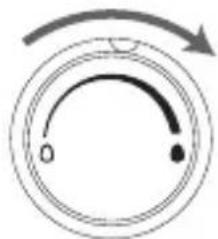
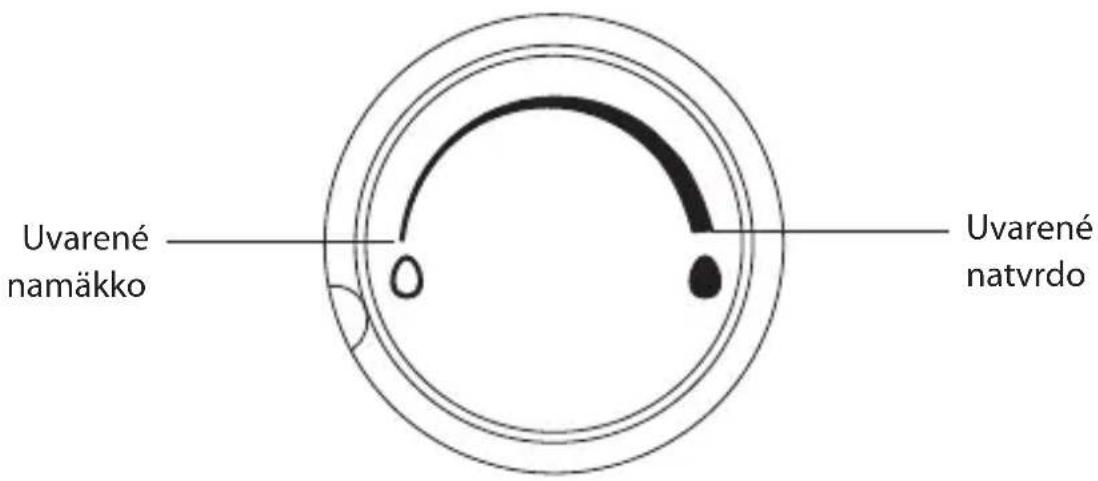
- Turn the control knob to adjust the boiled hardness. The desired hardness of the boiled eggs will vary depending on the number of eggs in the unit and the range selected.

- Be careful of scalding! Steam from the boiling water will escape through the steam hole in the lid. If the lid is removed while the unit is boiling, hot steam will escape.
- During operation, do not touch or move the boiler base or lid as they get very hot.
- When the eggs are done, or the water in the basin has evaporated, the unit will beep. Push the power switch to the "O" position; the power indicator will wink out.

Regardless of the Control Dial's setting, if all the water has evaporated, the unit's automatic safety cut-out feature will operate. The unit will beep.
- Unplug the egg boiler from the mains socket and allow it to cool down completely.
- Remove the lid carefully. Hold it by the handle. Remove the egg tray from the unit by the handle. Run the eggs under cold, running water to help peel them away from the shell.

Face the handle towards you, then remove the lid slowly, pointing the lid away from you to let the steam escape gradually. Hold the lid over the egg boiler to allow the condensation to drain into the unit.

Care and Maintenance
Cleaning Your Egg Boiler
- Never immerse the egg boiler base, mains cable or mains plug in water.
- Unplug at the mains socket and leave the egg boiler to cool for at least 30 minutes before cleaning.
- Do not clean any part of the egg boiler with abrasive cleaners, e.g., scouring powders, scouring pads, wire wool, washing soda, or bleach. We recommend washing the lid, egg tray and measuring cup in warm water and washing-up liquid. Rinse and dry thoroughly.

The Piercing Pin on the base of the measuring cup is extremely sharp.
Empty the water basin and change the water after each use. Do not immerse the egg boiler base in water. Wipe the basin interior and exterior with a damp cloth.
Descaling the Water Basin
After about 2-3 months' use, some chemical deposits may build up in the water basin, depending on the hardness of the water. It is essential to descale the water basin regularly.
- Fill the water basin with a mixture of white vinegar and water and soak for approx. 30 mins. Do not use any other chemical or detergent.
- Thoroughly clean the vinegar and water mixture from the basin.

Specifications
| Model L07EGG13E | |
| Mains Supply 220-240V~50Hz | |
| Power Consumption 350-410W |
Features and specifications are subject to change without prior notice.
Thank you for purchasing your new Logik egg cooker.
Egg cooker base
Egg tray Lid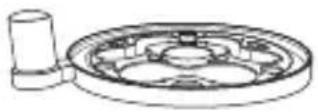
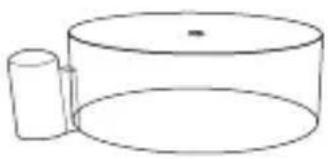
- Place the eggs with the narrow end down in the egg tray.
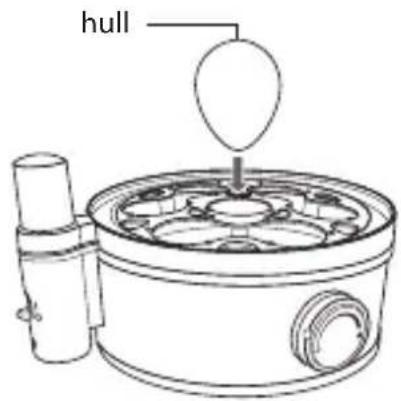

Egg cooker base
Egg tray Lid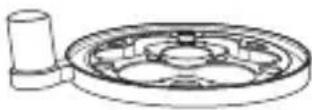

Egg cooker base
Egg tray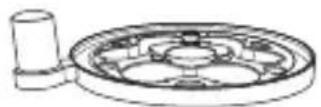
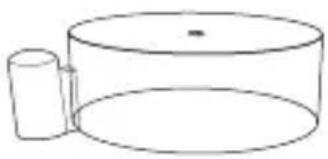
Kansi
FI
FI

User manual

Product overview
Main unit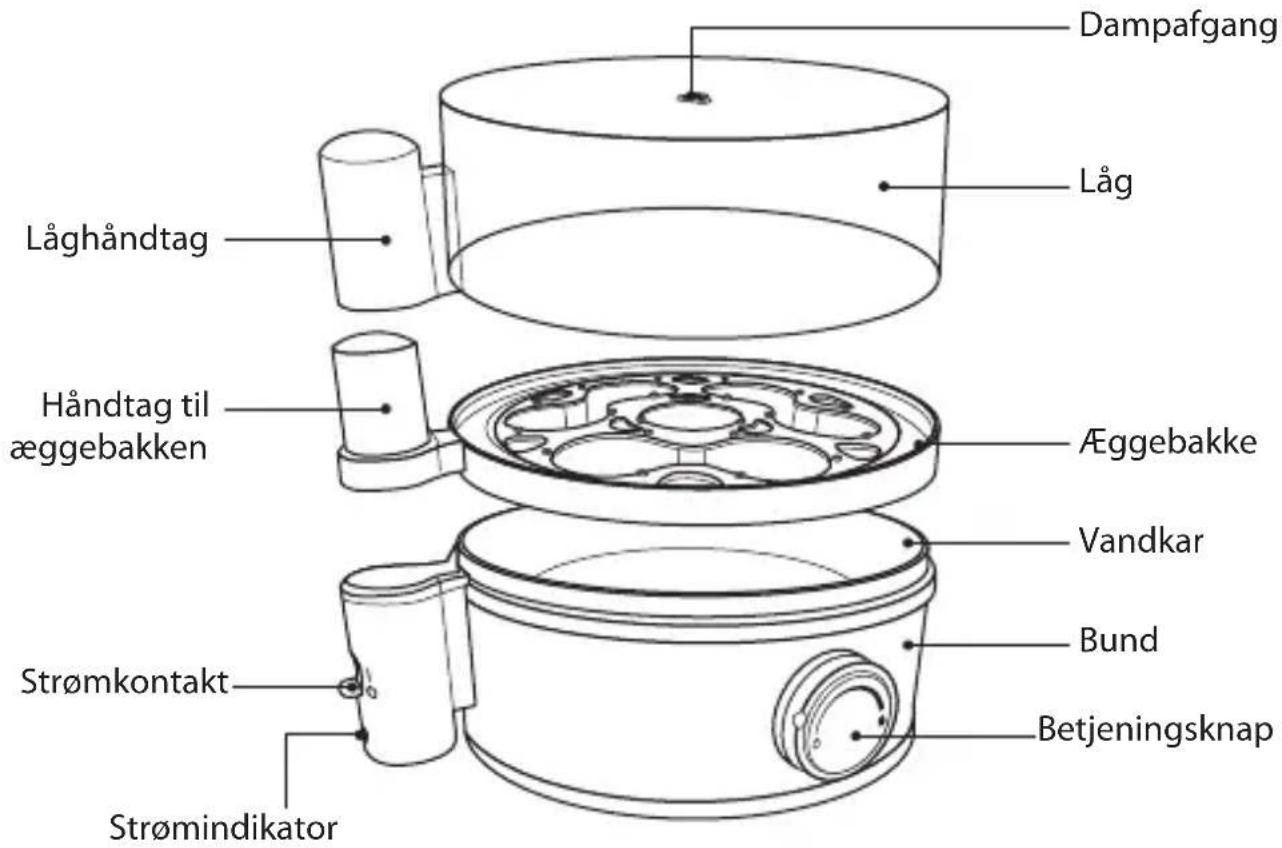
DK


Base of the egg cooker
Plate Lid
CZ

Base of the egg cooker
Egg bowl Lid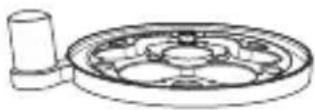
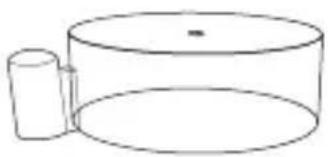
Instructions with instructions
Main device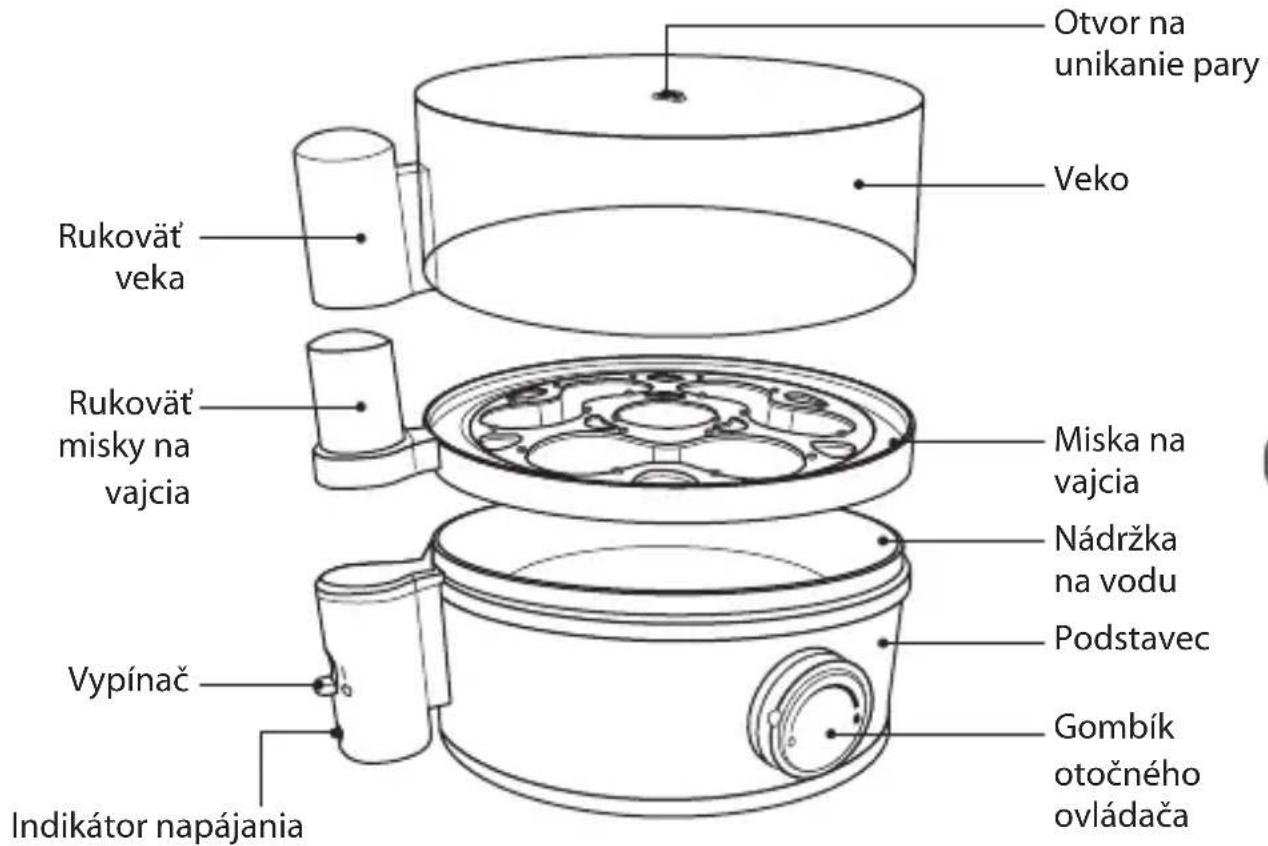
SK
Measuring cup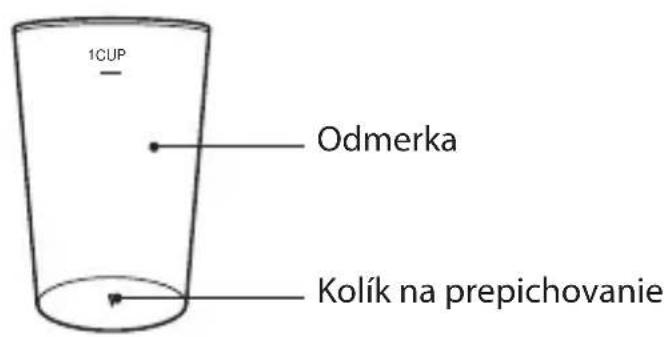

Rotary control

First use

This symbol on the product or in the instructions means that your electrical and electronic equipment should be disposed at the end of its life separately from your household waste.
There are separate collection systems for recycling in the EU. For more information, please contact the local authority or your retailer where you purchased the product.

- CONTENTS
- THANK YOU FOR PURCHASING YOUR NEW LOGIK EGG BOILER
- UNPACKING
- CONTROL DIAL
- FIRST TIME USE
- KEEPING THE MAINS CABLE TIDY
- EGG BOILER OPERATION
- CARE AND MAINTENANCE
- CLEANING YOUR EGG BOILER
- THE PIERCING PIN ON THE BASE OF THE MEASURING CUP IS EXTREMELY SHARP
- DESCALING THE WATER BASIN
- SPECIFICATIONS
- FI
- PRODUCT OVERVIEW
- CZ
- ROTARY CONTROL
- FIRST USE
Brand : Logik
Model : L07EGG13E
Category : Egg cooker