Tyxia 4860 - Recepteur DELTA DORE - Notice d'utilisation et mode d'emploi gratuit
Retrouvez gratuitement la notice de l'appareil Tyxia 4860 DELTA DORE au format PDF.
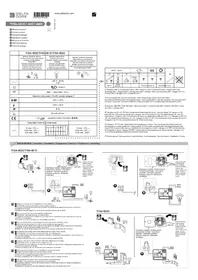
| Type de produit | Récepteur variateur DALI |
| Marque | Delta Dore |
| Modèle | Tyxia 4860 |
| Dimensions | 50 x 47 x 23 mm |
| Poids | Environ 50 g |
| Alimentation | 230 V~, 2 VA |
| Puissance de sortie max | 40 mA (20 ballasts de 2 mA) |
| Nombre max d'émetteurs associés | 16 |
| Technologie sans fil | X3D, 868,7 - 869,2 MHz, < 10 mW |
| Indice de protection | IP 40 (encastré) |
| Température de fonctionnement | -10 °C à +40 °C |
| Température de stockage | -10 °C à +70 °C |
| Fonctions principales | Commande marche/arrêt et variation DALI pour LED, association sans fil, deux modes de fonctionnement, commande par bouton poussoir simple ou double |
| Entretien et nettoyage | Nettoyer avec un chiffon sec et doux. Ne pas utiliser de produits abrasifs. |
| Sécurité | Installation avec outil isolé, respecter les normes CE, ne pas mettre sous tension avant connexion de la charge |
| Pièces détachées et réparabilité | Module non réparable par l’utilisateur. Aucune pièce détachée disponible. |
| Nombre de ballasts série max | 20 |
| Réinitialisation usine | Maintenir le bouton 30 secondes |
| Garantie | 2 ans (standard) |
FOIRE AUX QUESTIONS - Tyxia 4860 DELTA DORE
Questions des utilisateurs sur Tyxia 4860 DELTA DORE
0 question sur cet appareil. Repondez a celles que vous connaissez ou posez la votre.
Poser une nouvelle question sur cet appareil
Téléchargez la notice de votre Recepteur au format PDF gratuitement ! Retrouvez votre notice Tyxia 4860 - DELTA DORE et reprennez votre appareil électronique en main. Sur cette page sont publiés tous les documents nécessaires à l'utilisation de votre appareil Tyxia 4860 de la marque DELTA DORE.
MODE D'EMPLOI Tyxia 4860 DELTA DORE

DELTA DORE
TYXIA 4860 - DALI

ALI dimmer module

www.deltadore.com
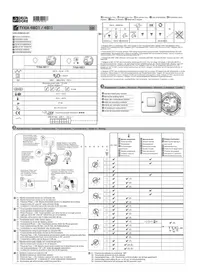
Technical characteristics
- Power supply: 230 V\~2 VA
- Number of serially-connected ballasts: 20 maximum
- Maximum output power: 40mA,
equivalent to 20 ballasts of 2mA each - Number of associated transmitters: 16 maximum
- Storage temperature: -10°C/+70°C
-
Operating temperature: -10°C/+40°C
-
IP 40 (flush mounting box)
- Dimensions: 50 x 47 x 23 mm
- X3D wireless remote control device:
868.7 MHz to 869.2 MHz - Maximum wireless power < 10mW
- Category 2 receiver

EN
I - Installation
The TYXIA 4860 is designed to control (On/Off or Dimming) LED lights on the DALI bus.
The DALI dimmer module can be installed either in a flush-mount housing behind a push button or behind a ceiling.
You can control the module via a wireless X3D transmitter or the TYDOM application.
Use an electrically insulated tool to work on the dimmer module button.

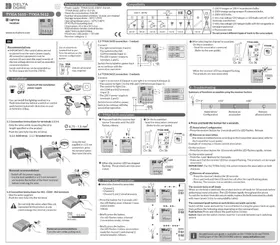
2 - Connection

text_image
Green White Yellow Button LED N 230 V Not connected DA+ DA- ca. DC 14V 1 2 N L DA- DA+ 2 N L ... 20 max. A B ① ② 1 2 CA Disconnected wires must be insulated (domino).
B IMPORTANT: the control wires are not insulated from the mains power supply. All connected equipment must be marked CE and meet the requirements of the low voltage devices as well as assembly recommendations. Local control wires can be extended up to 10m (insulate from 230V).
© Do not switch on before connecting the load.
3 - Association
① Switch on the system. Press and hold the dimmer module button for 3 seconds until its LED flashes. Release.
② On the transmitter, send the association command (see user guide).
- Make sure that the dimmer module LED has stopped flashing. The products are now associated.


4 - Operation
4.1 Simple push-button
You have 2 modes to choose from:
- Mode 1. On/Off + dimming from 0% to 100% with storage of the latest intermediary level. (by default).
When the lighting is off:
Briefly press the control button to switch the lighting to the stored level.
After releasing:
- A short press under 5 seconds switches the lighting level to 100%.
- Pressing and holding before 5 seconds increases the lighting.
- A short press after 5 seconds switches the lighting level to 0%.
- Pressing and holding after 5 seconds dims the lighting.
When the lighting is on:
- A short press switches the lighting level to 0%.
- Pressing and holding dims the lighting. Release.
Pressing and holding again before 5 seconds dims the lighting, after 5
seconds, the lighting increases.
- Mode 2. On/Off + dimming from 0% to 100% without storage of the intermediary level.
- When the lighting is off:
- A short press changes the lighting level from 0% to 100%.
- Pressing and holding increases the lighting.
When the lighting is on:
- A short press switches the lighting level to 0%.
- Pressing and holding dims the lighting. Release.
Pressing and holding again before 5 seconds dims the lighting,
after 5 seconds, the lighting increases.
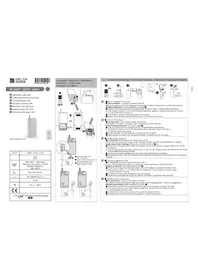
4.2 Double push-button

Button 1
Press once briefly: ON
Press and hold:
Dimming up
Button 2
Press once briefly: OFF
Press and hold:
Dimming down
4.3 Simple/Double push-button
Storage of the intermediary level:
Hold down the push button until the required level:
the lighting intensity varies. Release when the required level is reached.
The intermediary level is stored
4.4 To change to a different operating mode:
- Hold down the receiver button for 6 seconds.
- After 3 seconds, the LED flashes slowly.
- After 6 seconds, the LED is on without flashing. Release.
- Press the button briefly to toggle between modes.
Mode 1: 1 flash, Mode 2: 2 flashes.
Validation of the mode:
- Press the receiver button for 3 seconds until the LED stops flashing.
5 - Help
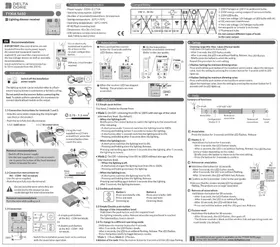
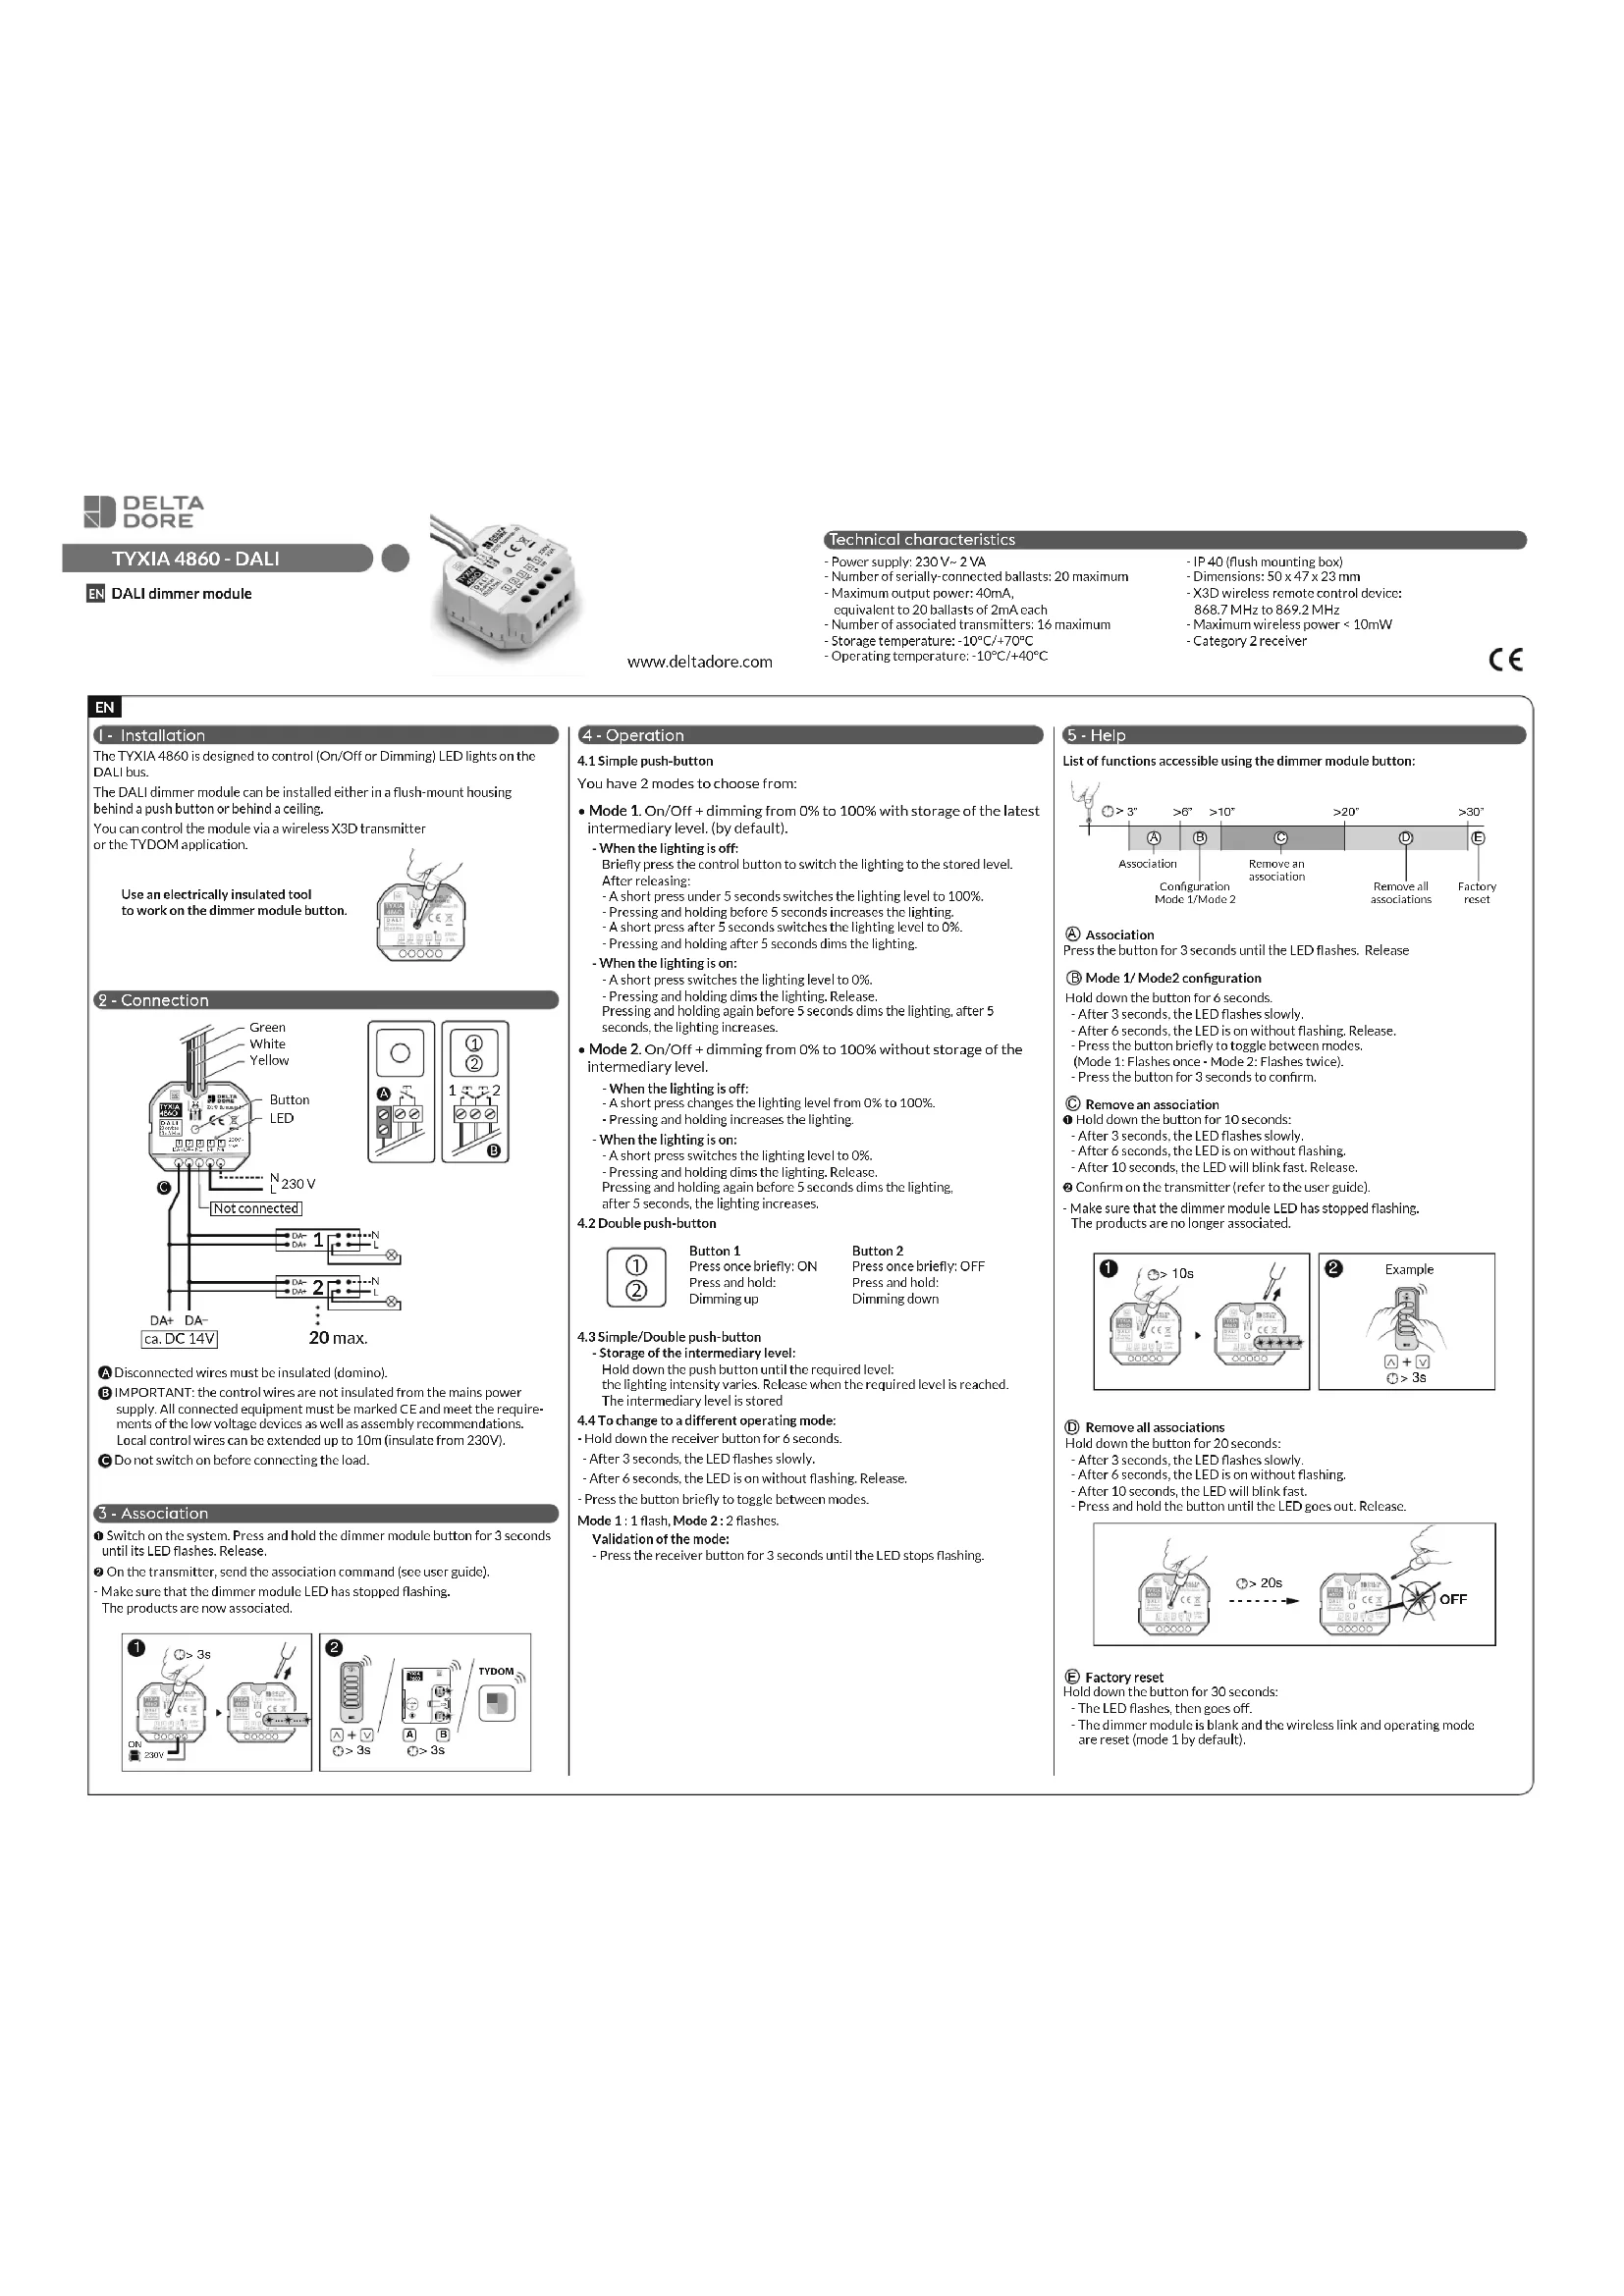
List of functions accessible using the dimmer module button:

text_image
Association Configuration Mode 1/Mode 2 Remove an association Remove all associations Factory reset >3" >6" >10" >20" >30"Ⓐ Association
Press the button for 3 seconds until the LED flashes. Release
⑧ Mode 1/ Mode2 configuration
Hold down the button for 6 seconds.
- After 3 seconds, the LED flashes slowly.
- After 6 seconds, the LED is on without flashing. Release.
- Press the button briefly to toggle between modes.
(Mode 1: Flashes once - Mode 2: Flashes twice).
- Press the button for 3 seconds to confirm.
© Remove an association
① Hold down the button for 10 seconds:
- After 3 seconds, the LED flashes slowly.
- After 6 seconds, the LED is on without flashing.
- After 10 seconds, the LED will blink fast. Release.
② Confirm on the transmitter (refer to the user guide)
- Make sure that the dimmer module LED has stopped flashing. The products are no longer associated.


(D) Remove all associations
Hold down the button for 20 seconds:
- After 3 seconds, the LED flashes slowly.
- After 6 seconds, the LED is on without flashing.
- After 10 seconds, the LED will blink fast.
- Press and hold the button until the LED goes out. Release.

text_image
③ > 20s OFF⑤ Factory reset
Hold down the button for 30 seconds:
- The LED flashes, then goes off.
- The dimmer module is blank and the wireless link and operating mode are reset (mode 1 by default).