Perfect Mix 2 MFC2500 - Food processor Eldom - Free user manual and instructions
Find the device manual for free Perfect Mix 2 MFC2500 Eldom in PDF.


| Product Type | Food Processor |
| Brand | Eldom |
| Model | Perfect Mix 2 MFC2500 |
| Power Rating | 800 W |
| Bowl Capacity | 2 L |
| Number of Speeds | 2 + Pulse |
| Main Functions | Chopping, blending, mixing, whisking, kneading |
| Included Attachments | Stainless steel blade, whisk, dough hook |
| Dimensions (W x D x H) | 25 x 20 x 35 cm |
| Weight | 3.5 kg |
| Power Supply | 220-240 V, 50/60 Hz |
| Dishwasher Safe Parts | Bowl, lid, attachments |
| Cleaning | Wipe motor unit with damp cloth; attachments dishwasher safe |
| Safety Features | Safety lock lid, non-slip feet, overload protection |
| Spare Parts Availability | Bowl, blades, seals available from Eldom service |
| Repairability | Modular design; motor unit repairable by authorized service |
| Warranty | 2 years |
| Certifications | CE, RoHS |
Frequently Asked Questions - Perfect Mix 2 MFC2500 Eldom
User questions about Perfect Mix 2 MFC2500 Eldom
0 question about this device. Answer the ones you know or ask your own.
Ask a new question about this device
Download the instructions for your Food processor in PDF format for free! Find your manual Perfect Mix 2 MFC2500 - Eldom and take your electronic device back in hand. On this page are published all the documents necessary for the use of your device. Perfect Mix 2 MFC2500 by Eldom.
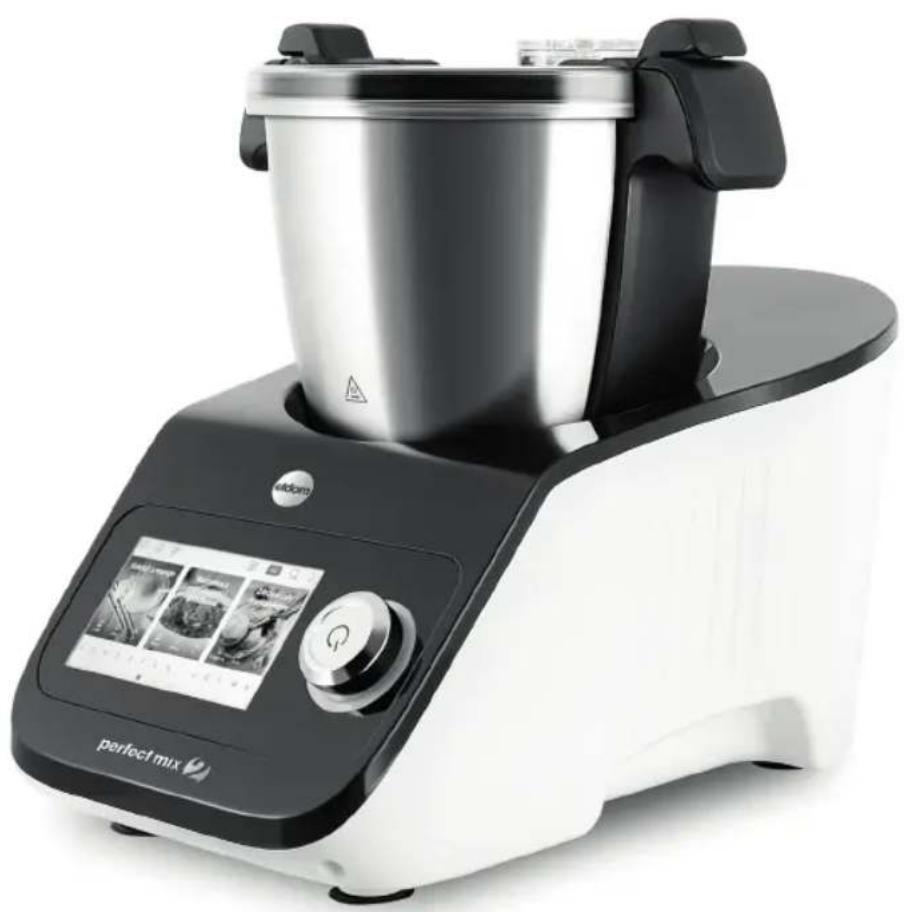
USER MANUAL Perfect Mix 2 MFC2500 Eldom
/ EN / MULTIFUNCTIONAL KITCHEN APPLIANCE
perfect mix
natural_image
Modern kitchen mixer with black and white design, digital display, and control panel (no visible text or symbols)_
| _
一
1
SAFETY INSTRUCTIONS
Read the entire instructions manual carefully before using the appliance for the first time. Keep the instructions manual for future reference.
-
This appliance may be used by children of at least 8 years of age and persons with reduced physical, mental abilities, and persons with no experience or knowledge of the equipment, if supervised or instructed on its safe use so that the risks associated with it are understood. Children should not play with the appliance. Unattended children should not be allowed to perform the cleaning and maintenance of the appliance. Do not allow the power cord to hang in a place where a child can catch it
-
The appliance is intended for household use only; industrial use, use not with its intended use, or use non-compliant with this instructions manual will lead to the expiry of warranty rights.
-
The appliance can be used only with the accessories included.
-
The power cord should be connected to a socket with an earth pin.
-
Caution: To avoid the danger of accidentally resetting the thermal breaker, this appliance must not be powered through an external switching device, such as a clock, or connected to a circuit that is regularly turned on and off by the tool.
-
Make sure not to connect too many receivers to a single current circuit.
-
Before disconnecting the plug from the socket, switch off the appliance with the power switch (9).
-
The appliance should always be disconnected from
the power mains by pulling the plug and never the power cord.
- Always disconnect the appliance from the power supply, if left unattended, before assembling, disassembling or cleaning.
- Always keep the appliance within sight, especially if there are children nearby. Switch off the appliance upon leaving the room in which it is located.
- The appliance can be placed only on a flat, stable and heat resistant surface. 5
- Before switching on the appliance, make sure that all its elements are assembled appropriately.
- Do not move the appliance body when it is operating.
- Do not hold the appliance (11) with wet hands.
- To ensure the safe use of the appliance, do not fill the container (8) above the maximum level marked. Overfilling may result in uncontrolled outflow of hot products posing a health risk to the user or damage to the appliance.
- Never insert fingers in the opening in the lid (2) when the appliance is operating.
- Do not put materials such as paper, cardboard, plastic, metal, etc. inside the container.
- Do not place the appliance or lead its power cord near heat sources.
- Put the appliance on an appropriate height to provide free and safe access to it.
- Do not use outdoors.
- Do not switch on the appliance without food products.
- Do not submerge the appliance's power cord or body (11) in water.
-
Do not use the appliance when the power cord or the appliance itself are damaged.
-
In case the power cord is damaged, it must be replaced by the manufacturer's service centre to prevent any danger.
- Do not disassemble the base unit or the container handles (8) — the container (8) is not intended for maintenance by the user.
- The appliance can be repaired only by the manufacturer's service centre (the address is indicated on the warranty card and website www.eldom.eu). Making any modernisations or using spare parts or an appliance elements other than the original ones is prohibited and poses a threat to the safety of use.
- Eldom Sp. z o. o. shall not be liable for any potential damage resulting from the improper use of the appliance.

WARNINGS
CAUTION The appliance has a visible "hot surface" marking. This marking indicates that the element may be hot and should not be touched with bare hands.
- Do not touch the blade (6) when the appliance is switched on; you may only touch it after switching off the appliance when it has stopped.
- The stopper (1) should always be closed during mixing.
- Do not use the appliance with a damaged drive shaft or attachments (4, 5, 6).
- Insert the drive shaft and the seal in the opening at the bottom of the container and lock it with the fixing nut. The seal must be placed under the shaft. The absence of the seal may lead to the processed products leaking from the container (8), posing a health risk to the user and causing damage to the appliance.
-
Do not use the appliance for fragmenting bones or other very hard products.
-
The blade (6) is a consumable and subject to natural wear. Do not sharpen the blade (6). In case the blade (6) is blunt or damaged, replace it.
- The permitted continuous operation time in case of fragmenting very hard products is 40 s. Interval before the further operation: 5 min.
- The maximum load of the mixing function is: 920 g carrots / 1380 g water
Eldom Sp. z o.o., 40-238 Katowice, ul. Pawła Chromika 5a, hereby declares that the following product: Multifunctional Appliance MFC2500 conforms to Directive 2014/53/EU. Full text of the EU Declaration of Conformity is available at: www.eldom.eu/wsparcie/centrum-pobierania

The disposal of used electrical and electronic equipment (applies to European Union countries and other European countries with separate waste-collection systems).
This symbol on the product or its packaging indicates that it should not be classified as household waste. It should be handed over to an appropriate company dealing with the collection and recycling of electrical and electronic equipment. The correct disposal of the product will prevent potential negative consequences for the environment and human health resulting from hazardous substances present in the product. Electrical devices must be handed over to restrict their re-use and further treatment. If the device contains batteries, remove them, and hand them over to a storage point separately. DO NOT THROW EQUIPMENT INTO THE MUNICIPAL WASTE BIN. Material recycling helps to preserve natural resources. For detailed information on how to recycle this product, please contact your local authority, the recycling company, or the shop where you bought it.
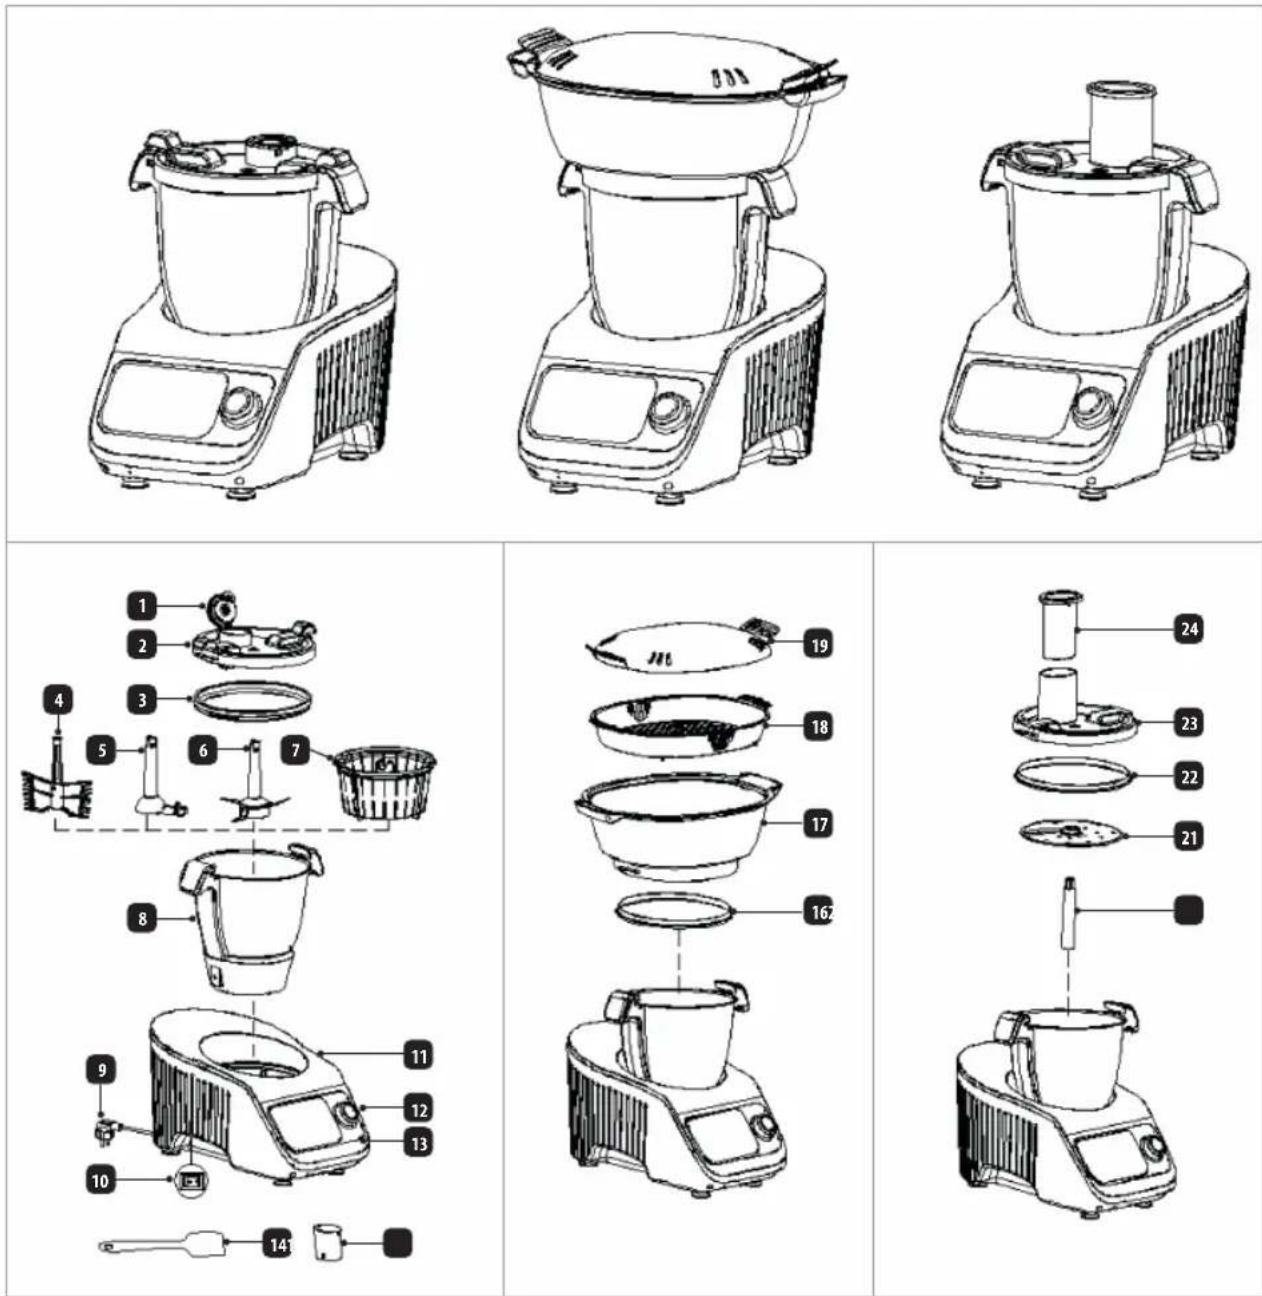
GENERAL DESCRIPTION
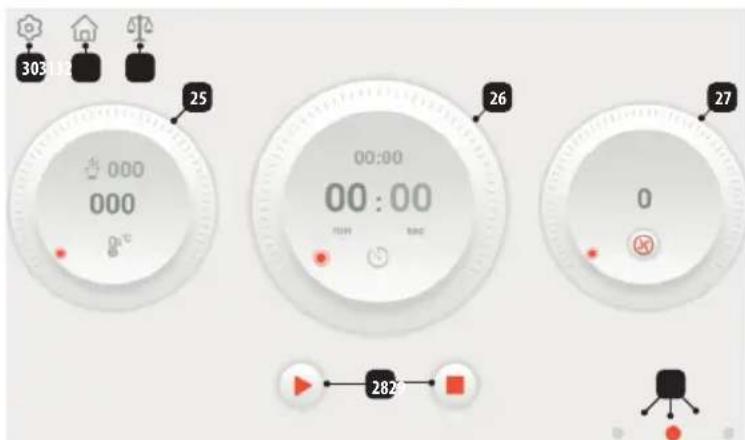
CONTROL PANEL
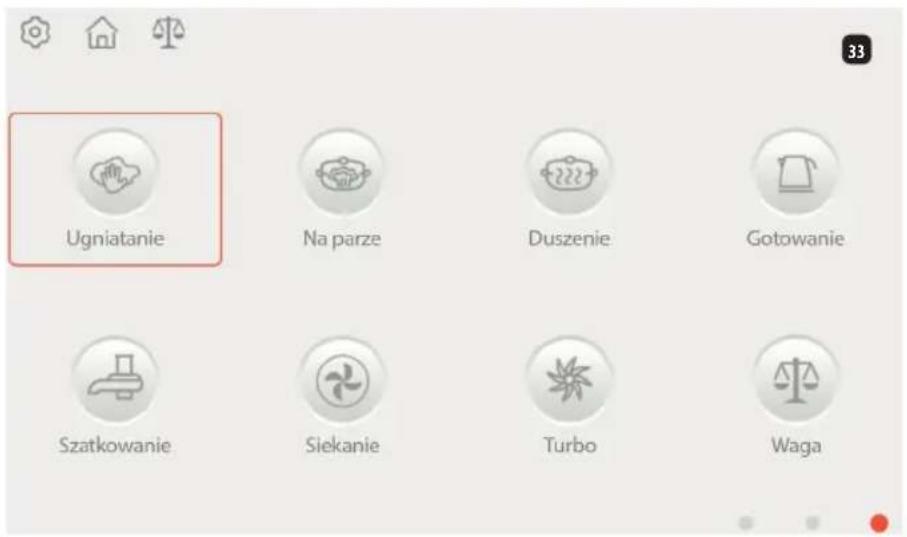
AUTOMATIC PROGRAMMES
-
Stopper
-
Container lid
-
Container lid seal
-
Beater attachment
-
Mixing attachment
-
Blade
-
Steaming basket
-
Container
-
Main switch
-
Power cord
-
Body
-
Knob
-
Screen
-
Spatula
-
Measuring cup
-
Deep steaming basket seal
-
Steaming basket – deep
-
Steaming basket – shallow
-
Steaming basket cover
-
Shredder drive shaft
-
Shredding disc – double-sided
-
Shredder cover seal
-
Shredder cover
-
Pusher
-
Temperature settings
-
Timer settings
-
Speed settings
-
Start/pause/stop buttons
-
Interface change buttons
-
Configuration button
- Home button
- Weight button
- Function buttons
- Sort button – changing the way recipes are displayed
- A-Z Button – changing the way the recipes are displayed
- Search button
- Additional settings selection button
- Recipes search buttons - A-Z
- User interface configuration
- Saved recipes
- Manual settings
- Automatic programmes
- Downloading new recipes
| TECHNICAL DATA | |
| Model MFC2500 | |
| Voltage 220-240V, 50Hz | |
| Heating power 1000W | |
| Motor power 600W | |
| Power (heating + mixing) 1300W | |
| Bowl capacityworkingmaximum | 2,0l3,5l |
In stand-by mode, the indicator light around the knob (12) lights up white and red.
During operation, the indicator light lights red when the temperature is above 60^ C and white when the temperature is below 60^ C.
| No Icon Functionality description | ||
| 12 KNOB |  | ·Setting temperature, time, speed, or switching between interfaces: user interfaces, automatic programmes, saved recipes.·Pressing the knob after setting the time, speed and temperature switches on the appliance.·Pressing the knob during operation stops the appliance; pressing it again restarts the operation.·A long press of the knob during operation interrupts the process.·A long press of the knob when setting the parameters cancels the set parameters.·Pressing the knob at the end of the cooking process makes the appliance enter the stand-by mode. |
| 26 | 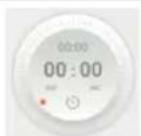 | Display of the set time: 0–90 minutes Display of the operating time: 0–90 minutes |
| 25.1 | 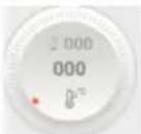 | Display of the set temperature Temperature range: 37–120°C Information about temperature above 40°C, in 5°C intervals |
| 25.2 | 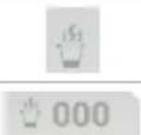 | Icon indicating the cooking process / opening the lid |
| 25.3 | Information about the temperature of the food / ingredients, Above 40°C, the information is given at 5°C intervals | |
| 27.1 | 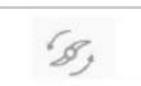 | Icon indicating that reverse rotation is activated Speed range: 1–3 |
| 27.2 | 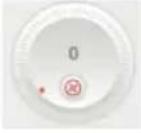 | Speed setting - after pressing, the appliance will change the blade rotation direction.Speed range: 0–12 - blade rotation to the rightSpeed range: 0–3 - blade rotation to the left (reverse rotation) |
| 28 |  | Buttons: start, pause, stop |
| 30 |  | Configuration button: set or check appliance information, including: Wi-Fi, system version, language, etc. |
| 31 | Home page button: home page | |
| 32 | Weight activation button | |

| 33.1 Kneading: Time: 3 - range: 2-4 | ||
 | minutes Temperature: 000 - range: 000-37°C Speed: 1 - range: 1-2 | |
| 33.2 |  | Steaming: Time: 20 (Range: 1-60) minutesSteam flow: fast / medium / slowThe time countdown starts with 95°C |
| 33.3 |  | Stewing Time: 60 - range: 10-90 minutes Temperature: 100 - range: 60-100°CSpeed: 1 - range: 1-3 |
| 33.4 |  | Cooking Temperature: 100 - range: 60-100°C |
| 33.5 |  | Shredding Time: 30 - range: 10-60 sSpeed: 4 - range: 4-7 |
| 33.6 |  | Chopping Time: 10 s - range: 10 s - 4 minutes Speed: 6 - range: 1-12 |
| 33.7 |  | Turbo Time: 60 s Speed: 12 To switch onpress and hold the button - the appliance will stop when the button is releasedpress the knob - the appliance will stop when the knob is pressed again |
| 33.8 |  | Weighing Maximum load: 5 kg interval 5 g |
| 33.8.1 | Tare | Zero |
| 33.8.2 |  | End weighing |
| 34 |  | List of recipes |
| 35 |  | Recipes displayed in alphabetical order |
| 36 | Search | |
| 37 | ... | More. Including your favourites and history |
| 44 |  | Exit |
| 45 | [3DBZ] | Favourites / history |
| 46 | List of ingredients in the recipe | |
| 47 |  | List of cooking stages |
| 48 |  | Tips |
| 49 | List of required accessories | |
| 50 |  | Information on the recipe |
Time range: 0–90 minutes. To set the time, click the icon 26, then move the dot on the icon or click on the "min" or "sec" field or turn the knob,
Setting the temperature
Temperature range: 37-120°C, with 5°C intervals. To set the temperature, click the icon 25, then move the dot on the icon or turn the knob.
Setting the speed
Speed range: 0–12. To set the speed, click the icon ⚙, then move the dot on the icon or rotate the knob.
Reverse rotation
To set the reverse rotation, click on the icon 27, the speed range will appear :1-3.
Attachments - permissible operation speed
L speed: 1-3, L speed: 1-4, L speed: 1-12.
Information on the possible attachments that can be used depending on the temperature and speed settings are displayed on the icon 27.
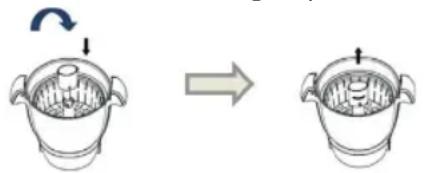
Steaming basket - removing the basket from the container
Place the measuring cup (15) on the basket, rotate to lock it, and then remove the entire set.
natural_image
Diagram showing a steamer being placed on a pan with a circular arrow indicating rotation (no text or symbols)Thermal breaker
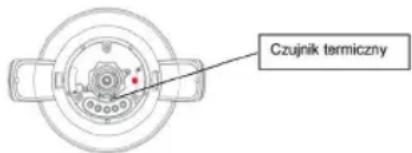
At the bottom of the container (8) there is a thermal sensor that automatically switches off the appliance if the temperature is exceeded. Once the container has cooled down, you can press the button (figure below) to reset the sensor.
| Accessory Intended use Speed Time Temp. °C | |||||
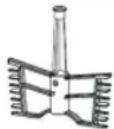 | Beater attachment | Egg white foam 4 2-4 minutes -- | |||
| Whipped cream 3 3-5 minutes -- | |||||
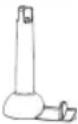 | Mixing attachment | Soup 1-2 1-90 minutes 100°C | |||
| Other ingredients that need heating | 1-2 As | required | As required | ||
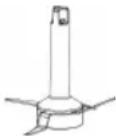 | Blade Meat chopping 8-12 30-60s -- | ||||
| Ice crushing, sugar grinding | 8-12 10-20s -- | ||||
| Blender 8-12 1-2 minutes -- | |||||
| Chopping (onion, shallot, celery, etc.) | 5-7 15-60s -- | ||||
| Beans, soy beans, nuts, peanuts, coffee beans, almonds | 12 2-3 minutyes -- | ||||
| Kneading 1 1-2 minutes | |||||
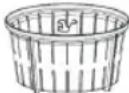 | Steaming basket | Rice etc. -- 20-30 minut 100-110°C | |||
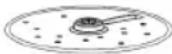 | Grater disc Slices, shreds 5-6 30-60s -- | ||||
 | Steaming set | Fish, vegetables, etc. | -- 10-60 | minutes | 110-120°C |
SUGGESTED USE
| Process | Accessories | Speed | Time | Maximum amount of ingredients at a time |
| Meat chopping | Blade | 8-12 | 30s-60s | 600 g beef / boneless pork / tendons |
| Ice crushing | Blade | 8-12 | 10-20s | 6600 g of ice cubes |
| Blending | Blade | 12 | 1 min | Maximum capacity: 2300 ml (920 g carrots 1380 g water) |
| Chopping (vegetables, etc.) | Blade | 5 | 15s-30s | 500g |
| Kneading | Blade | 1 | 2 min | 500 g of flour + 250 g of water + 20 g of oil |
| Shredding - slices/shreds (vegetables, etc.) | Grater disc | 5-6 | 30s | 500 g of the products |
| Cooking | Mixing attachment | 1 | Custom settings | Maximum capacity 2000 ml |
• CLEANING AND MAINTENANCE
• The body (11) and the container (8) are not dishwasher-safe.
- Before cleaning, switch off the appliance with the power switch (9) and disconnect it from the power supply.
• After the container (8) has cooled down, remove the attachments.
- The blade (6) and the disc (21) are very sharp. Take special care when cleaning them.
- Clean the container (8) inside and outside. The contacts at the bottom of the container (8) must always be clean and dry. They can only be cleaned with a damp cloth. Do not
use sharp-edged or sharp objects to clean the appliance, as they may damage functional parts or violate the safety of the appliance.
- Remove product residue using a spatula.
- When cleaning heavy soiling, fill the container (8) with warm water with washing-up liquid and leave it to soak. Use the cleaning brush to remove any stubborn deposits.
- Discolouration of the appliance elements after contact with food is not a defect and does not impact its operation.
- If there are burned products at the bottom of the container, pour water with citric acid into the container, heat up for 5-7 minutes up to 50°C and then remove the residue with a dish sponge. All moving parts should be cleaned with warm water and washing-up liquid. It is best to clean them directly after use. After rinsing with clean hot water, they must be dried immediately. We recommend lubricating the blade with a little vegetable oil. Never immerse the body (11) in water or rinse under running water. Clean the appliance body (11) using a damp cloth.
- Use a dry and soft cloth to clean the power cord.
natural_image
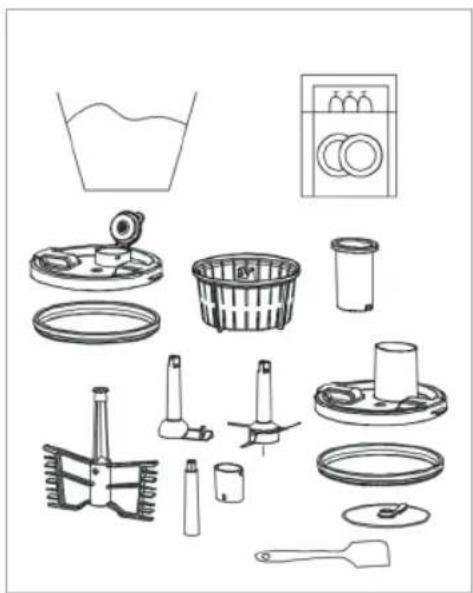
Exploded view diagram of cleaning and repair tools including buckets, washers, and tools (no text or labels)DISHWASHER-SAFE ACCESSORIES


perfect mix
- perfect mix
- SAFETY INSTRUCTIONS
- WARNINGS
- The disposal of used electrical and electronic equipment (applies to European Union countries and other European countries with separate waste-collection systems).
- GENERAL DESCRIPTION
- CONTROL PANEL
- Setting the temperature
- Setting the speed
- Reverse rotation
- Attachments - permissible operation speed
- Steaming basket - removing the basket from the container
- Thermal breaker
- • CLEANING AND MAINTENANCE
Brand : Eldom
Model : Perfect Mix 2 MFC2500
Category : Food processor