
631D - Switch Tork - Free user manual and instructions
Find the device manual for free 631D Tork in PDF.


User questions about 631D Tork
0 question about this device. Answer the ones you know or ask your own.
Ask a new question about this device
Download the instructions for your Switch in PDF format for free! Find your manual 631D - Tork and take your electronic device back in hand. On this page are published all the documents necessary for the use of your device. 631D by Tork.
USER MANUAL 631D Tork
natural_image
Black and white photo of a TORC handheld device with a black cable and power outlet, labeled '631D' (no readable text or symbols on device body)MODEL#: 631D
DESCRIPTION:
7 DAY DIGITAL OUTDOOR TIMER
CONTACT RATINGS:
120VAC/60Hz: 15A RESISTIVE & GENERAL PURPOSE; 1000W TUNGSTEN; 8A BALLAST
PROGRAMMING AND OPERATING THE TIMER
-
Plug the line cord into the 120VAC receptacle.
-
If the unit fails to respond within a few seconds, push the Reset button. The unit will display a flashing "12:00 A" along with the day (MO).
-
To set the time, press and hold the ⏻ button.
-
Press the h+ button to set the time in hours, and press the m+ button to set the time in minutes. Press the Day button to set the day of the week. When you've set the correct time, release the ⏻ button. The unit is now keeping time.
To Adjust Daylight Saving Time (Twice A Year)
- If you want to move the clock forward one hour, press both the h+ and m+ buttons simultaneously. The DST segment on the LCD will become visible, to demonstrate that you are in the Daylight Saving Time Mode.
- To go back to the standard time in the fall, press the h+ and m+ buttons simultaneously again. The DST segment on the LCD will turn off.
PROGRAMMING The 631D memory can hold up to 7 programs. Each program consists of 2 events, an ON time and an OFF time. The events can be set up to execute on a daily basis or on a combination of days.
- Press the Timer button. The display will show the following:
- As in setting the time, you use the h+ and m+ buttons to set the time of day that the event will occur. Press the Day
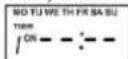
button to select the day(s) of the week in which you would like the switch to turn ON. Along with individual day schedules, you can also set the switch to operate on the following schedules, in order:
MO-SU, MO, TU, WE, TH, FR, SA,SU, MO-FR, SA-SU, MO-SA,
MO+WE+FR, TU+TH+SA MO-WE, TH-SA, (and then back to all days)
- Press the Timer button again. This will store the program, and allow you to program the OFF event. As before, the display will show the number 1 (Timer 1) and "-" : -", but now the word OFF replaces the ON seen earlier. You can set the OFF time the same way the ON time was set. Pressing the Timer button will store this event, and allow you to program the second ON event. You can program up to seven (7) ON and OFF events this way.
REVIEWING, EDITING OR DELETING PROGRAMS
To review all programs:
- Press the Timer button.
The LCD will display the first event, the "Timer 1 ON" event. - Each successive press of the Timer button will display the next program, alternating ON and OFF schedules.
To Delete a program:
There are two ways to prevent a program from happening; you can either erase it, or hide it. To erase an event, press the h+ and m+ buttons to advance the event time past 11PM and 59 minutes. Pressing the h+ button when the event time is set for 11PM will change the display to "-:00". Pressing the m+ button past 59 minutes will change the display to "--."
To hide an event: 1. Use the Timer button until the LCD displays the schedule you want to delete.
- Press the button: the LCD time display will change the following: The unit will no longer switch the load at that time. To reactivate the schedule, press the button again. The earlier selected event time will be displayed once more.
To Edit a program:
- Use the timer button until the LCD displays the schedule you want to edit.
- Use the h+, m+ and Day buttons as earlier to change the desired time or day.
- Press the Timer button to store the revised schedule and display the next.
MANUAL OVERRIDE SWITCH To Manually override the load status:
When not setting the time, or programming a schedule, press the button: The load will change from ON to OFF, or from OFF to ON. The LCD display will change to show the load is ON or OFF. The load will remain ON or OFF until the next scheduled event.
RANDOM ON/OFF TIMES
This feature allows you to change the actual switching times of previously programmed ON and OFF events by up to 30 minutes before, or after their original programming. This gives your lights a "lived-in" feel, providing added security.
- To engage Random mode, press both the Day and h+ buttons simultaneously. The TIMER segment on the LCD will blink, to demonstrate that you are in the Random Mode.
- To go back to the regularly scheduled settings, press the Day and h+ buttons simultaneously again. The TIMER segment on the LCD will no longer be displayed.
ONE YEAR LIMITED WARRANTY: If this product fails because of a manufacturing defect within one year after purchase, we will, at our option, either repair or replace it at no charge. Our warranty does not cover damage caused by accident, abuse or misuse. We assume no further liability with respect to the sale or use of this product. THIS WARRANTY IS IN LIEU OF ALL OTHER WARRANTIES, EXPRESSED OR IMPLIED, INCLUDING THE WARRANTY OF MERCHANTABILITY. We make no warranty with respect to the fitness of any goods for the users particular application. This warranty gives you specific legal rights, and you also may have other rights which vary from state to state.
It is our intent to provide accurate and current specification information. However, in the interest of product improvement, TORK may alter the specifications or constructional details without prior notice.
TORK, INC. • 888.500.4598 • www.TORK.com
A DIVISION OF NSI NSI INDUSTRIES, LLC
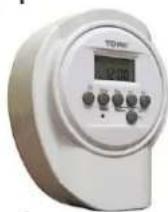
Tork in-wall and plug-in timers
http://waterheatertimer.org/Tork-consumer-timers-and-manuals.html http://waterheatertimer.org/Woods-timers-and-manuals.html#seven
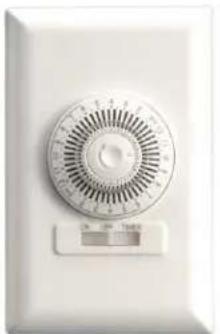
natural_image
Close-up of a white industrial air conditioner unit with a circular dial and control knob (no visible text or symbols)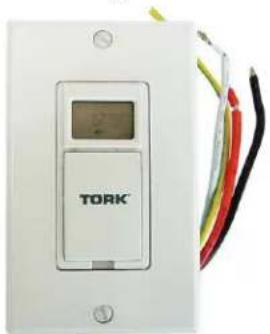
natural_image
White TORK remote control panel with attached multimeter and colored wires (no text or symbols visible)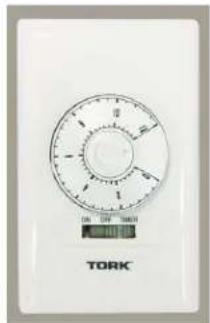
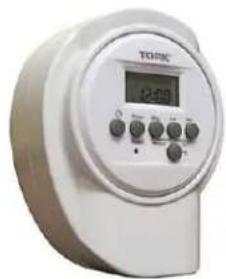
natural_image
White industrial temperature meter with digital display and control buttons (no visible text or symbols)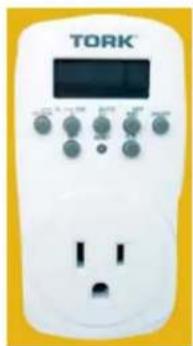
natural_image
White TORK remote control device with buttons and a power outlet (no visible text or symbols on the device body)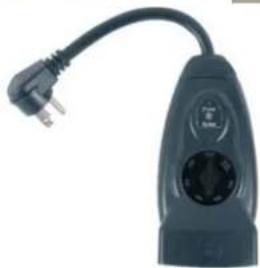
natural_image
Close-up of a black electrical plug with a terminal outlet and a power plug (no visible text or symbols)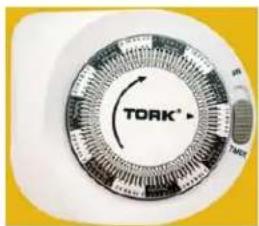
natural_image
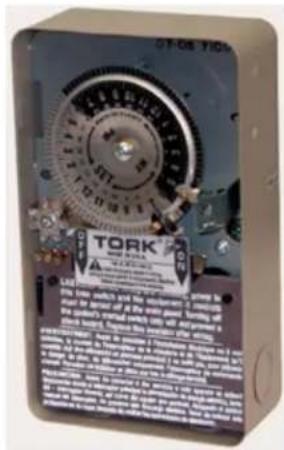
Circular mechanical component with TORK® branding and directional arrow (no readable text or symbols)Tork mechanical timers
http://waterheatertimer.org/Tork-timers-and-manuals.html
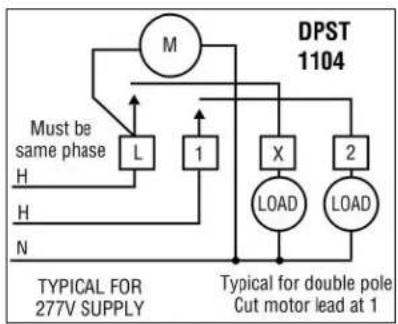
flowchart
graph TD
    A["M"] --> B["L"]
    B --> C["1"]
    C --> D["X"]
    D --> E["LOAD"]
    D --> F["2"]
    F --> G["LOAD"]
    H["N"] --> I["H"]
    J["H"] --> K["L"]
    L["Must be same phase"] --> M["L"]
    N["TYPICAL FOR 277V SUPPLY"] --> O["X"]
    P["Typical for double pole Cut motor lead at 1"] --> Q["X"]
    R["DPST 1104"] --> S["X"]
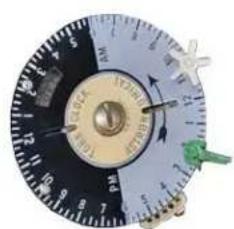
natural_image
Close-up of a rotary dial with black and white segments, showing needle positions and a green indicator finger (no text or symbols visible)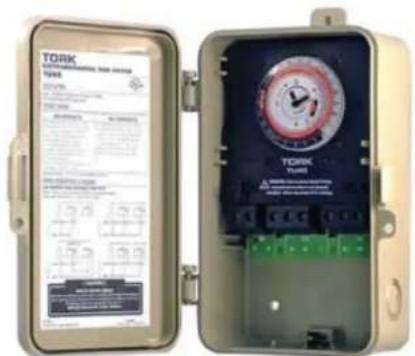
Tork digital timers
http://waterheatertimer.org/Tork-Digital-timers-and-manuals.html
natural_image
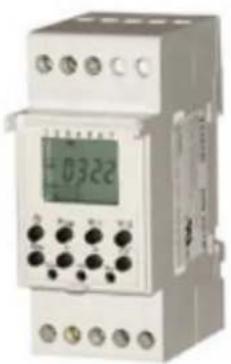
Digital electrical component with digital display and control knobs (no visible text or symbols)
- MODEL#: 631D
- PROGRAMMING AND OPERATING THE TIMER
- To Adjust Daylight Saving Time (Twice A Year)
- REVIEWING, EDITING OR DELETING PROGRAMS
- To review all programs:
- To Delete a program:
- To Edit a program:
- MANUAL OVERRIDE SWITCH To Manually override the load status:
- RANDOM ON/OFF TIMES
- Tork in-wall and plug-in timers
- Tork mechanical timers
- Tork digital timers
Brand : Tork
Model : 631D
Category : Switch