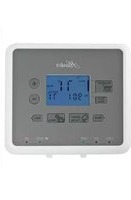
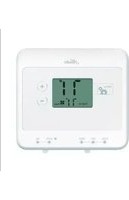
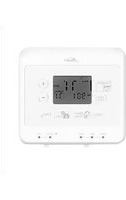
USER MANUAL 44157 HUNTER
installation and
operation manual
Models
44155c
44157
Form# 42708-01
20120210
©2012 Hunter Fan Co.
HUNTER®
SINCE 1886
TABLE OF CONTENTS
Important Information.... 5
Tools 6
Uninstalling the Existing Unit .... 7
Installing the Thermostat 12
Installing the Wall Plate 13
Connecting the Wires 16
Attaching the Thermostat 18
Settings 22
Methods of Operation 27
Manual Operation 28
Default Programs 32
Creating Custom Programs 34
Icons and Features 38
Troubleshooting 49
Set & Save
Programmable Thermostat
Model 44155C
Congratulations!
Thank you for choosing a Hunter programmable thermostat. Your new Hunter thermostat will provide years of reliable service and year-round energy savings.
Please read this manual before beginning installation and save this booklet for complete operation instructions.
This thermostat is designed to work on the following heating and cooling systems:
Gas – Standing Pilot
Gas – Electronic Ignition
Gas – Fired Boilers
Gas – Milivolt Systems
Oil – Fired Boilers
Oil – Fired Furnace
Electric Furnace
Electric Air Conditioning
Single Stage Heat Pump - No auxiliary
This thermostat is not designed for multi-stage heat pump systems or 110/220 V baseboard heating systems.
If you are unsure what kind of heating and cooling system you have, please contact a qualified HVAC Technician for assistance.
This thermostat includes two #8 slotted screws and two wall anchors for mounting.
To install your new thermostat, you will need the following supplies:
Flat-head screwdriver
Small Phillips-head screwdriver
Hammer
Electric drill and 3/16" bit
Two 1.5 Volt (AA) size alkaline batteries
UNINSTALLING THE EXISTING UNIT
Hunter®
NOTICE! Do not disconnect the wires from the existing thermostat before reading these instructions.
The wires must be labeled prior to removal to ensure proper reconnection.

- Turn the system power OFF from the existing thermostat. Turn the power to the HVAC system OFF at the main power panel or at the furnace.
- Remove the existing thermostat cover to access the wires from the wall.
(Some thermostats may have multiple covers, screws or other locking devices that must be removed or disengaged.)
- Locate, but do not disconnect the wires.
(If wires are not visible, they may be connected to the back of the wall plate. Some models may have doors that open to expose the wires and mounting screws.)

line
| Condition | Voltage (Volt) | Cooling (Volt) |
| --------- | -------------- | -------------- |
| RH / R / VR / 4 | 24 | - |
| RC / VC | - | 24 Volt cool |
| Y / C* / M / O | - | air conditioning compressor |
| W / H / B | - | heating |
| G / F | - | fan |
| Y1 | - | heat pump compressor |
Label the wire with this stick
Hβ
RH
RC
O/λ
Y/0
B/M
W/B
G
G
Iλ
Y1
-
Using the provided stickers, label each wire according to the chart.
-
If the terminals are not labeled, contact a qualified HVAC technician.
- Note: Wire colors do not always comply with standards, so wire color should be ignored. Refer to the existing terminal designation for proper identification.
-
*If wires marked Y & C are both present, C may be a Common wire and should not be used. If you have a wire marked C, do not connect it to any terminal. This wire is used only for non-battery powered thermostats.
-
Do not let the wires slip back into the wall during disconnection. You may want to secure the wires to the wall as you disconnect them. After all wires are labeled, disconnect each wire and remove the existing wall plate.
INSTALLING THE THERMOSTAT

natural_image
Illustration of hands connecting an electrical panel to a terminal block with wires labeled A, B, C, D, E, F, G, H, I, J, K, L (no text or symbols on main components)
12
INSTALLING THE WALL PLATE
- Remove the wall plate from the new thermostat by pressing the release tab on the bottom of the thermostat.
- Position the new wall plate on the wall and pull the labeled wires through the opening.
- If the existing holes do not match those on the Hunter wall plate, or if there are no existing holes, visually level the wall plate and mark the wall for two holes.

natural_image
Illustration of a hand connecting a cable to a device with a tool, showing wiring and components (no text or symbols)
- Remove the wall plate and drill two 3/16" holes where marked.
- Tap the plastic anchors into the holes until they are flush with the wall.
- Reposition the wall plate on the wall, pulling the wires through the opening. Insert the mounting screws through the wall plate and into the anchors. Verify that the wall plate is visually level and securely tighten both screws.
CONNECTING THE WIRES

- Loosen, but do not remove, the terminal screws.
Note: A jumper wire has been provided, connecting the RC and RH terminals for systems that do not provide both an RH and RC wire. If you have both an RH and RC wire, remove this jumper. If you do not have both an RH and RC wire, leave the jumper in place.
- Match and connect the wires from the wall to the terminals as shown. Wires should be inserted behind the black terminal shields. Tighten each screw after the connection has been made.
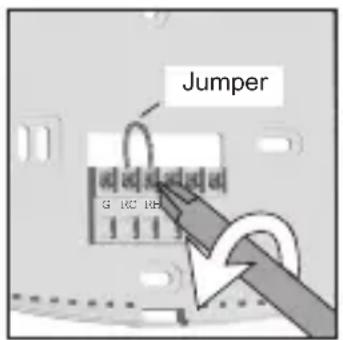
(The ends of any extra wires should be wrapped in electrical tape and carefully pushed back into the wall.)
- Push any excess wire length back into the wall to prevent interference.
ATTACHING THE THERMOSTAT

Lift the thermostat cover and set the SYSTEM switch to OFF and the FAN switch to AUTO.
- Locate the HE/HG switch on the back of the thermostat. Set the switch to HG (default) for gas furnace and oil burners. Set the switch to HE for electric furnaces.
(The switch has no effect when the system is set to cooling mode.)
-
Locate the Auto Recovery switch on the back of the thermostat. If you wish to use the Auto Recovery feature, verify that the switch is in the ENABLE position. If you do not wish to use this feature, simply change the switch to the DISABLE position. See pages 44-45 for more information.
-
System type - Locate the SYSTEM TYPE switch on the back of the thermostat. Select either STD (Standard) or HP (Heat Pump) to match your system.

20
- Place the top of the thermostat over the two tabs on the wall plate. Press the thermostat onto the wall plate and press to snap the bottom tab into place.
Note: Do not force the thermostat onto the wall plate, as the terminal pins may be damaged. If the thermostat does not snap into place properly, the unit may not work.
- Insert two AA alkaline batteries.
- Restore power at the electrical panel or furnace.
SETTINGS

22
The default setting of the thermostat is Fahrenheit ( F^ ).
NOTICE: CHANGING THIS SETTING WILL RESET THE THERMOSTAT TO FACTORY DEFAULT PROGRAMS.
(If no button is pressed for 5 seconds, the unit will return to the Normal Display mode.)
To change to Celcius (C°):
- Press and hold the Up button.
- Use a paperclip to press the Reset button.
- Continue to press the Up button, but release the Reset button when the LCD turns on.
To reset the unit to F^o , press only the Reset button.
AM
PM
day/time
24
The default for this thermostat setting is in a 12 hour format. You can change the format to 24 hour format by pressing Day/Time and then Program.
The AM/PM indicator will be off when the thermostat is in 24 hour mode.
Setting day and time:
- Press Day/Time. (AM/PM and current hour will flash)
- Press Up or Down to adjust the setting.
- Press Day/Time again to adjust the minute setting.
- Press Day/Time again to adjust the day of the week.
- Press Day/Time to return to the normal display.
You may also press Hold/Return at any time to return to the normal display.

natural_image
Illustration of a hand holding a medical device with a digital display showing 12:00 and 76, no text or symbols present.
26
METHODS OF OPERATION
This thermostat gives you the ability to program up to 4 custom temperature settings per day or utilize pre-programmed settings.
For manual operation instructions, see pages 28-31.
To utilize the pre-programmed settings, see pages 32-33.
To create custom programs, see pages 34-37.
MANUAL OPERATION
28
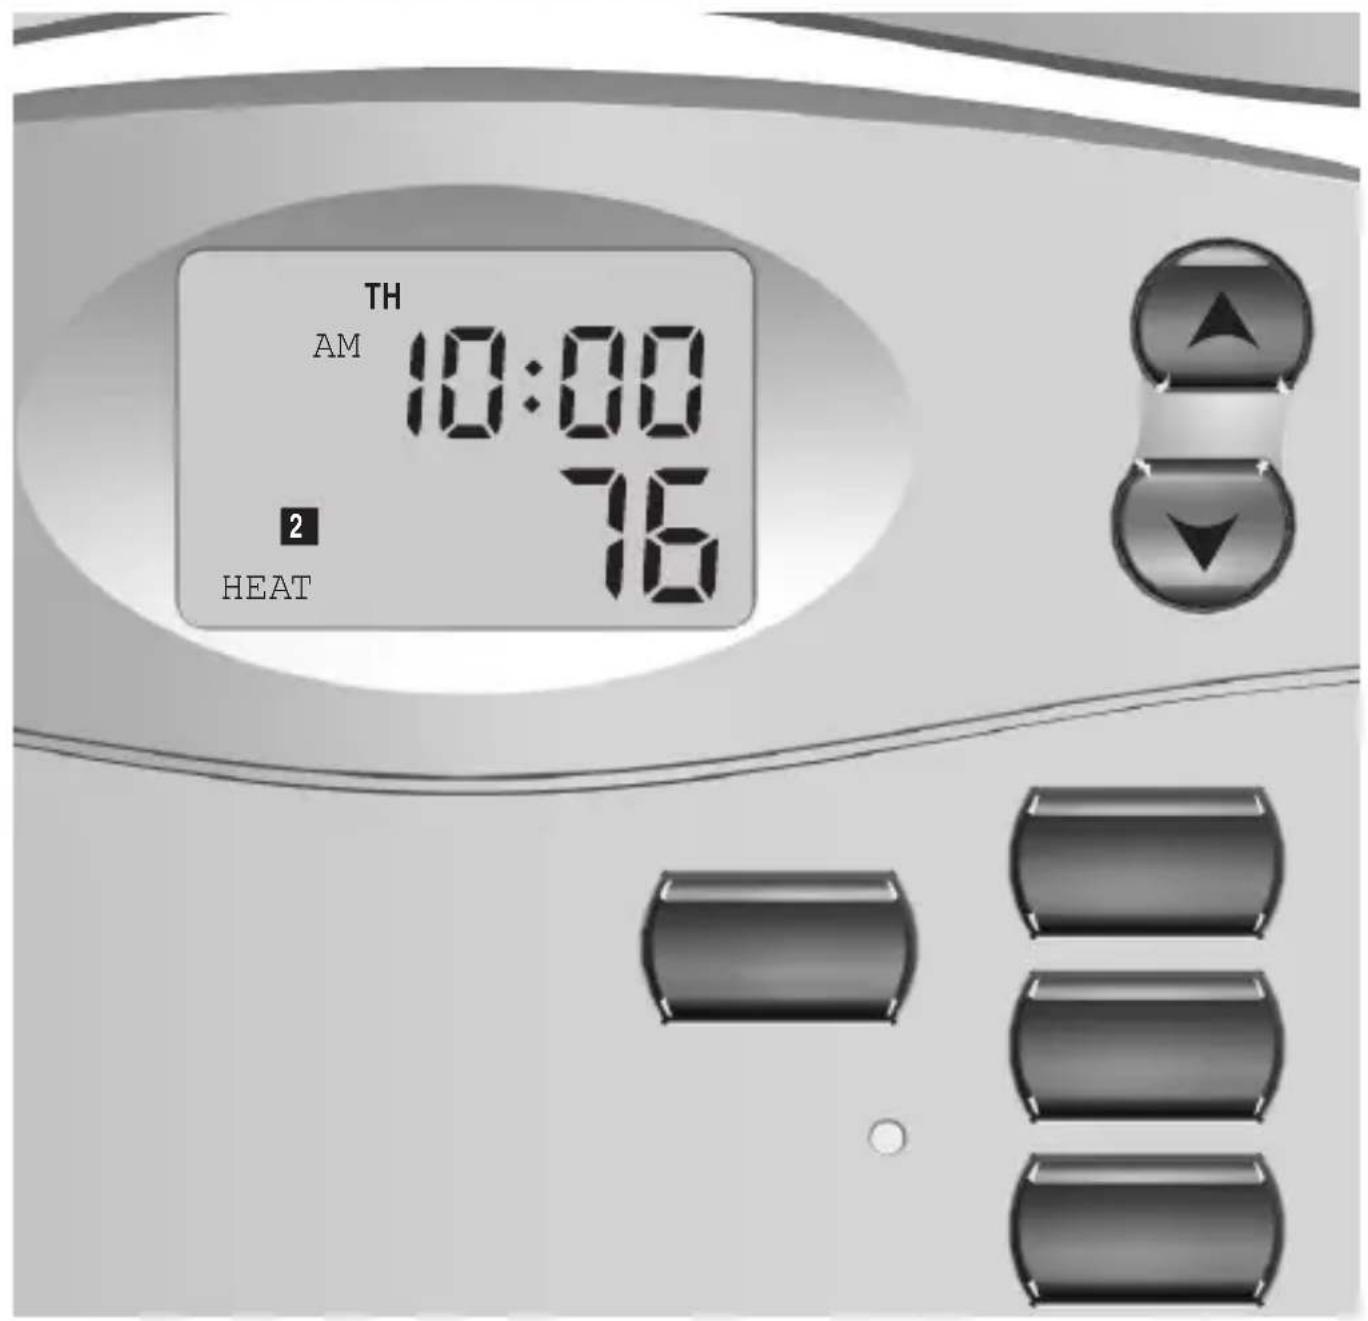
Many people prefer to operate their thermostats manually, adjusting settings as needed. You can either temporarily override the settings for the current program, or permanently override all settings and adjust temperatures manually.
If you want to only override the current program:
- Press and hold Up or Down for one second to enter Manual Override mode. (Release the button when the display flashes.)
- Press the Up or Down buttons to adjust the temperature setting as desired.

natural_image
Completely dark image with no visible content, text, or symbols.

30
If you want to permanently override all settings and adjust the thermostat manually:
- Press Hold/Return until the Hold icon appears.
- Press and hold Up or Down for one second to enter Manual Override mode. (Release the button when the display flashes.)
- Press the Up or Down buttons to adjust the temperature setting as desired.
- Press and release Hold/Return to return to the normal display.
DEFAULT PROGRAMS

radar
| Program | Heat (°F) | Cool (°C) |
|-----------|-----------|-----------|
| Program 1 | 68 | 20 |
| Program 3 | 68 | 20 |
| Program 4 | 60 | 28 |
Program 2
Heat: 60^ F (16°C)
Cool: 85° F (29°C)
By using the pre-programmed settings, this thermostat can save you money by optimizing energy usage in heating and cooling.
After setting the time and temperature scale, no additional action is needed to utilize the pre-programmed settings.
Refer to the Default Programs Chart for detailed information about the pre-programmed settings.
CREATING CUSTOM PROGRAMS
34
- Program times can be set in 10 minute increments.
- Program temperature can be set in increments of 1^ F ( 1^ C ).
• After 15 seconds of inactivity during programming, the thermostat will return to Normal Display mode.
- When setting the program time, note the AM/PM indicator.
-
Press Hold/Return at any time to exit Program mode.
-
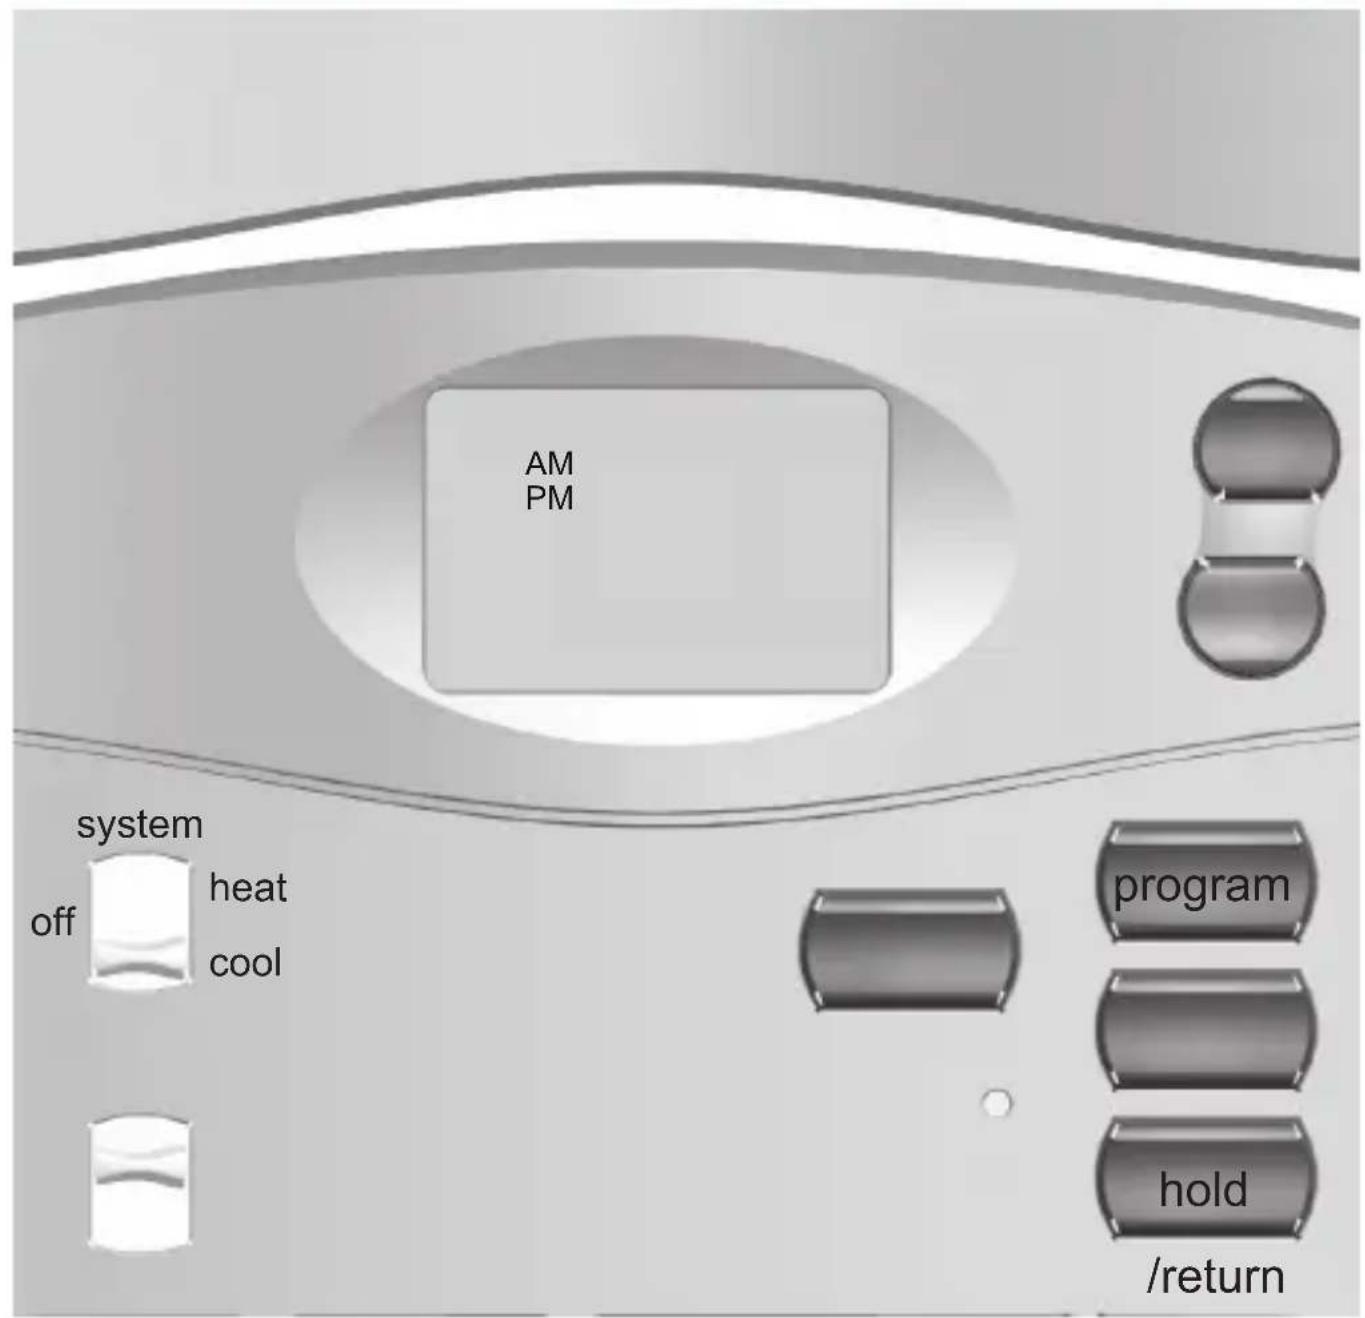
Slide the System Switch to HEAT or COOL to program the corresponding system.
-
Press Program to enter Program mode. (The LCD will begin to flash)

natural_image
Completely dark image with no visible content, text, or symbols.

36
- Press Up or Down to change the hour. Press Program to save the hour and adjust the minute setting.
- Press Up or Down to change the minute. Press Program to save the minute setting and adjust the temperature.
- Press Up or Down to set the temperature. Press Program again to move to the next program number.
(There are 4 programs per day. If you do not wish to assign all 4 programs per day set at least 2, keeping in mind that the total program time must equal 24 hours.)
- Repeat steps 2-5 for the remaining days.
- To review your program settings, press Program repeatedly to review the customized programs.
(You can make changes at any time when the thermostat is in Program mode.)
- Slide the System Selector Switch to the opposite position and repeat steps 2-5.
ICONS AND FEATURES

- INDIGLO® Night-Light - will backlight the display for easy viewing in the dark. Press any button to illuminate the light.
(If no button is pressed after 5 seconds, the backlight will turn off.)
Note: If the thermostat shows a Low Battery Warning, the backlight will not operate. Follow the instructions on pages 42-43 to change batteries.
- Filter change indicator - will flash after 400 hours of system use as a reminder to check or change your filter. Press and hold the Filter button for 3 seconds after changing the filter to reset the filter timer.
(Pressing the Filter button for less than 3 seconds will cause the Filter change indicator icon to appear. The filter timer will not be affected unless the button is held for more than 3 seconds.)

natural_image
Completely dark image with no visible content, text, or symbols.
40
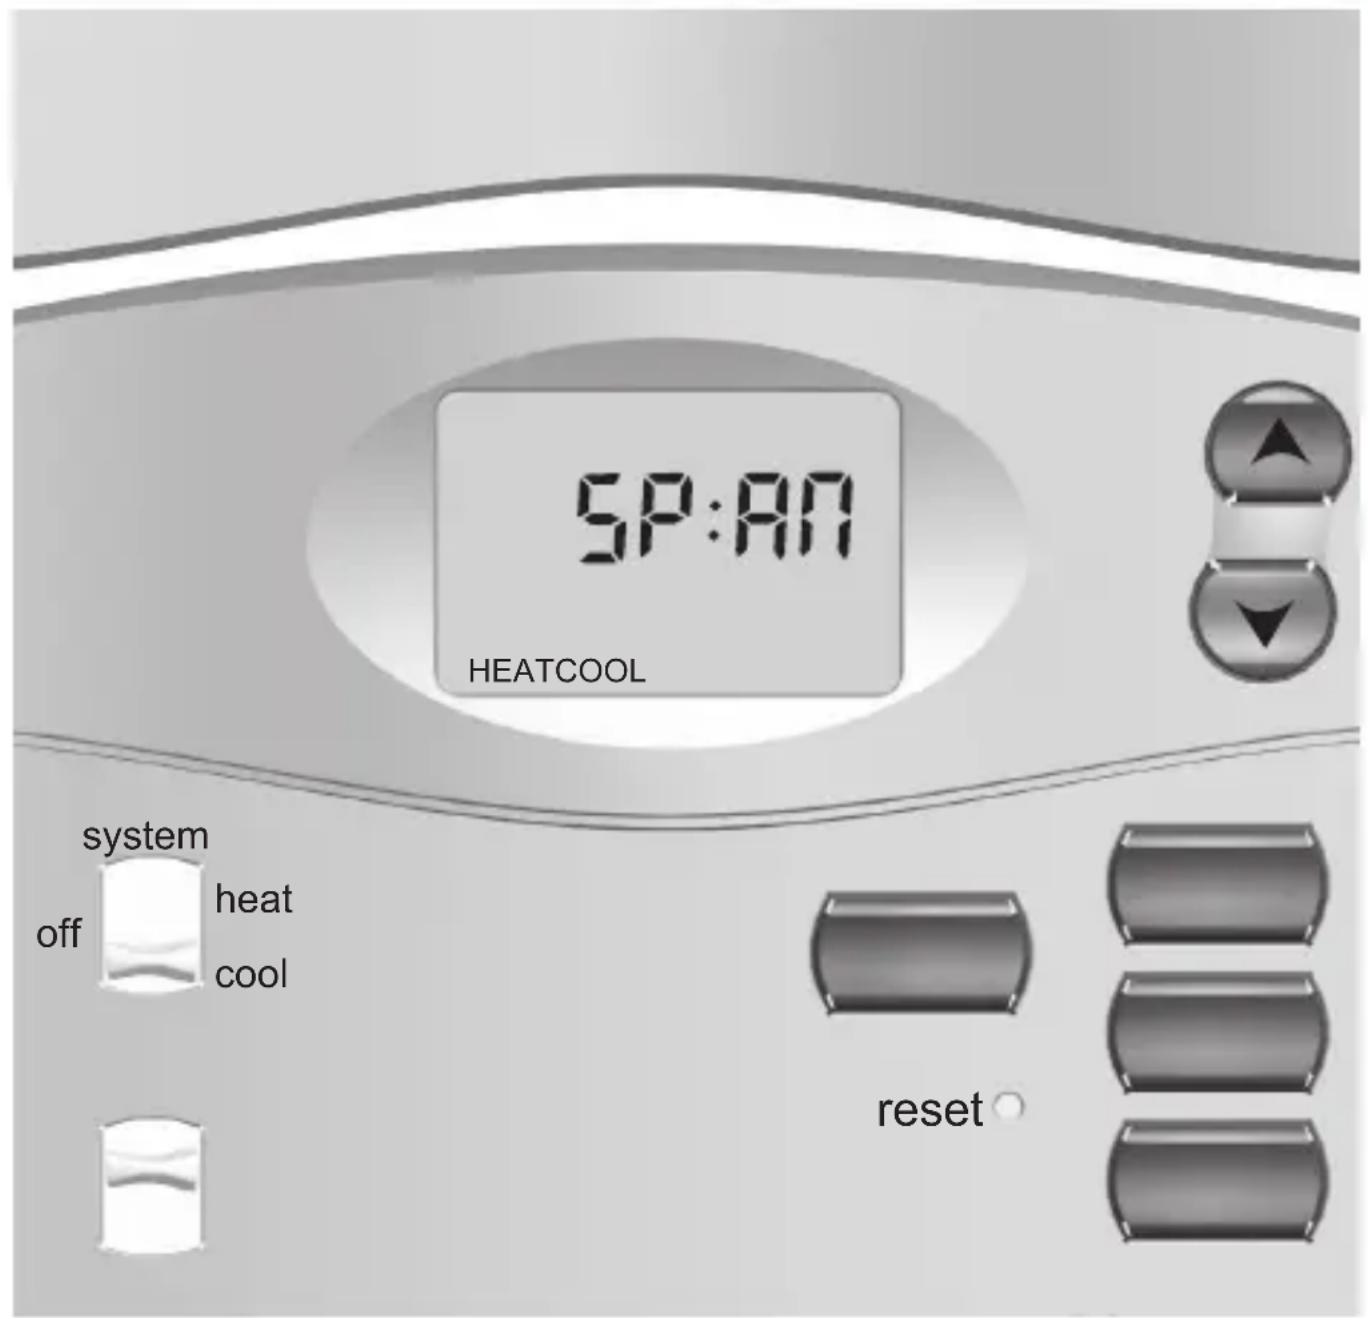
- Span setting mode – allows you to adjust the system ON/OFF cycle rate. The default setting is 2 (the system cycles ON or OFF when the temperature is within 1^ F ( 0.5^ C) above and below the set temperature.) The span setting can be adjusted if your system is cycling too fast or too slowly.
Press and hold both the Up and Down buttons until the word SPAN appears. Use the Up or Down button to adjust the span setting.
(Up will increase your cycle time by allowing the system to run longer; Down will decrease your cycle time by causing the system to run for a shorter length of time.)
Span settings remain the same for HEAT and COOL system settings. When batteries are installed, or the unit is RESET, the span cycle will revert to 2.

natural_image
Completely black image with no visible content, text, or symbols.

42
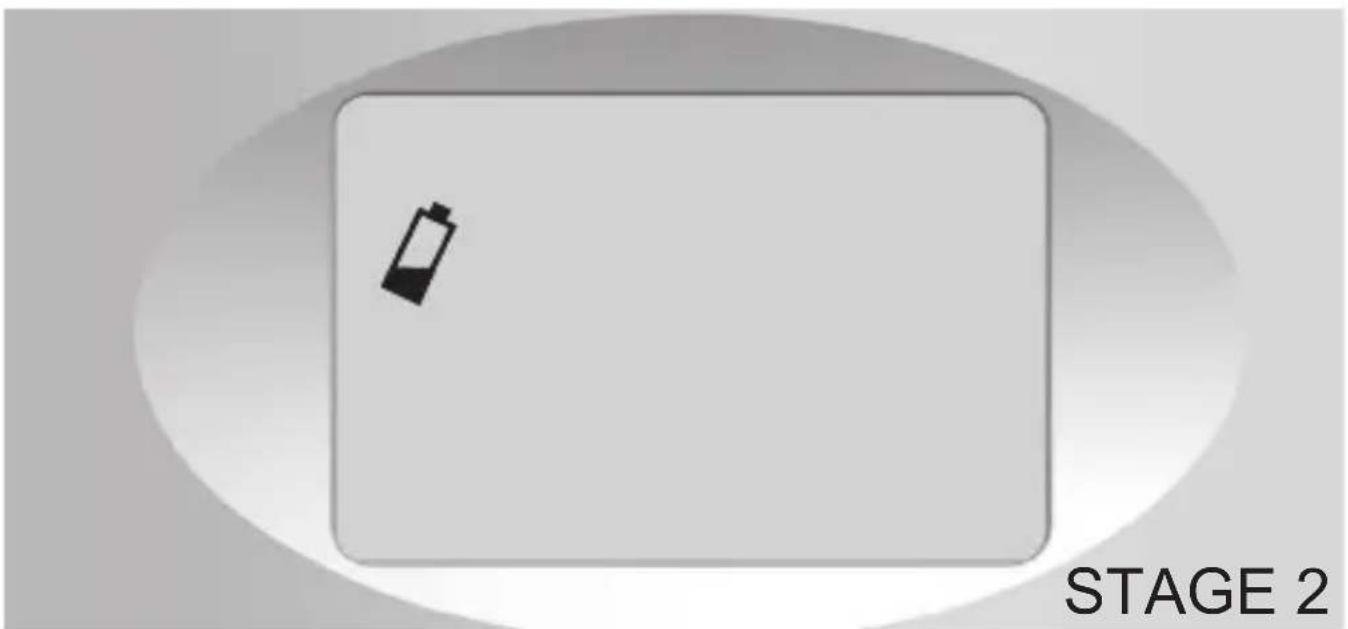
- Low battery warning – indicates two stages of battery power shortage.
When the batteries are detected as weak, the icon will flash until new AA alkaline batteries are installed. If the batteries become too weak for normal operation, the thermostat enters the second battery power shortage mode.
When insufficient battery power is left, the battery icon will flash alone on the display and your system will turn off. The system will remain off until new batteries are installed. After removing the batteries, program and time settings will remain in memory for one minute. If all battery power is lost, programs and time settings will be erased.
The thermostat will resume normal operation after new batteries are installed.

natural_image
Completely dark image with no visible content, text, or symbols.

44
- Auto recovery – allows heating and cooling systems to gradually recover from an energy-saving setpoint temperature to a comfort setpoint temperature. Auto recovery calculates the time needed to adjust the temperature to the next program setting. When the thermostat is in Auto Recovery mode, the display will flash alternating messages of RECO and the time. Auto Recovery can be disabled by sliding the recovery switch on the back of the circuit board to the disable position.
(Auto Recovery will not operate if Permanent or Temporary holds are on.)
Press Hold/Return during the Auto Recovery process to manually cancel the recovery.

natural_image
Completely black image with no visible content, text, or symbols.

46
-
Error mode – indicates an unexpected battery problem. The screen will flash an ERR message and shut your system off until the batteries are replaced with new AA alkaline batteries. You must Reset and reprogram the thermostat after replacing the batteries if the thermostat has entered Error mode.
-
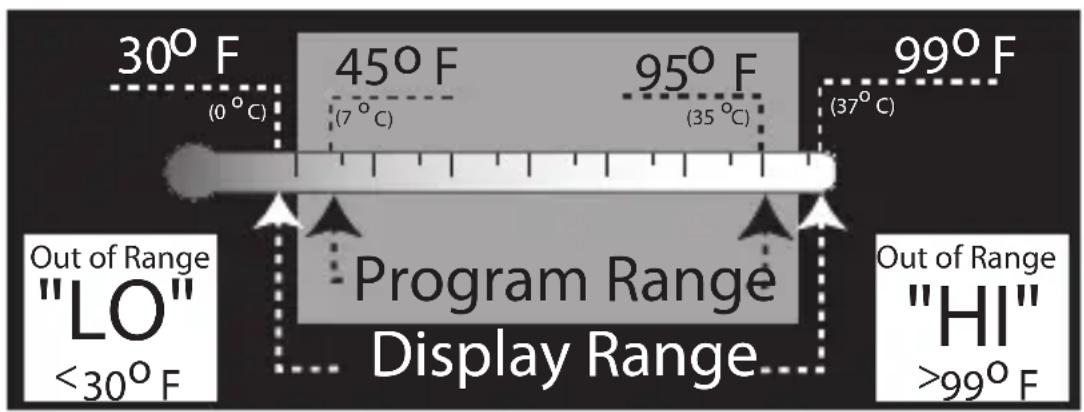
Auto cut off – automatically turns the system off if the temperature rises above 95^ F ( 35^ C) or drops below 40^ F ( 4^ C).
(If your HVAC system has malfunctioned, the system will no longer respond to thermostat controls and the Auto cut off will have no effect.)
1. Temperature Range
2. Compressor Protection

After the system stops running in cooling mode, there will be a 3.5 minute delay before it can be restarted to prevent compressor damage due to rapid cycling.
3. Resetting the unit

To restore the thermostat to the original factory settings, press the reset button with a paperclip.
(This will erase any user-programs.)
TROUBLESHOOTING
-
My display will not come on.
-
Check batteries and battery connections.
-
Reset the thermostat.
-
The auto fan feature will not operate properly.
- Remove the thermostat from the wall plate and set the HG/HE switch to the correct position.
- My display is erratic.
- Reset the thermostat and reprogram your settings.
-
The program will not change at my desired setting.
-
Check that the time is set properly to AM or PM.
- Make sure the thermostat is not in permanent override mode.
-
Check that the day setting is correct.
-
My heating or cooling will not turn on or off.
5 a. Check the Heat/Cool function switch to ensure it is set to the desired position.
5 b. Wait. There may be as much as a 4-minute delay before the system turns on or off to protect the compressor.
5 c. Check the circuit breakers and switches to ensure there is enough power to the system.
5 d. Replace the batteries.
5 e. If applicable, make sure the furnace blower door is closed properly.
5 f. If your system has 4 wires, ensure the jumper wire is installed between the RC and RH terminals.
- The display will come on, but it will not stay illuminated.
6 a. Replace batteries.
- My system continues to operate when the thermostat is in the off position.
7 a. Replace unit.
- The LCD screen permanently reads HI, LO, or ERR.
8 a. Replace unit.
- How do I just operate my thermostat manually?
9 a. Manual operation instructions are on pages 28-31.
Is there help on the web?
Yes. Visit http://www.HunterFan.com for more information.
Can I just call someone?
Sure. Our Technical Support Group is available from 8 am to 5 pm CST. They may be reached toll-free at 1-888-830-1326.
Hunter
52