
SFP 6070 - Mp3 player SENCOR - Free user manual and instructions
Find the device manual for free SFP 6070 SENCOR in PDF.


| Product Type | MP3 Player |
| Brand | Sencor |
| Model | SFP 6070 |
| Display | 1.5-inch TFT, 128x128 pixels, 65K colors |
| Supported Audio Formats | MP3, WMA, WAV |
| Supported Video Format | AMV (128x128 resolution) |
| Supported Image Format | JPG |
| Text Format | TXT (E-book) |
| FM Radio | Yes (requires earphone as antenna) |
| Recording | Built-in microphone, FM recording |
| Internal Storage | 8 GB flash memory |
| External Storage | microSDHC card up to 16 GB |
| Battery | Lithium-polymer 3.7 V |
| Playback Time (MP3) | 12-13 hours (power-saving mode) |
| Playback Time (Video) | 4-5 hours |
| Dimensions (WxHxD) | 43.5 x 43.5 x 12.5 mm |
| Weight | Approximately 23 g |
| Connectivity | USB 2.0, 3.5mm earphone jack |
| Signal-to-Noise Ratio | 85 dB |
| Frequency Range | 20 Hz - 20 kHz |
| Max Output Power | 10 mW + 10 mW |
| EQ Modes | Natural, Rock, Pop, Classic, Soft, Jazz, DBB |
| Repeat Modes | Normal, Repeat One, Folder, Repeat Folder, Repeat All, Random, Intro |
| Languages | Multi-language (EN, CZ, SK, HU, PL, etc.) |
| Accessories Included | User manual, headphones, USB cable |
Frequently Asked Questions - SFP 6070 SENCOR
User questions about SFP 6070 SENCOR
0 question about this device. Answer the ones you know or ask your own.
Ask a new question about this device
Download the instructions for your Mp3 player in PDF format for free! Find your manual SFP 6070 - SENCOR and take your electronic device back in hand. On this page are published all the documents necessary for the use of your device. SFP 6070 by SENCOR.
USER MANUAL SFP 6070 SENCOR
• 1.5 inch TFT screen
- Support MP3, WMA, WAV formats audio
• Support AMV format video
- Support FM Radio
- Support MicroSD card
- Lyric display synchronously
- Multi EQ modes and repeat modes
- Support JPG format picture view
● Built-in microphone for long time recording
• Support txt E-book reading
- Built-in Games
- Multi-Languages OSD menu
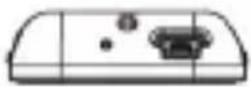
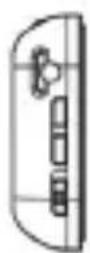
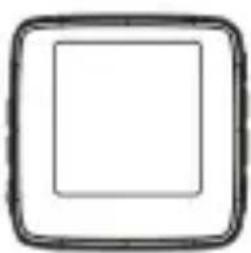
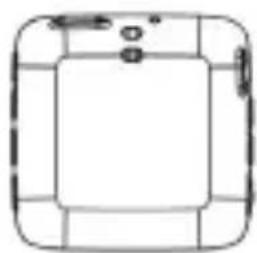
2. Player Layout
natural_image
Simple geometric diagram of a square with no text or symbols
natural_image
Simple line drawing of a rounded square with grid pattern and small dots (no text or symbols)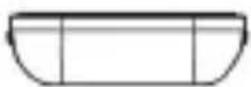
- earphone port
- microphone
- USB port
- volume +
- volume -
- power on/off
- last/fast backward
- next/fast forward
- menu
- play/pause/power on/off
- MicroSD slot
- neck strap
3. Operation instruction
- Power On/Off
In the status of power off push power button to on, then long press ▶II to turn on the player
In the status of power on, long press ▶II to turn off, then push power button to off.
- Basic Operation
In main menu interface, press ◀/▶ to select option, press MENU to enter. Long press to get back to main menu interface. Short press to confirm selection and short press ▶II to play.
3.1 Music
In Main interface, short press ◀/▶ to select Music menu, then short press to enter music play interface.
Play/Pause: short press ▶II to play or pause the music playing.
Last/next: short press ◀ or ▶ to get to last music or next music.
Fast backward/Fast forward: long press ◀ or ▶ to fast backwards or forwards the music.
Volume: press + or - to adjust volume up or down.
A-B repeat: in playback interface, firstly must pause playing music file, then short press button to get to sub-menu, select "Replay mode", . short press to enter and select "Replay", now in playback interface, short press ◀ and ▶ to set Start point A and End point B. Short press to quit AB repeat.
Lyric show: To show the lyric, the lyric file (eg. Abcde.lrc) should be in same name as music fi le (eg. Abcde.mp3) and both files should be in the same folder. While playing a music fi le, long press to show lyric, short press to quit.
Music file list: in playback interface, firstly must pause playing music file, then short press MENU button to get to sub-menu, select "Local folder" to show folder/file list. Press ◀/▶ to select music file, press MENU button to confirm and press ▶II to play.
Set EQ: in playback interface, firstly must play music file, then short press MENU button to get to sub-menu, select "Equalizer" and press MENU button to enter. There are "Natural, Rock, Pop, Classic, Soft, Jazz, DBB" for selection.
Set Play/Repeat mode: in playback interface, firstly must play music fi le, then short press MENU to get to sub-menu, select “Repeat” and press MENU button to enter. There are “Normal, Repeat one, Folder, Repeat folder, Repeat all, Random, Intro” for selection.
3.2 Movie
In Main interface, short press ◀/▶ to select movie menu, then short press to enter movie playback interface.
Play/Pause: short press ▶II to play or pause the video playing.
Last/next: short press ◀ or ▶ to get last or next video.
Fast backword/Fast forward: long press ◀ or ▶ to fast backwards or forwards the video.
Volume: press + or - to adjust volume up or down.
Video file list: Short press MENU to show "Local folder" and select, short press ◀/▶ to select movie files. Press MENU to select video file and press ▶II button to play it.
Remark: the player support video formats of .amv. Resolution should be 128x128. Convert video into a format supported by this player using the video conversion tool found in the memory of this player (*see point 5).
3.3 Radio
In Main interface, short press ◀/▶ to select Radio menu, then short press to enter FM radio interface.
Manual Scan: Short press ◀ or ▶ to select frequency manually. Long press ◀ or ▶ player will auto scan and stop till it find channel.
Auto Scan: press MENU to show submenu, press ◀/▶ to select Auto Search then press MENU button. Then the player will scan channels and set the found channels to Preset one by one. After auto scan, it'll get to the first preset channel. Press ◀ or ▶ to get to preset channels one by one.
Save Channel: press to show submenu, short press ◀/▶ to select Save then press MENU.
Delete Channel: press to show submenu, short press ◀/▶ to select Delete then press MENU button. Select Delete All will delete all saved channels.
Volume: press + or - to adjust volume up or down.
FM Record: press MENU to show submenu, short press ◀/▶ to select Record then press MENU button to enter, press ▶II to start record or pause, long press to save and quit FM Record.
Remark: Earphone should connect to player as an antenna. Otherwise the player can not receive channels.
3.4 Photo
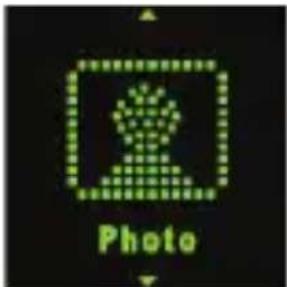
In Main interface, short press ◀/▶ to select Photo menu, then short press MENU button to enter picture list. Press ◀/▶ to select picture file, press ▶II button to view the picture, press ▶II again to quit viewing.
Last/next: short press ◀ or ▶ to display last or next picture.
Auto Browse: in picture list interface, short press to show submenu, select "Playback set" and then select "Auto play" to set the auto browse seconds time, press to confirm setting.
Photo file list: in picture list interface, press MENU button to show submenu, select "Local folder" to show folder/fi le list.
Press ◀/▶ to select folder, press MENU button to enter and press ▶II display it.
3.5 Record
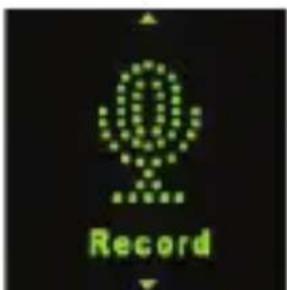
In Main interface, short press ◀/▶ to select Record menu, then short press MENU to enter recording interface.
Record/Pause: short press ▶II to record or pause.
Stop: long press MENU to save file and get to main interface, File of recorded voice are saved in folder of VOICE.
3.6 Voice
In Main interface, short press ◀/▶ to select Voice menu, then short press button to enter recording fi le playback interface.
FM radio record file and Voice record file can be played under this menu.
Record file list: in playback interface, firstly must pause playing music file, then short press button to get to sub-menu, select "Local folder" to show folder/file list. Press ◀/▶ to select music file, press MENU button to confirm and press ▶II to play.
3.7 Text
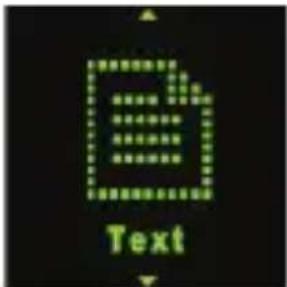
In Main interface, short press ◀/▶ to select Text menu, then short press MENU button to enter E-book file list. Press ◀/▶ to select E-book file, press ▶II button to view the text.
Manual Browse: short press ◀/▶ to browse up or down page by page.
Auto Browse: in Ebook file list interface, short press MENU to show submenu, select "Playback set" and short press to enter, select "Auto play" to set the auto browse seconds time, then press to confirm setting.
Text file list: in Ebook file list interface, short press MENU button to get to sub-menu, select "Local folder" to show folder/file list. Press ◀/▶ to select Ebook file, press MENU button to confi rm and press ▶II to read.
3.8 Game
In Main interface, short press ◀/▶ to select Game menu, then short press MENU button to enter game list. Press ◀/▶ to select game, press MENU button to enter the game options. During game playing, short press to quit ▶II game and enter game options.
3.9 Search
In Main interface, short press ◀/▶ to select Search menu, then short press button to list folders/fi les in memory.
Play/Open file: press ◀/▶ to select file/folder, press MENU to play or open it. If the file is not supported by this player, it can not play or open.
Delete file: in each function sub-menu, there is option of "Delete file" and "Delete all". Select file want to delete, then press MENU there will be a warning, select Yes to delete file, or select No to cancel deleting.
3.9 Setup
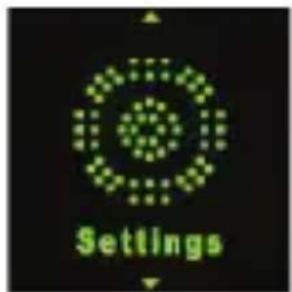
In Main interface, short press ◀/▶ to select Setup menu, then short press button to enter setting options. (In submenu, press ▶II to get to upper menu.)
3.10.1 System time:
Set the system time and date, short press +/- to select time or date, short press ◀/▶ to adjust number, short press MENU to confirm setting.
3.10.2 Restore Default:
Short press to select "OK" to restore default setting.
3.10.3 LCD set:
Set the LCD turn off time.
Short press to enter and select "Dark Mode", then adjust the number by pressing ◀/▶ to set, press MENU to confirm setting.
"0" mean not auto turn off LCD.
3.10.4 Language:
Set the system language.
3.10.5 Power off:
Set the Auto Power off time and Sleep time.
Short press to enter and select "Off time" or "Sleep time", then adjust the number by pressing ◀/▶ to set, press MENU to confirm setting.
"0" mean not auto power off or not sleep.
3.10.6 Online mode:
Set player driver status among “Multiply driver”, “Normal only”, “Encrypted only”, “Card only”.
3.10.7 Memory info:
View the flash memory status.
3.10.8 Format Device:
Format the player flash memory and it become empty. (*Please do remember to save files before format player, to avoid files loss)
View the player firmware version.
3.10.10 Firmware upgrade:
Upgrade the player fi rmware, do connect the player to computer via USB cable, while upgrade the player. (*Reference to point 4)
3.10.11 Key tone:
Set key tone volume.
3.10.12 Exit:
Exit settings.
4. Firmware upgrade
Note: Within the scope of technical innovation, a CD is no longer included with the product and all documentation can be found in the memory of the player. Prior to updating or upgrading, backup all the data contained on the player to prevent its accidental deletion.
If the player doesn't work or works sub normally, find the firmware upgrade tool and firmware in gift CD to upgrade the player. Processes as bellow:
Note before updating: a. Don't upgrade firmware if playing properly. b. Backup files to other storage before upgrade.
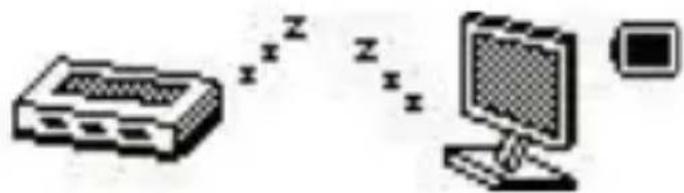
A. Use a USB cable to connect with computer, the player show interface:
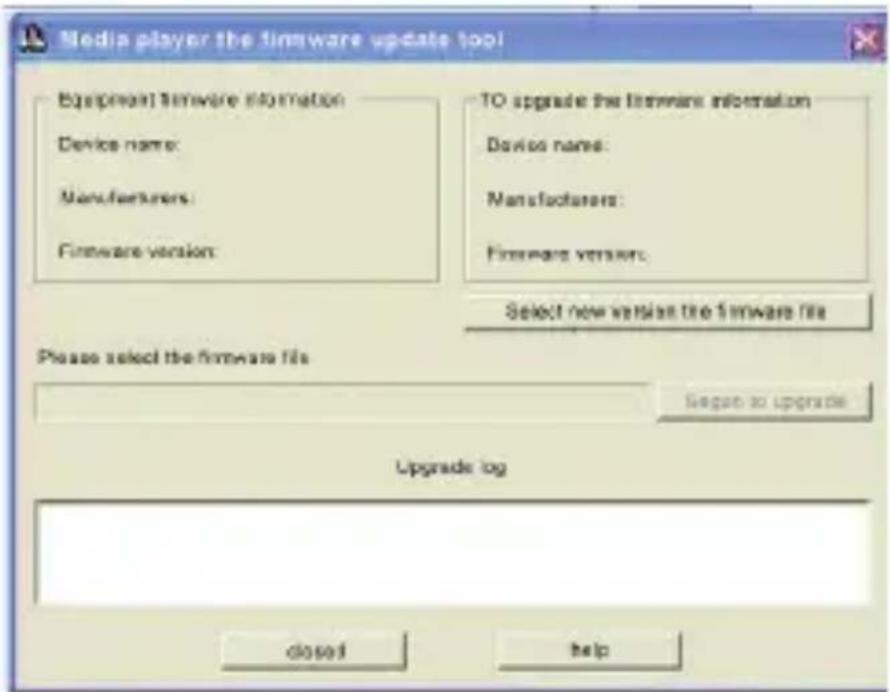
B. Installation upgrade tooling is completed on the computer, then go to PC Start→Program →media player utilities. Open the “media player upgrade tool”, in computer show below interface.
EN - 12
C. Click “select new version the firmware file”, to load the firmware file from computer. Click “start” button, starts to upgrade software.
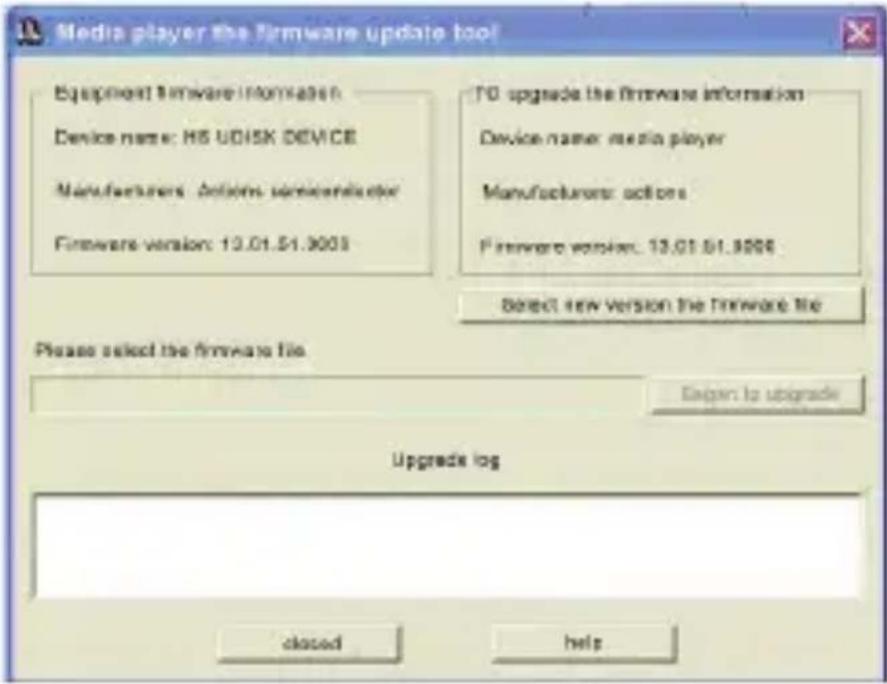
D. During the firmware updating process, don't interrupt the player with PC connection. When upgrading is complete, the software will have a message box that "the firmware update successful, program will automatically exit!". Then player would automatically shut off and restart, the whole upgrade work is completed.
5. Video Convert
Note: Within the scope of technical innovation, a CD is no longer included with the product and all documentation can be found in the memory of the player.
The player support video of AMV format in resolution of 128x128. Please use the software in gift CD to convert the video. The AMV&AVI Converter supports multi kind of video formats (AVI, RM, RMVB, MPG, MPG4, ASF, DAT, WMV, etc) convert to AVI format.
5.1 AVI Converter Tool Setup
Click folder EndUserTools to find and click software setup.exe in gift CD; follow the steps to install to PC.
5.2 Convert Video to AVI format
From PC>Program to run AMV&AVI Converter as below picture and steps for converting
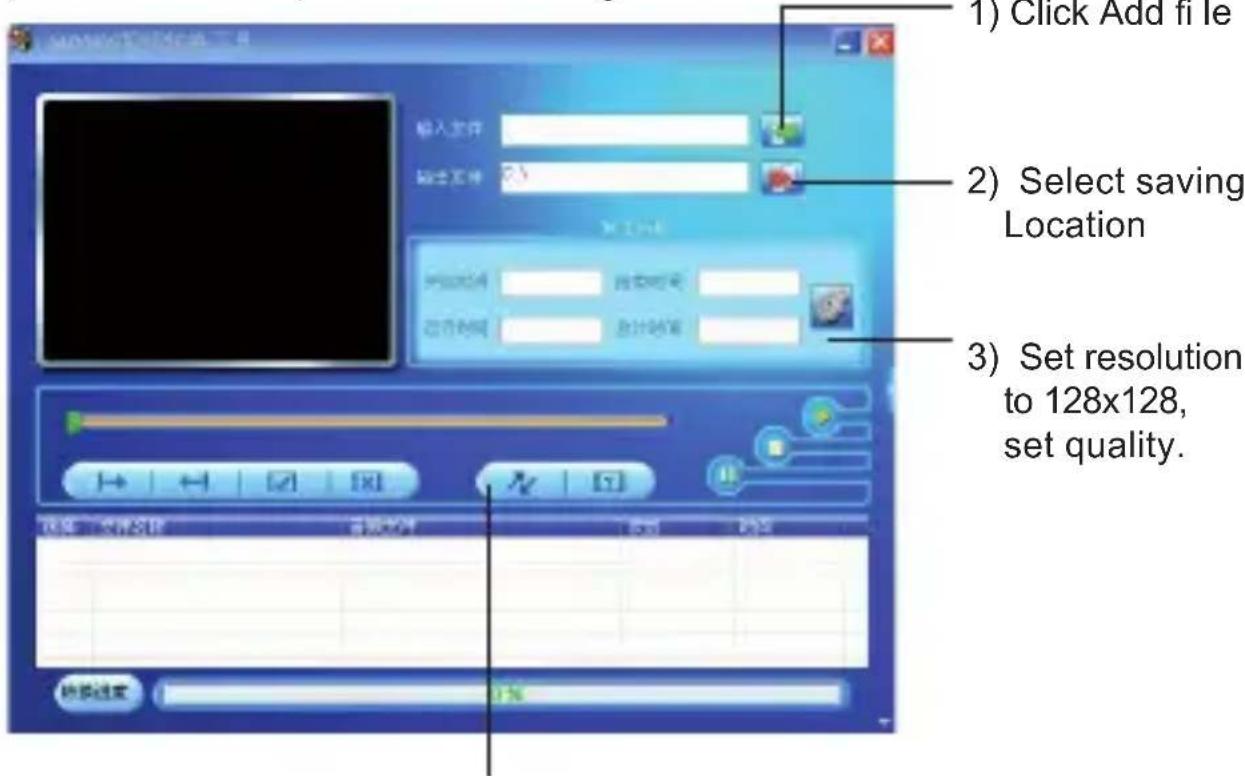
4) Click to start converting, wait until success.
After converting, copy the converted video file to the player, then enjoy it through player.
6. Specification
Items: SFP 6070
Dimensions 43.5 x 43.5 x 12.5 mm (W x H x D)
Colour TFT display: 1.5-inch TFT display; 65,000 true colours, resolution (128 x 128)
Language support: Multi-language system (EN, CZ, SK, HU, PL)
Data transfer speed: High-speed USB 2.0
Reading: 4 Mb/s, Writing: 1 Mb/s
Supported file formats
Audio:
Supported video formats: AMV (All formats should be converted to the .AMV format using the provided software)
Text: For letters with diacritic symbols use UNICODE coding
Noise to signal ratio: (S/N) 85 dB
Frequency range: 20 Hz - 20 kHz
Max. output power: 10 mW + 10 mW
Flash memory: 8 GB
Slot for a micro SDHC card (max 16GB)
Power supply: Lithium-polymer battery 3.7 V
Battery operation time: Playback of video: 4 to 5 hours
Playback of MP3: 12 to 13 hours (power-saving mode)
Operating temperature: 5°C to 40°C
Supported operating system: WINDOWS 2000/XP, Mac OS 10.4.6
Weight: Approximately 23 g
Accessories: User's manual, headphones, USB cable
INSTRUCTIONS AND INFORMATION REGARDING THE DISPOSAL OF USED PACKAGING MATERIALS
Dispose of packaging material at a public waste disposal site.
DISPOSAL OF USED ELECTRICAL AND ELECTRONIC APPLIANCES
natural_image
Symbol of a trash bin crossed with no text or numbers, representing waste sorting or disposal (no text present)The meaning of the symbol on the product, its accessory or packaging indicates that this product shall not be treated as household waste. Please, dispose of this product at your applicable collection point for the recycling of electrical & electronic equipment waste. Alternatively in some states of the European Union or other European states you may return your products to your local retailer when buying an equivalent new product. The correct disposal of this product will help save valuable natural resources and help in preventing the potential negative impact on the environment and human health, which could be caused as a result of improper liquidation of waste.
Please ask your local authorities or the nearest waste collection centre for further details. The improper disposal of this type of waste may fall subject to national regulations for fines.
For business entities in the European Union
If you wish to dispose of an electrical or electronic device, request the necessary information from your seller or supplier.
Disposal in other countries outside the European Union If you wish to dispose of this product, request the necessary information about the correct disposal method from local government departments or from your seller.

This product meets all the basic EU regulation requirements that relate to it.
Changes to the text, design and technical specifications may occur without prior notice and we reserve the right to make these changes.


- Player Layout
- Operation instruction
- - Power On/Off
- - Basic Operation
- Music
- Movie
- Radio
- Photo
- Record
- Voice
- Text
- Game
- Search
- Setup
- System time:
- Restore Default:
- LCD set:
- Language:
- Power off:
- Online mode:
- Memory info:
- Format Device:
- Firmware upgrade:
- Key tone:
- Exit:
- Firmware upgrade
- Video Convert
- AVI Converter Tool Setup
- Convert Video to AVI format
- Specification
- INSTRUCTIONS AND INFORMATION REGARDING THE DISPOSAL OF USED PACKAGING MATERIALS
- DISPOSAL OF USED ELECTRICAL AND ELECTRONIC APPLIANCES
- For business entities in the European Union
Brand : SENCOR
Model : SFP 6070
Category : Mp3 player