USER MANUAL Reference R-112SW KLIPSCH
USER MANUAL
Klipsch® REFERENCE
REFERENCE
SUBWOOFERS

bar
| Category | Value |
|---|---|
| Category 1 | 0.0000 |
| Category 2 | 0.0000 |
| Category 3 | 0.0000 |
| Category 4 | 0.0000 |
| Category 5 | 0.0000 |
| Category 6 | 0.0000 |
| Category 7 | 0.0000 |
| Category 8 | 0.0000 |
| Category 9 | 0.0000 |
| Category 10 | 0.0000 |
| Category 11 | 0.0000 |
| Category 12 | 0.0000 |
| Category 13 | 0.0000 |
| Category 14 | 0.0000 |
| Category 15 | 0.0000 |
| Category 16 | 0.0000 |
| Category 17 | 0.0000 |
| Category 18 | 0.0000 |
| Category 19 | 0.0000 |
| Category 20 | 0.0000 |
| Category 21 | 0.0000 |
| Category 22 | 0.0000 |
| Category 23 | 0.0000 |
| Category 24 | 0.0000 |
| Category 25 | 0.0000 |
| Category 26 | 0.0000 |
| Category 27 | 0.0000 |
| Category 28 | 0.0000 |
| Category 29 | 0.0000 |
| Category 30 | 0.0000 |
| Category 31 | 0.0000 |
| Category 32 | 0.0000 |
| Category 33 | 0.0000 |
| Category 34 | 0.0000 |
| Category 35 | 0.0000 |
| Category 36 | 0.0000 |
| Category 37 | 0.0000 |
| Category 38 | 0.0000 |
| Category 39 | 0.0000 |
| Category 40 | 0.0000 |
| Category 41 | 0.0000 |
| Category 42 | 0.0000 |
| Category 43 | 0.0000 |
| Category 44 | 0.0000 |
| Category 45 | 0.0000 |
| Category 46 | 0.0000 |
| Category 47 | 0.0000 |
| Category 48 | 0.0000 |
| Category 49 | 0.0025 |
| Category 5,6,7,8,9,11,12,13,14,15,16,17,18,19,21,22,23,24,25,26,27,28,29,31,32,33,34,35,36,37,38,39,41,42,43,44,45,46,47,48,49,51,52,53,54,55,56,57,58,59,61,62,63,64,65,66,67,68,69,71,72,73,74,75,76,77,78,79,81,82,83,84,85,86,87,88,89,91,92,93,94,95,96,97,98,99,111,121,131,141,151,161,171,181,191,211,221,231,241,251,261,271,281,291,311,321,331,341,351,361,371,381,391,411,421,431,441,451,461,471,481,491,511,521,531,541,551,561,571,581,591,611,621,631,641,651,661,671,681,691,711,721,731,741,751,761,771,781,791
REFERENCE (n):
1) the standard, the benchmark, the point used for comparison
2) the embodiment of the legendary Klipsch sound
LOUD AND PROUD SINCE 1946
In 1946, Paul W. Klipsch revolutionized the audio industry by creating our proprietary horn technology and the acoustic principles that are the driving force behind our highly acclaimed signature sound.
Today, we remain true to PWK's vision and pack the better part of a century's worth of sweat and genius into every product we make. These speakers are the result of our obsession with that aural perfection.
Experience the power, detail and emotion of Klipsch Reference. We are the Keepers of the Sound ^® .
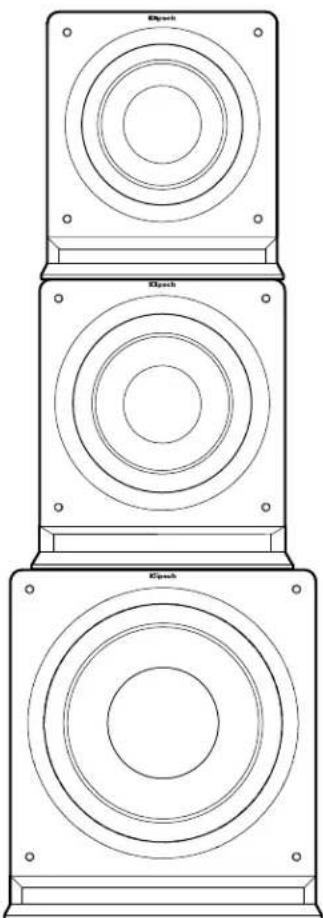
natural_image
Line drawing of three identical speaker units with concentric circular design (no text or symbols)
ENGLISH
REFERENCE SUBWOOFERS
natural_image
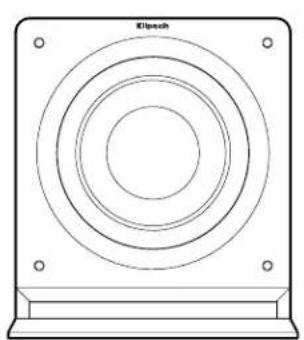
Technical line drawing of a circular component with mounting holes and a base plate (no text or symbols)
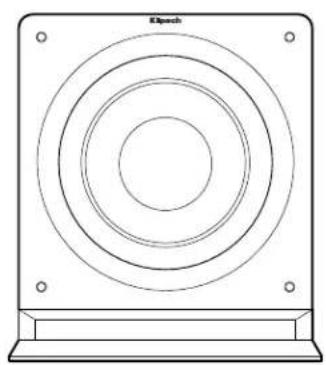
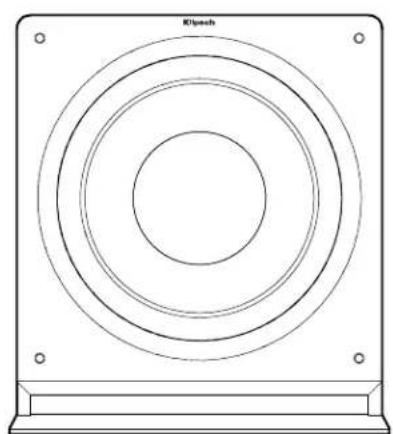
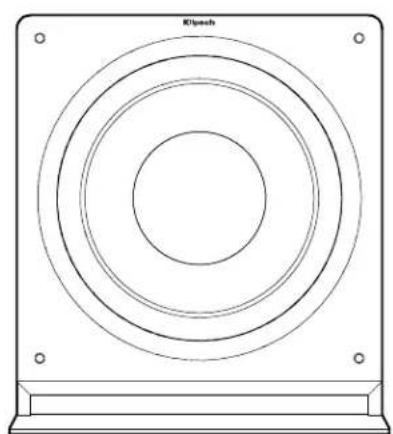
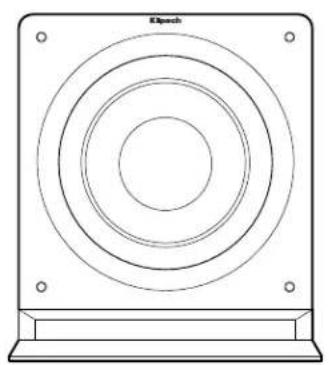
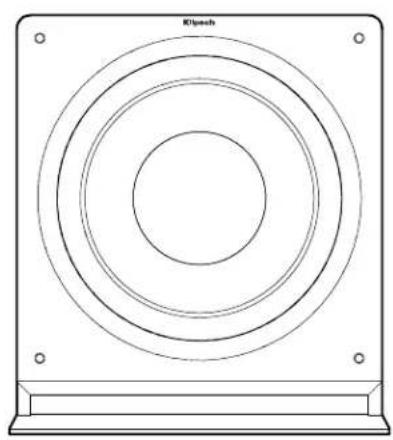
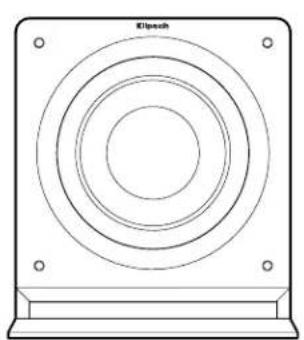
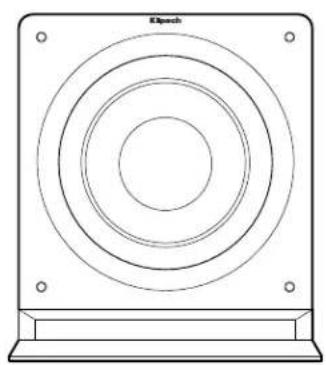
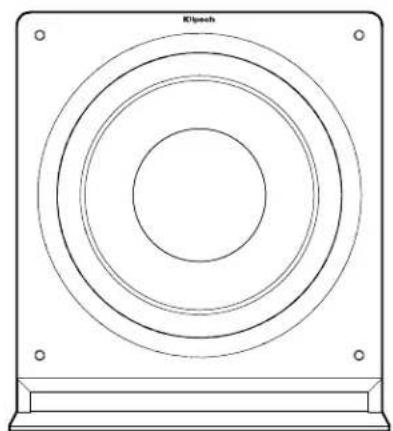
R-110SWR-112SWR-115SW
natural_image
Technical line drawing of a circular mechanical component with mounting holes (no text or symbols)
natural_image
Technical line drawing of a circular target or vent with mounting holes (no text or symbols)
INSPECTION
We want your new speaker system to look as good as it did leaving the factory! Please check promptly for any transit damage. Carefully unpack your new speaker system and verify the components against the packing list. In extreme circumstances, items may have become
damaged in transit. If any damage is discovered, notify the delivery service and dealer where the system was purchased. Make a request for inspection, and follow their instructions for evaluation. Be sure to keep the product's original shipping carton.
POSITIONING YOUR REFERENCE SUBWOOFER
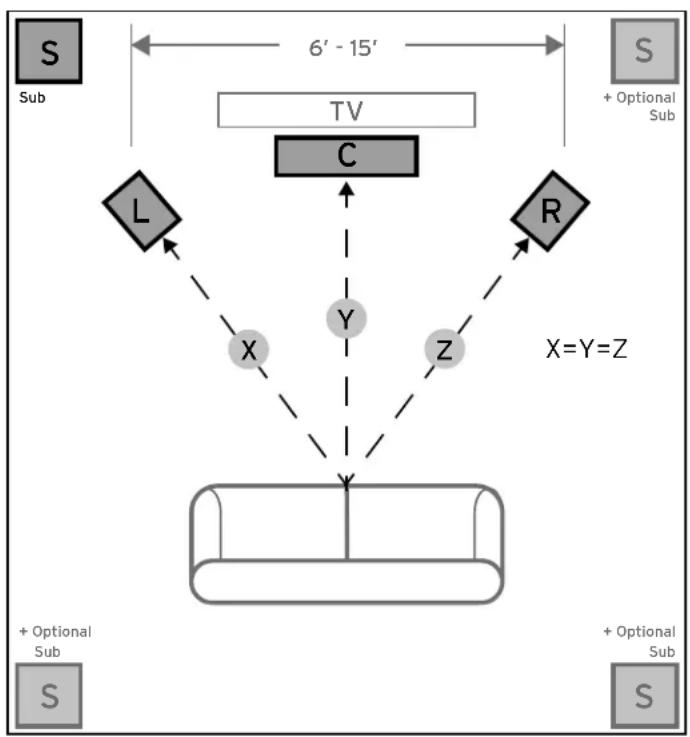
Klipsch ^® powered subwoofers are designed to reproduce deep bass and deliver the impact that makes your movies and music come alive. Typically, optimum performance will result if you place your subwoofer in a corner of the room on the same wall as your front channel speakers (Refer to Figure 1). Please note that room placement can have a dramatic effect upon the performance of your powered subwoofer. Corner placement, as suggested above, will increase the amount of bass output, while placing the subwoofer along the middle of a wall, or out in the room will decrease the amount of bass output. Experiment with a number of different placement options and control settings to find the one that best suits your particular room and taste. When choosing your subwoofer's location, keep in mind that you will need to connect the subwoofer's built-in amplifier to an AC power outlet.
flowchart
graph TD
    TV["TV"] -->|6' - 15'| Sub1["Sub"]
    TV -->|6' - 15'| Sub2["Sub"]
    TV -->|6' - 15'| Sub3["Sub"]
    TV -->|6' - 15'| Sub4["Sub"]
    TV -->|6' - 15'| Sub5["Sub"]
    TV -->|6' - 15'| Sub6["Sub"]
    TV -->|6' - 15'| Sub7["Sub"]
    TV -->|6' - 15'| Sub8["Sub"]
    TV -->|6' - 15'| Sub9["Sub"]
    TV -->|6' - 15'| Sub10["Sub"]
    TV -->|6' - 15'| Sub11["Sub"]
    TV -->|6' - 15'| Sub12["Sub"]
    TV -->|6' - 15'| Sub13["Sub"]
    TV -->|6' - 15'| Sub14["Sub"]
    TV -->|6' - 15'| Sub15["Sub"]
    TV -->|6' - 15'| Sub16["Sub"]
    TV -->|6' - 15'| Sub17["Sub"]
    TV -->|6' - 15'| Sub18["Sub"]
    TV -->|6' - 15'| Sub19["Sub"]
    TV -->|6' - 15'| Sub20["Sub"]
FIGURE 1
SPEAKER PLACEMENT IN LISTENING AREA
CONNECTIONS AND CONTROLS
CAUTION: Ensure that the subwoofer is unplugged from the AC wall outlet before making any connections.
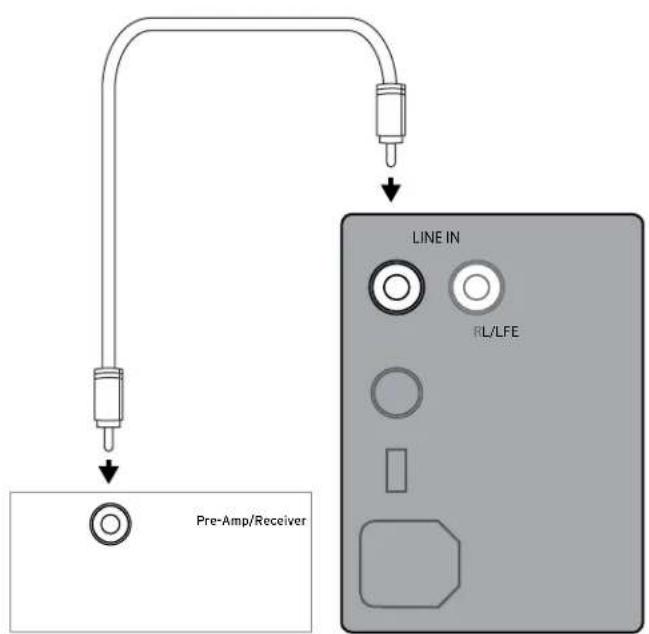
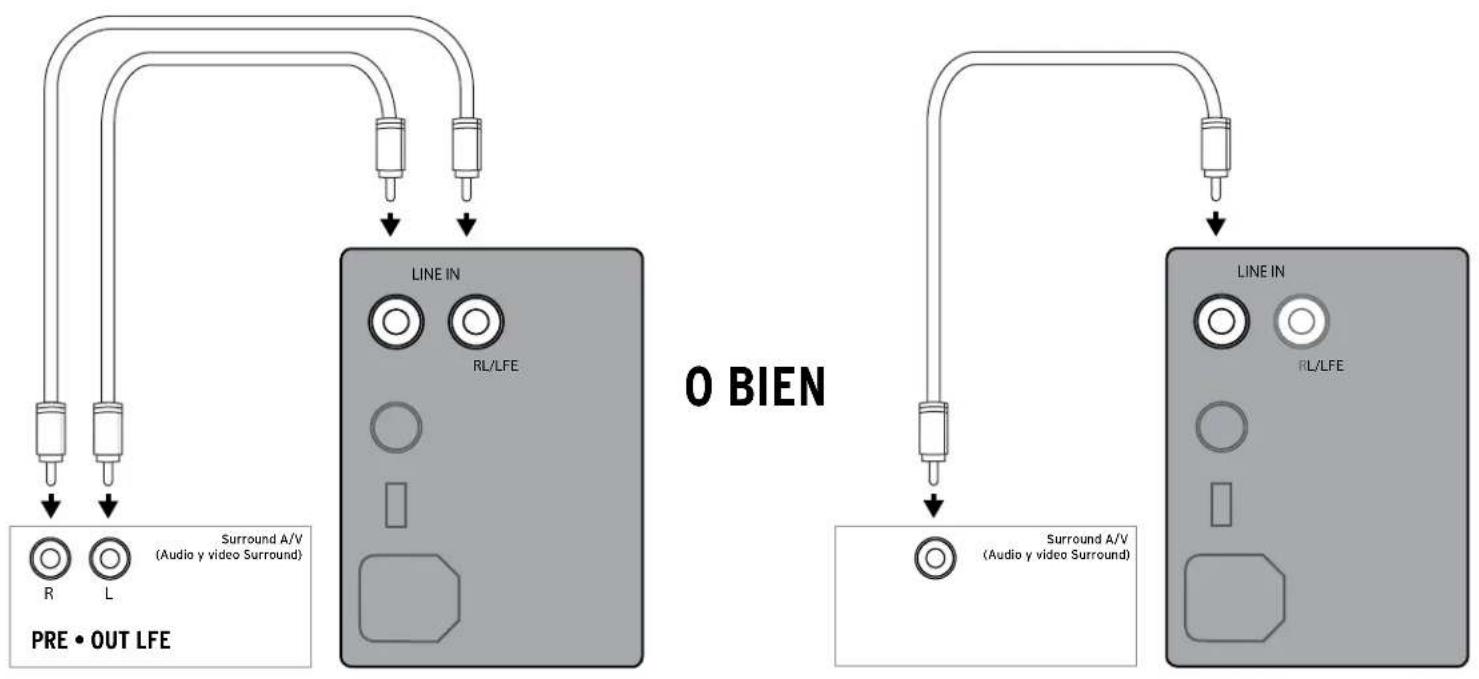
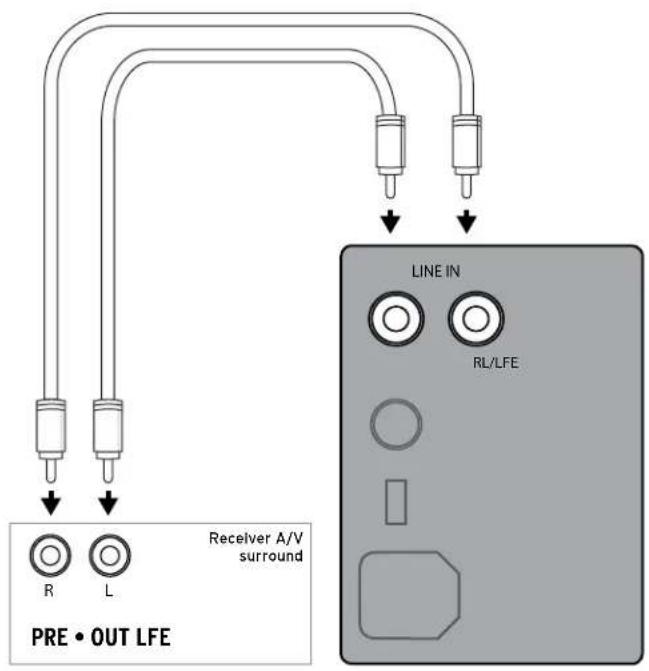
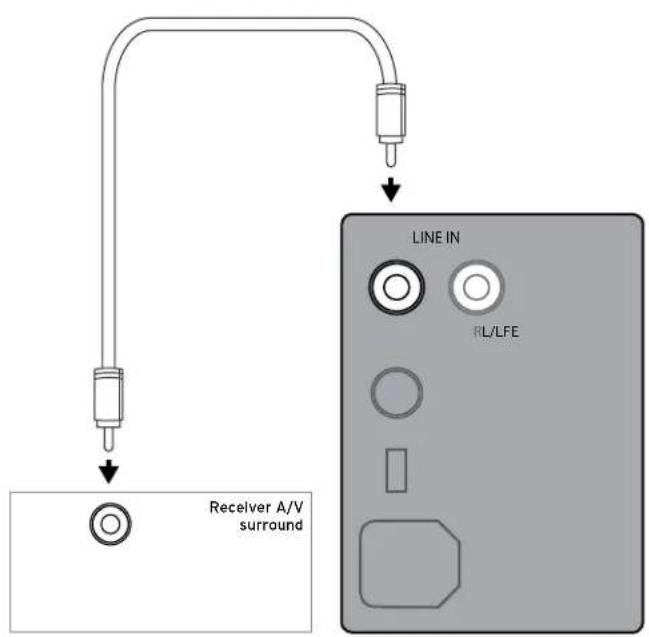
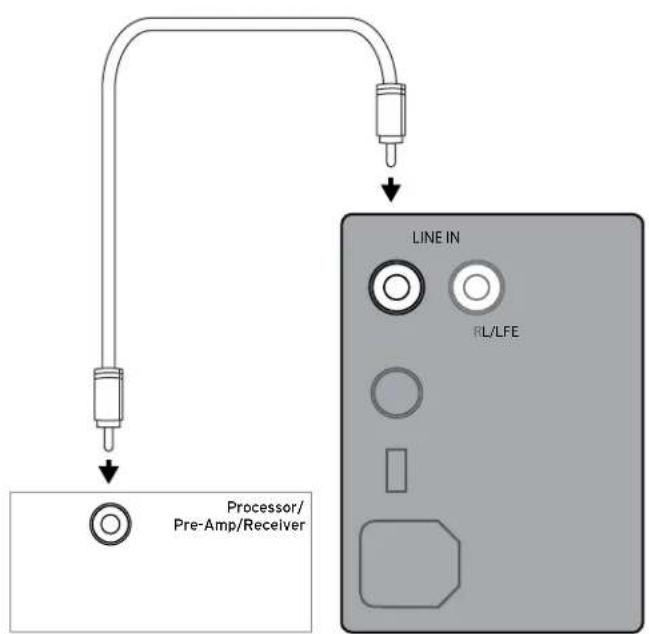
"LINE IN" Connection - Most of today's surround receivers (and pre-amplifiers) have a line level subwoofer output labeled Subwoofer Pre Out, Sub Out, SW Out, etc. If you have this output, connect one end of a subwoofer cable to it and connect the other end of the cable into the subwoofer line input labeled LEFT/LFE. This connection allows the subwoofer to operate with both music and surround sound movies (refer to your receiver manual). In absence of a subwoofer output on your receiver, as an alternative hookup, you can connect Left and Right channel Pre-Amp Outputs from your receiver (if provided) to the Left/LFE and Right input on the subwoofer.
WA-2 Port Connection - For wireless connectivity of your new Klipsch R-110SW, R-112SW, or R-115SW subwoofer, the optional WA-2 is available. The WA-2 will only operate with select Klipsch, Energy, Mirage and Jamo brand subwoofers that have a "WA Port" input. The WA-2 is a 2.4 GHz product designed to wirelessly transmit a signal up to a 50 foot radius. See klipsch.com for more details.
Level - If your subwoofer is connected to a Subwoofer Output of a surround receiver, first set the subwoofer volume level control in the receiver to the "half way" or "O dB" position. Then increase the volume (or gain) of the subwoofer up until the subwoofer's volume level matches the output of your main speakers. After this setup is completed, the volume control on your system's main amplifier or pre-amplifier will be the volume control for both your subwoofer and speakers together. If your subwoofer is connected to the L/R Pre-Amp Outputs of a receiver there will be no subwoofer volume in that receiver to set before setting the subwoofer's gain control.
"LOWPASS" Control - The crossover point chosen determines where low bass frequencies are "handed off" from the speakers to the subwoofer. If setting the crossover point in the receiver, turn the Lowpass Filter knob on the subwoofer to the farthest point right (160Hz). Set the crossover point based on the size of the main left/right speakers you are using in the system. As a general rule, for larger, floorstanding speakers, set the crossover point between 50Hz-90Hz. If using small bookshelf or "satellite" speakers for the mains, set the crossover point between 90Hz-150Hz. The smaller the speaker, the higher the setting until the bass frequencies blend well between the speakers and your subwoofer once your system is completely hooked up. If your receiver does not have a crossover point setting, set the Lowpass Filter on the subwoofer instead within the same recommended settings (see receiver manual for additional speaker setup info).
"PHASE" 0/180 - This control is used to acoustically match the subwoofer's output to your main speakers. Select the position, either 0^ or 180^ , in which your subwoofer has more output at the listening position.
"POWER" AUTO/ON/OFF -When this switch is in the "ON/AUTO/STANDBY" position, the subwoofer will automatically turn "on" when it senses a signal. It will automatically go into "standby mode" after 15-20 minutes with no signal. When this switch is in the "OFF" position, the subwoofer will remain "off" until the switch is manually turned back to the "ON/AUTO/STANDBY" position.
Power LED indicator - Located on the front baffle, this LED indicates the operating status of the built-in amplifier. The LED will light green when the amplifier is on and receiving a signal. If the LED is dark and not lit, the amplifier is off. For more information on the controls mentioned in this manual and on bass management, see your dealer or visit www.klipsch.com
FIGURE 2
R-110SW, R-112SW, R-115SW SUBWOOFER HOOK UP
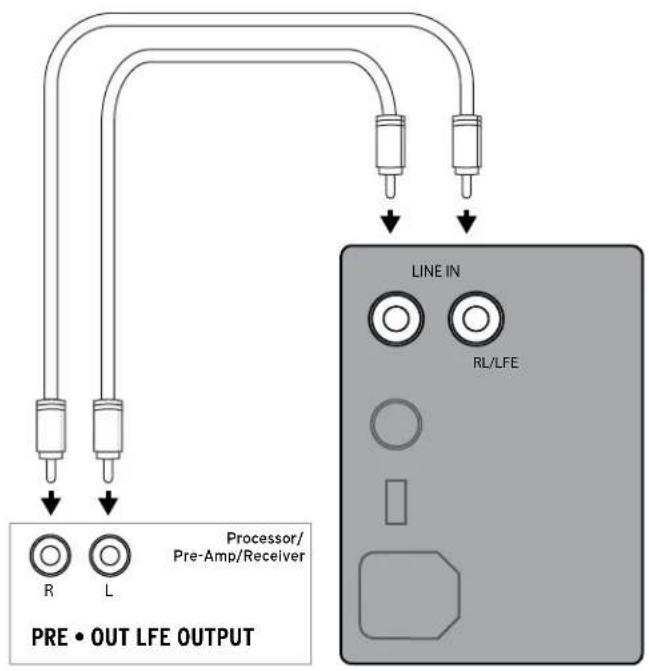
Left and Right pre-outs on Processor/Pre-Amp/Receiver connected to Left and Right line inputs on subwoofer amplifier
OR
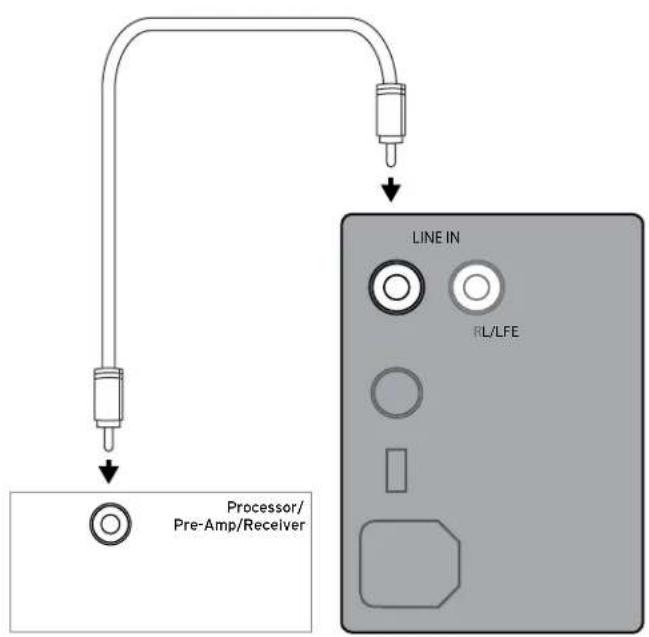
LFE Output on Processor/Pre-Amp/Receiver connected to LFE input on subwoofer amplifier
CARE AND CLEANING
Your subwoofer has a durable vinyl finish that should only require dry dusting or cleaning with a dry cloth. Avoid the use of abrasive or solvent-based cleaners and harsh detergents. The brush attachment of your vacuum should remove any dust from your subwoofer enclosure.
PRODUCT REGISTRATION
Register your product online at www.klipsch.com/register
- Keep up-to-date on new products and promotions.
- Your personal information will never be resold.
- This registration information is not used for warranty purposes.
Please retain your receipt for warranty claims.
REFERENCE
natural_image
Line drawing of three identical speakers with concentric circular design (no text or symbols)
FRENCH
CAISSONS DE GRAVES REFERENCE
natural_image
Technical line drawing of a circular component labeled 'Kilpesh' at the top, with mounting holes and concentric rings (no text or symbols beyond label)
R-110SWR-112SWR-115SW
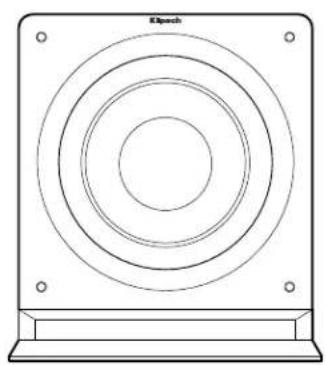
natural_image
Technical line drawing of a circular mechanical component with mounting holes (no text or symbols)
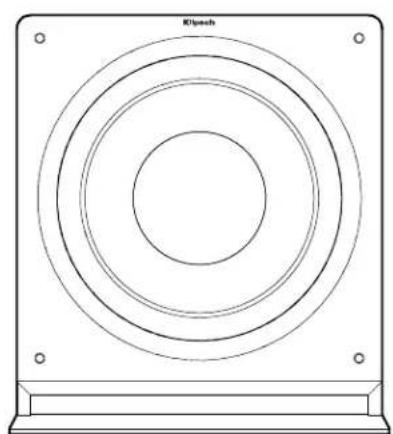
natural_image
Technical line drawing of a circular mechanical component with mounting holes (no text or symbols)
INSPECTION
ENTRETIEN ET NETTOYAGE
natural_image
Line drawing of three identical speakers with concentric circular design (no text or symbols)
GERMAN
REFERENCE-SUBWOOFER
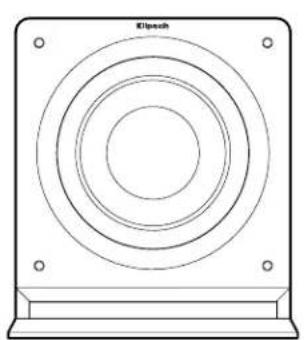
natural_image
Technical line drawing of a circular component labeled 'Kilpesh' at the top, with mounting holes and concentric rings (no text or symbols beyond label)
R-110SWR-112SWR-115SW
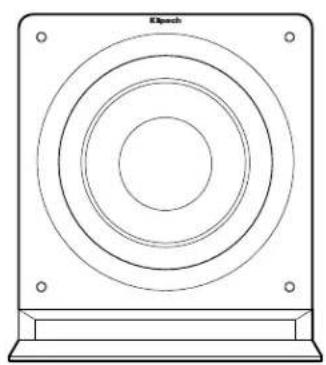
natural_image
Technical line drawing of a circular mechanical component with mounting holes (no text or symbols)
natural_image
Technical line drawing of a circular target or vent with mounting holes (no text or symbols)
INSPEKTION
ODER
natural_image
Line drawing of three identical speaker units with concentric circular design (no text or symbols)
SPANISH
SUBWOOFERS REFERENCE
natural_image
Technical line drawing of a circular component with mounting holes and a base plate (no text or symbols)
R-110SWR-112SWR-115SW
natural_image
Technical line drawing of a circular component labeled 'Epbch' at the top, with mounting holes and a base plate (no text or symbols beyond label)
natural_image
Technical line drawing of a circular mechanical component with mounting holes (no text or symbols)
INSPECCIÓN
FIGURA 2
CABLEADO DE LOS SUBWOOFERS R-110SW, R-112SW Y R-115SW
flowchart
graph TD
    A["PRE • OUT LFE"] --> B["R"]
    A --> C["L"]
    B --> D["Surround A/V (Audio y video Surround)"]
    C --> D
    D --> E["LINE IN"]
    E --> F["RL/LFE"]
    F --> G["O BIEN"]
    G --> H["Surround A/V (Audio y video Surround)"]
    H --> I["LINE IN"]
    I --> J["RL/LFE"]
CUIDADO Y LIMPIEZA
natural_image
Line drawing of three identical speaker units with concentric circular design (no text or symbols)
PORTGUESE
SUBWOOFERS REFERENCE
natural_image
Technical line drawing of a circular component labeled 'Kilpesh' at the top, with mounting holes and concentric rings (no text or symbols beyond label)
R-110SWR-112SWR-115SW
natural_image
Technical line drawing of a circular mechanical component with mounting holes (no text or symbols)
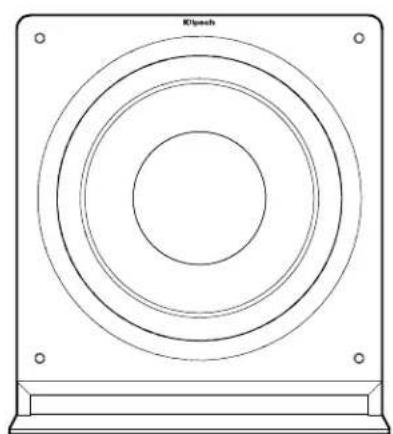
natural_image
Technical line drawing of a circular mechanical component with mounting holes (no text or symbols)
INSPEÇÃO
FIGURA 2
CONEXÃO DO SUBWOOFER R-110SW, R-112SW, R-115SW
OU
CUIDADO E LIMPEZA
natural_image
Line drawing of three identical speakers with concentric circular design (no text or symbols)
ITALIAN
SUBWOOFER REFERENCE
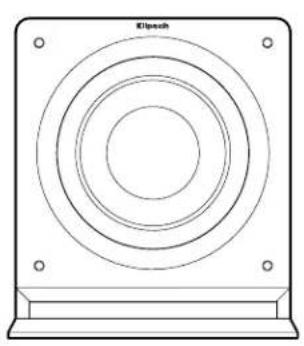
natural_image
Technical line drawing of a circular component with mounting holes and a base plate (no text or symbols)
R-110SWR-112SWR-115SW
natural_image
Technical line drawing of a circular component labeled 'Etech' at the top, with mounting holes and a base plate (no text or symbols beyond label)
natural_image
Technical line drawing of a circular mechanical component with mounting holes (no text or symbols)
ISPEZIONE
natural_image
Three identical line drawings of a speaker with concentric circular components, no text or symbols present.
CHINESE
参考系列低音炮
natural_image
Technical line drawing of a circular component labeled 'Kilpesh' at the top, with mounting holes and concentric rings (no text or symbols beyond label)
R-110SWR-112SWR-115SW
natural_image
Technical line drawing of a circular mechanical component with mounting holes (no text or symbols)
natural_image
Technical line drawing of a circular mechanical component with mounting holes (no text or symbols)
开箱检查
或
保养和清洁
KEEPERS OF THE SOUND
3502 WOODVIEW TRACE, INDIANAPOLIS, IN, USA
KLIPSCH.COM
1-800-KLIPSCH ©2014 KLIPSCH GROUP, INC. ALL RIGHTS RESERVED. KLIPSCH AND KEEPERS OF THE SOUND ARE REGISTERED TRADEMARKS OF KLIPSCH GROUP, INC. IN THE USA AND OTHER COUNTRIES.
A WHOLLY-OWNED SUBSIDIARY OF VOXX INTERNATIONAL CORPORATION.
natural_image
Pure diagram of a speaker grille with concentric circles and mounting holes (no text or symbols)
natural_image
Pure diagram of a speaker grille with concentric circles and mounting holes (no text or symbols)
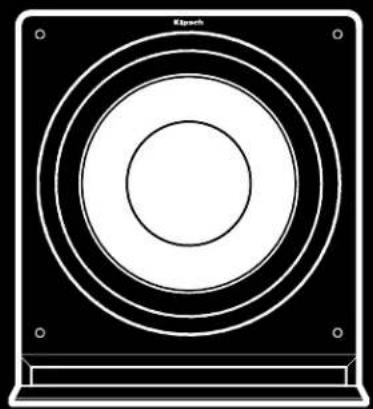
natural_image
Pure diagram of concentric circles inside a square frame with mounting holes (no text or symbols)
KEEPERS OF THE SOUND.