
381300-18 - Uncategorized PIONEER - Free user manual and instructions
Find the device manual for free 381300-18 PIONEER in PDF.

| Product Type | Uncategorized Electronic Device |
| Brand | Pioneer |
| Model | 381300-18 |
| Dimensions (Approx.) | 10 cm x 5 cm x 2 cm |
| Weight (Approx.) | 100 g |
| Power Source | USB or Battery (CR2032) |
| Main Functions | Operates as intended per manual instructions |
| Maintenance & Cleaning | Wipe with a dry, soft cloth. Do not use liquids. |
| Safety Precautions | Keep away from water and heat sources. |
| Spare Parts & Repairability | Contact Pioneer support for replacement parts. |
| General Information | User manual available in PDF from notice-facile.com |
Frequently Asked Questions - 381300-18 PIONEER
User questions about 381300-18 PIONEER
0 question about this device. Answer the ones you know or ask your own.
Ask a new question about this device
Download the instructions for your Uncategorized in PDF format for free! Find your manual 381300-18 - PIONEER and take your electronic device back in hand. On this page are published all the documents necessary for the use of your device. 381300-18 by PIONEER.
USER MANUAL 381300-18 PIONEER
natural_image
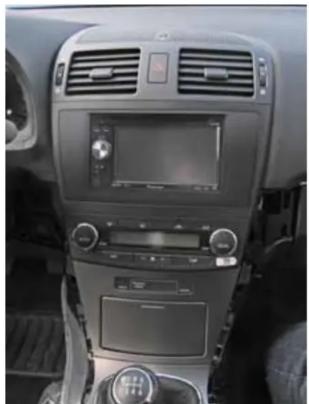
Interior view of a car infotainment unit with visible controls and buttons (no readable text or symbols)- Remove 4 screws securing OEM head unit
Remove OEM head unit
natural_image
Interior view of a car dashboard with air filters, display screen, and control panel (no visible text or symbols)- Install Double DIN head unit (using OEM mounting frames)
Connect all required circuit points Place double DIN head unit and fix it. Place facia plate.
Reinstall everything in reverse order to finish installation
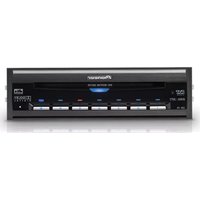
Pioneer
Installation Manual Double DIN Kit
Part-No.: 381300-18
• Toyota Avensis 2009->
Compatible with these Pioneer Double-DIN devices:
Pioneer Navigation
natural_image
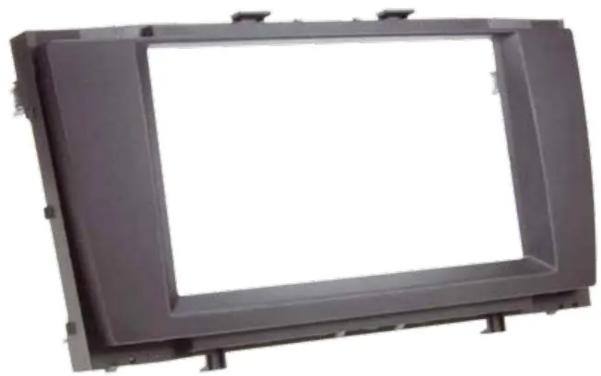
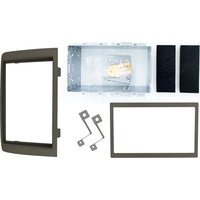
Exterior view of a rectangular metal frame with mounting brackets (no text or symbols)Double DIN Set contents
• (1) Facia Plate
Installation Manual Double DIN Kit
natural_image
Close-up of a car's side panel showing the wheel and seatbelt, with no visible text or symbols.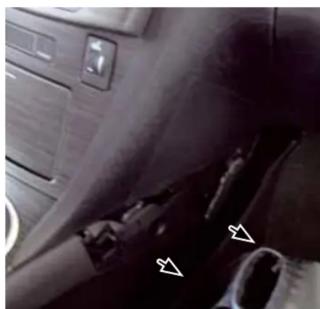
natural_image
Interior view of a car showing dashboard and seat area with directional arrows (no text or symbols)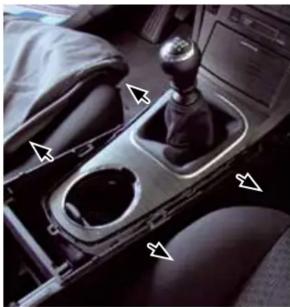
natural_image
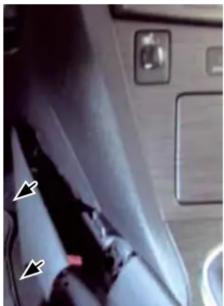
Interior view of a car gear shift lever with no visible text or symbols- Remove side panels beside center console left and right (see arrows)
- Remove side panels beside gear lever (see arrows)
natural_image
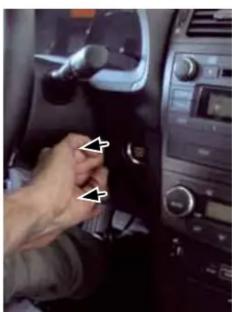
Close-up of a hand inserting a small component into a car dashboard (no visible text or symbols)- Remove panel of start/stop button

natural_image
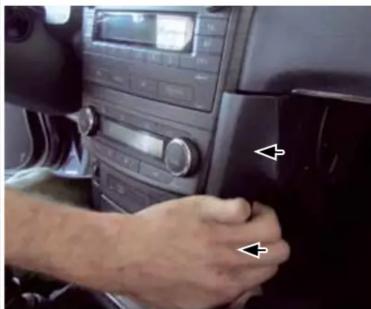
Interior view of a car dashboard with a hand inserting a component, no visible text or symbols- Remove side panels (left and right)
natural_image
Interior view of a car dashboard with hand and directional arrows indicating left and right controls (no visible text or symbols)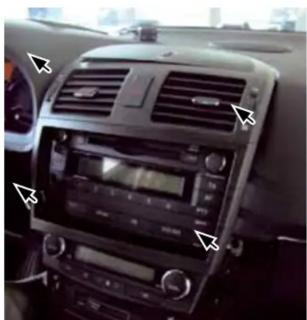
natural_image
Interior view of a car dashboard with air vent, steering wheel, and digital display (no visible text or symbols)- Remove center panel
All installation work must be performed by a qualified professional installer only. The manufacturer / dealer is not liable for any kind of incidental or indirect damages.

Brand : PIONEER
Model : 381300-18
Category : Uncategorized