
12.301150-01 - Uncategorized PIONEER - Free user manual and instructions
Find the device manual for free 12.301150-01 PIONEER in PDF.

| Product Type | Car Stereo Installation Kit |
| Compatible Brands | Pioneer |
| DIN Size | 2-DIN |
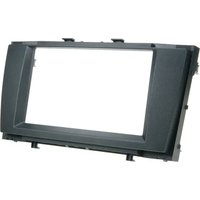
| Included Components | 1x Metal Bracket (110mm), 2x Mounting Plates, 2x Mounting Spacers, 2x Radio Removal Keys, 4x Screws, 2x Cushions |
| Material | Metal, Plastic |
| Weight (approx.) | 0.5 kg |
| Dimensions (approx.) | 180 x 100 x 50 mm (bracket) |
| Color | Black |
| Installation Location | Car dashboard |
| Recommended Use | Mounting Pioneer HD1BT, Avic D3, and similar models |
| Key Feature | Includes removal keys for easy radio extraction |
| Maintenance | Clean with a dry cloth; avoid moisture |
| Safety | Ensure all screws are tightened securely to prevent vibration |
| Spare Parts | Full set provided; no separate spares available |
| Repair | Non-serviceable; replace if damaged |
| Certifications | Meets automotive industry standards |
Frequently Asked Questions - 12.301150-01 PIONEER
User questions about 12.301150-01 PIONEER
0 question about this device. Answer the ones you know or ask your own.
Ask a new question about this device
Download the instructions for your Uncategorized in PDF format for free! Find your manual 12.301150-01 - PIONEER and take your electronic device back in hand. On this page are published all the documents necessary for the use of your device. 12.301150-01 by PIONEER.
USER MANUAL 12.301150-01 PIONEER
natural_image
Disassembled electronic components including a metal enclosure, black plastic enclosures, and battery modules (no text or symbols visible)Installation kit includes the following items:
* 1X 2-ISO 110 mm. metal bracket
* 2X Mounting plates
* 2X Mounting spacers
* 2X Radio removal keys
* 4X Screws
* 2X Cushion
natural_image
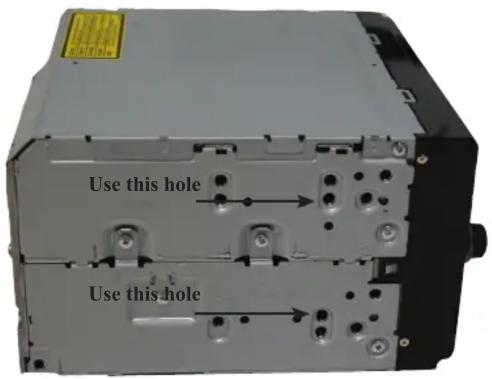
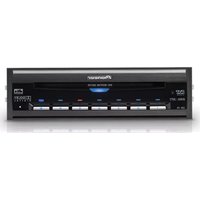
Pure electrical circuit lines without any symbolsPioneer HD1BT
We advice to use the following positions. Other positions are also possible.
Use position 1 marked with a cross. Use position 14 & 16 marked with an arrow. Measured from left to right.
natural_image
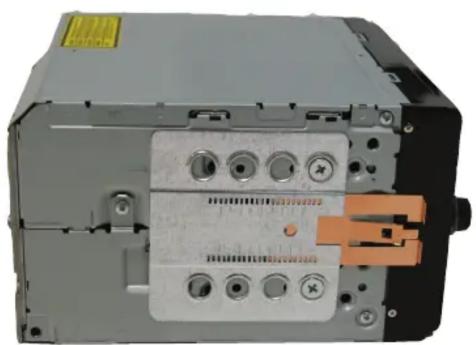
Close-up of a mechanical device with metallic components and orange connectors (no visible text or symbols)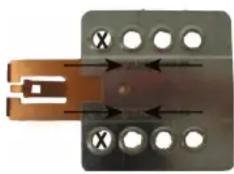
natural_image
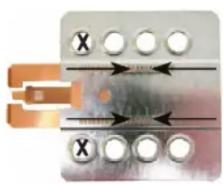
Close-up of a metallic connector with two copper contacts and four circular holes, no text or symbols visible.Pioneer Avic D3
We advice to use the following positions. Other positions are also possible.
Use position 1 marked with a cross. Use position 9 & 11 marked with an arrow Measured from left to right.
Pioneer
sound. vision. soul
1
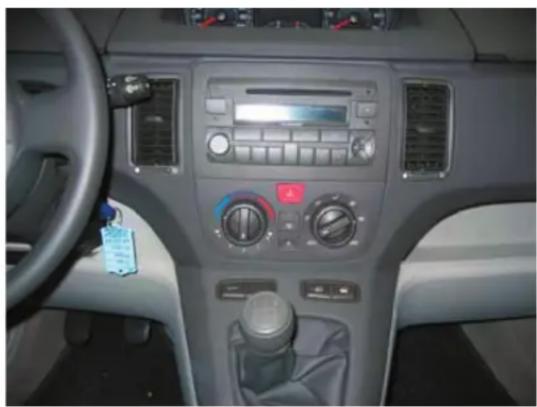
natural_image
Interior view of a car dashboard with air conditioners and steering wheel (no visible text or symbols)Remove radio using radio removal keys.
2
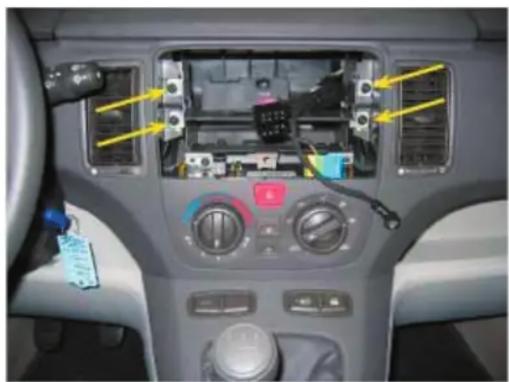
natural_image
Interior view of a car dashboard with illuminated components and control knobs (no visible text or symbols)Remove the original bracket. This tighten by four screws witch are marked by the above standing arrows.
Place the metal 2- Din bracket
3
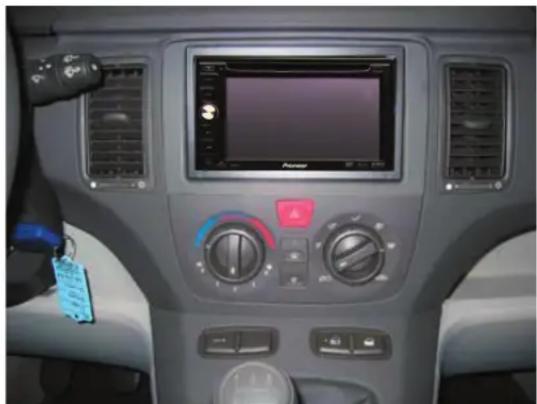
natural_image
Interior view of a car dashboard with air conditioners, a digital display screen, and control buttons (no visible text or symbols)Place the headunit

Brand : PIONEER
Model : 12.301150-01
Category : Uncategorized