
Air Fryer E6AF1-520K - Deep fryer ELECTROLUX - Free user manual and instructions
Find the device manual for free Air Fryer E6AF1-520K ELECTROLUX in PDF.


| Product Type | Air Fryer |
| Brand | Electrolux |
| Model | E6AF1-520K |
| Basket Capacity | 2 kg (maximum) |
| Temperature Range | 80 °C to 200 °C |
| Timer Range | Up to 60 minutes (estimated) |
| Preset Programs | French Fries, Chicken Wings, Meat, Fish, Frozen Food, Bake, Sweet Potato, Odor Removal, Vegetable |
| Control Type | Digital knob and buttons (Start/Pause, Cancel, Temperature, Time) |
| Display | Digital LED with temperature and time indicators |
| Power Indicator | LEDs and sound beeps for key presses and alarms |
| Safety Features | Auto shut-off, cool-down timer (30 min), overheat protection, safety lock on basket |
| Materials | Non-stick coated basket and pan |
| Cleaning | Basket and pan are dishwasher-safe; wipe exterior with soft cloth |
| Accessories Included | Double grill rack |
| Power Cord Length | Approximately 0.8 m (not specified, estimated) |
| Voltage / Frequency | 220-240 V / 50-60 Hz (typical, not confirmed) |
| Wattage | 1500 W (typical air fryer, not specified) |
| Dimensions (W x D x H) | Not specified (approx. 30 x 30 x 30 cm) |
| Weight | Not specified (approx. 4-5 kg) |
| Warranty | Standard manufacturer warranty (details in manual) |
Frequently Asked Questions - Air Fryer E6AF1-520K ELECTROLUX
User questions about Air Fryer E6AF1-520K ELECTROLUX
0 question about this device. Answer the ones you know or ask your own.
Ask a new question about this device
Download the instructions for your Deep fryer in PDF format for free! Find your manual Air Fryer E6AF1-520K - ELECTROLUX and take your electronic device back in hand. On this page are published all the documents necessary for the use of your device. Air Fryer E6AF1-520K by ELECTROLUX.
USER MANUAL Air Fryer E6AF1-520K ELECTROLUX
natural_image
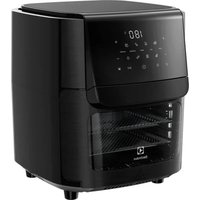
Exterior view of a black electric air fryer with control knob and brand logo (no text-heavy elements)EN INSTRUCTION BOOK
CNS 说明书
CNT 說明手冊
KR사용 설명서
ID Buku Panduan
natural_image
Diagram showing a mechanical assembly with a cylindrical component being lifted by an arrow, no text or symbols present.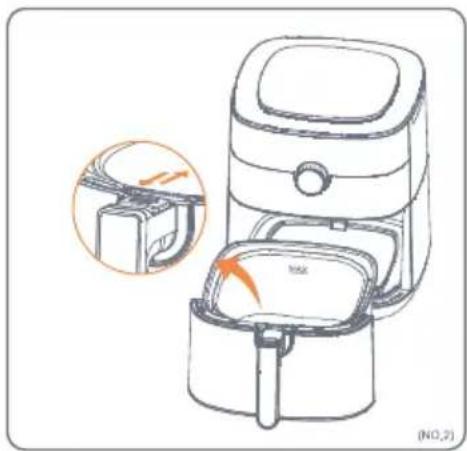
natural_image
Line drawing of an air fryer with a close-up inset showing the interior mechanism (no text or symbols)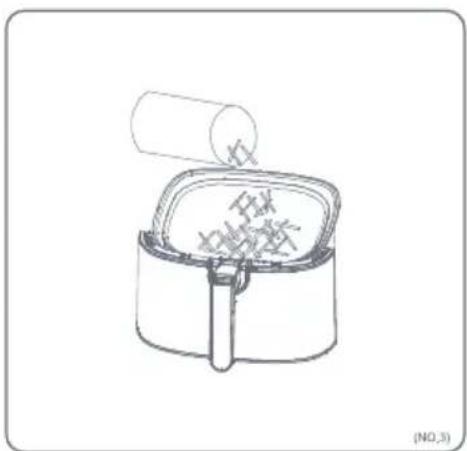
natural_image
Simple line drawing of a container with a cylindrical lid and a tray of contents, no text or symbols present.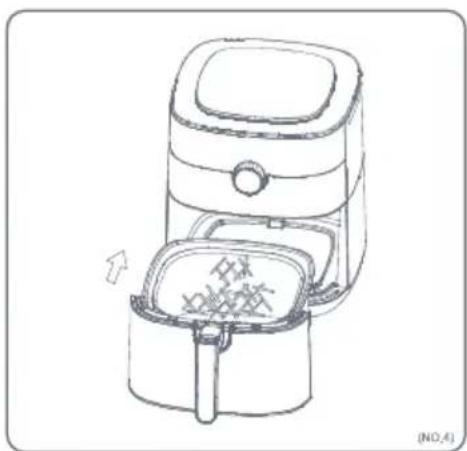
natural_image
Line drawing of an air fryer with a bag of food inside, showing no text or symbols on the device itself.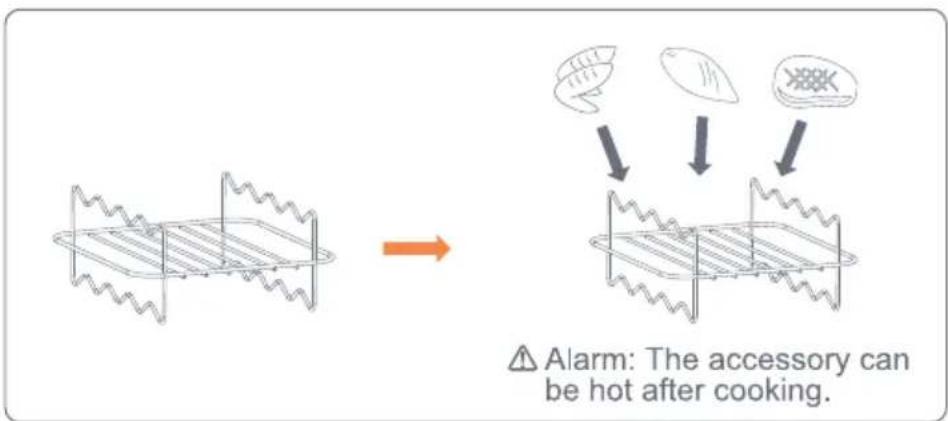
How to clean
natural_image
Line drawing of a hand cleaning a cylindrical object from a water heater (no text or symbols)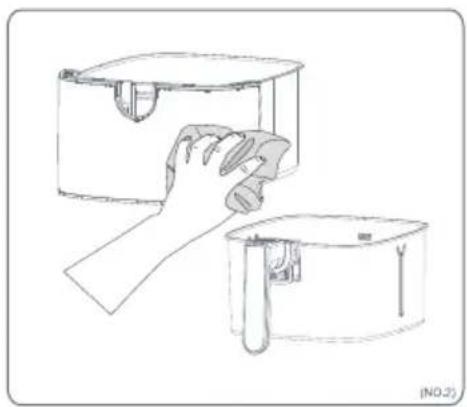
natural_image
Line drawing of a hand holding a tool, partially open and holding a lid (no text or symbols)How to clean
Cleaning agents and accessories
Clean the pan and the basket with a soft sponge with warm water and a washing-up liquid.
The pan and the basket are dishwasher-safe. Clean the heating element with a cleaning brush.
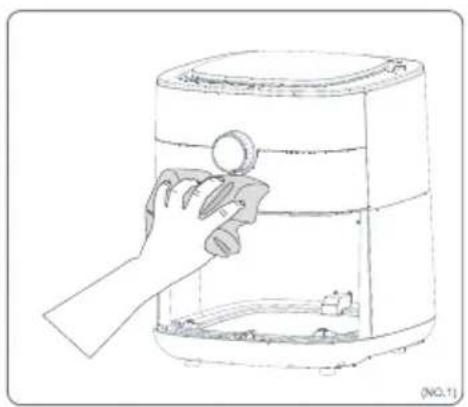
Clean the outside of the appliance with a soft cloth.
Everyday use
Before cleaning unplug the appliance and wait until it is cold.
Clean the appliance after each use.
INSTRUCTION MANUAL
Graphics and drawings in this manual are solely for illustration purposes and are subject to variations from actual product.
Read all instructions carefully before using the appliance for the first time.
Keep this manual for future reference.
COMPONENTS
A. Air inlet
C. Control Dial
B. Fry basket
D. Fry basket handle
IMPORTANT SAFEGUARDS
- Please read this manual carefully before using.
- Do not immerse the power cord, plug, or any part of the appliance in water or any other liquids to avoid electric shock or damage to the fryer.
- Do not cover the air inlet and air outlet when the appliance is operating.
- Do not fill the pan with oil. Filling the pan with oil may cause a fire hazard.
- Do not touch the inside of the air fryer until it cooling down.
- Do not use the appliance if there is any damage to the plug, power cord or other parts.
- Do not ask any unauthorized person to replace or fix the appliance.
- Keep the power cord away from hot surfaces.
- Do not plug in or use the appliance with wet hands.
- Make sure the appliance is plugged into the wall socket properly.
- Keep the cord and the appliance out of the reach of children.
- Do not connect the appliance to an external timer switch.
• Do not place the appliance on or near combustible materials, such as a tablecloth or curtain.
- Do not place the appliance against a wall or any other appliances while in operation. Leave at least 5 inches of free space on the back, sides, and above the appliance to keep air inlet/outlet clear.
- Do not place anything on top of the appliance during operation.
- Do not use the appliance for any other purposes than described in this manual.
- Do not leave the appliance unattended while it is operating.
- During hot air frying hot steam is released through the air outlet openings. Keep your hands and face at a safe distance from the steam and from the air outlet opening. Be careful of hot steam and air when you remove the pan from the appliance. Any accessible surfaces may become hot during use.
- Immediately unplug the appliance if you see dark smoke coming out of the appliance, wait for the smoke emission to stop before you remove the pan from the appliance.
- Ensure that the appliance is placed on a horizontal, even, and stable surface.
• Always wait 30 minutes for the appliance to cool down before handling or cleaning it.
- If the supply cord is damaged, it must be replaced by the manufacturer or its service agent or a similarly qualified person in order to avoid a hazard.
BEFORE USE
-
Remove all packaging materials
-
Clean the basket and pan with water and a non-abrasive sponge.
-
Wipe the inside and outside of the appliance with a clean cloth
-
Small food usually has a short cooking time than larger food.
-
Shaking smaller food halfway during the cooking time gives you a better result.
-
Adding a very little amount of oil to fresh potatoes and frying will give a crispy result.
-
Do not prepare extremely greasy food, such as sausages in the air fryer.
-
The recommended amount of cut potatoes to prepare crispy fries is 500 grams.
-
When making cake, quiche or filled food, just use the pan. Do not use basket.
-
You can also use the air fryer to heat food, set the temperature to 80^ C for up to 10 minutes.
HOW TO USE YOUR AIR FRYER
* DO NOT COOK FOOD without BASKET FITTING INTO, IN CASE OF ANY SCALD ACCIDENT HAPPEN
1. How to use: pan and basket
Place the appliance on the stable surface.
- Remove the pan and place it on a stable surface.
- Remove the protection cover on the safety lock.
- Press the safety lock to remove the basket. (N0.1/N0.2)
-
Put the food into the basket up to the maximum level. The maximum capacity of the basket is 2 kg. (N0.3/N0.4)
-
Control panel
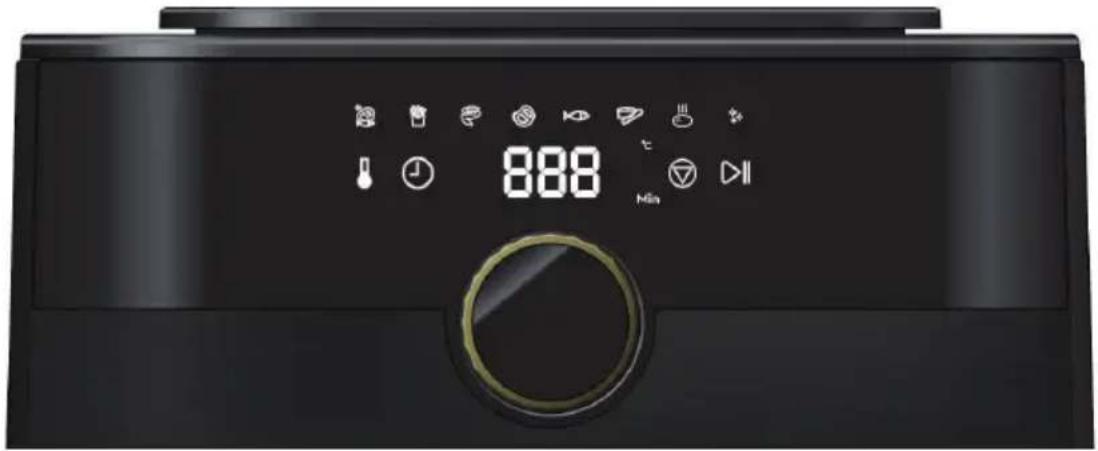
| Button Action Behaviour | ||
Start/Pause | Quick Press - Start the | airfryer after program is set.- Pause the cooking process when the airfryer is cooking. |
Cancel | Quick Press - Cancel existing | program and return to setup mode. |
| Temperature Button[YSWT] | Quick Press - Enter into temperature adjustment mode. | |
Button Time | Quick Press - Enter into time adjustment mode. | |
| Digital Knob Turning - Scroll through the preset menu. | - Scroll through setting for Temperature or Time when in the different modes.- Wake up from Standby mode. | |
- Sound
| Sound Short beep | |
| Key Accept Button press and command is accepted Note: NO sound when rotating knob | |
| Alarm Cooking is completed | |
| Powerup | Oven is power on, together with Power On LEDs (display buttons light up) |
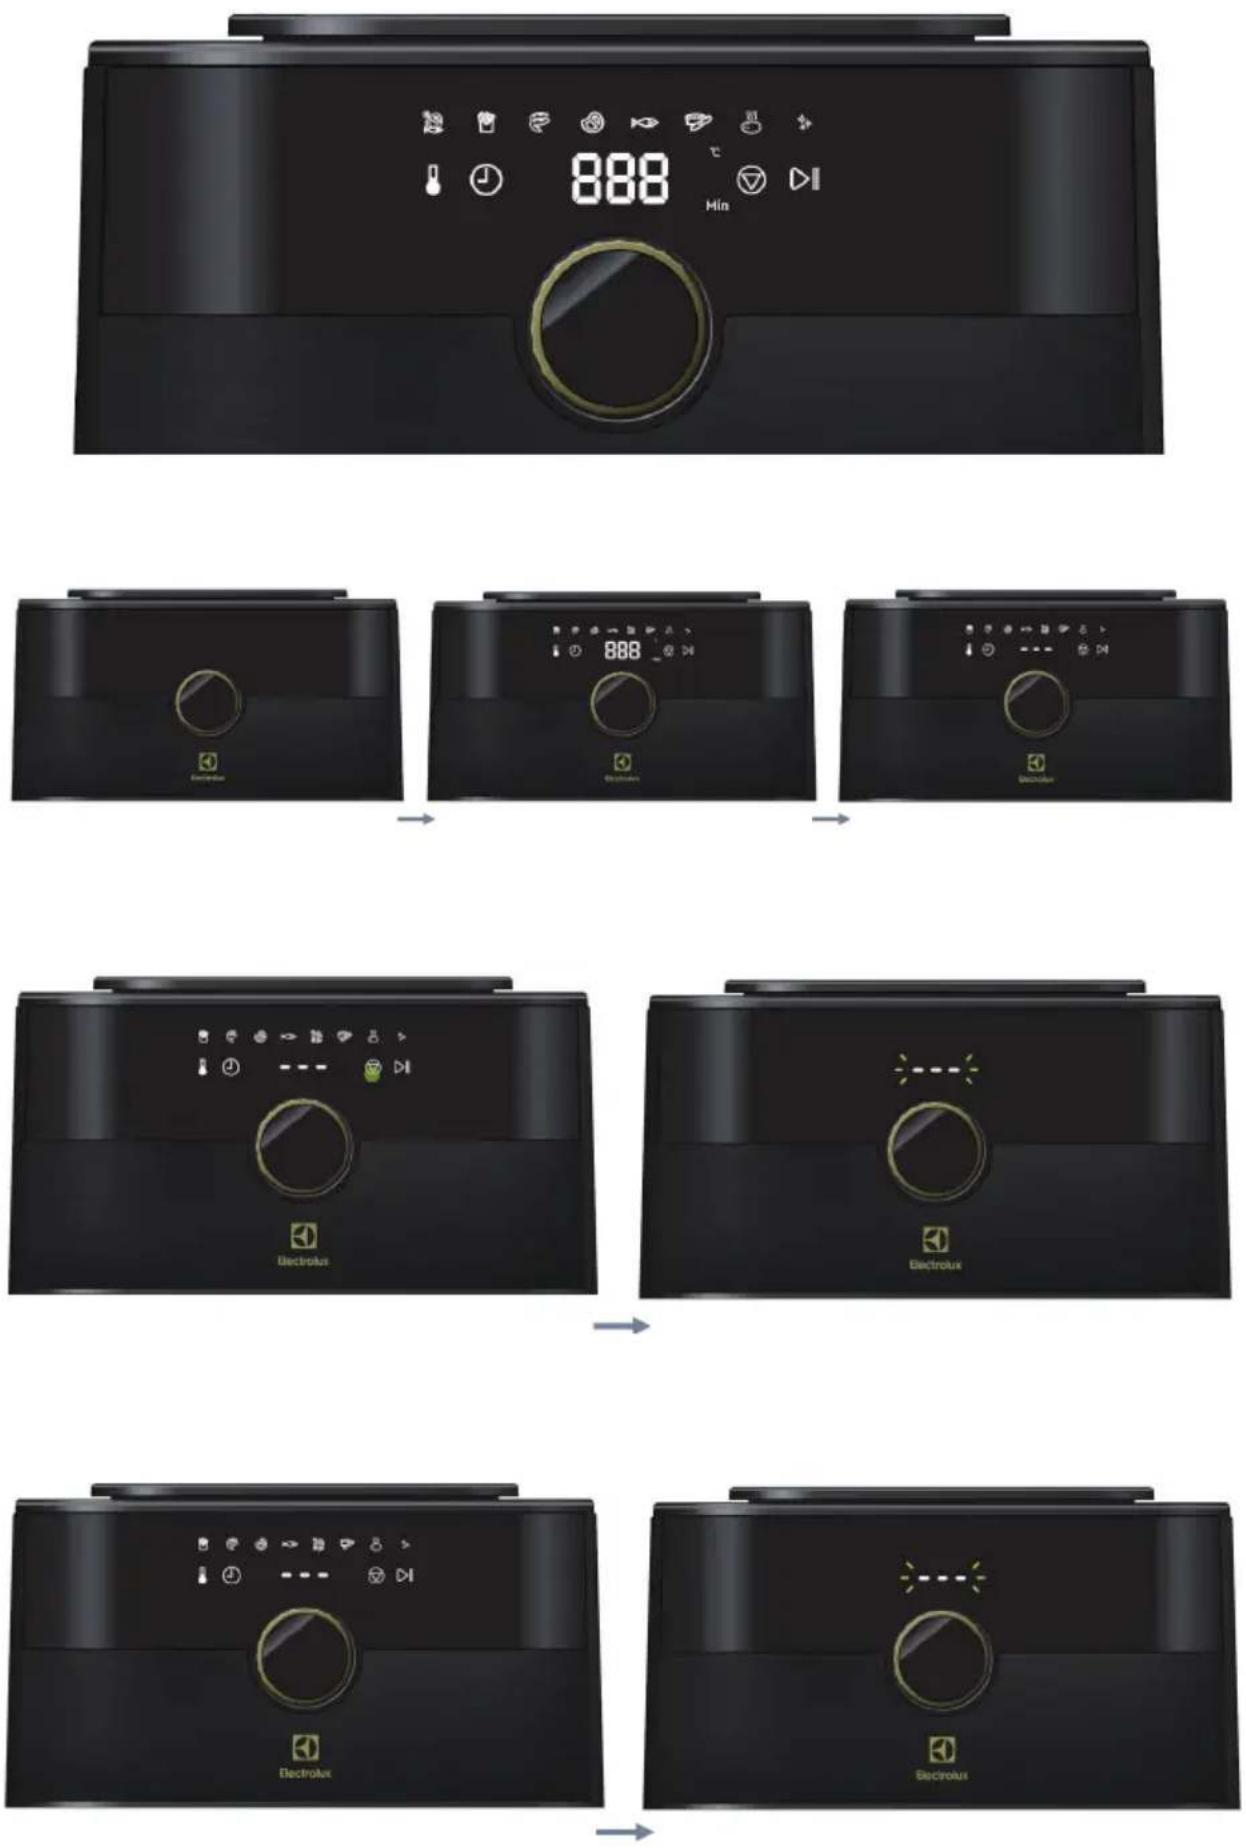
4. Power Up Sequence
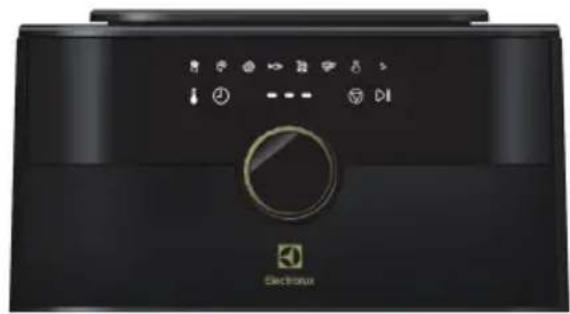
When appliance is powered On,
- UI LEDs will power up together with the Power Up sound.
- After the Power Up sequence (1 second), Airfryer will go into Setup mode.
- If there is no activity for 60s, it goes into Standby mode.
natural_image
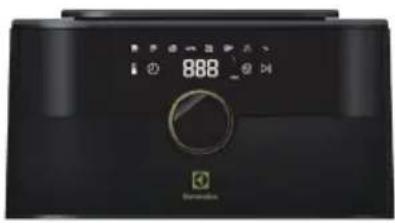
Black rectangular device with a circular knob and logo, no visible text or symbols on the body.Power on is Display is black when there is no power to the Airfryer
natural_image
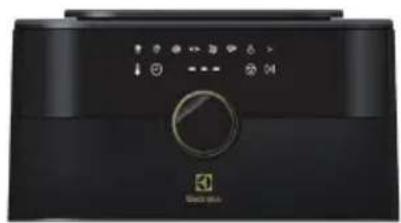
Black digital kitchen appliance with digital display and control knob (no visible text or symbols)All LEDs will show up for 1 second and Power Up sound will play when power is on
natural_image
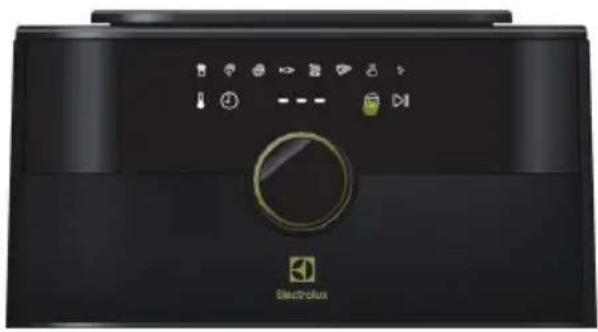
Front view of a black electric stove appliance with control buttons and a rotary knob (no visible text or symbols)After the Power Up sequence, UI will go into Setup mode Temperature and Time indicators will disappear. Digits will show"---"
5. Standby Mode
5.1. Entering Standby Mode
natural_image
Exterior view of a black electric stove appliance with control panel and indicator lights (no readable text or symbols)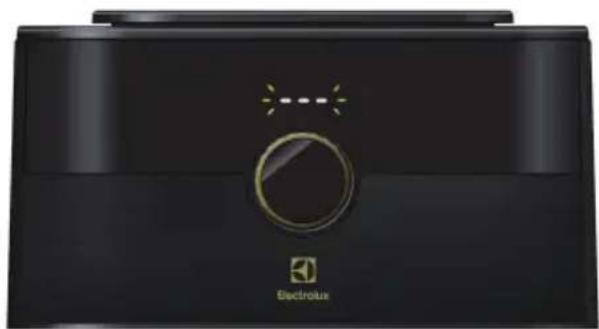
natural_image
Exterior view of a black electric stove appliance with a circular dial and brand logo (no readable text or symbols beyond branding)60s
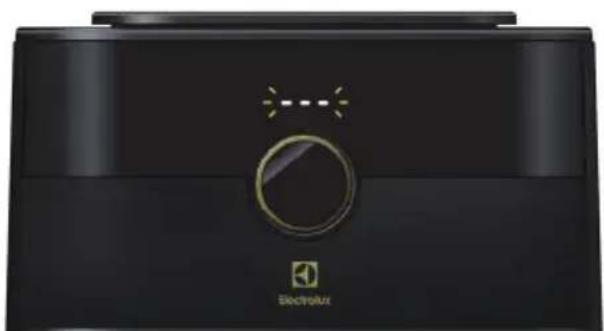
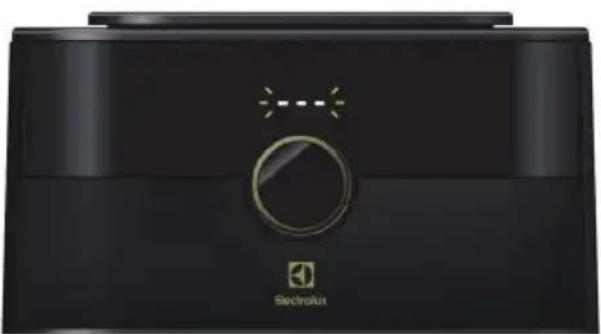
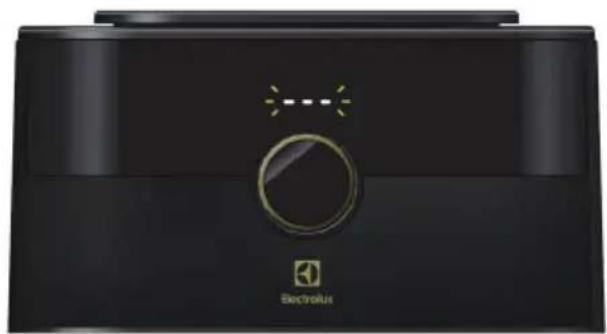
At the Setup Mode, press the Cancel Button Airfryer will go into Standby Mode with all LEDs disappearing expect for "---" that will blink at a rate of 1s
Activating Standby Mode:
- On Setup Mode, press the cancel button.
- Key Accept sound will play.
- All LEDs will disappear only leaving „---”.
- "---" will blink at a rate of 1s.
natural_image
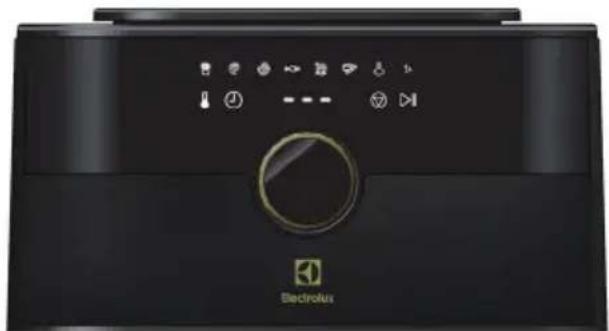
Exterior view of a black Electrolux device with control panel and indicator lights (no readable text or symbols beyond branding)When Airfryer is not cooking or in Setup mode for 60s or more.
natural_image
Exterior view of a black electric shock absorber device (no text or symbols visible)Airfryer will go into Standby Mode with all LEDs disappearing expect for „---“ that will blink at a rate of 1s.
Automatic Standby Mode:
- If the Airfryer is not cooking or in Setup mode for more than 60s, it will automatically go into Standby Mode.
- No sound will be played for this.
- All LEDs will disappear only leaving „---”.
- "---" will blink at a rate of 1s.
5.2. Exiting Standby Mode
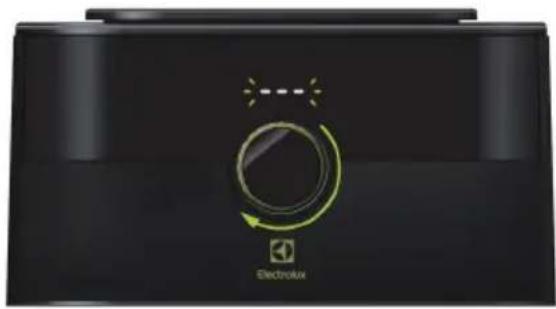
- At Standby mode, rotate the knob. 2. Key Accept sound will play.
- Key Accept sound will play.
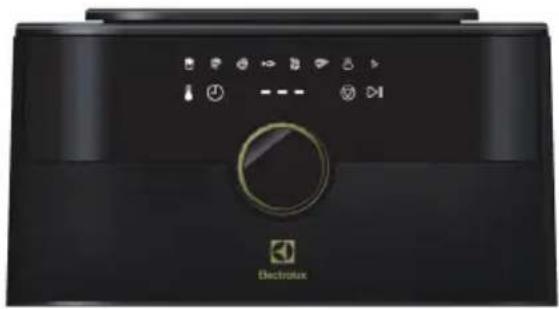
- Display will go into Setup mode.
natural_image
Close-up of a black electronic device with a circular dial and green arrow indicator (no readable text or symbols)At Standby mode, turn the knob to wake up the display. A Key Accept sound will play when the display is lit
natural_image
Exterior view of a black Electrolux device with control panel and indicator lights (no readable text or symbols beyond branding)The Airfryer will go into the Setup mode after waking up from Standby mode
6. Auto Menu
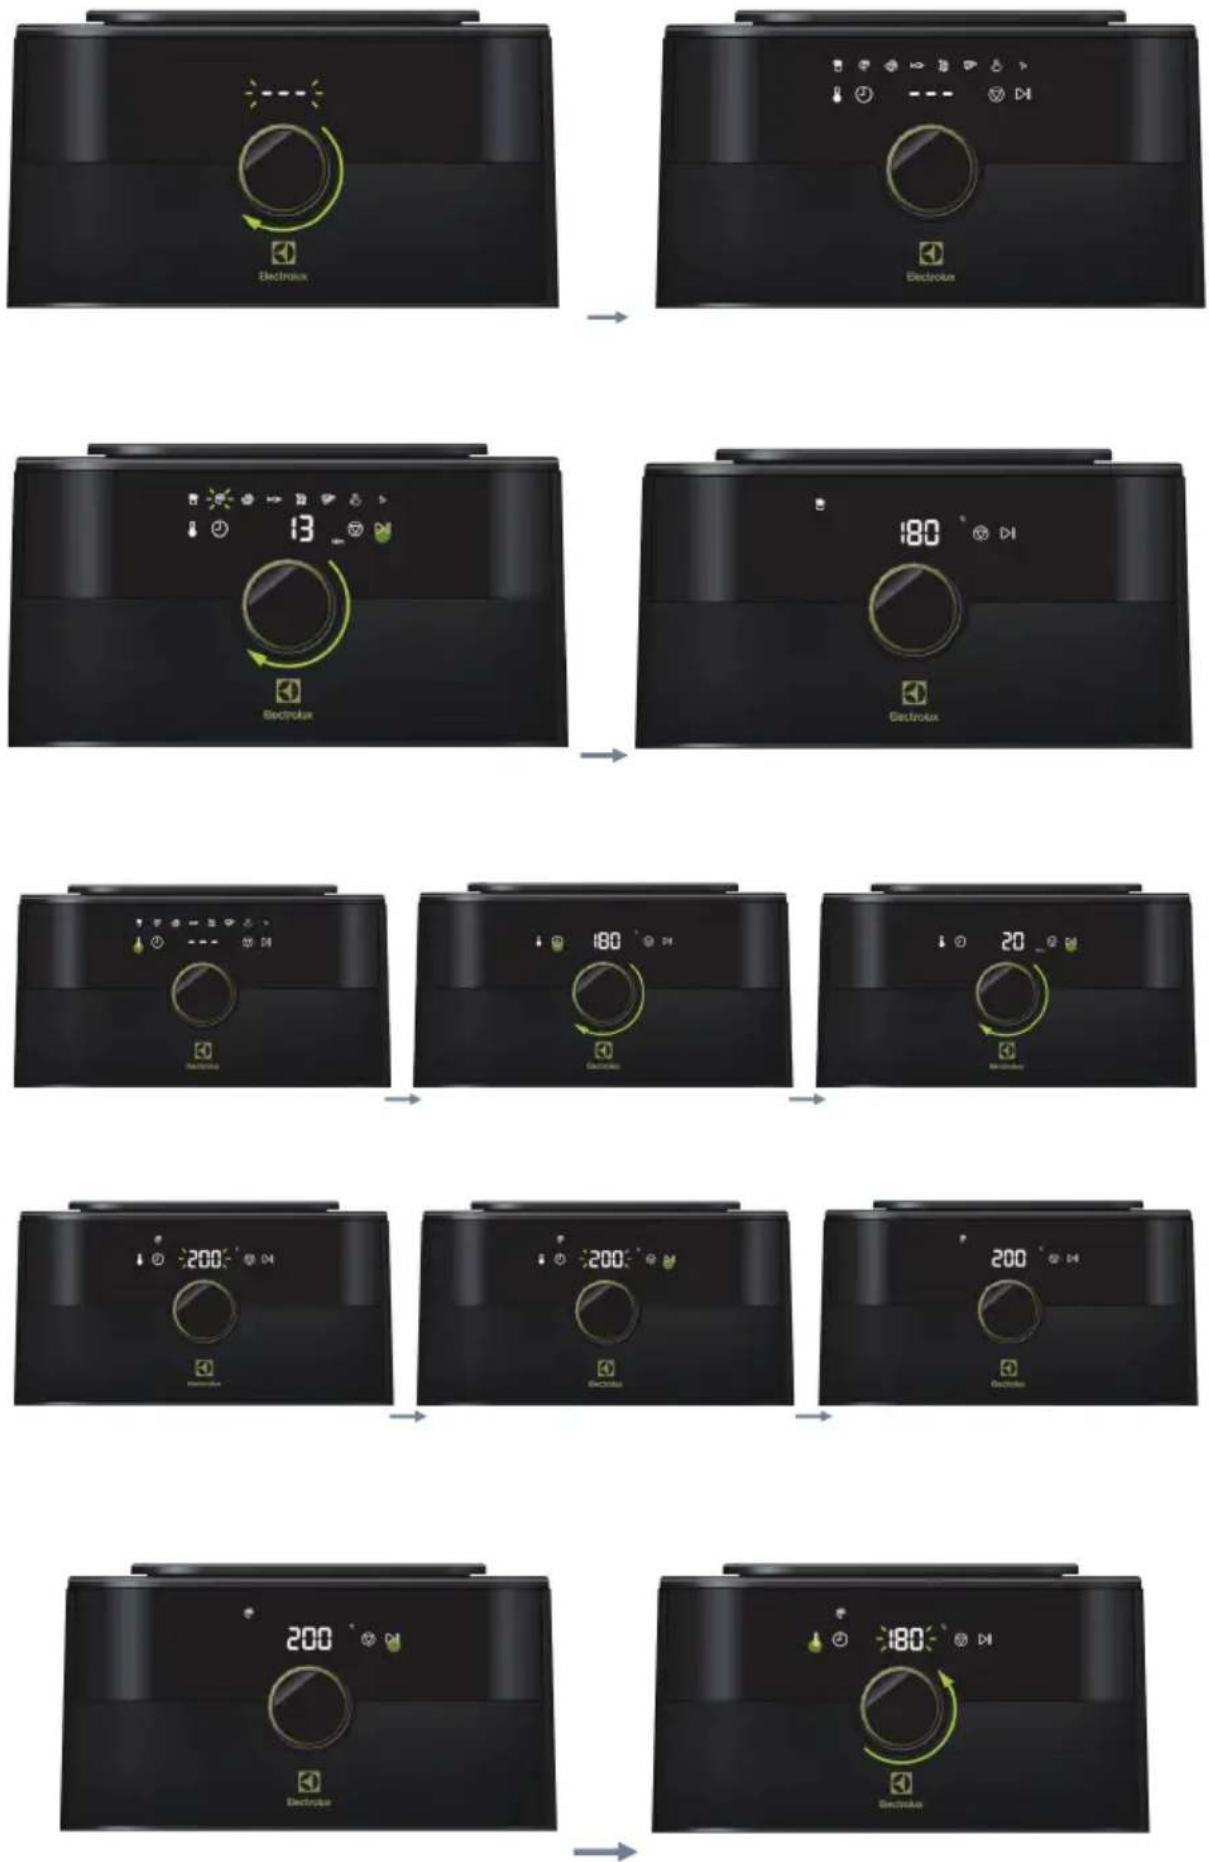
At Setup mode:
- Rotate the knob to activate the Pre-set Menu function. The selected icon will blink at the rate of 1s and the digits will show the cooking time.
- Press Start/Pause to start the Prest Menu cooking program.
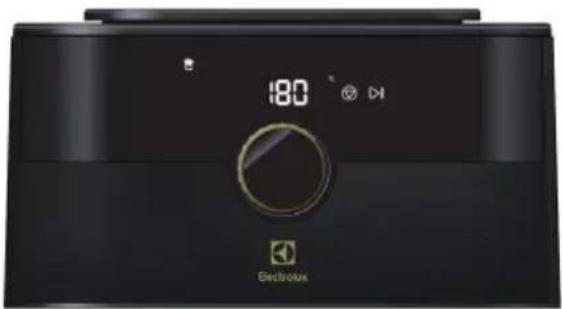
- The display will show only the selected Preset Menu (no blinking) and toggle between the cooking time and temperature at the rate of 1s.
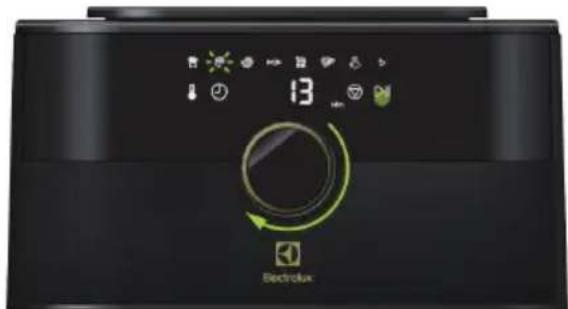
Rotate the knob to select the Preset Menu There is no sound when using the knob. Press the Start/Pause button to start the cooking program. The Key Accept sound will play

natural_image
Exterior view of a black electric oven with digital display and control knob (no text or symbols visible)Airfyrer will go into the Cooking State
7. Manual Setting
At Setup mode:
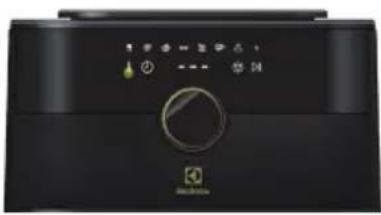
- Press the Temperature button. The Key Accept button will play and the Preset icons will disappear.
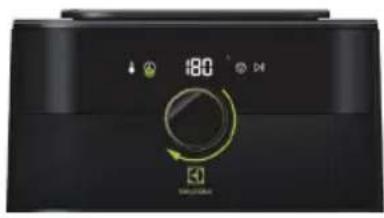
- Use the knob to adjust the temperature. The digits will adjust up or down accordingly. There is no sound with the knob adjustment. Press the Time button. The Key Accept button will play.
- Adjust the time using the knob. There is no sound with the knob adjustment. Press the Start/Pause button to start the cooking.
natural_image
Front view of a black kitchen appliance with control knob and indicator lights (no visible text or symbols)Press the temperature button Key Accept sound will play The Preset icons will disappear The digits and the Temperature indicator will appear
natural_image
Close-up of a black electronic device with digital display and rotary knob (no visible text or symbols)Rotate the knob to the desired temperature setting. Press the Time button, Key Accept sound will play. The digits (for time) and Time indicator will appear
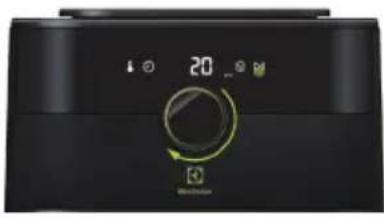
natural_image
Close-up of a black industrial air conditioner unit with digital display and rotary dial (no visible text or symbols)Rotate the knob to the desired temperature setting. Press the Start/Pause button. Key Accept sound will play. Airfryer will go into the Cooking State
8. Midway Adjustments
8.1. Paused when Drawer is removed:
- Drawer is pull out from the Airfryer midway through the cooking. UI goes to Pause mode with digits blinking at the rate of 1s.
- After uses adjust the food and drawer is placed back into the Airfryer, press Start/Pause button. Key Accept sound will play.
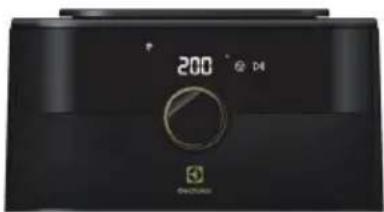
- Airfryer will resume Cooking State with the remaining time on the timer.
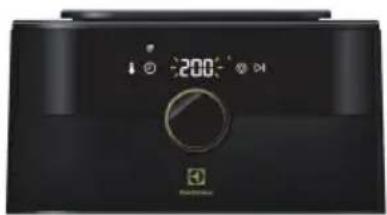
natural_image
Black appliance front panel with digital display and control knob (no visible text or symbols)Drawer is removed. Key Accept sound will play Temperature and Time button will appear. Digits will blink at the rate of 1s
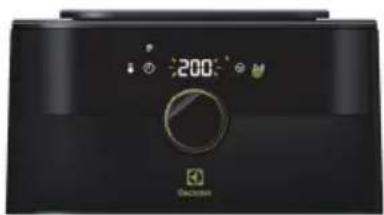
natural_image
Black electronic device with digital display and control knob (no visible text or symbols)Drawer is placed back into the Airfryer. Press Start/Pause button. Key Accept sound will play. Digits will stop blinking
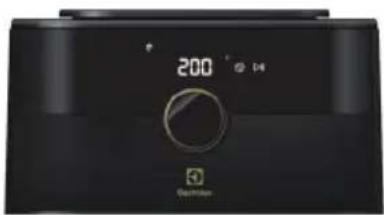
natural_image
Black digital kitchen appliance with a digital display showing 200 o'clock (no visible text or symbols on the device itself)Cooking state will resume with remaining time on timer
NOTE:
This adjustment is the same for Manual Setting.
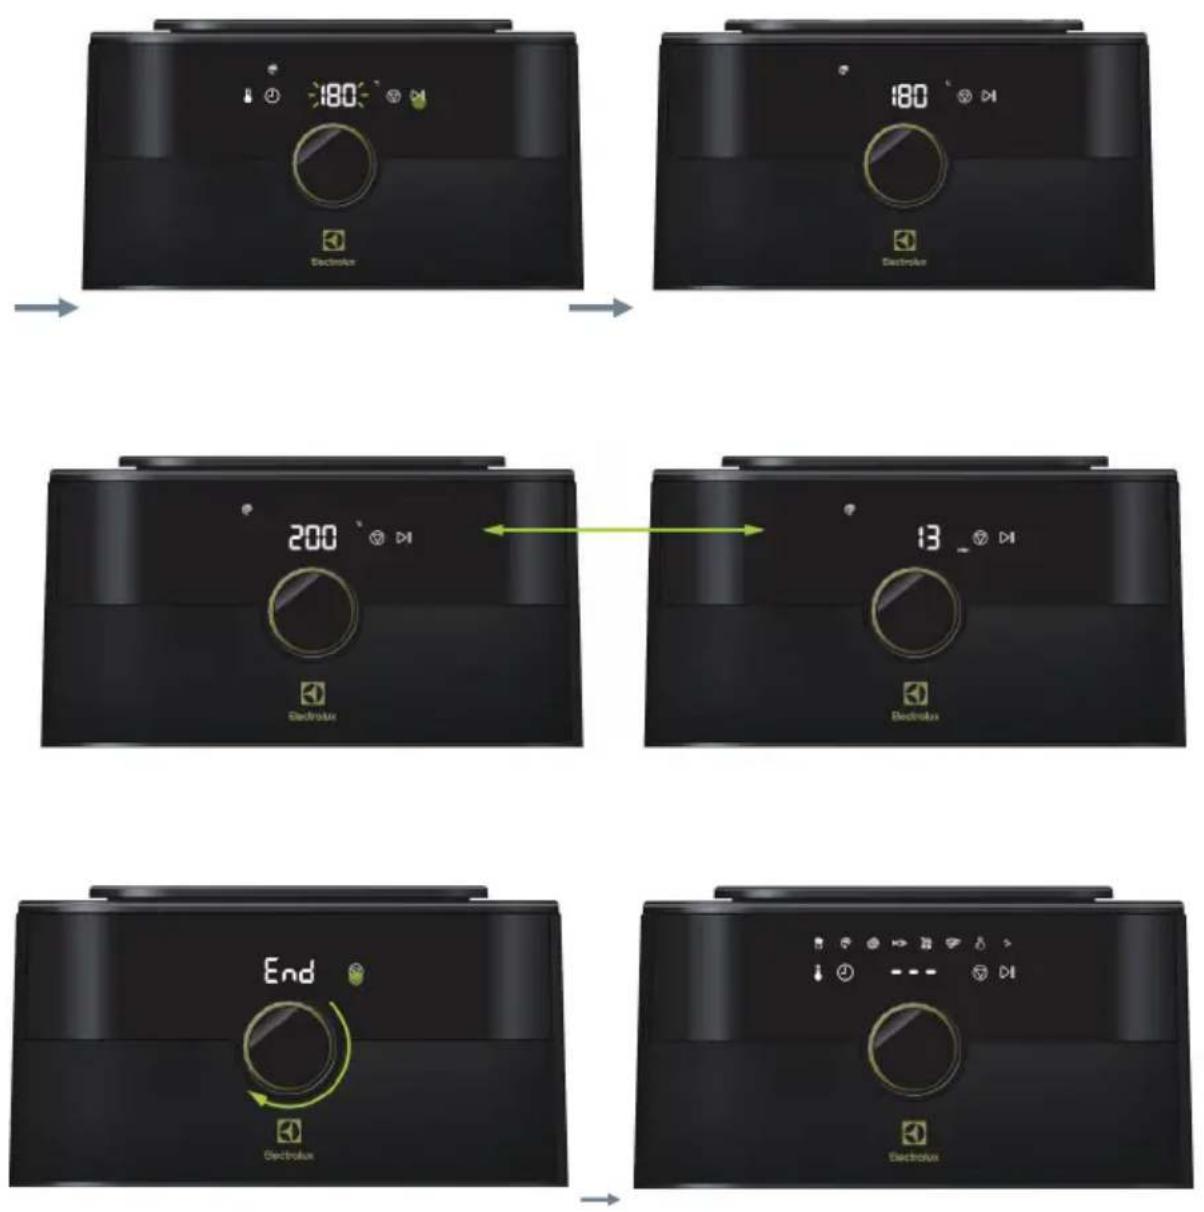
8.2. Making temperature and time adjustments:
- Press Start/Pause button to pause cooking. UI goes to Pause mode with digits blinking at the rate of 1s.
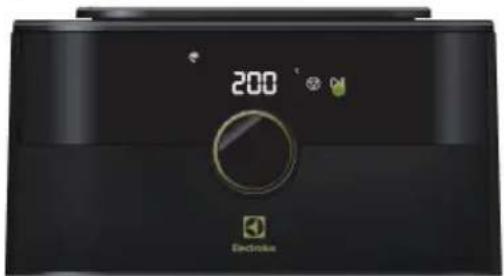
- Pres the Temperature or Time Button. Use the knob to make adjustments.
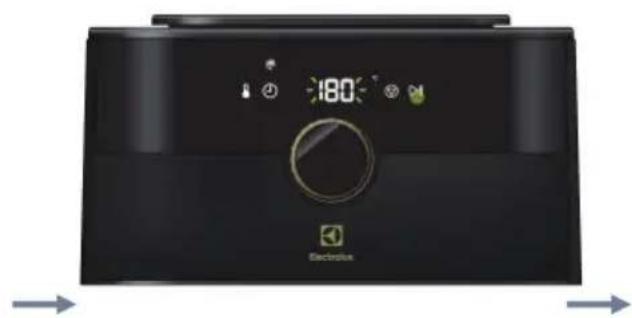
- Press Start/Pause button to resume cooking with new setting.
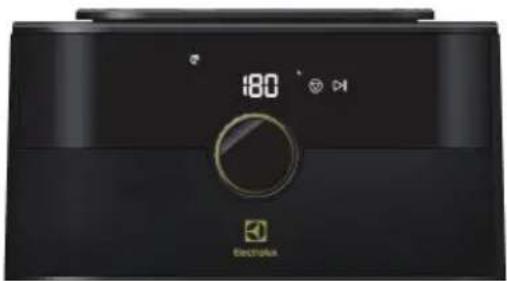
- Airfryer will go into Cooking State.
natural_image
Exterior view of a black electronic device with a digital display showing 200°C and a rotary knob (no readable text or symbols beyond branding)Rotate the knob to select the Preset Menu There is no sound when using the knob. Press the Start/Pause button to start the cooking program. The Key Accept sound will play
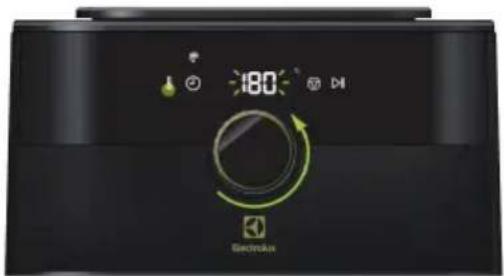
Digits will blink at the rate of 1s. Press the Temperature button. Key Accept sound will play. Adjust the temperature by turning the knob
natural_image
Exterior view of a black electric stove appliance with digital display and control knob (no text or symbols visible)After adjusting the temperature, you may press the Time button to adjust time, or press Start/Pause button to resume cooking with new settings
natural_image
Black electric air conditioner with digital display and control knob (no visible text or symbols)Airfryer will enter Cooking State with new settings
9. How to use the accessory
Double grill
Recommend using
Put the food on the grill to make better cooking performance.
10. Cooking State
Cooking State:
- Digits will toggle between Temperature and Time. The Temperature and Time indicator will appear accordingly.
- Only the selected Preset Menu icon will be lit. All other Preset Menu icons will disappear.
• Temperature and Time buttons will also disappear.
• If using Manual Setting, all Preset Menu icons will disappear.
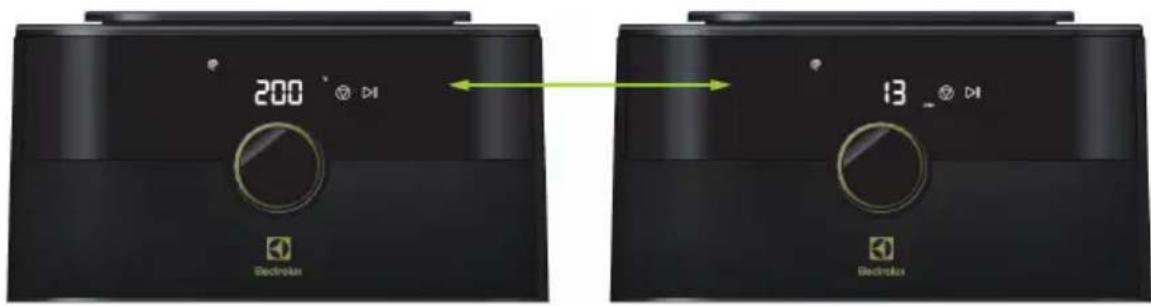
Note:
For Manual setting, the Preset Menu icons will disappear.
11. Cooking End
Cooking End:
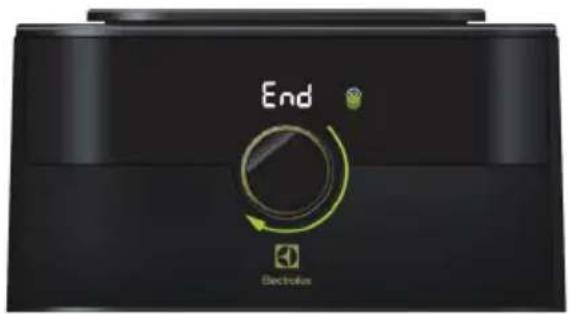
- When the cooking is completed, the Alarm sound will play. The Digits will show „End“ and only the Cancel button will be lit.
- Turn the knob or press the Cancel button to go back into Setup Mode.
natural_image
Exterior view of a black electronic device with control panel and indicator lights (no readable text or symbols)12. How to clean and maintain
- Cooldown the air fryer.
- Clean the surface with a soft cloth.(N0.1)
- Clean the basket and pan with sponge.(N0.2)
※ Please pour out the residual oil in the pan after each use
※ Please use the mild detergent
※ Please don't scrub the air fryer vigorously, otherwise the coating will be damaged
※ The pan, basket and accessories are dishwasher-safe
TROUBLESHOOTING
| PROBLEM POSSIBLE CAUS SOLUTIONS | ||
| The Air Fryer does not work The fryer | is not plugged in. Plug the fryer into an outlet. | |
| The cooking timer was not turning. | ||
| The food cooked by air fryer are not done. | The basket is too full. use smaller batches of food in the basket as they fry more evenly. | |
| The set temperature is too low. | Increase the temperature.(See „how to Use your Air Fryer”) | |
| The food are fried unevenly Certain | types of food need to be shaken halfway through the cook ng time. | Food that lie on top of or across each other, for example fries, need to be shaken halfway through the cooking time.( See „How to use your Air Fryer) |
| Fried snacks are not cri5py when that come out of the air fryer. | The type of snack used was meant to be prepared in a traditional deep fryer. | Use oven snack or lightly brush some oil onto the snacks for a crispier result. |
| I cannot slide the basket into the appliance properly | The basket is too full. Do not fill the basket beyond the „MAX” indication | |
| White smoke is coming from the fryer | You are preparing greasy food. | When greasy food are fried in the air fryer, a large amount of oil will leak into the pan, the oil produces white smoke and the pan may heat up more than usual. This does not affect the fryer or end result. |
| The pans still contains grease residues from previous use. | white smoke is caused by grease heating up in the-pan. Make sure you clean the pan properly after each use. | |
| French fries are fried unevenly in the air fryer | Uneven thickness of the french fries used. | Use fresh potatoes and make sure the even shape and thickness of the chip before frying. |
| Potato sticks were not rinsed properly. | Rinse the potato sticks properly to remove starch from the outside of the sticks. | |
| French Fries are not crispy when they come out of the air fryer. | The crispiness the fries depends on the amount of oil and water in the Fries. | Make sure to dry the potato sticks before adding the oil. |
| Cut the potato sticks Smaller for a crispier result. | ||
| Add slightly more oil for a crispier result. | ||
APPENDIX. PRESET MENU
| Name Icon Cooking Setting Description | |||
| French Fries | 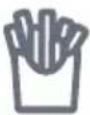 | 180 °C13-15mins | 300g-800gThin Frozen fries |
| Chicken Wings |  | 200°C13-16mins | 300g-800gChicken wings |
| Meat |  | 180 °C15-20mins | 500g-1000gMeat (Thickness less than 2cm) |
| Fish | 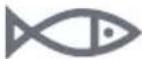 | 180 °C12-15mins | 300g-600gFish |
| Frozen Food |  | 180 °C10-14mins | 300g-800gFrozen Chicken nuggets |
| Bake | 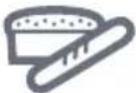 | 180 °C8mins | 5pcs-10pcsCup cake |
| Sweet Potato |  | 180 °C40-45mins | 500g-1000gSweet potato |
| odor-removal |  | 80 °C3mins | Using for removing the cooking smell |
| Vegetable 170 | °C /10-12min 450-650g /brush oil | ||
COOKING HINTS:
The temperature and cooking times in the table are guidelines only. They depend on the recipes and the quality and quantity of the ingredients used.
ENVIRONMENT FRIENDLY DISPOSAL
According to Waste of Electrical and Electronic Equipment (WEEE) directive, WEEE should be separately collected and treated. If at any time in future you need to dispose of this product please do NOT dispose of this product with household waste. Please send this product to WEEE collecting points where available.
DISPOSAL
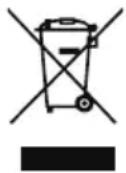
This symbol on the product or on its packaging indicates that the product may not be treated as householdwaste. To recycle your product, please take it to an official collection point or to an Electrolux service center that can remove and recycle the battery and electric parts in a safe and professional way. Follow your country's rules for the separate collection of electrical products and rechargeable batteries.
CUSTOMER CARE AND SERVICE
When contacting Service, ensure that you have the following data available: Model, PNC, Serial Number. The information can be found on the rating plate.
Due to the Electrolux policy of continual product development; specifications, colours, and details of our products and those mentioned in this manual are subject to change without notice.
说明书
natural_image
Black rectangular device with a circular knob and logo, no visible text or symbols on the body.natural_image
Black digital kitchen appliance with control knob and digital display (no visible text or symbols)
natural_image
Front view of a black Bosch Max washing machine with control panel and indicator lights (no visible text or symbols on main body)natural_image
Exterior view of a black Electrolux device with control panel and indicator lights (no readable text or symbols beyond branding)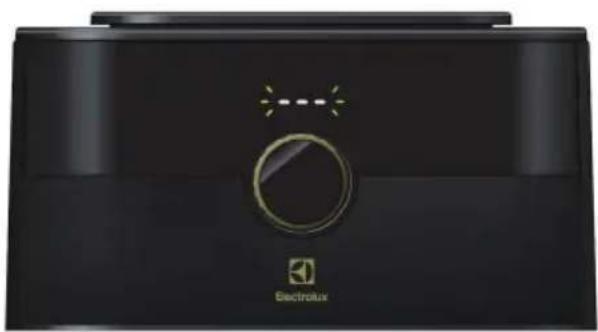
natural_image
Exterior view of a black electric vacuum cleaner with control knob and brand mark (no text or symbols on device body)natural_image
Exterior view of a black electrobus appliance with control panel and function buttons (no readable text or symbols beyond branding)
natural_image
Exterior view of a black electric shaver with control knob and brand mark (no text or symbols on main body)natural_image
Close-up of a black electronic device with a green circular dial and 'Electrolux' logo, no readable text or symbols beyond the label.natural_image
Exterior view of a black electric oven with control panel and indicator lights (no visible text or symbols)natural_image
Exterior view of a black appliance front panel with digital display and green circular control knob (no readable text or symbols)natural_image
Exterior view of a black electric air conditioner unit with digital display and control knob (no text or symbols visible)空气炸锅将进入烹饪状态。
7. 手动设置
在设置模式:
natural_image
Front view of a black electric oven with control knob and indicator lights (no visible text or symbols)natural_image
Close-up of a black electronic device with a digital display and rotary knob (no readable text or symbols)natural_image
Close-up of a black industrial air conditioner unit with digital display and rotary dial (no visible text or symbols)natural_image
Black electronic device with digital display and control knob (no visible text or symbols)natural_image
Black digital kitchen appliance with a circular control knob and temperature display (no visible text or symbols)natural_image
Black electronic device with digital display showing 200 o'clock (no visible text or symbols beyond clock and logo)natural_image
Close-up of a black electronic device with a digital display showing '200' and a green control knob, no readable text or symbols beyond the display.natural_image
Close-up of a black electric oven with digital display and green circular control knob (no readable text or symbols)natural_image
Exterior view of a black electronic device with digital display and control knob (no readable text or symbols)natural_image
Exterior view of a black electric scooter front panel with digital display and control knob (no text or symbols visible)空气炸锅将以新的设置方式进入烹饪状态。
9. 配件使用方法
双层烤架
推荐使用
将食材放在烤架上以获得更好的烹饪效果。
10. 烹饪状态
natural_image
Black rectangular device with a circular knob and logo, no visible text or symbols on the body.natural_image
Front view of a black electronic device with a circular dial and control buttons (no visible text or symbols)natural_image
Exterior view of a black electric oven with control panel and indicator lights (no readable text or symbols)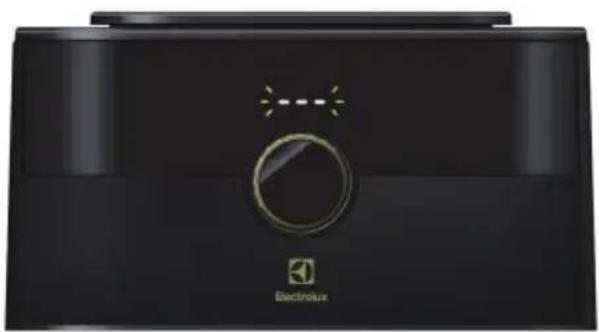
natural_image
Exterior view of a black electronic device with a circular dial and 'Electroux' logo (no readable text beyond branding)natural_image
Exterior view of a black Electrolux appliance with control buttons and a circular dial (no readable text or symbols beyond branding)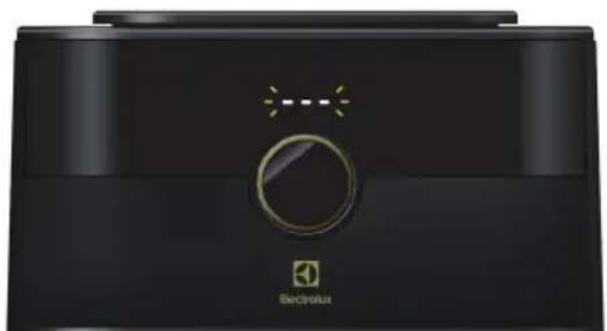
natural_image
Exterior view of a black electronic device with a circular dial and brand logo (no readable text or symbols beyond branding)natural_image
Close-up of a black electronic device with a circular dial and green rotary knob, labeled 'Electroux' (no additional text or symbols visible)natural_image
Exterior view of a black electric oven with control panel and indicator lights (no text or symbols on main body)natural_image
Front view of a black electric oven with digital display and control knob (no readable text or symbols)natural_image
Exterior view of a black electric oven with digital display and control knob (no text or symbols visible)氣炸鍋將進入烹飪狀態。
7. 手動設置
在設置模式:
natural_image
Front view of a black electric oven with control knob and indicator lights (no visible text or symbols)natural_image
Close-up of a black electronic device with digital display and control knob (no readable text or symbols)natural_image
Close-up of a black appliance front panel with digital display and green circular control knob (no visible text or symbols)natural_image
Black digital kitchen appliance with control knob and temperature display (no visible text or symbols)natural_image
Black appliance front view with digital display and control knob (no visible text or symbols)natural_image
Black electronic device with digital display showing 200 pW, no visible text or symbols on the device itself.natural_image
Exterior view of a black electric appliance with digital display and control knob (no visible text or symbols)natural_image
Black appliance front view with digital display and control knob, no visible text or symbols on main bodynatural_image
Exterior view of a black Bosch air conditioner unit with digital display and control knob (no text or symbols on main body)氣炸鍋將以新的設置方式進入烹飪狀態。
9. 配件使用方法
雙層烤架
將食材放在烤架上以獲得更好的烹飪效果。
10. 烹飪狀態
烹飪狀態:
natural_image
Black rectangular device with a circular knob and logo, no visible text or symbols on the body.natural_image
Black appliance front view with digital display and control knob (no visible text or symbols)natural_image
Front view of a black electronic device with control buttons and a rotary knob (no visible text or symbols)natural_image
Exterior view of a black electric oven with control panel and indicator lights (no readable text or symbols)natural_image
Exterior view of a black electric shock absorber device (no visible text or symbols)natural_image
Exterior view of a black Electrolux device with control knob and function buttons (no readable text or symbols beyond branding)60초
natural_image
Exterior view of a black electronic device with a circular dial and brand mark (no readable text or symbols beyond branding)natural_image
Close-up of a black electronic device with a circular dial and green circular indicator, labeled 'Electrolux' (no other text or symbols visible)natural_image
Front view of a black electrobox with control panel and indicator lights (no readable text or symbols)natural_image
Close-up of a black electronic device with a digital display showing 180°C and a circular dial indicator (no readable text or symbols beyond branding)natural_image
Close-up of a black electric oven with control knob and indicator lights (no visible text or symbols)natural_image
Close-up of a black electronic device with digital display and rotary knob (no visible text or symbols)natural_image
Close-up of a black kitchen air conditioner unit with digital display and rotary dial (no visible text or symbols)natural_image
Black appliance front view with digital display and control knob (no visible text or symbols)natural_image
Front view of a black electric microwave oven with digital display and control knob (no visible text or symbols)natural_image
Black electronic device with digital display showing 200°C and control knob (no readable text or symbols)natural_image
Close-up of a black electric air conditioner unit with digital display and control knob (no visible text or symbols)natural_image
Close-up of a black electric oven with digital display and rotary knob (no readable text or symbols)natural_image
Exterior view of a black electric stove appliance with digital display and control knob (no text or symbols visible)natural_image
Exterior view of a black Boschux air conditioner with digital display and control knob (no text or symbols on device body)natural_image
Exterior view of a black electric oven with control panel and indicator lights (no readable text or symbols)12. 청소 및 관리 방법
natural_image
Black rectangular device with a circular knob and logo, no visible text or symbols on the body.natural_image
Front view of a black electric oven with digital display and control knob (no visible text or symbols)natural_image
Front view of a black electric oven with control knob and indicator lights (no visible text or symbols)natural_image
Exterior view of a black electric oven with control panel and indicator lights (no readable text or symbols)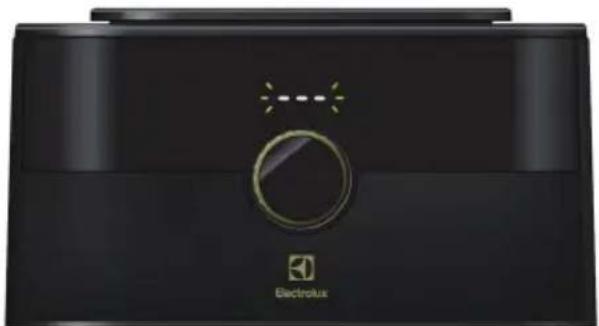
natural_image
Exterior view of a black electronic device with a circular dial and brand mark (no readable text or symbols beyond branding)natural_image
Exterior view of a black Electrolus air purifier device with control buttons and indicator lights (no readable text or symbols beyond branding)natural_image
Exterior view of a black electronic device with a circular button and logo (no readable text or symbols beyond branding)natural_image
Close-up of a black electronic device with a circular dial and green directional arrows, labeled 'Electrolux' (no other text or symbols visible)natural_image
Close-up of a black Technolux device with control panel and function buttons (no readable text or symbols beyond branding)natural_image
Exterior view of a black electric oven with digital display and control knob (no text or symbols on main body)natural_image
Black electronic device with digital display showing 180, no visible text or symbols on the device itselfnatural_image
Front view of a black microwave oven with control knob and indicator lights (no visible text or symbols)natural_image
Close-up of a black industrial air conditioner unit with digital display and rotary dial (no visible text or symbols)natural_image
Close-up of a black microwave oven front panel with digital display and green rotary knob (no visible text or symbols)natural_image
Black appliance front panel with digital display and control knob (no visible text or symbols)natural_image
Close-up of a black electronic device front panel with a digital display showing 200°C and a circular control knob (no readable text or symbols)Laci dikembalikan ke air fryer. Tekan tombol Mulai/Jeda. Akan terdengar bunyi tombol dikonfirmasi. Layar akan berhenti berkedip.
natural_image
Close-up of a black electric air conditioner unit with digital display and control knob (no visible text or symbols)natural_image
Close-up of a black electric oven air conditioner unit with digital display and rotary dial (no readable text or symbols)natural_image
Black electric stove front panel with digital display and control knob, no visible text or symbols on main bodynatural_image
Exterior view of a black electric oven with digital display and control knob (no text or symbols visible)natural_image
Close-up of a black electronic device with a circular knob and logo (no visible text or symbols)natural_image
Black electric oven with digital display and control knob (no visible text or symbols)natural_image
Front view of a black appliance with control panel and indicator lights (no visible text or symbols)natural_image
Exterior view of a black electric oven appliance with control panel and indicator lights (no readable text or symbols)natural_image
Exterior view of a black electric shock absorber device (no visible text or symbols)natural_image
Exterior view of a black electric shaver with control knob and function buttons (no readable text or symbols)natural_image
Exterior view of a black electric air conditioner unit with control knob and brand logo (no readable text or symbols beyond branding)60นาที่
natural_image
Close-up of a black electronic device with a circular dial and green arrow indicator, labeled 'Electrolux' (no other text or symbols visible)natural_image
Exterior view of a black electric oven with control knob and indicator lights (no visible text or symbols)natural_image
Front view of a GasPitax air conditioner unit with digital display and green circular control knob (no readable text or symbols)natural_image
Exterior view of a black electric appliance front panel with digital display and control knob (no readable text or symbols)natural_image
Black kitchen appliance with control panel and indicator lights (no visible text or symbols)natural_image
Close-up of a black kitchen air conditioner unit with digital display and rotary dial (no visible text or symbols)natural_image
Close-up of a black industrial air conditioner unit with digital display and rotary knob (no visible text or symbols)natural_image
Black appliance front panel with digital display and control knob (no visible text or symbols)natural_image
Black electronic device with digital display and control knob (no visible text or symbols)natural_image
Black industrial air conditioner unit with digital display and control knob (no visible text or symbols)natural_image
Black electronic device with digital display showing '200' and 'Electrolux' logo (no readable text beyond branding)natural_image
Exterior view of a black electric oven with digital display and control knob (no text or symbols visible)natural_image
Exterior view of a black electric shocker device with digital display and control knob (no text or symbols visible)natural_image
Black rectangular device with a circular knob and logo, no visible text or symbols on the body.natural_image
Black appliance front panel with digital display and control knob (no visible text or symbols)natural_image
Front view of a black electronic device with control buttons and a rotary knob (no visible text or symbols)natural_image
Front view of a black electric stove with control panel and indicator lights (no visible text or symbols)natural_image
Exterior view of a black electric shock absorber device (no visible text or symbols)natural_image
Exterior view of a black Electrolux device with control buttons and indicator lights (no readable text or symbols beyond branding)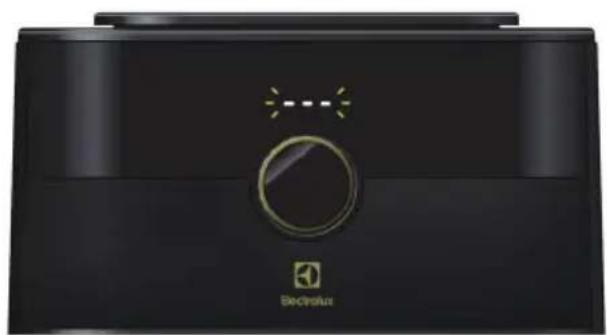
natural_image
Exterior view of a black electric scooter (no visible text or symbols)
60 giây
natural_image
Close-up of a black electronic device with a circular dial and green directional arrow, labeled 'Electrolux' (no other text or symbols visible)natural_image
Front view of a black electric oven with control panel and indicator lights (no visible text or symbols)natural_image
Exterior view of a black electric oven with digital display and control knob (no text or symbols visible)natural_image
Black industrial microwave oven with control panel and indicator lights (no visible text or symbols)natural_image
Close-up of a black electronic device with a digital display and rotary knob (no readable text or symbols)natural_image
Close-up of a black appliance front panel with digital display and green circular control knob (no visible text or symbols)natural_image
Black appliance front panel with digital display and control knob (no visible text or symbols)natural_image
Close-up of a black industrial air conditioner unit with digital display and control knob (no visible text or symbols)natural_image
Black electronic device with digital display and control knob (no visible text or symbols)natural_image
Close-up of a black electronic device with digital display and rotary knob (no readable text or symbols)natural_image
Exterior view of a black electric microwave oven with digital display and control knob (no text or symbols on main body)natural_image
Exterior view of a black electric scooter front panel with digital display and control knob (no text or symbols visible)natural_image
Front view of a black electric vacuum cleaner with control panel and indicator lights (no visible text or symbols)Electrolux Korea limited
9F, Pine Avenue B,
100 Euljiro, Jung-gu, Seoul, Korea 04551
Korea
Tel: +82 2 6020-2200
Fax: +82 2 6020-2271-3
Customer Care Services : +82 1566-1238
Email : homecare.krh@electrolux.com
Website: www.electrolux.co.kr
INDONESIA
Electrolux Philippines, Inc.
10th Floor. W5th Avenue Building
5th Avenue Corner 32nd Street
Bonifacio Global City,
Taguig Philippines 1634
Trunkline: +63 2 737 4756
Domestic Toll Free: 1 800 10 845 care 2273
Customer Care Services: +63 2 845 care 2273
Email: wecare@electrolux.com
Website: www.electrolux.com.ph
THAILAND
Electrolux Thailand Co Ltd
Electrolux Building
14th Floor 1910 New Petchburi Road
Bangkapi, Huay Kwang
Bangkok 10310
Thailand
Tel: +66 2 725 9100
Fax: +66 2 725 9299
Customer Care Services: +66 2 725 9000
Email: customercarethai@electrolux.com
Website: www.electrolux.co.th
VIETNAM
Electrolux Vietnam Ltd
Floor 9th, A&B Tower
76 Le Lai Street
Ben Thanh Ward - District 1
Ho Chi Minh City
Vietnam
Tel: +84 8 3910 5465
Fax: +84 8 3910 5470
Customer Care Services: 1800-58-8899
Email: vncare@electrolux.com
Website: www.electrolux.vn
MALAYSIA
Electrolux Home Appliances Sdn Bhd
Lot C6, No. 28, Jalan 15/22,
Taman Perindustrian Tiong Nam,
40200 Shah Alam, Selangor
Malaysia
Customer Care Services Tel: +60 3 5525 0800
Customer Care Services Fax: +60 3 5524 2521
Email: malaysia.customercare@electrolux.com
Website: www.electrolux.com.my
SINGAPORE
Electrolux SEA Pte Ltd
1 Fusionopolis Place, Galaxis
07-10 (West Lobby)
Singapore 138522
Customer Care Services: +65 6727 3699
Fax: +65 6727 3611
Email: customer-care.sin@electrolux.com
Website: www.electrolux.com.sg
AUSTRALIA
Electrolux Home Products Pty Ltd
ABN 51 004 762 341
163 O'Riordan Street, Mascot, NSW 2020, Australia
Customer Service Phone: 1300 365 305
Website: www.electrolux.com
NEW ZEALAND
Electrolux (NZ) Limited
3-5 Niall Burgess Road, Mt. Wellington, Auckland,
New Zealand
Phone: (09) 9573 2220
Customer Service Phone: 0508 730 730
Website: www.electrolux.com
HONG KONG
大昌貿易行有限公司
電器維修中心
香港九龍灣啟祥道20號
大昌行集團大廈5樓
natural_image
Abstract geometric design with three white petal-like shapes on a black background (no text or symbols)Share more of our thinking at www.electrolux.com

- How to clean
- Cleaning agents and accessories
- Everyday use
- INSTRUCTION MANUAL
- COMPONENTS
- IMPORTANT SAFEGUARDS
- BEFORE USE
- HOW TO USE YOUR AIR FRYER
- How to use: pan and basket
- Power Up Sequence
- Standby Mode
- Entering Standby Mode
- Activating Standby Mode:
- Automatic Standby Mode:
- Exiting Standby Mode
- Auto Menu
- Manual Setting
- Midway Adjustments
- Paused when Drawer is removed:
- NOTE:
- Making temperature and time adjustments:
- How to use the accessory
- Double grill
- Cooking State
- Cooking State:
- Cooking End
- Cooking End:
- How to clean and maintain
- COOKING HINTS:
- ENVIRONMENT FRIENDLY DISPOSAL
- DISPOSAL
- CUSTOMER CARE AND SERVICE
- 说明书
- 手动设置
- 配件使用方法
- 烹饪状态
- 手動設置
- 雙層烤架
- 烹飪狀態
- 烹飪狀態:
- 청소 및 관리 방법
- INDONESIA
- THAILAND
- VIETNAM
- MALAYSIA
- SINGAPORE
- 07-10 (West Lobby)
- AUSTRALIA
- NEW ZEALAND
- HONG KONG
Brand : ELECTROLUX
Model : Air Fryer E6AF1-520K
Category : Deep fryer