MM356 - Action Camera Manta - Free user manual and instructions
Find the device manual for free MM356 Manta in PDF.


| Product Type | Action Camera |
| Brand | Manta |
| Model | MM356 |
| Dimensions (approx.) | 60 x 40 x 30 mm |
| Weight (approx.) | 100 g |
| Power Source | Rechargeable Li-ion battery (included) |
| Charging | Via Micro USB (computer or power adapter) or car charger |
| Battery Indicator | LED gauge on device |
| Storage | Micro SD card (not included, recommend branded and formatted) |
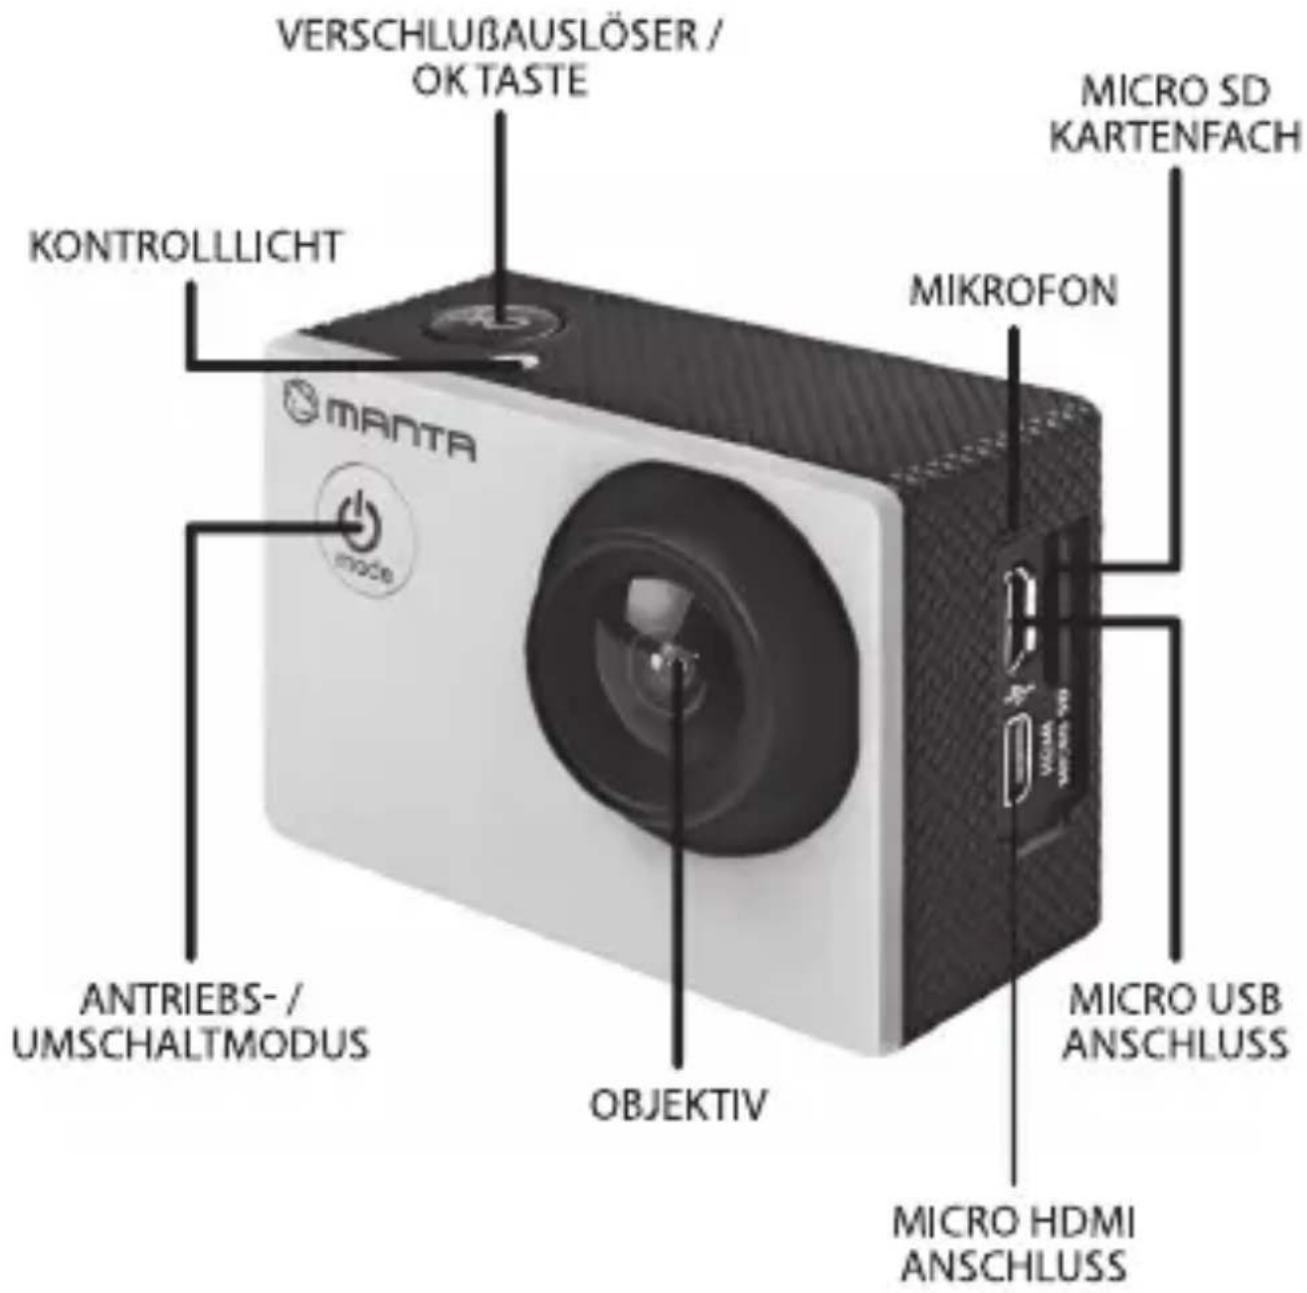
| Video Recording | Yes, press OK to start/stop |
| Photo Shooting | Yes, with single shot, self-timer (2s/5s/10s), continuous shooting |
| Playback | Via USB or card reader |
| WiFi | Yes, orange LED indicator, default password 66666666 |
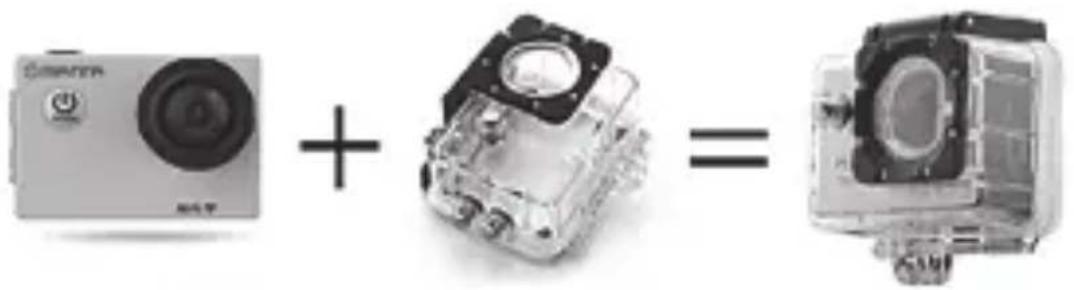
| Waterproof | Yes, with included waterproof housing |
| Connectivity | Micro USB, Micro HDMI |
| Display | Built-in screen (type not specified) |
| Operating System Support | Android and iOS 2.3+ |
| Compatible App | XDV (Android), companion iOS app |
| Maintenance | Keep dry, clean lens with soft cloth |
| Safety | Use only recommended accessories, avoid extreme temperatures |
| Spare Parts & Repairability | Contact Manta Europe for service |
Frequently Asked Questions - MM356 Manta
User questions about MM356 Manta
0 question about this device. Answer the ones you know or ask your own.
Ask a new question about this device
Download the instructions for your Action Camera in PDF format for free! Find your manual MM356 - Manta and take your electronic device back in hand. On this page are published all the documents necessary for the use of your device. MM356 by Manta.
USER MANUAL MM356 Manta
PL
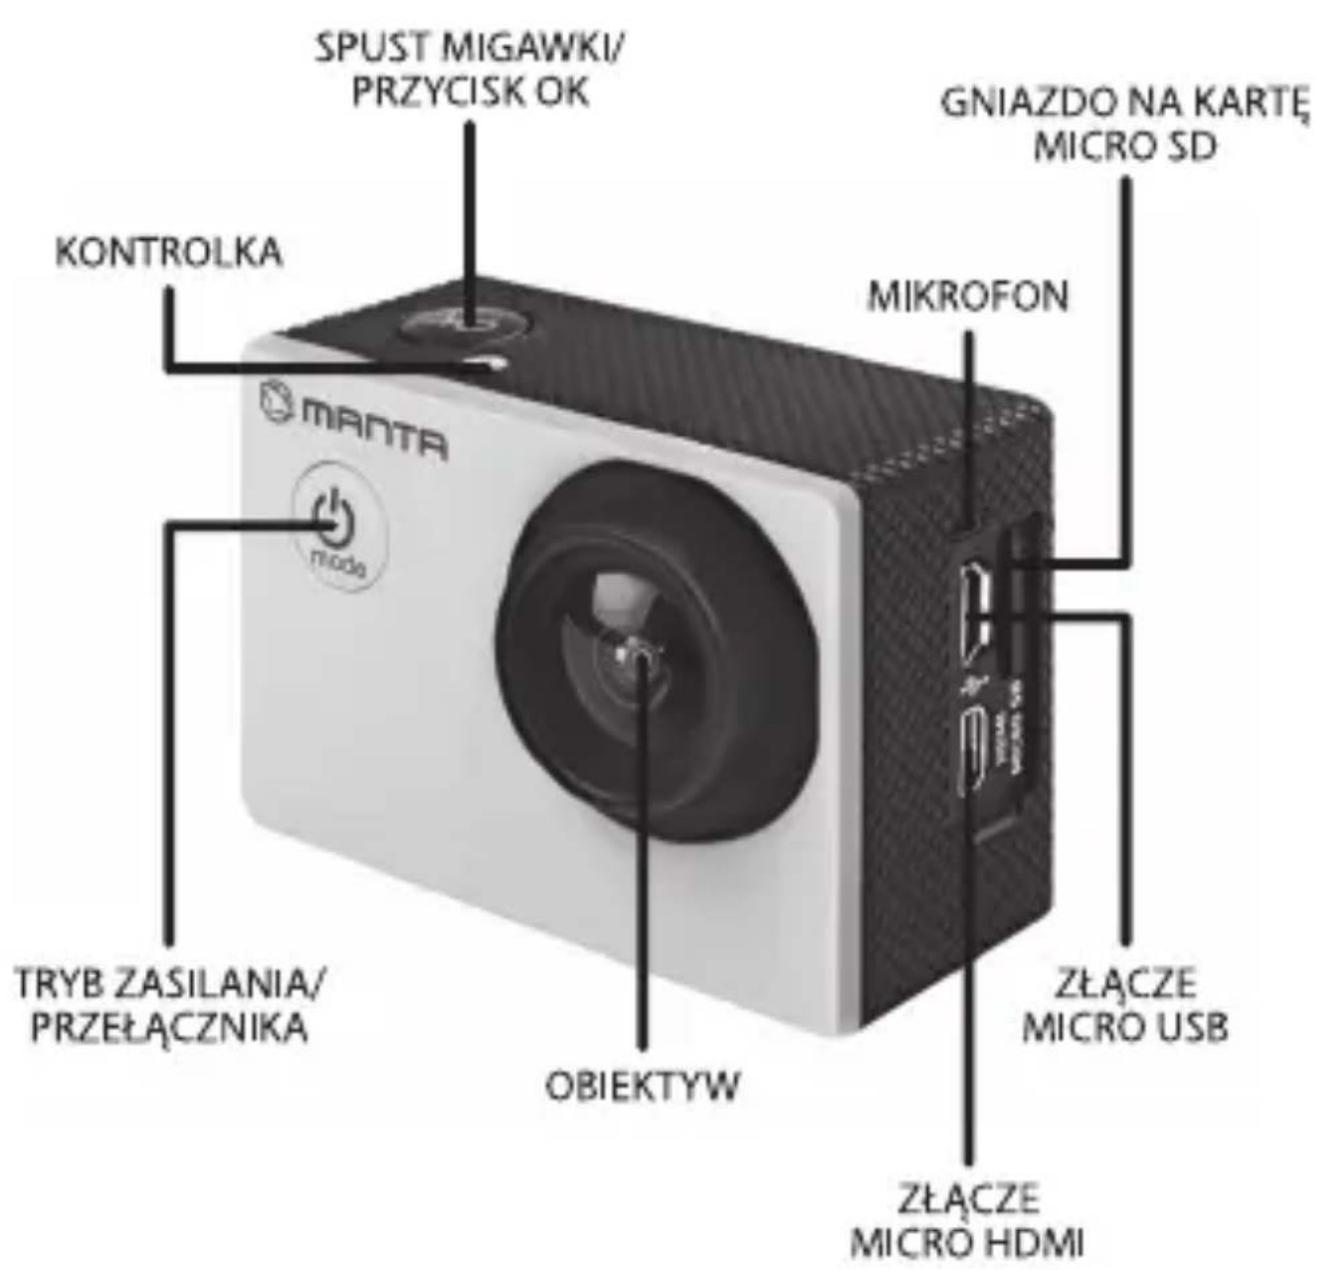
PL
KONTROLKA
TRYBU PRACY
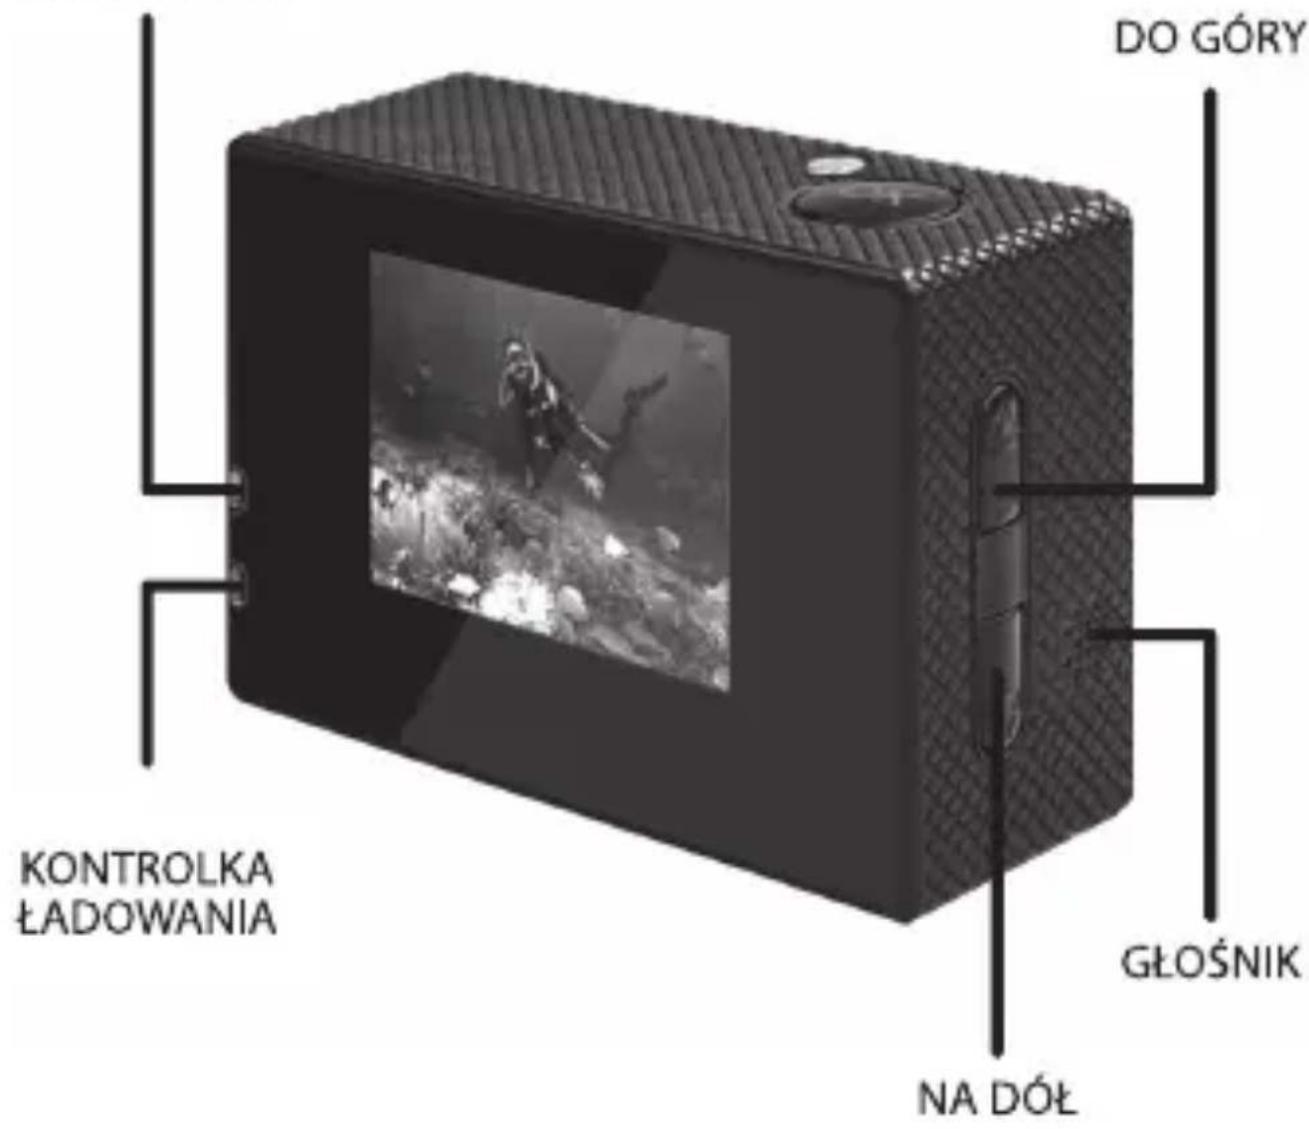
PL
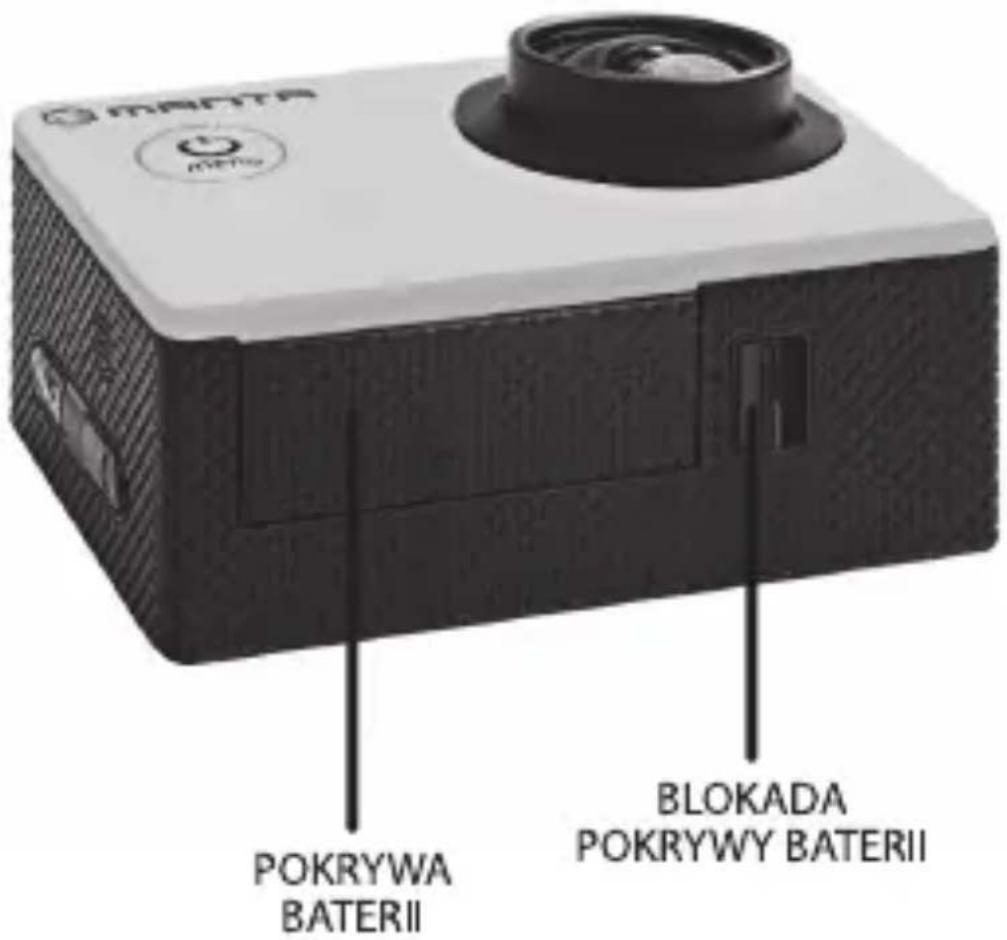
PL
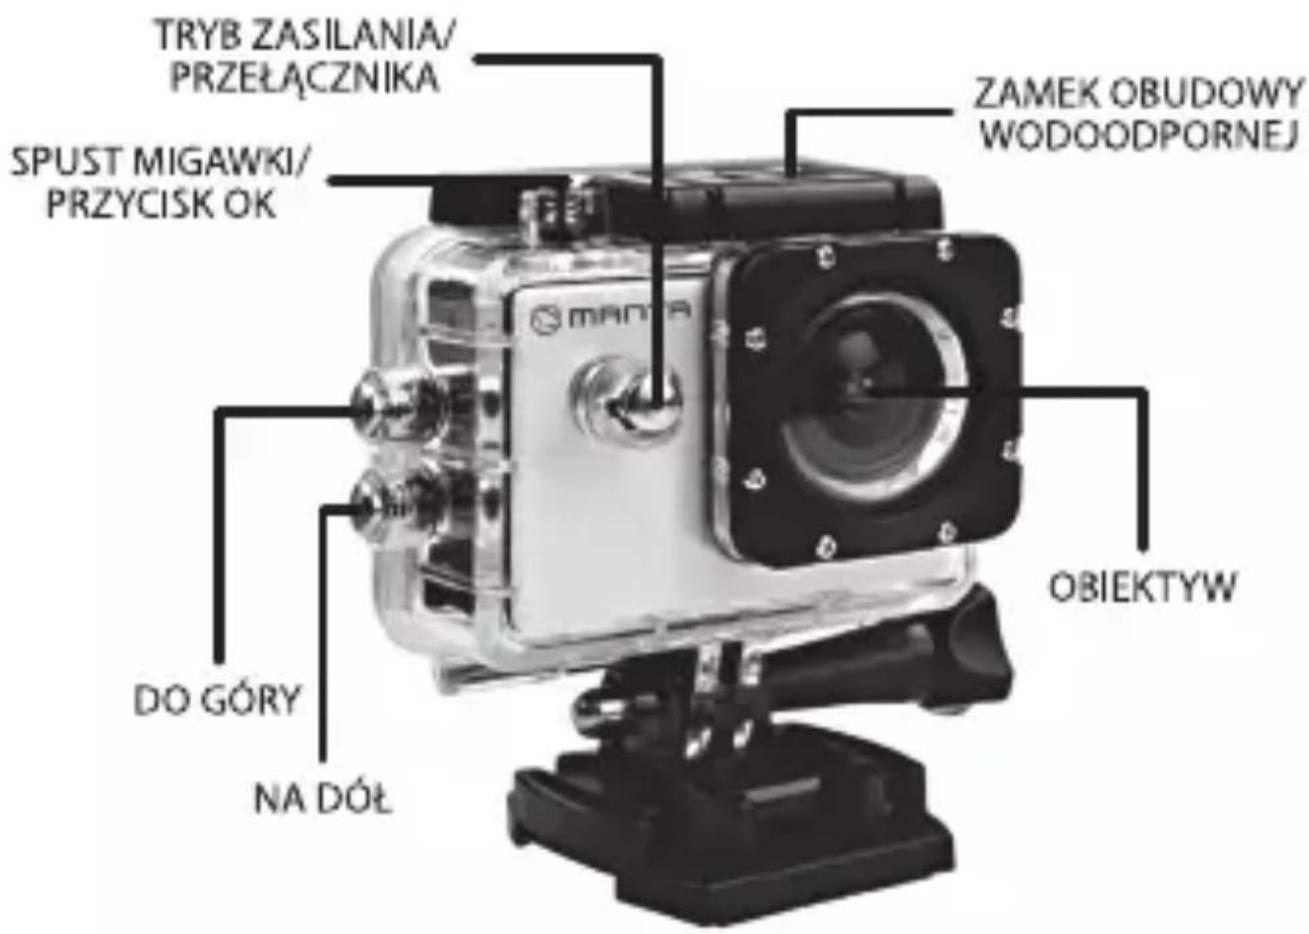
PL


![+ + + + = [IMAGE]](/content/2026/05/800593/images/b94ec96a31bdedb764cefdff8db2019be4e3b33ace5b55d69be21bc9fddb6c51.jpg)


UMIESZCZANIE KARTY MICRO SD W URZĄDZENIU


![+ + + + = [IMAGE]](/content/2026/05/800593/images/282ea84a2b4ead400b25d602aafabdb96c7d2515b2070c52d107b9cc01399763.jpg)

INSERTING MICRO SD CARD
Note: Please choose branded Micro SD card and format it on computer before use. Neutral cards are not guaranteed to work normally.
INSTALLING AND REMOVING BATTERIES
- Press on battery cap to open it.
- Correctly install battery into camera as indicated by +/- symbols and direction of arrows marked on battery until it's in place.
- Battery Gauge: Please refer to diagram.
- Remove Battery: Open cap to take battery out.
CHARGING
- Charging can be done by either connecting camera to computer or power adaptor.
- Charge camera on vehicle by connecting it to car charger.
- Camera can record video while charging (Switch into Vehicle-mounted Mode in "Menu")
- Charging of camera can be done even when it's powered off.
SWITCHING CAMERA ON AND OFF
- Press and hold power switch for 3 to 5 seconds to turn it on / off.
- Switch it on and off by turning display screen on and off.
MODE SWITCHING
Switch between video recording / photo shooting / playback/menubypressing"PowerOn-Off"button.
Recording mode, while photo shooting mode. Symbols are displayed on top of screen. Refers to the function of video playback, and the last one is system settings.
HOW TO RECORD VIDEOS AND CONFIGURE RECORDING SETTING
1. Video Recording
Switch to recording mode and there'll be an icon in the upper left corner of the screen. Press OK to start recording and the icon in the upper left corner will start to flash. Press "OK" again if you want to stop and the icon will disappear.
2. Photo shooting & Settings
Switch the camera on and press "Mode" to select "Photo shooting Mode", there'll be an icon in the upper left corner of display screen and the camera is in photo shooting mode. Press "OK" to take photos.
Shooting Pattern: Single shot / Self-timer (2s/5s/10s) / Continuous Shooting
3. File Storage & Playing
After you are done recording, use a USB cable to export the videos onto a computer to play. Or you can take the Micro SD card out and access the image data with a card reader.
WIFI SETTINGS
The orange LED is turned on Wi-Fi mode.
By default, the feature is disabled. To turn it on, in standby mode, press UP, and displays the message „Waiting for connection via WiFi". LED lights up orange. Now you can enter the Wi-Fi mode. When the Wi-Fi mode is already active, pressing the OK button you can now quit the settings.
EN
- If the WiFi mode in the camera is turned on to connect the mobile phone to do the following:
- Install the appropriate application cooperating with Android or iOS.
- Turn Wi-Fi mode on your phone.
- According to available wireless networks, select the appropriate device name.
- Default password to the WiFi network camera is „66666666". Enter the correct password in the phone, and the camera will connect to the phone. Establishing connection will be indicated by lighting up LEDs on the camera orange.
- After installing the application on your phone you can keep track preview the viewfinder on the camera, take pictures, control video recording, as well as downloaded to your phone photos and video files from the camera's memory card.
Note: The connection from the telephone apparatus is present in a ratio of 1 to 1, so at the time the camera may be connected to only one phone. If necessary, connect the camera to another phone must first be connected to disconnect it from the phone beforehand. The device is compatible with operating systems Android and iOS 2.3 or newer, supported by mobile phone.
DE


![+ + + + = [IMAGE]](/content/2026/05/800593/images/3621fc584dc0c5f5243d77fb3cb62324f7a37986d0716d95d28652db49566187.jpg)



![+ + + + = [IMAGE]](/content/2026/05/800593/images/803254de868054d19d30d61ae26908b4b1e99ffe55c016ffe9d45ec18ac03aa3.jpg)

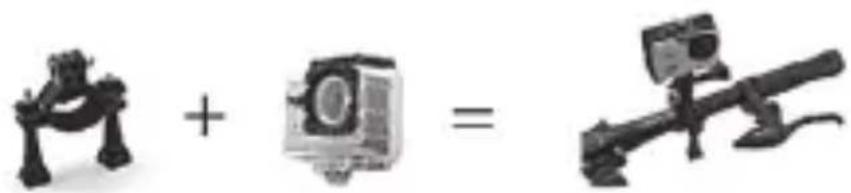
CONECTAR Y DESCONECTAR LA CÁMARA




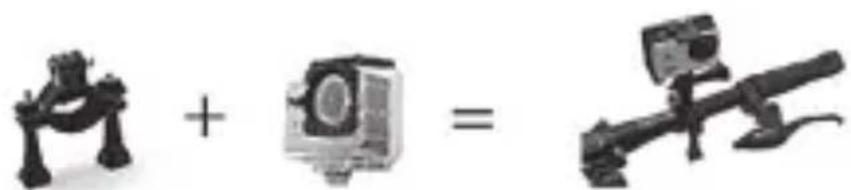
INSERIMENTO DELLA CARTA MICRO SD NELL'APPARECCHIO




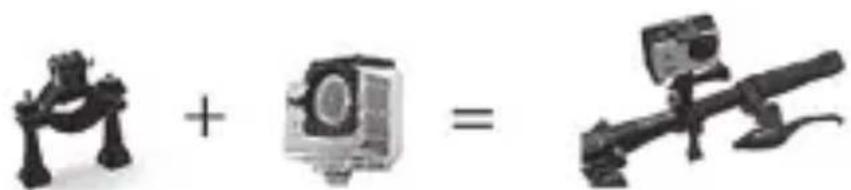
UMÍSTĚNÍ MICRO SD KARTY V ZAŘÍZENÍ


![+ + + + = [IMAGE]](/content/2026/05/800593/images/46468b3a58bde95bc6bafd139ee37a22817605889946174966a60ea94f1659d2.jpg)

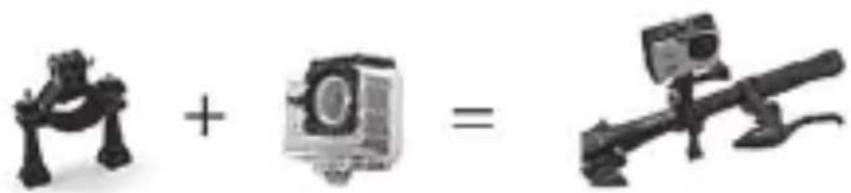
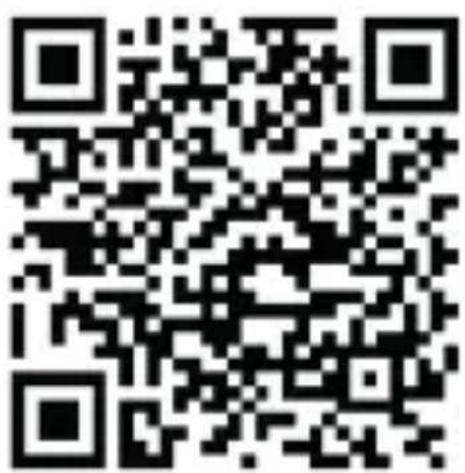
ANDROID APP - XDV

MANTA
The future is here



Made in P.R.C.
FOR MANTA EUROPE

- PL
- UMIESZCZANIE KARTY MICRO SD W URZĄDZENIU
- INSERTING MICRO SD CARD
- INSTALLING AND REMOVING BATTERIES
- CHARGING
- SWITCHING CAMERA ON AND OFF
- MODE SWITCHING
- HOW TO RECORD VIDEOS AND CONFIGURE RECORDING SETTING
- VIDEO RECORDING
- PHOTO SHOOTING & SETTINGS
- FILE STORAGE & PLAYING
- WIFI SETTINGS
- EN
- DE
- CONECTAR Y DESCONECTAR LA CÁMARA
- INSERIMENTO DELLA CARTA MICRO SD NELL'APPARECCHIO
- UMÍSTĚNÍ MICRO SD KARTY V ZAŘÍZENÍ
- MANTA
- THE FUTURE IS HERE
Brand : Manta
Model : MM356
Category : Action Camera