S530 Touch - Camera EASYPIX - Free user manual and instructions
Find the device manual for free S530 Touch EASYPIX in PDF.


User questions about S530 Touch EASYPIX
0 question about this device. Answer the ones you know or ask your own.
Ask a new question about this device
Download the instructions for your Camera in PDF format for free! Find your manual S530 Touch - EASYPIX and take your electronic device back in hand. On this page are published all the documents necessary for the use of your device. S530 Touch by EASYPIX.
USER MANUAL S530 Touch EASYPIX
Congratulations on your purchase of this advanced digital camera, with capabilities of a video recorder and music player. Ensure that you read this manual carefully and keep it in a safe place for future reference.
About this manual
Every effort has been made to ensure that the contents of this manual are correct and up-to-date. However, no guarantee is made regarding the accuracy of the contents, and the manufacturer reserves the right to make changes without notice.
Copyright
© Copyright 2006.
All rights reserved. No part of this publication may be reproduced, transmitted, transcribed, stored in a retrieval system or translated into any language or computer language, in any form or by any means, electronic, mechanical, magnetic, optical, chemical, manual or otherwise, without the prior written permission of the manufacturer.
Safety
- Do not use or store the product in dusty, dirty, or sandy areas, as its components may be damaged.
- Do not store the product in hot areas. High temperatures can shorten the life of electronic devices, and warp or melt certain plastics.
- Do not store the product in cold areas. When the product warms up to its normal temperature, moisture can form inside, possible damaging the electronic circuits.
- Do not attempt to open the casing.
- Do not drop or knock the product. Rough handling may damage the internal components.
- Do not use harsh chemicals, cleaning solvents or strong detergents to clean the product. Wipe the product with a soft cloth slightly dampened.
- If the product or any of its accessories are not working properly, take them to your nearest qualified service center. The personnel there will assist you, and if necessary, arrange for the product to be repaired.
Table of contents
Preface....i
About this manual....i
Copyright......i
Safety ...... ii
Getting started 1
Checking the accessories supplied.... 1
1 Camera parts....2
2 Inserting the battery/and SD card (not supplied).... 3
3 Turning on/off the Camera 4
4 Charging.... 5
Basic Settings....6
1 Language Preference Setting 6
2 Date and Time Setting 6
3 Formatting Internal Memory / SD Card 6
Image Shooting....7
1 Basic Shooting....7
2 Using the zoom....8
3 Flash (Selecting a flash mode for still images).... 8
4 Using the self-timer....8
5 Basic Function Buttons....9
Image Viewing/deleting....10
1 To view images....10
2 To view an enlarged image ( playback zoom) ......10
3 To delete images....10
How to switch mode....11
Mode table....11
When shooting still images ....12
1 Indicators on the screen (DSC Mode)....12
2 DSC mode setting menu....13
When shooting a video ....16
1 Indicators on the screen (DV mode) 16
2 DV mode setting menu....17
When recording an audio clip ....18
1 Indicators on the screen (Voice recorder mode) ....18
Picture mode....19
1 Indicators on the screen (Picture Mode)....19
2 Picture mode setting menu ....20
Video mode ....23
1 Indicators on the screen (Video Mode)....23
2 Video mode setting menu ....24
Audio mode....25
1 Indicators on the screen (Audio Mode)....25
2 Audio mode setting menu ....26
Setting mode 27
Connecting to your computer 30
1 Installing Software ....30
2 Connecting through USB 31
Viewing images on TV screen 32
Precaution 33
Appendix 34
LED Status 34
Specifications 35
Getting started
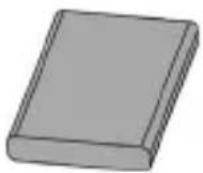
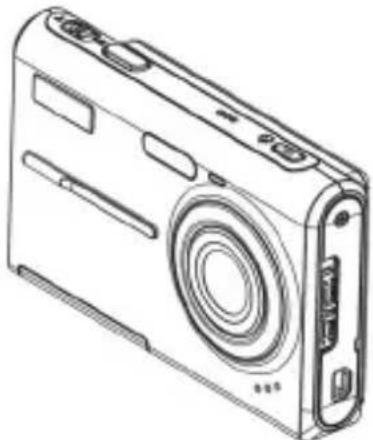
Checking the accessories supplied

natural_image
Simple line drawing of a bag with a handle and loop (no text or symbols)Pouch

Strap
Battery
text_image
Quick Guide
natural_image
Line drawing of a multi-pin cable with connectors (no text or symbols)Quick Guide Composite Video Cable
natural_image
Line drawing of a digital camera with lens and buttons (no text or symbols)Camera
natural_image
Simple concentric circle diagram with no text or symbolsCD-ROM (Includes User Manual)
1 Camera parts
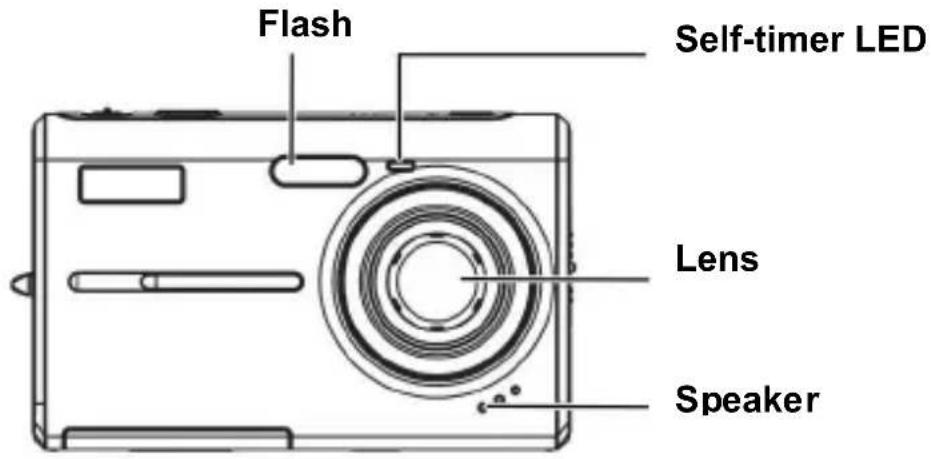
text_image
Flash Self-timer LED Lens Speaker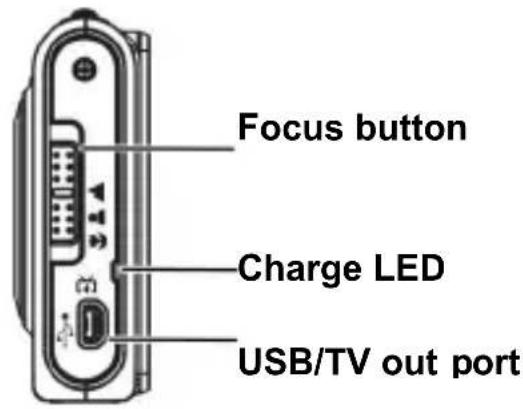
text_image
Focus button Charge LED USB/TV out port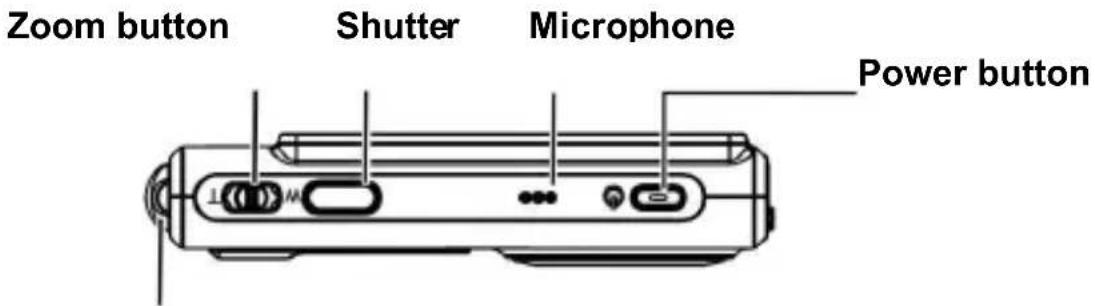
text_image
Zoom button Shutter Microphone Power buttonHand Strap buckle
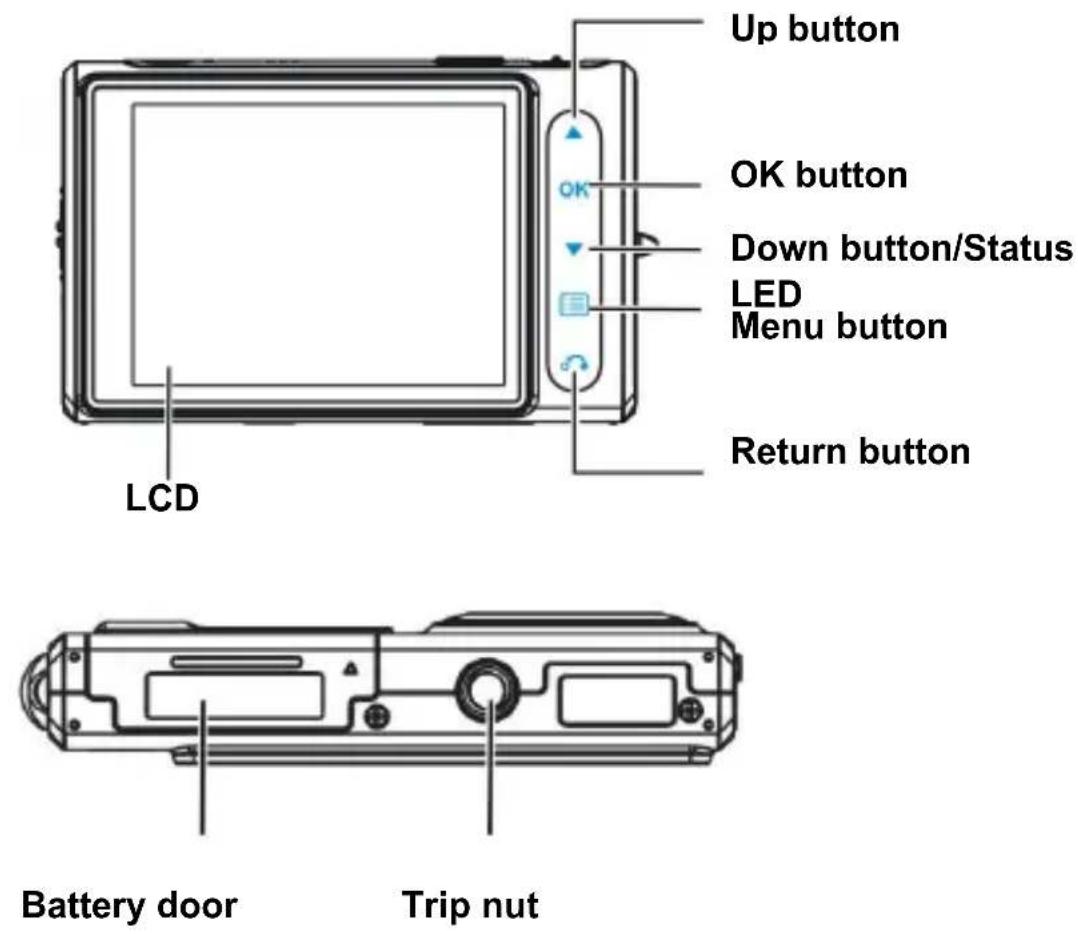
Up button
OK button
Down button/Status
LED
Menu button
Return button
2 Inserting the battery/and SD card (not supplied)
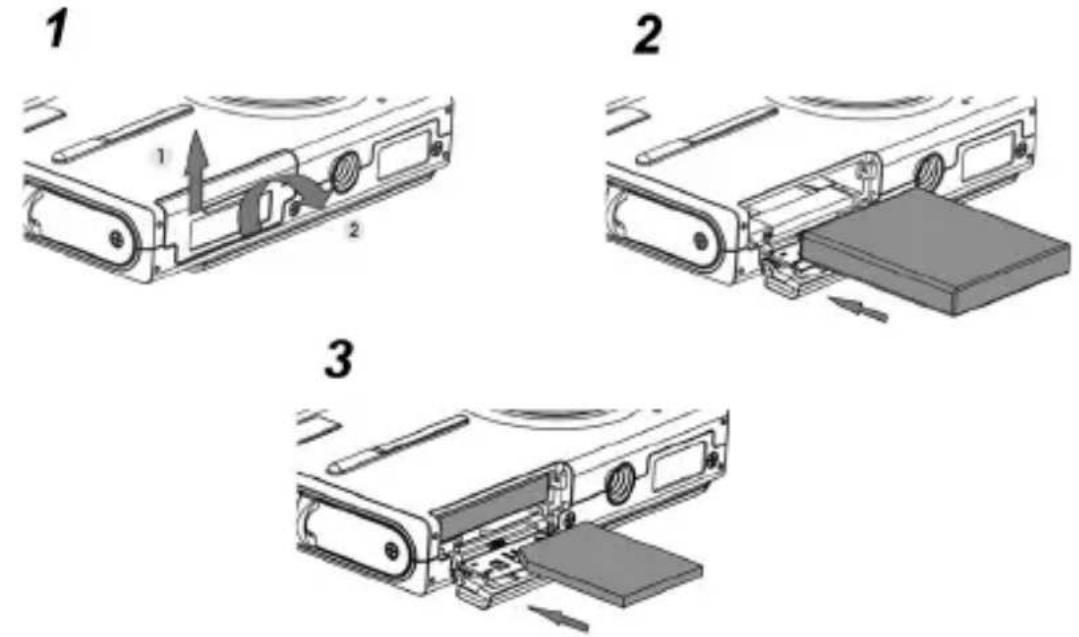
- Open the battery door. (→ ① ②)
-
Load the included battery into the battery compartment.
-
Insert the SD card into the slot.
- Close the battery door.
CAUTION!
Use only the specified battery for this camera. Other power sources may cause a fire.
The battery should be inserted in the battery compartment with the ends orientated correctly.
NOTE:
- Upon loading a new battery, users will need to reset their Basic Settings.
- Do not open the battery door or remove the battery when the camera is in the ON state. Only remove the battery and SD card when the camera is not in use, or in its OFF state.
- If you do not plan to use the camera for a long period of time, please remove the battery and SD card.
- In order for the Li-Ion battery to achieve optimum performance it is highly recommended to charge the battery at least 8 hours before first use or after storage for more than 3 months.
3 Turning on/off the Camera
text_image
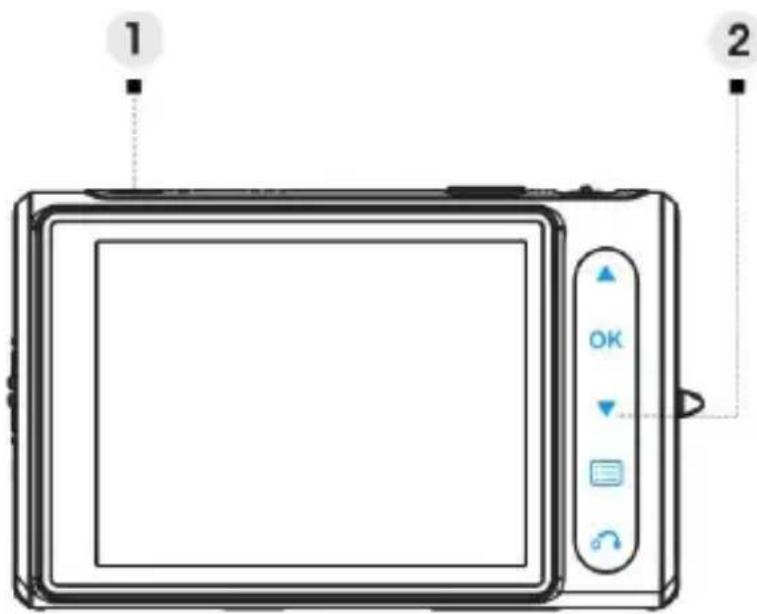
1 2(1) Press the POWER button to turn on and press it again to turn off the
camera.
(2) Touch ▼ to unlock all touch buttons.
NOTE:
- All touch buttons except will be locked automatically as your camera is turned on.
- No operation in 20 seconds, the touch buttons will be locked with their lights turned off.
4 Charging
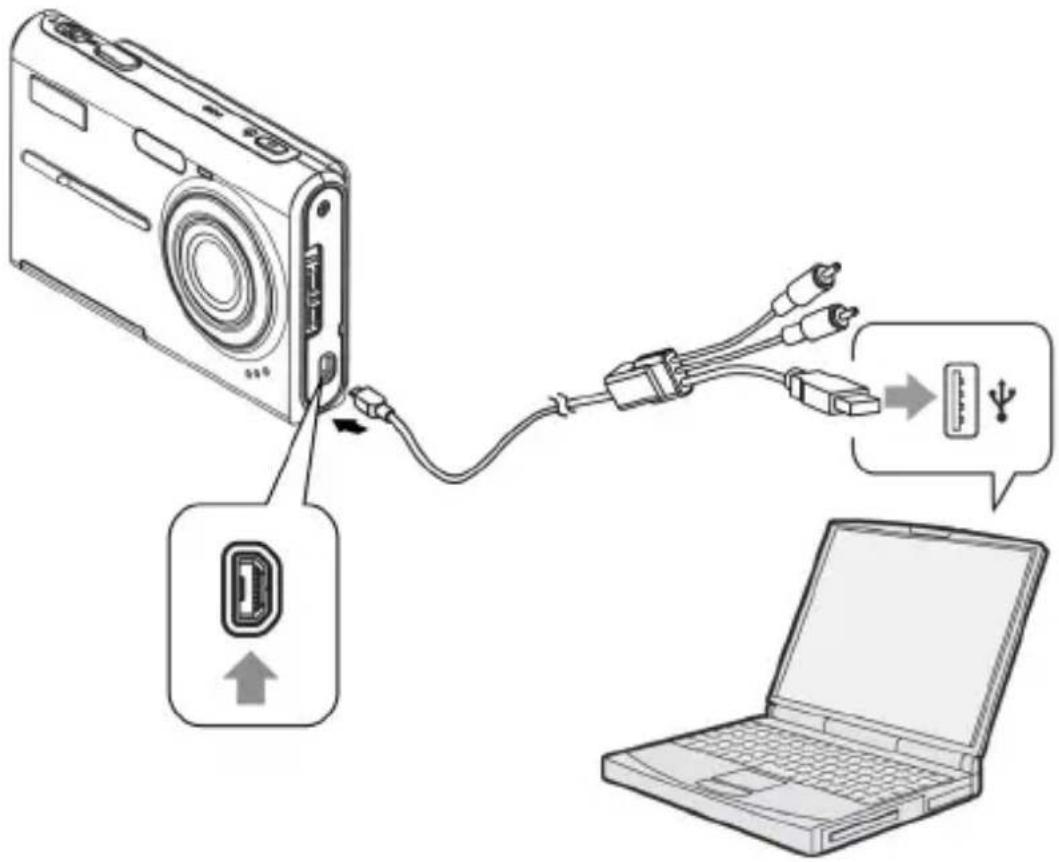
- Turn off the camera.
- Simply use the composite cable in the package to connect the Camera and your PC, and the charging process will be started.
text_image
Diagram showing connection between a digital camera and a laptop via USB cable, with labeled components and signal icon.1 Language Preference Setting
There are a total of fourteen languages to choose from. Please refer to the Language setting function. (Page 29)
2 Date and Time Setting
Please refer to the Date and Time setting function. (Page 28)
3 Formatting Internal Memory / SD Card
To take pictures more effectively, format the content of the Internal Memory/SD card. To format the SD card, please insert a compatible SD card into the SD slot. Then perform the following steps:
- Enter the Menu Setting Function.
- Select the "Format" setting option from the menu using the
- Choose "Confirm" and then touch to process.
NOTE:
Formatting irrevocably erases all data in the internal memory or on the SD card, including even protected images.
Image Shooting
This Quick Start provides simple and basic directions to get you shoot image or video easily. For an in-depth description of DSC mode, please refer to page12.
1 Basic Shooting
text_image
① ② ③ ④ ⑤ OK(1) Touch 🔍 to enter the Mode menu.
(2) Touch ▲▼ to choose DSC or DV mode.
(3) Press OK to confirm.
(4) Looking into the LCD and try to align your subject into the focus brackets.
(5) Shoot with the shutter button:
- Still image:
When your subject has been aligned for shooting, press the shutter button to take picture. (If the camera is just turned on, you may skip over step (1), (2) and (3).)
Video:
Press the shutter button.
To stop recording, press the shutter button again.
2 Using the zoom
This function works in both DSC and DV mode.
This camera has an 8x digital zoom function; there is a zoom bar on the left side of LCD display to indicate the zoom status. Press the T (Zoom in) button which getting closer to the subject, or W (Zoom out) button which moving away from the subject.
3 Flash (Selecting a flash mode for still images)
When you start to take a picture, touch ▲ to switch between Flash modes.

Force off Flash forced off

Flash auto
Strobes when there is insufficient light or backlight (default setting)

Force on Flash forced on
4 Using the self-timer
Touch ▼ to set a delay between the moment you press the shutter and the moment the picture is actually captured.
Press the shutter button, the self-timer lamp flashes until the shutter operates.

3 sec Setting the 3-second delay self-timer.

10 sec Setting the 10-second delay self-timer.
NOTE:
This function works only in DSC mode.
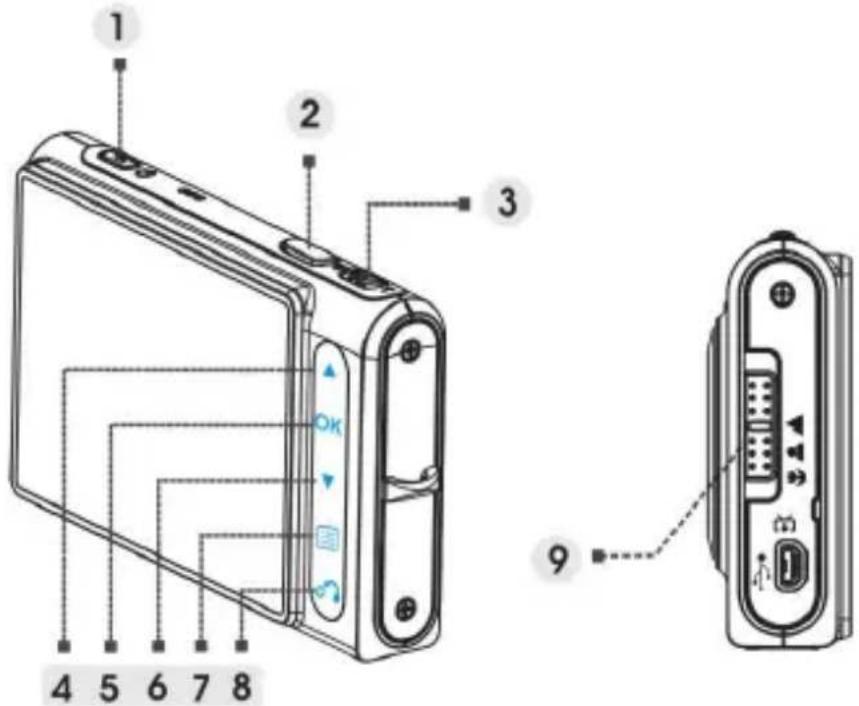
5 Basic Function Buttons
text_image
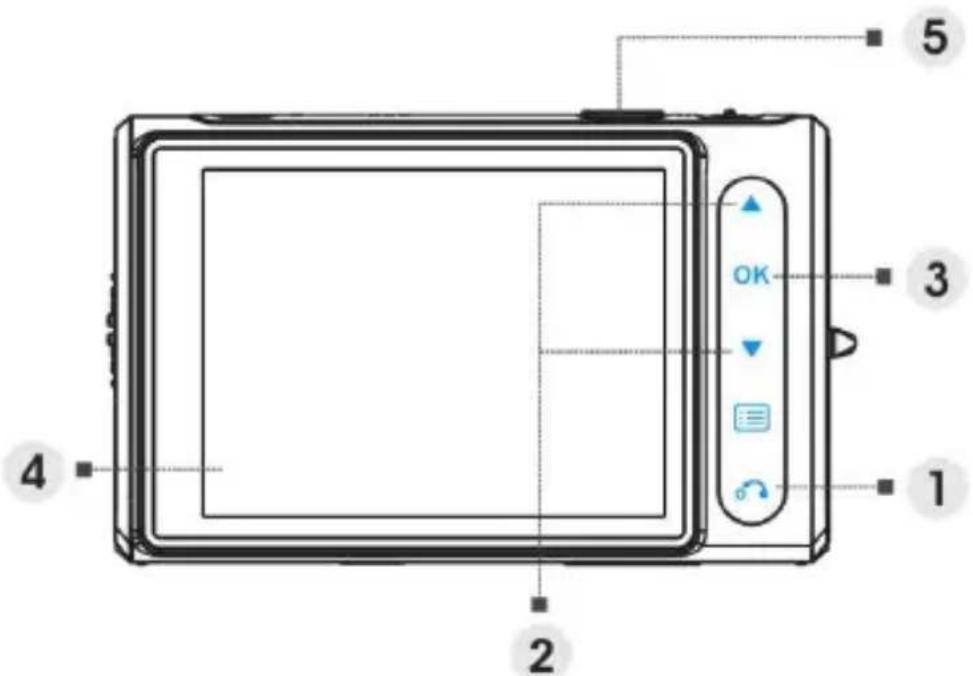
Technical diagram of a device rear panel with labeled parts and internal components(1) Power button Turns the camera on or off.
(2) Shutter button Press to take pictures and video.
(3) Zoom button (T: zoom in / W: zoom out)
i. Use to zoom in / out.
ii. Use to adjust volume in Video and Audio play mode. Up button(4)
i. Use to navigate the OSD menus.
ii. Use to set flash mode.
(5) OK button Use to execute item Down button(6)
i. Use to navigate the OSD menus.
ii. Use to set self-timer mode.
iii. Use to unlock the touch buttons.
(7) Menu button Use to enter/exit setting menu.
(8) Return button Use to return to the previous menu or mode.
(9) Focus button Push to change focus mode between Macro, Normal or Infinity.
Image Viewing/deleting
1 To view images
Touch to select Picture mode, to review the recently taken images, and use the to view previous or next image.
For an in-depth description of Picture mode, please refer to page 19.
2 To view an enlarged image ( playback zoom)
Press T while displaying a still image. To undo the zoom, press W.
Touch ▲ to adjust the portion.
3 To delete images
When in Picture Mode, display the image you want to delete.
- Touch
- Touch ▲ to select Delete option, and touch . OK
- Touch ▲▼ to select from Current, All or Cancel and touch OK to confirm.
For an in-depth description of Delete function, please refer to page 20.
How to switch mode
Please follow the instructions below:
- Turn on the camera.
- Touch 📊 to enter main mode menu.
- Touch ▲▼ to switch between DSC, DV, Voice Recorder, Picture, Video, Audio, and Setting mode.
- Touch OK to enter.
Touch 🙏 until the LCD displays one of the following at any time you want to change the mode. Then start from step 3.
Mode table
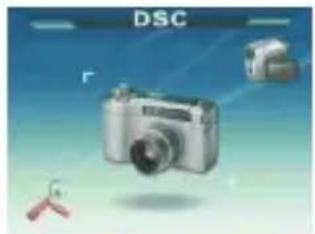
natural_image
Illustration of a silver digital camera with a red key and partial view of a camera (no text or symbols)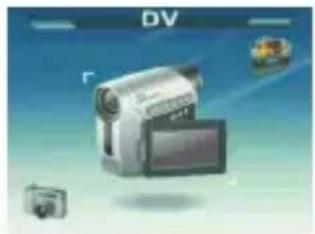
natural_image
Illustration of a digital video camera with monitor and accessories (no text or symbols)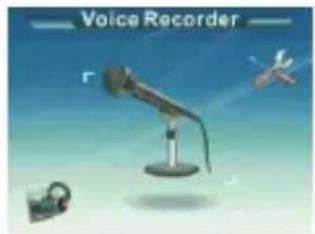
text_image
Voice RecorderDSC mode DV mode Voice Recorder mode
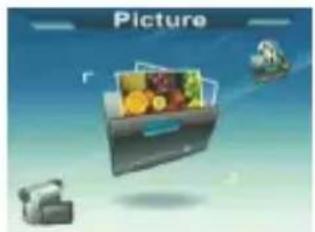
natural_image
Illustration of a gift box with food inside, floating with a small robot and a globe nearby (no text or symbols)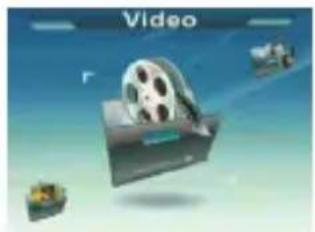
natural_image
Illustration of a film reel and computer monitor with no visible text or symbols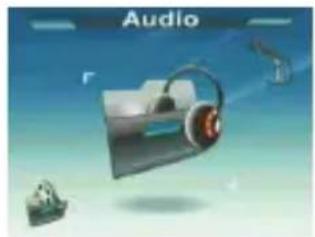
natural_image
Illustration of audio files with headphones and sound waves (no text or symbols)Picture mode Video mode Audio mode
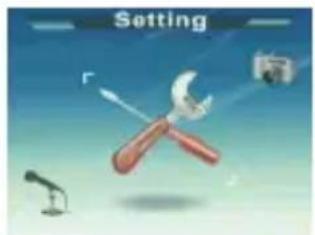
text_image
SettingSetting mode
NOTE:
DSC mode is designed as the default mode when the camera is turned on.
1 Indicators on the screen (DSC Mode)

text_image
1 2 3 4 5 11 0001 6 10 7 AM 01 30 49 9 8(1) DSC mode icon /
(2) Photo resolution
(3) Image quality
(4) Flash mode
(5) White balance
(6) Focus area /
(7) Photo setting mode
(8) Present time /
(9) Battery indicator /
(10) Zoom bar /
(11) Picture remain /
VGA / 1.3M / 3M / 5M / 7M / 12M
Basic / Better / Best
No flash / Auto flash / Force flash
Auto / Daylight / Cloudy / Tungsten / Fluorescent
(Normal / Couple shot / Continue shots)
2 DSC mode setting menu
Touch the 📄 to access the menu. Then use ▲ to select the option and change the setting. Touch OK to enter the option. Use ▲ to scroll through the choices and touch OK to confirm the setting change.
Touch 📌 to back to the previous menu.
Touch 📄 again to exit the menu at any time.
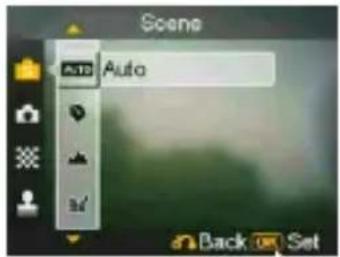
Scene
Users can select from the following scene settings to suit the environment for still image shooting:
Auto / Portrait / Landscape / Night / Sport / Couple shot / Sepia / BlackWhite / Pink / Green / Blue / Self Portrait / Sunset / Dusk/Snow / Beach / Backlight / Solarize / Negative
text_image
Scene Auto Back Set- Photo setting
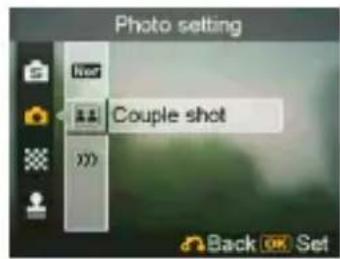
Normal Normal shot.
Couple shot Use this option to combine two different images in one photo. (The same function as the option in Scene menu).
Continue shot Use this option to take 3 photos in one shot.
text_image
Photo setting Next Couple shot Back OK Set- Resolution
This setting option allows users to set the image resolution.
$$ 6 4 0 \times 4 8 0 \quad (\text { VGA }) $$
$$ 1 2 8 0 \times 9 6 0 (1. 2 M) $$
$$ 1 6 0 0 \times 1 2 0 0 (2. 0 M) $$
$$ 2 0 4 8 \times 1 5 3 6 (3. 0 M) $$
$$ 2 5 9 2 \times 1 9 4 4 \quad (5. 0 M) (\text { Default }) $$
$$ 4 0 3 2 \times 3 0 2 4 \quad (1 2. 0 \mathrm{M}) $$

text_image
Resolution 17M 7V 2.0V 5.0M 2V Back OK Set- Stamp
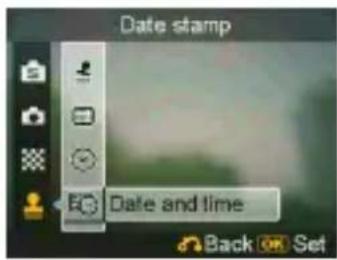
Use this option to set the date stamp shown on the images.
No stamp
Only date
Only time
Date and time
text_image
Date stamp Date and time Back On Set- White balance
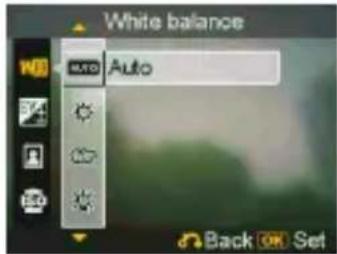
Normally, the "Auto" WB setting will set the optimum white balance automatically. If natural colors cannot be obtained by auto WB, you can set the white balance manually to suit the particular light source. Users can select from the following white balance settings:
Auto (Default)
Sun
Cloud
Tungsten
Fluorescent
text_image
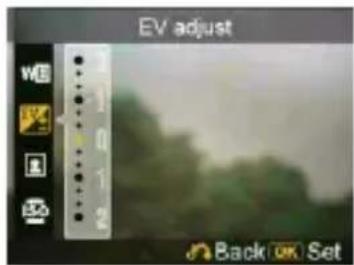
White balance Auto Back OK Set- EV adjust
Users can adjust exposure value using this item. You can select from -2.0 0.0 +2.0 .
text_image
EV adjust Back OK Set■ Image Quality
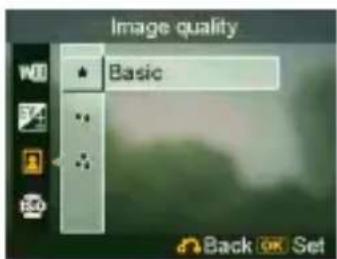
Use this option to set the image quality for the picture you're going to capture. A high quality picture occupies more memory space.
Basic Economical image compression ratio.
Better Less image compression ratio.
Best Least image compression ratio (Default)
text_image
Image quality Basic Back OK SetISO Gain
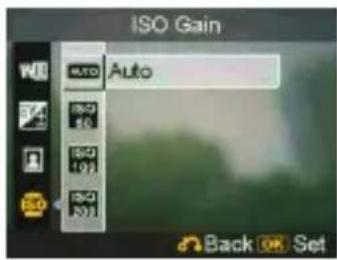
The ISO speed determines the sensitivity to light. The higher the ISO speed number, the higher the sensitivity to light.
Auto (Default)
ISO 50
ISO 100
ISO 200
text_image
ISO Gain Auto ISO 101 ISO 201 Back OK Set1 Indicators on the screen (DV mode)
text_image
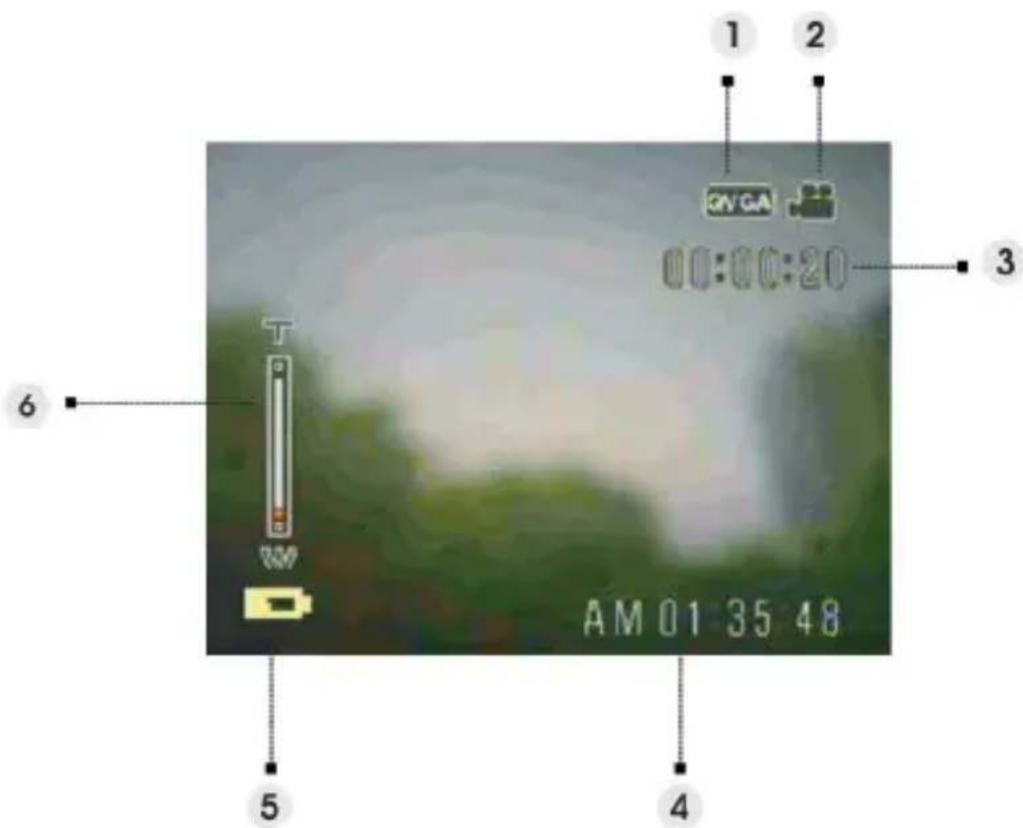
1 2 GV GA 00:00:20 3 6 T W AM 01 35 48 5 4(1) Video resolution VGA / QVGA
(2) DV mode icon /
(3) DV time remain /
(4) Present time /
(5) Battery indicator /
(6) Zoom bar /
2 DV mode setting menu
Touch the 📄 to access the menu. Then use ▲ to select the option and change the setting. Touch OK to enter the option. Use ▲ to scroll through the choices and touch OK to confirm the setting change.
Touch to back to the previous menu.
Touch again to exit the menu at any time.
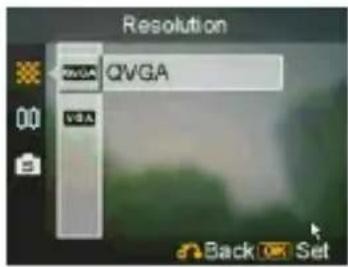
- Resolution
This setting option allows users to set the video resolution.
QVGA
VGA
text_image
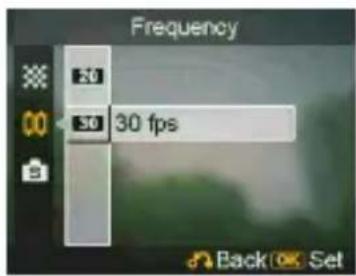
Resolution QVGA Back OK SetFrequency
Use this option to set 20 or 30 frames per second.
text_image
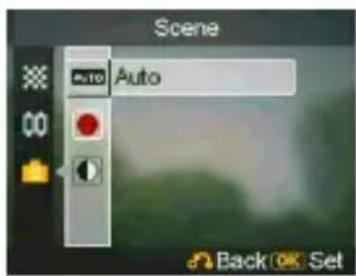
Frequency 30 30 fps Back SetScene
Use this option to convert video image to different color areas.
Auto
Red
Black White
text_image
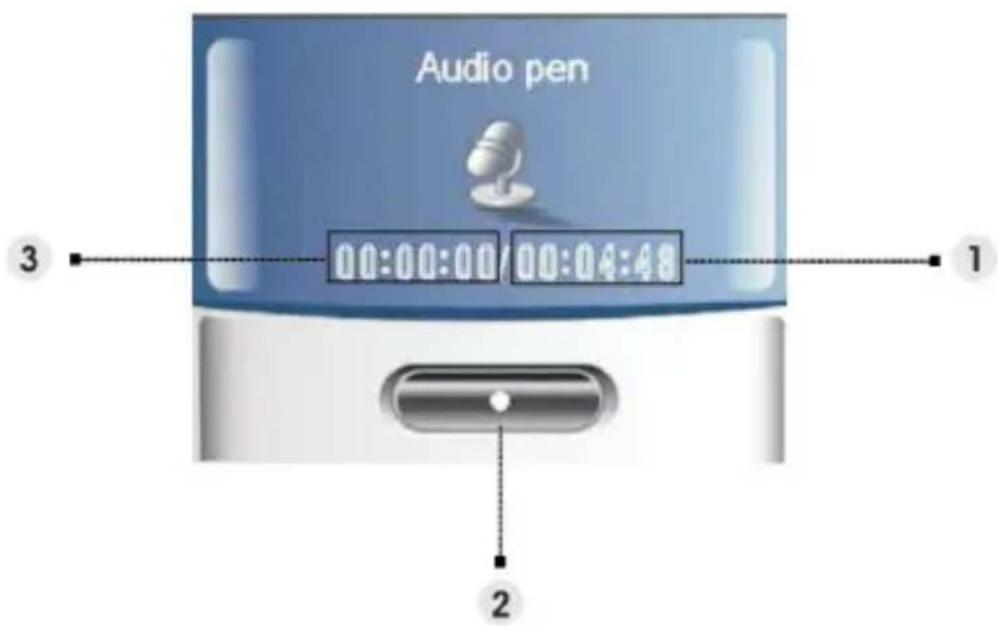
Scene Auto Back OK Set1 Indicators on the screen (Voice recorder mode)
text_image
Audio pen 00:00:00/00:04:48 ③ ① ②(1) Remaining recording time.
(2) Stop: Touch OK to start / stop the recording.
(3) Time escape for present recording.
1 Indicators on the screen (Picture Mode)
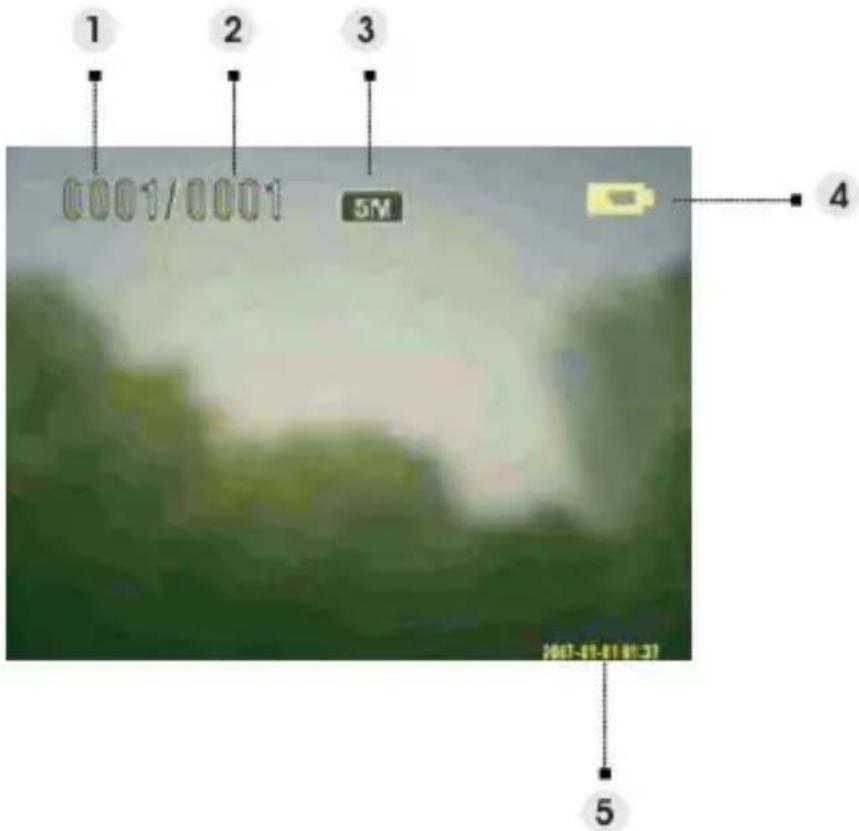
text_image
1 2 3 0001/0001 5M 4 5 HOT-01-01-01-01(1) Indicates the number of the present photo
(2) Indicates the total photo quantity.
(3) Image resolution
(4) Battery indicator
(5) Date stamp
- When viewing an image:
Press the T or W button to zoom in or out the photo.
Press the shutter button to record a 20s voice memo.
2 Picture mode setting menu
Touch the 📄 to access the menu. Then use ▲ to select the option and change the setting. Touch OK to enter the option. Use ▲ to scroll through the choices and touch OK to confirm the setting change.
Touch to back to the previous menu.
Touch 📄 again to exit the menu at any time.
NOTE:
This function will be activated only when there is at least one image file in the SD card or the internal memory.
- Delete
Users can delete the current file, or all files under this option:
Current
All
Cancel
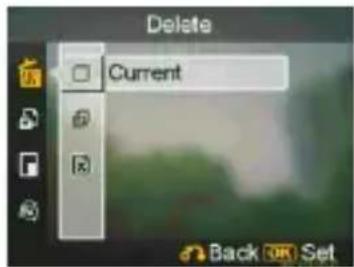
text_image
Delete Current Back Or Set- Protect
Users can prevent images from accidental erasure. This option has these settings:
Protect Current
Protect All
Unprotect Current
Unprotect All
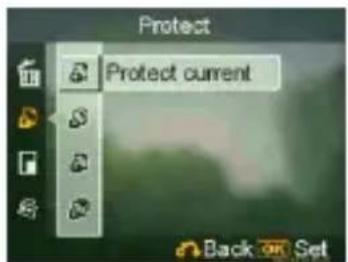
text_image
Protect Protect current Back Set- Resize
Users can change the file size of an image. Once confirmed, the adjusted image will be saved as another image. This option has these settings:
VGA
1.3M
3.0M
5.0M
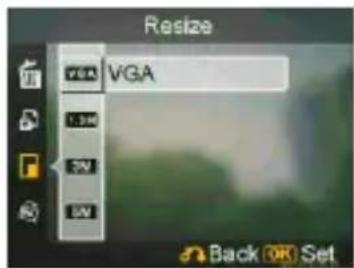
text_image
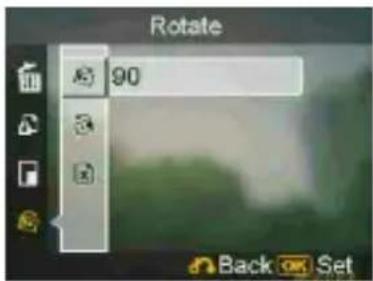
Resize VGA Back OK Set- Rotate
This option can rotate an image 90 degree clockwise or counter-clockwise.
90
270
Cancel
text_image
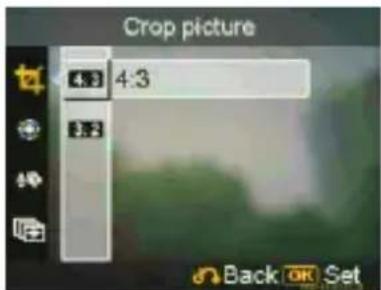
Rotate 90 Back Set- Crop picture
You can crop images by specifying a desired area.
- Choose a desired scale between 4:3 and 3:2.
-
Touch 🔍 and then you can push the T/W button to reduce or magnify the image, then use ▲ to move the desired area up or down.
-
Touch 📋 again, then you may use T/W button to move the area right or left.
-
Once a desired section of the picture is selected, touch OK to crop the image. (The cropped image will be saved as another image either on SD card or in internal memory)
text_image
Crop picture 4:3 Back OK Set- Customize
This option allows you to assign the present photo as the Welcome image.
text_image
Customize Cancel Back OK Set■ Voice memo
Users can use this option to delete the voice memo of the current image.
text_image
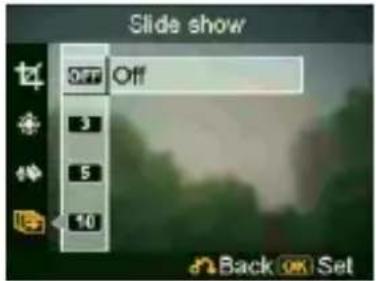
Voice memo Delete Back On Set- Slide show
This setting option allows users to review all images in a slide show. Users also can set the slide show interval.
Off
3s
5s
10s
text_image
Slide show Off 3 5 10 Back On SetDPOF
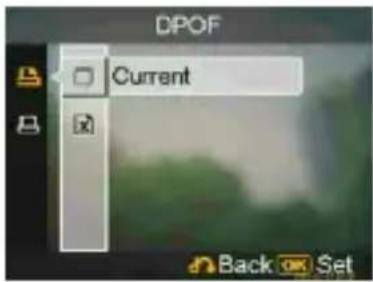
DPOF is a format used to record automatic printing information from this camera. By specifying which pictures are to be printed, the pictures can be printed easily by DPOF-compatible printing service labs or on a personal DPOF-compatible printer. Users can choose to print the current image or all images:
text_image
DPOF Current Back SetCurrent
Cancel
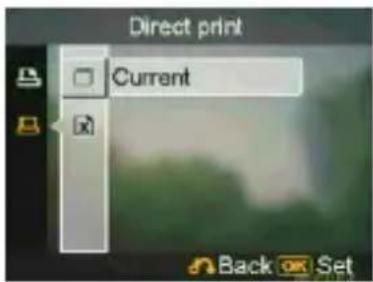
- Direct print
You can connect this camera to a printer and print images directly from the camera. Connect to a printer using the USB cable exactly the same way, as you would connect a PC. Select the Direct print option to connect to a printer when the menu appears.
text_image
Direct print Current Back On Set1 Indicators on the screen (Video Mode)
text_image
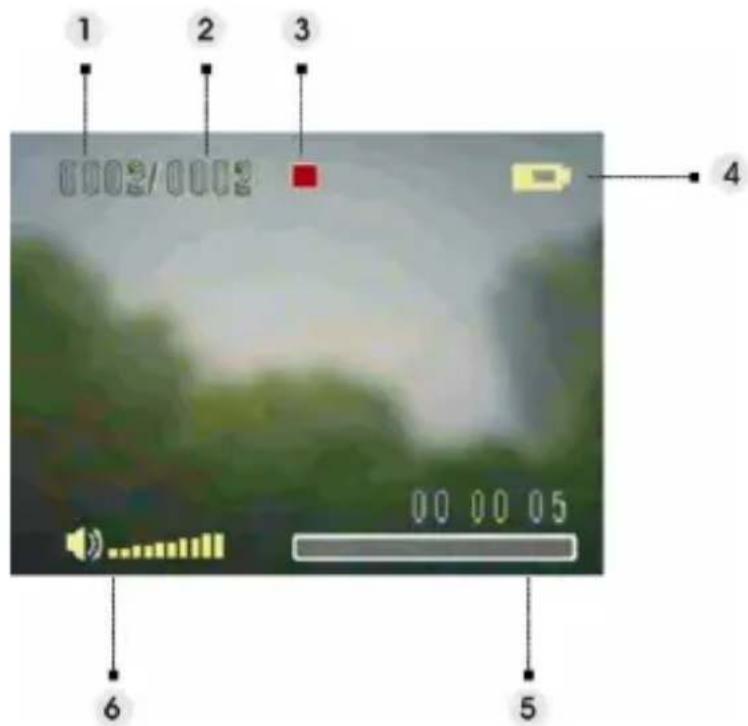
1 2 3 0002/0002 4 00 00 05 6 5(1) Indicates the number of the present video clip.
(2) Indicates the total video quantity.
(3) Play status indicator. Stop, Play, or Pause.
(4) Battery status indicator.
(5) Progress bar.
(6) Volume indicator.
■ When viewing a video
When viewing a video file, the first frame of the whole video will be shown on the screen.
- Touch OK to start playing, and touch it again to pause.
- Press the shutter button to stop the playing.
- Push the T or W button to adjust the volume.
2 Video mode setting menu
Touch the 📄 to access the menu. Then use ▲ to select the option and change the setting. Touch OK to enter the option. Use ▲ to scroll through the choices and touch OK to confirm the setting change.
Touch 📌 to back to the previous menu.
Touch again to exit the menu at any time.
- Delete
Users can delete the current file, or all files under this option:
Current
All
Cancel
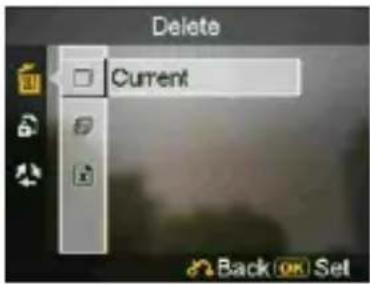
text_image
Delete Current Back On Set- Protect
Users can prevent video files from accidental erasure. This option has these settings:
Protect Current
Protect All
Unprotect Current
Unprotect All
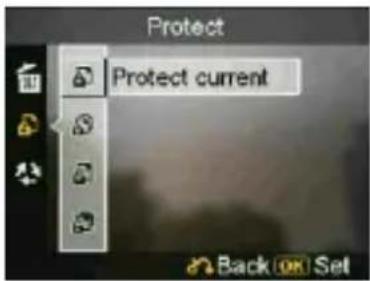
text_image
Protect Protect current Back on SetContinuous
Use this option to play one video or all videos continuously. This option has these settings:
Current
All
Cancel
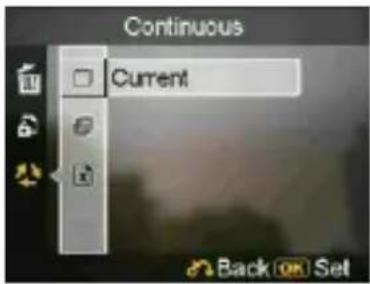
text_image
Continuous Current Back On Set1 Indicators on the screen (Audio Mode)
Touch ▲▼ to choose a clip from the play list, and then touch OK.
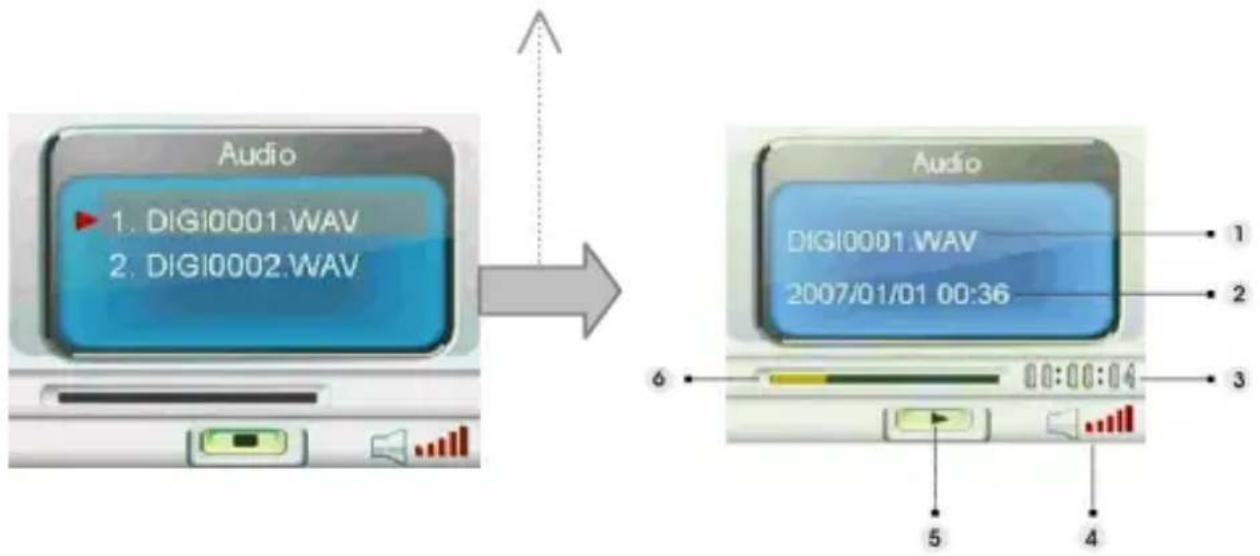
text_image
Audio 1. DIGI0001.WAV 2. DIGI0002.WAV Audio DIGI0001.WAV 2007/01/01 00:36 1 2 3 4 5(1) Indicates the present playing file.
(2) Indicates the recorded date / time.
(3) Indicates the length of the present file.
(4) Volume indicator.
(5) Play status indicator. Stop, Play, or Pause.
(6) Playing process bar.
■ When listening to an audio clip
- Touch OK to start playing, and touch it again to pause.
- Touch ▼ to stop the playing.
- Push the T or W button to adjust the volume.
2 Audio mode setting menu
Touch the 📄 to access the menu. Then use ▲ to select the option and change the setting. Touch OK to enter the option. Use ▲ to scroll through the choices and touch OK to confirm the setting change. Touch 📋 to back to the previous menu. Touch 📋 again to exit the menu at any time.
NOTE:
When the voice file is in whole screen mode, touch 📄 to configure the audio play settings.
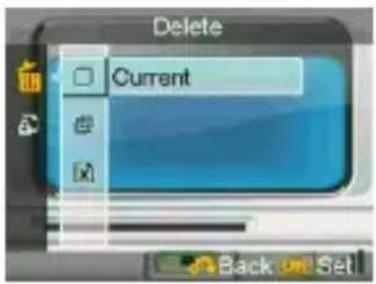
- Delete
Users can delete the current file, or all files under this option:
Current
All
Cancel
text_image
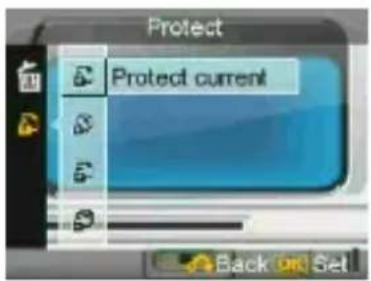
Delete Current Back Set- Protect
Users can prevent audio files from accidental erasure. This option has these settings:
Protect Current
Protect All
Unprotect Current
Unprotect All
text_image
Protect Protect current Back On SetSetting mode
Touch the 📄 to access the menu. Then use ▲ to select the option and change the setting. Touch OK to enter the option. Use ▲ to scroll through the choices and touch OK to confirm the setting change.
Touch to back to the previous menu. Touch again to exit the menu at any time.
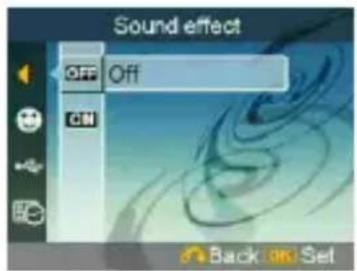
■ Sound effect
Use this option to turn on or off the sound effect of the camera.
text_image
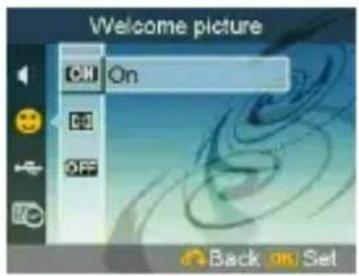
Sound effect OFF Off CN Back on Set■ Welcome picture
Use this option to set a welcome screen when turning the camera on.
On Use the default flash as the welcome screen.
Customize User can use a photo as the welcome picture.
Off No welcome picture.
text_image
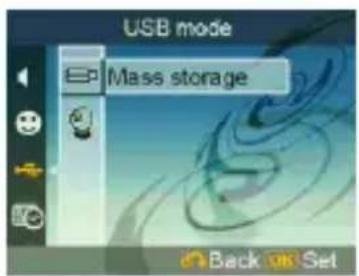
Welcome picture ON On Back on SetUSB mode
Use this option to set camera into the proper status when connected as a USB device.
Mass storage (Default)
PC camera
text_image
USB mode Mass storage Back SetNOTE:
- Before connecting the camera as a PC-Camera, please install the driver on the CD-ROM first.
- While in Mass storage mode, you can copy photo, video or audio files from your camera to the PC.
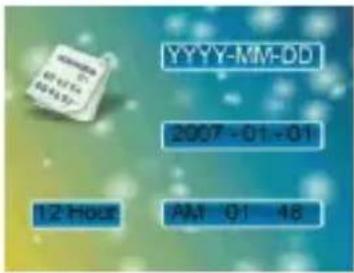
- Date and time
Use this option to set the date and time.
Push the T/W button to change between fields.
Use ▲ to adjust the number or the format of the date.
text_image
YYYY-MM-DD 2007-01-01 12 Hour PM 01 48Tip:
Dates can be set in these formats:
YYYY.MM.DD
MM. DD. YYYY
Time can be set in these formats:
12-hour
24-hour
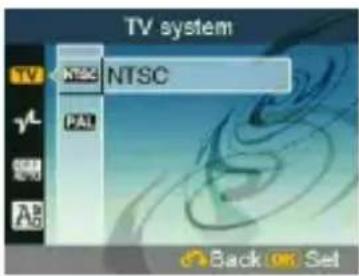
TV system
Use this option to set the camera video output to match the TV system in your area. This option has these settings:
NTSC
PAL
text_image
TV system NTSC Back On SetFrequency
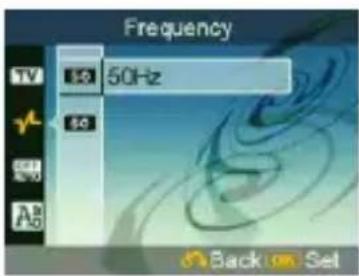
Use this option to set a light frequency that is suitable for your indoor lightening setting. This option has these settings:
50Hz
60Hz
text_image
Frequency TV 50 Hz ✓ 50 ✓ Off A# Back On Set- Auto power off
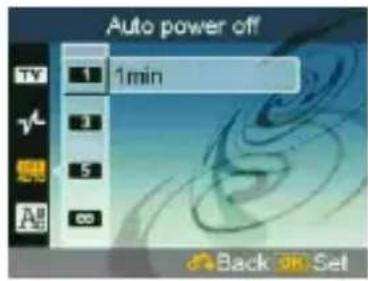
Use this option to set a period of inactivity after which the camera will switch itself off. This option has these settings:
1min
3min
5min
Never
text_image
Auto power off TV 1 min √ 3 5 A# ∞ Back On SetLanguage
Users can select a language from the following: English / Simplified Chinese / Traditional Chinese / French / Italian / Spanish / German / Korean / Japanese / Russian / Polish / Czech / Dutch / Danish / Thai

text_image
Language English Lnd TV S.C T.C Ker Back SetDefault
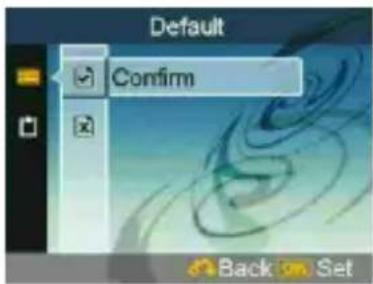
Use this option to reset all settings to the factory default.
text_image
Default Confirm Back Set- Format
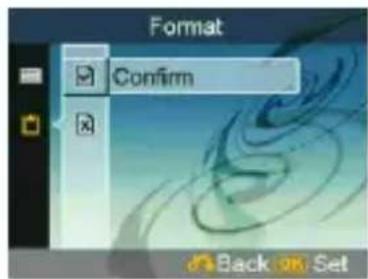
Use this option to format the data stored on the memory card or in the internal memory.
text_image
Format Confirm Back on SetConnecting to your computer
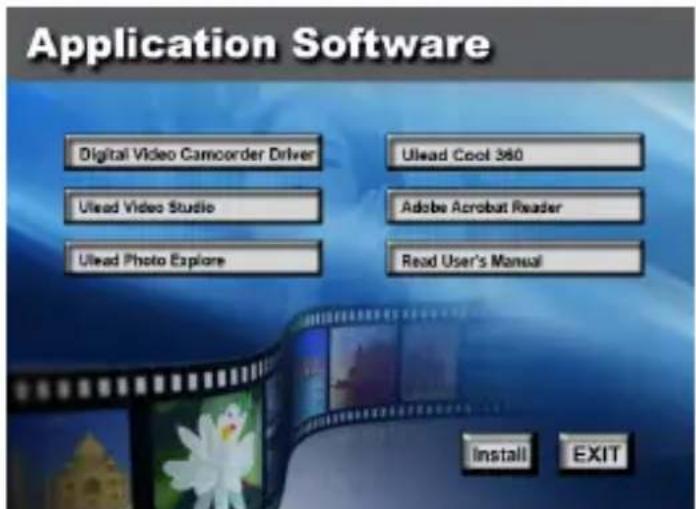
You can display images shot with the camera on the computer. Also, you can use still images and videos from the camera more than ever taking advantage of the software.
1 Installing Software
- Insert the CD-ROM into your CD-ROM drive.
- The installation wizard will guide you through the installation.
- You will be able to use the application once it's installed.
text_image
Application Software Digital Video Camcorder Driver Ulead Cool 360 Ulead Video Studio Adobe Acrobat Reader Ulead Photo Explore Read User's Manual Install EXITCaution:
- If the user didn't install the driver before plugging in a USB device, the system will detect the new device once the camera is connected to the computer. Please insert the CD-ROM and complete the drive installation.
- Please install the XviD on your system, or else you may not be able to play the recorded videos on the PC.
2 Connecting through USB
This section will guide users to download images from the camera to a PC through the USB cable.
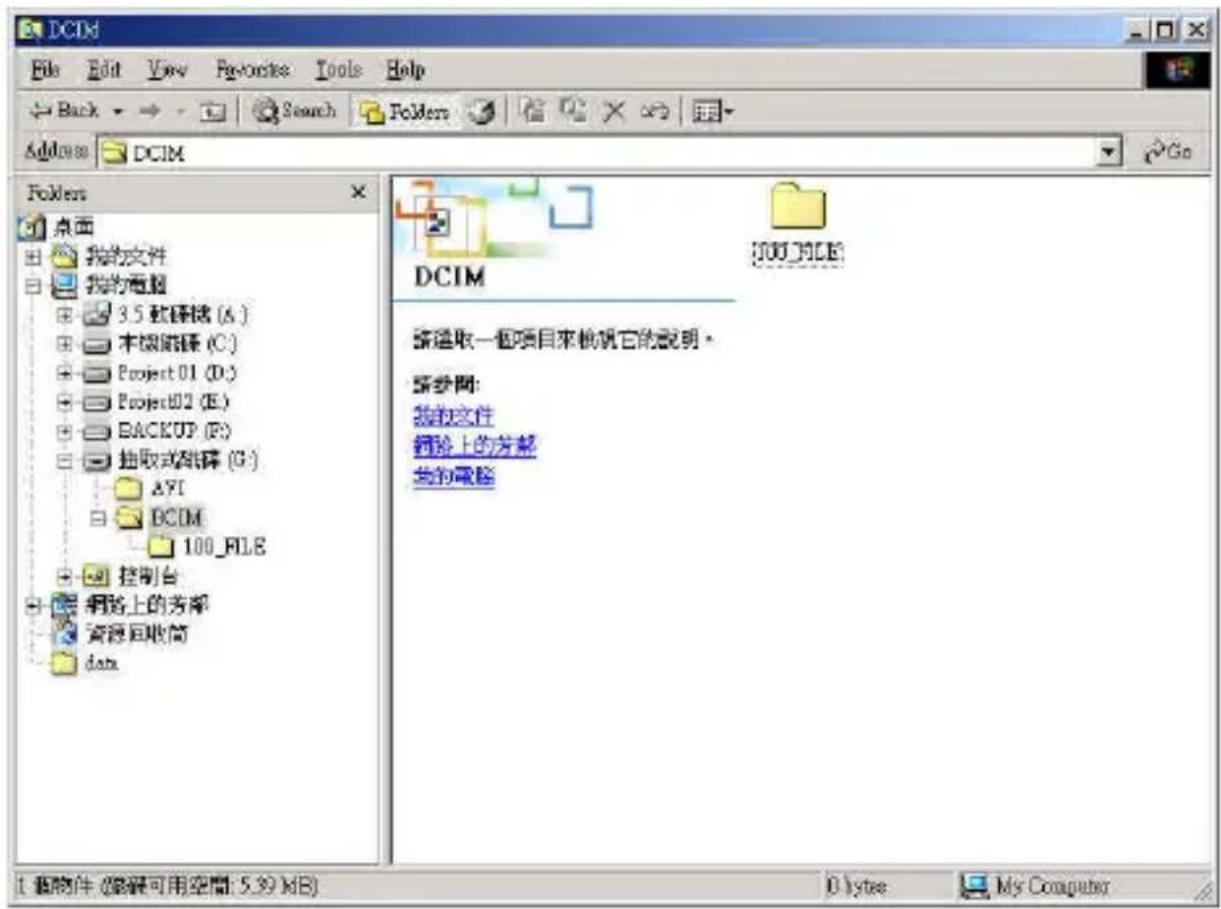
- This camera allows users to move images or videos from the camera to a PC using MSDC support.
- When the camera is connected to a PC, there will be one external storage device in "My computer".
- Simply click on the folder named "DCIM\100_FILE" to find the recorded files.
- Copy or move these files from the camera to a PC to allow editing of the images.
Viewing images on TV screen
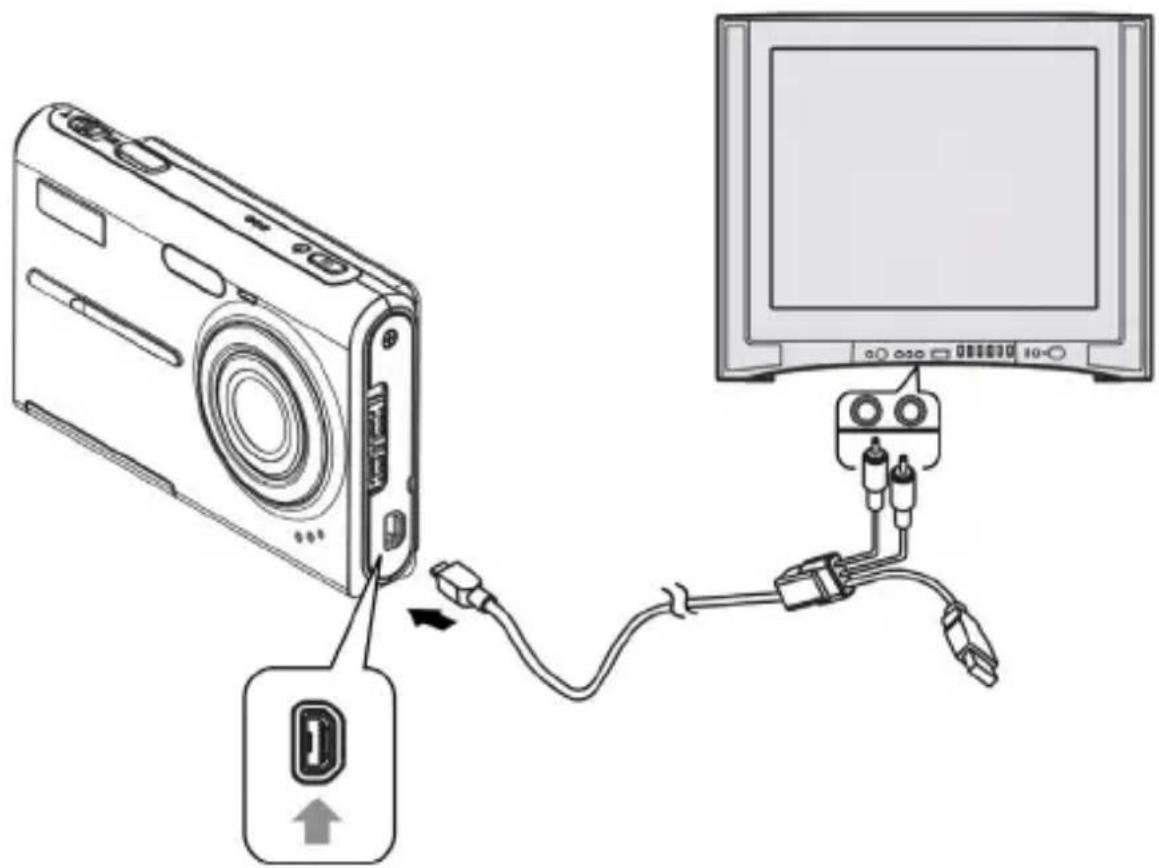
Before connecting the camera to a TV, please set the proper TV-out protocol for the camera. (Page 28)
- Connect the camera to the TV with the composite video cable (supplied).
- Turn the camera on. You should then be able to operate the camera using the TV screen instead of the LCD. (The LCD will turn off when the camera is connected to the TV-out port).
text_image
Diagram showing connection between a digital camera and a monitor via cable, with an icon indicating the cable's connector.- Internal memory and SD card back up
Do not turn off the camera or remove the battery or SD card while the camera is processing data, as the internal memory data or data on an SD card may be destroyed. Always protect your data by making a back up copy.
• Notes on recording/playback
■ Before you record one-time events, make a trial recording to make sure that the camera is working correctly.
- Be careful not to get the camera wet. Water entering the inside of the camera may cause malfunctions, which in some cases may not be repairable.
- Do not aim the camera at the sun or other bright light. It may cause the malfunction of your camera.
- Clean the flash surface before use. The heat of flash emission may cause dirt on the flash surface to become discoloured or to stick to the flash surface, resulting in insufficient light emission.
- On carrying
Do not sit down in a chair or other place with the camera in the back pocket of your trousers or skirt, as this may cause malfunction or damage the camera.
- On cleaning
Cleaning the LCD
Wipe the screen surface with an LCD cleaning kit (not supplied) to remove fingerprints, dust, etc.
Cleaning the lens
Wipe the lens with a soft cloth to remove fingerprints, dust, etc.
Cleaning the camera surface
Clean the camera surface with a soft cloth slightly moistened with water, then wipe the surface with a dry cloth. Do not use the following as they may damage the finish or the casing.
- Chemical products such as thinner, benzene, alcohol, disposable cloths, insect repellent, sunscreen or insecticide, etc.
- Do not touch the camera with the above on your hand.
- Do not leave the camera in contact with rubber or vinyl for a long time.
- On moisture condensation
If the camera is brought directly from a cold to a warm location, moisture may condense inside or outside the camera. This moisture condensation may cause a malfunction of the camera.
If moisture condensation occurs
Turn off the camera and wait about an hour for the moisture to evaporate. Note that if you attempt to shoot with moisture remaining inside the lens, you will be unable to record clear images.
LED Status
| LED Status Status | LED Charge LED | Self-timer LED | |
| Power Off Off Off Off | |||
| Power On Flick Off Off | |||
| Stand by On Off Off | |||
| Flash charging Flick | Off Off | ||
| Self-timer | On | Off | Flick |
| Image saving On Off Off | |||
| Video recording On | Off Flick | ||
| USB connection | Off Off On | ||
| Charge | Off | Red | Off |
| Charge OK | Off Blue | Off |
Specifications
| Features Content | |
| Sensor Size 1/2.5" | |
| Sensor Type CMOS | |
| Maximum Image Resolution | 4032 x 3024 |
| Still Image Size | 640 x 480 (VGA)1280 x 960 (1.3M)2048 x 1536 (3.0M)2592 x 1944 (5.0M) (Default)3072 x 2304 (7.0M)4032 x 3024 (12.0M) |
| Video Clip | 30fps@VGA, 20fps@VGA30fps@VGA, 30fps@QVGA |
| Build-in Microphone Yes | |
| Build-in Speaker Yes | |
| Build-in Memory 32 MB NAND Flash Memory | |
| Storage Types | Secure Digital (SD) Card, MultiMedia Card (MMC) or SD High Capacity (SDHC) Card |
| Digital Zoom 8x | |
| Shutter Speed 1/7.5 ~ 1/3000 sec | |
| Focus distance | Flower: 15.5-17.5cm; People: 60-120cm; Mountain: 120cm-infinity |
| Voice Memo 20 seconds voice memo | |
| Audio Recording WAV | |
| Sound Effect Yes | |
| Flash Manual Setting Off / Auto / Force On | |
| Self-timer 3/10 seconds delay | |
| Continuous Shot Yes | |
| Compressed File Format | JPEG EXIF 2.2 (DPOF support) |
| Video Clip Format AVI | |
| LCD Display 3.0" COG LCD, 960(V) x 240(H) | |
| Multiple Language | English / Simplified Chinese / Traditional Chinese / French / Italian / Spanish / German / Korean / Japanese / Russian / Polish / Czech / Dutch / Danish / Thai |
| Playback Zoom Up to 8x | |
| Video Out TV out with video & audio | |
| PC Interface USB 2.0 High Speed | |
| Power Source NP-40 Lithium Ion Battery | |
| Body Material Plastic | |
| Tripod Mount Yes | |
| Dimensions 94 x 59 x 16 (mm) | |
| Supported O/S | Microsoft Windows 98SE, ME, 2000, XP, Vista, Mac OS 9.1 |
| Bundled software | Ulead Photo Explore Ulead Video Studio Ulead Cool 360 Adobe Acrobat Reader |