
Ares - Vacuum Cleaner FAKIR - Free user manual and instructions
Find the device manual for free Ares FAKIR in PDF.


User questions about Ares FAKIR
0 question about this device. Answer the ones you know or ask your own.
Ask a new question about this device
Download the instructions for your Vacuum Cleaner in PDF format for free! Find your manual Ares - FAKIR and take your electronic device back in hand. On this page are published all the documents necessary for the use of your device. Ares by FAKIR.
USER MANUAL Ares FAKIR
Instructions for use
Vacuum cleaner

natural_image
Exterior view of a white vacuum cleaner with coiled hose and black handle (no text or symbols visible)
Inhaltsverzeichnis
D
GB Table of contents
Table of contents ......22
General 23
Safety 24
Overview....28
Assembly....30
Accessories....31
Operating....32
After use ....35
Troubleshooting....37
Disposal....38
Warranty – only valid for the German market ......39
E Indice
Indice 42
text_image
D E C F B A H G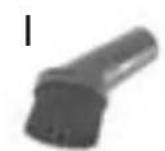
natural_image
Close-up of a black plastic clip with a cable, labeled 'M' in the top-left corner (no other text or symbols)Modell: Fakir
ARES
Art.-Nr.: 27 92 003
Sonderzubehör
natural_image
Simple line drawing of an open box with a black upward arrow indicating compression or lifting (no text or symbols)natural_image
Close-up of a vacuum cleaner with a handle and circular body (no visible text or symbols)
WARNUNG!
natural_image
Close-up of a coiled cable with a black arrow pointing to its tip (no text or symbols visible)natural_image
3D rendered image of a mechanical clamp or bracket component (no text or symbols visible)natural_image
Close-up of a transparent cylindrical device with internal components and two black arrows pointing inward (no text or symbols)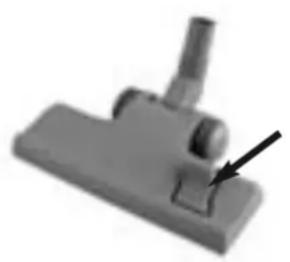
natural_image
3D rendered mechanical component with a black arrow pointing to a button (no text or symbols visible)
ACHTUNG!
natural_image
Three black plastic clips on a white background, no text or symbols visiblenatural_image
Close-up of a dark, rectangular object with a protruding rod (no visible text or symbols)natural_image
Close-up of a mechanical device with perforated panel and circular button (no visible text or symbols)
WARNUNG!
natural_image
Close-up of a mechanical component with a black arrow pointing to a feature (no visible text or symbols)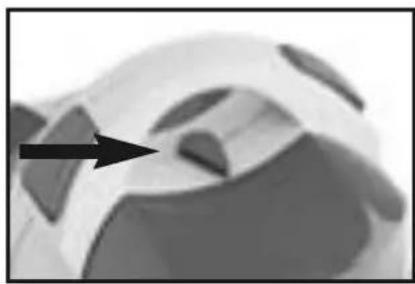
natural_image
Abstract grayscale 3D shape with a black arrow pointing to a curved surface (no text or symbols)natural_image
Close-up of a black cable with two arrows pointing to its tip (no text or symbols visible)natural_image
Black and white photo of a small robotic device with open lid and control panel (no visible text or symbols)natural_image
Black-and-white photo of a vacuum cleaner with handle and control panel (no visible text or symbols)natural_image
Close-up of a mechanical component with a black arrow pointing to a small rectangular feature (no visible text or symbols)
WARNUNG!
natural_image
Close-up of a mechanical component with a black arrow pointing to a feature (no visible text or symbols)natural_image
Illustration of a vacuum cleaner with a handle and baseplate (no text or symbols visible)natural_image
Close-up of a hand operating a small robotic device (no visible text or symbols)
HINWEIS:
text_image
Black-and-white photo of a hand holding a laptop with visible text and icons, showing a computer screen interface.natural_image
Close-up of a hand holding a small electronic device with a keypad (no visible text or symbols)natural_image
Illustration of a computer monitor with a panda-themed head, showing no visible text or symbols.
HINWEIS!
natural_image
Symbol of a trash bin crossed with a prohibition sign, no text or numbers present
Table of contents ......22
General
Information about the operating instructions....23
Liability....23
Notices in the operating instructions....23
Safety
CE Declaration of Conformity 24
Intended use 24
Unauthorized use....24
Children 25
Electric current....26
Dispatch....26
In case of danger 26
In case of defects....27
Overview
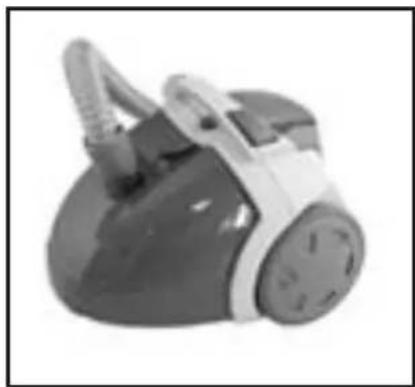
Product description and scope of delivery 28
Optional accessories 29
Technical data....29
Assembly
Unpacking....30
Assembling 30
Accessories
Floor suction nozzle, hard floor nozzle, crevice nozzle, ....31
upholstery nozzle, furniture brush, turbo suction brush .....31
Operating
Vacuum cleaning....32
Accessory compartment 33
Work breaks......33
After vacuuming 34
After use
Maintenance and Cleaning 35
Changing the dust bag 35
Changing the motor protection filter 36
Changing the HEPA filter 36
Troubleshooting....37
Disposal....38
Warranty – only valid for the German market ......39
Information about the operating instructions
These operating instructions are intended to enable the safe and proper handling and operation of the appliance.
Read these operating instructions carefully before using the appliance for the first time.
Keep the operating instructions in a safe place. Include these operating instructions when passing the appliance on to another user.
Liability
We will accept no liability for damages resulting from failure to comply with the operating instructions.
We cannot assume any liability in case the appliance is used for other purposes than its intended use or handled, repaired or serviced improperly.
Notices in the operating instructions

WARNING!
Indicates notices which, if ignored, can result in risk of injury or death.

ATTENTION!
Indicates notices of risks that can result in damage to the appliance.

NOTICE!
Emphasizes tips and other useful information in the operating instructions.
CE Declaration of Conformity
This appliance fulfils the requirements of the Appliance and Product Safety Law (GPSG) and the EU Directives 2004/108/EC “Electromagnetic Compatibility” and 2006/95/EC “Low-Voltage Directive.”
The appliance bears the CE mark on the rating plate.
Intended use
This appliance may only be used for private and commercial purposes in residences and adjoining rooms.
It may be used only for cleaning hard floors and textile floor coverings, carpets, upholstered furniture, mattresses, furniture, heating radiators and curtains.
Check if all filters have been inserted properly before using the appliance. The appliance must not be used without filters.
Use only original Fakir filters and accessories.
Any other use is considered unauthorized and is prohibited.
Unauthorized use
The examples of unauthorized use listed here can result in malfunctions, damage to the appliance or personal injury:
- Danger of injury from vacuuming! Never vacuum articles of clothing, hair, eyes, fingers or other parts of the body.
- Never use the appliance to vacuum human beings or animals. The manufacturer is not responsible for any damages caused by unauthorized use or improper operation.
- Nozzles and tube ends must never be brought close to the eyes or ears.
- Danger of injury! Never reach into the rotating roller brush when working with the turbo suction brush.
- ATTENTION risk of short circuits! Never vacuum water and other liquids, such as damp carpet cleaning solutions.
- WARNING of fire hazard! Never vacuum hot ashes or burning objects, such as cigarettes or matches.
- Danger of fire and explosion! Never use the appliance in the vicinity of explosive or flammable materials.
- WARNING! Never vacuum any solvents, explosive gases or liquids.
- Damage to appliance from rain and dirt: Never use or store the appliance outdoors.
- Danger from overheating! Always keep the openings in the appliance free.
- Attention! Destruction of filters. Never vacuum sharp or pointed objects, such as glass splinters, nails, etc. Materials that harden when dry, such as plaster or cement, can also destroy the filter.
- WARNING of health hazard! Never vacuum hazardous materials, such as toner used in laser printers or copiers.
- This appliance is not designed to be used by persons (including children) with limited physical, sensory or mental capacities or by persons lacking in experience and/or knowledge, unless they are supervised by someone who is responsible for their safety or have received instructions on how to use the appliance.
Children
- Children should be supervised to ensure that they do not play with the appliance. Electric appliances are not toys for children! Therefore, use and store the appliance away from the reach of children. Children do not recognize the danger involved with handling an electric appliance. Do not let the power cord dangle from the appliance.
- Keep packaging films away from children - danger of suffocation!
Electric current
- Incorrect voltage can destroy the appliance. Operate the appliance only if the voltage specified on the rating plate corresponds to the voltage in your household.
- Never touch the plug with wet hands.
- When unplugging the appliance, always pull directly on the plug and never on the power cord.
- Do not kink, pinch or run over the power cord and do not expose it to heat sources.
- If the power cord of this appliance is damaged, it must be replaced by the manufacturer or the manufacturer's customer service department or a person with similar qualifications to prevent any hazards.
- The socket must be protected with a 16 A automatic circuit breaker.
- Use only extension cords designed for the power input of the appliance.
- Do not use any damaged extension cords..
- Do not put the appliance in operation if you detect any visible damage on the housing, if the power cord is defective or if you suspect a defect (e.g. after a fall).
- Never immerse the appliance in water or other liquids and protect it from rain and moisture.
Dispatch
Send the appliance in the original package or a similar, well-padded package to prevent damage to the appliance.
In case of danger
In case of danger or accident, unplug the appliance immediately.
In case of defects

WARNING!
Never operate a defective appliance or an appliance with a defective power cord. There is a danger of electric shock.
Before contacting our service department, check to see if you can eliminate the problem yourself. Refer to the chapter "Troubleshooting".
If you were not able to eliminate the problem yourself, please contact an authorized Fakir service center or a trained technician in your country.
(within Germany our)
Service-Hotline
01805 325474
12 Cent / minute
from the wire-line network of the Deutsche Telekom
Before calling, have the article no. and appliance/model name at hand. This information can be found on the rating plate of the appliance.
- Repairs and maintenance may by performed only by trained technicians (e.g. Fakir customer service). Only original Fakir replacement parts may be used. Improperly repaired or serviced appliances may pose a danger to the user.
text_image
D E C F B A H G
natural_image
Five grayscale mechanical component images labeled I through L, showing different shapes and features (no text or symbols on parts)Product description and scope of delivery
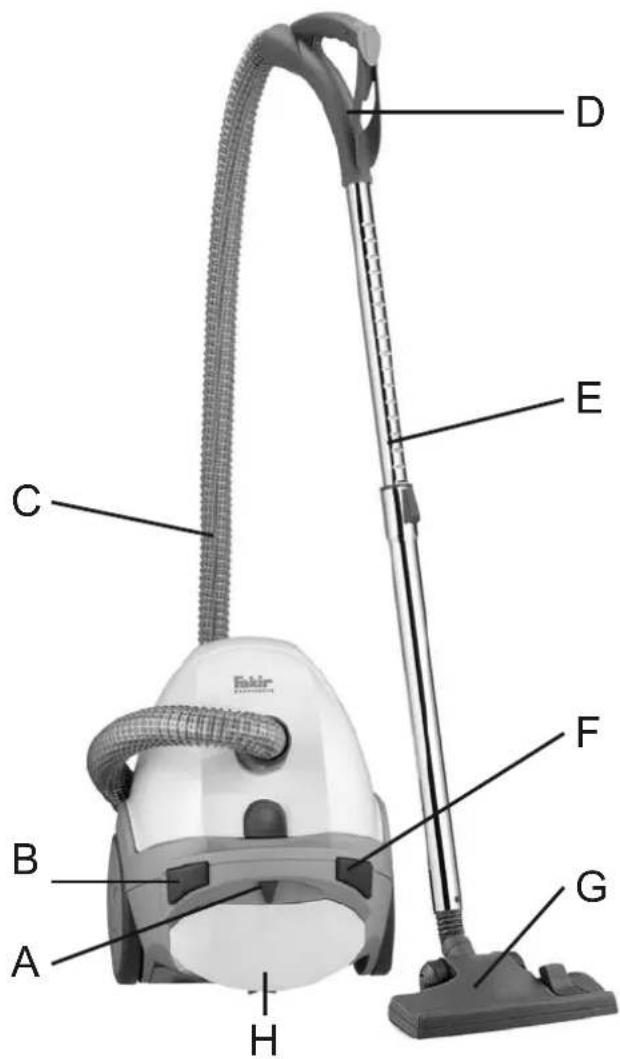
A Suction control
B Pedal button ON-OFF
C Suction hose
D Handle with suction control
E Telescopic suction tube
F Pedal button for cable rewind
G Floor suction nozzle
H HEPA filter and accessory compartm.
I Furniture brush **
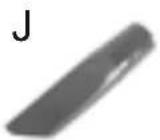
J Crevice nozzle **
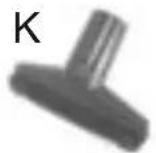
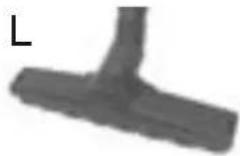
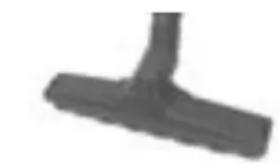
K Upholstery nozzle L Hard floor nozzle
M Turbo suction brush *
Dust bag (not illustrated)
Instructions for use
* = Optional accessory
** = Stored in the accessory compartment
Model Fakir
ARES
Reference 27 92 003
Optional accessories
Turbo brush black ref.: 20 18 920 X
HEPA-Filter ref.: 20 18 085 --
Vliesfilter ref.: 20 60 805 X
X = optional accessory
--- = standard accessory
Technical data
Mains voltage 230 V
Nominal frequency 50 Hz
Power IEC 1550 W
Power max. 1800 W
Depression max. 21 kPa
Air flow max. 35 l/s
Weight approx. 5,9 kg
Dimensions approx.
Colour (housing)
37,5 × 31,5 × 29,5 cm
crema
Unpacking
natural_image
Simple line drawing of an open box with a black upward arrow indicating compression or lifting (no text or symbols)Assembling
natural_image
Close-up of a vacuum cleaner with handle and circular body (no visible text or symbols)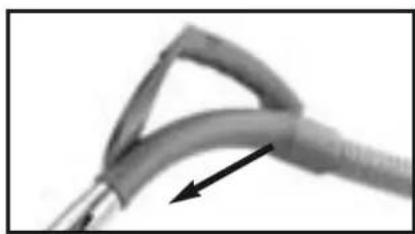
natural_image
Close-up of a coiled cable with a black arrow pointing to its tip (no text or symbols visible)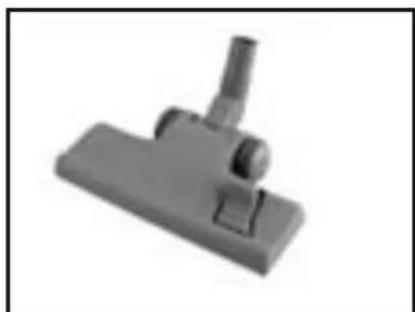
natural_image
3D rendered image of a mechanical clamp or bracket component (no text or symbols visible)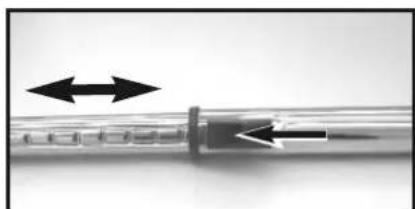
natural_image
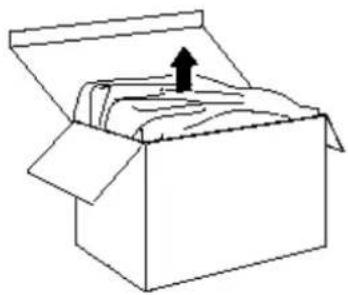
Close-up of a mechanical component with two black arrows pointing to internal features (no text or symbols visible)Unpack the appliance and check the contents for completeness (see "scope of delivery").
Sort the packaging material and recycle accordingly.
If you notice any transportation damage, please contact your dealer immediately.

WARNING!
Never use a defective appliance.

WARNING!
Prior to assembly, make sure that the mains plug is unplugged. If the mains plug is plugged in, the appliance could accidentally be switched on, resulting in injuries.
- Suction hose
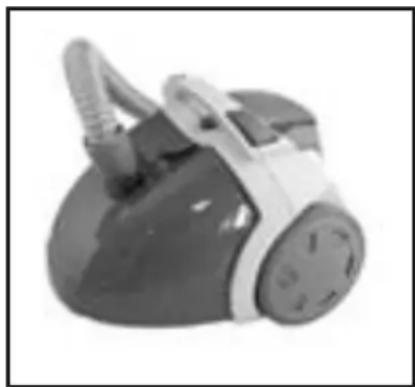
Press the connecting piece at the end of the suction hose into the air intake opening of the vacuum cleaner.
• Suction hose / Telescopic suction tube
Insert the handle of the suction hose into the telescopic tube.
- Nozzles / Hand tube resp. Telescopic suction tube
Insert the required nozzle with a slight turn onto the handle of the suction hose, or onto the telescopic suction tube.
- Setting the length of the suction tube
Use your thumb to press the slide element in the direction of the arrow.
Hold the lower part of the tube in your other hand and pull or push the suction tube to the required length.
The vacuum cleaner is now ready for use.
natural_image
Close-up of a mechanical component with a handle and a button, no visible text or symbols
ATTENTION!
Always switch off the appliance before changing the nozzle.
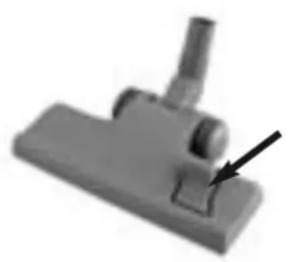
- The floor suction nozzle has a switch (see arrow) which sets the nozzle for cleaning of either carpets or hard flooring. You can activate this switch with your foot.
Vacuum-cleaning hard floors:
- the brush element is extended.
Carpeting:
- the brush element is retracted.

NOTICE!
Set suction capacity medium to high.
The hard floor nozzle is used for cleaning hard floors such as tiles, parquet or PVC etc.

NOTICE!
Set suction capacity medium to high.
The crevice nozzle serves to clean hard-to-access places, such as deep cracks, corners, recesses, etc.
With the upholstery nozzle you can vacuum off curtains, upholstered furniture, etc.
With the furniture brush you can vacuum off dust from furniture, pictures, window sills, books, etc.

NOTICE!
Set suction capacity low to medium.
The turbo brush can clean deep down into carpets and rugs to remove stubborn fluff and animal hairs thanks to the suctioning air flow driven by the rotating roller brush.
(optional accessory)
natural_image
Simple 3D-rendered object resembling a T-shaped tool or bracket (no text or symbols)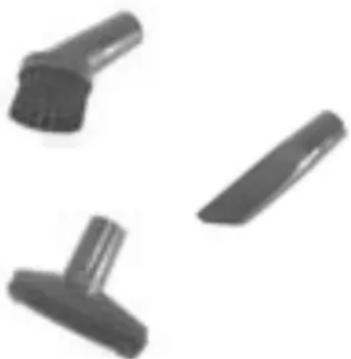
natural_image
Three black plastic push-button clips arranged diagonally on a white background (no text or symbols visible)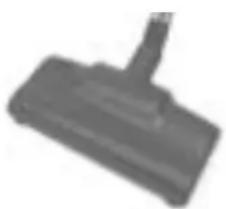
natural_image
Close-up of a gray plastic clip or clip with a handle (no visible text or symbols)Vacuum cleaning
natural_image
Close-up of a small electronic device with a perforated panel and a button, showing no visible text or symbols.
WARNING!
Always check the appliance and the power cable before use. Faulty appliances may cause injury and should not be used.
- Attach the required nozzle.
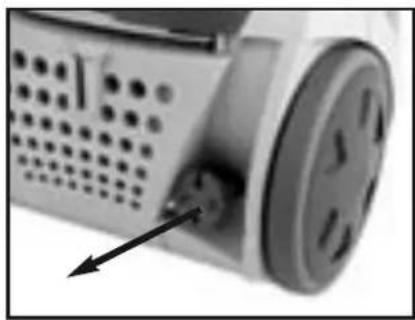
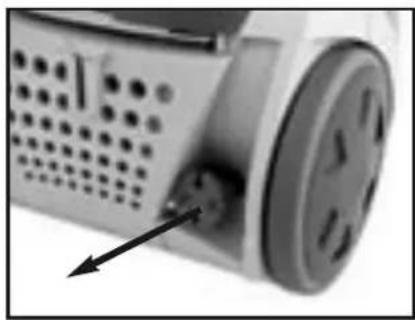
- Pull out the power supply cable by tugging on the plug until the required length is reached.
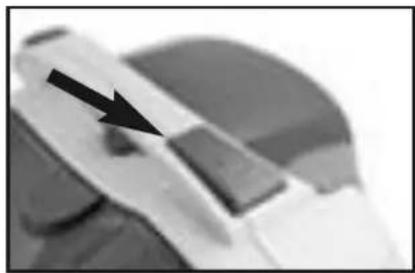
A yellow mark on the cable shows you that the maximum cable length has almost been reached. The maximum cable length is shown by a red mark on the cable. Never pull the cable out of the appliance beyond the red mark. - To switch the vacuum cleaner on, press the ON-OFF pedal button.
natural_image
Close-up of a mechanical component with a black arrow pointing to a specific part (no visible text or symbols)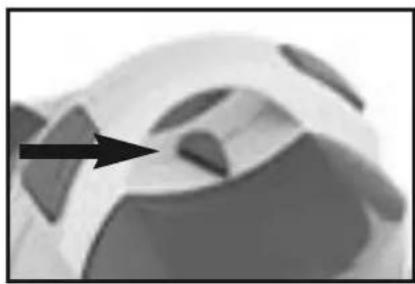
natural_image
Abstract grayscale shape with a black arrow pointing to a curved form (no text or symbols)- Set the required suction level by using the suction regulator:
MIN = slide to the left MAX = slide to the right
natural_image
Close-up of a black cable with two arrows pointing to its tip (no text or symbols visible)Adjustment of suction level
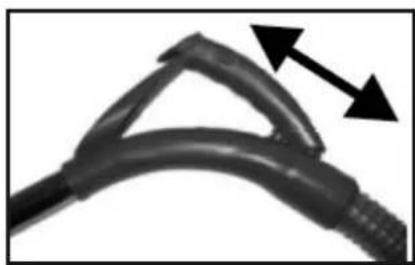
by means of the suction control on the handle of the suction hose:
Suction level max. = vent closed
Suction level min. = vent open
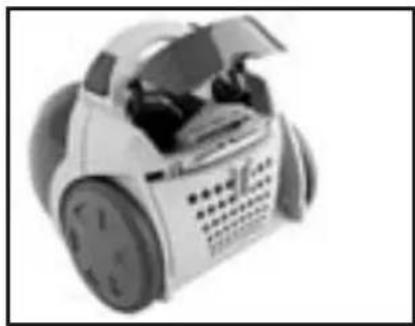
Accessory department
natural_image
Black and white photo of a small robotic device with open lid and control panel (no visible text or symbols)Open the accessory compartment lid.
The accessory compartment is containing:
- crevice nozzle
- upholstery nozzle
- furniture brush
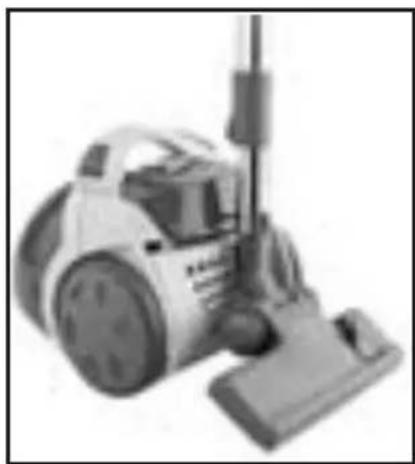
Work breaks
natural_image
Black-and-white photo of a vacuum cleaner with handle and control panel (no visible text or symbols)Use the park holder of the floor nozzle to hold the suction tube safely in position when the cleaner is not being used.
To do this, insert the park holder of the floor nozzle into the nozzle holder on the reverse of the appliance.

WARNING!
Follow the steps below as soon as you stop vacuum cleaning. Never leave the appliances unattended.
After vacuuming
natural_image
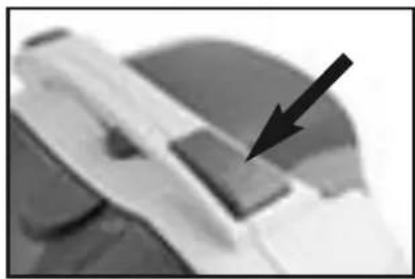
Close-up of a mechanical component with a black arrow pointing to a small rectangular block (no visible text or symbols)- Press the pedal button ON-OFF to switch off the vacuum cleaner.
- Remove the plug from the mains socket.
natural_image
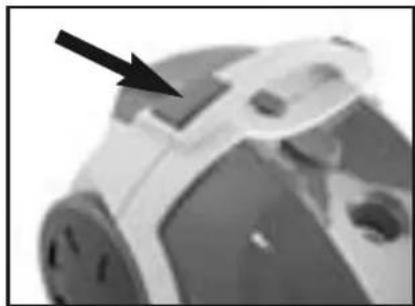
Close-up of a mechanical component with a black arrow pointing to a feature (no visible text or symbols)- Press the pedal button "cable rewind" to reel in the cable. Gently guide the cable with your hand until the cable has been completely wound in and the plug rests snugly against the opening.
natural_image
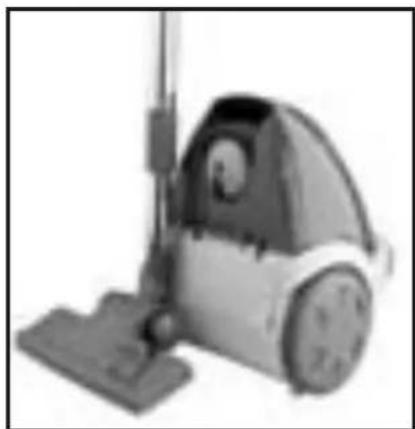
Black-and-white photo of a vacuum cleaner with a handle and baseplate (no visible text or symbols)- Insert the holder of the floor suction nozzle into the nozzle holder on the underneath of the appliance. Now you can carry the appliance easily or place it on the floor.
- Store the vacuum cleaner in a place that is out of the reach of children.

ATTENTION!
Never place the appliance next to heat sources and avoid direct sunlight, as the heat may damage the vacuum cleaner.
Maintenance and cleaning

WARNING!
Before conducting any maintenance or cleaning, switch off and unplug the appliance. If the mains plug is plugged in, the appliance could accidentally be switched on, resulting in injuries.

ATTENTION!
Do not use any cleaning agents, abrasives or alcohol. These damage the housing.
Changing the dust bag
text_image
b aOnly clean the appliance using a dry or damp cloth.
If necessary, you can also clean the dust compartment with a damp cloth.
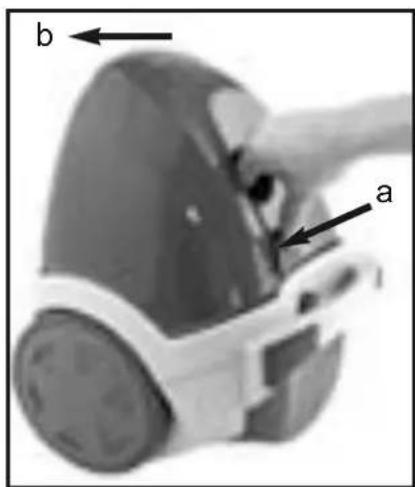
- Open the dust (filter) compartment:
Push the release lever in direction of the arrow (a) and open both housing parts (b).
- Changing dust bag:
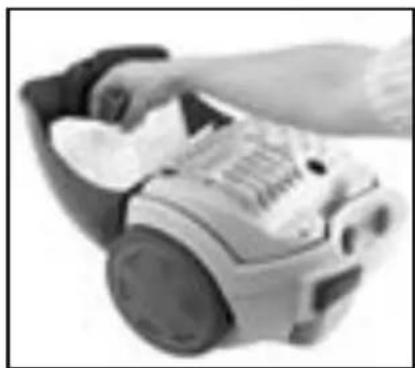
- Pull out the suction hose.
- Remove the full dust bag and dispose it.
- Insert the new dust bag into the dust bag holder.
- Reinsert the suction hose.
natural_image
Close-up of a hand operating a handheld device with a keypad (no visible text or symbols)
NOTICE!
Always ensure that all filters are inserted properly before using the appliance.
Changing the motor protection filter
natural_image
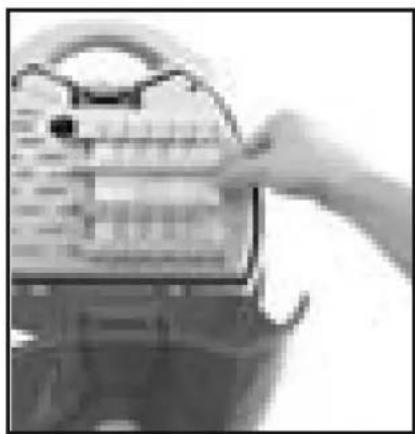
Hand holding a padlock with a grid of small electronic components (no visible text or symbols)- Open the dust compartment lid.
- Remove the contaminated filter and put in the new one perfectly.
- Close the dust compartment lid (both housing parts) until it clicks into place.

NOTICE!
Change the motor protection filter after the consumption of approx. 5 dust bags.
Changing the HEPA-filter
natural_image
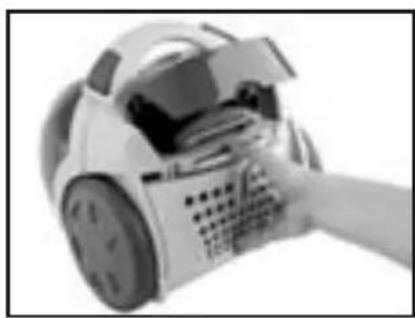
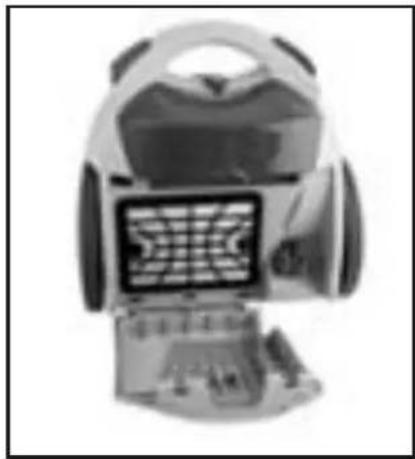
Close-up of a hand holding a small robotic device with a keypad (no visible text or symbols)- Open the accessory compartment lid.
- Press the flaps down and remove the exhaust air grid backwards.
- Remove the contaminated HEPA filter and dispose it.
- First put in the new HEPA filter and then insert the exhaust air grid so that it fits precisely.
- Close the accessory compartment lid.
natural_image
Illustration of a computer monitor with a keyboard and mouse, no visible text or symbols
NOTICE!
Change the HEPA filter after approx. 6 months.
The HEPA* filter is a high efficiency submicron air filter which not only collects household dust but also pollen and other micro-small particles – a boon for people with sensitive respiratory organs or those suffering from allergies.
Troubleshooting
Dear customer,
Our products undergo stringent quality controls. If this appliance should nevertheless fail to function properly, this is a matter of regret for us. Before contacting our service department, check to see if you can eliminate the problem yourself.

WARNING!
Switch off and unplug the appliance before beginning troubleshooting. This will prevent the appliance from accidentally being switched on.
| FAULT POSSIBLE CAUSE REMEDY | ||
| Appliance does not work. | Plug is not inserted.Appliance is not switched on.Power outlet does not carry any power.Power cable is damaged. | Insert plug.Switch on appliance.Use another power outlet.Send the appliance for repair. |
| Appliance does not vacuum. | Dust bag / filters are full and/or clogged.Hose, tubes or nozzles are clogged up. | Change dust bag / filters.Eliminate clogging. |
| Appliance runs unusually loud. | Sucked in particles have become jammed. | Remove particles. |
If you were not able to eliminate the problem yourself, please contact an authorized Fakir service center or a trained technician in your country.
(within Germany our)
Service-Hotline
01805 325474
12 Cent / minute
from the wire-line network of the Deutsche Telekom

NOTICE!
Before calling, have the article no. and appliance/model name at hand. This information can be found on the rating plate of the appliance.
Disposal
natural_image
Symbol of a trash bin crossed with a prohibition sign, no text or numbers present
When the appliance has reached the end of its service life, especially in the event of malfunctions, render the appliance unserviceable by cutting the power cord.
Dispose of the appliance in accordance with the applicable environmental regulations for your country.
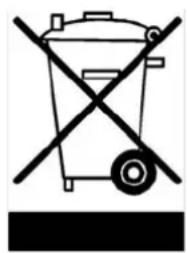
Do not dispose of electrical equipment with the household refuse. Take the appliance to a central recycling facility.
The packaging of the appliance is made of recyclable materials. Sort the packaging material and recycle accordingly.
For information about recycling, please contact your local authorities or your retail dealer.
You can dispose used dust bags and filters in the household waste system.
Valid in the Federal Republic of Germany.
We provide a warranty for the appliance subject to the following conditions:
- The Customer's main place of residence is in Germany and the appliance was bought from a dealer located in Germany.
- We undertake to repair the appliance free of charge, including free shipping, if it becomes defective due to a material or assembly error within 24 months (within 12 months if used commercially or used for self-employed professional purposes) and if notification of the defect is given within the warranty period.
A pre-condition of our warranty is that the appliance always treated properly. The warranty terms start on the date of purchase. - Parts subject to natural wear (e.g. drive belts, chargeable batteries, brushes, filters) do not fall under the terms of the warranty.
- The warranty will lapse if the appliance is modified or repaired by persons we have not authorised. Also, no third party spare parts or accessories may be used.
- The main focus of the warranty is on performing repairs or exchanging defective parts. Repairs on site can only be demanded for large stationary appliances. When making a warranty claim, the invoice or purchase receipt from the dealer stating the date of purchase must be presented.
- If the repair fails and the damage or defect cannot be rectified even after a second attempt, the appliance will be replaced with one of the same value. If neither repair nor replacement is possible, the customer is entitled to return the appliance and demand reimbursement of the purchase price. In the event that the appliance is exchanged or the purchase price reimbursed, a usage fee may be raised for the period that the appliance was in use.
- Warranty work does not extend the warranty period or mark the start of a new warranty period. The warranty term for installed spare parts ends at the same time as the warranty period for the whole appliance.
- The contractual and/or statutory regulations relating to the correction of faults is not affected by the provisions of the warranty.
Valid from 1st April 2008

natural_image
Blank gray image with no visible content, text, or symbols
natural_image
Blank gray image with no visible content, text, or symbolsIndice 42
Generalidades ....
text_image
D E C F B A H G
natural_image
Five grayscale mechanical component images labeled I through L, showing different shapes and features (no text or symbols on parts)natural_image
Close-up of a gray electronic component with a cable, labeled 'M' in the top-left corner (no other text or symbols visible)Modelo Fakir
ARES
Referencia 27 92 003
natural_image
Simple line drawing of an open box with a black upward arrow indicating compression or lifting (no text or symbols)Montar
natural_image
Close-up of a vacuum cleaner with a handle and circular body (no visible text or symbols)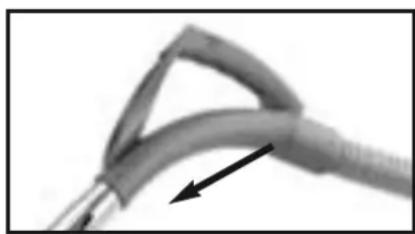
natural_image
Close-up of a coiled cable with a black arrow pointing to its tip (no text or symbols visible)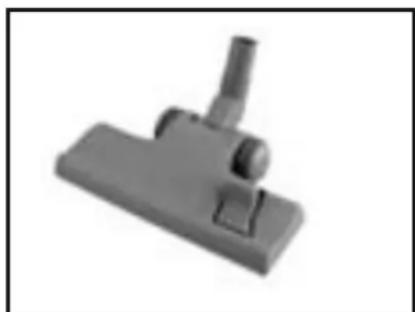
natural_image
3D rendered image of a mechanical clamp or bracket component (no text or symbols visible)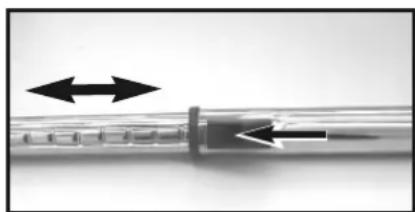
natural_image
Close-up of a syringe with two arrows indicating direction (no text or symbols)natural_image
3D rendered mechanical component with a handle and base, featuring an arrow pointing to a button (no text or symbols visible)
¡ADVERTENCIA!
natural_image
Simple 3D-rendered object resembling a T-shaped tool or connector (no text or symbols)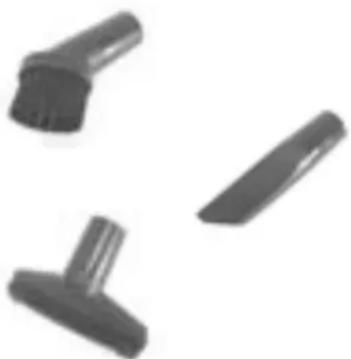
natural_image
Three black plastic push-button clips arranged diagonally on a white background (no text or symbols visible)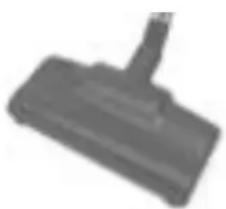
natural_image
Close-up of a gray plastic component with a handle and central slot (no visible text or symbols)Aspirar
natural_image
Close-up of a small electronic device with a perforated panel and a black arrow pointing to a button (no visible text or symbols)
¡ADVERTENCIA!
natural_image
Close-up of a mechanical component with a black arrow pointing to a feature (no visible text or symbols)natural_image
Abstract grayscale 3D shape with a black arrow pointing to a specific region (no text or symbols)natural_image
Close-up of a black cable with two arrows pointing to its tip (no text or symbols visible)natural_image
Close-up of a white robotic device with exposed internal components (no visible text or symbols)natural_image
Black-and-white photo of a vacuum cleaner with attached circuit board (no visible text or symbols)natural_image
Close-up of a mechanical component with a black arrow pointing to a small rectangular feature (no visible text or symbols)natural_image
Close-up of a mechanical component with a black arrow pointing to a feature (no visible text or symbols)natural_image
Black and white photo of a vacuum cleaner with a handle and baseplate (no visible text or symbols)natural_image
Close-up of a hand operating a small robotic device (no visible text or symbols)
¡NOTA
natural_image
Close-up of a hand holding a computer case with visible text and buttons (no readable text or symbols)natural_image
Close-up of a robotic device with a hand interacting with it (no visible text or symbols)natural_image
Illustration of a computer monitor with a panda-themed head, showing no visible text or symbols.
¡NOTA!
natural_image
Symbol of a waste bin with crossed lines indicating no waste or restriction (no text or labels)