
Outdoor Screen House 52647 - Uncategorized Gardenline - Free user manual and instructions
Find the device manual for free Outdoor Screen House 52647 Gardenline in PDF.


User questions about Outdoor Screen House 52647 Gardenline
0 question about this device. Answer the ones you know or ask your own.
Ask a new question about this device
Download the instructions for your Uncategorized in PDF format for free! Find your manual Outdoor Screen House 52647 - Gardenline and take your electronic device back in hand. On this page are published all the documents necessary for the use of your device. Outdoor Screen House 52647 by Gardenline.
USER MANUAL Outdoor Screen House 52647 Gardenline
natural_image
Tall tent with blue and white panels, no visible text or symbolsContents
Pack contents/ parts ....3
Safety....4
Set-up 5
Maintenance....8
Warranty/service 9
Pack contents/ parts
| PictureNo. | Description | Qty | |
| A | 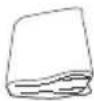 | 1Screen House | |
| B | 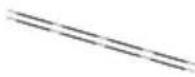 | Fiberglass,shock-corded Roof Pole-black | 2 |
| C | 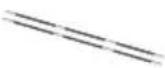 | Fiberglass,shock-corded Roof Middle Pole w/caps-black | 1 |
| D | 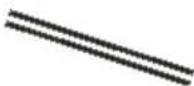 | Steel,chain-corded Leg Pole-black | 4 |
| E | 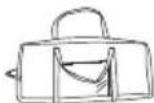 | Carry Bag-navy | 1 |
| F |  | Elbow Connector 155 degree (attached to screen house corners) | 4 |
| G |  | Pole Bag | 1 |
| H |  | Stake Bag | 1 |
| I | 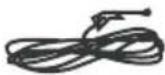 | Guy Ropes; 3.0M | 4 |
| J |  | Steel Stakes | 16 |
Warning

WARNING: KEEP ALL FLAME AND HEAT SOURCES AWAY FROM THIS PRODUCT FABRIC. THIS FABRIC IS NOT FIREPROOF! It is made with flame resistant fabric, which meets CPAI-84 specifications. The fabric may burn if left in continuous contact with any flame source. The application of any foreign substance to the fabric may render the flame-resistant properties ineffective.
Do NOT ERECT NEAR an open flame. NEVER use any fuel burning, oxygen consuming devices, or any device that produces fumes – including, but not limited to: cooking stoves, lanterns, candles, hibachis, or heaters – in or around your product. Inhalation of fumes may result in carbon monoxide poisoning, injury and/or death.
Set-up
Identify all the parts packaged in the carton against the parts list. Remove all protective materials and place parts on a nonabrasive surface to avoid scratching. If any parts are missing or damaged, DO NOT attempt to assemble. Please contact our customer service center (Mondy-Friday 9:00 am - 4:00 pm Est.) at 1-877-579-1550.
Caution
Read all the instructions before assembly. Failure to do so may result in faulty assembly and potential injury! Assemble product on a soft, non-abrasive surface such as a carpet or cardboard to avoid damaging the item.
STEP1: Verify Package Contents
Verify package contents by emptying contents of bag(s) and confirming all parts are included and undamaged.
Tip: Do this at home before you leave on your trip.
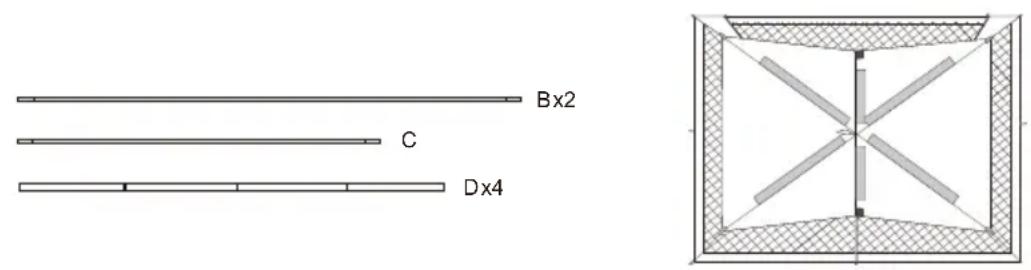
STEP 2: Lay Out the Screen House
A) Select a smooth level site and spread out your tent.
B) Extend Poles and sort into groups.
STEP2
text_image
Bx2 C Dx4STEP 3: Assemble Screen House
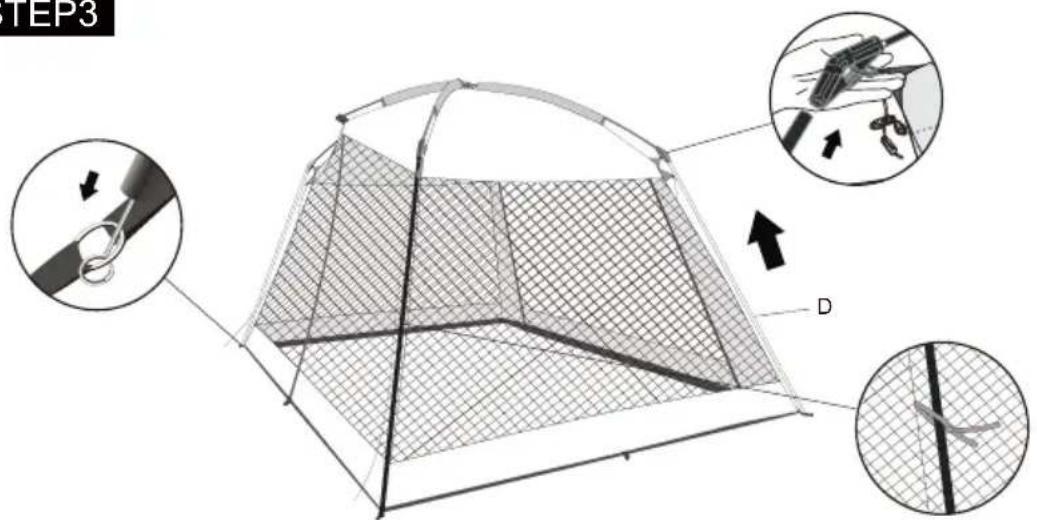
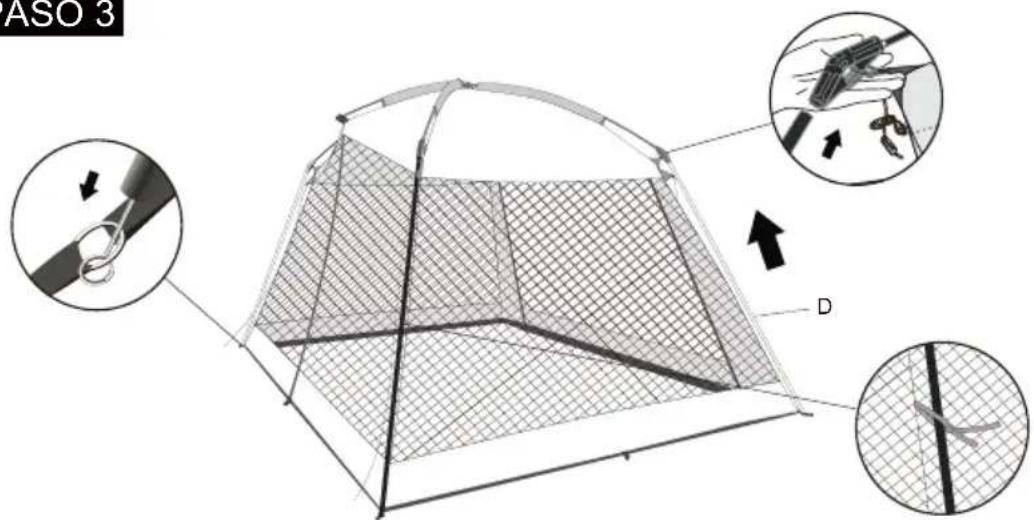
A) Place the roof poles in position for installation.
B) Begin with Roof Middle Pole (C) and slide it into its middle roof sleeves. Finish securing by inserting both pole ends into the pole pockets above each door zipper. Take a Roof Pole (B) and slide it into its sleeves; then insert the end into the ribbed side of one Elbow Connector (F) at a roof corner. Gently flex pole into an arch and secure pole ends into its own ribbed side of elbow connectors. Repeat with the other poles.
CAUTION: make sure all pole sleeves are evenly distributed along their poles; if pole joints catch on fabric, they can suffer undue stress and break pole or tear fabric.
C) Place one end of a steel leg pole (D) into the smooth end of Elbow Connector (F), then secure the other end of the leg pole onto the pin-rings at base of tent. Repeat with the remaining steel leg poles.
D) Secure poles with fabric ties as shown in illustration.
STEP3

text_image
Technical diagram illustrating a mechanical assembly with labeled components C and B, showing hand positions and directional arrows.STEP3
text_image
TEP3 DSTEP 4: Stake Screen House
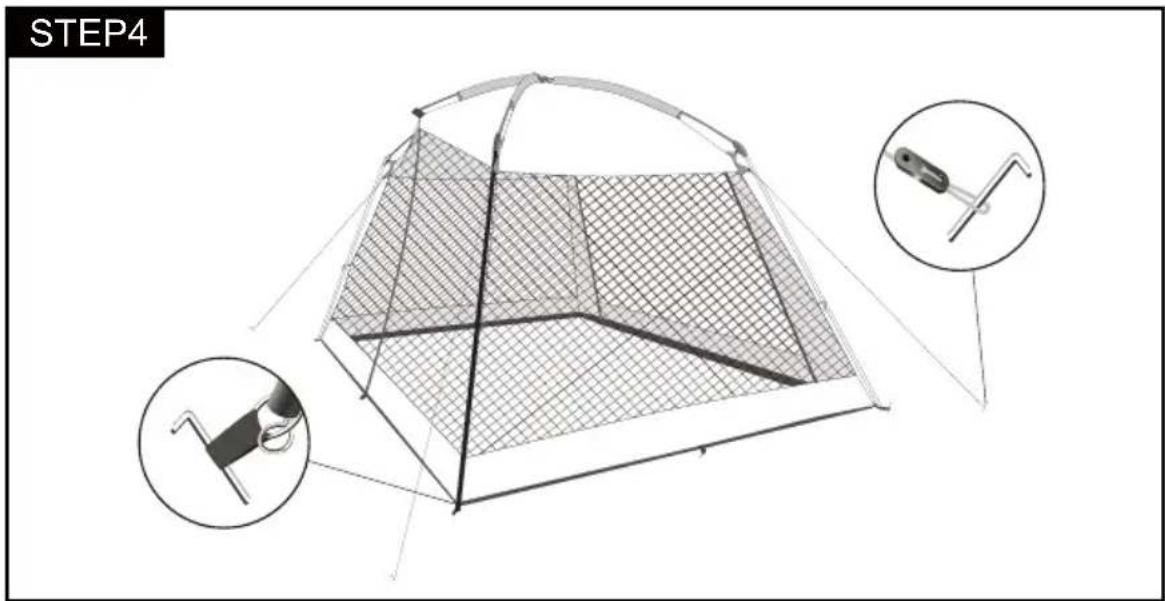
A) Stake screen house by driving stakes through the webbing loops and pin-rings on base of screen house.
Tip: Stakes provided are for solid ground. Camping in sand? We suggest corkscrew style. Check favorite retailer for availability.
B) To secure guy lines, find the guy line plastic slider and look for the knot. Pull this portion, forming a loop (works like a slip knot). Extend guy line to ground and stake. Repeat with remaining guy lines.
text_image
STEP4Care & Maintenance


Your product is NOT machine washable. Your product is NOT machine dryable.
CARE & STORAGE
One of the easiest ways to damage your product is storing it while wet. If you must close camp in the rain, follow these guidelines carefully:
• As Soon As Possible: Open your product and ensure that every area of fabric is clean and completely dry before rolling up for storage.
- If necessary, hang product outside or loosely drape over a ladder in your garage or spare room for a few days, turning it inside and out to prevent trapping pockets of water or debris.
- Use a soft brush to wipe away surface dirt.
To clean your product: Hand wash using a mild dishwashing soap and soft bristle brush, then allow the fabric to completely air dry.
Don't neglect the frame: Wipe down all parts – steel, plastic, and fiberglass - before putting away for next season's use. Salts from ocean air can and do affect damage if not dealt with as quickly as possible.
Storing a wet fabric for as little as 24 hours in warm weather is likely to cause fabric to mildew. Once mildew sets in, the stains are permanent.
Stains cannot be removed without potential harm to the fabric's coatings; chemicals or cleaning agents used to remove dirt and stains may irreversibly harm the fabric.
Salts, mildew and other causes and subsequent effects are NOT covered under the limited warranty.
Your details
Name
Address

Date of purchase
*We recommend you keep the receipt with this warranty card
Location of purchase
Description of malfunction
natural_image
Tall tent with blue canopy and mesh insulation, no visible text or symbolsReturn your completed warranty card together with the faulty product to:
Westfield Outdoor Inc
8675 Purdue Road Indianapolis,
IN 46268 USA
info@westfieldoutdoors.com
AFTER SALES SUPPORT


1877 579 1550

info@westfieldoutdoors.com
MODEL: HW-TENT-2874 PRODUCT CODE: 47419 06/2016

YEARWARRANTY
Warranty conditions
Dear Customer,
The ALDI warranty offers you extensive benefits compared to the statutory obligation arising from a warranty:
Warranty period: 2 years from date of purchase.*
Costs: Free repair/ exchange or refund. No transport costs.
ADVICE: Please contact our service hotline by phone, e-mail or fax before sending in the device. This allows us to provide support in the event of possible operator errors.
In order to make a claim under the warranty, please send us:
• together with the faulty item the original receipt and the warranty card properly completed
- the faulty product with all components included in the packaging.
The warranty does not cover damage caused by:
- Accident or unanticipated events (e.g. lighting, water, fire).
- Improper use transport.
- Disregard of the safety and maintenance instructions.
• Other improper treatment or modification.
After the expiry of the warranty period, you still have the possibility to have your product repaired at your own expense. If the repair or the estimate of costs is not free of charge you will be informed accordingly in advance.
This warranty does not limit the statutory obligation of the seller arising from a warranty. The period of warranty can only be extended in accordance with a legal standard. In countries where a (compulsory) warranty and/or spare part storage and/or a system for compensation are/is required for repair, neither the service company nor the seller will assume any liability for data or settings possibly stored on the product by the customer.
Contenido
text_image
Bx2 C Dx4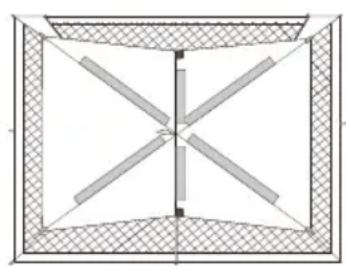
natural_image
Pure geometric diagram of a symmetrical structure with diagonal lines and cross-hatching, no text or symbols present.text_image
Technical diagram illustrating a mechanical assembly with labeled components C and B, showing hand tool positioning and force application arrows.PASO 3
text_image
ASO 3 Dnatural_image
Diagram of a tent structure with mesh shading and two inset views showing a tool (no text or symbols)natural_image
Tall tent with blue canopy and gray interior, no visible text or symbolsWestfield Outdoor Inc
8675 Purdue Road Indianapolis, IN 46268 USA
info@westfieldoutdoors.com
SERVICIO POSVENTA


1877 579 1550

info@westfieldoutdoors.com
MODEL: HW-TENT-2874 PRODUCT CODE: 47419 06/2016

AÑOS DE GARANTÍA
info@westfieldoutdoors.com
MODEL: HW-TENT-2874
PRODUCT CODE: 47419 06/2016

YEARWARRANTY AÑOS DE GARANTÍA