
HM-WDS40-TH-I-2 - Humidifier Homematic IP - Free user manual and instructions
Find the device manual for free HM-WDS40-TH-I-2 Homematic IP in PDF.


| Product Type | Humidifier |
| Brand | Homematic IP |
| Model | HM-WDS40-TH-I-2 |
| Dimensions (H x W x D) | 25 x 15 x 15 cm |
| Weight | 0.8 kg |
| Power Supply | 3 x AA batteries (not included) |
| Humidification Capacity | Up to 30 g/h |
| Tank Capacity | 500 ml |
| Humidity Sensor Range | 0% to 100% RH |
| Temperature Sensor Range | 0°C to 50°C |
| Wireless Protocol | Homematic IP (868 MHz) |
| Range | Up to 100 m in open space |
| Smart Functions | Auto mode, scheduler, remote control via app |
| Cleaning Instructions | Wipe with damp cloth; descale weekly |
| Safety Features | Overheat protection, auto shut-off when empty |
| Repairability | Replaceable batteries; spare parts available |
| Operating Temperature | 5°C to 40°C |
| Noise Level | < 30 dB |
Frequently Asked Questions - HM-WDS40-TH-I-2 Homematic IP
User questions about HM-WDS40-TH-I-2 Homematic IP
0 question about this device. Answer the ones you know or ask your own.
Ask a new question about this device
Download the instructions for your Humidifier in PDF format for free! Find your manual HM-WDS40-TH-I-2 - Homematic IP and take your electronic device back in hand. On this page are published all the documents necessary for the use of your device. HM-WDS40-TH-I-2 by Homematic IP.
USER MANUAL HM-WDS40-TH-I-2 Homematic IP
Printed in Hong Kong
Documentation © 2013 eQ-3 AG, Germany All rights reserved. No parts of this manual may be reproduced or processed in any form using electronic, mechanical or chemical processes in part or in full without the prior explicit written permission of the publisher.
It is quite possible that this manual has printing errors or defects. The details provided in this manual are checked regularly and corrections are done in the next edition. We do not assume any liability for technical or printing errors.
All registered trade marks and copyrights are acknowledged.
Printed in Hong Kong
We reserve the right to make changes due to technical advancements without prior notice.
132151
V 1.3 (12/2016)
Table of Contents
1 Information concerning these instructions ... 17
2 Hazard information....17
3 Function 18
4 General system information on Homematic . . . 20
5 General information on radio operation ..... 21
6 Installation and Start up ..... 22
6.1 Installation 22
6.2 Installing and replacing batteries ..... 22
6.2.1 Installing batteries 22
6.2.2 Replacing batteries....23
6.3 Teaching-in.....24
7 Restore factory settings ..... 25
8 Maintenance and cleaning ..... 25
9 Technical data 26
1 Information concerning these instructions
Read these instructions carefully before beginning operation with your Homematic components.
Keep the instructions handy for later consultation!
Please hand-over the operating manual as well when you hand-over the device to other persons for use.
Symbols used:

Attention! This indicates a hazard.

Note. This section contains additional important information!
2 Hazard information

Do not open the device. It does not contain any parts to be maintained by the user. In case of a fault, please send the device to our service department.
This device is to be operated indoors only and keep away from the influences of humidity, dust and sunshine or other radiating heat sources.
3 Function
Radio-controlled sensors transfer the measurement data to the Homematic components that they are taught for.
These can be display units, actuators or the Home-matic Center. The sensor transfers its data cyclically in intervals of between 120 and 180 seconds.
The WDS40-TH-I radio-controlled temperature sensor measures the temperature and the relative humidity.

The sensor is only suitable for measurements within a temperature range of from -20^ to +80^ .
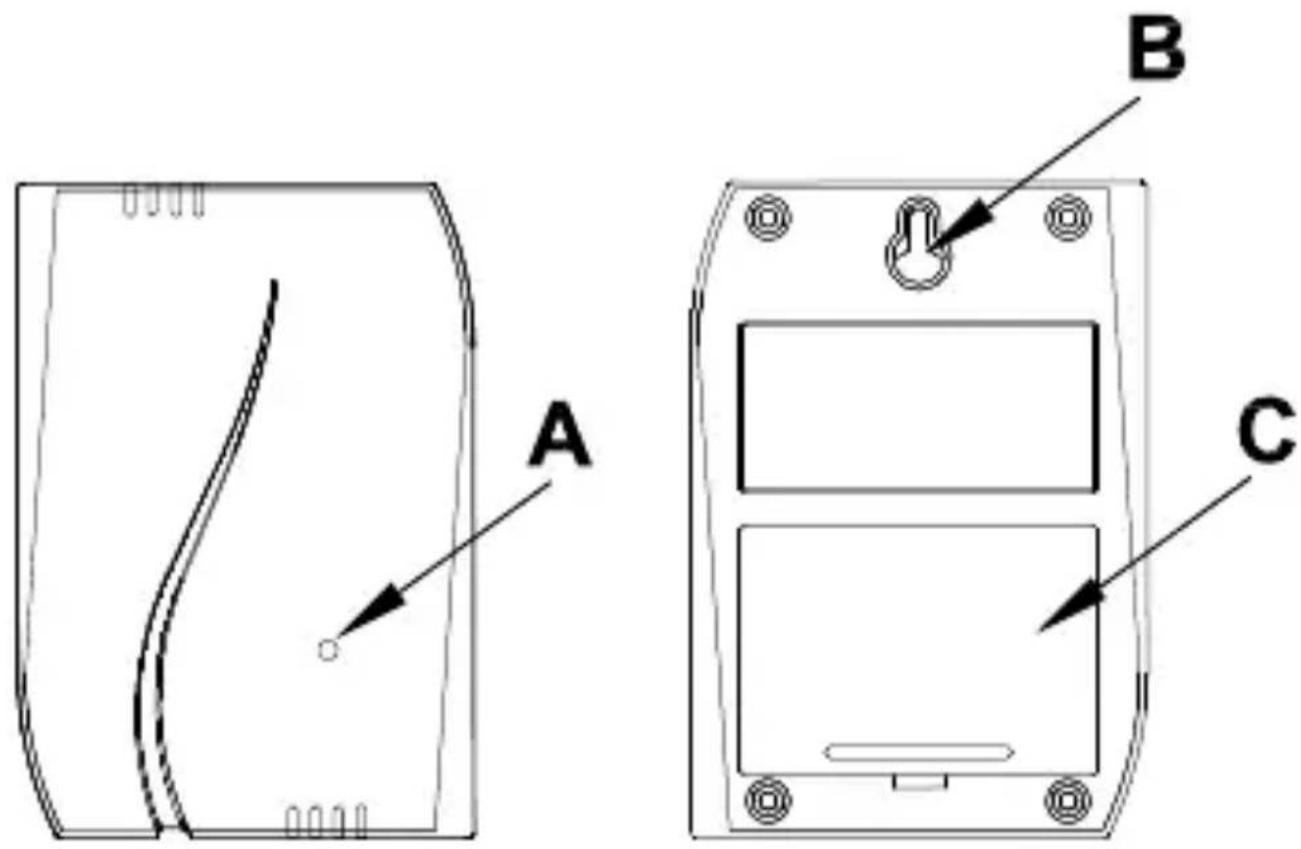
text_image
A B C(A) – Teach button
(B) - Mounting eyelet
(C) – Battery cabinet cover
4 General system information on Homematic
This device is a part of the Homematic home control system and works with the bidirectional Homematic wireless protocol.
All devices are delivered in a standard configuration. The functionality of the device can also be configured with a programming device and software. Further resulting functionality and the additional functions provided in the Homematic system combined with other components are described in the Homematic WebUI Manual.
All current technical documents and updates are provided under www.homematic.com.
5 General information on Radio Operation
The radio transmission is on a non-exclusive transmission path which means that there is a possibility of interference occurring.
Other interfering sources can be caused by switching operations, electrical motors or defective electrical devices.

The range of transmission within buildings can greatly deviate from open air distances.
Besides the transmitting power and the reception characteristics of the receiver, environmental influences such as humidity in the vicinity and local structures also play an important role.
Hereby eQ-3 AG, declares that this device conforms with the essential requirements and other relevant regulations of Directive 1999/5/EC.
The full declaration of conformity is provided under www.homematic.com.
6 Installation and start up
6.1 Installation
You can install the sensor as a wall-mounted device using the mounting eyelet or you can set it on any desired surface.
6.2 Installing and replacing batteries
6.2.1 Installing batteries
Remove the battery cabinet cover (C) on the back of the device.
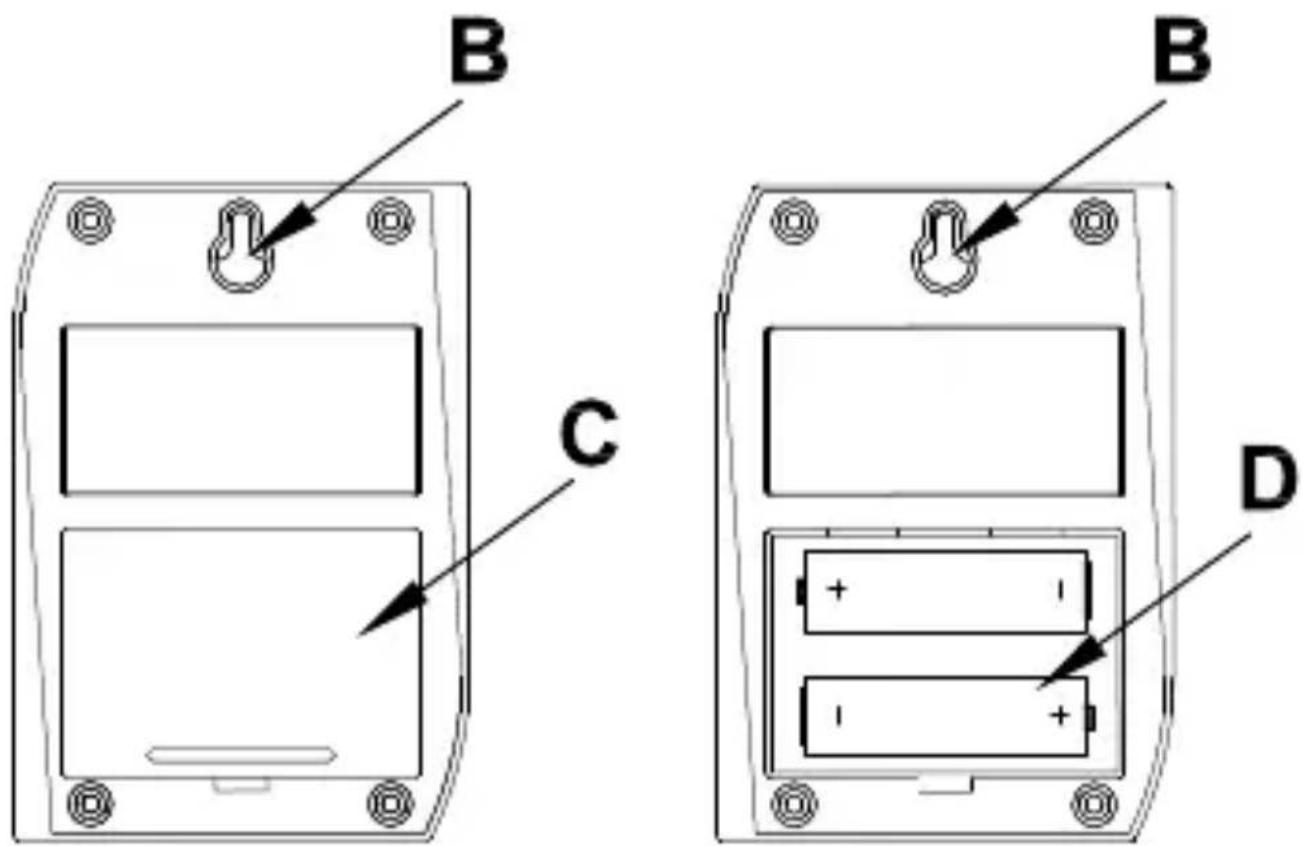
text_image
B C B DInsert the batteries into the battery cabinet (D) ensuring proper polarity (see polarity marks).
6.2.2 Replacing batteries

Caution! Danger of explosion if battery is replaced improperly.
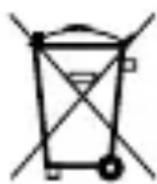

Used batteries are not to be disposed of with the house-hold waste! Please dispose them at your local battery llection point!
The batteries in the sensor have a limited lifetime. The sensor sends the status of the batteries along with the measurement data to the respective receivers that have been taught. Receivers with suitable display units show the low battery status for the sensors that have been added!
Replacing the sensor batteries if necessary.
Proceed as described under "Installing batteries".
6.3 Teaching-in

Please read this entire section before starting the teach-in procedure.

Before being able to use your device with QIVICON, it has to be taught-in to your QIVICON Home Base.
Therefore, please log-in to „My QIVICON“ at www.qivicon.com/login. There, please select „Add device“ and follow the instructions.
The two devices to be connected are set to teach mode for teaching. The teach button (A) is located on the front of the sensor.
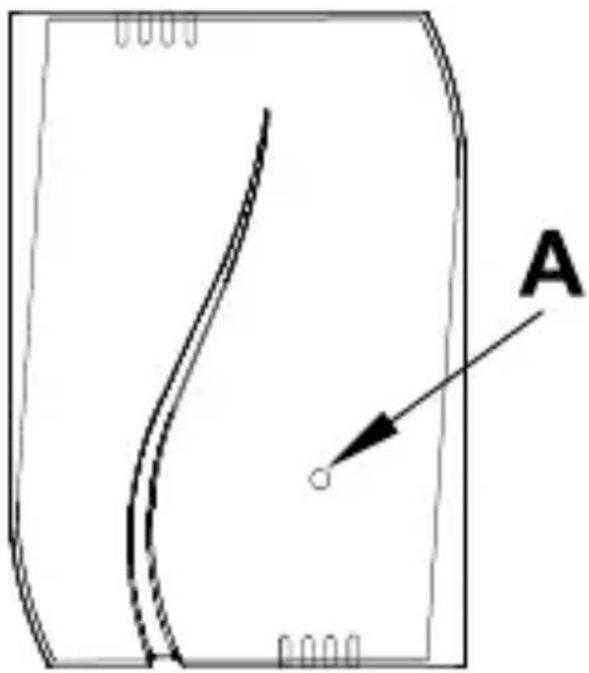
text_image
APut the desired receiver into teach mode and then press the teach button (A) on the sensor. This completes the teach process.
7 Restore factory settings
To reset the device, press the teach button for at least 5 seconds.
8 Maintenance and cleaning
The product is maintenance-free besides possibly requiring a battery change. Maintenance or repairs are only to be done by trained professionals. Clean the product using a soft, clean, dry and lint-free cloth. To remote heavier contamination, make the cloth damp with lukewarm water. Cleaning agents that contain solvents are not to be used because it can harm the plastic housing and the labels.
9 Technical data
Device short description: HM-WDS40-TH-I-2
Supply voltage: 2 x 1.5 V LR6/Mignon/AA
Current consumption: 40 mA (max.)
Battery life: 5 years (typ.)
Degree of protection: IP20
Ambient temperature: -19.9 to 79.9 °C
Temperature accuracy: ± 0.8 ^ C (10 - 40 ^ C)
Ambient humidity: 1 - 99 % rH
Humidity accuracy: ± 5 % (30 - 70 %)
Dimensions (W x H x D): 70 x 100 x 24 mm
Weight: 92 g (incl. batteries)
Radio frequency: 868.3 MHz
Receiver class: SRD Class 2
Typ. open area RF range: 300 m
Duty cycle: < 1 % per h
Subject to technical changes.
Instructions for disposal:

Do not dispose off the device as part of household garbage! Electronic devices are to be disposed of in accordance with the guidelines concerning electrical and electronic devices via the local collecting point for old electronic devices.

The CE sign is a free trade sign addressed exclusively to the authorities and does not include any warranty of any properties.
Manufacturer's authorised representative:
eQ-3
eQ-3 AG
Maiburger Straße 29
26789 Leer / GERMANY
www.eQ-3.de