Exum XTR Snow 3177 - Exercise bike Finnlo - Free user manual and instructions
Find the device manual for free Exum XTR Snow 3177 Finnlo in PDF.


User questions about Exum XTR Snow 3177 Finnlo
0 question about this device. Answer the ones you know or ask your own.
Ask a new question about this device
Download the instructions for your Exercise bike in PDF format for free! Find your manual Exum XTR Snow 3177 - Finnlo and take your electronic device back in hand. On this page are published all the documents necessary for the use of your device. Exum XTR Snow 3177 by Finnlo.
USER MANUAL Exum XTR Snow 3177 Finnlo
text_image
EXUM XTR FINNLO EXUM XTREXUM XTR
Inhaltsverzeichnis
1. Safety instructions 3
2. General 4
2.1 Packaging 4
2.2 Disposal 4
2.3 Explanation of symbols 4
3. Assembly 5
3.1 Check list 5
3.2 Assembly Steps 6
3.3 Adjust for perfect saddle position 11
3.4 Handlebar adjustment 11
3.5 Height adjustment 12
4. Care and Maintenance 13
13
5. Computer (UK) 25
5.1 Computer keys 25
5.2 Computer functions 25
5.2.1 Remarks on the individual functions 27
5.2.2 Explanation of the symbols and need to know 28
5.3 Computer Functions 29
5.3.1 Immediate-Start function 29
5.4. Exercise with User setting 29
5.4.1 User selection and setting of personal datas. 29
5.4.2 WATT-Mode 30
5.4.3 HRC-Mode 32
5.4.4 PROGRAM-Mode 34
5.4.5 MANUAL-Mode 35
5.4.6 INDIVIDUAL-Mode 36
5.4.7 Display after finishing your exercise 37
5.5 Diagnostic and troubleshooting 38
6. Technical details 39
6.1 Adapter 39
6.2 Conformity according to the Product safety law 39
7. Training manual 40
7.1 Training frequency 40
7.2 Training intensity 40
7.3 Heartrate orientated training 40
7.4 Training control 41
7.5 Trainings duration 42
8. - 43
9. Explosion drawing 44
- Parts list 46
- Warranty (Germany only) 47
-
- 48
1. Safety instructions
IMPORTANT!
● The Ergometer is produced according to DIN EN 957-1/5 class HA.
● Max. user weight is 150 kg.
● The Ergometer should be used only for its intended purpose.
- Any other use of the item is prohibited and maybe dangerous. The importeur cannot be held liable for damage or injury caused by improper use of the equipment.
● The Ergometer has been produced according to the latest safety standards.
To prevent injury and / or accident, please read and follow these simple rules:
- Do not allow children to play on or near the equipment.
- Regularly check that all screws, nuts, handles and pedals are tightly secured.
- Promptly replace all defective parts and do not use the equipment until it is repaired. Watch for any material fatigue.
- Avoid high temperatures, moisture and splashing water.
- Carefully read through the operating instructions before starting the equipment.
- The equipment requires sufficient free space in all directions (at least 1.5 m).
- Set up the equipment on a solid and flat surface.
- Do not exersice immediately before or after meals.
- Before starting any fitness training, let yourself examined by a physician.
- The safety level of the machine can be ensured only if you regularly inspect parts subject to wear. These are indicated by an * in the parts list. Levers and other adjusting mechanisms of the equipment must not obstruct the range of movement during training.
- Training equipment must never be used as toys.
- Do not step on the housing but only on the steps provided for this purpose.
- Do not wear loose clothing; wear suitable training gear such as a training suit, for example.
- Wear shoes and never exercise barefoot.
- Make certain that other persons are not in the area of the home trainer, because other persons may be injured by the moving parts.
- It is not allowed to place the item in rooms with high humidity (bathroom) or on the balcony.
2. Allgemeines
text_image
Symbol of a trash bin crossed out by a diagonal line, indicating no waste or dischargeThis training equipment is for use at home. The equipment complies with the requirements of DIN EN 957-1/5 Class HA. The CE marking refers to the EU Directive 89/336/EEC and 73/23/EEC. Damage to health cannot be ruled out if this equipment is not used as intended (for example, excessive training, incorrect settings, etc.).
Before starting your training, you should have a complete physical examination by your physician, in order to rule out any existing health risks.
2.1 Packaging
Environmentally compatible and recyclable materials:
● External packaging made of cardboard
● Molded parts made of foam CFS-free polystyrol (PS)
● Sheeting and bags made of polyethylene (PE)
● Wrapping straps made of polypropylene (PP)
2.2 Disposal
text_image
Prohibition sign for a trash bin with crossed lines and a blank rectangular basePlease be sure to keep the packing for the event of repairs / warranty matters. The equipment should not be disposed of in the household rubbish!
2.3 Explanation of symbols
Contains important information

3. Aufbau
3. Assembly
In order to make assembly of the Ergometer as easy as possible for you, we have preassembled the most important parts. Before you assemble the equipment, please read these instructions carefully and then continue step by step as described
Contents of packaging
- Unpack all individual parts and place them alongside each other on the floor.
- Place the main frame on a pad protecting the floor, because without its assembled base feet it can damage / scratch your floor. The pad should be flat and not too thick, so that the frame has a stable stand.
● Make certain that you have adequate room for movement (at least 1.5 m) on all sides during assembly.
3.1 Checkliste
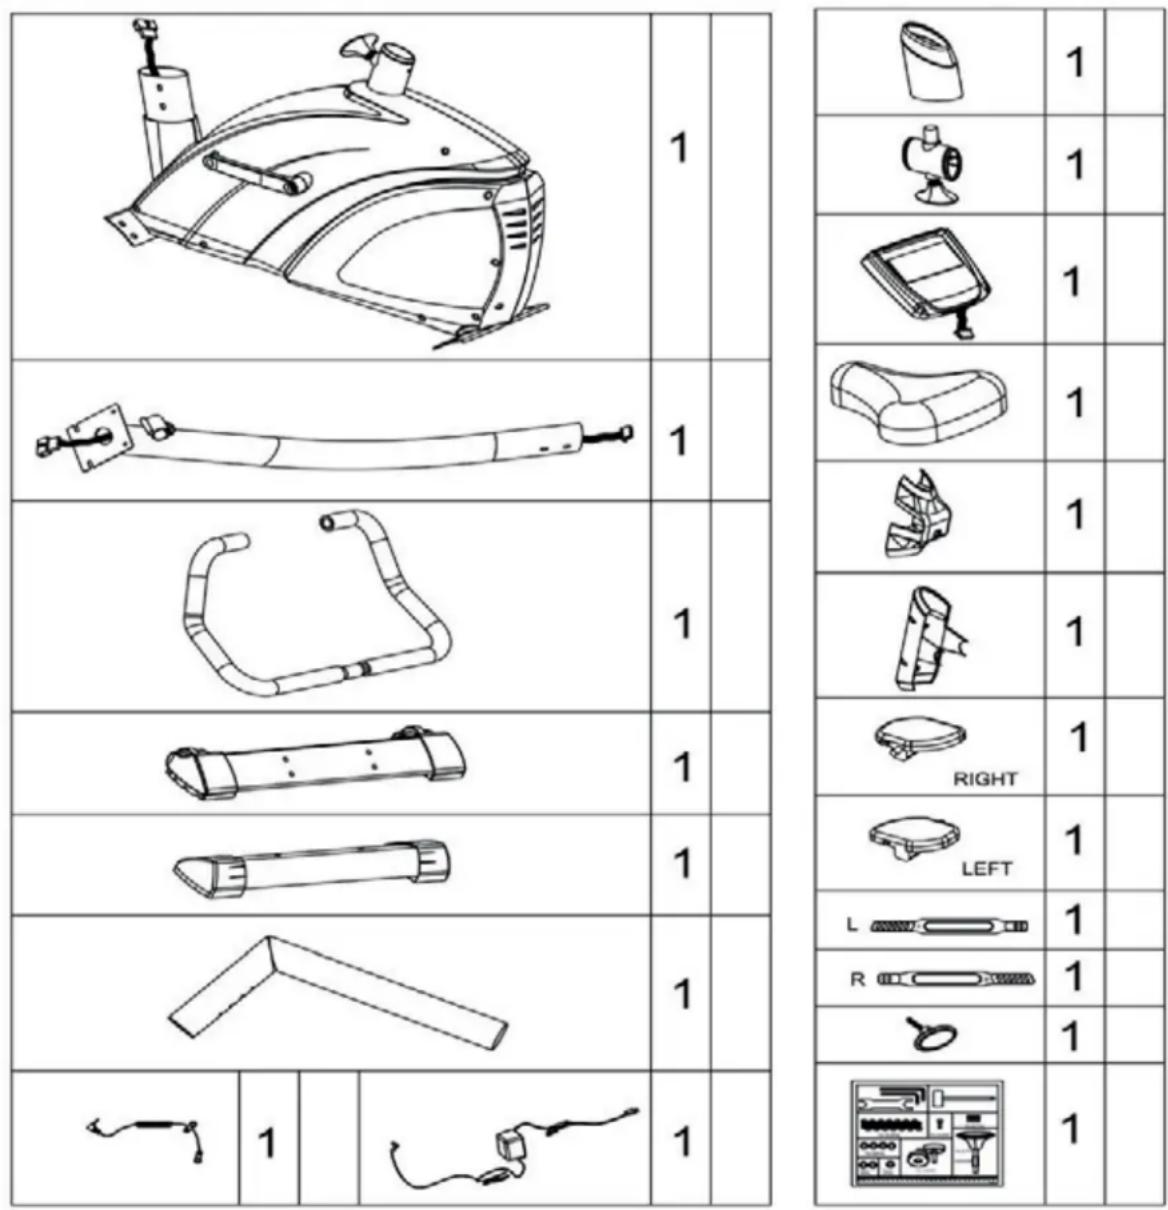
1
1
1
1
1
1
1
1
1
1
1
1
1
1
3.2 Montageschritte/Assembly steps
Schritt /Step 1
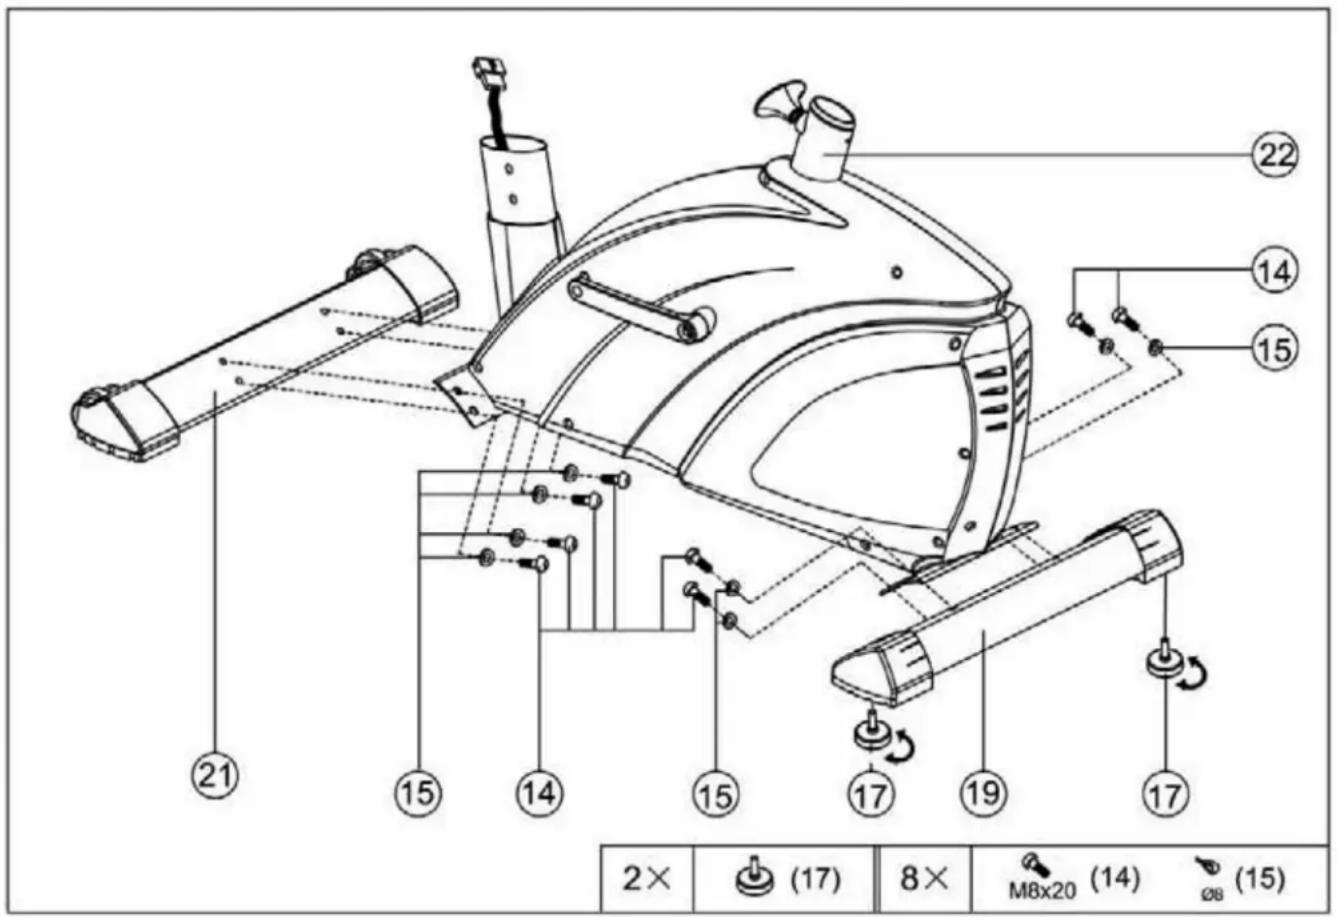
text_image
2× (17) 8× M8x20 (14) ø8 (15) ②2 ⑭ ⑭ ⑮ ⑮ ⑮ ⑮ ⑮ ⑮ ⑮ ⑮ ⑮ ⑮ ⑮ ⑮ ⑮ ⑮ ⑮ ⑮ ⑮ ⑮ ⑮ ⑮ ⑮ ⑮ ⑮ ⑮ ⑮ ⑮ ⑮ ⑮ ⑮ ⑮ ⑮ ⑮ ⑮ ⑮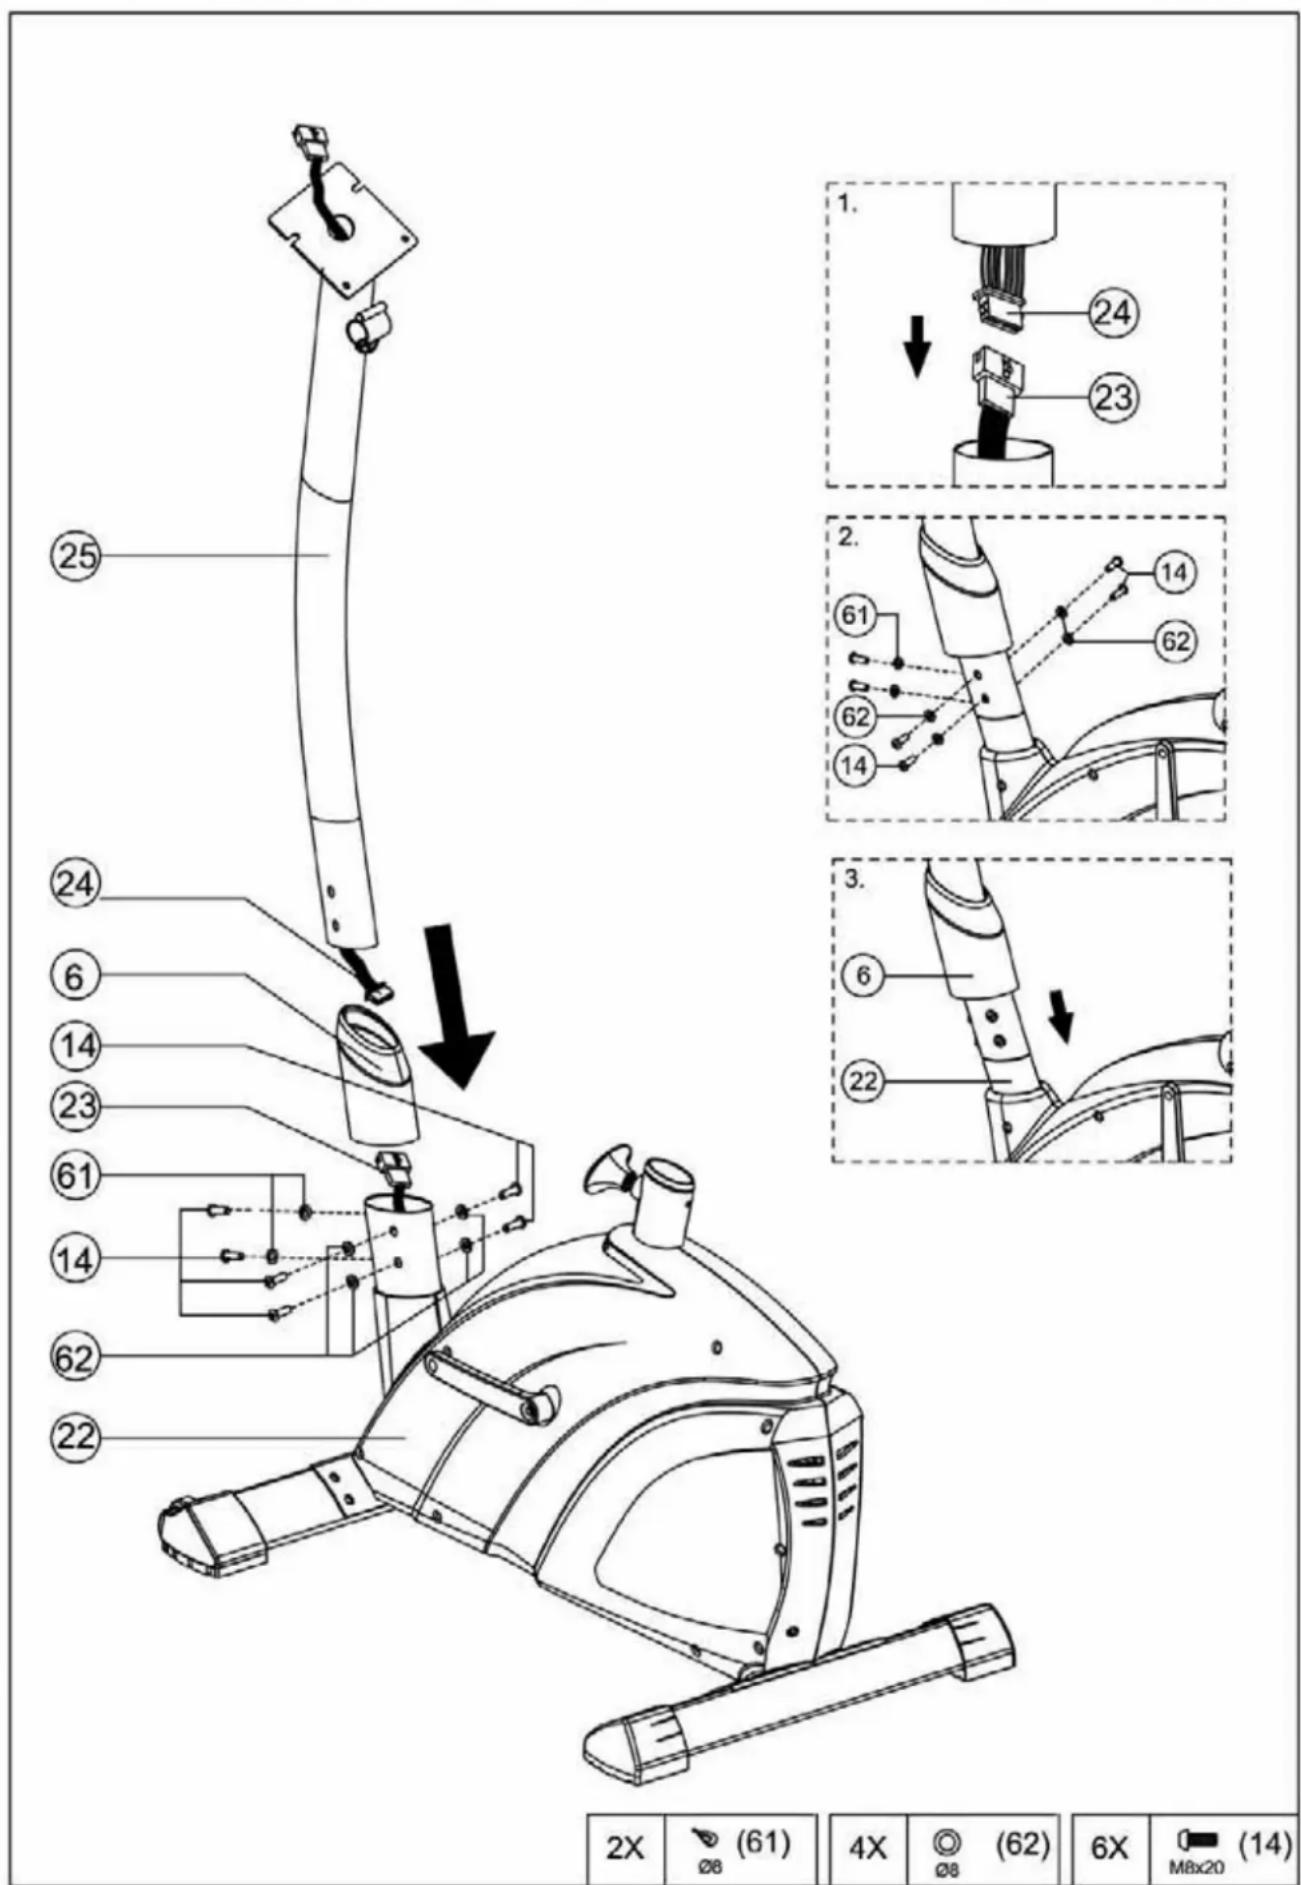
text_image
25 24 6 14 23 61 14 62 22 1. 24 23 2. 61 14 62 14 3. 6 22 3. 6X (61) 4X (62) 6X (14) 2X Ø8 (61) Ø8 (62) M8x20 (14)Schritt / Step 3
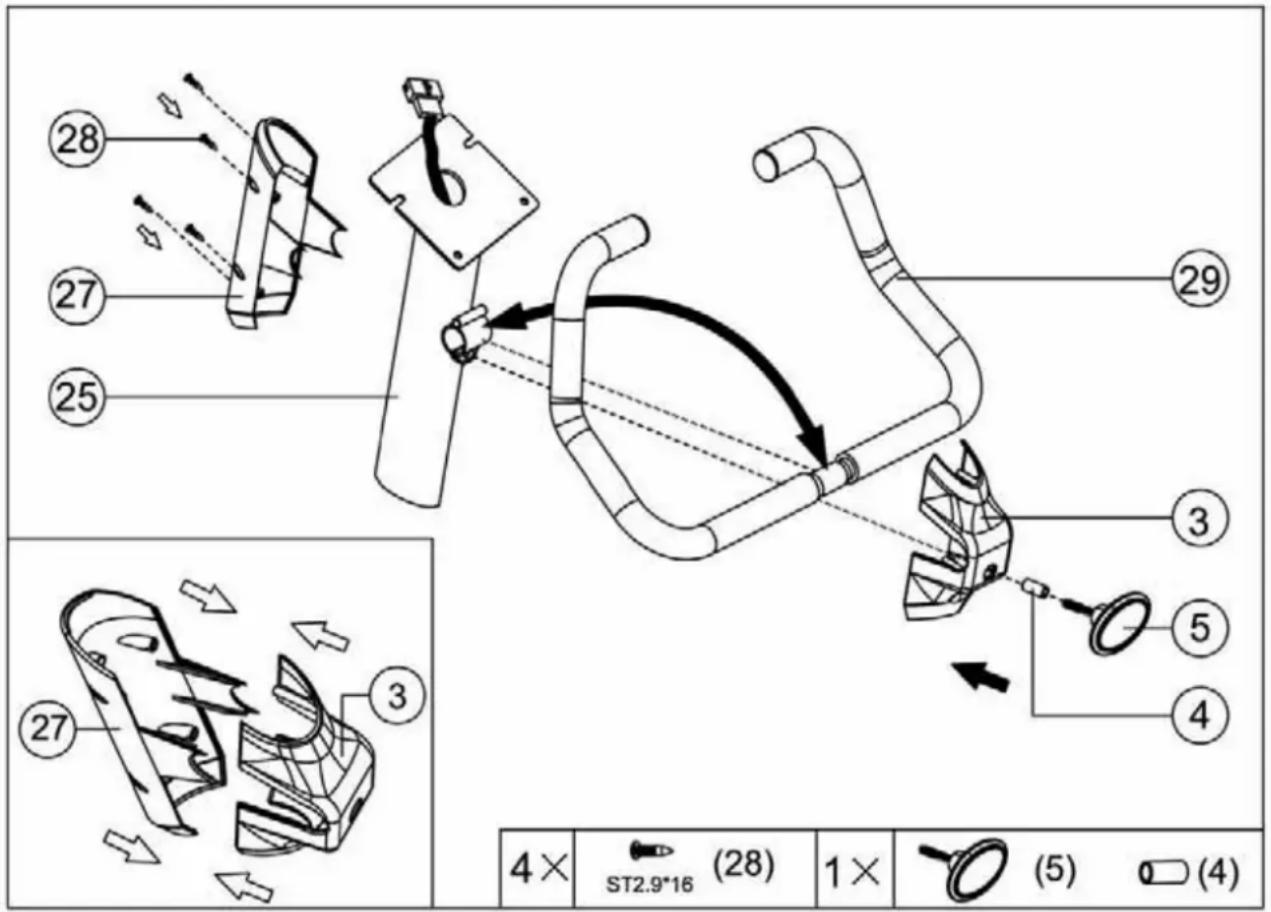
text_image
Technical diagram of a mechanical device with numbered parts and corresponding magnified views for assembly or inspection.Schritt / Step 4
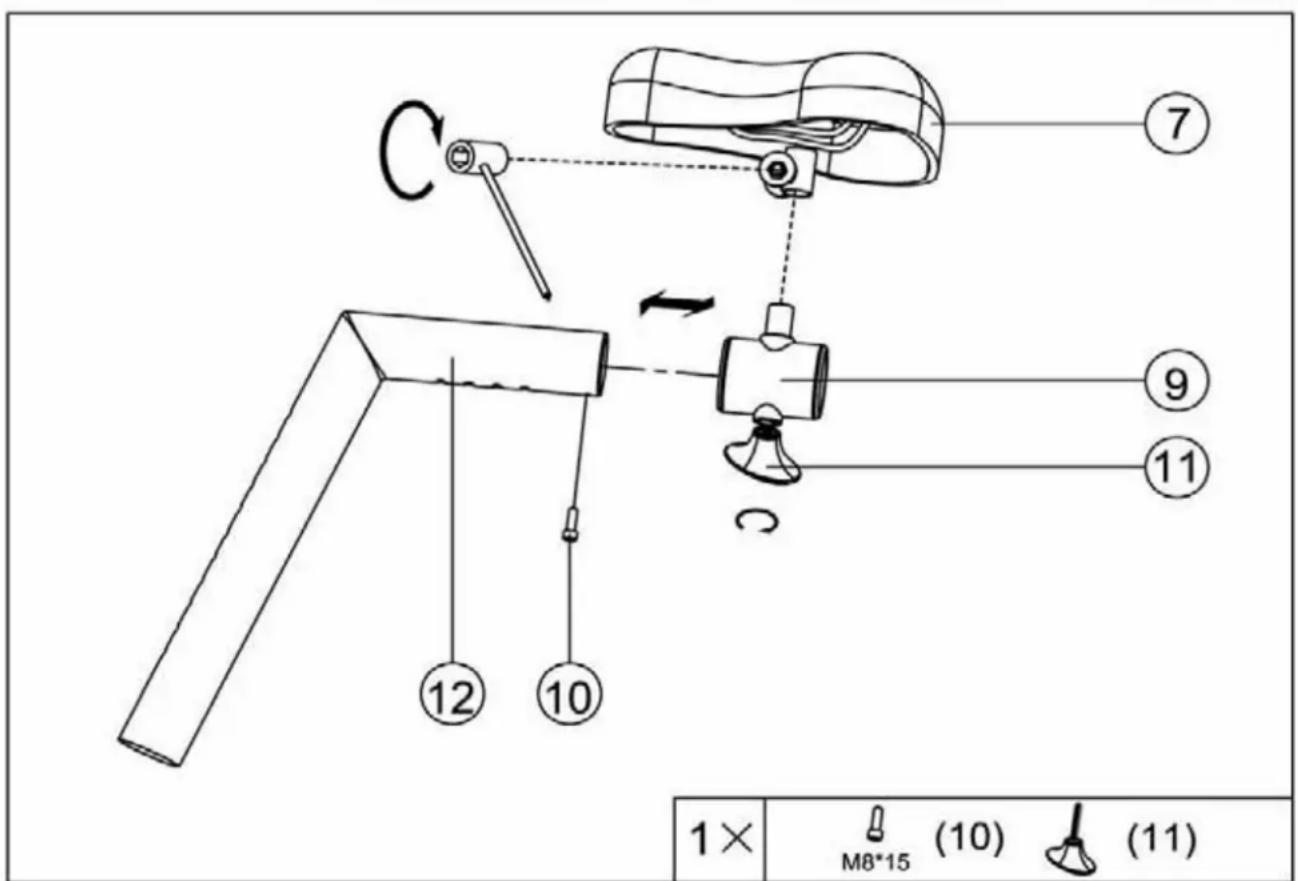
text_image
⑦ ⑨ ⑪ ⑫ ⑪ ⑫ ⑪ ⑫ ⑪ ⑫ ⑪ ⑫ ⑪ ⑫ ⑪ ⑫ ⑪ ⑫ ⑪ ⑫ ⑪ ⑫ ⑪ ⑫ ⑪ ⑫ ⑪ ⑫ ⑪ ⑫ ⑪ ⑫ ⑪ ⑫ ⑪ ⑫ ⑪Schritt / Step 5
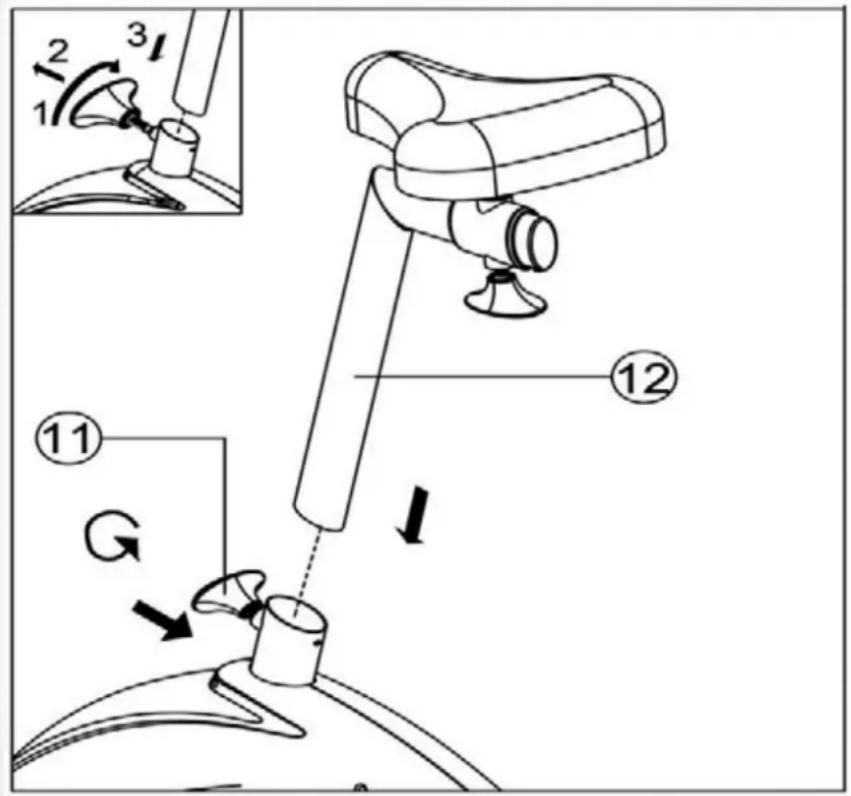
text_image
Technical diagram illustrating a mechanical device with numbered parts and directional arrows indicating motion or assembly.Schritt / Step 6
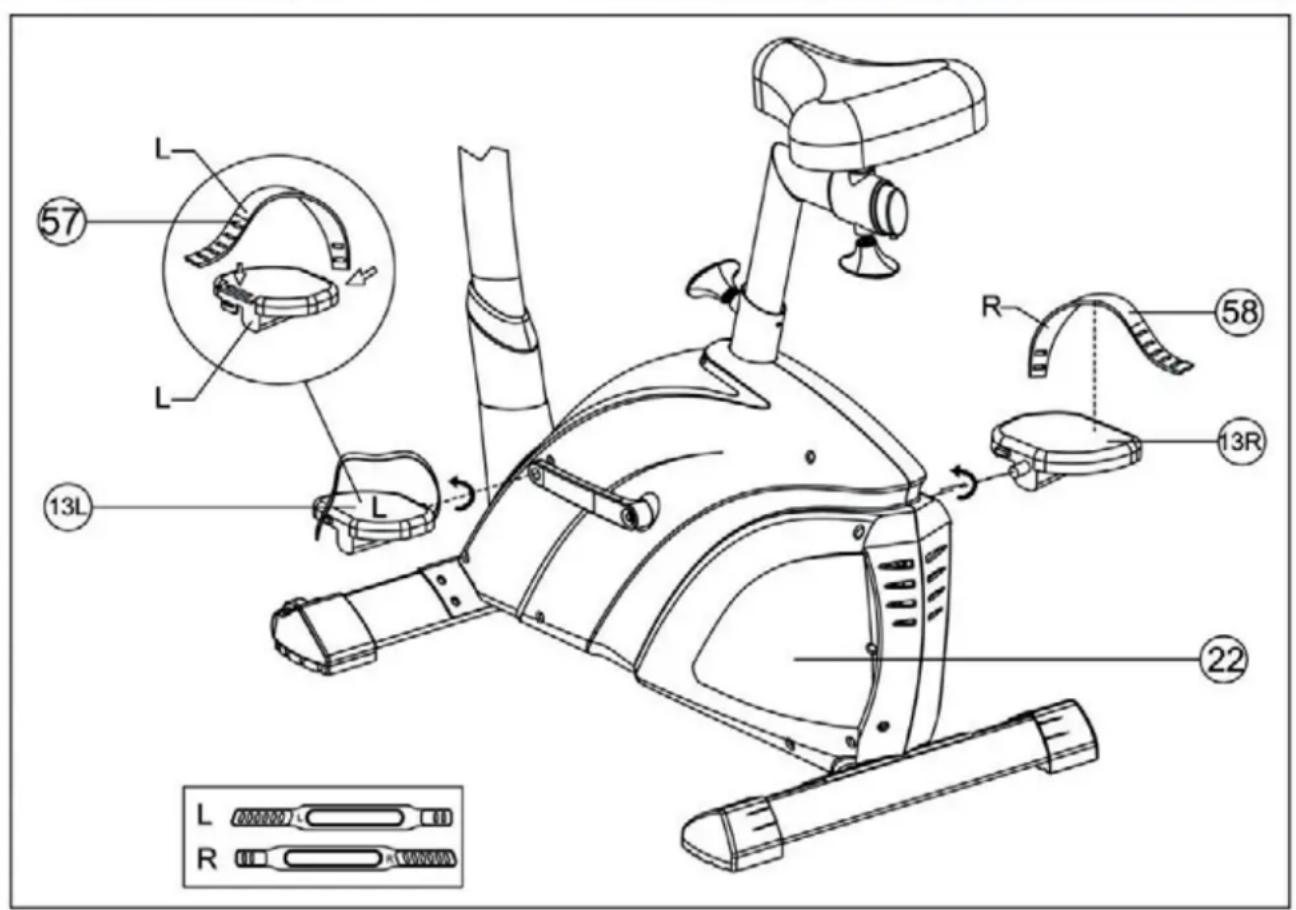
text_image
Technical diagram of a stationary exercise machine with labeled parts and component annotations in Chinese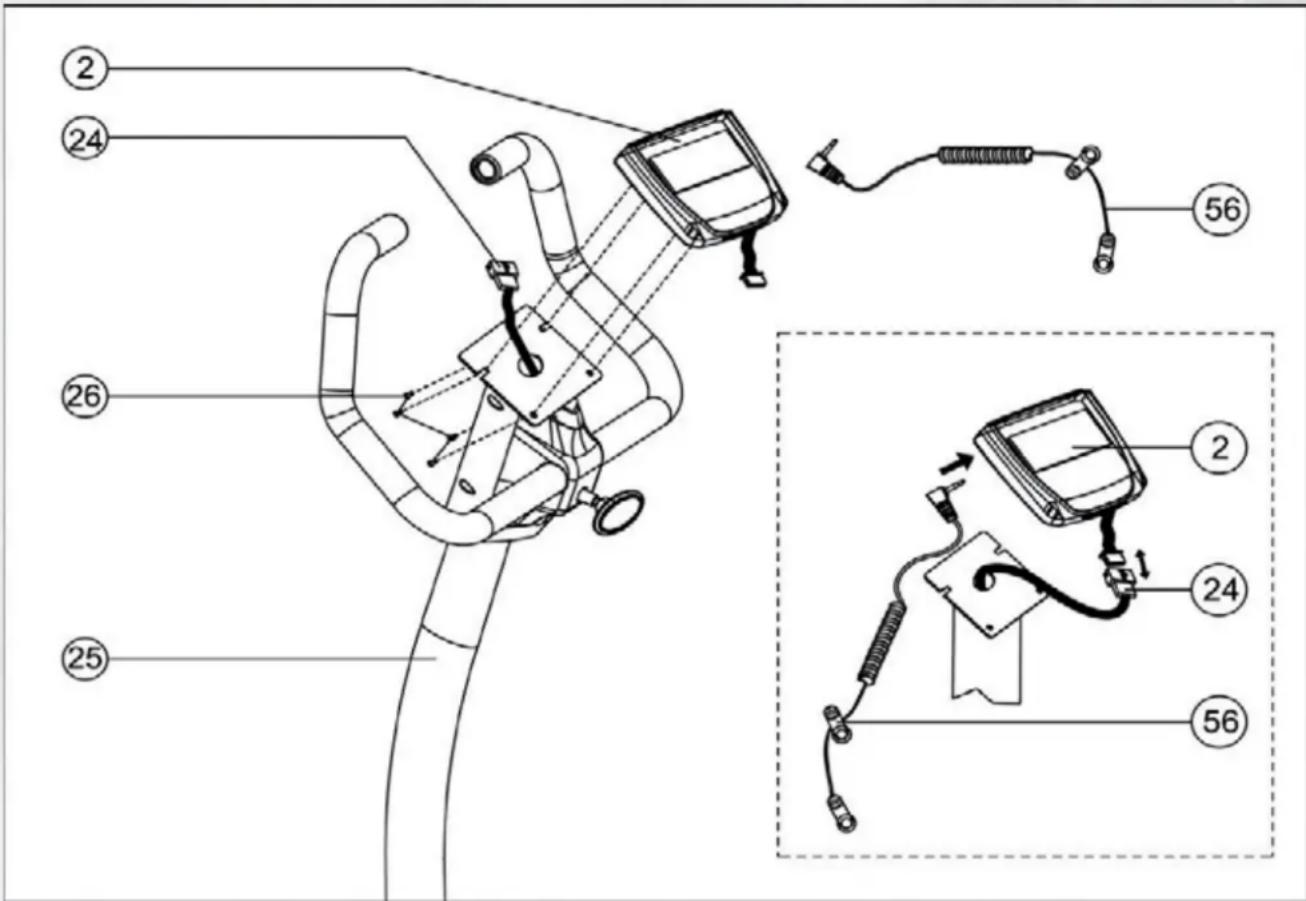
text_image
Technical diagram of a handheld device with numbered parts and labeled connectors, including zoomed-in views for components 2 and 56.Schritt / Step 8
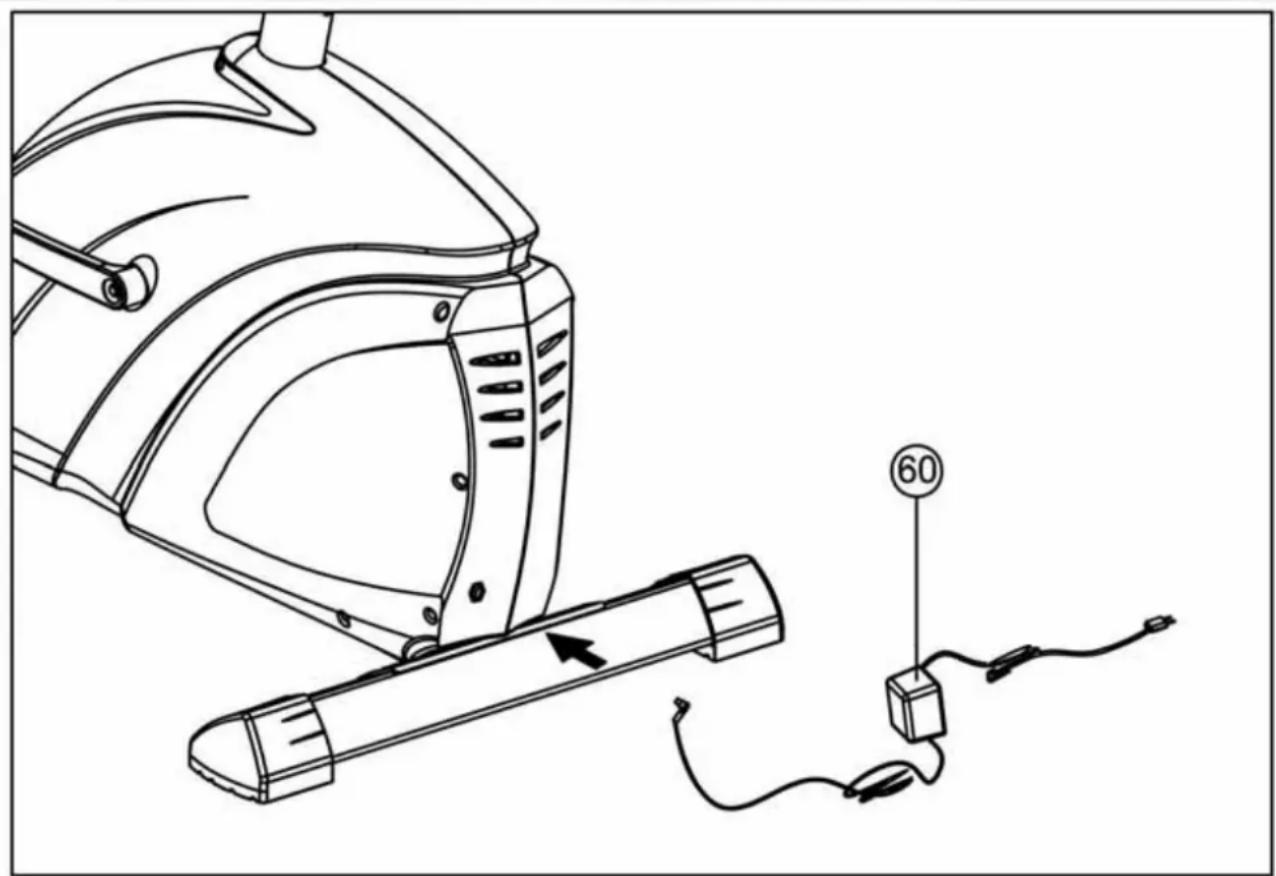
natural_image
Line drawing of a mechanical device with attached cable and indicator lights (no text or symbols)3.3 How to adjust the saddle position
Height of the saddle: Most important is the correct height of the saddle. Please fix the saddle in such a height, that both toes can touch the floor.

The saddle may only be pulled out to the max. position as indicated
Horizontal saddle adjustment: Adjust the height of the saddle first. Unfasten the stargrip and move the saddle slider forward or backward. Adjust it to a position, that when the pedals are in the middle position, your knee should be at a 90 degree angle°.
Saddle incline adjustment: Open the 2 pcs of nuts under the saddle, till the saddle can be turned. Push or pull the saddle till you seat comfortable. Tight both nuts.
3.4 Handlebar adjustment
After unfixing the T-grip, you can adjust the angle of the handlebar, to get the most comfortable seat position. After positioning of the handlebar, you have to tighten the knob.
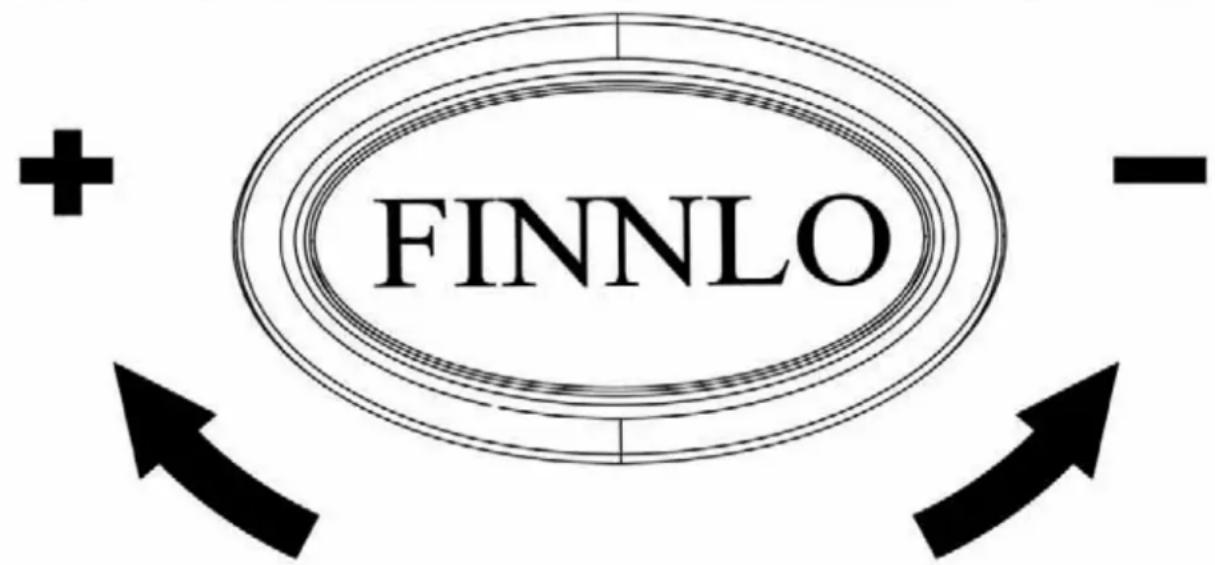
text_image
FINNLO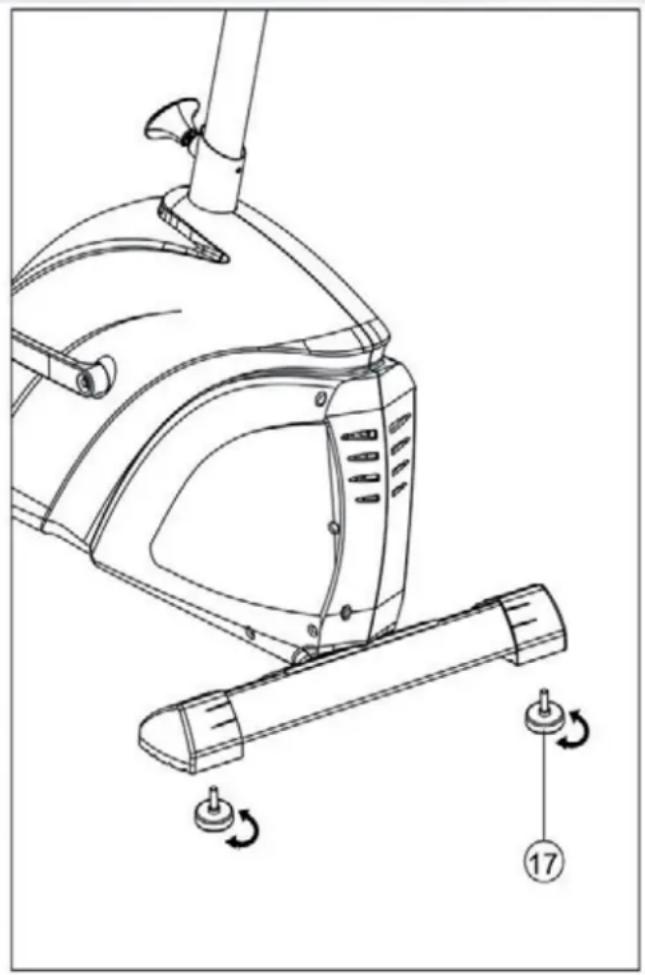
natural_image
Line drawing of a stationary exercise machine with rotating legs and adjustment knobs (no text or symbols)3.5 Height adjustment
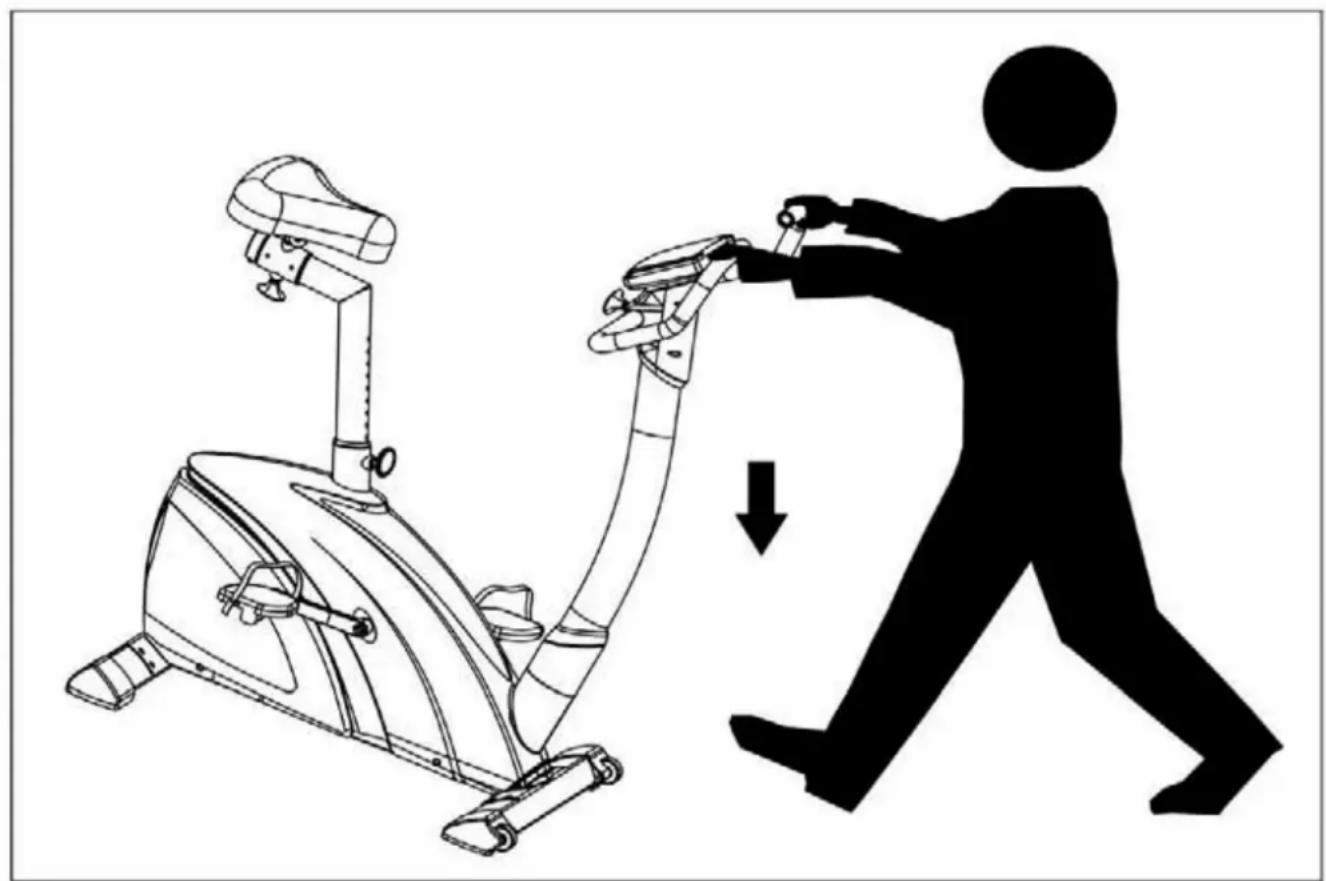
Turning the height adjustment screws can solve the wobble of the ergometer. Turn the screw anti-clockwise increases the height. Please pay attention that there is enough thread left in the foot cap.
natural_image
Illustration of a person pushing an exercise bike with a downward arrow indicating motion (no text or symbols)4. Care and Maintenance
Maintenance
- In principle, the equipment does not require maintenance.
● Regularly inspect all parts of the equipment and the secure seating of all screws and connections. - Promptly replace any defective parts through our customer service. Until it is repaired, the equipment must not be used.
Care
- When cleaning, use only a moist cloth and avoid harsh cleaning agents. Ensure that no moisture penetrates into the computer.
Components (handlebar, saddle) that come into contact with perspiration, need cleaning only with a damp cloth.
5. Computer (D)
5.1 Computertasten
text_image
QUICK START HRC MODE RECOVERY DELETEQUICK-START:
text_image
RPM/MIN 120Pedalumdrehungen pro Minute (Revolutions per minute, 15-200)
SPEED
text_image
SPEED KM/H 44.8natural_image
Line drawing of a hand holding a small object, possibly a tool or device, with no visible text or symbols.natural_image
Line drawing of hands holding a tool or device (no text or symbols visible)natural_image
Illustration of two hands performing a manual task with a tool, no text or symbols presentnatural_image
Line drawing of a human torso and arm (no text or symbols)OFF, 15, 20, 25, 30min
kurz drücken
text_image
WATTHRC PROGRAM MANUAL INDIVIDUALA)
B)
text_image
WATT 120 448 04 TIME 0:36 25 0 Ptext_image
WATTING PROGRAM MANUAL INDIVISUAL

text_image
WALL HRC JIMIKAM KARANUK INDUSTRUKtext_image
ABC 75 % 75%

text_image
REV IND
text_image
90% %
text_image
MATTHEC PROGRAM MANUAL INDIVIDUAL

text_image
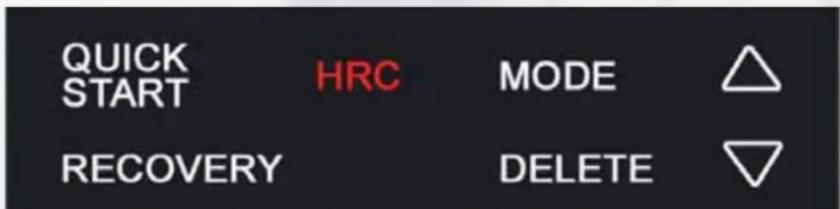
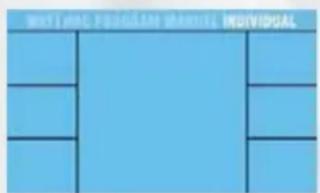
WATI AND SODAN PAROT INDIVIDUALZeros out all function levels and training can be started immediately with 25Watt in the Watt -mode. It doesn't matter where you right now. After you have finished your exercise, you have to reselect the User, because you have exercised in User 0.
HRC:
Will activate the individual heartrate program. It doesn't matter where you are right now.
MODE:
By pressing this key, a function can be confirmed.
▲/▼:
Program selection or increase/decrease of values. A longer press will start the automatic value finder.
RECOVERY:
Recovery pulse measurement with assignment of a fitness score 1–6.
DELETE:
- Briefly pressing this key will resets the activated value in the setting mode
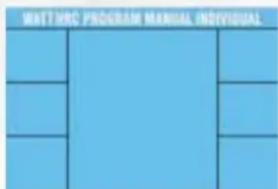
- Briefly pressing this key in the average/Trip-mode will activate the main menue: WATT; HRC; PROGRAM; MANUAL and INDIVIDUAL.
- Longer pressing (>2 seconds) in the average/Trip-mode will activate the user selection.
5.2 Computer funktion
RPM
text_image
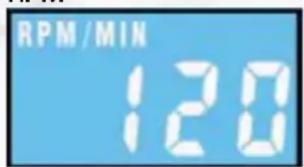
RPM/MIN 120Revolutions per minute.(15-200rpm).
SPEED
text_image
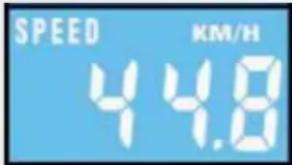
SPEED KM/H 44.8Display of speed in km/h, 0-99.99km/h, (theoretical assumed value), which cannot be compared with the speed value of a regular outdoor bike.
DISTANCE
text_image
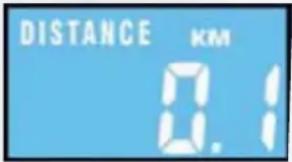
DISTANCE KM 0.1Records the distance in 0.01 km increments (0 -999.9)
TIME
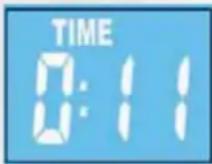
Records the training time in seconds (00:00 - 99:59).
WATT
text_image
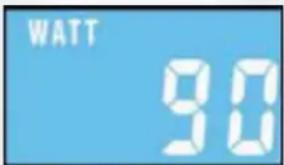
WATT 90In RPM independent: Shows the Watt value, which is set.
In RPM dependant: Shows the actual Watt value according to the rpm and the resistance level.
Calories
text_image
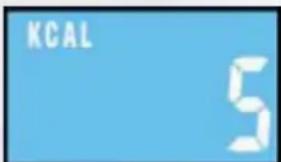
KCAL 5Shows the energy consumption, based on a efficiency of 22% to provide the mecahnical power. Range from 10-9990Kcal.
HEARTRATE
text_image
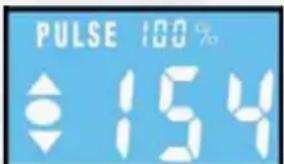
PULSE 100% 154Shows the actual heartrate, range from 40-199bpm. The percentage value, shows the percentage of the actual heartrate according to the set or calculated max heartrate. The arrows in the heartrate windows indicate, that the resistance cannot be increased or decreased and so you have to pedal slower (arrow down) or pedal faster (arrow up). For setting the max heartrate, you have a range from 120-199bpm.
The small values over the actual heartrate will show rotatingly the LO, HI limit and additional the percentage of the actual heartrate comparing to the set HI limit.
WARNING: Systems with heartrate control can be incorrect. To much exercise could injure your body or can cause dead. If you feel light theaded or weak, stop your exercise immediately!
LEVEL
text_image
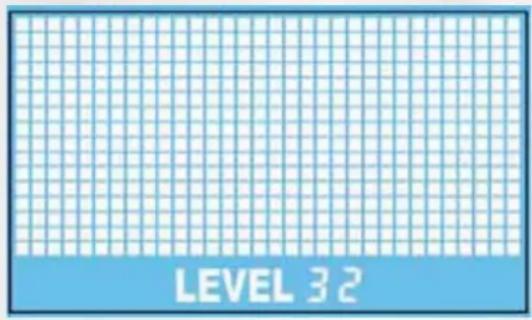
LEVEL 32Shows the resistance in 40 levels in the rpm-dependant exercise. Additional the profile of the programs, will be shown, too.
5.2.1 Remarks on the individual functions
A) End or break of your exercise
For less than 15rpm/min the computer will recognise an end or break. It will show alternatively the average data for rpm, speed, watt and the heartrate. The display shows the average sign. After that TRIP will be shown in the display and the values for distance, time and kcal. The datas can be seen for 4 minutes. After 4 minutes, the computer will go into snooze mode. You can wake him up by pressing any button.
B) Pulsemeasurement
Ear pulse measurement: Fix the ear clip at the earlobe und plug in the cable in the socket at the side of the computer. To guaranty a correct signal transfer, it is necessary, that the ear pulse cable is fixed with the clip at your shirt and that the blood circulation in your car is perfect. This can be obtained by massaging the earlobe.
Pulse measurement with the chest strap: The computer is equipped with a chip, which makes wireless pulse transmission possible using a chest strap (5.0 - 5.5 kHz).
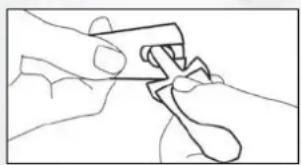
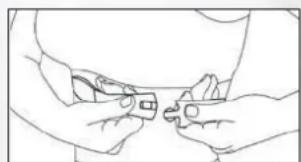
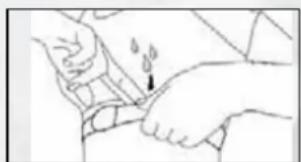
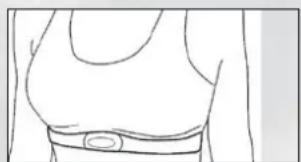
C) Fixation of the chestbelt.
natural_image
Line drawing of a hand holding a small object, possibly a tool or device (no text or symbols present)1
Connect the transmitter with the textile.
natural_image
Line drawing of two hands holding a tool, no text or symbols present2
Adjust the length of the textile, that the chestbelt is fixed tighten. The chestbelt has to be placed under the chest muscles.
natural_image
Illustration of two hands holding a container with a flame symbol (no text or labels)3
The two electrodes should be wet.
natural_image
Line drawing of a human torso with a belt and cap (no text or symbols)4
Check the correct and most comfortable position.
IMPORTANT: As soon as you use pulse acquisition using the chest strap, this measurement takes priority over any other pulse rate measurement possibility. In other words, the value is always displayed that results from the measurement by the chest strap.
5.2.2 Explanation of the symbols and need to know
A) Pedalling
The symbol demand you to begin to pedal. the set values will be confirmed and you start your exercise.
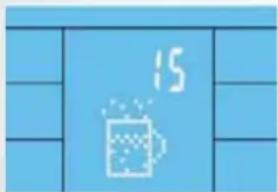
B) Drink FIT
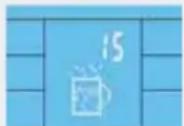
You can set a DRINK FIT function during the setting of your personal datas. You can choose between OFF, 15, 20, 25 and 30 minutes. The symbol will be shown for 3 seconds with an beep in the matrix, it doesn't matter in which program you are.
C) Waking up the computer from the snooze mode
To reactivate the computer from the snooze mode, press any button, please. A pedalling has no function in this mode.
D) Setting values
Target values: After achieving the target values, there will be a beep and the computer will stop counting. The monitor will show the average and trip values. To continue your exercise, you have to reactivate the computer by pressing the DELETE button.
Attention: Except the heartrate value, you can set only one further value. If you set another value, the already set value will be set to OFF. To start your exercise, beginn to pedal, after you have set the target value.
E) HI-Watt
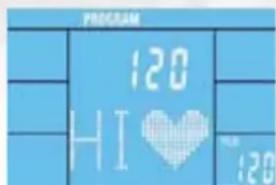
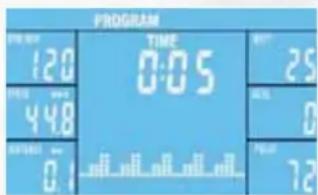
In PROGRAM-Mode, you can set the max Watt resistance which will be reached during your exercise. All other Watt values will be calculated accordingly to the max value.
F) Recovery
After you finished your exercise press RECOVERY and stop pedalling. The computer will measure the heartrate for the next 60 seconds. If the difference between the starting and end heartrate is around 20%, you will get the grade F1 (very good).
G) Increasing of the Watt value during HRC -Mode
The resistance (watt value) will be increase every 30 seconds for 10 Watt, till you reach a heart rate value, which is 5 beats lower than your target. The resistance will stay at this level for 1 minute. If there is no further heartrate change, the resistance will increase again. If the actual heartrate is for 5 seconds higher than your target, the resistance will decrease immediately for 20 Watt and then every 20 seconds for 10 Watt, till your actual heartrate is lower than the target. If it is lower than the target heartrate, the resistance will increase again.
For IND: You can set a heartrate zone. The increasing is following the same procedure like above mentioned. Pay attention, that if your actual heartrate cannot be under the LO limit, the resistance will not increase anymore. You have to stop your exercise and set new targets!
The arrows in the heartrate windows indicate, that the resistance cannot be increased or decreased and so you have to pedal slower (arrow down) or pedal faster (arrow up).
If your actual heartrate is five beats lower than the set target, the circle between the two arrows start to blink. It indicates, that you are reaching your target value. If your actual heartrate is higher than the high limit, there will be a beep and the actual heartrate starts blinking.
for the perfect working of the HRC-Mode use a chestbelt, please.
F) AGE
Needed for max heartrate calculation.
G) Kcal calculation
Shows the energy consumption, based on a efficiency of 22% to provide the mechanical power. Conversion Joule into Kcal: 1cal=4,1867J.
Example: 60Watt for 20minutes
60(Watt) x 20(Min) x 60Rpm=72000J=17197cal.
17197cal is equal to a efficiency of 22%. Totally the calorie consumption is 78169cal oder 78Kcal.
5.3 Computer Functions
5.3.1 Immediate-Start function
In order to provide optimum user friendliness of your training equipment, an opportunity for quick and uncomplicated initiation of training was devised. Please do the following :
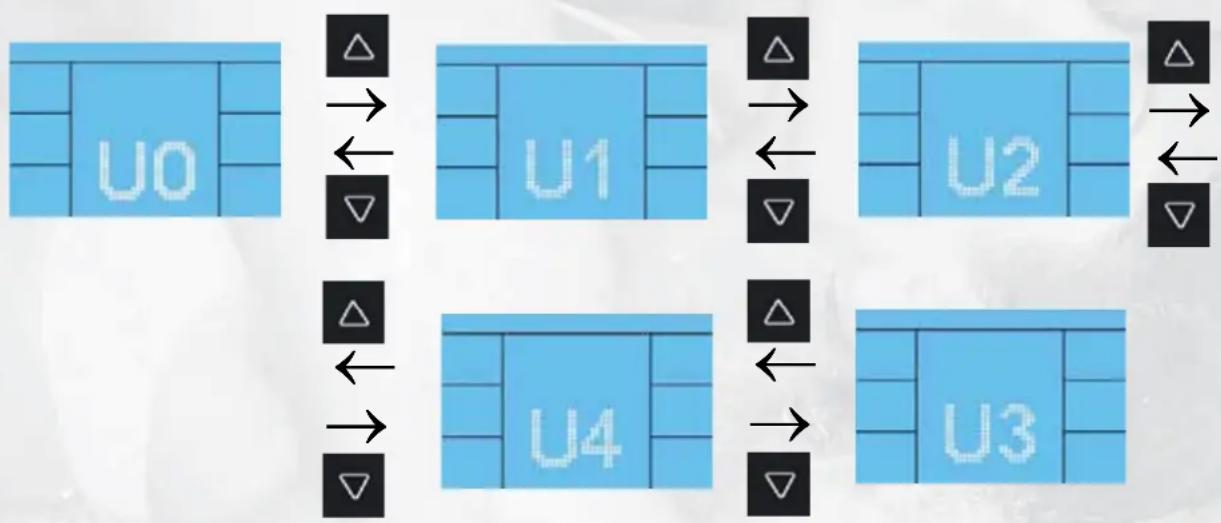
- Connect the power supply included in the scope of delivery to the bottom end of the equipment, at the socket provided. A test image will briefly appear on the computer. After a short time „U0, U1, U2, U3 or U4“ will appear in the center of the digital display.
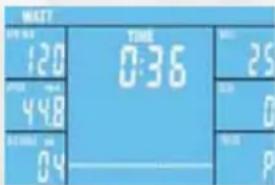
- Start your exercise by pedalling. You have activated the last used, all values start counting up. After you have finished your exercise, the reached values will not be safed in the, if you have selected U0!
5.4. Exercise with User setting
5.4.1 User selection and setting of personal datas.
1) USER-Selection
flowchart
graph TD
    A["U0"] --> B["Δ"]
    B --> C["↔"]
    C --> D["▽"]
    D --> E["U1"]
    E --> F["Δ"]
    F --> G["↔"]
    G --> H["▽"]
    H --> I["U2"]
    I --> J["Δ"]
    J --> K["↔"]
    K --> L["▽"]
    L --> M["U3"]
    M --> N["Δ"]
    N --> O["↔"]
    O --> P["▽"]
    P --> Q["U4"]
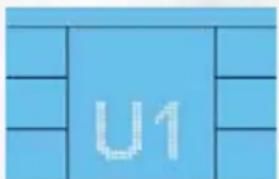
text_image
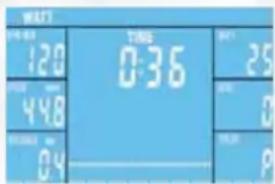
U1The selected User (U0-U4) will be shown in the display.
A)
text_image
WELL 120 448 04 TONG 0:36 25 0 19.28 Por
B)
3s< press: check 2) Setting of personal datas
<1s press: check 3) Watt Mode
You are in the independent mode. The already set data will start counting backwards. If the set data reach 0, the computer will stop and a beep will be heard. If you didn't set any values, all data will start counting up.
2) Setting of personal datas
Step 2
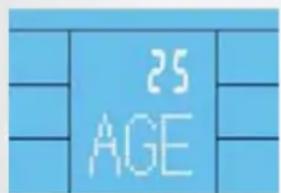
text_image
25 AGE

text_image
1518-80 years
Press quickly
OFF, 15, 20, 25, 30min
Press quickly

text_image
WATTAWC PROGRAM MANUAL INDIVIDUALA)
text_image
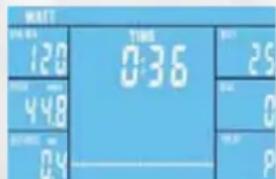
WATT 12.0 44.8 0.4 TIME 0:36 25 0 PB)
You are in the main menue, check 5.4.2 Watt-Mode
5.4.2 WATT-Mode
1) WATT-selection
text_image
WATT WOOD PROGRAMME BUSINESS ENTERPRISESMenue, WATT is blinking.
Press quickly
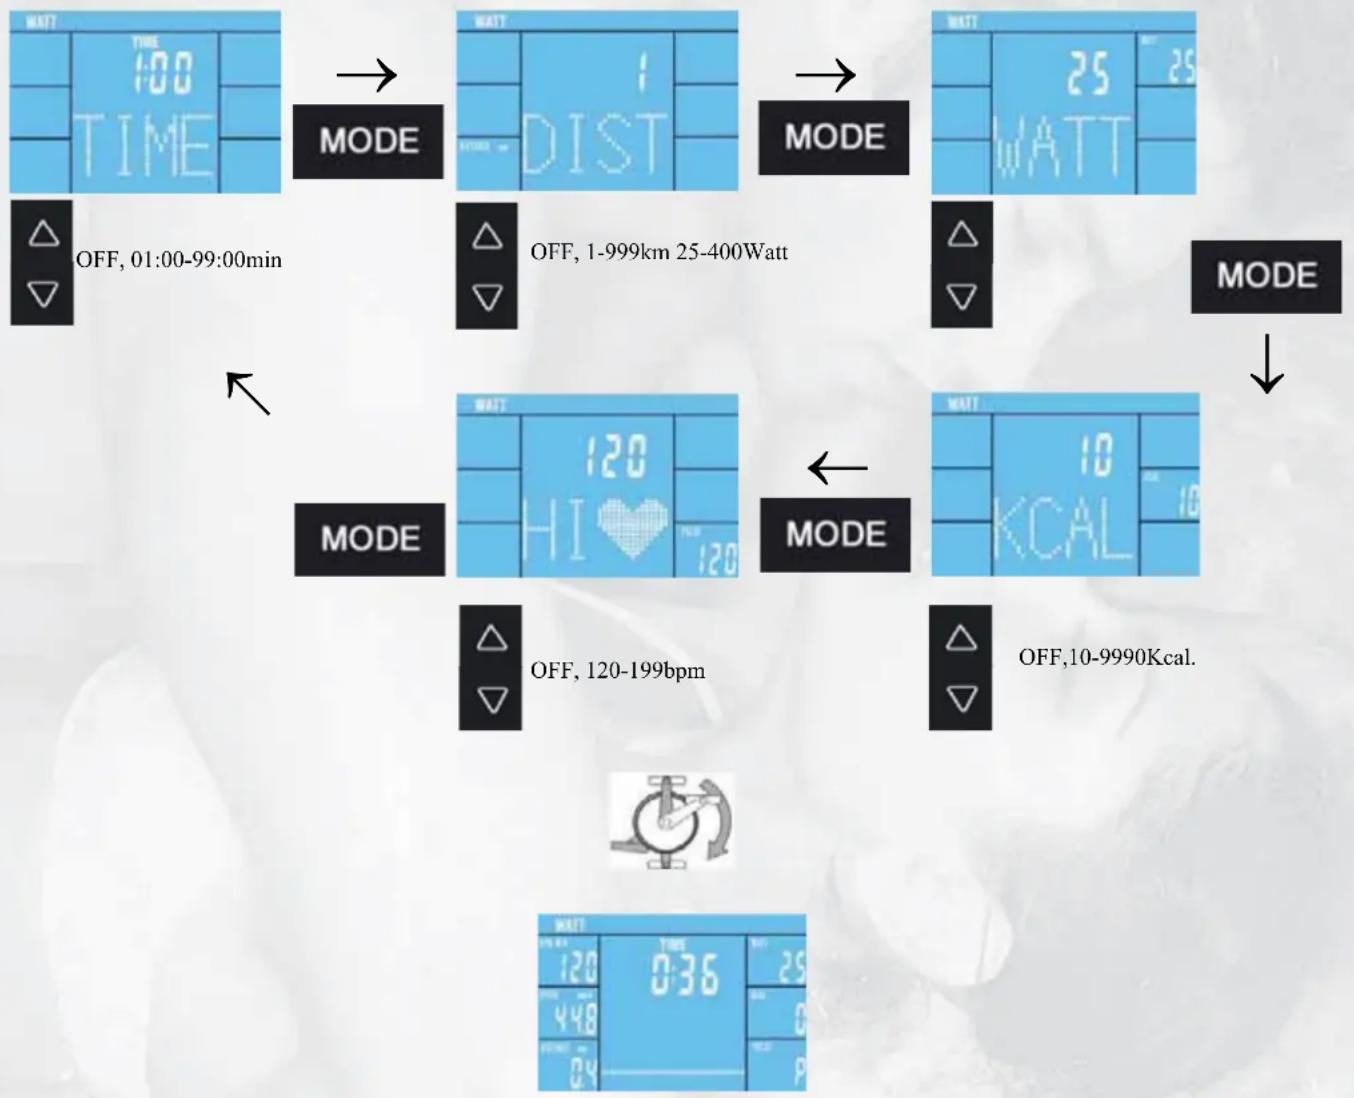
2) Setting of values
flowchart
graph TD
    A["OFF, 01:00-99:00min"] --> B["MODE"]
    B --> C["OFF, 1-999km 25-400Watt"]
    C --> D["MODE"]
    D --> E["OFF, 120-199bpm"]
    E --> F["MODE"]
    F --> G["OFF, 10-9990Kcal."]
Starting your exercise, the already set data will start counting backwards. If the set data reach 0, the computer will stop and a beep will be heard. If you didn't set any values, all data will start counting up.
5.4.3 HRC-Mode
1) HRC-Selection
text_image
WATTING PROGRAM MANUAL INDIVIDUAL

Menue, HRC is blinking
text_image
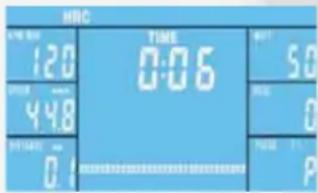
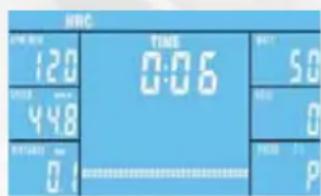
HRC TIME 0:06 120 448 0.1 50 0 70000 7.1 Pcheck 2) Setting of the max heartrate.
Starting your exercise, the already set data will start counting backwards. If the set data reach 0, the computer will stop and a beep will be heard. If you didn't set any values, all data will start counting up.
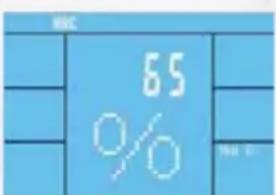
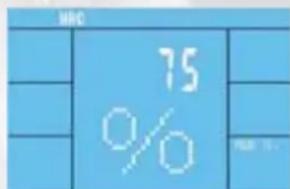
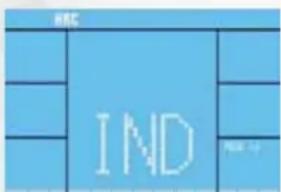
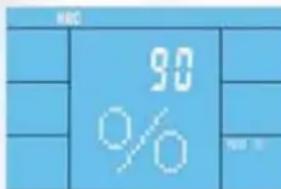
2) Setting of the max heartrate

text_image
65% 图 1
text_image
MBC 75 % 100%

text_image
REV IND REV 12
text_image
90% %
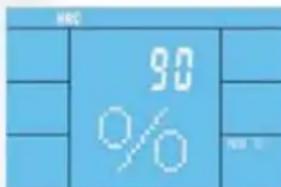
3A) Setting of the values for the limits 65%, 75% und 90%
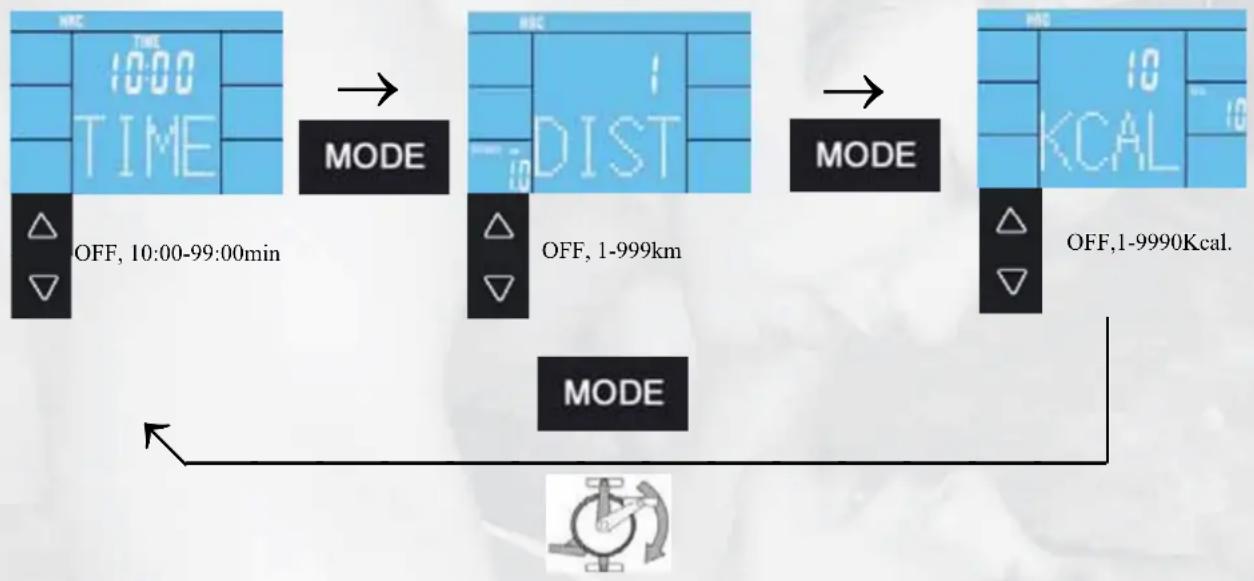
flowchart
graph TD
    A["TIME 10:00"] --> B["MODE"]
    B --> C["OFF, 1-999km"]
    C --> D["MODE"]
    D --> E["OFF, 1-9990Kcal."]
text_image
JMC 120 448 0.1 TIME 0:06 50 50 0 PStarting your exercise, the already set data will start counting backwards. If the set data reach 0, the computer will stop and a beep will be heard. If you didn't set any values, all data will start counting up.
3B) Setting of the values for the limit IND
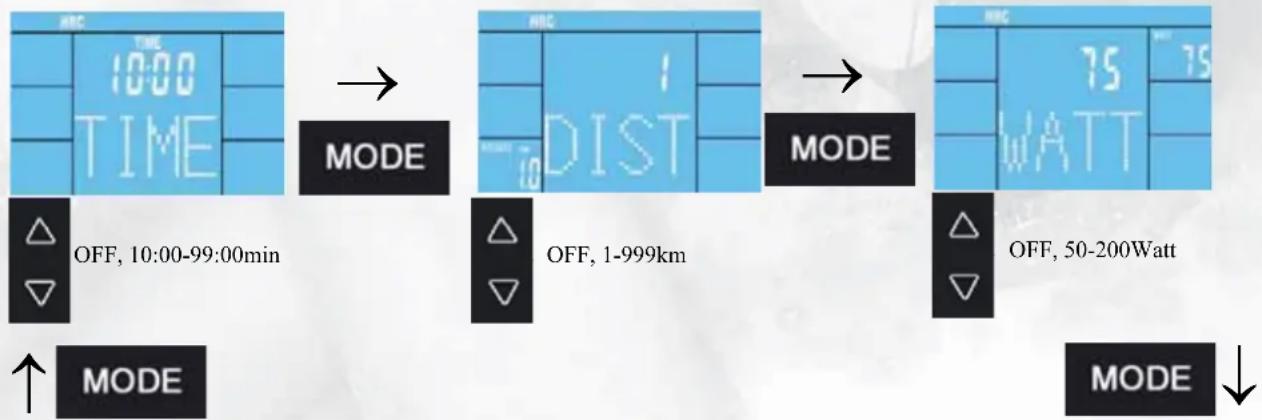
flowchart
graph LR
    A[" ramp TIME 10:00"] --> B[" MODE OFF, 10:00-99:00min"]
    B --> C[" MODE OFF, 1-999km"]
    C --> D[" MODE OFF, 50-200Watt"]
    D --> E[" MODE MODE"]
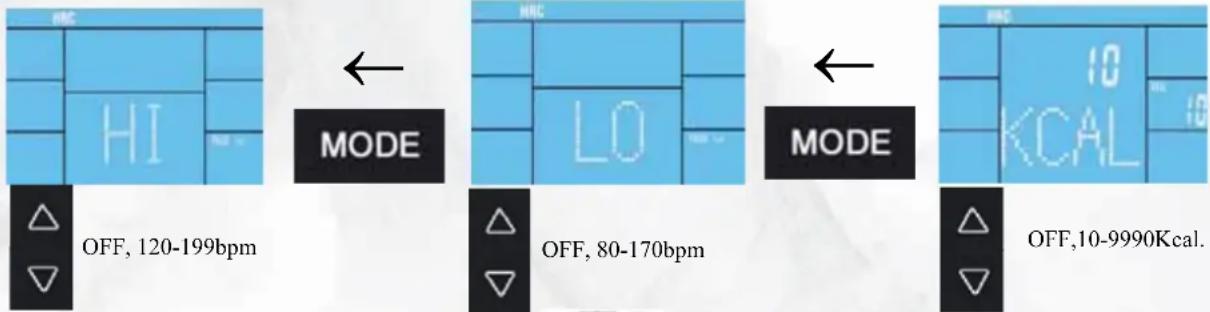
text_image
OFF, 120-199bpm MODE OFF, 80-170bpm MODE OFF,10-9990Kcal.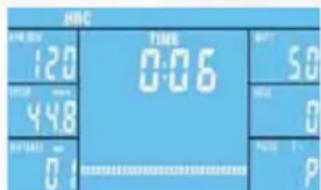
text_image
HRC TIME 0:06 0:06 50 0 PStarting your exercise, the already set data will start counting backwards. If the set data reach 0, the computer will stop and a beep will be heard. If you didn't set any values, all data will start counting up.
5.4.4 PROGRAM-Mode
1) PROGRAM-Selection
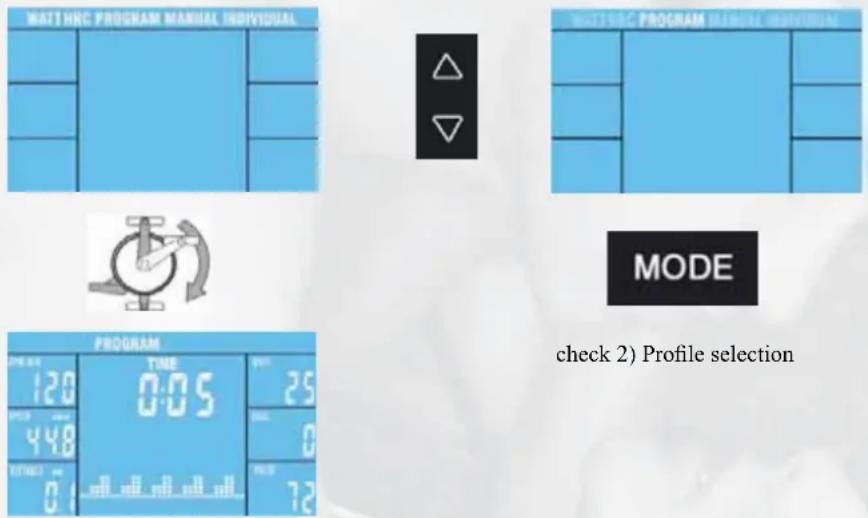
Starting your exercise, the already set data will start counting backwards. If the set data reach 0, the computer will stop and a beep will be heard. If you didn't set any values, all data will start counting up.
2) Profile selection
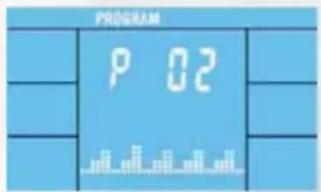
text_image
PROGRAM P 02
P1-P12
3) Setting of values
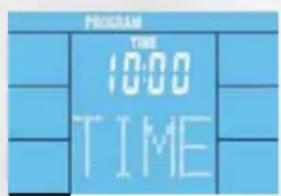
text_image
PROGRAM TIME 10:00 TIMEOFF, 10:00-99:00min
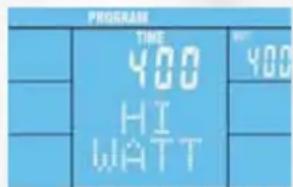
text_image
PROGRAM TIME 400 HI WATT NO 400OFF, 125-400Watt
text_image
PROGRAM 120 HI ♥ FL# 120OFF, 120-199bpm

text_image
MODE
text_image
PROGRAM TIME 0:05 25 448 0.1 7:30 7:25Starting your exercise, the already set data will start counting backwards. If the set data reach 0, the computer will stop and a beep will be heard. If you didn't set any values, all data will start counting up.
5.4.5 MANUAL-Mode
1) MANUAL-Selection
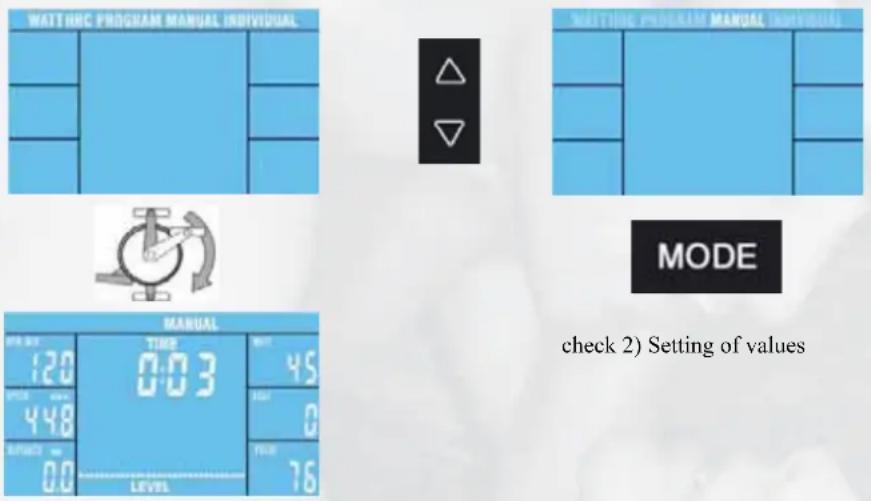
Starting your exercise, the already set data will start counting backwards. If the set data reach 0, the computer will stop and a beep will be heard. If you didn't set any values, all data will start counting up.
2) Setting of values
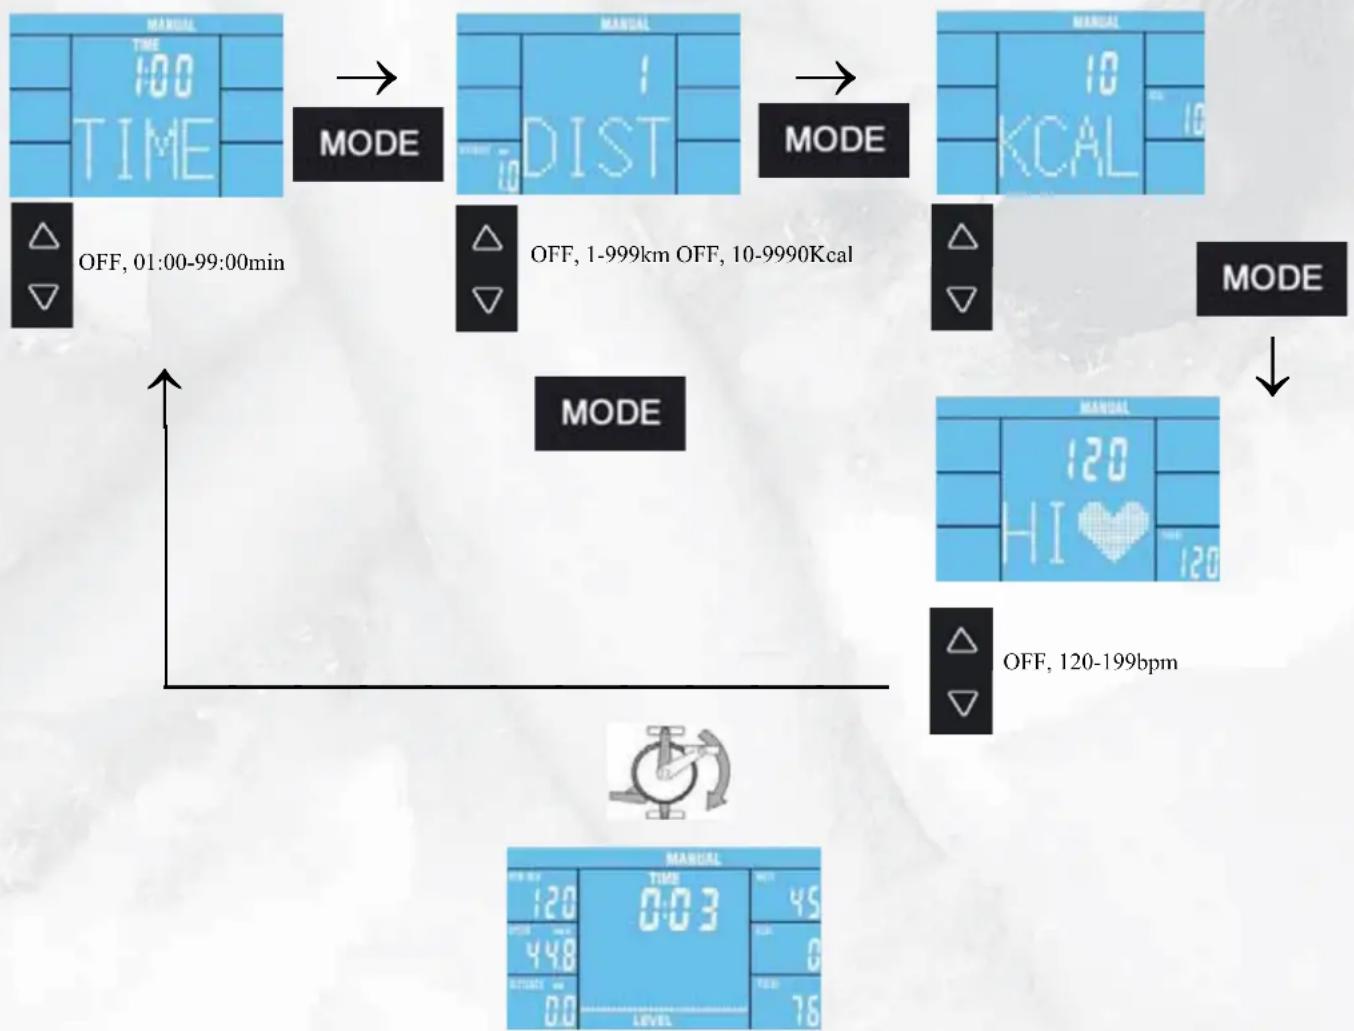
flowchart
graph TD
    A["OFF, 01:00-99:00min"] --> B["MODE"]
    B --> C["OFF, 1-999km OFF, 10-9990Kcal"]
    C --> D["MODE"]
    D --> E["OFF, 120-199bpm"]
    E --> F["MANUAL"]
    F --> G["TIME 120 0.03 45"]
    F --> H["TIME 448 0.0 76"]
Starting your exercise, the already set data will start counting backwards. If the set data reach 0, the computer will stop and a beep will be heard. If you didn't set any values, all data will start counting up.
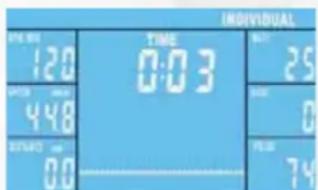
5.4.6 INDIVIDUAL-Mode
1) INDIVIDUAL-Selection
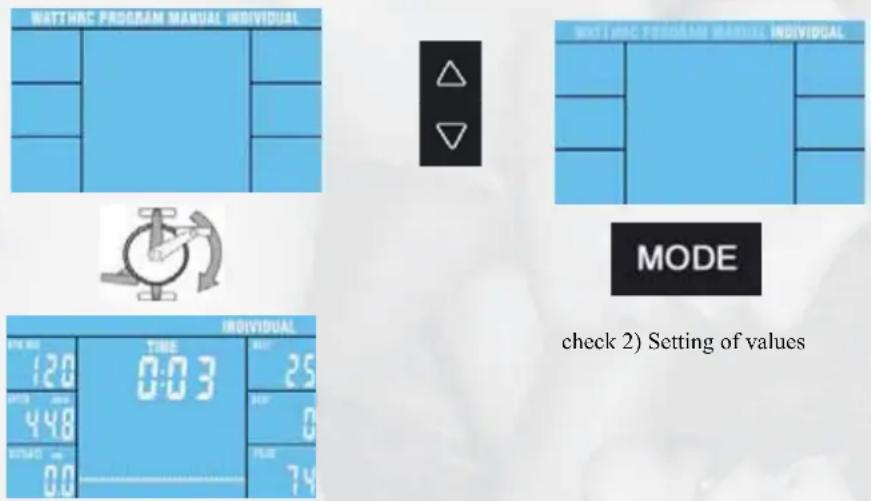
Starting your exercise, the already set data will start counting backwards. If the set data reach 0, the computer will stop and a beep will be heard. If you didn't set any values, all data will start counting up.
2) Setting of Watt values for each section
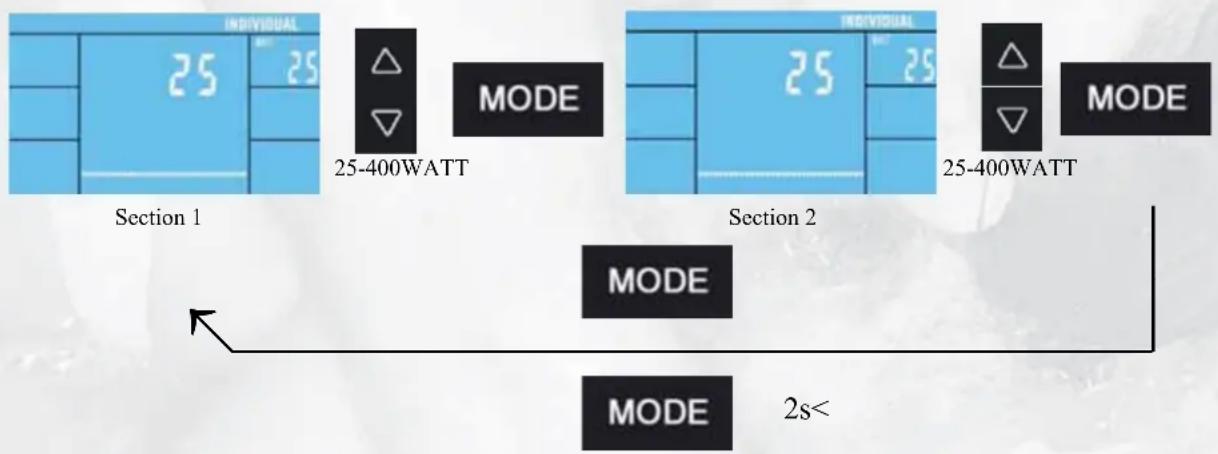
3) Setting of values
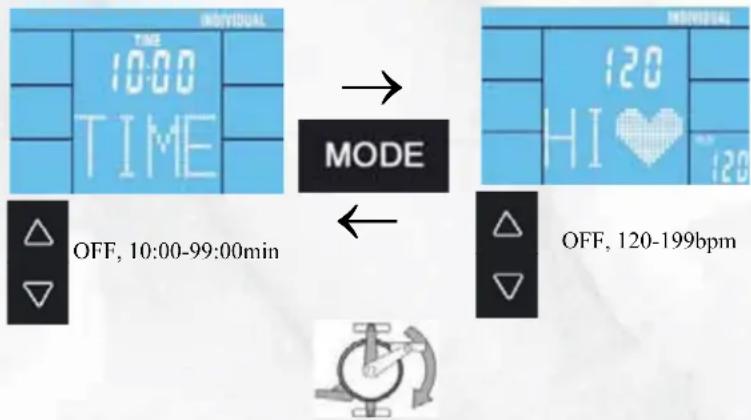
text_image
INDIVIDUAL TIME 0:03 120 448 00 25 0 74Starting your exercise, the already set data will start counting backwards. If the set data reach 0, the computer will stop and a beep will be heard. If you didn't set any values, all data will start counting up.
5.4.7 Display after finishing your exercise
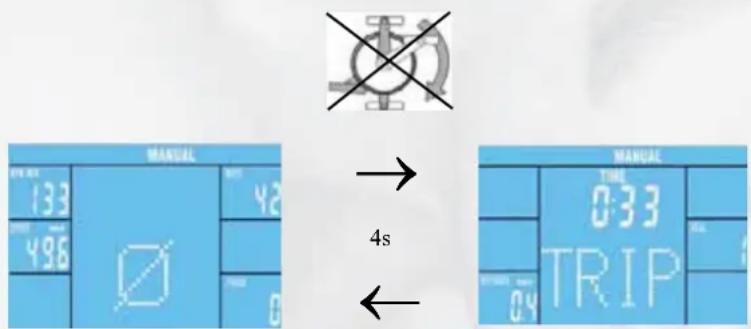
text_image
MANUEL 133 496 0 42 75 0 → 4s MANUEL TIME 0:33 TRIP 0:33 0:33 0:33The average and final values will be shown rotatingly for four seconds after you have finished your exercise.
5.5 Diagnostics and Troubleshooting
Error
No display or computer is not functioning
Cause
No power
What to do?
Plug the power supply into the socket, or plug the power supply into the connection port on the housing (see Assembly Step 9), or Check cable connections
Error
Pulse display defective
Cause
No reception Interference with in the room
Earpulse measurement: Poor blood circulation
No pulse rate acquisition
Chest Strap: Incorrect chest strap
Chestbelt strap incorrectly positioned
Batteries are dead
What to do?
Check all connections Remove (for example cell phone/loud speakers) in the room
Do some massage for your earlope.
Check for correct seating of the pulse grip cable and fix it on your textile
Use another chest strap, if necessary. The transmitting frequency must be between 5.0 - 5.5 kHz.
Moisten the electrodes and check for correct positioning.
Replace the batteries with ones of the same type.
Fehler
Step resistance cannot be regulated.
Cause
Mechanics/control system
What to do?
Start the program using Quick Start. Check cable connections
Fehler
Anzeige zu schwach
Ursache
Computer display to weak
Cause
Detrimental light fall
What to do?
Change the position of the equipment
Fehler
Fehlende Teile
Was tun?
Check the packing or Call Service
Fehler
Wackelndes Gerät
Ursache
Unebener Boden
Standfüße locker
Was tun?
Stand feet are loose
What to do?
Rotate the height adjusting caps until the stand is stable. Tighten the cap nuts.
6. Technical Details
6.1 Power Supply (included in the scope of delivery)
Connect the cable from the power supply to the respective socked on the lower rear end of the housing.
Power Supply Specification:
Input: 230 V, 50Hz
Output: 26 V, 2500 mA

- Use only the power supply included in the scope of delivery. If you use another manufacturer's power supply, please ensure that it automatically cuts-off in the event of overload, is short-circuit protected and is electronically controlled. Non-compliance may result in short-circuiting and damage to the computer.
- Disconnection of the power pack from the mains or of the power pack plug from the equipment results in a return to User Selection U0 – U4 input mode.
6.2 Conformity according to:
Hammer Sport AG confirms that this item is produced according to the following laws.
- 89 / 336 / EWG 3rd of May 1989 with changes (guideline 92 / 31 / EWG 28th of April 1992 and guideline 93 / 68 / EWG 22nd of July 1993).
- 73 / 23 / EWG 19th of February 1973 with changes (guideline 93 / 68 / EWG 30th of August 1993).
Training with the Ergometer is an ideal movement training for strengthening important muscle groups and the cardio-circulatory system.
General notes for Training
● Never train immediately after a meal.
● If possible, orient training to pulse rate.
- Do muscle warm-ups before starting training by loosening or stretching exercises.
- When finishing training, please reduce speed. Never abruptly end training.
- Do some stretching exercises when finished training.
7.1 Training frequency
To improve physical fitness and to enhance condition over the long term, we recommend training at least three times a week. This is the average training frequency for an adult in order to obtain long-term condition success or high fat burning. As your fitness level increases, you can also train daily. It is particularly important to train at regular intervals.
7.2 Training intensity
Carefully structure your training. Training intensity should be increased gradually, so that no fatigue phenomena of the musculature or the locomotion system occurs.
RPM
In terms of objective endurance training it is recommended in principle to select a lower step resistance and to train at a higher rpm (revolutions per minute). Ensure that the rpm is higher than 80 RPM but does not exceed 100.
7.3 Heartrate orientated training
For your personal pulse zone it is recommended that an aerobic training range be chosen. Performance increases in the endurance range are principally achieved by long training units in the aerobic range.
Find this zone in the target pulse diagram or orient yourself on the pulse programs. You should complete 80 % of your training time in this aerobic range (up to 75 % of your maximum pulse).
In the remaining 20 % of the time, you can incorporate load peaks, in order to shift your aerobic threshold upwards. With the resulting training success you can then later produce higher performance at the same pulse; this means an improvement in your physical shape.
If you already have some experience in pulse-controlled training, you can match your desired pulse zone to your special training plan or fitness status.
Anmerkung:
Because there are persons who have „high“ and „low“ pulses, the individual optimum pulse zones (aerobic zone, anaerobic zone) may differ from those of the general public (target pulse diagram).
In these cases, training must be configured according to individual experience. If beginners are confronted with this phenomenon, it is important that a physician be consulted before starting training, in order to check health capacity for training.
7.4 Training control
Both medically and in terms of training physiology, pulse-controlled training makes most sense and is oriented on the individual maximum pulse.
This rule applies both to beginners, ambitious recreational athletes and to pros. Depending on the goal of training and performance status, training is done at a specific intensity of individual maximum pulse (expressed in percentage points).
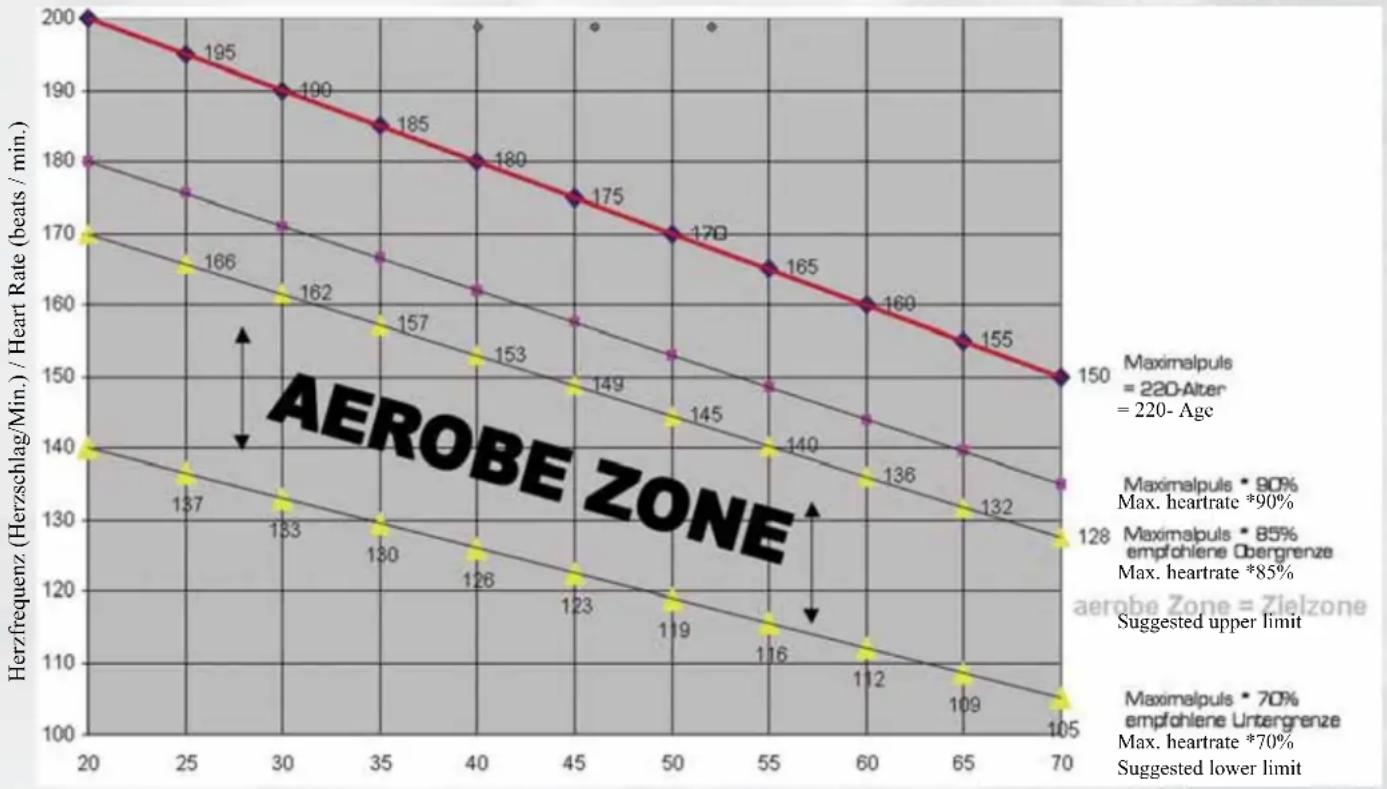
In order to effectively configure cardio-circulatory training according to sports-medical aspects, we recommend a training pulse rate of 70% - 85% of maximum pulse. Please refer to the following target pulse diagram.
Measure your pulse rate at the following points in time:
- Before training = resting pulse
- 10 minutes after starting training = training / working pulse
- One minute after training = recovery pulse
● During the first weeks, it is recommended that training be done at a pulse rate at the lower limit of the training pulse zone (approximately 70 %) or lower.
- During the next 2 - 4 months, intensify training stepwise until you reach the upper end of the training pulse zone (approximately 85% ), but without overexerting yourself.
- If you are in good training condition, disperse easier units in the lower aerobic range here and there in the training program. so that you regenerate sufficiently. „Good“ training always means training intelligently, which includes regeneration at the right time. Otherwise overtraining results and your form degenerates.
- Every loading training unit in the upper pulse range of individual performance should always be followed in subsequent training by a regenerative training unit in the lower pulse range (up to 75 % of the maximum pulse).
When condition has improved, higher intensity of training is required in order for the pulse rate to reach the „training zone“; that is, the organism is capable of higher performance. You will recognize the result of improved condition in a higher fitness score (F1 - F6).
Calculation of the training / working pulse:
220 pulse beats per minute minus age = personal, maximum heart rate (100 %).
Training pulse
Lower limit: (220 - age) x 0.70
Upper limit: (220 - age) x 0.85
7.5 Trainings duration
Every training unit should ideally consist of a warm-up phase, a training phase, and a cool-down phase in order to prevent injuries.
Warm-up:
5 to 10 minutes slow cycling.
Training:
15 to 40 minutes of intensive or not overtaxing training at the intensity mentioned above.
Cool-down:
5 to 10 minutes of slow cycling, followed by calisthenics or stretching, in order to loosen up the muscles.
Stop training immediately if you feel unwell or if any signs of overexertion occur.
Alterations of metabolic activity during training:
- In the first 10 minutes of endurance performance our bodies consume the sugars stored in our muscles. Glycogen:
● After about 10 minutes fat is burned in addition.
After 30 - 40 minutes fat metabolism is activated, then the body's fat is the main source of energy
Zielpuls-Diagramm / Target Pulse Diagram
(Herzfrequenz/Alter) / (Heart Rate / Age)
line
| Maximalpuls | Max. heartrate (%) | | :--- | :--- | | 220-Alter | 90 | | empfohlene Obergrenze | 85 | | aerohe Zone = Zielzone | 70 | | Suggested upper limit | - | | Suggested lower limit | - |Alter/ Age
text_image
Technical diagram of a mechanical assembly with numbered components for identification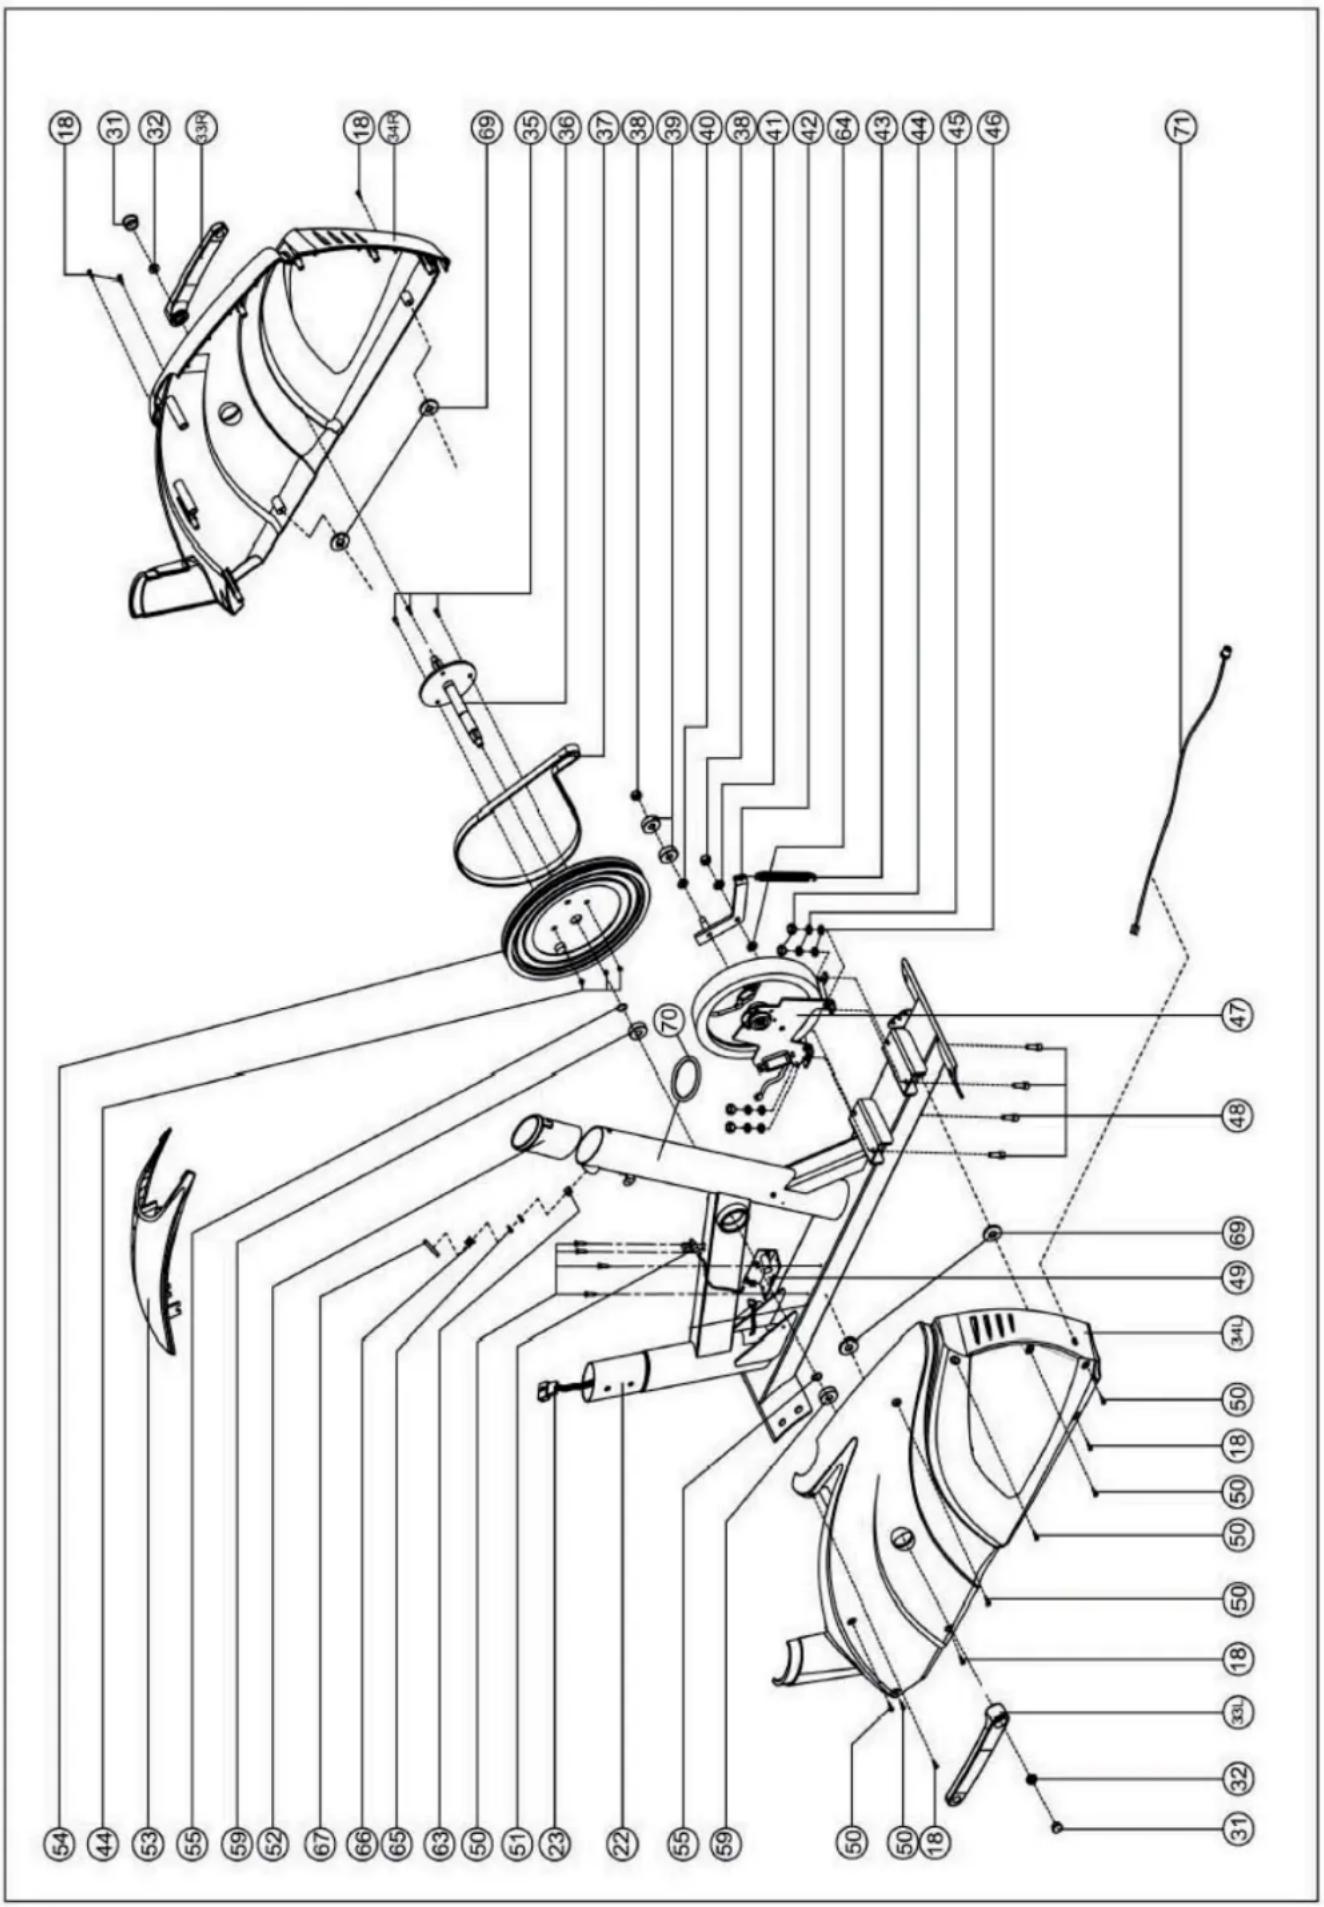
text_image
Technical diagram of a mechanical device with numbered components for identification and assembly reference.- Teileliste / Parts list
The part numbers with an * are wear and tear parts, which are subject to natural wear and which must be replaced after intensive or long-term use. In this case, please contact Finnlo Customer Service. You can request the parts and be charged for them.