
IAN 103292 - Uncategorized ULTIMATE SPEED - Free user manual and instructions
Find the device manual for free IAN 103292 ULTIMATE SPEED in PDF.

| Product Type | Car Seat Cover Set |
| Brand | Ultimate Speed |
| Model | IAN 103292 |
| Material | Velour (polyester blend) |
| Color | Dark gray/black (typical) |
| Components | 2 front seat covers, 5 headrest covers, 1 rear backrest cover, 1 back seat cover, metal hooks |
| Compatibility | Specific car models listed on packaging |
| Safety Certification | TÜV Rhineland tested |
| Airbag Compatibility | Yes, with side airbag label on outer side |
| Care Instructions | Hand wash only; do not bleach, tumble dry, iron, or dry clean |
| Installation | Requires cutting openings for armrests, levers, seat belts; use pointed scissors |
| Guarantee | 3 years from purchase date |
| Weight (approx.) | 0.8 kg (total set) |
| Dimensions (each front cover approx.) | 100 x 50 cm |
Frequently Asked Questions - IAN 103292 ULTIMATE SPEED
User questions about IAN 103292 ULTIMATE SPEED
0 question about this device. Answer the ones you know or ask your own.
Ask a new question about this device
Download the instructions for your Uncategorized in PDF format for free! Find your manual IAN 103292 - ULTIMATE SPEED and take your electronic device back in hand. On this page are published all the documents necessary for the use of your device. IAN 103292 by ULTIMATE SPEED.
USER MANUAL IAN 103292 ULTIMATE SPEED
CAR SEAT COVER SET „VELOURS“
GB
CAR SEAT COVER SET
Assembly and safety advice
HU
AUTÓS ÜLÉSHUZAT
Before reading, unfold both pages containing illustrations and familiarise yourself with all functions of the product.
PL
GB Assembly and safety advice Page 5
| PL | Wsk | azówki dotyczące montażu oraz bezpieczeństwa | Strona | 7 |
| HU | Szerelési- és biztonsági utasítások | Oldal 9 | ||
| SI | Navodila za montażo in varnost | Stran 11 | ||
| CZ | Pokyny k montáži a bezpečnostní pokyny | Strana | 13 | |
| SK | Pokyny pre montáž a bezpečnosť | Strana | 15 | |
| DE/AT/CH | Montage- und Sicherheitshinweise | Seite | 17 | |
Car seat cover set
- Introduction

We congratulate you on your purchase. You have chosen a high quality product. The instructions for use are to be considered as part of this product. Before using the product, please familiarise yourself with all the safety information and instructions for use. Only use the product as instructed and only for the stated areas of use. If you pass the product on to anyone else, please ensure that you also pass on all the documentation with it.
- Intended use
Set of car seat covers for the driver's seat, passenger's seat and the back seats of cars (according to the enclosed type list).
- Scope of delivery
natural_image
Illustration of a car seat with an Airbag label on the lid (no additional text or symbols)
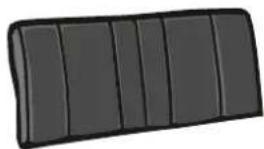
2 x covers for front seats (in 1 or 2 - 5 x covers for headrests
2 parts according to design) (according to design)
natural_image
Illustration of a dark gray rectangular object with vertical ridges, resembling a cushion or panel (no text or symbols)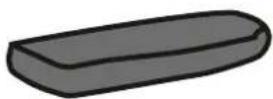
1 x cover for rear backrest (in 1 1 x cover for back seat (not sepa to 5 parts according to design) rable)

Metal hooks (located in the List of types headrest covers)
● Safety instructions
Correct installation res. fastening of the seat covers to the vehicle is essential to guarantee the safety of the user. Please pay attention to the following information when installing the seat covers:
图

WARNING! DANGER OF SUFFOCATION! Keep
the packaging out of reach of small children.
■ Installation is permissible only in cars that are indicated in the list of types on the packaging or in the enclosed, detailed list of types.
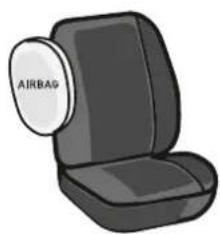
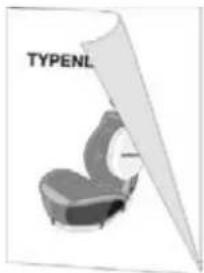
- Correct assignment of the seat (driver and front passenger seat). The covers are assigned by the marking „airbag“ attached to the seat cover. This marking must be attached to the outer side of the backrest (see fig. 1.0).

natural_image
Two gray car seats with a white circular label labeled 'AIRBAG' on the seat (no other text or symbols)Fig. 1.0
Headrest inserts, adjustment levers / wheels for release of backrests or armrests may not be covered with the seat cover. Allowances must be made for appropriate inserts. Please observe the instructions given in section "Installation".
Displaced seat covers must be repositioned. If this is no longer possible due to a advanced state of wear and tear, the cover must be removed or replaced.
■ Manipulation of the opening of the seat covers is not permissible (no covering, sewing up or repairs by yourself).
This protective cover has been tested by TÜV Rhineland Group.
⚠️ CAUTION! If the seat covers are installed incorrectly, the proper extension and inflation of the seat air bag cannot be guaranteed in the case of a collision.
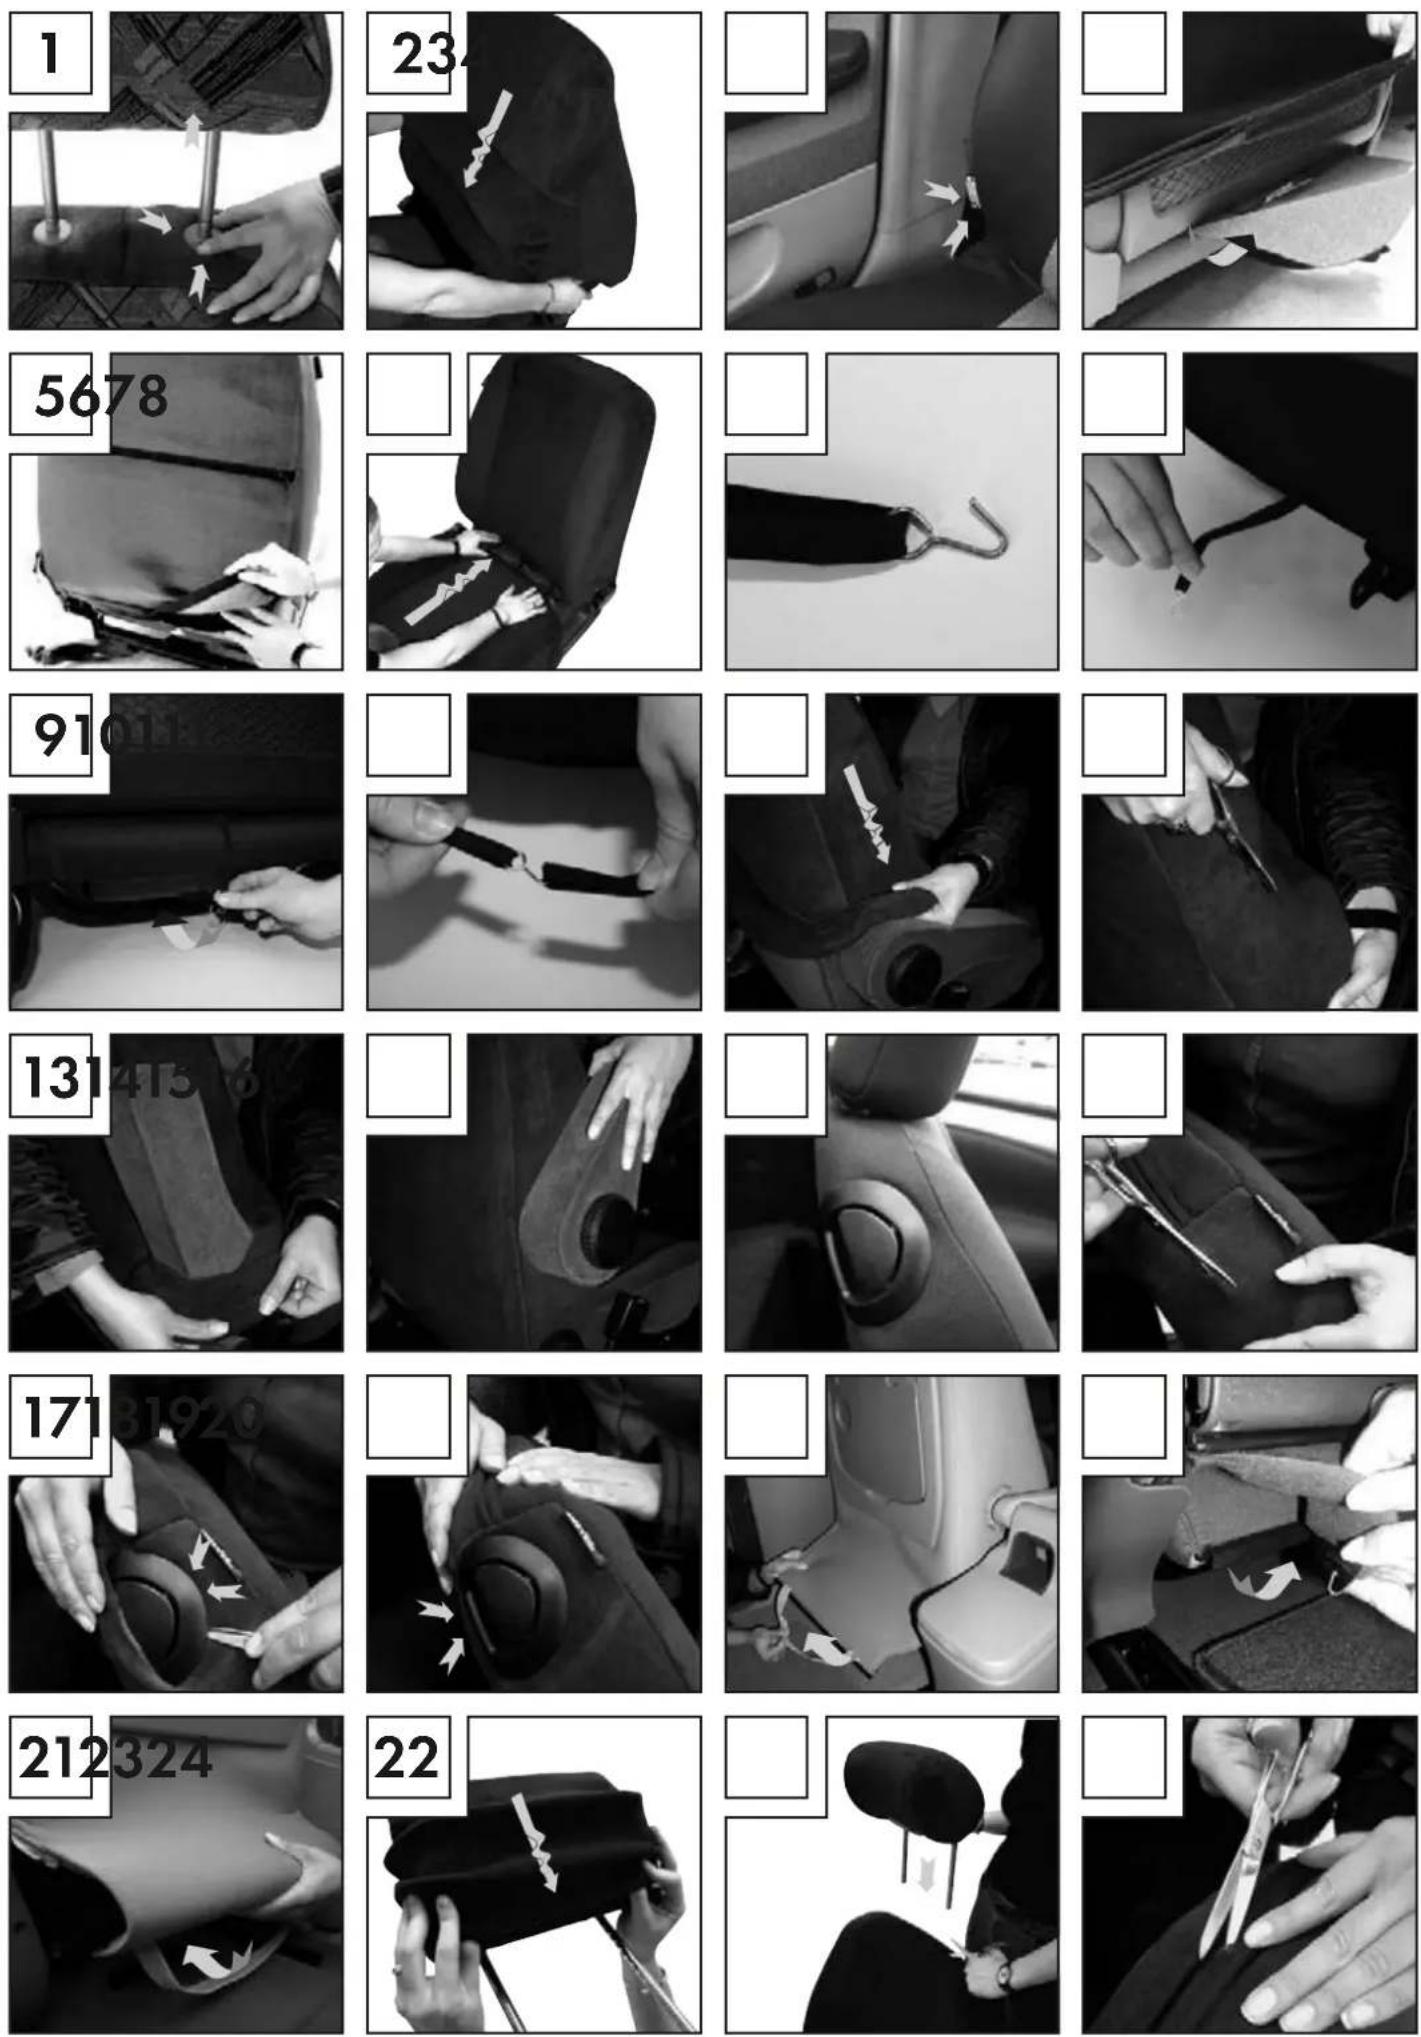
- Installation
■ You need a pair of pointed scissors.
● Installation of seat covers
Important: Please read the information below before installing the seat covers!
Fig. 1: Remove headrests (in some car models the headrests must be dismantled in a garage).
Fig. 2: Cover the backrest by pulling the cover downwards.
Fig. 3: Pay attention to the correct assignment of the side airbag label (right / left seat)! The side airbag label must be located at the outside (door side) of the respective seat.
Fig. 4: Pull the strap through between the seat and the backrest.
Fig. 5: Then close the fastener.
Fig. 6: Cover the seat from the front to the back.
Fig. 7: Fasten the metal hooks to the rubber loops.
Fig. 8+9: Pull the rear rubber loops between the seat and backrest (as you did with the strap of the backrest cover). Fasten the metal hooks under the seat according to the car model (e.g. to the existing metal rods - ATTENTION Do not fasten to airbag cables!)
Fig. 10: Or fasten all rubber loops together.
ATTENTION!
Openings for backrest releases, adjustment levers, side levers etc. (as described under fig. 11-21) must be cut out.
If your seat is equipped with armrests, proceed as described under fig. 11. Otherwise go to fig. 15.
Fig. 11: Pull the cover down as far as the armrest. The cover must be tightly fitting on top.
Fig 12: Cut the cover in the position of the armrest. The cut-out may not be too large.
Fig. 13: Push up the armrest and pull it through the cut-out opening of the cover.
Fig. 14: Pull the strap through between the seat and the backrest and close with the fastener.
If your seat is equipped with side levers, proceed as described under fig. 15. Otherwise go to fig. 19.
Fig. 15: Cover the seat as described under section 2. The cover must be tightly fitting on top.
Fig. 16: Cut the cover in the position of the side lever. The cut-out may not be too large.
Fig. 17+18: With the aid of scissors, push the cover under the guide fitting.
If your seat is equipped with seat frame cladding, proceed as described under fig. 19. Otherwise go to fig. 22.
Fig. 19: (for Renault) Open the seat frame cladding under the seat.
Fig. 20: (for Mercedes) Open the seat frame cladding under the seat.
Fig. 21: Fold the seat frame cladding under the seat cover. Pull the strap through between the seat and the backrest. Then close the fastener at the back.
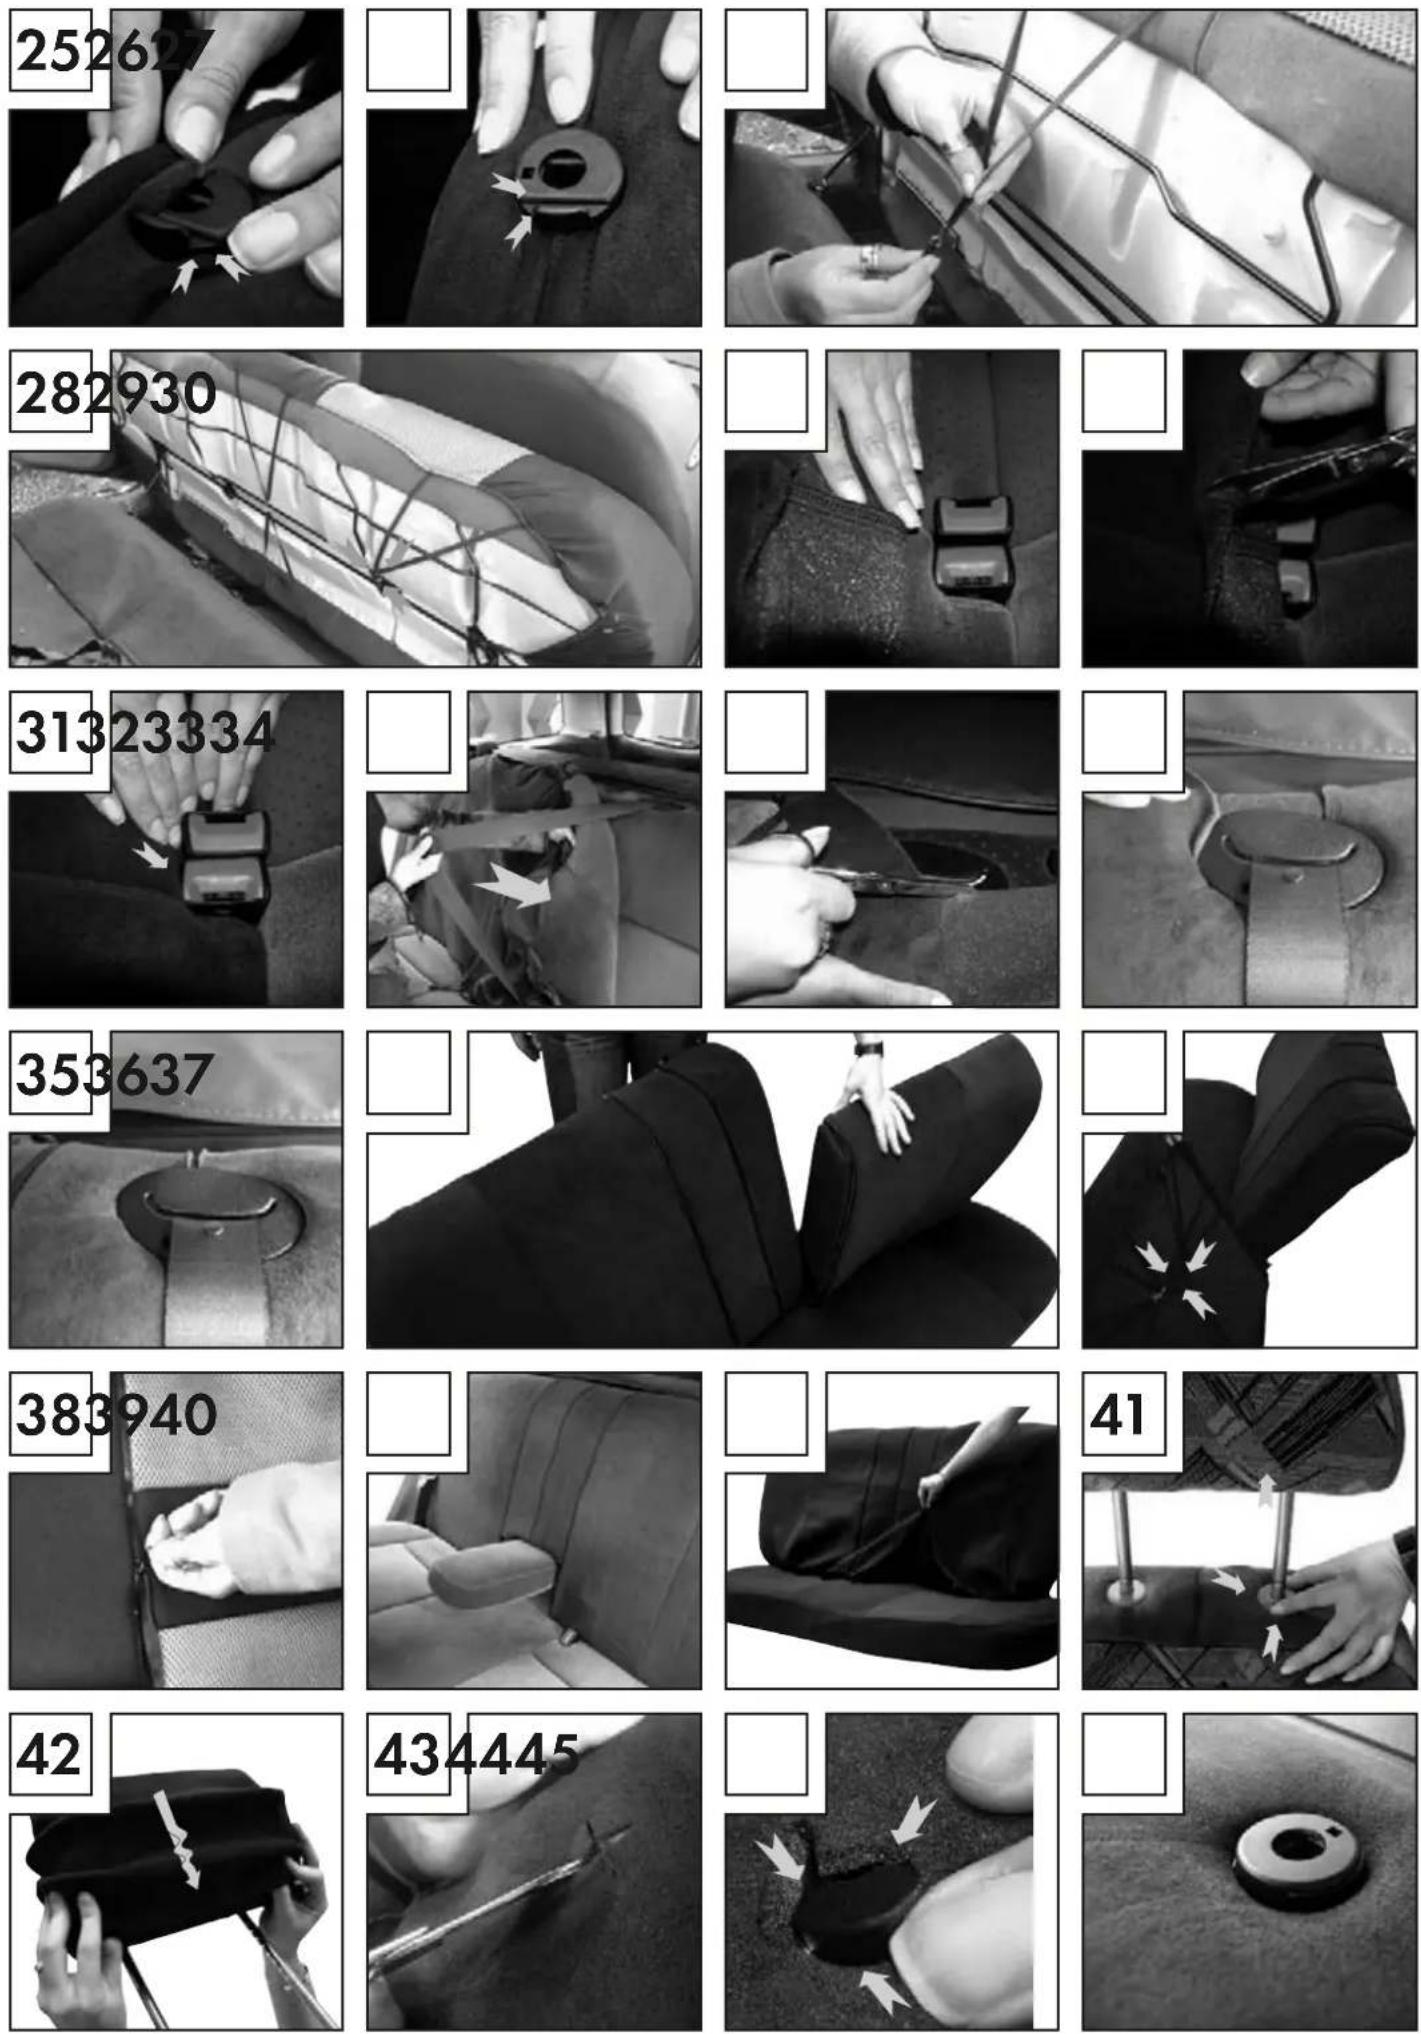
Fig. 22: Cover the headrests.
Fig. 23+24: Position the mounting strip directly above the holes for insertion of the headrest. Cut open the mounting strip in the exact positions of the headrest holes. With the aid of the integrated mounting strip, it is not possible for the material to tear.
Fig. 25+26: Push the cover beneath the plastic of the headrest guide covering. In a few isolated car models, it could be the case that these models have no headrest guide covering.
Fig. 27+28: Pull the cover for the back seat towards the back of the seat. If necessary, tilt the back seat forward and fasten the rubber loops at the back to the metal hooks (according to the car model).
Fig. 29: Position the cover exactly in the location of the seat belt.
Fig. 30: Carefully cut the cover in the position of the seat belt.
Fig. 31: Push the cover under the seat belt holder.
Fig. 32: Pull the cover under the backrest. The cover must be under the seat belt!
Fig. 33: Cut the cover in the position of the belt guide.
Fig. 34+35: Push the cover beneath the plastic of the belt guide.
Fig. 36: The backrest cover is universally suitable for all back seats due to the triple zip fastener division. The zip-in part can be used according to the width of the rear backrest.
Fig. 37: Fasten the rubber loops at the back to the metal hooks.
If your your back seat is equipped with armrests, proceed as described under fig. 38. Otherwise go to fig. 40.
Fig. 38: Open the zip fasteners. Fold out the armrest. Close the zip fastener up to the armrest.
Fig. 39: Complete covered armrest.
Fig. 40: In case of divided back seats, open the variable zip fasteners with the slider facing upwards if necessary.
Fig. 41: Remove the rear headrests.
Fig. 42: Cover the rear headrests.
Fig. 43: Cut the backrest cover in the position of the headrest in an x-shaped form.
Fig. 44+45: Push the cover under the plastic.
● Instructions for care and disposal
■ Wash the covers by hand

- Do not use bleach

■ Do not dry in a tumbler

Do not iron

Do not dry clean

■ The seat covers can be disposed of in the household waste.
- Please dispose of the packaging in accordance with the local regulations.
● Service & guarantee
You will receive a 3-year guarantee on this product from the date of purchase. The product has been carefully produced and conscientiously tested before delivery.
Please retain the till receipt as proof of purchase.
Please use the service hotline set up for you or contact the service point.
Service address:
Walser Customer Service Germany
Walser GmbH
natural_image
Illustration of an airplane seat with a circular label labeled 'AIRBAG' on the lid (no other text or symbols)
natural_image
Illustration of a dark rectangular object with vertical ridges, resembling a battery or panel (no text or symbols)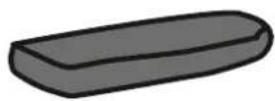
natural_image
Two gray car seats with one seat highlighted and the other labeled 'AIRSAG' (no additional text or symbols)Rys. 1.0
Walser Customer Service Germany
Walser GmbH
natural_image
Illustration of an airplane seat with an Airbag on top (no text or symbols on the diagram itself)
natural_image
Black rectangular object with vertical ridges, resembling a battery pack or panel (no text or symbols visible)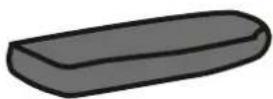
natural_image
Two gray car seats with a circular label showing 'AIRSAG' on the seat (no other text or symbols)1.0 ábra
natural_image
Illustration of a car seat with an airbag labeled on the lid (no additional text or symbols)
natural_image
Black rectangular object with vertical ridges, resembling a battery pack or cover (no text or symbols visible)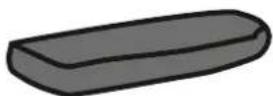
natural_image
Two gray car seats with a white circular label labeled 'AIRBAG' on the seat (no other text or symbols)Slika 1.0
Walser Customer Service Germany
Walser GmbH
natural_image
Illustration of an airplane seat with an Airbag on top (no text or symbols on the diagram itself)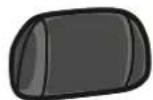
natural_image
Black rectangular object with vertical ridges, resembling a battery pack or cover (no text or symbols visible)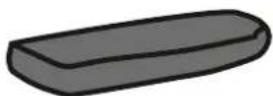
natural_image
Illustration of two gray car seats with a 'AIRBAG' label on the seat (no other text or symbols)Obr. 1.0
Walser Customer Service Germany
Walser GmbH
natural_image
Illustration of an airplane seat with a circular label labeled 'AIRBAG' on the lid (no other text or symbols)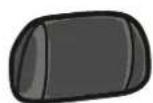
natural_image
Illustration of a dark rectangular object with vertical ridges, resembling a battery pack or panel (no text or symbols)
natural_image
Illustration of two gray car seats with one seat highlighted and the other labeled 'AIRBAG' (no additional text or symbols)Obr. 1.0
Walser Customer Service Germany
Walser GmbH
natural_image
Illustration of an airplane seat with a circular label labeled 'AIRBAS' on the lid (no other text or symbols)
natural_image
Illustration of a dark gray rectangular object with vertical ridges, resembling a stylized battery or tray (no text or symbols)
natural_image
Illustration of two gray car seats with one seat highlighted and the other labeled 'AIRSAG' (no text or symbols on the seats themselves)Abb. 1.0
Walser Customer Service Germany
Walser GmbH