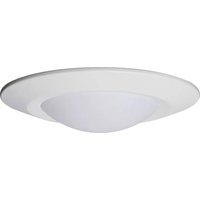
62/1762 - Lighting NUVO - Free user manual and instructions
Find the device manual for free 62/1762 NUVO in PDF.


User questions about 62/1762 NUVO
0 question about this device. Answer the ones you know or ask your own.
Ask a new question about this device
Download the instructions for your Lighting in PDF format for free! Find your manual 62/1762 - NUVO and take your electronic device back in hand. On this page are published all the documents necessary for the use of your device. 62/1762 by NUVO.
USER MANUAL 62/1762 NUVO
INSTALLATION AND SAFETY INSTRUCTIONS
IMPORTANT: Read before installing fixture. Retain for future reference.
WARNING: Risk of Fire or Electric Shock
- Disconnect power before installation or maintenance of the fixture.
- LED Retrofit Kit installation requires knowledge of luminaires electrical systems. If not qualified, do not attempt installation. Contact a qualified electrician.
- Do not make or alter any open holes in an enclosure of wiring or electrical components during kit installation.
- To prevent wiring damage or abrasion, do not expose wiring to edges of sheet metal or other sharp objects.
- The product is purposed for interior use only, suitable for wet locations.
- Protect the product against direct contact with water.
- Assemble the product only with the use of parts provided and the housing; improper assembly may result in device failing which could damage the product, personal property or cause injury.
- CAUTION: When handling the fixture, do not apply pressure to the LEDs. Hold the fixture by the base only.
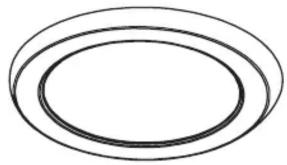
natural_image
Simple diagram of three concentric ovals with no text or symbols62-1751, 62-1752
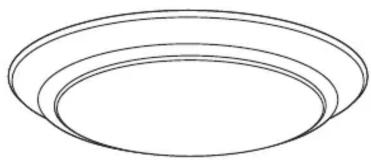
natural_image
Simple line drawing of three concentric ovals (no text or symbols)62-1761, 62-1762, 62-1763
INSTALLATION – Junction Box
NOTE: Turn OFF main power at the circuit breaker.
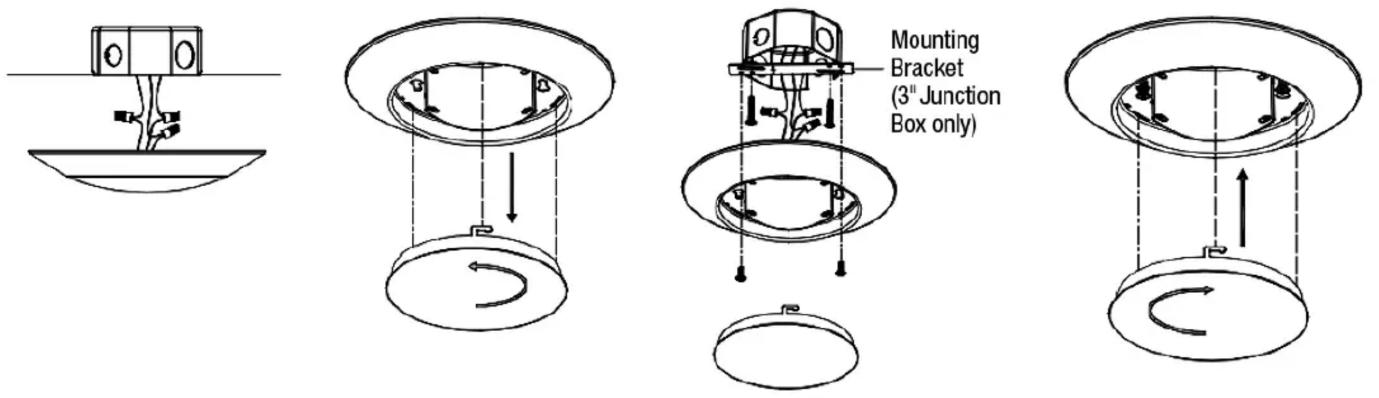
- Connect the luminaire to supply wires with wire nuts (included) (Figure A).
- Remove lens by turning counter clockwise to unlock (Figure B).
-
Mount luminaire to the junction box and screws through the keyhole slots (Figure C). Mounting bracket needed for 3" junction box only.
-
Replace lens and twist clockwise to lock (Figure D). IMPORTANT: Should mounting holes not line up with hole(s) in junction box, secure the Opal to the ceiling material using compatible screws making sure to completely cover junction box.
NOTE: If the luminaire includes the optional LED color temperature selectable switch, select the desired LED color temperature.
Figure A Figure B Figure C Figure D
INSTALLATION – Retrofit Lamp Replacement
NOTE: Turn OFF main power at the circuit breaker.
- Remove existing trim and light bulb from the recessed housing to reveal the medium base socket. If applicable, remove socket from plate.
- Remove luminaire's lens by turning counter clockwise to unlock.
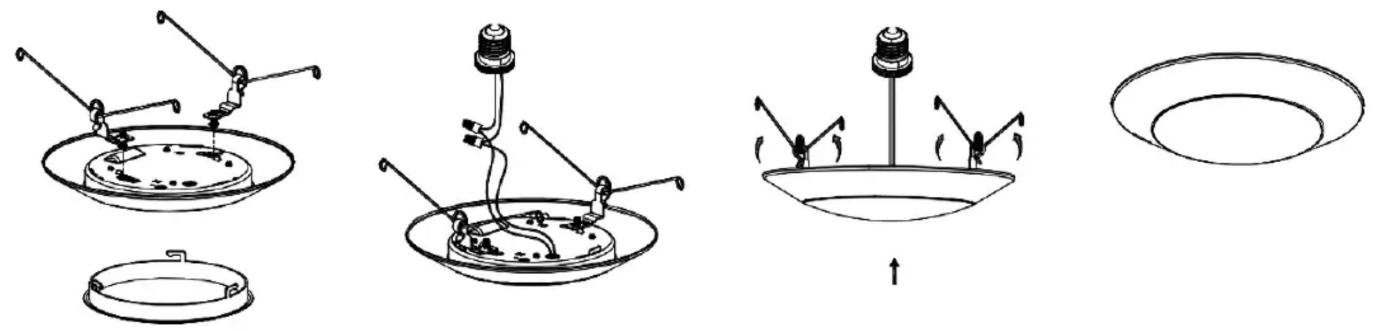
- Attach torsion springs to luminaire with screws and replace lens (Figure E).
-
Connect luminaire's wires to medium base socket adapter with wire nuts (Figure F).
-
Screw in medium base socket adapter into medium base socket (Figure G).
- Squeeze both torsion springs together and insert the torsion springs to the housing's slot (Figure G).
- Safely place all wires into the housing and carefully push the luminaire into the housing (Figure H).
NOTE: If the luminaire includes the optional LED color temperature selectable switch, select the desired LED color temperature.
Figure E Figure F Figure G Figure H
ELECTRICAL CONNECTION
Connect the fixture input wires to Junction Box wires as shown in the Wiring Diagram, making sure all wire connectors are secure.
If the Junction Box has a Ground Wire (Green or Bare Copper), connect the fixture's Ground Wire to it. After wires are connected, tuck them carefully inside the Junction Box.
Dimming
This product is compatible with most residential type dimmers available on the market. The dimming performance will depend on kind of dimmer and dimmer settings. Visit Satco.com for an up to date list of compatible dimmers.
Cleaning
Clean with a soft or damp cloth, make sure the power is OFF. Do not clean with liquids or abrasives.
WIRING DIAGRAM
| Fixture Wires | House Wires |
| Black or Smooth | Black (Hot) |
| Fixture Wires | House Wires |
| White or Ribbed | White (Neutral) |
| Fixture Wires | House Wires |
| Bare wire (Ground) | Green or Bare Copper (Ground) |
5-YEAR LIMITED WARRANTY
The purchased product is covered with a 5-year warranty in respect of any defect in material or workmanship after purchase date. Satco shall bear no responsibility on account of guarantee, as well as shall bear no liability for any faults, in case of improper operation, use negligence, accident or exposure to natural hazard, or excessive use over the limits specified for the unit, or if any unauthorized alteration or repair followed.