Cove CVST6060 - Shower door CRAFT + MAIN - Free user manual and instructions
Find the device manual for free Cove CVST6060 CRAFT + MAIN in PDF.


User questions about Cove CVST6060 CRAFT + MAIN
0 question about this device. Answer the ones you know or ask your own.
Ask a new question about this device
Download the instructions for your Shower door in PDF format for free! Find your manual Cove CVST6060 - CRAFT + MAIN and take your electronic device back in hand. On this page are published all the documents necessary for the use of your device. Cove CVST6060 by CRAFT + MAIN.
USER MANUAL Cove CVST6060 CRAFT + MAIN
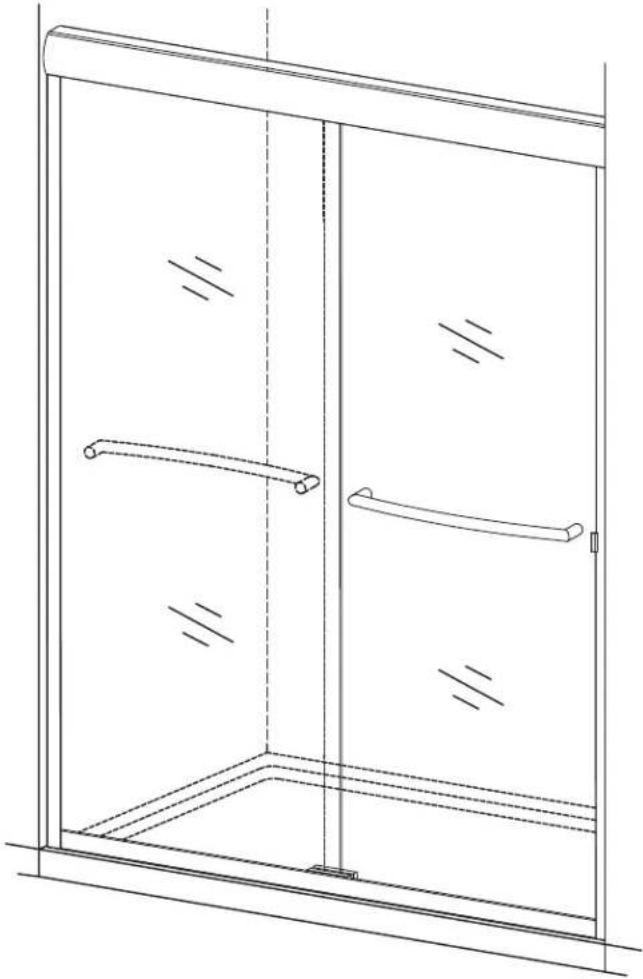
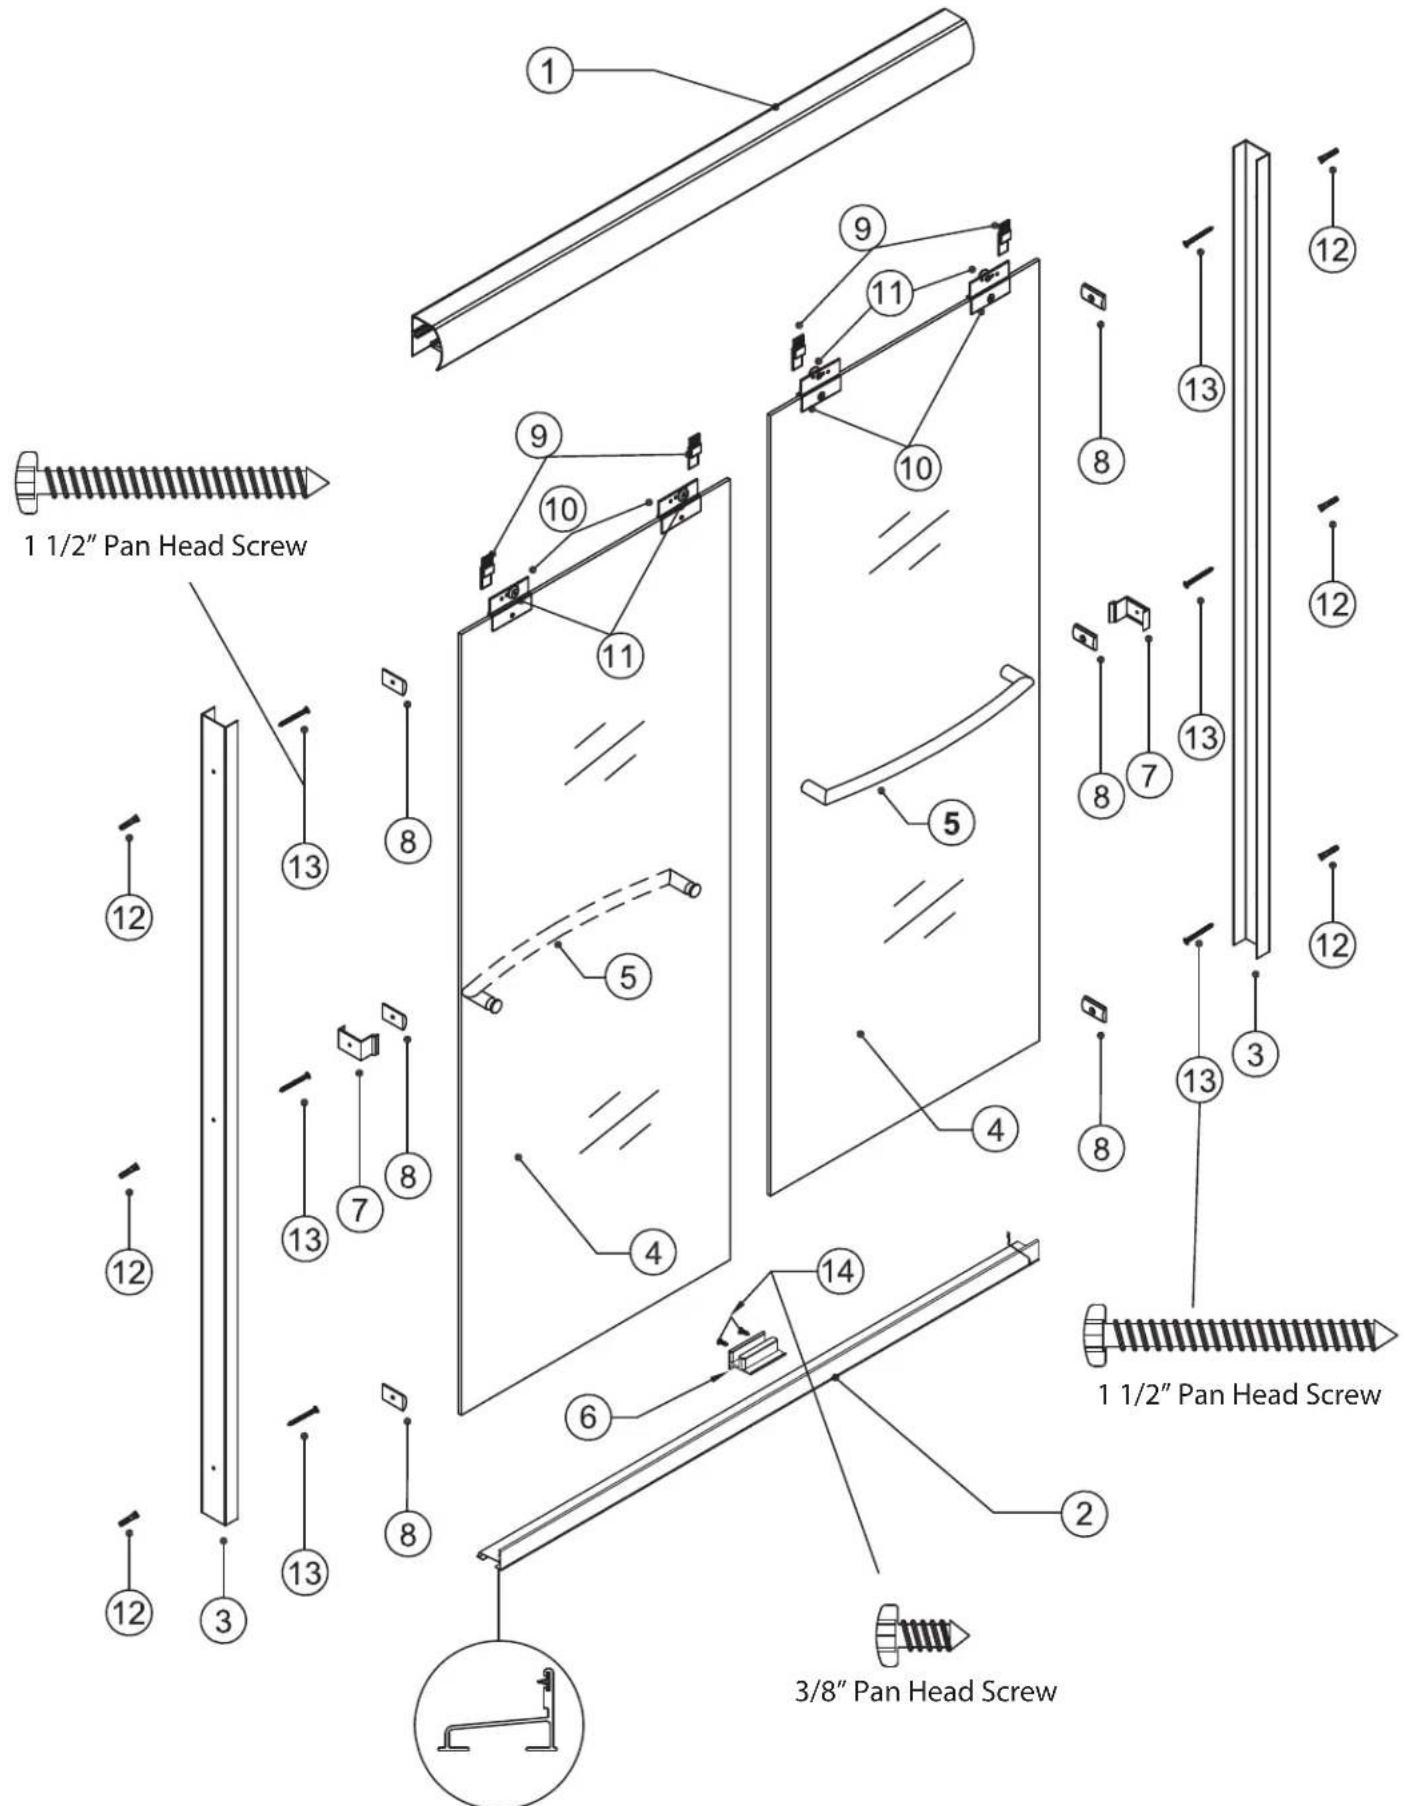
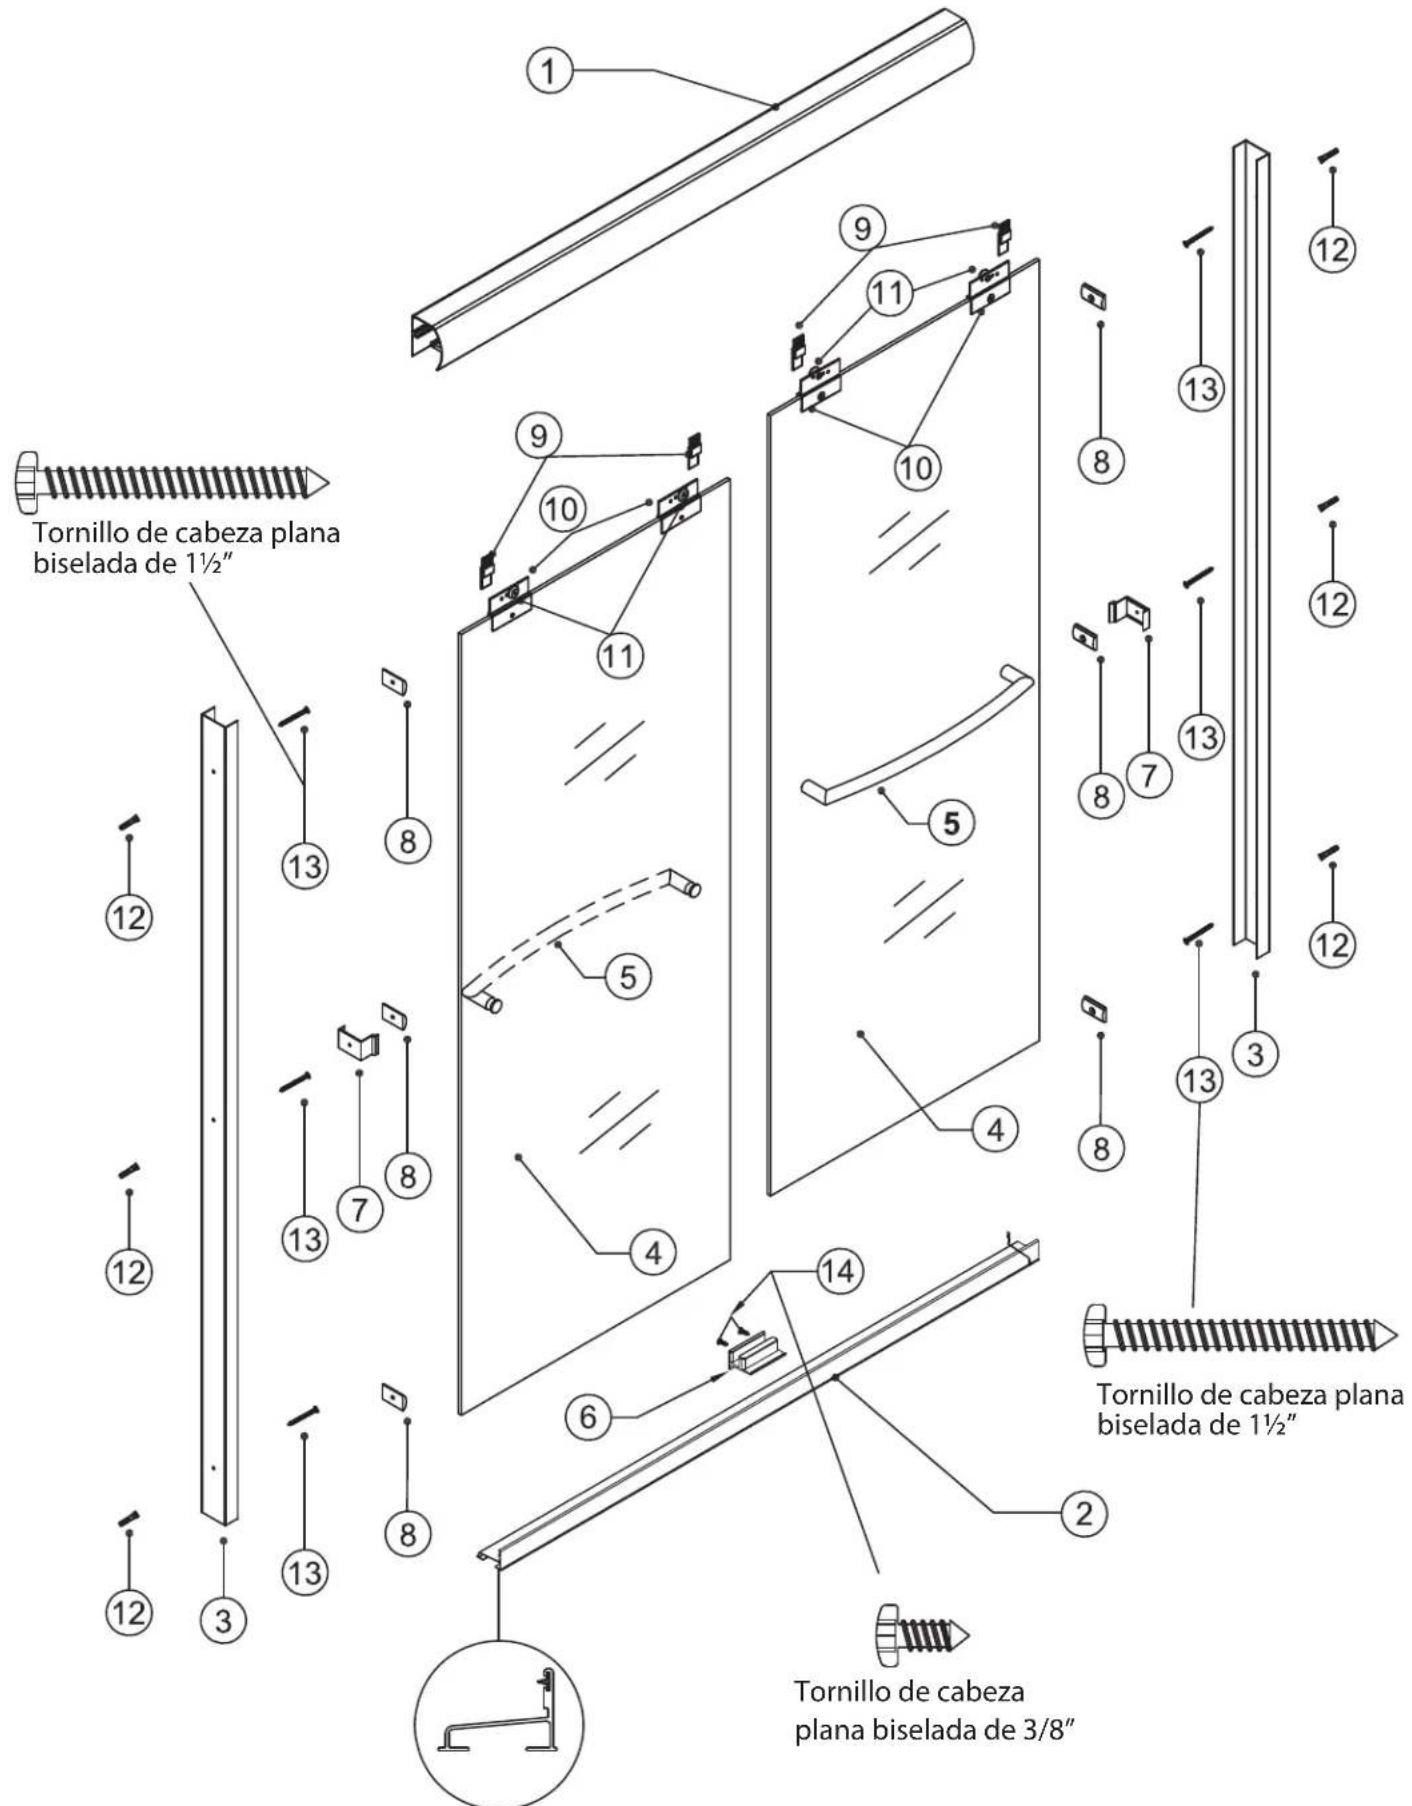
Familiarize yourself with all the parts as shown in the exploded view. The exploded view will also provide a helpful reference when relating to the location of the various parts and how they are mounted.
natural_image
Line drawing of a double door cabinet with handlebars and railings (no text or symbols)Please visit us on YouTube and view our shower door installation videos. One may be available for your installation. www.youtube.com/c/CRAFTANDMAIN
Toll Free Customer Assistance
Monday-Friday, 7:30 a.m. To 5:00 p.m. CST
1-888-620-3667
1-888-256-7551
US Customers
Canada Customers
text_image
1 1/2" Pan Head Screw 1 1/2" Pan Head Screw 3/8" Pan Head ScrewPART LIST
1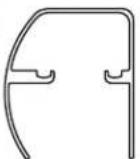 | 2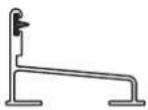 | 3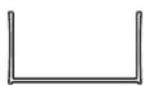 | 4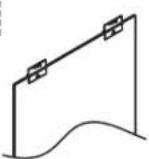 | 5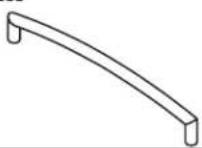 |
| TOP TRACK (1 pc) | BOTTOM TRACK (1 pc) | WALL JAMB (2 pcs) | DOOR PANEL( Outside / Inside ) | TOWEL BAR (2 pcs) |
6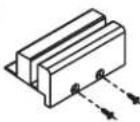 | 7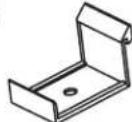 | 8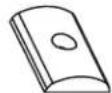 | 9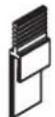 | 10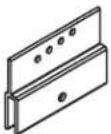 |
| PANEL GUIDE (1 pc) | BUMPER GUIDE (2 pcs) | WALL BUMPER (6 pcs) | SAFE SLIDER CLIP(4 pcs) | GLASS HANGER (4 pcs) |
11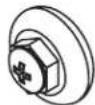 | 12### | 13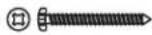 | 14 | 15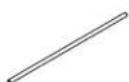 2 3/8" 2 3/8" |
| ROLLER (4 pcs) | WALL PLUG (6 pcs) | 1 1/2" PAN HEAD SCREW (6pcs) | 3/8" PAN HEAD SCREW (2pcs) | TOWEL BAR WRENCH(2 3/8" LONG 1 pc) |
16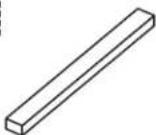 |  WARNING: Safety glasses should always be wornwhen working with tempered glass. WARNING: Safety glasses should always be wornwhen working with tempered glass. | |||
| SAFE SLIDER INSTALL ROD(4" LONG 1 pc) | ||||
RECOMMENDED TOOLS
1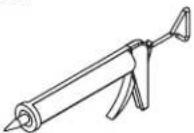 | 2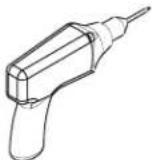 | 3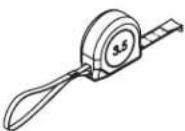 | 4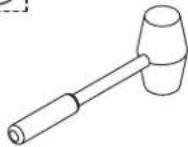 | 5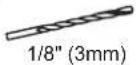 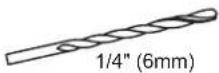 |
| SILICONE | DRILL | TAPE MEASURE | RUBBER MALLET | DRILL BITS |
6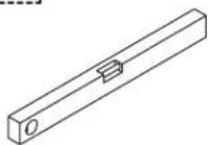 | 7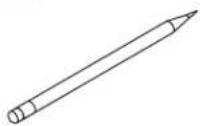 | 8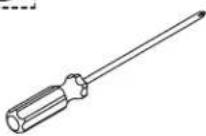 | 9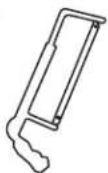 | 10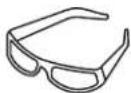 |
| LEVEL | PENCIL | SCREW DRIVERS | HANDSAW | SAFETY GLASSES |

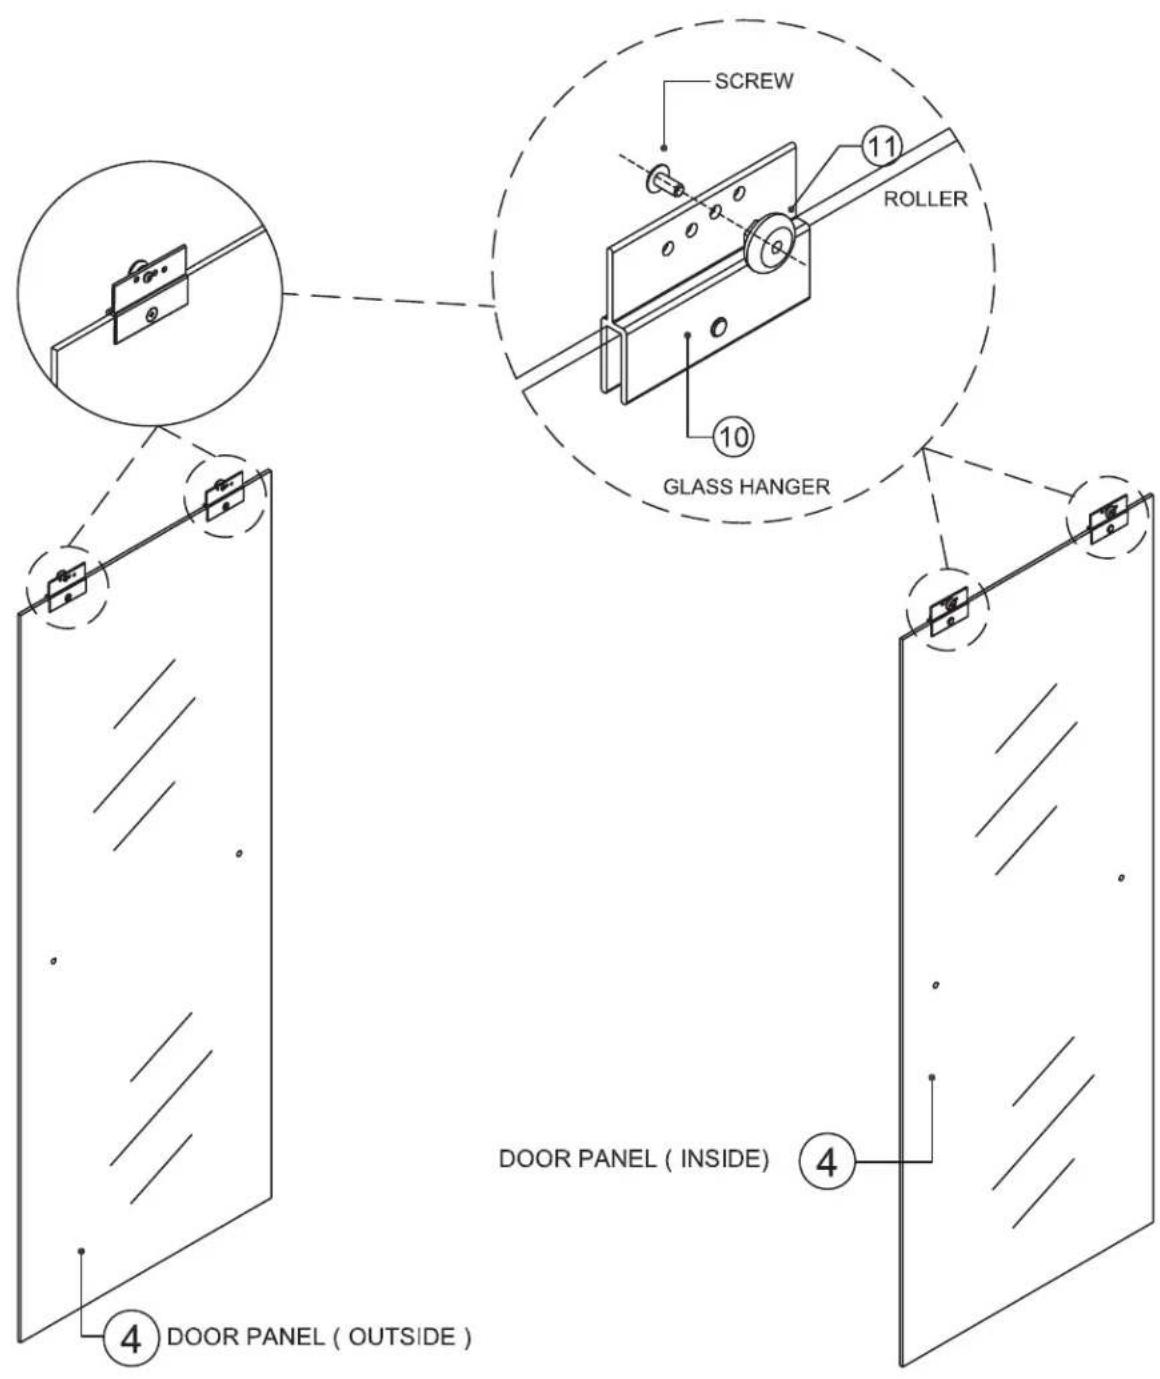
Attach rollers to hanger clips on both panels. Rollers should be mounted so that the head of the mounting screw is on the same side of the panel as the screw head set into the hanger clip (see inset drawing).
NOTE: The various holes in the hanger clip are used to fine tune the adjustment of the panel to make up for walls that are slightly out of square or plumb. For best results start with all rollers in the second hole from the top and then make adjustments as needed.
text_image
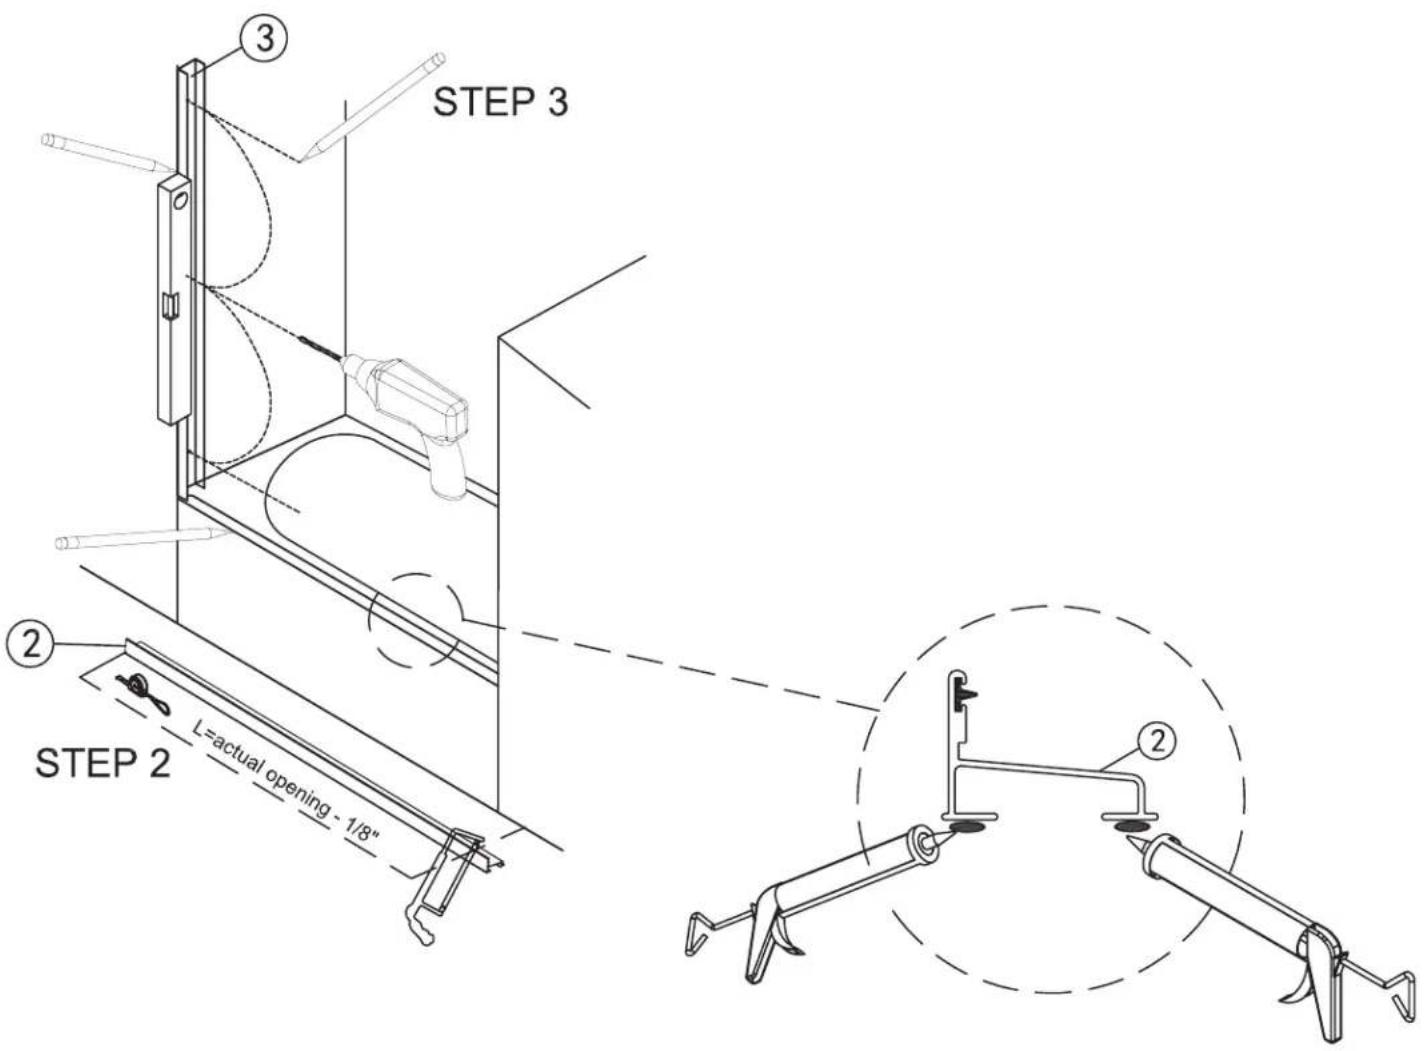
SCREW 11 ROLLER 10 GLASS HANGER 4 DOOR PANEL (INSIDE) DOOR PANEL (OUTSIDE) 42 Measure opening on bottom and cut bottom track (2) 1/8" shorter than opening.
text_image
STEP 3 STEP 2 L=actual opening - 1/8" ② ③ ②INSTALLATION PROCEDURE / STEP 3 & STEP 4

Place wall jamb down over bottom track so that the back of the jamb is between the bottom track and the wall. Using a level to ensure jamb is plumb, mark hole locations. Remove jamb and drill holes about 11/2" deep at each of the marked locations.

NOTE: When drilling into ceramic, glass or stone use a 1/4" (6mm) MASONRY drill bit.
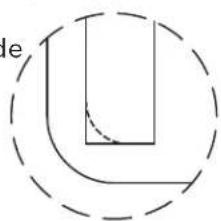
NOTE: When installing on fiberglass or acrylic use a 1/8" (3 mm) drill bit and discard the wall plugs. When installing on fiberglass or acrylic the side jambs may need to be filed at the bottom to fit the contour of the unit.
natural_image
Simple geometric diagram showing a U-shaped figure enclosed by a dashed circle, with no text or symbols present.
Repeat Step 3 on the other side.
INSTALLATION PROCEDURE / STEP 5
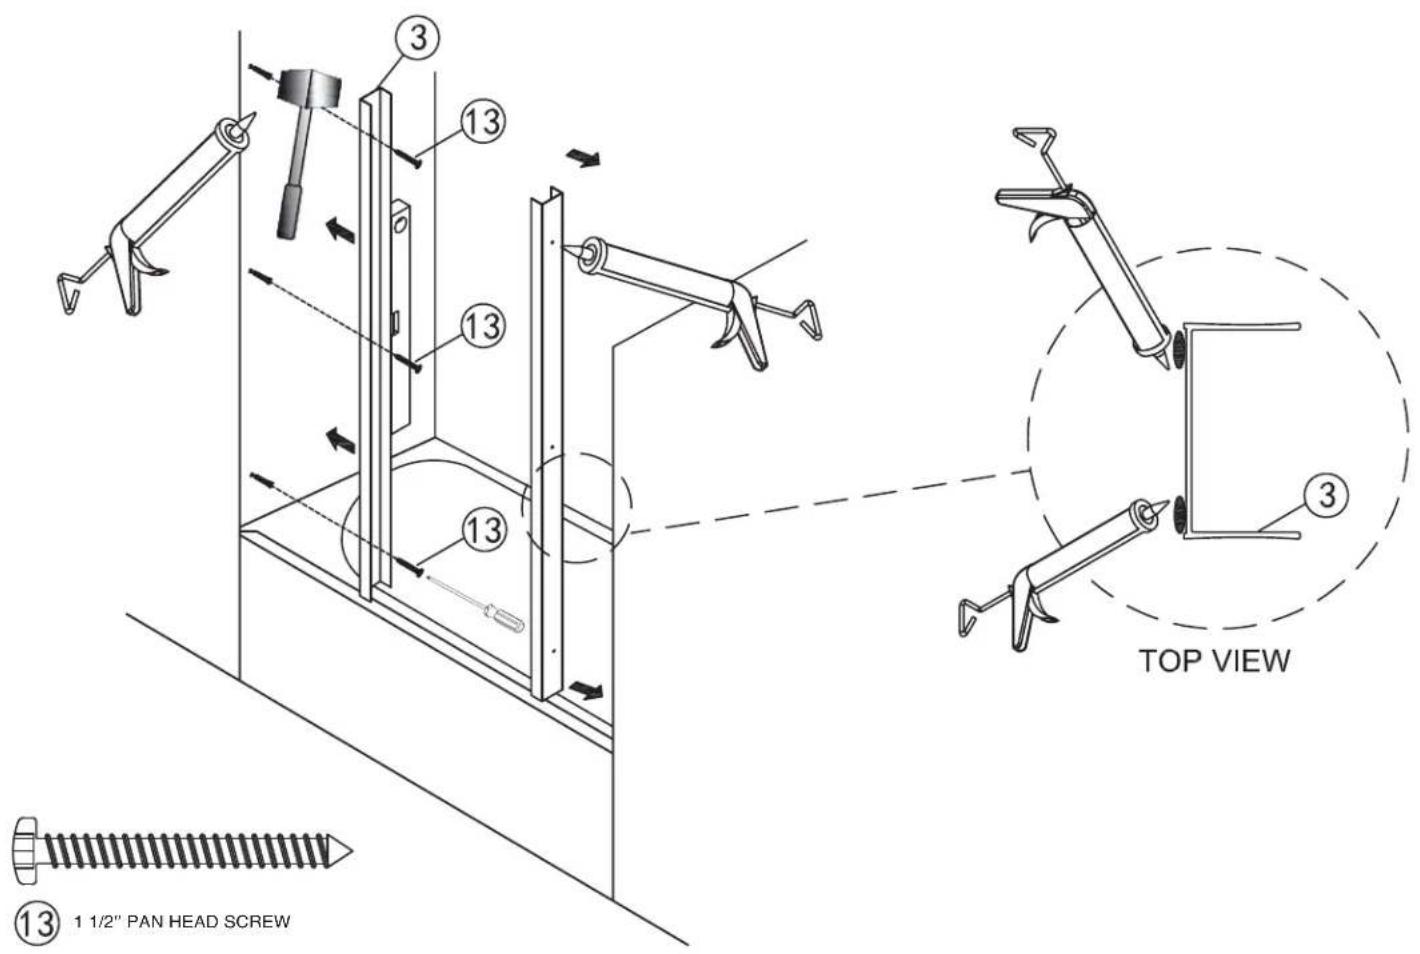
5 Run a thin bead of silicone caulk down the entire length of both bottom ledges on the bottom track. Place the bottom track into position and press down firmly along the length of the track.
text_image
1 1/2" PAN HEAD SCREW TOP VIEW ⑬ ③ ③ ③ ③ ③ ③ ③ ③ ③ ③ ③ ③ ③ ③ ③ ③ ③ ③ ③ ③ ③ ③ ③ ③ ③ ③ ③ ③ ③ ③ ③ ③ ③ ③INSTALLATION PROCEDURE / STEP 6 / STEP 7
6 Push wall plugs into holes drilled in Step 3 and tap them in with a rubber mallet. NOTE: If you are installing on fiberglass or acrylic, skip this step and discard the wall plugs.
7 Dab silicone into all 3 holes on each side. Run 11/2" pan head screws through wall bumper and use to attach wall jamb to wall in top and bottom holes only on both sides.
8 Use 11/2" pan head screws to anchor wall bumper and bumper guide into center hole on each side.
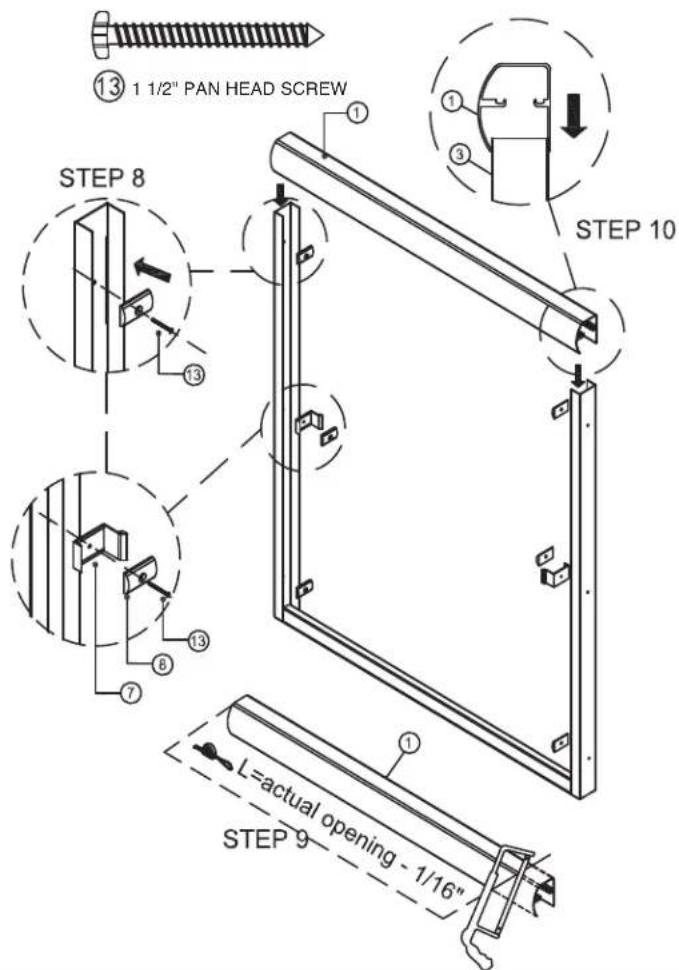
9 Measure opening at top of wall jamb, cut top track (1) 1/16" shorter than opening.
10 Place top track down over wall jambs as shown.
text_image
⑬ 1 1/2" PAN HEAD SCREW STEP 8 ① ③ STEP 10 ⑦ ⑧ ⑩ L=actual opening - 1/16" STEP 9INSTALLATION PROCEDURE / STEP 11
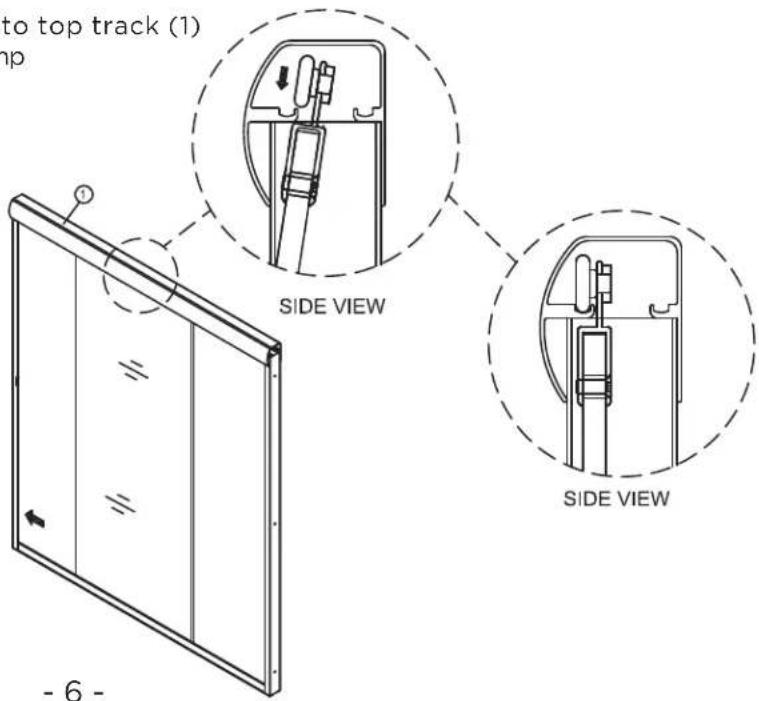
11 Install outer door panel by lifting up & into top track (1) (Do not lift by towel bar, be careful not to bump panel against metal track.)
text_image
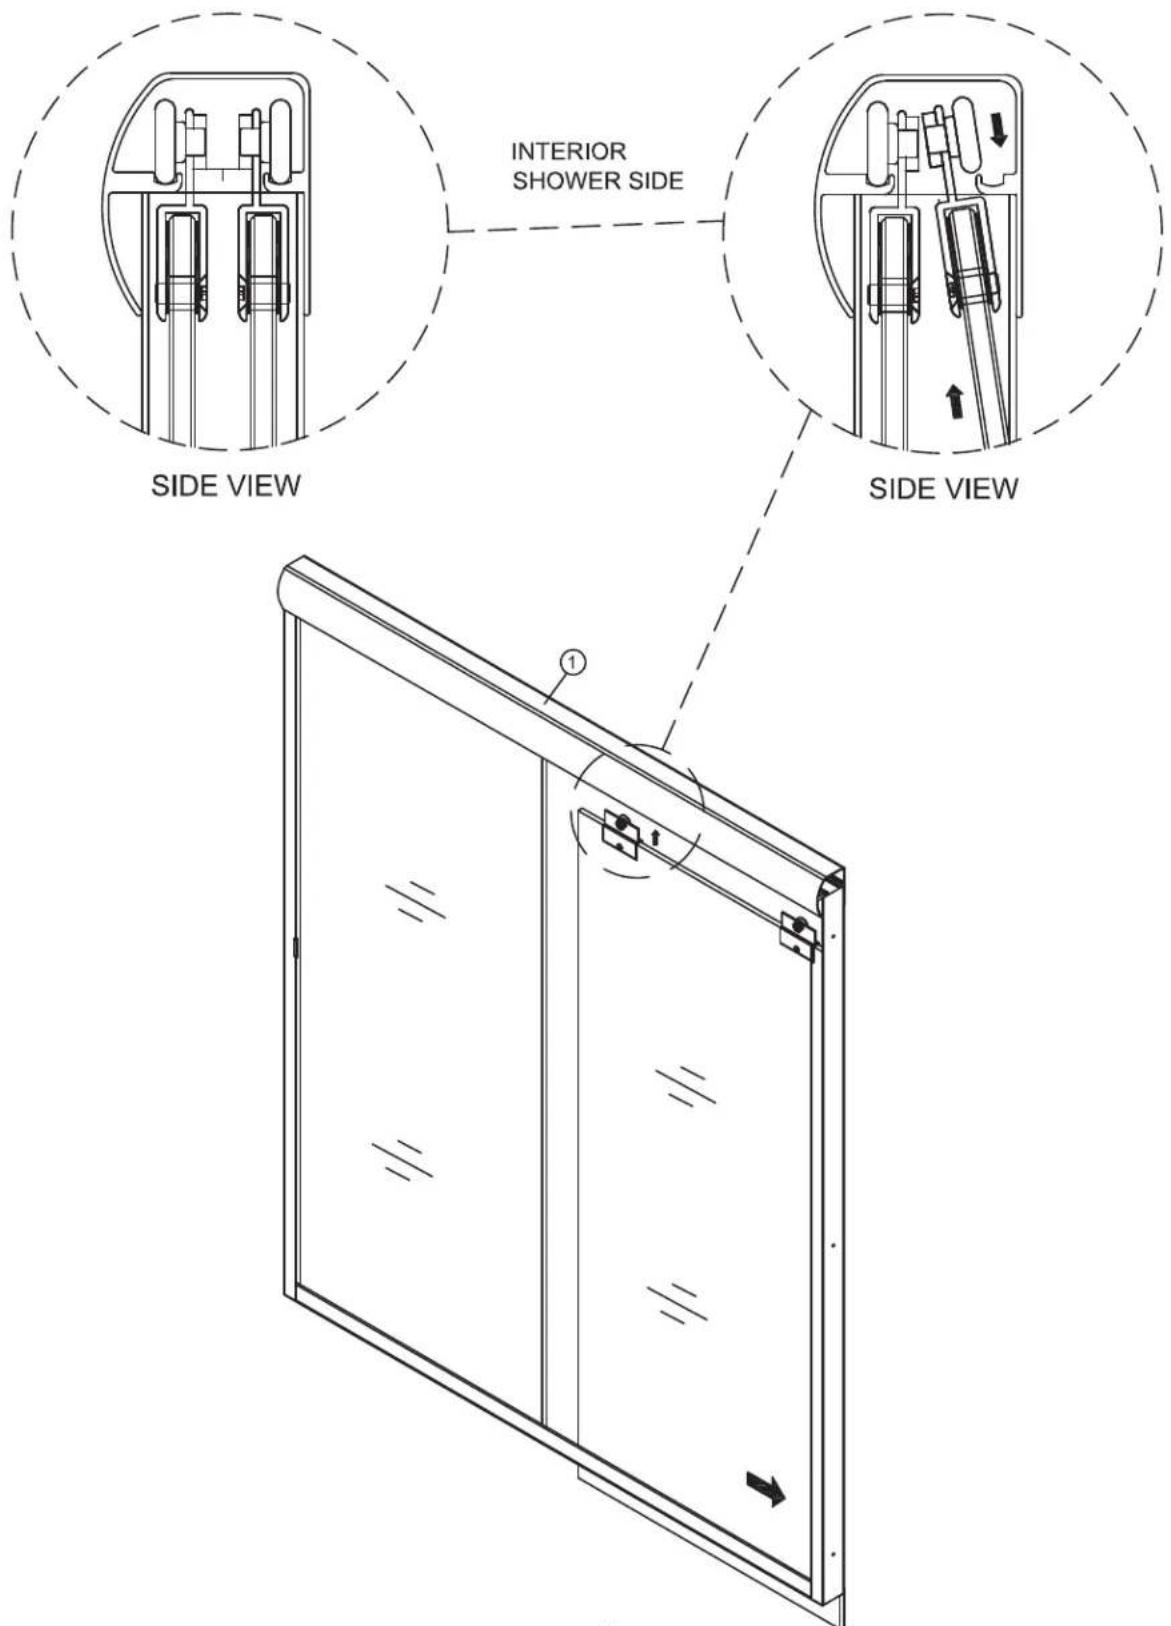
to top track (1) up SIDE VIEW SIDE VIEW - 6 -12 Install inner door panel by lifting up & into top track (Do not lift by towel bar).
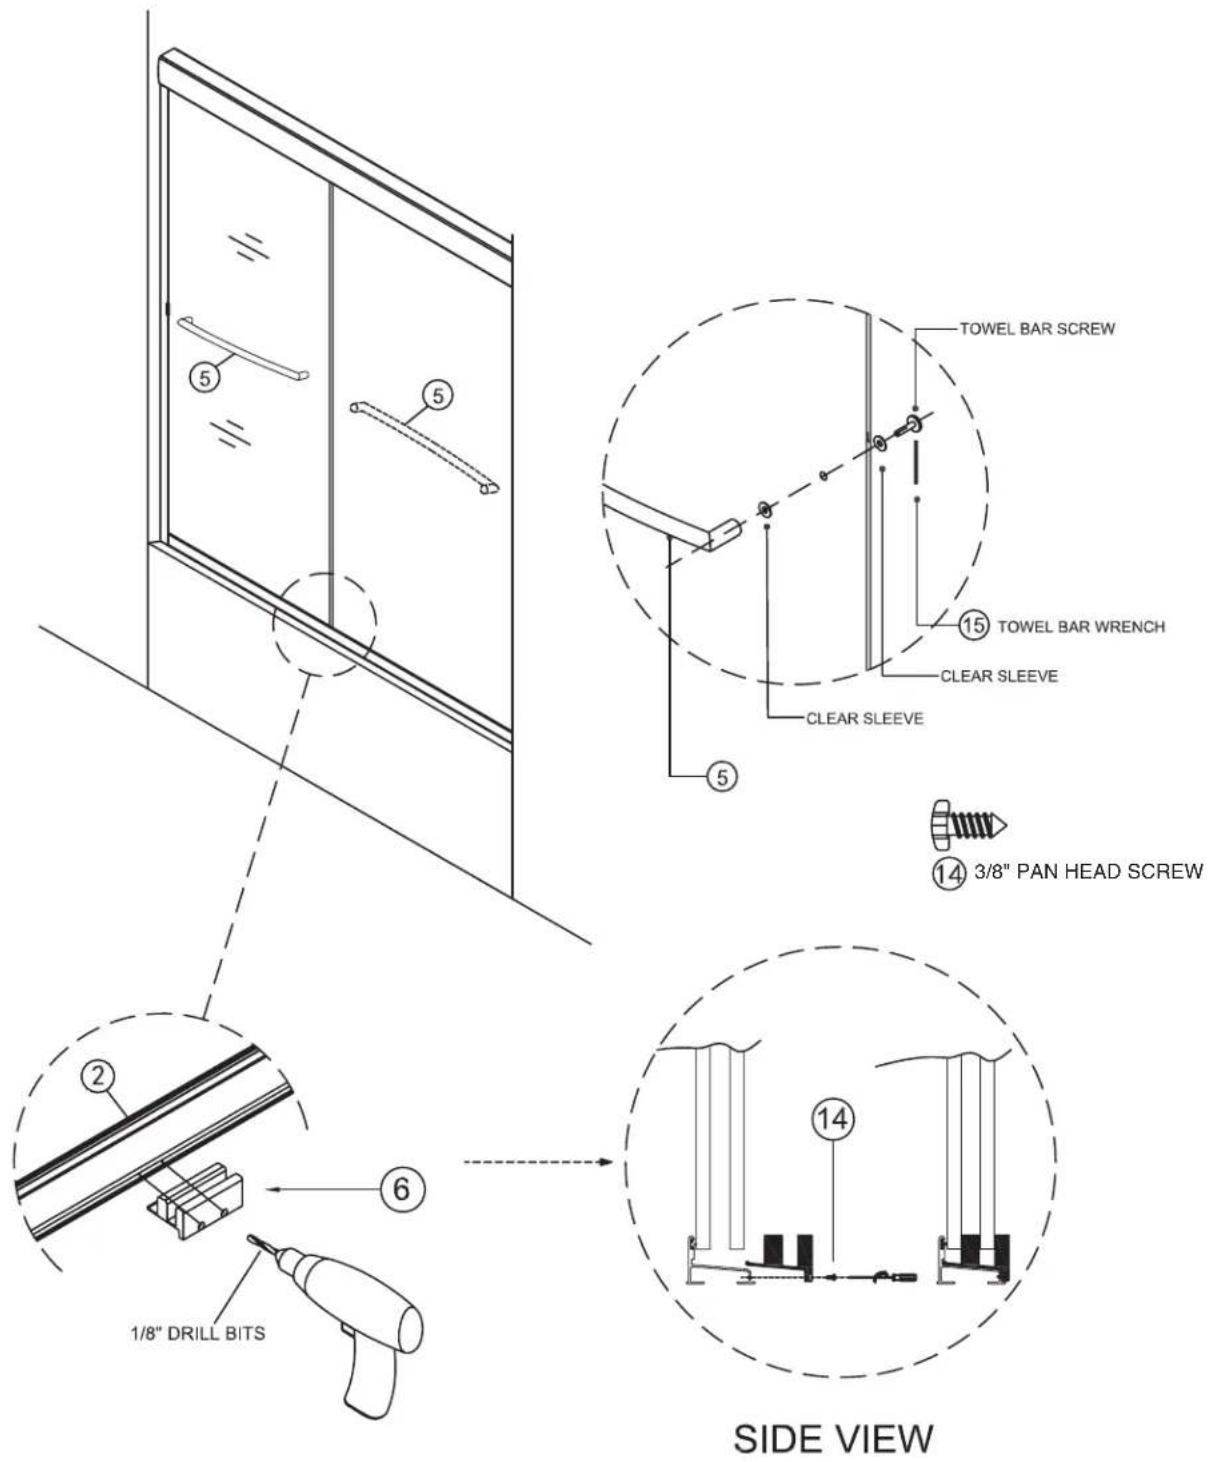
14 Position panel guide in center of bottom track. Drill two 1/8" holes through screw holes in guide and into bottom track. Position panels in guide as shown in inset drawing and attach guide to bottom track using 3/8" pan head screws.
text_image
TOWEL BAR SCREW 15 TOWEL BAR WRENCH CLEAR SLEEVE CLEAR SLEEVE 14 3/8" PAN HEAD SCREW SIDE VIEW 1/8" DRILL BITS ② ⑥ ⑮15
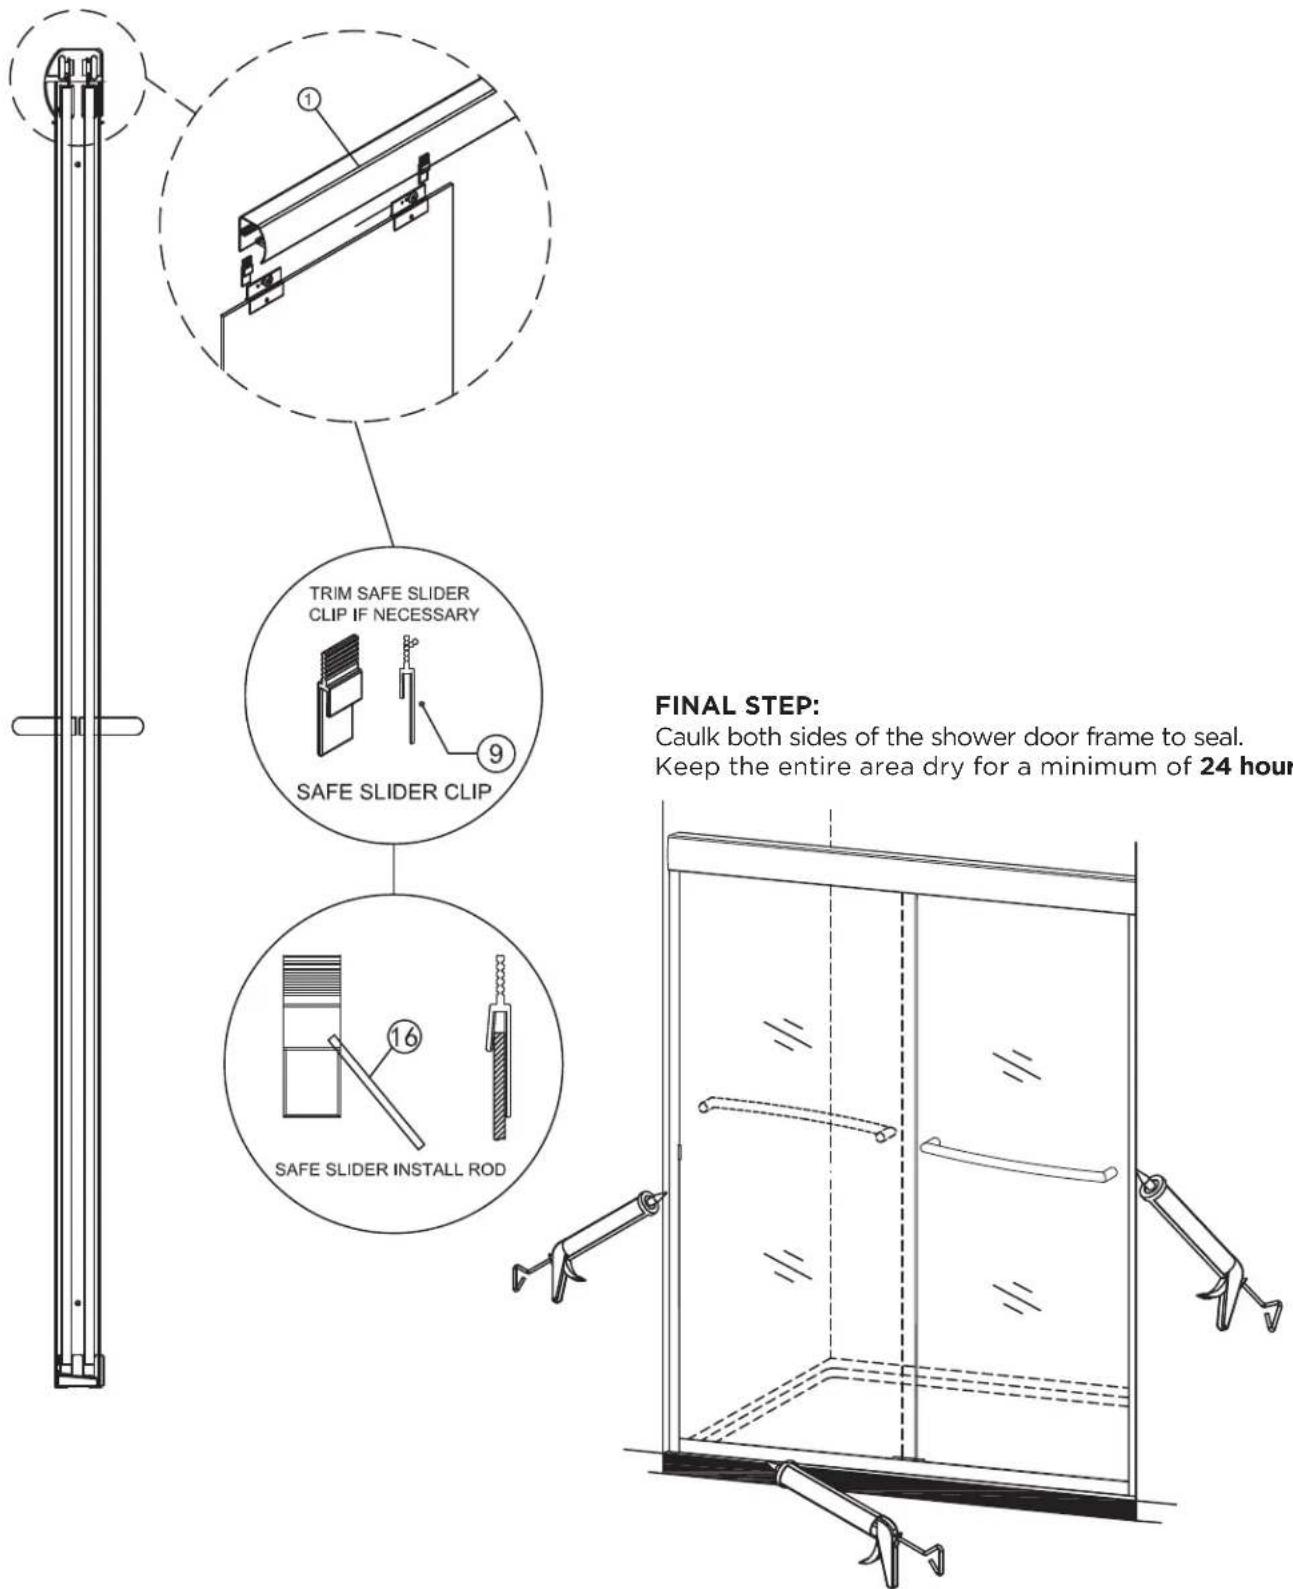
Install safe slider clip (9).
To install safe slide clip, put install bar into clip and lift onto clip hanger pull down leaving clip in place.
text_image
TRIM SAFE SLIDER CLIP IF NECESSARY SAFE SLIDER CLIP SAFE SLIDER INSTALL ROD FINAL STEP: Caulk both sides of the shower door frame to seal. Keep the entire area dry for a minimum of 24 hourFINAL STEP:
Caulk both sides of the shower door frame to seal.
Keep the entire area dry for a minimum of 24 hours.
CRAFT + MAIN™
ATTENTION
CONSUMER:
IMPORTANT SHOWER ENCLOSURE WARRANTY INFORMATION
PLEASE DO NOT DISCARD
Thank you for your purchase of a shower door from FGI Industries, Ltd.
In order to be eligible for product warranty, please register your door on our website within two (2) weeks of installation.
Go to:
https://craftandmain.com/warranty/
and follow the instructions.
For any questions or comments
about your new shower door,
please contact our Customer Service at:
US CUSTOMERS:
1-888-620-3667
CustomerService.US@FGI-Industries.com
6241 Northwind Parkway
Hobart, IN USA 46342
CANADA CUSTOMERS:
1-888-256-7551
customerservice.cdn@FGI-Industries.com
5970 Chedworth Way, Unit B
Mississauga, Ontario, Canada L5R 4G5
COVE
by
CRAFT+MAIN™
natural_image
Line drawing of a double door cabinet with handlebars and railings (no text or symbols)6241 Northwind Parkway, Hobart, IN USA 46342
USA: www.craftandmain.com
5970 Chedworth Way, Unit B, Mississauga, Ontario, Canada L5R 4G5
CANADA: www.craftandmain.ca
text_image
PASO 3 ② L=Abertura real - 1/8" (3 mm) ③ PASO 2 ②natural_image
Simple line drawing of a U-shaped object enclosed in a dashed circular border (no text or symbols)natural_image
Technical line drawing of a cabinet with two arms and a handle, shown with alignment tools (no text or symbols)CRAFT + MAIN™
https://craftandmain.com/warranty/
6241 Northwind Parkway
Hobart, IN USA 46342
CLIENTES DE CANADÁ:
1-888-256-7551
customerservice.cdn@FGI-Industries.com
5970 Chedworth Way, Unit B
Mississauga, Ontario, Canada L5R 4G5
COVE
by
CRAFT+MAIN™
COPIEZ LE NUMÉRO DE MODÈLE ICI POUR VOS DOSSIERS
PORTE COULISSANTE POUR CABINE DE DOUCHE ET BAGNOIRE
LISEZ LES INSTRUCTIONS ATTENTIVEMENT
natural_image
Line drawing of a double door cabinet with handlebars and railings (no text or symbols)natural_image
Simple line drawing of a U-shaped object enclosed in a dashed circular border (no text or symbols)natural_image
Technical line drawing of a cabinet with handlebars and clamps, no text or symbols presentCRAFT + MAIN™
AVERTISSEMENT POUR LES CONSOMMATEURS :
RENSEIGNEMENTS DE GARANTIE IMPORTANTS POUR ENCEINTE DE DOUCHE
VEUILLEZ NE PAS JETER
6241 Northwind Parkway Hobart, IN USA 46342
CLIENTS DU CANADA :
1 888 256-7551
customerservice.cdn@FGI-Industries.com
5970 Chedworth Way, Unit B Mississauga, Ontario, Canada L5R 4G5