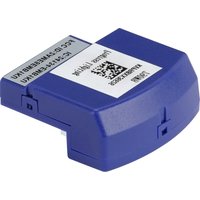
P2673 - Lighting Progress Lighting - Free user manual and instructions
Find the device manual for free P2673 Progress Lighting in PDF.


| Product Type | WiFi Module for DC Ceiling Fan |
| Brand | Progress Lighting |
| Model | P2673 |
| Category | Lighting (module for fan) |
| Compatibility | DC Ceiling Fan with Receiver |
| Power Supply | Power via Fan Receiver |
| Connection | WiFi 2.4 GHz |
| App | Bond Home (iOS and Android) |
| Voice Control | Amazon Alexa and Google Assistant |
| Functions | Fan speed and light control, manual remote control, scheduling via app |
| Installation | Mount on existing receiver, cut power before handling |
| Safety | Cut fuse or circuit breaker before installation |
| Required Configuration | Smartphone, WiFi network, Bond Home app |
| Manual | Available online on manufacturer's website |
| Support | Help center in Bond Home app |
Frequently Asked Questions - P2673 Progress Lighting
User questions about P2673 Progress Lighting
0 question about this device. Answer the ones you know or ask your own.
Ask a new question about this device
Download the instructions for your Lighting in PDF format for free! Find your manual P2673 - Progress Lighting and take your electronic device back in hand. On this page are published all the documents necessary for the use of your device. P2673 by Progress Lighting.
USER MANUAL P2673 Progress Lighting
P2673 – DC Ceiling Fan WIFI Module
WARNING! SHUT POWER OFF AT FUSE OR CIRCUIT BREAKER
A) WIFI Module installation
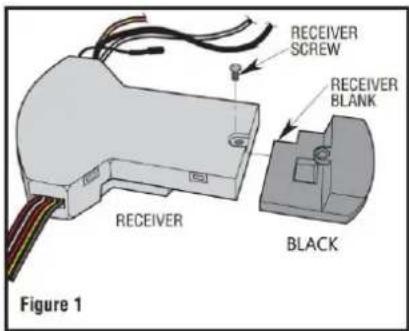
- Place the Receiver upside down on a flat surface, to expose the Receiver Screw.
- Remove and keep the Receiver Screw (Figure 1).
- Slide the Blank off of the Receiver and dispose of the Blank
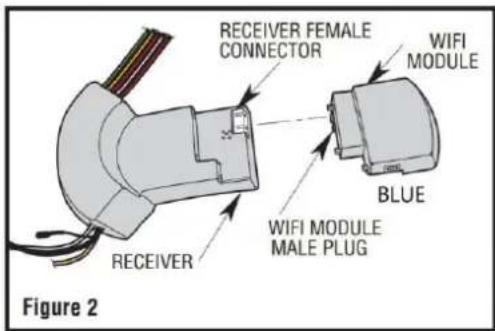
- Flip the Receiver over to expose the Receiver Female Connector.
- Slide the WIFI Module Male Plug into the Receiver Female Connector to engage the Module (Figure 2).
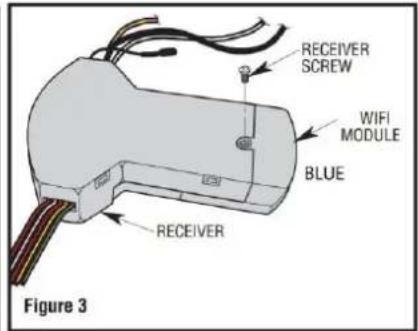
- With the WIFI Module Connected to the Receiver, turn the Receiver upside down on a flat surface for reinstallation of the screw (Figure 3).
- Reinstall the Receiver Screw into the WIFI Module to secure Module to the Receiver (Figure 3). The WIFI Module Installation is Complete.
B) PAIRING THE HAND-HELD REMOTE CONTROL and WIFI Module
NOTE: The WIFI Module needs to be paired with the hand-held remote control. Within 60 seconds of turning the Receiver AC power ON, press and hold the Transmitter FAN OFF(Stop) button for at least 5 seconds. The light kit will flicker to confirm. The WIFI Module will learn the same frequency that the transmitter has set up. After completion of above operation, you can operate the ceiling fan and light.
P2673 - DC Ceiling Fan WIFI Module
B) SMART PHONE CONTROL SETUP
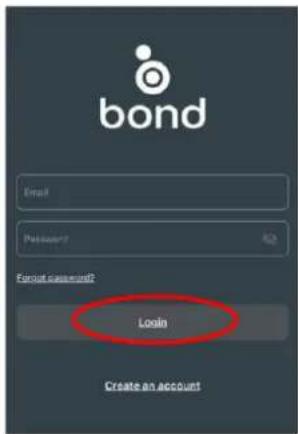
1. Install the BOND HOME app
1.1 To enjoy all the potential of your new device, you will need to download the BOND HOME app (available on the Google Play Store and Apple App Store)
1.2 Use the QR code shown below to download the app, or you can download the app using this link: http://bondhome.io/app
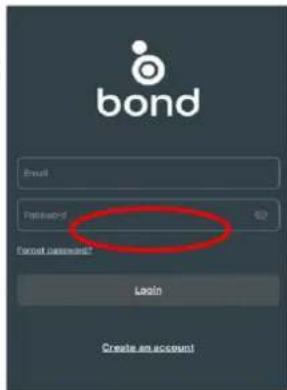
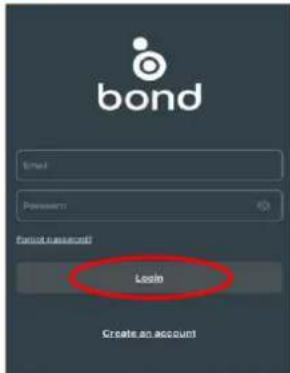
1.3 After you download the app, create an account. NOTE: Keep your account credential information. You will use this information when you connect with your smart speaker.

Bond Home
2. Pair the Device to the WIFI
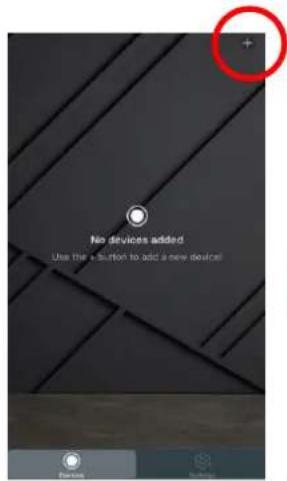
2.1 After you log into the main page, select the "+" symbol (IOS: top right corner of the screen) (Android: bottom center of screen).
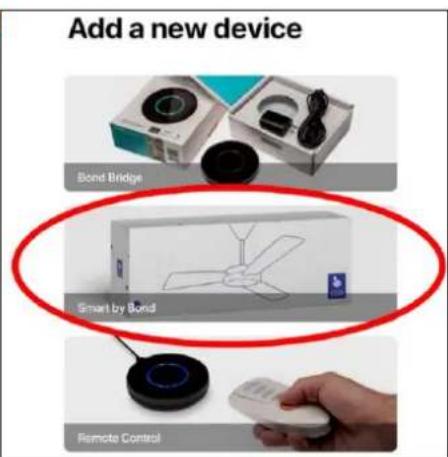
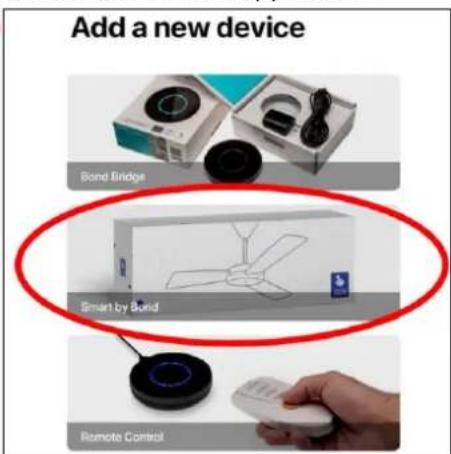
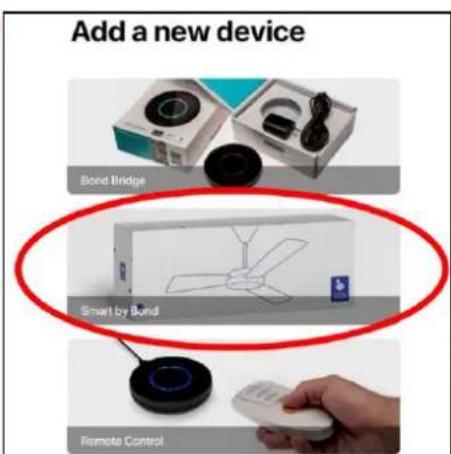
2.2 Next you will see the "Add a new device" screen. Choose the Smart by Bond option in the middle of the screen. Then follow "Connect to Bond Config Wi-Fi" steps to continue pairing.
2.3 After the paring process with Wi-Fi receiver, then you can control the fan speed, light. functions on the app.
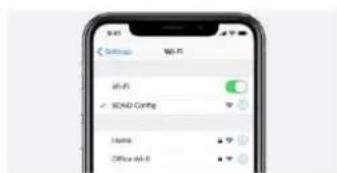
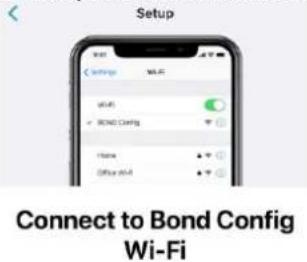
Connect to Bond Config Wi-Fi
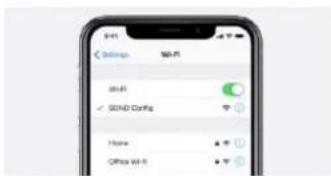
1 Go to your iOS Wi-Fi settings.
2 Connect to BOND Config Wi-Fi
3 Come back to the Bond App in order to start the device setup process.
3. Re-pairing the device (New router or moving the ceiling fan control)
3.1 Within 60 seconds of turning the power on, press and hold the Fan Off (Stop) button for at least 5 seconds. The light will flicker to confirm.
3.2 Follow the steps from step 2.1 to re-pair the device
For the latest and most complete instructions visit the resources section of the P2673 product page at www.hubbell.com/progresslighting
For more setup support, access the Help Center in the BondHome App Settings section
P2673 - DC Ceiling Fan WIFI Module
C) VOICE CONTROL SETUP
Setting up and Using Amazon Echo

- Open the Bond Home App
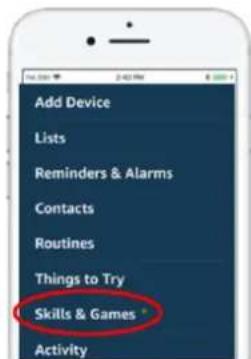
- Go to the Amazon Alexa app. Click on the dropdown menu from the top left corner of the screen and choose "Skills & Games".
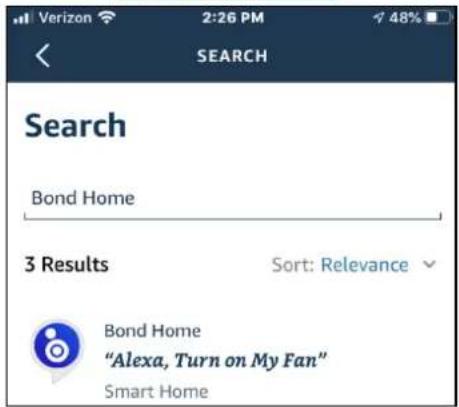
- Select the magnifying glass on the top of the screen. Type BOND HOME into the search bar and click the search button. Next click on the Bond Home skill and choose to add the skill.
- You should be prompted to enter your BOND username and password.
- You should see a "Discover Devices" pop up. Select the "Discover Devices" option. You should then see your device listed in the "All Devices" section. If your devices are not found select the "+" followed by "Add Device", "Other" and "Discover Devices".
Setting up and Using Google Home

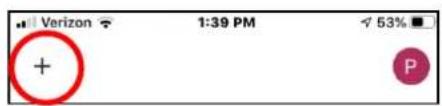
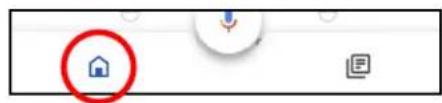
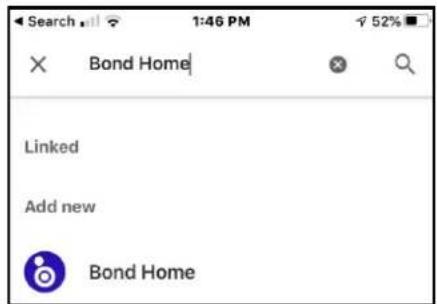
- In the Google Home app, click on the Home icon from the bottom left corner of the screen and select the “+” symbol in the top left corner of the screen.
- Select "Set up Device". Then select "Works with Google".
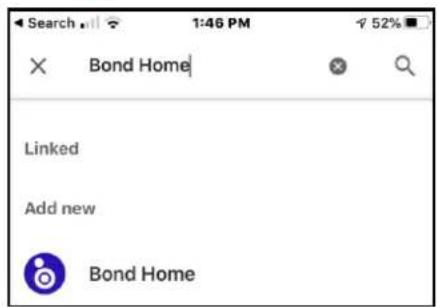
- Select Bond Home from the list of devices. DO NOT select Bond Smart Home as it will not work with the product.
- You should be prompted to enter your BOND username and password to authenticate. Once the pairing is complete, your device should appear.
Fan Voice Command Examples:
"Alexa, turn on MY FAN to low" "Ok Google, turn MY FAN to speed 3" "Alexa, turn on MY FAN breeze"
Fan Light Voice Command Examples:
"Ok Google, turn on MY FAN LIGHT" "Alexa, turn MY FAN LIGHT to 80%" "Ok Google, turn off MY FAN LIGHT"
For the latest and most complete instructions visit the resources section of the P2673 product page at www.hubbell.com/progresslighting
For more setup support, access the Help Center in the BondHome App Settings section
- On to your iOS Wi-Fi settings.
2 Connect to BOND Config Wi-Fi.
Come back to the Bond App in order to start the device setup process.
Connect to Bond Config Wi-Fi
1 Go to your iOS Wi-Fi settings.
2 Connect to BOND Config Wi-Fi
3 Come back to the Bond App in order to start the device setup process
- P2673 – DC Ceiling Fan WIFI Module
- WARNING! SHUT POWER OFF AT FUSE OR CIRCUIT BREAKER
- A) WIFI Module installation
- B) PAIRING THE HAND-HELD REMOTE CONTROL and WIFI Module
- P2673 - DC Ceiling Fan WIFI Module
- B) SMART PHONE CONTROL SETUP
- Install the BOND HOME app
- Pair the Device to the WIFI
- Re-pairing the device (New router or moving the ceiling fan control)
- C) VOICE CONTROL SETUP
- Setting up and Using Amazon Echo
- Setting up and Using Google Home
- Fan Voice Command Examples:
- Fan Light Voice Command Examples:
Brand : Progress Lighting
Model : P2673
Category : Lighting