
DD15S-1 - Pressure washer Vevor - Free user manual and instructions
Find the device manual for free DD15S-1 Vevor in PDF.
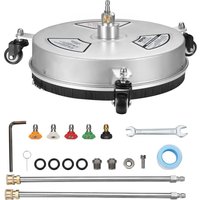


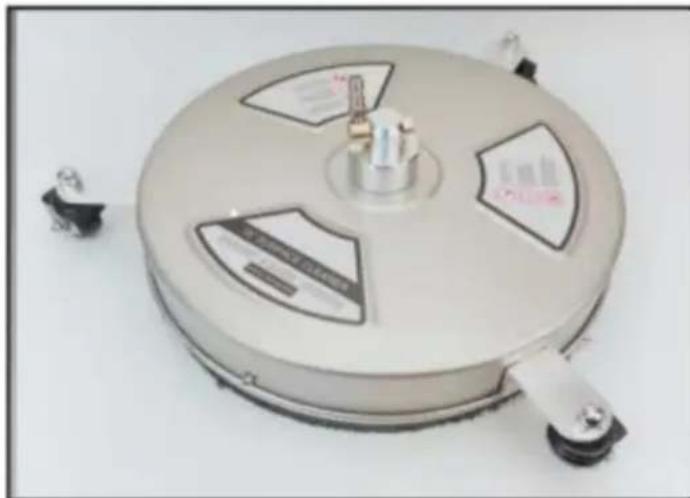
| Product type | High-pressure rotary surface cleaner |
| Brand | Vevor |
| Model | DD15S-1 |
| Maximum pressure | 4000 PSI (276 bar) |
| Minimum pressure | 1500 PSI (104 bar) |
| Maximum flow rate | 2.9 GPM (10.94 L/min) |
| Maximum water temperature | 60 °C (140 °F) |
| Diameter | 15 inches (38 cm) |
| Included nozzles | 5 nozzles with angles 0°, 15°, 25°, 40°, 65° |
| Wheels | 3 universal casters |
| Included accessories | M6 nuts (6), M6x15 screws (7), hex key 5, wrench, sealing tape, O-rings (4), spare nozzles (2), cleaning needle, extensions (2) |
| Power source | Connection to pressure washer (quick-connect wand) |
| Main functions | Cleaning outdoor surfaces: concrete, asphalt, pavers, pool decks, patios |
| Maintenance | Clean nozzles with a paperclip or replace if clogged |
| Safety | Check quick-connect locking (click), do not use on windows, do not remain stationary for more than 2 seconds on a soft surface |
| Spare parts and repairability | Nozzles, O-rings, nuts, screws available; manual with replacement instructions |
| Warranty | Electronic warranty certificate at www.vevor.com/support |
Frequently Asked Questions - DD15S-1 Vevor
User questions about DD15S-1 Vevor
0 question about this device. Answer the ones you know or ask your own.
Ask a new question about this device
Download the instructions for your Pressure washer in PDF format for free! Find your manual DD15S-1 - Vevor and take your electronic device back in hand. On this page are published all the documents necessary for the use of your device. DD15S-1 by Vevor.
USER MANUAL DD15S-1 Vevor
Technical Support and E-Warranty Certificate www.vevor.com/support
PRESSURE WASHER SURFACE CLEANER
MODEL: DD15S-1
We continue to be committed to providing you with tools at competitive prices. "Save Half", "Half Price", or any other similar expressions used by us only represent an estimate of savings you might benefit from buying certain tools with us compared to top brands and does not necessarily mean to cover all categories of tools offered. We kindly remind you to verify carefully when placing an order with us that you are actually saving half in comparison with the top major brands.
VEVOR®
TOUGH TOOLS, HALF PRICE
PRESSURE WASHER
SURFACE CLEANER
MODEL: DD15S-1
NEED HELP? CONTACT US!
Have product questions? Need technical support? Please feel free to contact us:
Technical Support and E-Warranty Certificate www.vevor.com/support
This is the original instruction. Please read all manual instructions carefully before operating. VEVOR reserves a clear interpretation of the user manual. The appearance of the product shall be subject to the product you received. Please forgive us that we won't inform you in advance if there are any technology or software updates on our product.
INTRODUCTION
Congratulations on the purchase of your new Rotary Surface Cleaner! You can be assured this Cleaner was constructed and designed with quality and performance in mind. Each component has been rigorously tested to ensure the high level of acceptance.
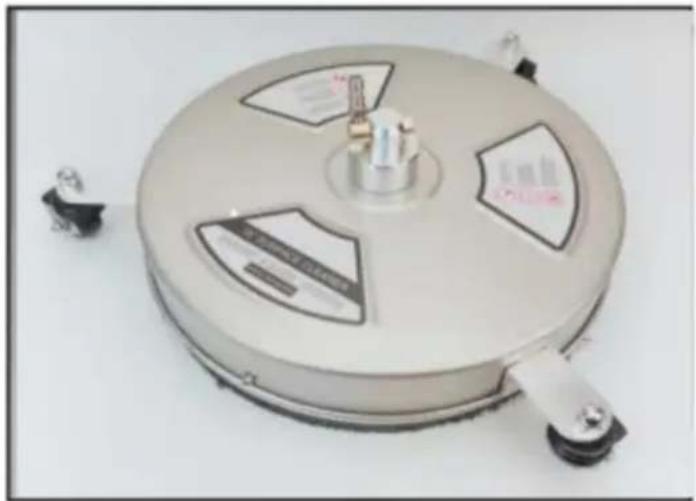
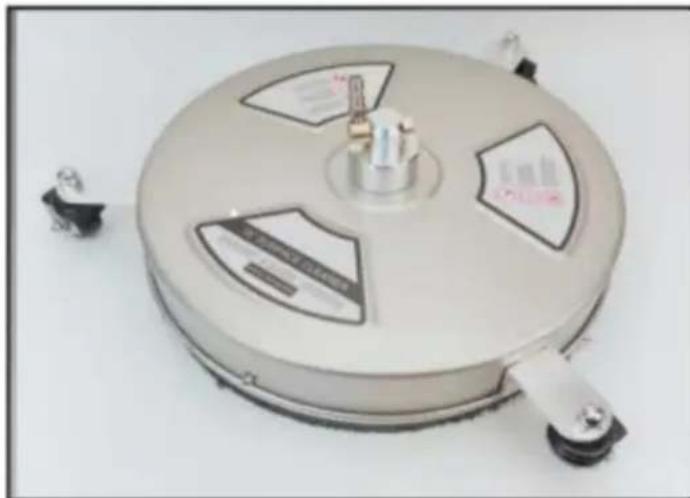
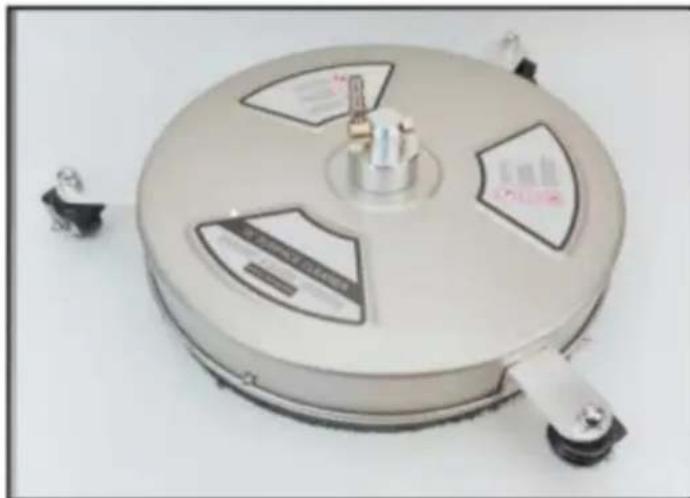
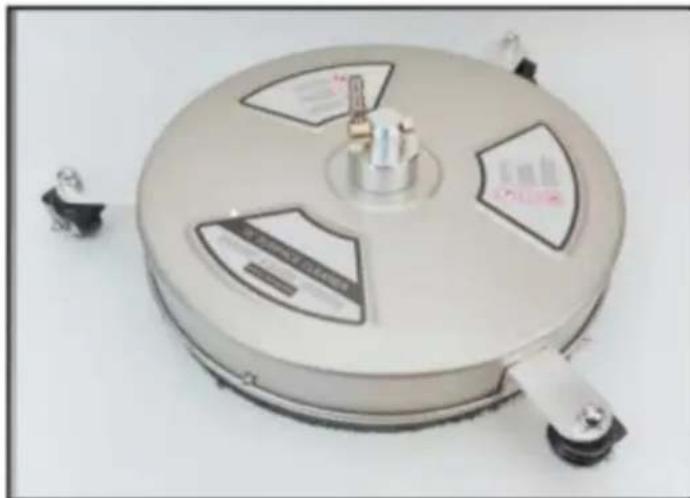
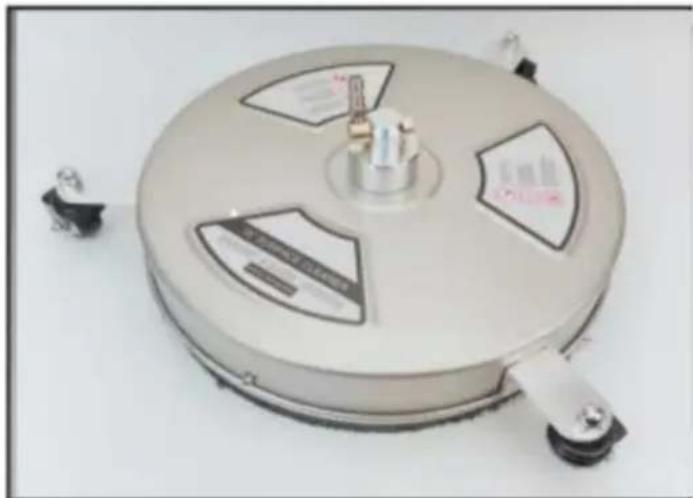
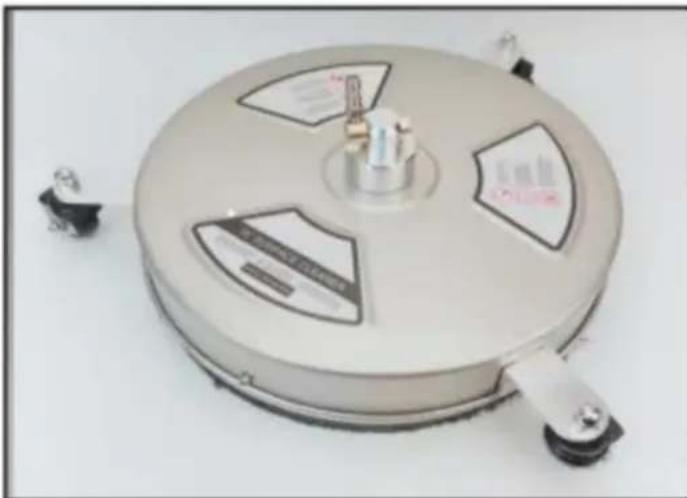
This surface cleaner is designed for high-pressure cleaning of a variety of outdoor surfaces such as concrete, asphalt, paving stone walkways, pool decks, etc. Simply connect the rotary surface cleaner to your pressure washer, pull the trigger, and walk behind for fast and efficient cleaning.
| SPECIFICATIONS | |
| Max. Pressure(PSI/BAR) | 4,000/276 |
| Min. Pressure(PSI/BAR) | 1,500/104 |
| Max. Flow Rate(GPM/LPM) | 2.9/10.94 |
| Max. Temperature( °F/°C ) | 140/60 |
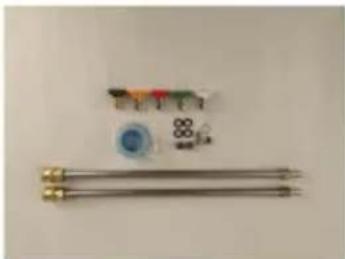
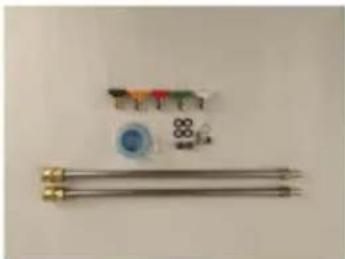
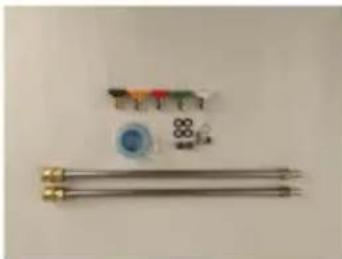
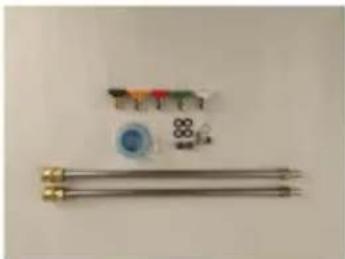
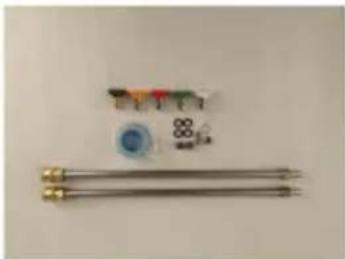
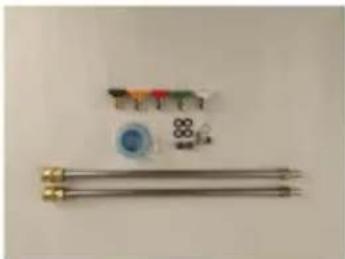
Package Lists:
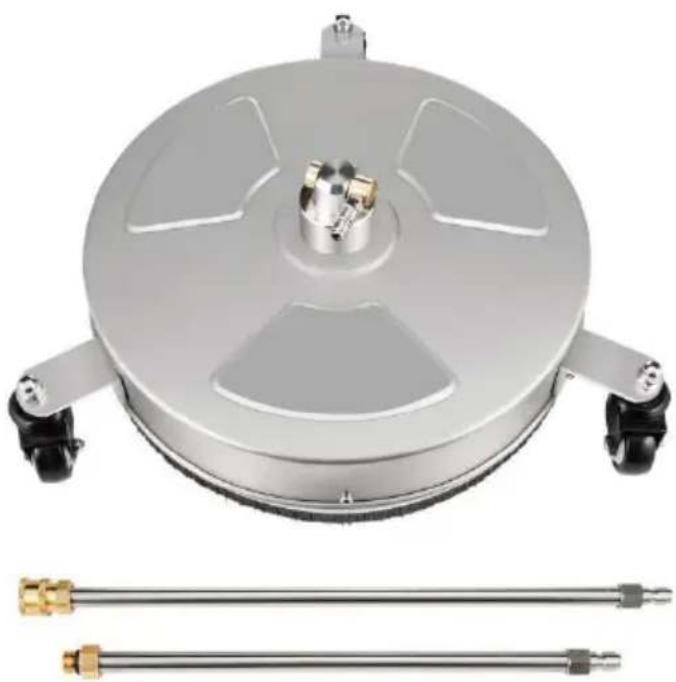
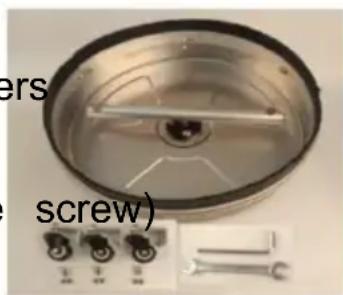
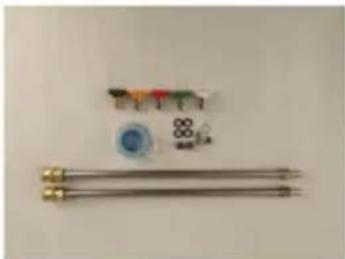
1 x 15" Surface Cleaner, 3 x Universal Casters
6 x Nuts M6
7 x Screws M6*15 (one of them is a spare)
1 x Hex Key, 1 x Wrench
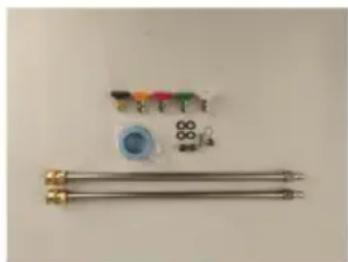
5 x Different Nozzle Tips, 1 x Thread Seal Tape
4 x O-rings, 2 x Replacement Nozzle
1 x Through-hole Needle
2 x Extension Wand
1 x Manual
Assembly
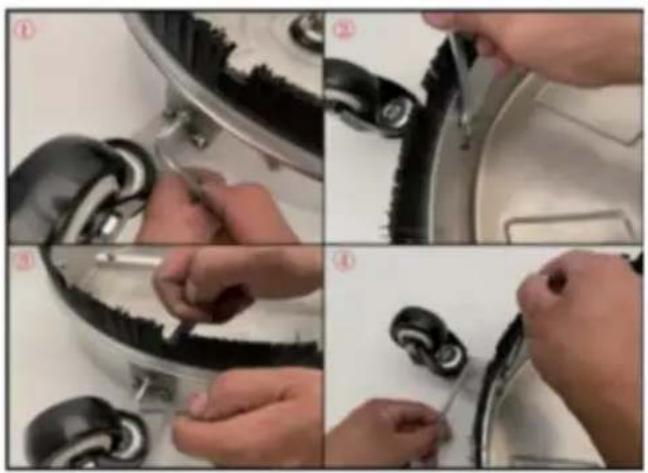
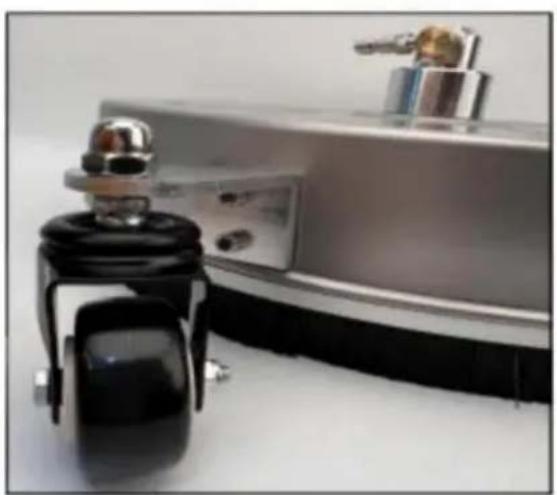
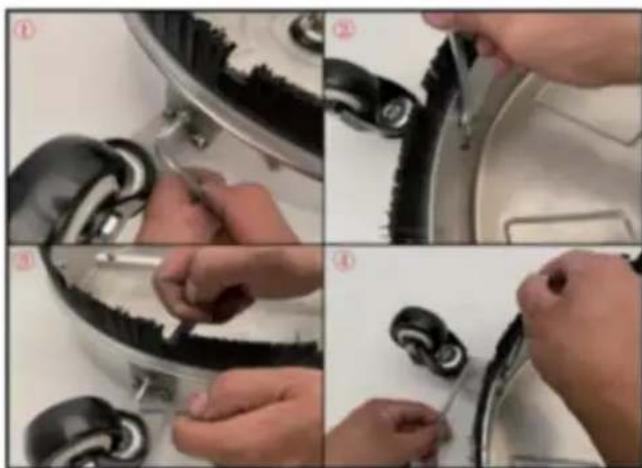
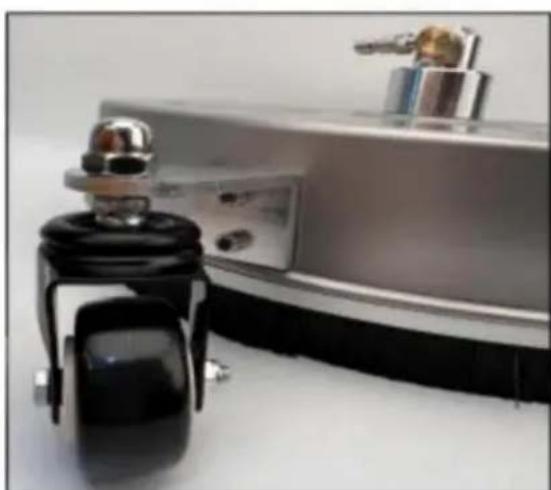
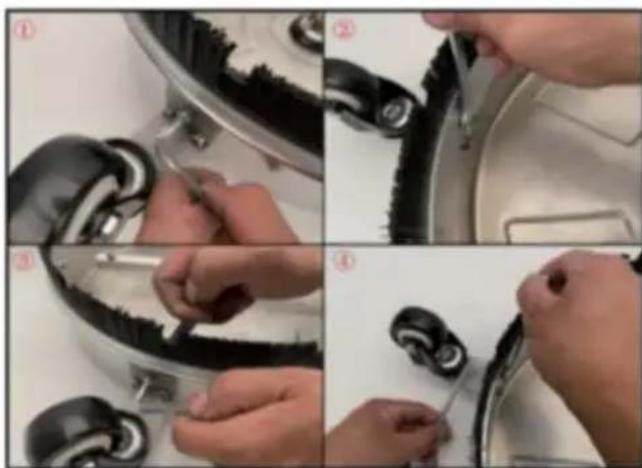
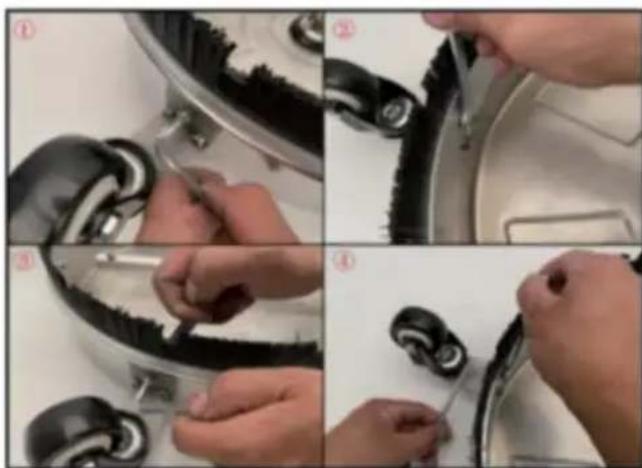
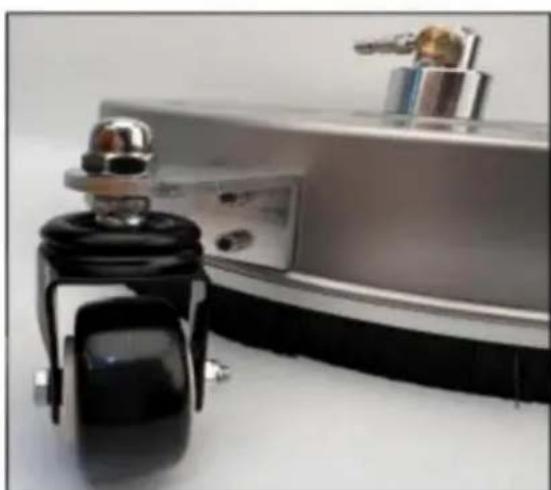
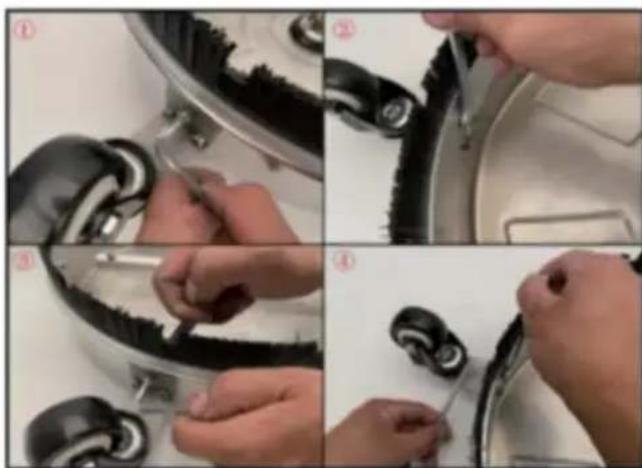
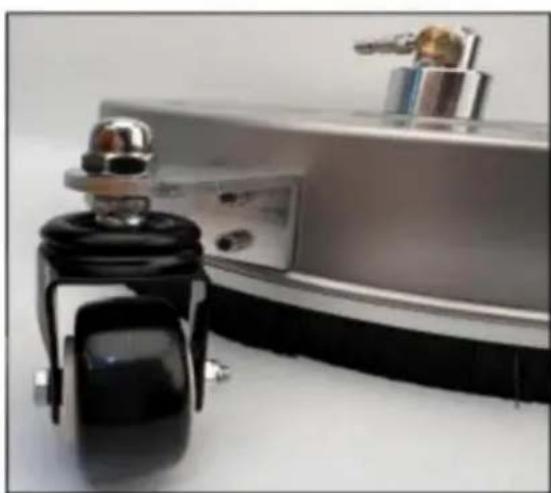
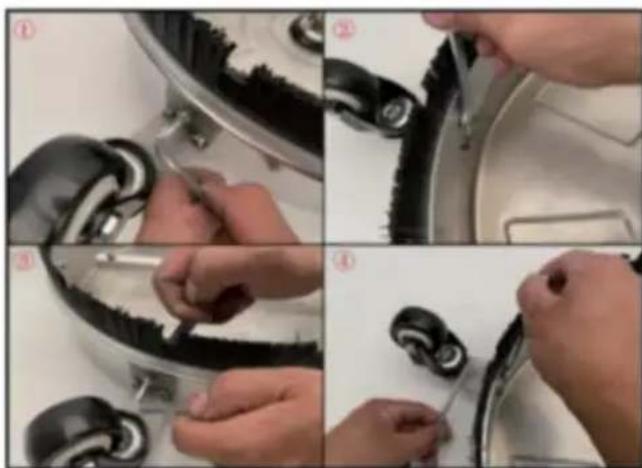
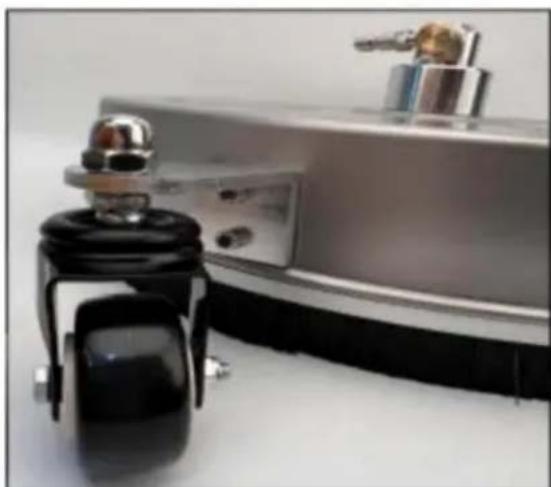
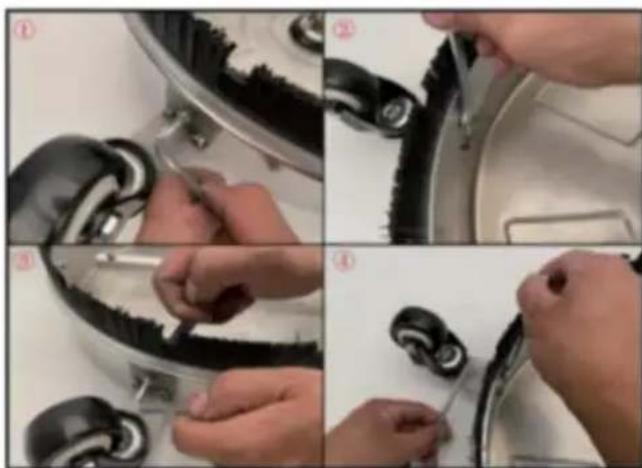
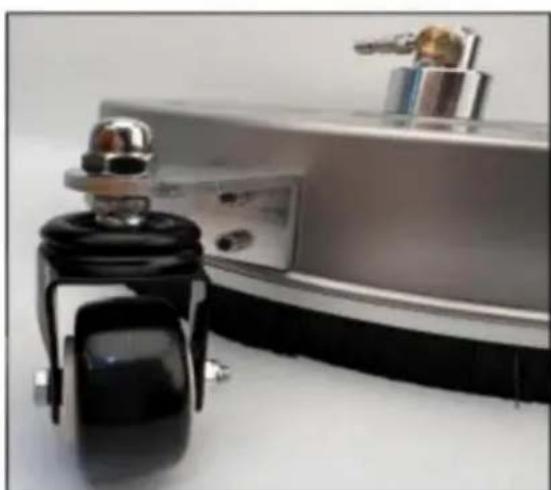
Procedure for Installing Universal Casters
Step 1:
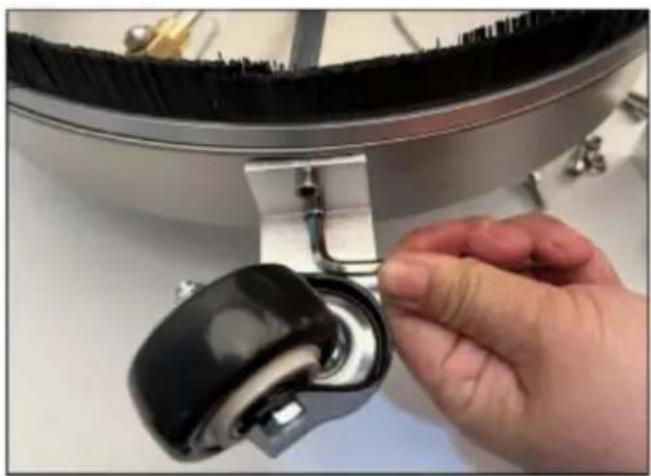
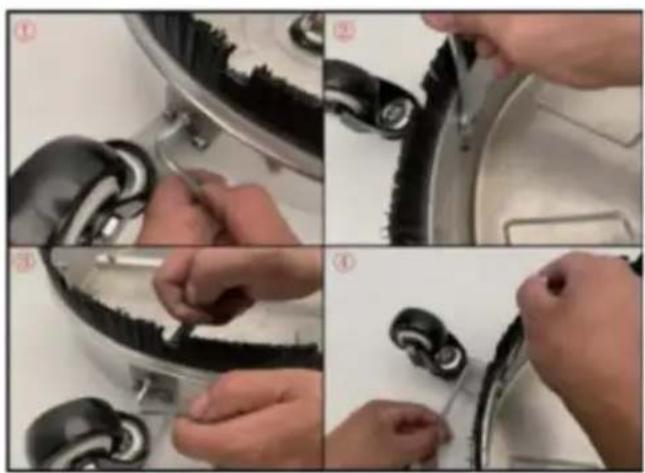
Step 2:
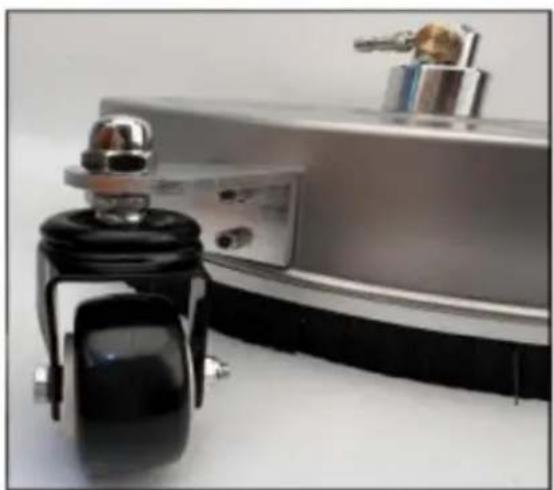
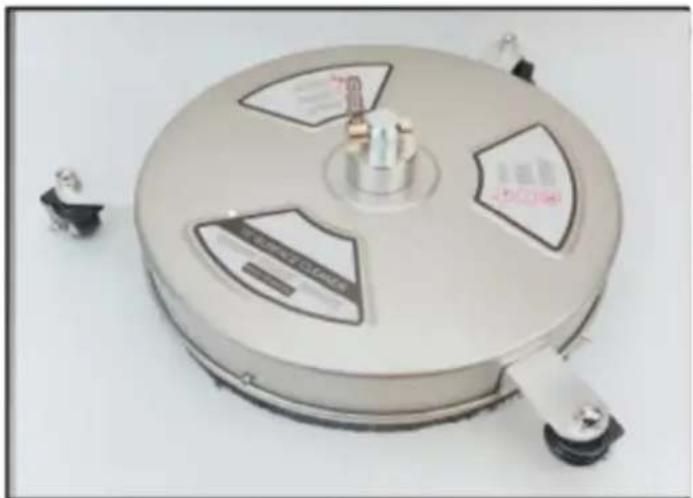
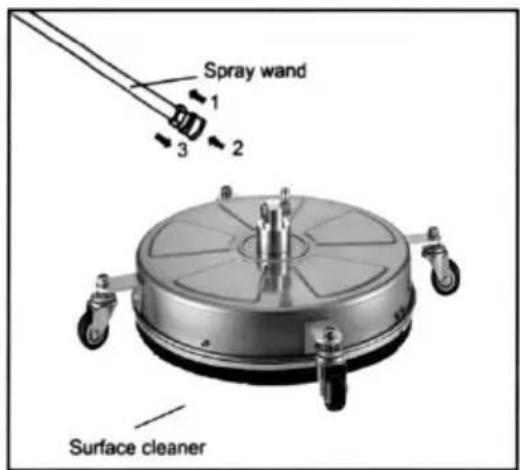
SET-UP (Figure 1.)
- Pull back collar on quick-connect of wand.
- Push the surface cleaner into place. Push the collar forward, insert surface cleaner and release collar. Ensure the collar slides all the way forward. Tug on surface cleaner to make sure it is securely in place.
NOTE:
- To prevent leakage, please ensure the O-ring is detached before t
- To connect section wands easily, please dip some water or oil in O-rings at the end of section wands. Then connect both section wands together.
START-UP
- Ensure all connections are secure.
- Unlock the trigger gun and squeeze the trigger while starting the Pressure Washer. Water will begin flowing from nozzles of the Surface Cleaner. Ensure nozzles are not clogged and spray pattern is not erratic. Walk slowly behind the cleaning as you go. If striping occurs, slow down the pace. Do not allow machine to remain stationary on soft surfaces such as wood.
NOTE: If striping or swirling occurs, slow your pace. If striping or swirling continues, the surface cleaner skirt bristles may be worn and in need of replacement.
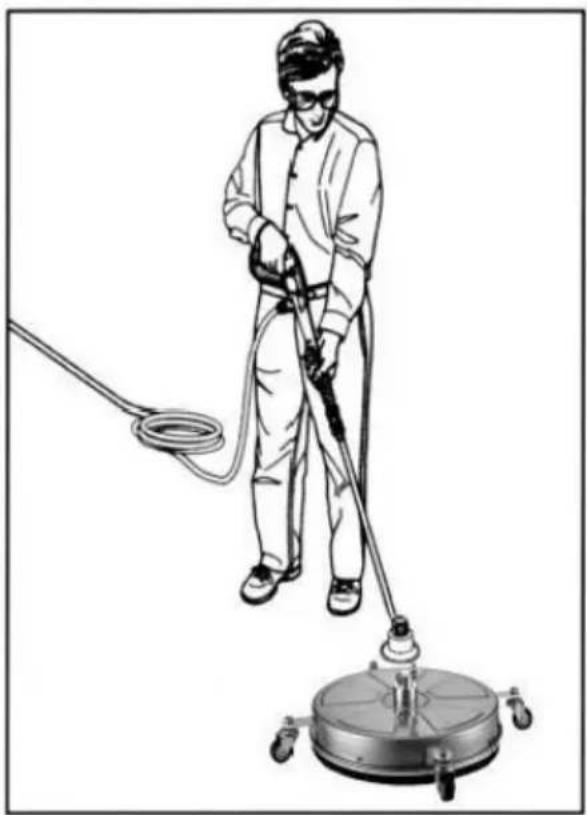
NOTE: Always squeeze the gun's trigger to release any residual pressure immediately after use. Engage the trigger lock when not in use.
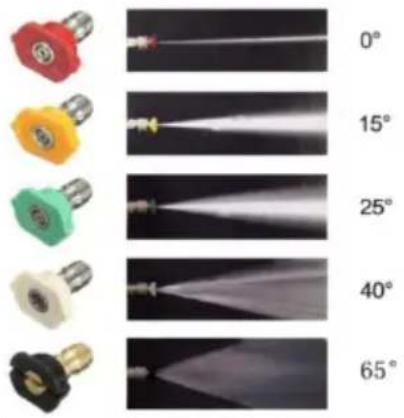
- 5 Spray Nozzles Have Different Spray
(0°, 15°, 25°, 40°, 65°)
- Red: 0 degree straight line of water
- Yellow: 15 degree fan-shaped water
- Green: 25 degree fan-shaped water
- White: 40 degree fan-shaped water
- Black: 65 degree, large fan foam nozzle
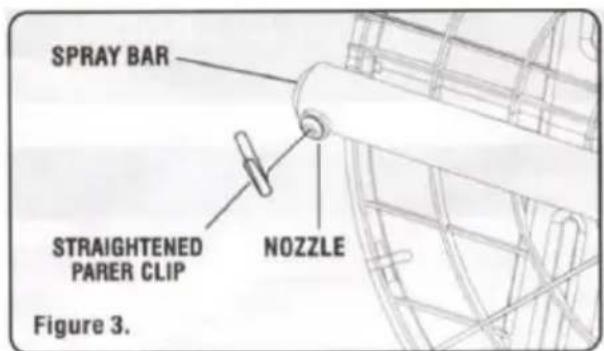
Maintenance (Figure 3. & Figure 4.)
Please use an inline water filter to avoid the nozzle being blocked by or other debris. A clogged or dirty nozzle will result in excessive pressure causing a pulsing sensation.
- Turn off the pressure washer and turn off the water supply. Release residual pressure by squeezing the gun's trigger.
- Disconnect the pressure washer from the surface cleaner.
- Use an appropriate sized wrench (not provided) to remove the nozzle from the spray bar.
- Using a straightened paper clip, remove any foreign material clogging or restricting the nozzle. See Figure
- Use a garden hose to flush out the nozzle. Direct the flow
Water through the nozzle backwards from the outside to the inside.
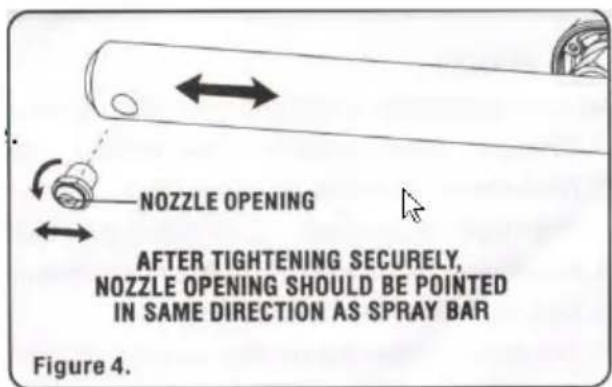
- Reinstall the nozzle to the spray bar. Tighten securely. Align the opening as shown in Figure 4.
- Reconnect the surface cleaner to the pressure washer.
- If the nozzle is severely blocked and does not work with the above, you have to replace the nozzles. Remove the nozzle from the spray bar using an appropriate-sized wrench (not provided). Reinstall new nozzle to the spray bar. Tighten securely. Align the nozzle opening as shown in Figure 4.
CAUTION
- High pressure in surface cleaner area. Risk of injury caused by improperly locked surface cleaner. Ensure you hear the "click" when inserting the surface cleaner tip into the quick connection.
- Pull the surface cleaner to make sure it is seated properly before operating your unit.
- Striking any raised obstacle while using the surface cleaner will damage the unit. If contact does occur and causes vibration when operating the pressure washer, stop use immediately. Continuing to operate the unit could result in serious injury.
- Do not use on windows. Do not run over freestanding corners.
- Never operate in the same area for more than 2 seconds, or damage may occur.
- The surface cleaner is not suited to scouring or scrubbing.
VEVOR®
TOUGH TOOLS, HALF PRICE
Technical Support and E-Warranty Certificate
www.vevor.com/support
VEVOR®
TOUGH TOOLS, HALF PRICE
NEED HELP? CONTACT US!
Assemble
Step 2:
INSTALLATION (Figure 1.)
NOTE:
Maintenance (Figure 3. and Figure 4.)
1 x Wrench
Mount
Step 2:
NOTE:
www.vevor.com/support
VEVOR®
TOUGH TOOLS, HALF PRICE
assemble
Phase 2: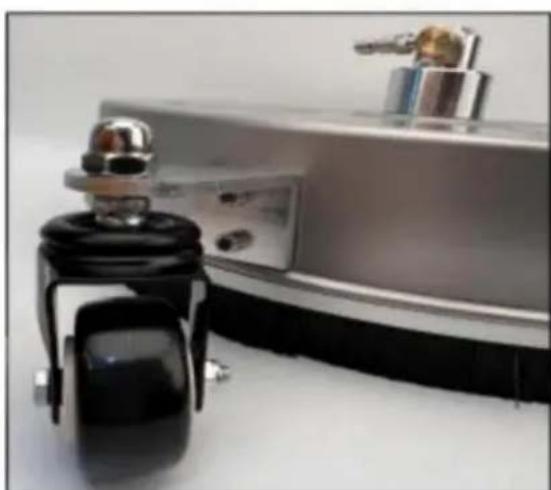
NOTE:
electronics www.vevor.com/support
VEVOR®
TOUGH TOOLS, HALF PRICE
Assemble
Step 2:
NOTE:
Maintenance (Figure 3 and Figure 4)
NEED HELP? CONTACT US!
Assemble
Step 2:
NOTE:
NEED HELP? CONTACT US!
Assembly
Step 2:
SETUP (Figure 1.)
NOTE:
warranty certificate www.vevor.com/support
VEVOR®
TOUGH TOOLS, HALF PRICE
NEED HELP? CONTACT US!
Assembly
Step 2:
SETUP (Figure 1.)
NOTE:
Maintenance (Figure 3. & Figure 4.)
- PRESSURE WASHER SURFACE CLEANER
- VEVOR®
- MODEL: DD15S
- NEED HELP? CONTACT US
- INTRODUCTION
- PACKAGE LISTS
- ASSEMBLY
- SET-UP (FIGURE 1.)
- NOTE
- START-UP
- MAINTENANCE (FIGURE 3. & FIGURE 4.)
- CAUTION
- TOUGH TOOLS, HALF PRICE
- ASSEMBLE
- INSTALLATION (FIGURE 1.)
- MAINTENANCE (FIGURE 3. AND FIGURE 4.)
- MOUNT
- STEP
- MAINTENANCE (FIGURE 3 AND FIGURE 4)
- SETUP (FIGURE 1.)
Brand : Vevor
Model : DD15S-1
Category : Pressure washer