
QD-QXQ03 - Pressure washer Vevor - Free user manual and instructions
Find the device manual for free QD-QXQ03 Vevor in PDF.
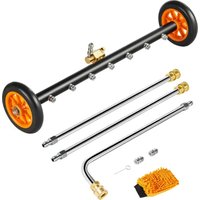


| Brand | Vevor |
| Model | QD-QXQ03 |
| Product type | Dual-use high pressure washer |
| Maximum pressure | 4000 PSI / 276 bar |
| Minimum pressure | 1500 PSI / 104 bar |
| Maximum flow rate | 6.2 gal/min (approx. 23.5 L/min) |
| Number of nozzles | 2 spare nozzles included |
| Wheels | 2 wheels for mobility |
| Extension rods | 3 extension rods (free assembly) |
| O-rings | 2 O-rings (φ2.4×φ9) + 2 seals (φ1.8×φ5.5) |
| Teflon tape | 1 tape for sealing |
| Mounting wrench | 1 wrench included |
| Cleaning glove | 1 glove included |
| Main function | High-pressure cleaning of hard surfaces |
| Power supply | Connection to water supply (no electrical supply specified) |
| Maintenance and cleaning | Clean after each use, check parts |
| Safety | Recommended protective equipment (ANSI Z87.1 safety glasses, gloves, shoes) |
| Spare parts and repairability | Spare parts recommended by the distributor |
| General information | Original user manual, technical support: www.vevor.com/support |
Frequently Asked Questions - QD-QXQ03 Vevor
User questions about QD-QXQ03 Vevor
0 question about this device. Answer the ones you know or ask your own.
Ask a new question about this device
Download the instructions for your Pressure washer in PDF format for free! Find your manual QD-QXQ03 - Vevor and take your electronic device back in hand. On this page are published all the documents necessary for the use of your device. QD-QXQ03 by Vevor.
USER MANUAL QD-QXQ03 Vevor
Technical Support and E-Warranty Certificate www.vevor.com/support
DUAL-PURPOSE PRESSURE WASHER CLEANER
MODEL: QD-QXQ03
We continue to be committed to providing you with tools at competitive prices. "Save Half", "Half Price", or any other similar expressions used by us only represent an estimate of savings you might benefit from buying certain tools with us compared to the major top brands and do not necessarily mean to cover all categories of tools offered by us. You are kindly reminded to verify carefully when placing an order with us if you are actually saving half in comparison with the top major brands.
VEVOR®
TOUGH TOOLS, HALF PRICE
PRESSURE WASHER SURFACE CLEANER
MODEL: QD-QXQ03
NEED HELP? CONTACT US!
Have product questions? Need technical support? Please feel free to contact us:
Technical Support and E-Warranty Certificate www.vevor.com/support
This is the original instruction. Please read all manual instructions carefully before operating. VEVOR reserves a clear interpretation of the user manual. The appearance of the product shall be subject to the product you received. Please forgive us that we won't inform you if there are any technology or software updates on our product.
SPECIFICATIONS
| Max. Pressure(PSI/BAR) | 4000 / 276 |
| Min. Pressure(PSI/BAR) | 1500 / 104 |
| Max. Flow Rate(gal/min) | 6.2 |
IMPORTANT SAFETY INFORMATION
A WARNING
Read and understand all instructions. Failure to follow all instructions may result in serious injury or property damage.
- The warnings, cautions, and instructions in this manual cannot cover all possible conditions or situations that could occur. Exercise common sense and caution when using this tool. Always be aware of the environment and ensure the tool is used safely and responsibly.
- Do not allow persons to operate or assemble the product until they have read this manual and thoroughly understood how it works.
- Do not modify this product in any way. Unauthorized modification may impair the function and/or safety and could affect the product's life.
- There are specific applications for which the product was designed.
- Use the right tool for the job. DO NOT attempt to force small equipment to do the work of larger industrial equipment. There are certain applications for which this equipment was designed. It will do the job better and more safely at the capacity for which it was intended. DO NOT use this equipment for a purpose for which it was not intended.
WORK AREA SAFETY
- Inspect the work area before each use. Keep the work area clean, dry, free of clutter, and well lit. Cluttered, wet, or dark work areas can result in injury.
Using the product in confined work areas may put you dangerously close to other cutting tools and rotating parts.
- Do not use the product where there is a risk of causing a fire or explosion; e.g., in the presence of flammable liquids, gases, or dust. The product can create sparks, which may ignite the flammable liquids, gases, or dust.
- Do not allow the product to come into contact with an electrical source. The tool is not insulated and contact will cause electrical shock.
- Keep children and bystanders away from the work area while operating the tool. Do not allow children to handle the product.
- Be aware of all power lines, electrical circuits, water pipes, and other mechanical hazards in your work area. Some of these hazards may be hidden from your view and may cause personal injury and/or property damage if contacted.
PERSONAL SAFETY
- Stay alert, watch what you are doing, and use common sense when operating the tool. Do not use the tool while you are tired or under the influence of drugs, alcohol, or medication. A moment of inattention while operating the tool may result in serious personal injury.
- Dress properly. Do not wear loose clothing, dangling objects, or jewelry. Keep your hair, clothing, and gloves away from moving parts. Loose clothes, jewelry, or long hair can be caught in moving parts. Air vents often cover moving parts and should be avoided.
- Wear the proper personal protective equipment when necessary. Use ANSI Z87.1 compliant safety goggles (not safety glasses) with side shields, or when needed, a face shield. Use a dust mask in dusty work conditions. Also use non-skid safety shoes, hardhat, gloves, dust collection system, and hearing protection when appropriate. This applies to all persons in the work area.
- Do not overreach. Keep proper footing and balance at all times.
- Do not use the tool when tired or under the influence of drugs, alcohol, or medication.
- Remove keys or wrenches before connecting the tool to an air supply, power supply, or turning on the tool. A left wrench or key attached to a rotating part of the tool may cause personal injury.
- Secure the work with clamps or a vise instead of your hand when practical. This safety precaution allows for proper tool operation using hands.
CLEANER USE AND CARE
- Do not force the cleaner. Tools do a better and safer job when used in the manner for which they are designed. Plan your work, and use the correct tool for the job.
- Check for damaged parts before each use and before connecting the cleaner to a pressure washer. Carefully check that the cleaner will operate properly and perform its intended function. Replace damaged or worn parts immediately. Never operate the cleaner with a damaged part.
- Store the cleaner when it is not in use. Store it in a dry, secure place out of the reach of children. Inspect the cleaner for good working condition before storage and re-use.
- Use only replacement parts that are recommended by the distributor. Parts that may be suitable for one cleaner may create a risk of injury when used with another cleaner.
- Never use a part with a lower operating pressure than the cleaner.
- Do not leave the cleaner unattended when it is pressurized.
- Do not turn the cleaner over when it is pressurized by connection to an operating pressure washer to avoid high-pressure spraying water that could cause personal injury.
• DO NOT exceed the rated PSI capacity. - Keep body parts clear of nozzle heads and away from skirt while operating machine. - DO NOT lift machine from surface or point nozzle heads at people operating. - Wear the proper safety gear including ANSI Z87.1 approved safety glasses. - Use only on hard level surfaces. - No alterations shall be made to this product. - Only attachments and/or adapters supplied by the manufacturer shall be used.
used.
• Not for use by or around children.
| PartList | |||
| Code | Name | Picture | QTY. |
| 1 | Rod | 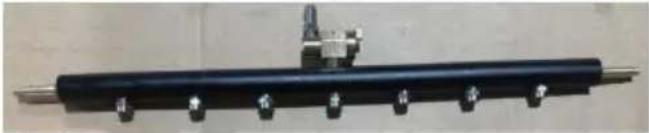 | 1 |
| 2 | Wheel | 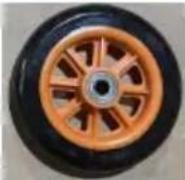 | 2 |
| 3 | Nut | 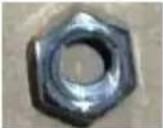 | 2 |
| 4 | Elbow Extension Rod | 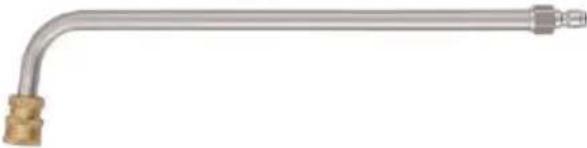 | 1 |
| 5 | Extension Rod |  | 2 |
| 6 | Teflon Tape |  | 1 |
| 7 | O-rings (φ2.4*φ9) |  | 2 |
| 8 | O-rings (φ1.8*φ5.5) |  | 2 |
| 9 | Replacement Nozzles |  | 2 |
| 10 | Through-hole Needle |  | 1 |
| 11 | Wrench |  | 1 |
| 12 | Cleaning Glove |  | 1 |
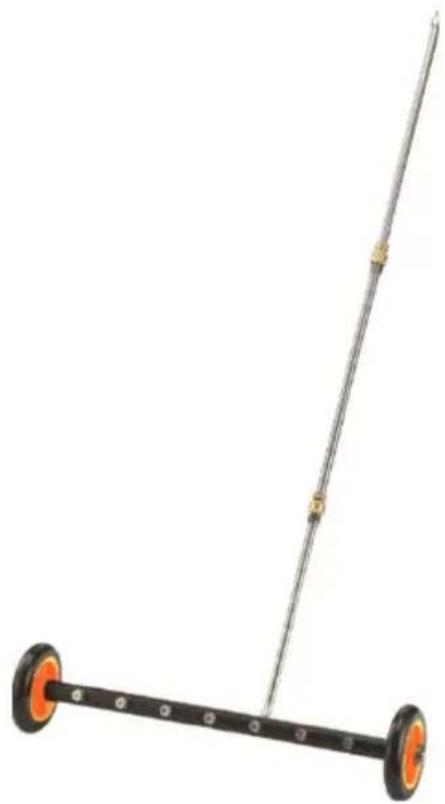
Step 1: Assemble the wheel.
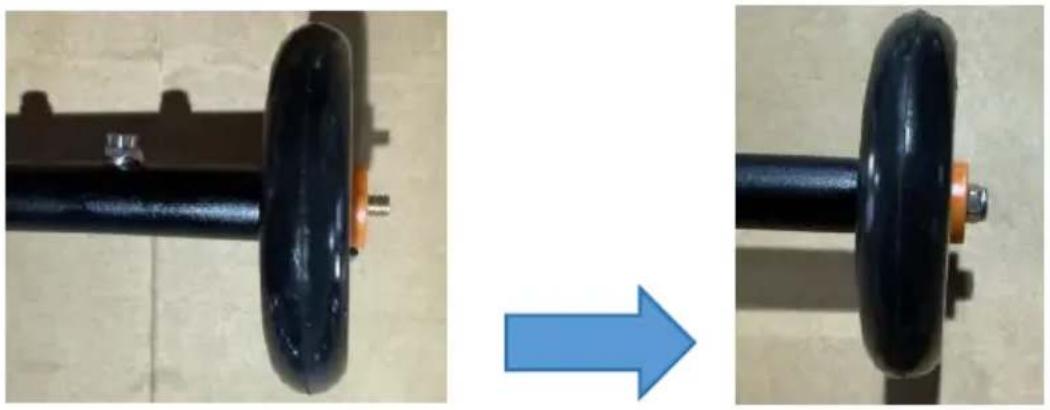
Step 2: Assemble the extension rod. (Note: Three extension rods can be freely matched as needed.)
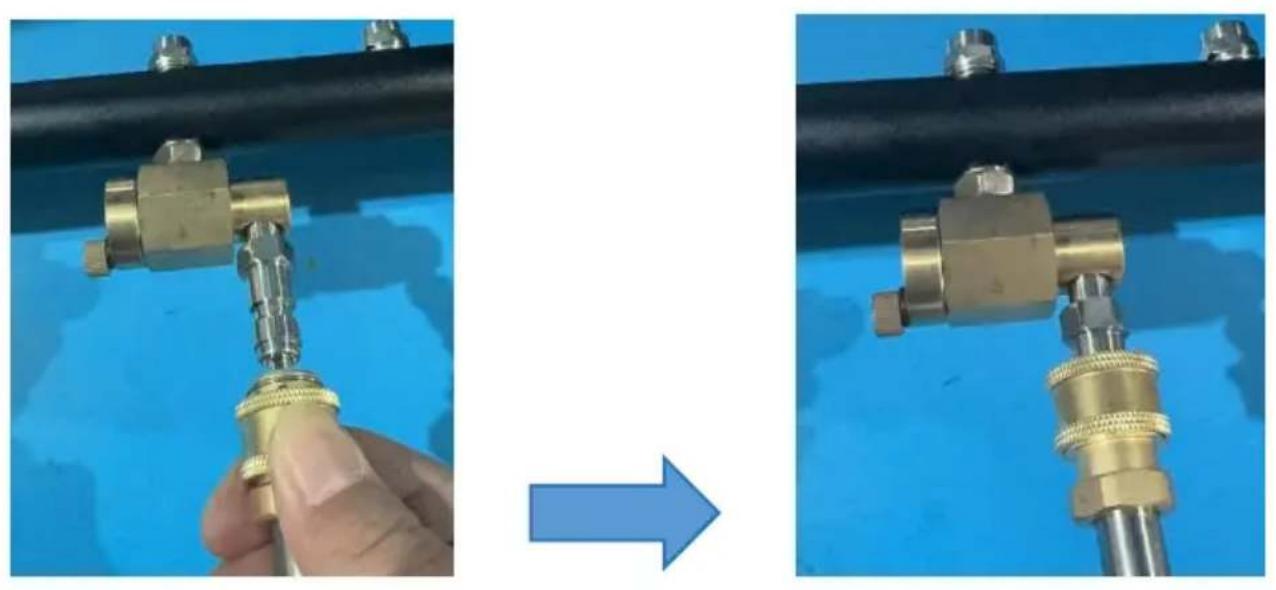
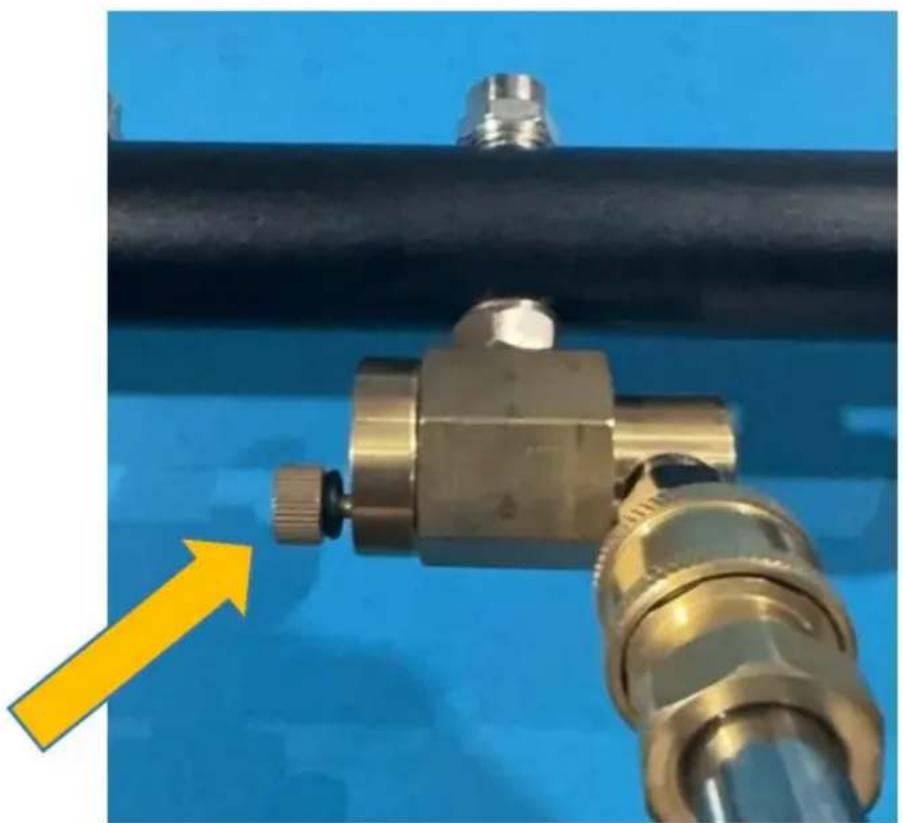
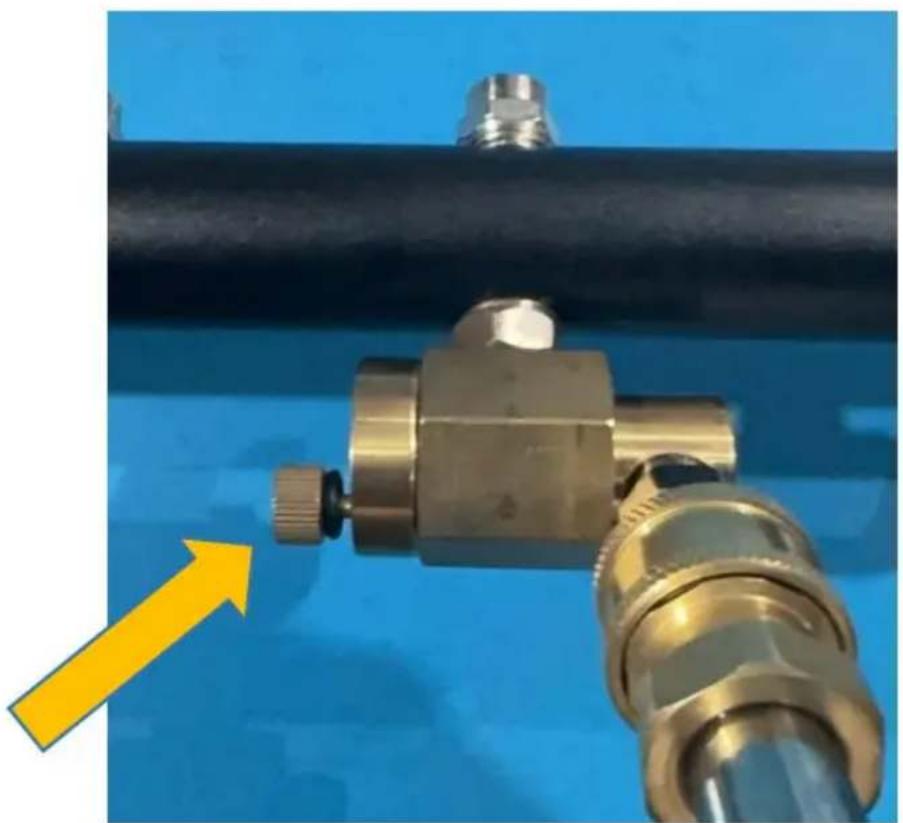
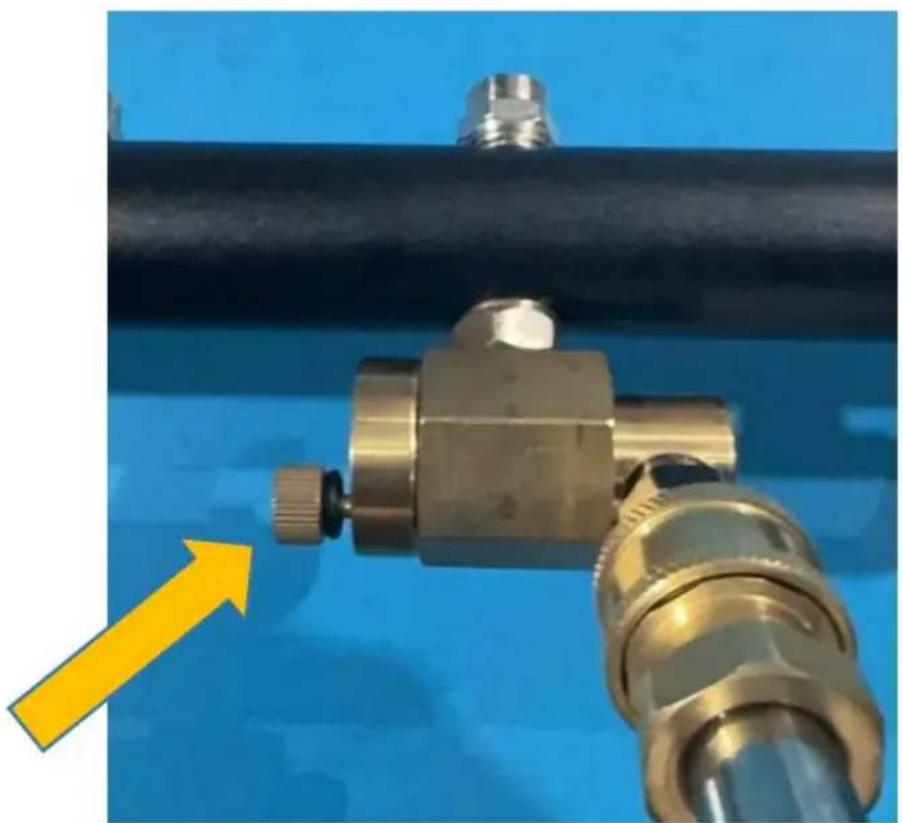
Switch Mode
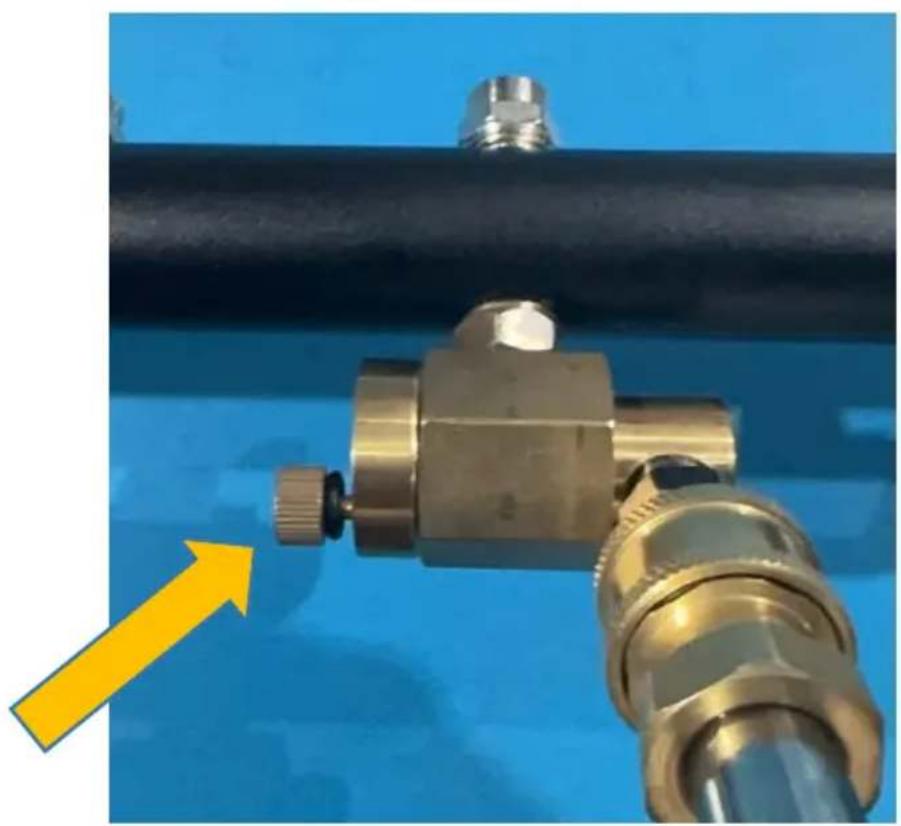
- Pull out the nut of the pivoting coupler at the end of the cleaner.
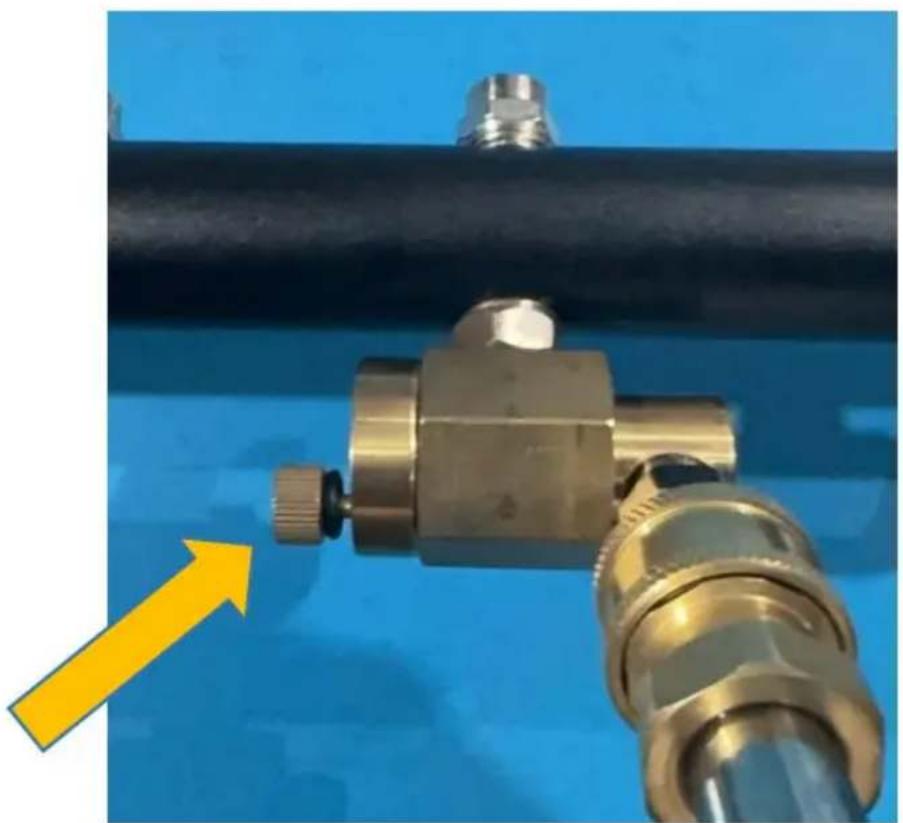
- Rotate the coupling. The nut will lock automatically. Adjust to the required angle.
SHUT-DOWN
- Turn the Pressure Washer off.
- Turn the water supply off.
- Squeeze the trigger gun to relieve water pressure.
- Disconnect the pressure washer handle and wipe down the unit. Store in a dry environment.
AFTER EACH USE
Perform the following inspections after each use to clean the cleaner and ready it for the next use.
- Clean out any dirt or foreign material from under the housing and casters. If necessary, use a cloth or sponge to wash the surface clean and rinse it with tap water.
- Check for loose parts and any damage.
VEVOR®
TOUGH TOOLS, HALF PRICE
Technical Support and E-Warranty Certificate
www.vevor.com/support
VEVOR®
TOUGH TOOLS, HALF PRICE
NEED HELP? CONTACT US!
Switching mode

Switch mode
www.vevor.com/support
VEVOR®
TOUGH TOOLS, HALF PRICE
Change mode
electronics www.vevor.com/support
VEVOR®
TOUGH TOOLS, HALF PRICE
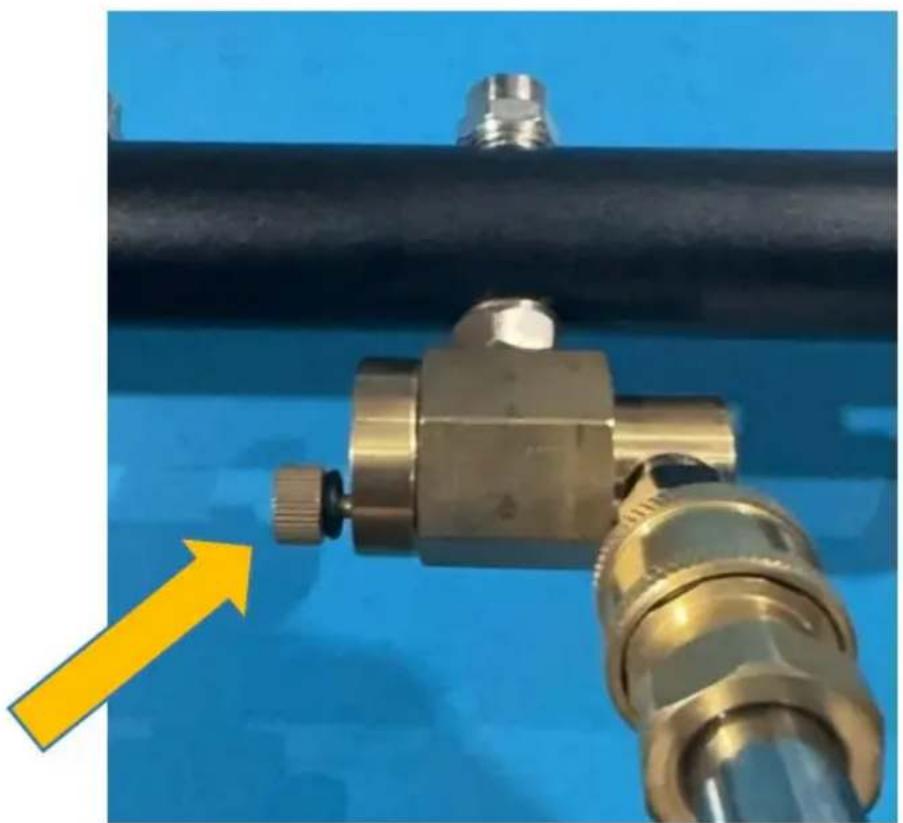
Switch mode
NEED HELP? CONTACT US!
WORKPLACE SAFETY
Switch mode
NEED HELP? CONTACT US!
Switch mode
warranty certificate www.vevor.com/support
VEVOR®
TOUGH TOOLS, HALF PRICE
NEED HELP? CONTACT US!
Switch mode
www.vevor.com/support
- DUAL-PURPOSE PRESSURE WASHER CLEANER
- MODEL: QD-QXQ
- VEVOR®
- PRESSURE WASHER SURFACE CLEANER
- NEED HELP? CONTACT US
- TECHNICAL SUPPORT AND E-WARRANTY CERTIFICATE WWW.VEVOR.COM/SUPPORT
- SPECIFICATIONS
- IMPORTANT SAFETY INFORMATION
- A WARNING
- WORK AREA SAFETY
- PERSONAL SAFETY
- CLEANER USE AND CARE
- SWITCH MODE
- SHUT-DOWN
- AFTER EACH USE
- TOUGH TOOLS, HALF PRICE
- SWITCHING MODE
- CHANGE MODE
- WORKPLACE SAFETY
Brand : Vevor
Model : QD-QXQ03
Category : Pressure washer