
P9070 - Baby bed Vevor - Free user manual and instructions
Find the device manual for free P9070 Vevor in PDF.
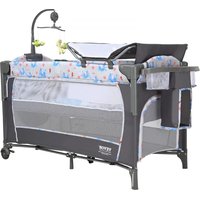


| Product Type | Bedside cot (crib) with removable changing table |
| Brand | Vevor |
| Model | P9070 |
| Main Material | Steel, Fabric |
| Dimensions (Length x Width x Height) | 1440 x 700 x 1630 mm |
| Net Weight | 11.38 kg |
| Gross Weight | 11.97 kg |
| Package Contents | Bedside cot, changing table, music and toy holder, mosquito net, mounting tubes, hardware |
| Main Functions | Bedside cradle, integrated changing table, music and toy holder, removable mosquito net |
| Usage | One child at a time, household use only |
| Assembly | By an adult, follow the manual instructions |
| Care and Cleaning | Mild soap and warm water only. Do not use bleach. Do not machine wash. |
| Safety | Never leave child unattended. Ensure latches are securely fastened. Do not use if parts are missing or damaged. Always raise the sides. Do not add soft bedding. |
| Spare Parts and Repairability | Contact Vevor for spare parts. Do not replace parts with parts not provided. |
| General Information | Imported into the USA: Sanven Technology Ltd. CE Representative: E-CrossStu GmbH. UK Representative: YH CONSULTING LTD. |
Frequently Asked Questions - P9070 Vevor
User questions about P9070 Vevor
0 question about this device. Answer the ones you know or ask your own.
Ask a new question about this device
Download the instructions for your Baby bed in PDF format for free! Find your manual P9070 - Vevor and take your electronic device back in hand. On this page are published all the documents necessary for the use of your device. P9070 by Vevor.
USER MANUAL P9070 Vevor
Technical Support and E-Warranty Certificate https://www.vevor.com/support
BEDSIDE CRIBS
USER MANUAL
MODEL NO.: P9070
We continue to be committed to provide you tools with competitive price. "Save Half", "Half Price" or any other similar expressions used by us only represent of savings you might benefit from buying certain tools with us compared top brands and does not necessarily mean to cover all categories of tools offered are kindly reminded to verify carefully when you are placing an order with us actually saving half in comparison with the top major brands.
VEVOR®
TOUGH TOOLS, HALF PRICE
Bedside Cribs
MODEL NO.: P9070
NEED HELP? CONTACT US!
Have product questions? Need technical support? Please feel from contact us:
Technical Support and E-Warranty Certificate www.vevor.com/support
This is the original instruction, please read all manual instruction carefully before operating. VEVOR reserves a clear interpretation user manual. The appearance of the product shall be subject to product you received. Please forgive us that we won't inform you there are any technology or software updates on our product.

WARNING:
Please read this manual carefully before using the product. Failure do so may result in serious injury. SAVE THIS MANUAL
Failure to follow these warnings and the instructions could result in serious injury or death. This product, including side rails, must be fully erected prior to use. Make sure latches are secure.
INFANTS HAVE SUFFOCATED:
- In gaps between a mattress too small or too thick and product side.
- On soft bedding. NEVER add a mattress, pillow, comforter, or padding.
- The playpen mattress/pad is specially designed to prevent suffocation. The playpen mattress/pad has a solid base, in order to meet safety standards. Using a thicker or a different-sized mattress/pad may allow child's head to get between mattress/pad and the side of the playpen causing suffocation. Children can suffocate on soft bedding. Do not place pillows, comforters or an additional floor pad in this playpen.
- To reduce the risk of SIDS, pediatricians recommend healthy infants placed on their back to sleep unless otherwise advised by their physician. ALWAYS place the child on their back to sleep.
- NEVER use plastic bags or other plastic film as mattress covers are not sold and intended for that purpose. They can cause suffocation.
- NEVER use a water mattress with this product.
FALL HAZARD:
Always check that the bassinet is securely locked on the base/stand by pulling upwards on the bassinet.
STRANGULATION HAZARD:
NEVER LEAVE INFANT IN PRODUCT WITH SIDES DOWN. Infant may roll into space between pad and loose mesh side causing suffocation.
WARNING:
Strings can cause strangulation! NEVER place items with a string around a child's neck such as hood strings or pacifier cords. NEVER suspend strings over playpen or attach strings to toys.
around a child's neck such as hood strings or pacifier cords. Never suspend strings over playpen or attach strings to toys.
- NEVER place the playpen near a window where cords from blinds or drapes can strangle a child. Do not place any cord, strap, or similar item in or near this playpen that could become wrapped around a child's neck.
- Do not place this playpen near a window or patio door where a child could reach the cord of a blind or curtain and be strangled.
- A child can become entrapped and die when improvised netting or covers are placed on top of a playpen. Never add such items to confine the playpen.
- NEVER leave a child in the product with sides lowered. Be sure sides are raised and locked in position whenever a child is in the product.
- Do not leave a child unattended in this playpen. The playpen, including the side rail, must be fully erected prior to use.
- Make sure latches are secure.
- Discontinue use of the product when the child is able to climb out.
- Do not use this playpen for a child who can climb out of it.
- When the child is able to pull to a standing position, remove bumper pads, large toys, and other objects that could serve as steps for climbing.
- ALWAYS provide the supervision necessary for the continued safety of your child. When used for playing, never leave the child unattended. The child must be under supervision at all times.
- Do not use this playpen if you cannot exactly follow the instructions that come with it.
- NEVER use this product if there are any loose or missing fasteners, loose joints, broken parts, or torn mesh/fabric.
- Check before assembly and periodically during use.
WARNING:
- NEVER substitute parts.
- Check this playpen regularly before using it, and do not use it if any part is loose or missing or if there are any signs of damage. Do not
parts. Contact us if replacement parts or additional instructions are needed.
- Only one child can use the playpen at a time. ● This product is not intended for commercial use.
- ALWAYS ensure that the playpen is safe to install by checking regularly before placing the child in it.
- NEVER leave the changing table in place when a child is in the playpen. NEVER leave the bassinet in place when a child is in the playpen.
MAINTENANCE:
- Use only household mild soap and warm water. ● DO NOT USE BLEACH. ● DO NOT USE MACHINE WASH.
IMPORTANT:
- To ensure safe operation of your product, please follow these instructions carefully. Please keep these instructions for future reference.
- Before assembly and each use, inspect this product for damaged hardware, loose joints, missing parts or sharp edges. NEVER use if parts are missing or broken.
- Adult assembly is required.
TECHNICAL SPECIFICATIONS
| Model | P9070 |
| Main Material | Steel, Cloth |
| Product Dimensions(LxWxH) | 1440*700*1630 mm |
| Packing Size(LxWxH) | 270*270*800 mm |
| Net Weight (kg) | 11.38 |
| Gross Weight (kg) | 11.97 |
PACKAGE CONTENTS
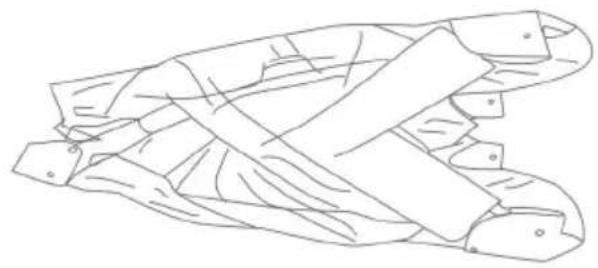
PLAYPEN*1
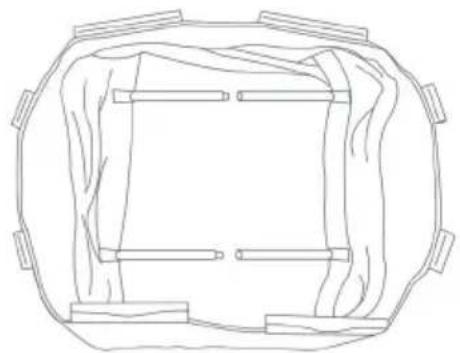
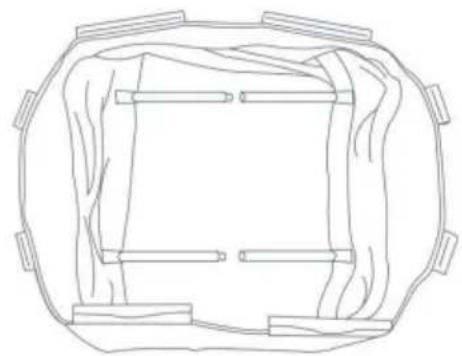
BED BASKET*1
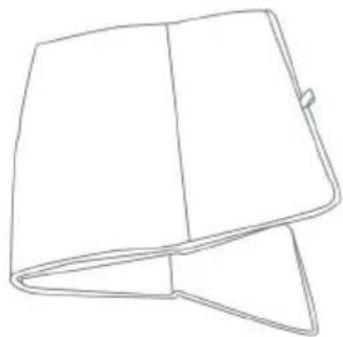
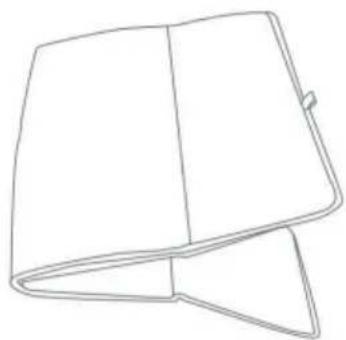
MATTRESS*1
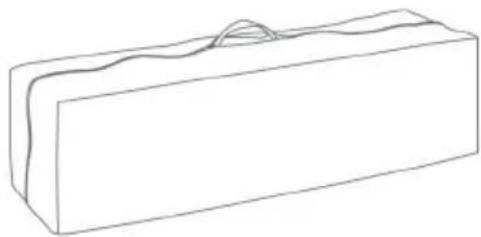
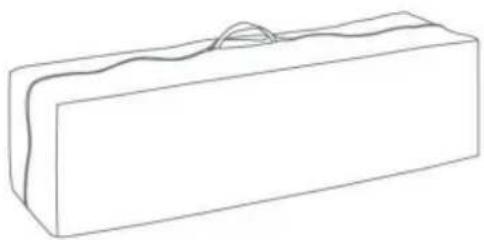
TRAVEL BAG*1
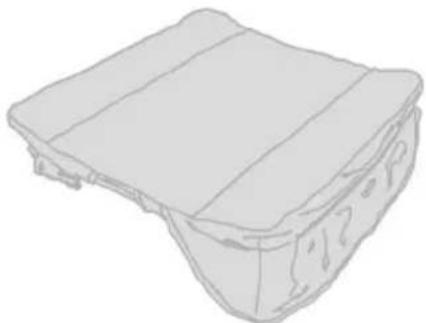
CHANGING TABLES*1
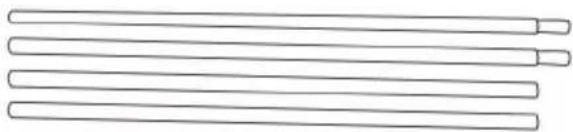
A BASSINET METAL SUPPORT TUBES*4
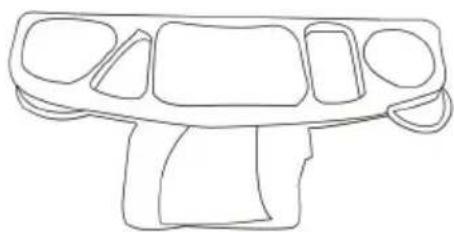
SHELF*1
SHELF HOOK*2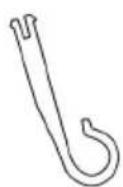
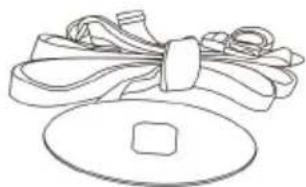
SAFETY BELT*1
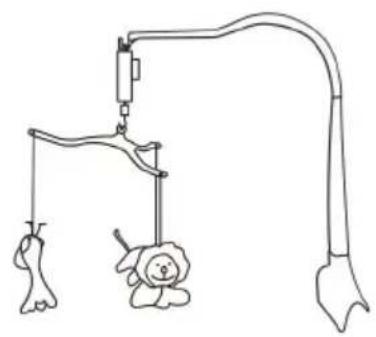
MUSIC & TOYS RACK*1
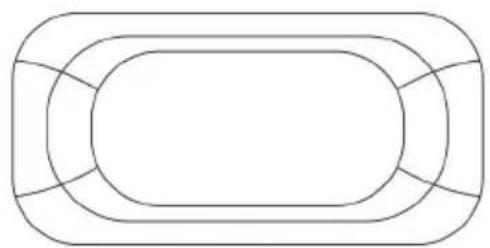
REPLACEABLE BED COVER*1
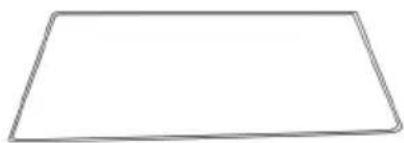
CHANGING TABLES CUSHION*1
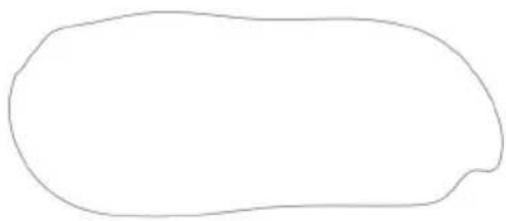
MOSQUITO NET*1
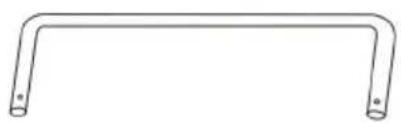
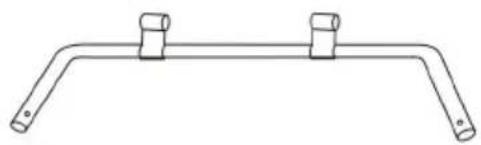
B CHANGING TABLE METAL SUPPORT TUBES*4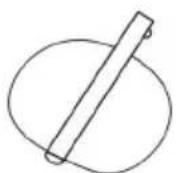

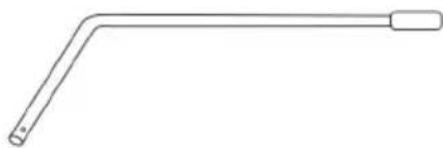
C MOSQUITO NET SUPPORT TUBES*3
ASSEMBLE
ATTENTION:
- Playpen must be fully assembled and securely locked before installing or using other accessories.
- Unzip bag and remove playpen frame. Undo the fasten straps and set the mattress aside.
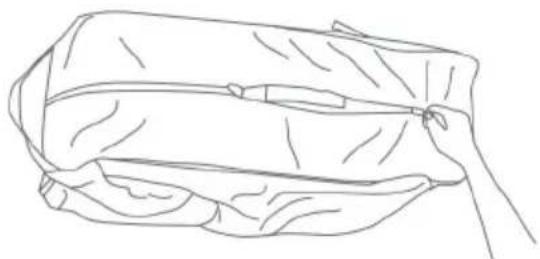
DO NOT PUSH CENTRE DOWN YET
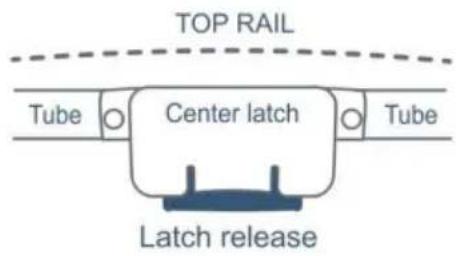
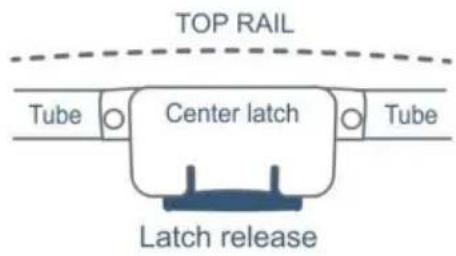
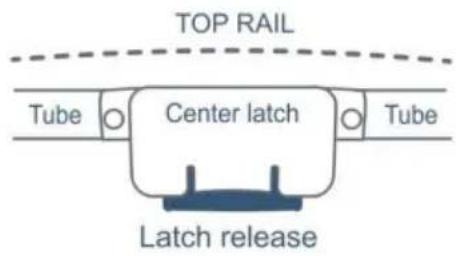
- Top rail must be fully erected and locked before lowering centre. Pull up one rail at a time, hold one hand on each side of the rail and pull up sharply, do not pull from the middle where the centre latch release is located, make sure both tubes latch in place and each rail is rigid.
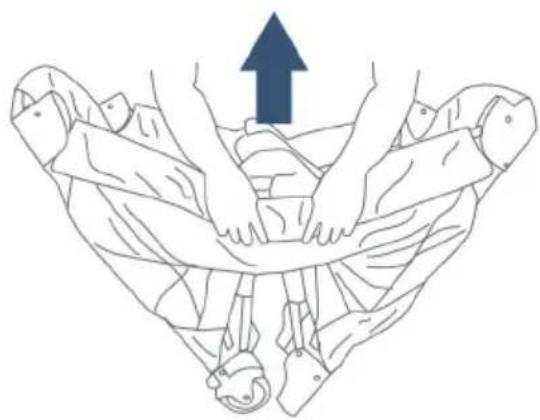
ATTENTION:
- The handle located in the centre of the playpen floor MUST remain raised while locking the side rails in place. IF the centre is not raised the rails will NOT lock.
- If you experience difficulty and one side of the rail will lock but the other side will not then, unlock the rail by squeezing the release in the centre and try again.
- Once all 4 top rail are lock in place, push down on the centre handle. The centre mechanism will automatically lock in place.
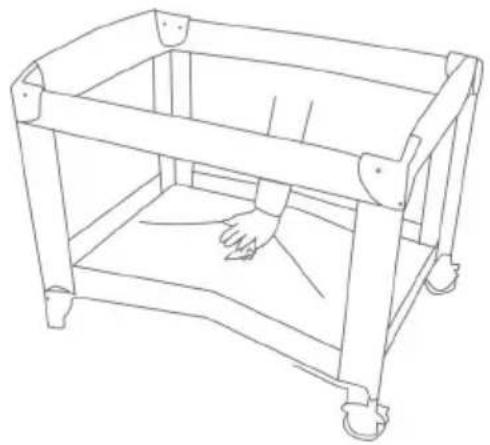
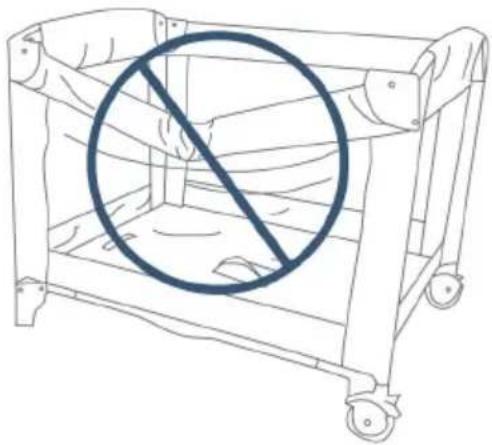
ATTENTION:
- Test each top tail by pushing down slightly to confirm each is rigid and securely in place before use.
- Place the mattress on the floor of the playpen with the padded side facing up.
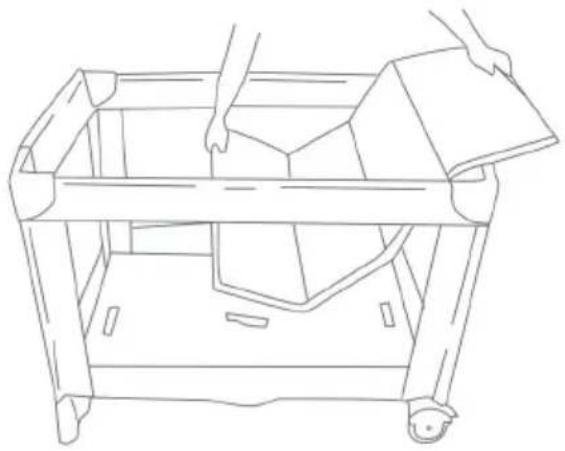
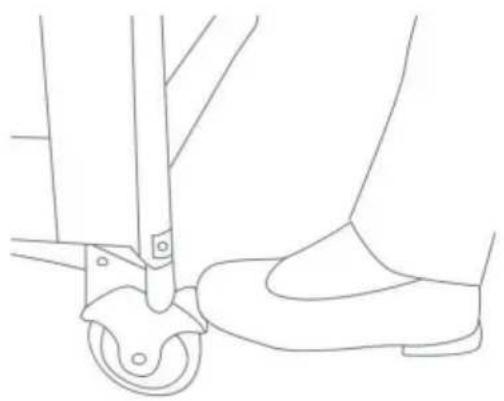
• To operate the brakes on the wheels, press downward on the brake levers. To release, lift upward on the lever.
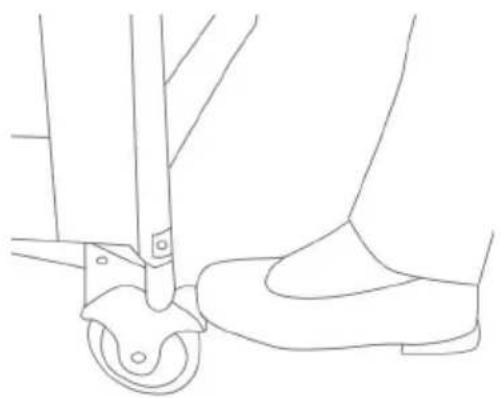
- Playpen must be fully assembled and securely locked before installing or using the bassinet feature. You will need to remove the mattress from the bottom of the playpen to use inside your bassinet.
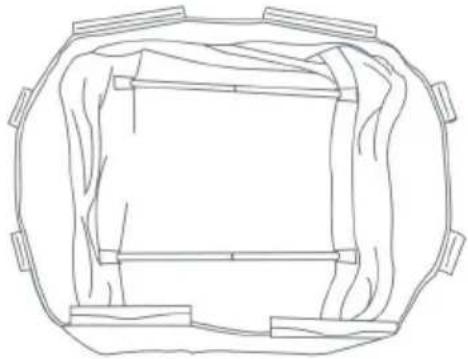
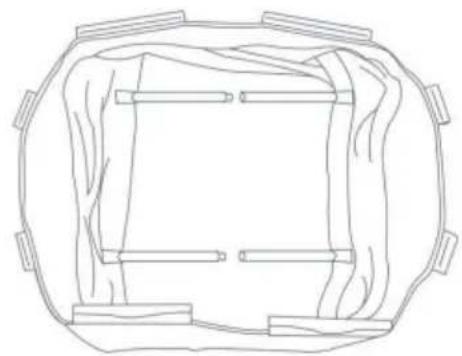
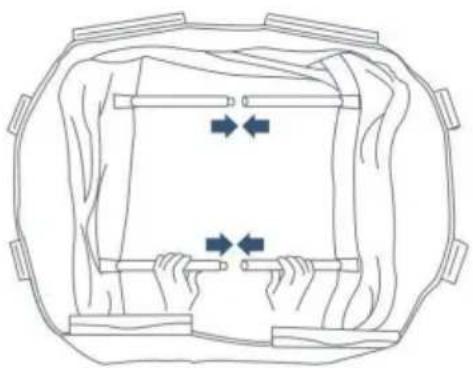
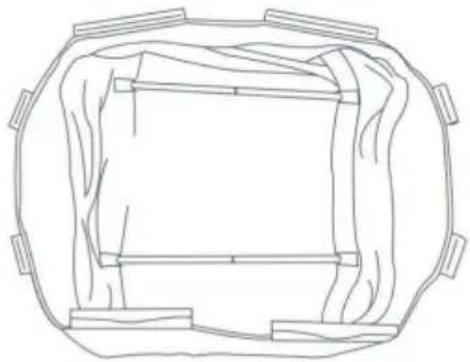
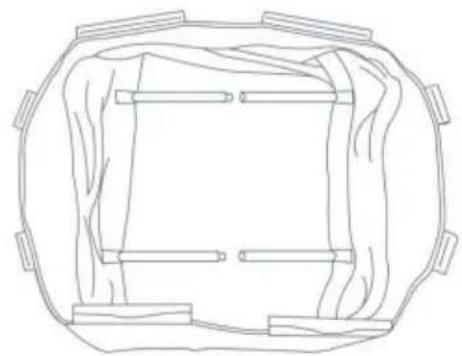
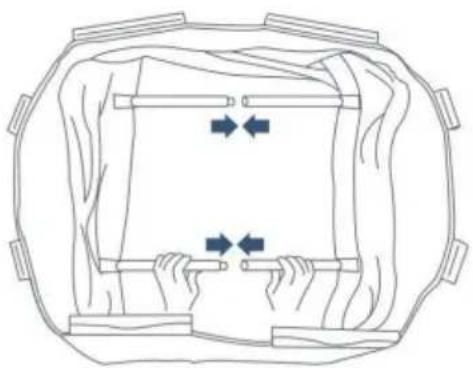
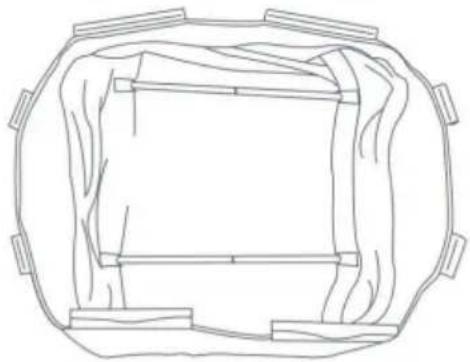
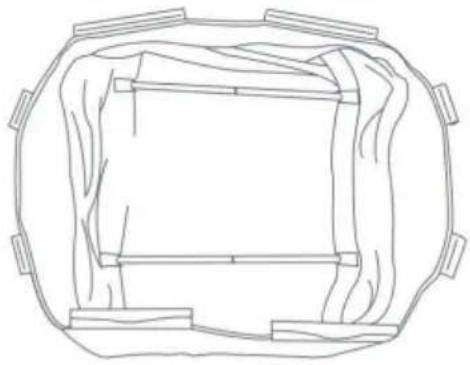
- Connect opposing mattress support tubes that are attached to the bottom of the bassinet.
- Before placing the mattress into the bassinet, make sure mattress support are connected as seen.
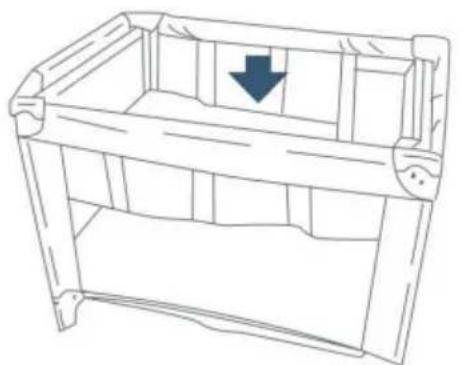
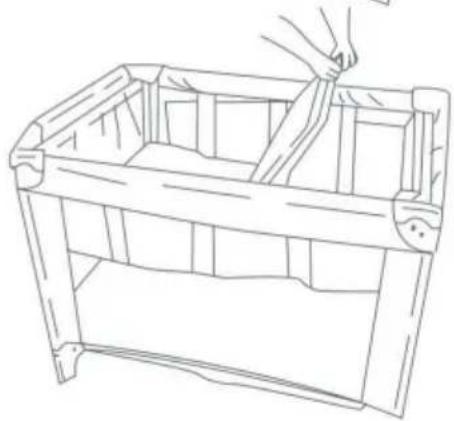
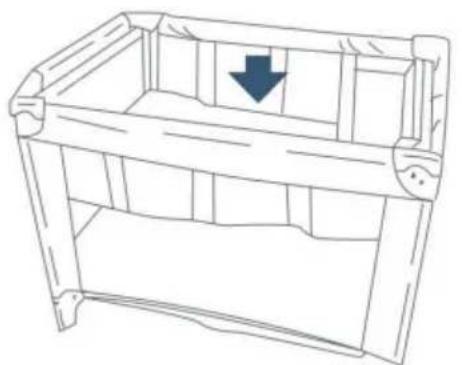
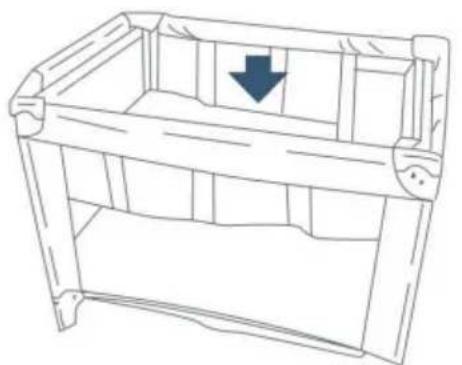
- Position the bassinet over and down into the fully assembled playpen.
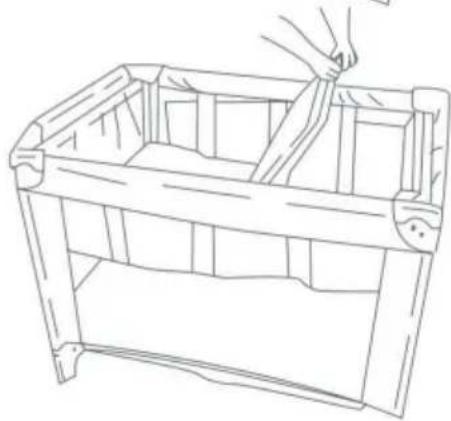
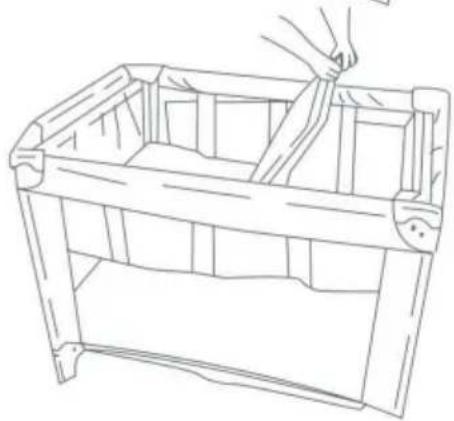
The cradle and the game bed basket are fixed by zippers.
- Place the mattress into the bassinet with the padded side facing upward. • To remove the bassinet, remove mattress from the bassinet. Disconnect support tubes and unsnap all clips to lift out.
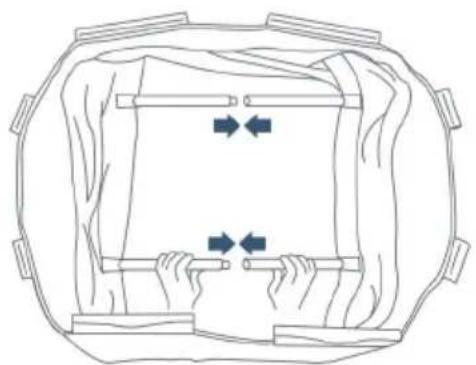
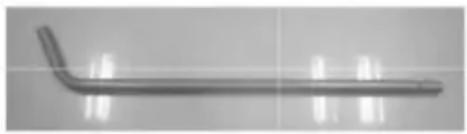
BASSINET METAL SUPPORT TUBES
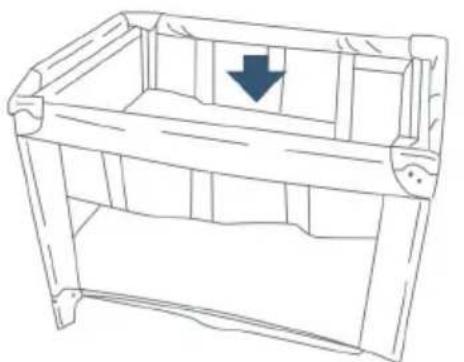
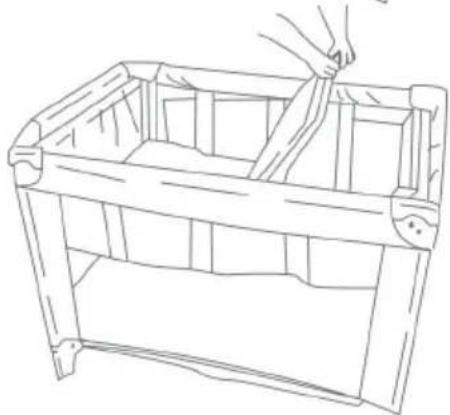
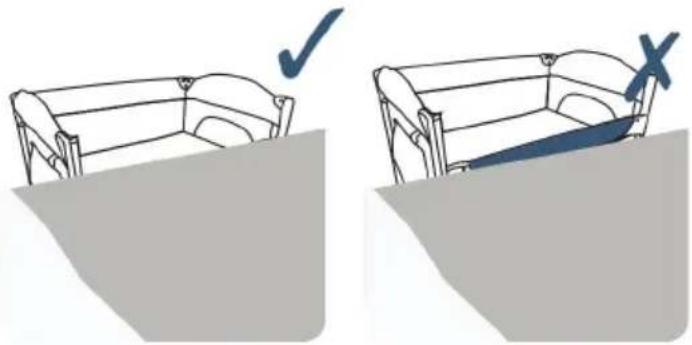
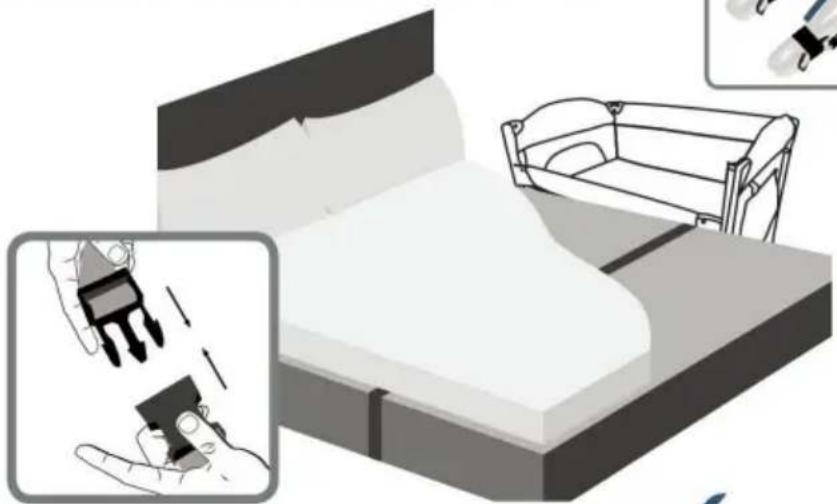
WARNING: To avoid death from the infant's neck being caught on the rail on the side that is next to the adult bed, the top rail must be than the adult mattress. Always raise the side when not fastened to adult bed.
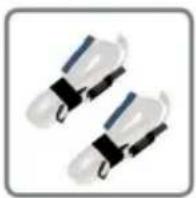
WARNING: Entrapment Hazard to prevent death from entrapment, bedside playpen must be properly secured to adult bed using the attachment straps.
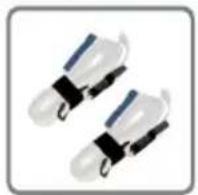
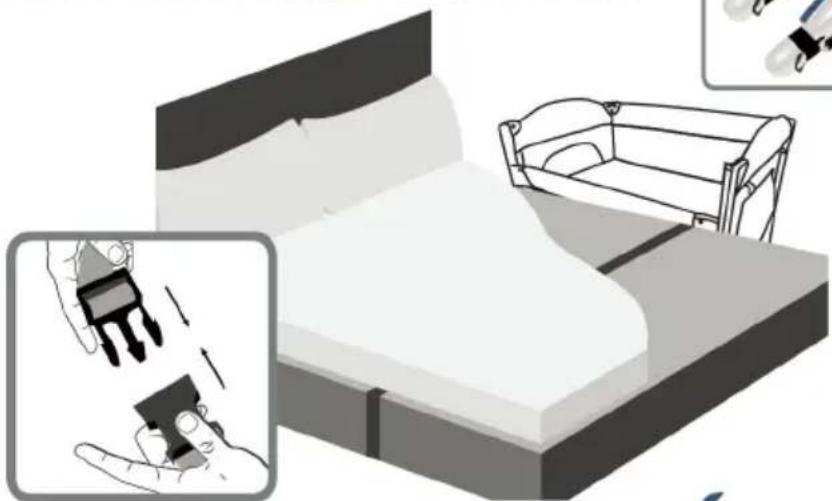
WARNING:
The 2 attachment straps must always be used in bedside playpen mode
WARNING:
Ensure your baby is not inside the crib when you detach the crib from your bed frame.
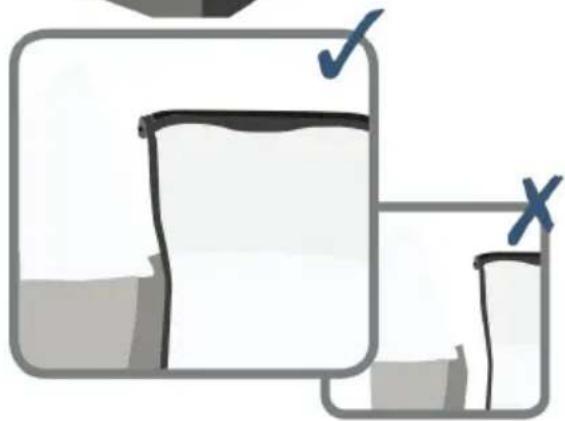
- There must be no more than 1/2 inch(13mm) gap between bedside playpen and adult bed.
- Check tightness before each use by pulling bedside playpen in a direction away from adult bed.
- If gap exceeds 1/2 inch(13mm), DO NOT use product. Do not fill the gap with pillows, blankets or other items that are suffocation hazards.
TO ASSEMBLE THE CHANGING TABLE
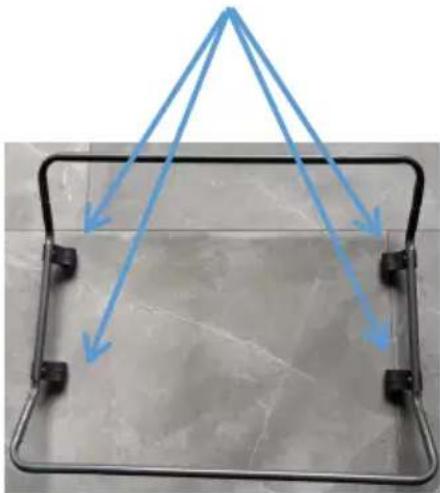
Note: 4 buckles fac inward.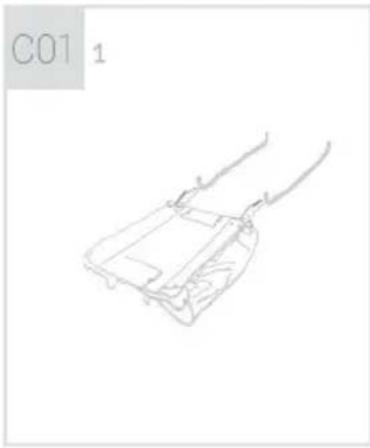
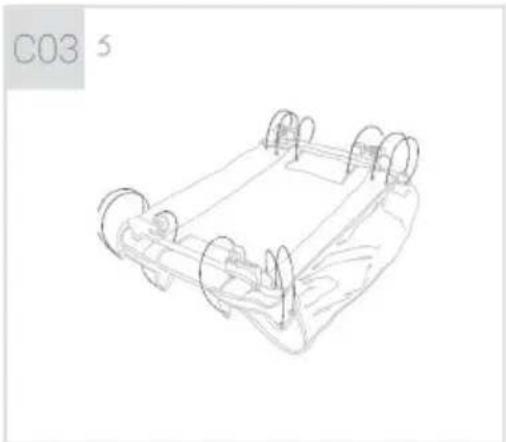
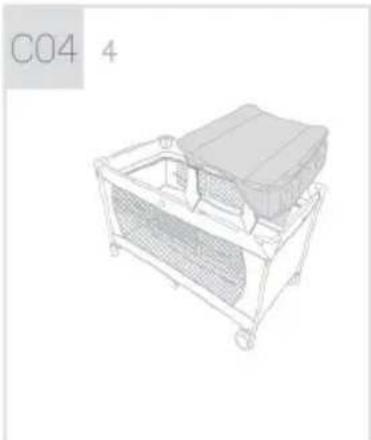
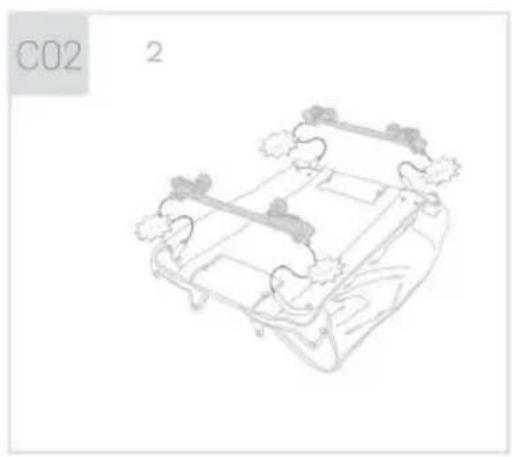
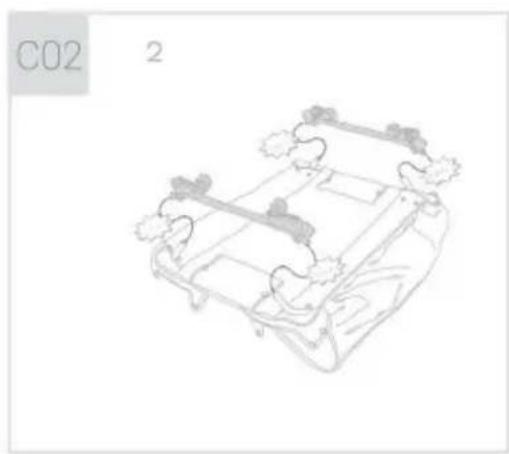
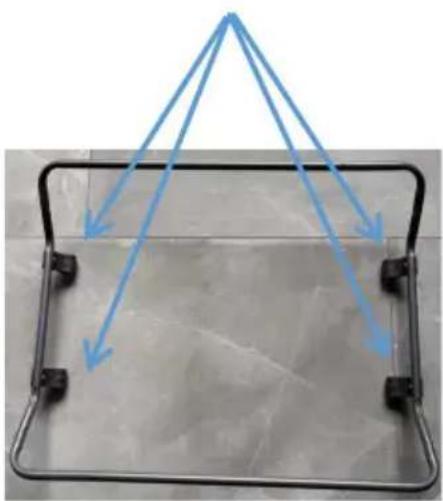
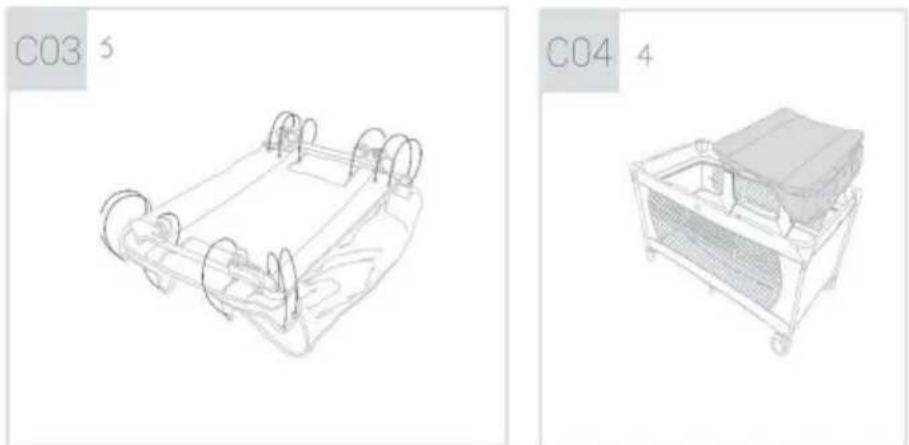
C01- Place the short tubes labeled "A" or "B" in the structure of the changer, associating each short tube with the long tube containing the same letter "A" or "B". Run each short tube through the hole of the changer for this, releasing the Velcro closures beforehand. Once the tubes are attached and set correctly, refasten the Velcro.
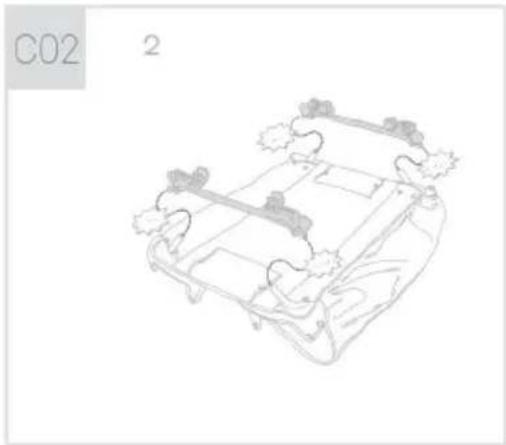
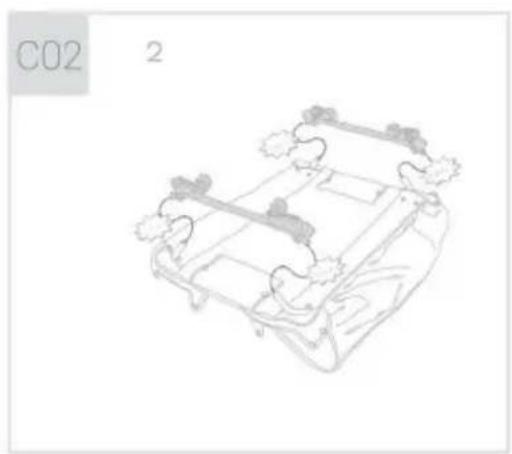
C02- Attach the changer to the travel cot, making sure the 4 plastic laces have the tubes locked and fixed to the travel cot. For this, we must push the changer until it is firmly attached to the travel cot.
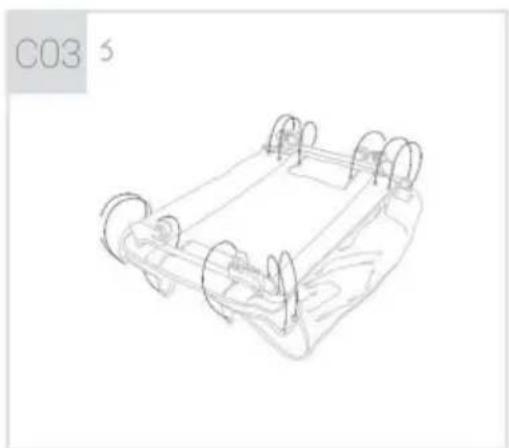
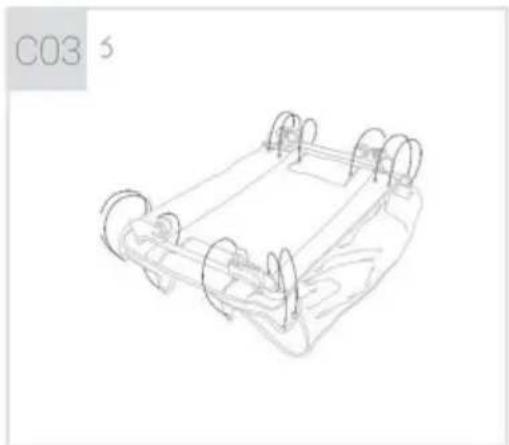
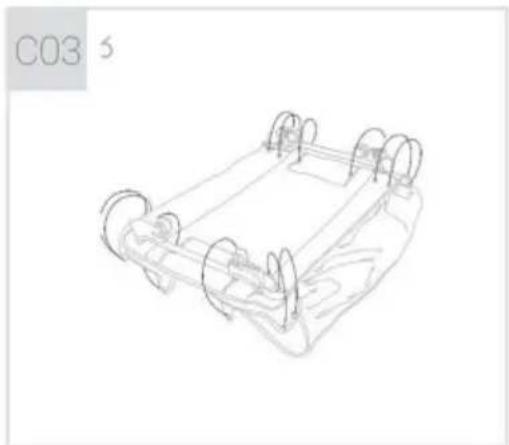
C03- The changer has to be placed at one of the two ends of the travel cot so that it is possible to fix the two other plastic laces to the headboard end.
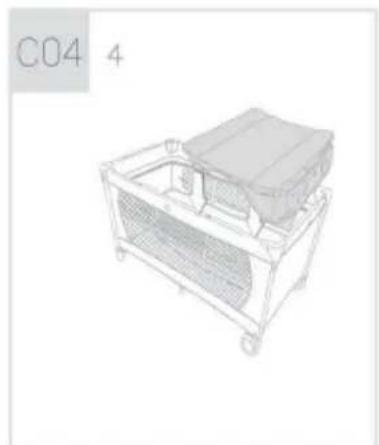
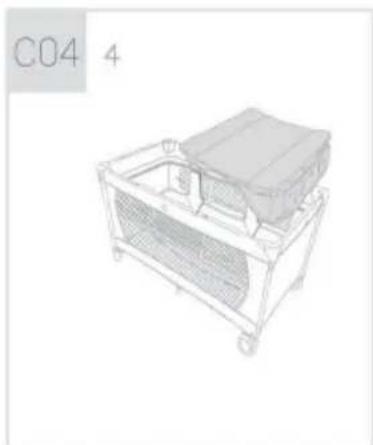
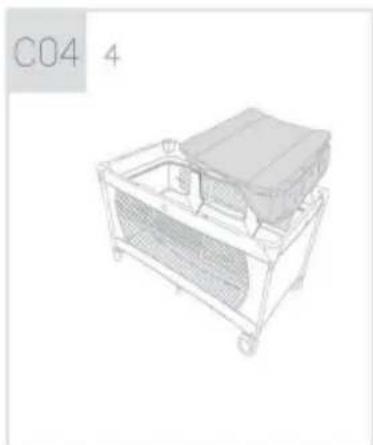
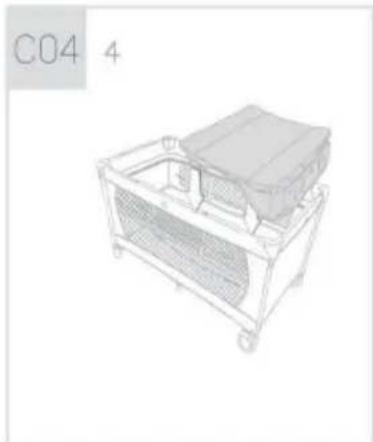
C04- Once the 6 laces are placed (2 on each side and 2 on the headboard), pass the fabric that is located at the end of the changer so that the two corners of said end are covered by it. Anchor the changer to the cradle with the two
HOW TO ASSEMBLE MUSIC & TOYS RACK
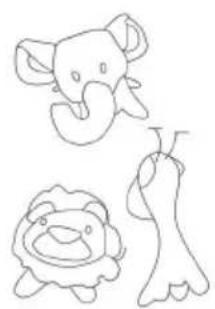
Three Toys To prevail in kind
Music Switch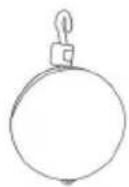
Base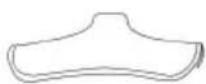
Base Bracket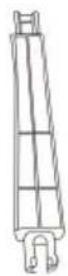
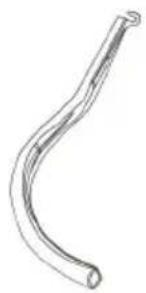
Splicer
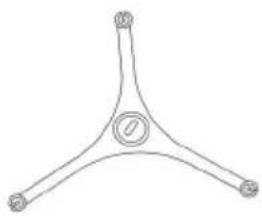
Toy Rack
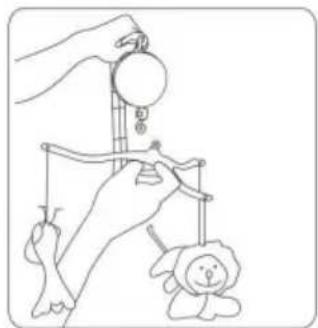
- Put toys on toy rack.
- Connect two splicers well.
- Connect base and splicer well.
- Put on music switch.
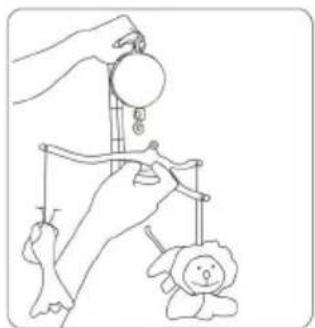
- Put on bracket with toys.
Insert the 3 toys, toy bars and music box as shown.
TO ASSEMBLE THE SHELF
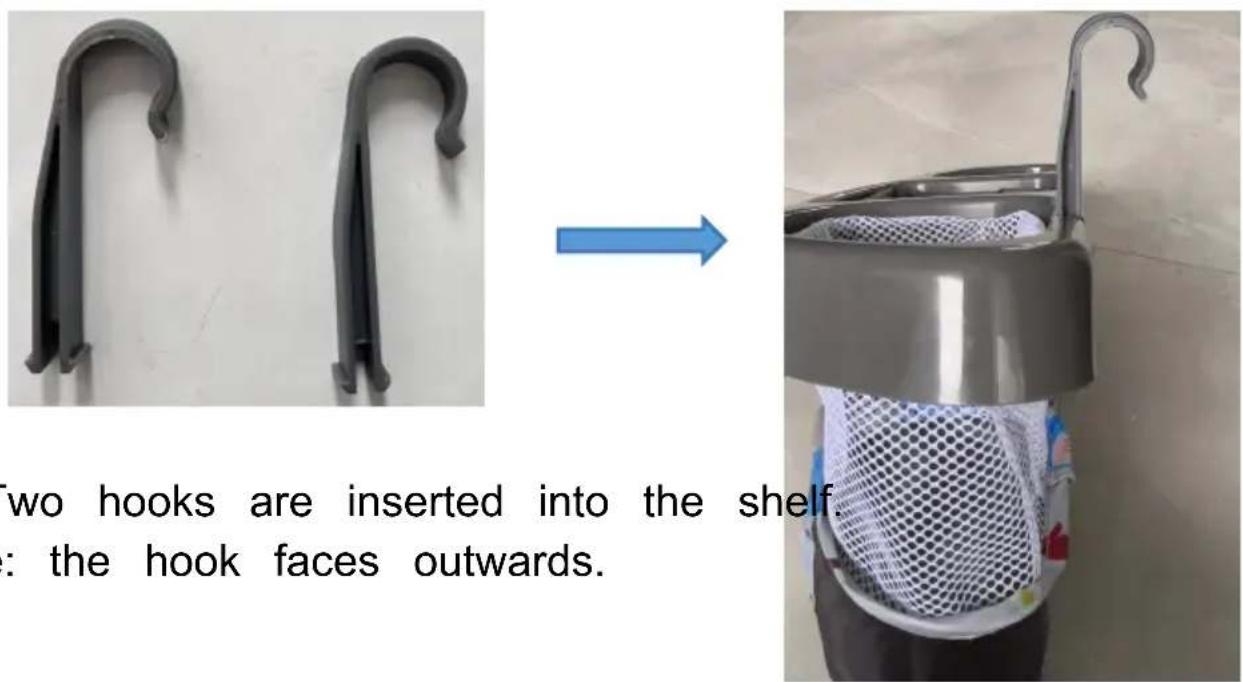
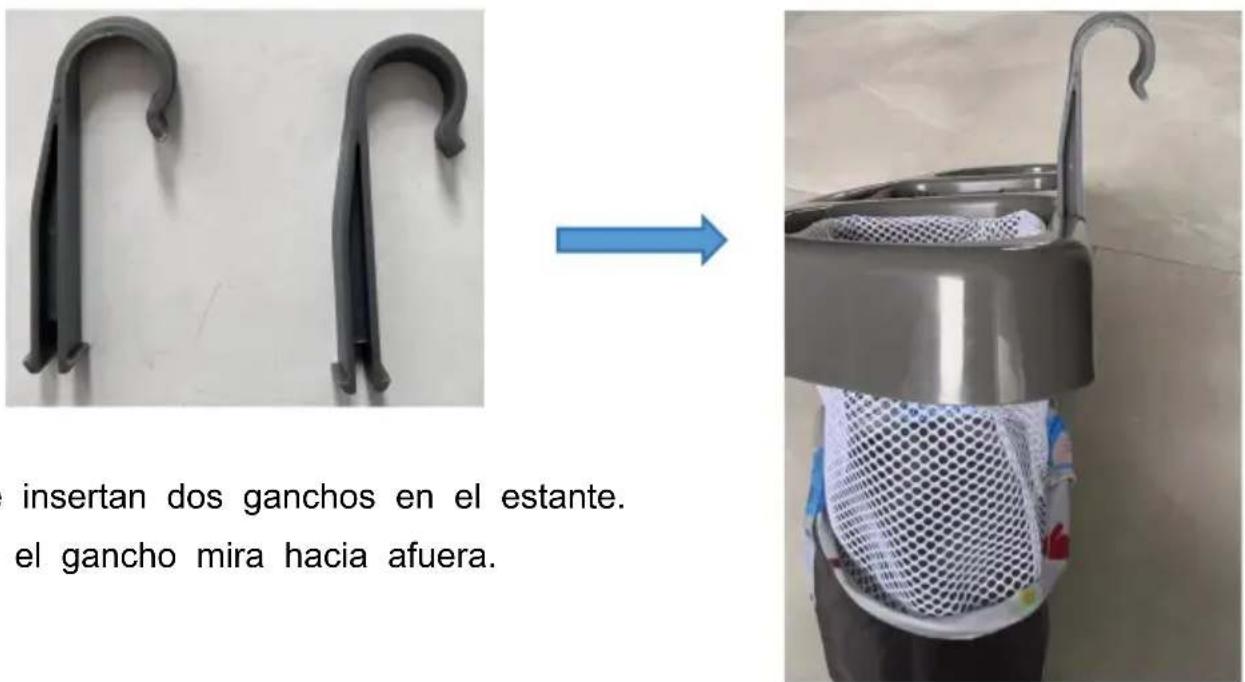
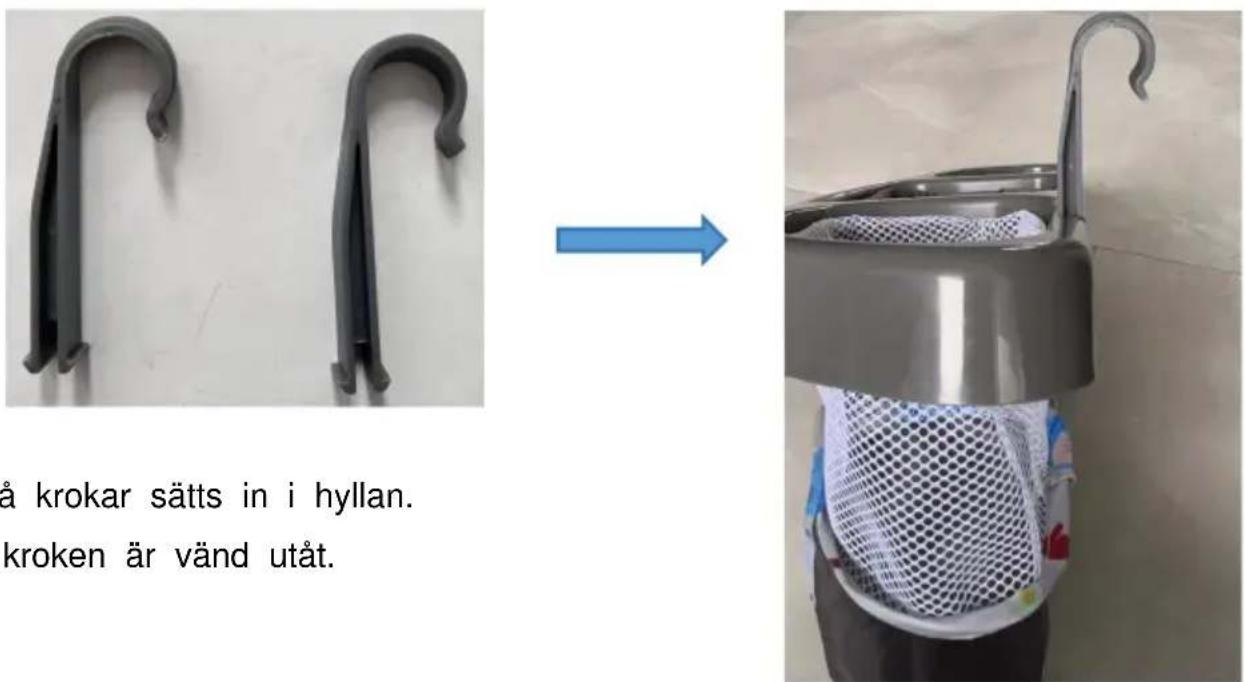
- Two hooks are inserted into the shelf. Note: the hook faces outwards.
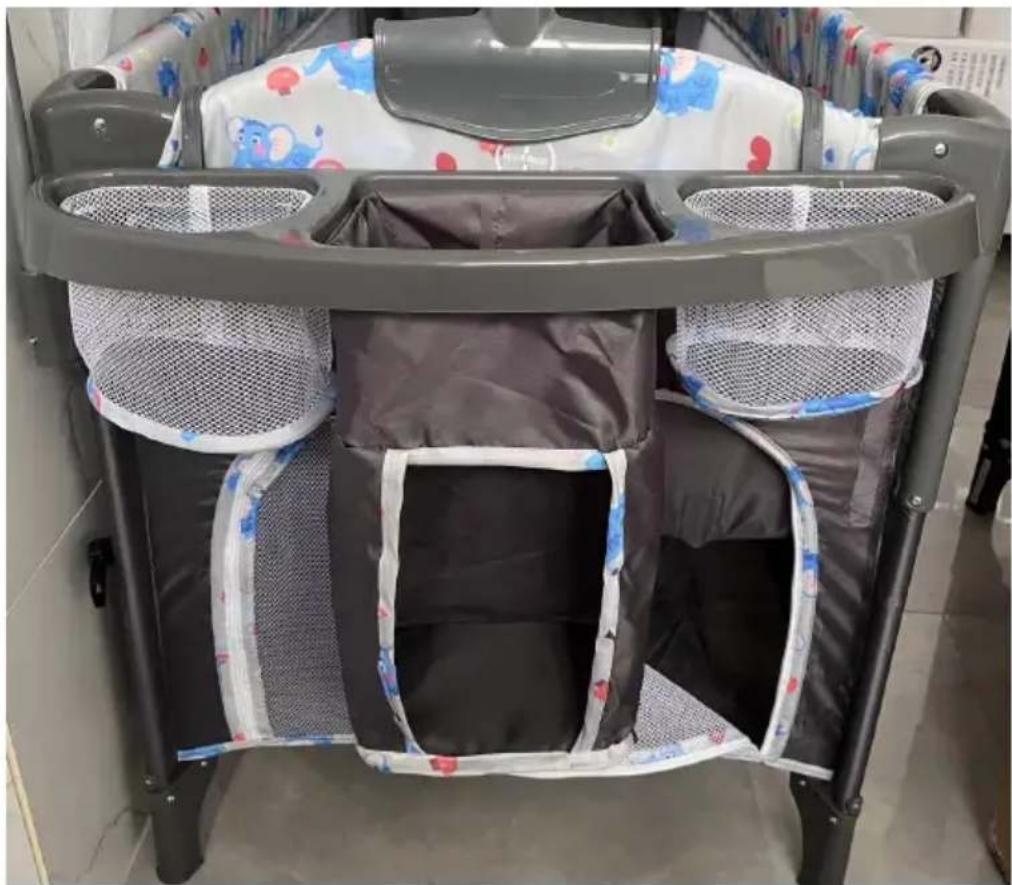
2. The installed shelf is fixed on the main body through a hook.
STORAGE
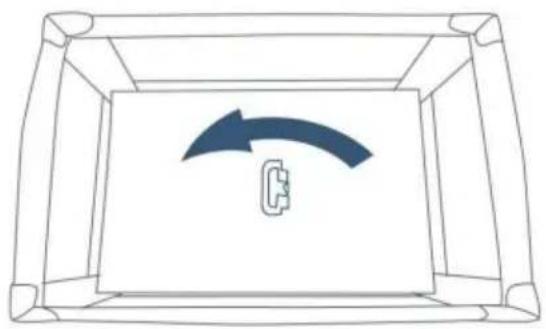
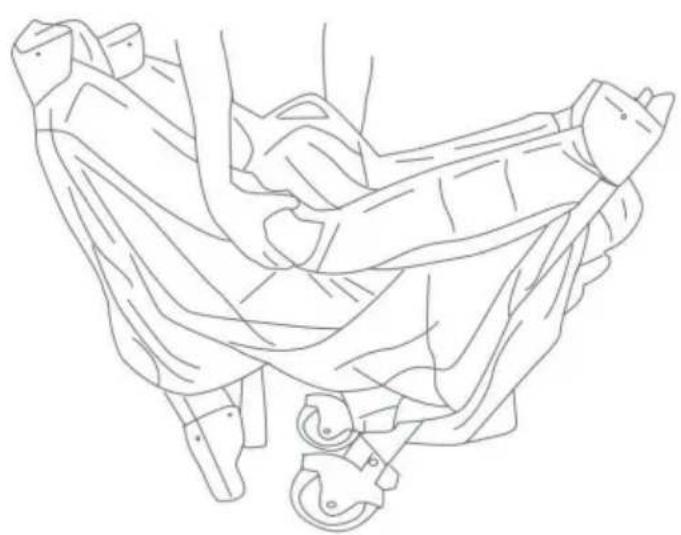
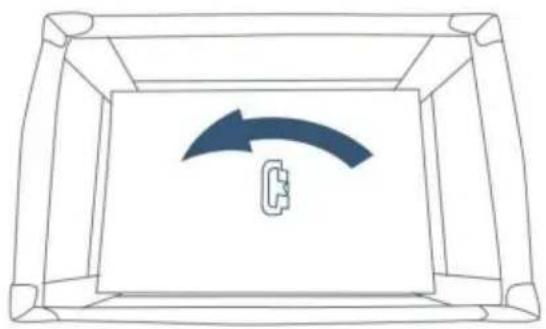
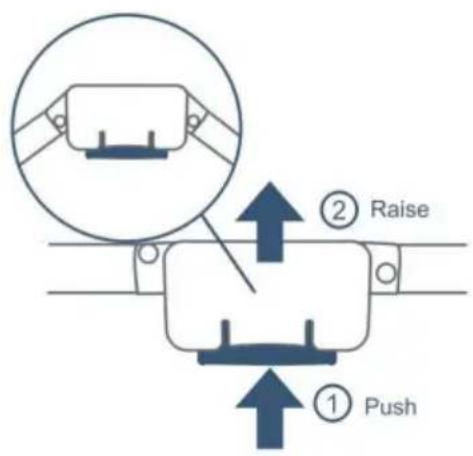
• DO NOT unlock top rail yet, centre of floor must be raised before top rails will unlock. - Rotate the centre handle and raise the centre as high as the top rail. Gather the legs and wheels together towards the centre as closed as possible so that they nearly touch.
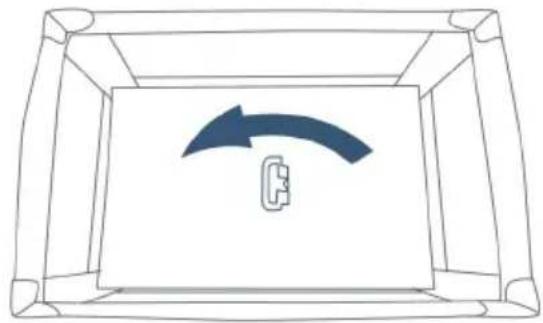
Rotate before lifting
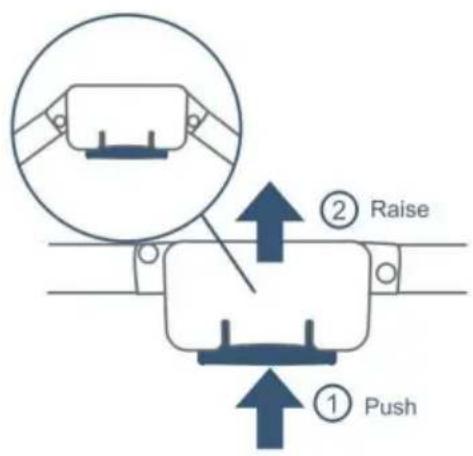
- Locate the rail latch release in the centre and bottom side of each rail. Squeeze the lever with two hands until the rail releases the two tubes, then push down.
- If the top rail does not release completely, DO NOT FORCE! Lift the centre of floor higher. Both tubes must be released for the top rail to fold.
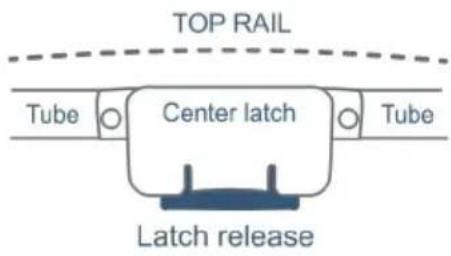
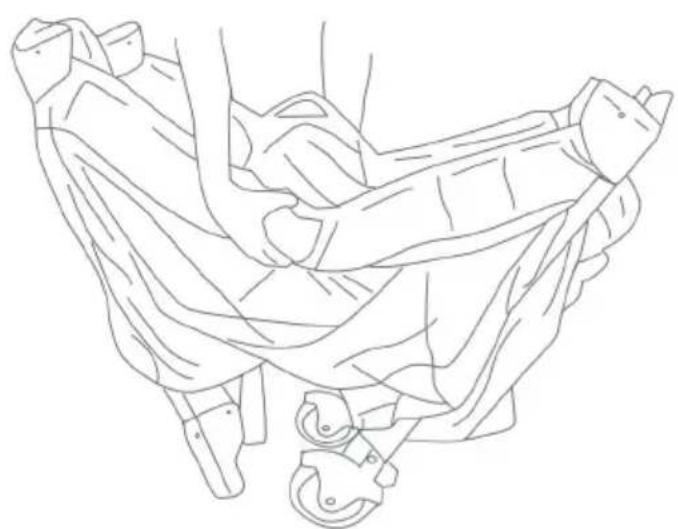
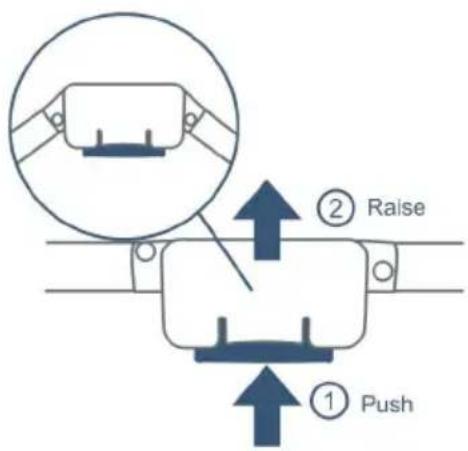
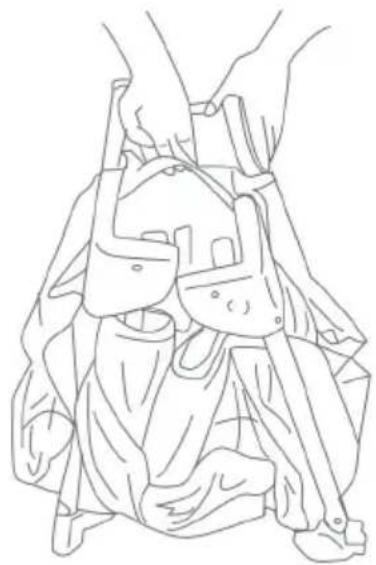
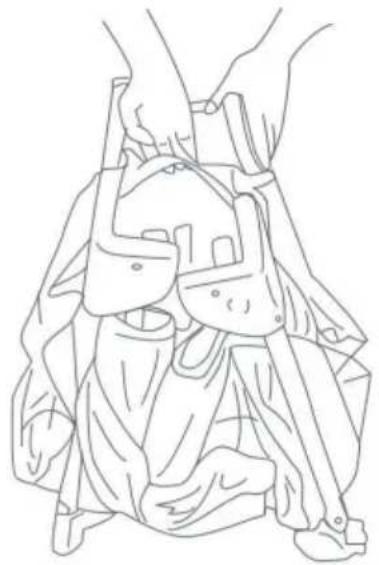
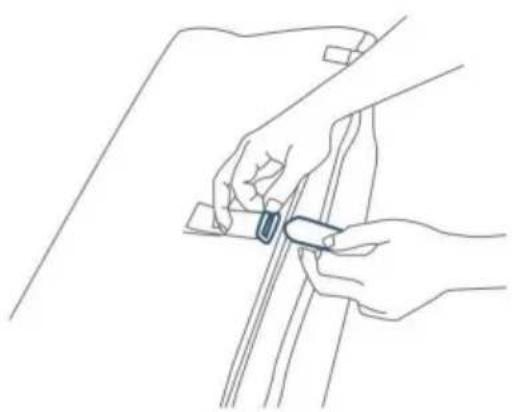
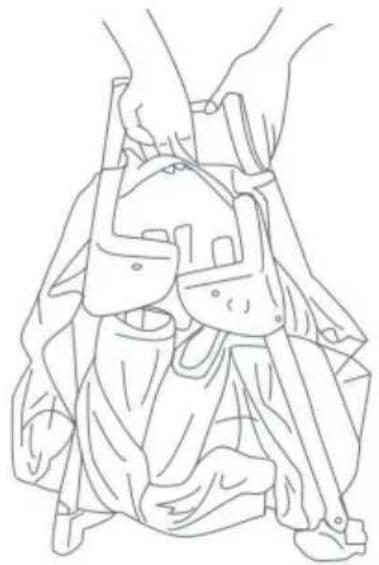
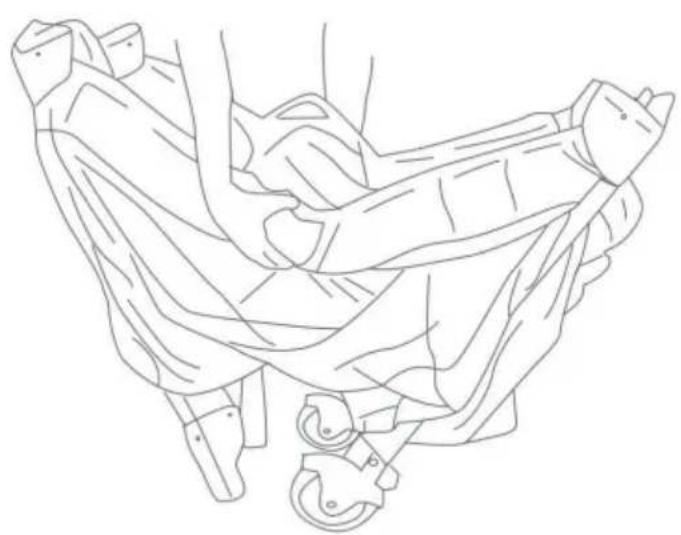
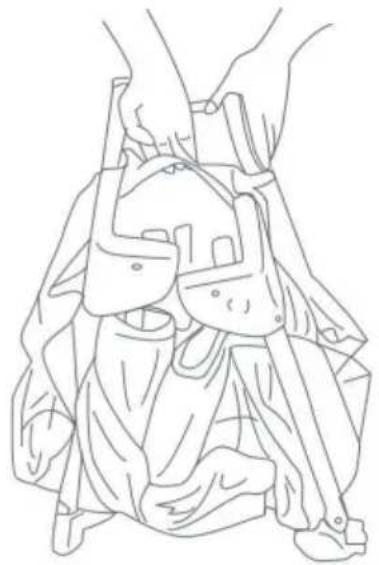
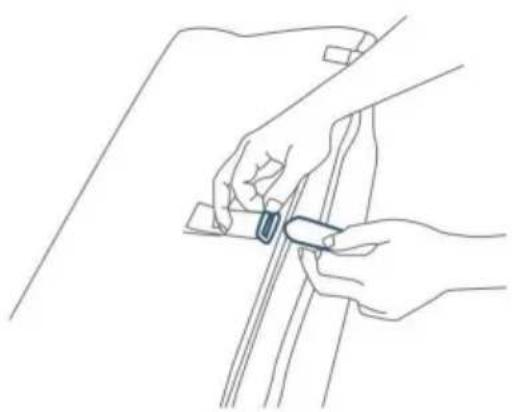
• Gather four corners and centre all together tightly. Wrap mattress around playpen frame with padded side facing inward. - Secure the hook and loop straps by feeding them through the loops on the end of the mattress and folding them back onto themselves. - Place folded playpen into carry bag.
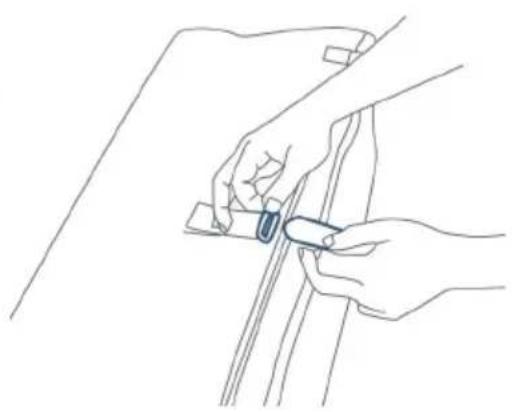
Instruction for Hanging Mosquito Net
Spare parts list
C MOSQUITO NET SUPPORT TUBES*3
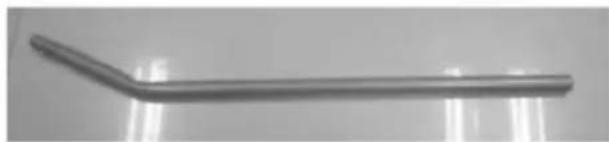
Part. 1
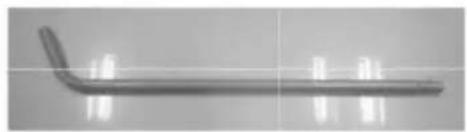
Part. 2
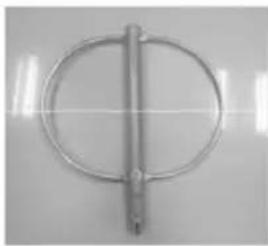
Part. 3
How to assemble the tubes
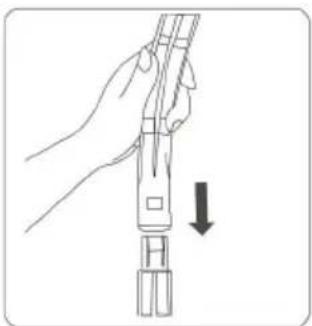
- Connect the Part.1 tube and Part.2 tube as shown in Fig.5.
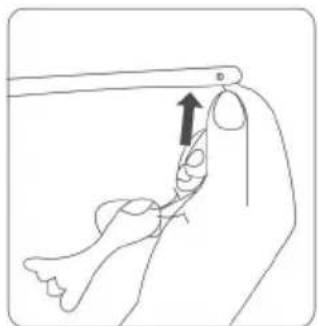
Be sure to press the shrapnel on tube-part.2 and make sure it can join with part.1 tube as shown in Fig.6
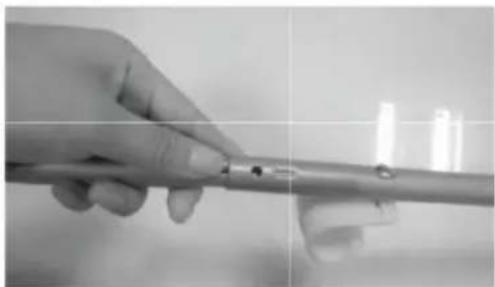
Fig.5
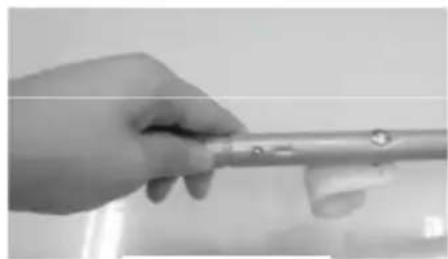
Fig.6
- Connect part.3 tube with the finished tube from Fig.6 together. Be sure to press the shrapnel as shown in Fig.8
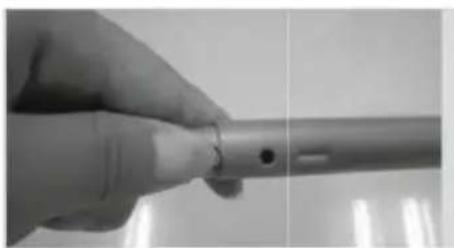
Fig.7
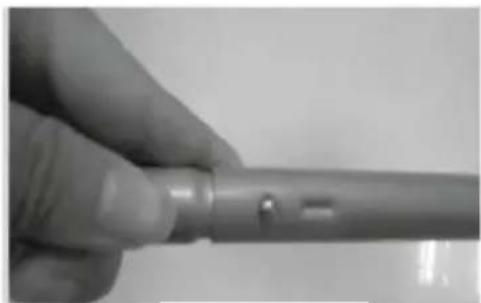
Fig.8
- Finally, connect the tube part. 4 with the tube from Fig. 8, be sure to press the shrapnel as shown in Fig. 9- Fig. 10
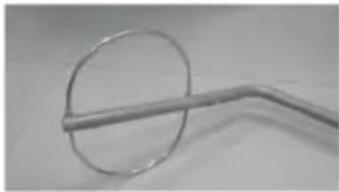
(Fig. 9)
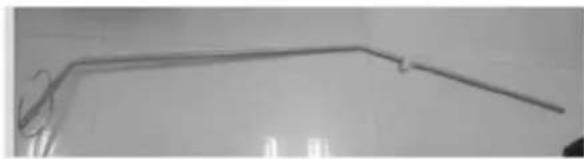
(Fig. 10)
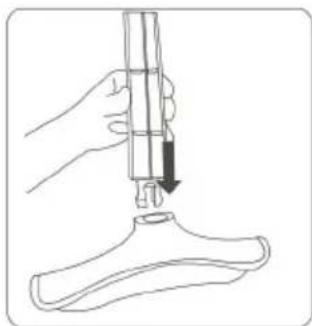
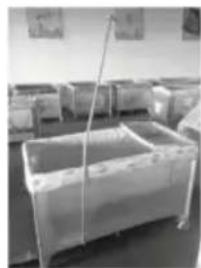
- Put the finished supporting tubes as shown in Fig. 10 into the pocket
located on the bottom side of the playpen (as shown in Fig. 11)
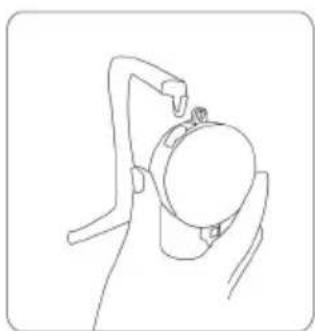
Then join the plastic hook at tube.1 with the handrail of the playpen as shown in Fig.12-Fig.13.
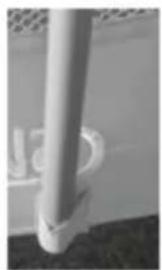
(Fig. 11)
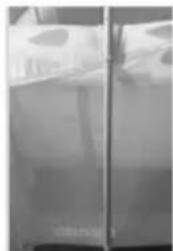
(Fig. 12)
(Fig. 13)
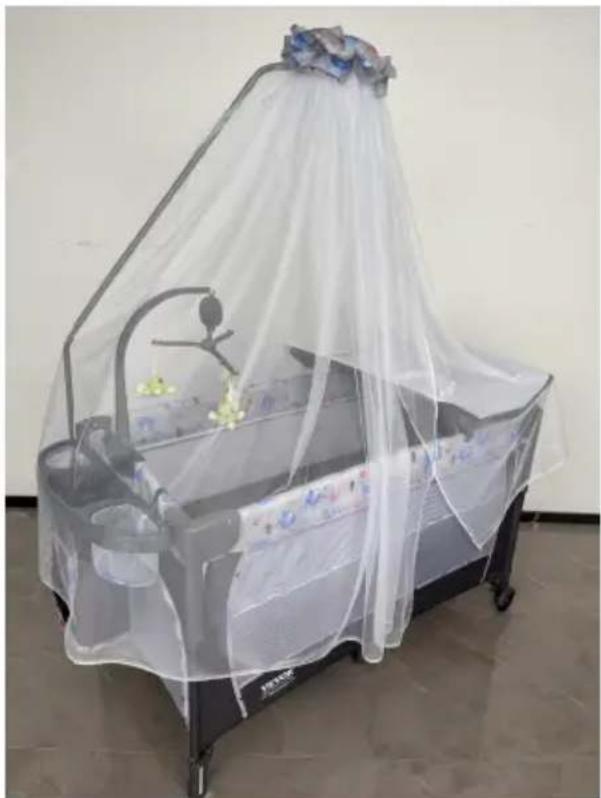
- Put the mosquito net on the round tube. Be sure to make the net cover the round tube completely. (See Fig. 14–Fig. 15)
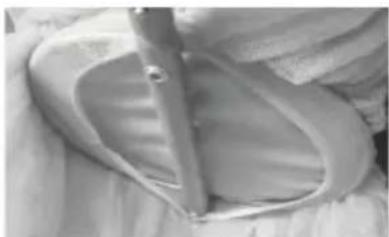
Fig. 14
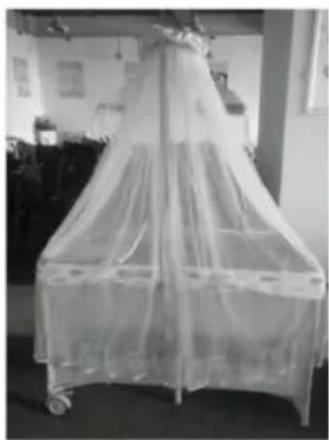
Fig. 15
Manufacturer: Shanghai Muxin Muye Youxian Gongsi
Address: Shuangcheng Road 803 Nong 11 Hao 1602A-1609 Shi, Baoshan District, Shanghai 200000 CN.
Imported to AUS: SIHAO PTY LTD. 1 ROKEVA STREET EASTWOOD NSW 2122 Australia
Imported to USA: Sanven Technology Ltd. Suite 250, 9166 Anaheim Place, Rancho Cucamonga, CA 91730
| EC | REP |
E-CrossStu GmbH
Mainzer Landstr. 69, 60329 Frankfurt am Main
| UK | REP |
YH CONSULTING LIMITED.
C/O YH Consulting Limited Office 147, Centurion House, London Road, Staines-upon-Thames, Surrey TW18 4AX
VEVOR®
TOUGH TOOLS, HALF PRICE
Technical Support and E-Warranty Certificate www.vevor.com/support
VEVOR®
TOUGH TOOLS, HALF PRICE
NEED HELP? CONTACT US!
PLAYPEN*1
BED BASKET*1
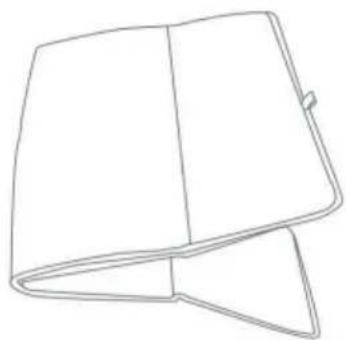
MATTRESS*1
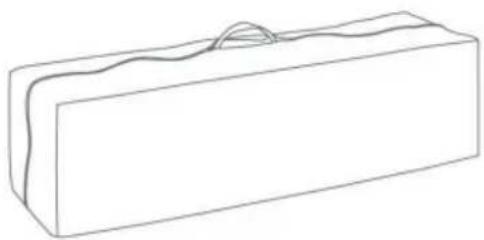
TRAVEL BAG*1
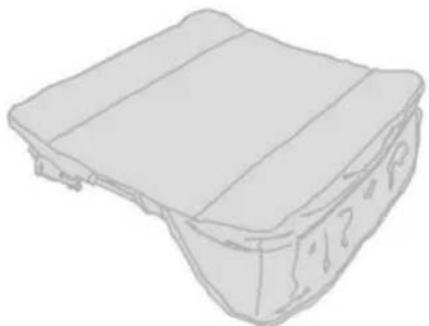
CHANGING TABLES*1
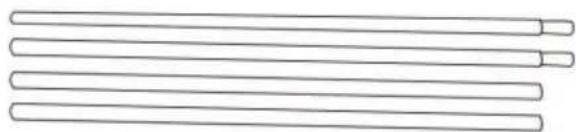
A METAL BASSINET SUPPORT TUBES*4
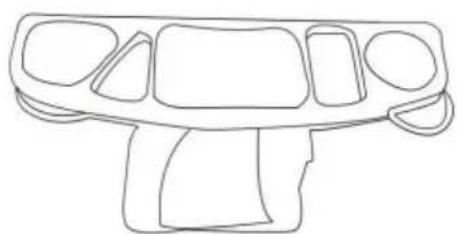
SHELF*1
SHELF HOOK*2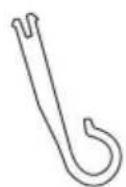
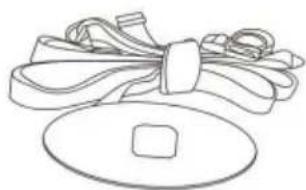
SAFETY BELT*1
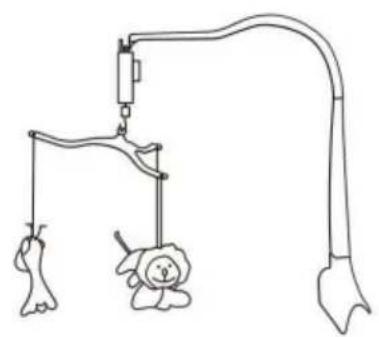
MUSIC & TOYS RACK*1
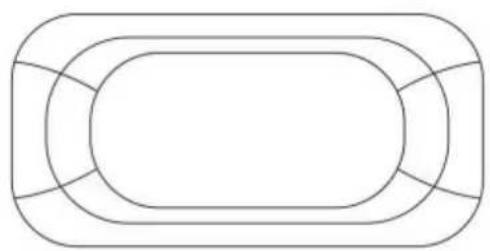
REPLACEABLE BED COVER*1
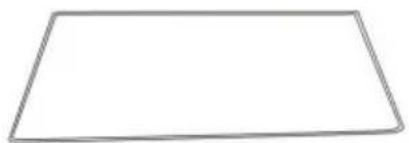
CHANGING TABLES CUSHION*1
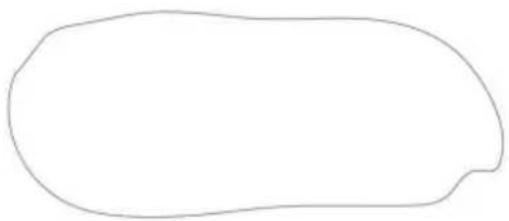
MOSQUITO NET*1
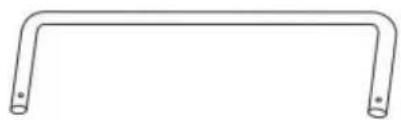
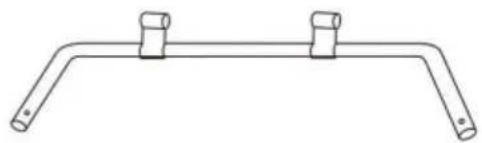
B CHANGING TABLE METAL SUPPORT TUBES*4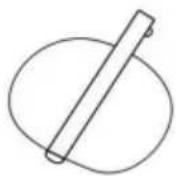

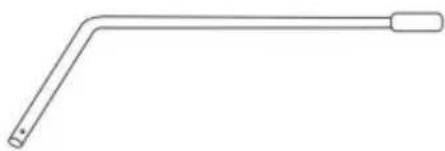
C MOSQUITO NET SUPPORT TUBES*3
ASSEMBLER
ATTENTION:
- Playpen must be fully assembled and securely locked before installing or using other accessories.
- Unzip bag and remove playpen frame. Undo the fasten straps and set the mattress aside.
DO NOT PUSH CENTRE DOWN YET
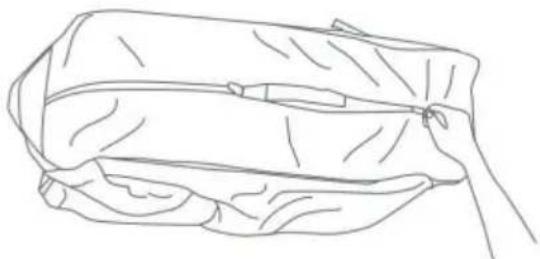
- Top rail must be fully erected and locked before lowering centre. Pull up one rail at a time, hold one hand on each side of the rail and pull up sharply, do not pull from the middle where the centre latch release is located, make sure both tubes latch in place and each rail is rigid.
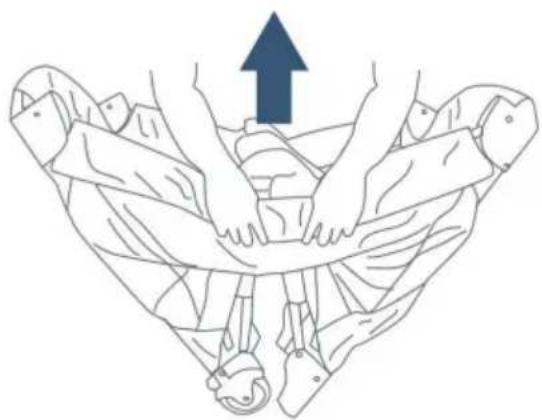
ATTENTION:
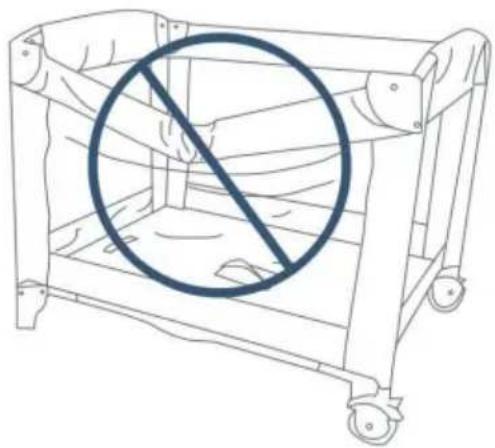
- The handle located in the centre of the playpen floor MUST remain raised while locking the side rails in place. IF the centre is not raised the rails will NOT lock.
- If you experience difficulty and one side of the rail will lock but the other side will not then, unlock the rail by squeezing the release in the centre and try again.
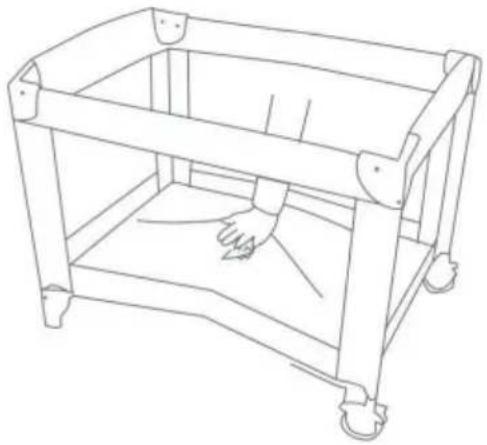
- Once all 4 top rails are locked in place, push down on the center handle. The center mechanism will automatically lock in place.
ATTENTION:
- Test each top rail by pushing down slightly to confirm each is rigid and securely in place before use.
- Place the mattress on the floor of the playpen with the padded side facing up.
• To operate the brakes on the wheels, press downward on the brake levers. To release, lift upward on the lever.
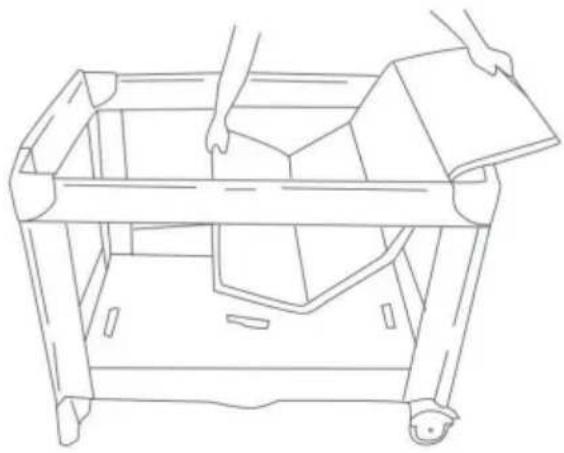
- Playpen must be fully assembled and securely locked before installing or using the bassinet feature. You will need to remove the mattress from the bottom of the playpen to use inside your bassinet.
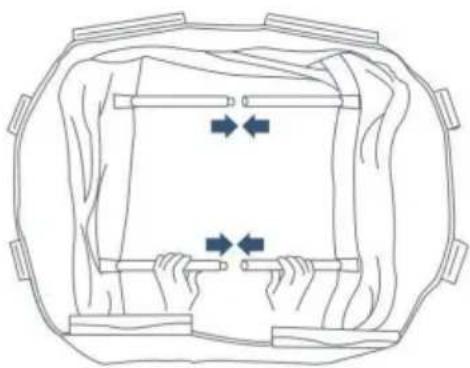
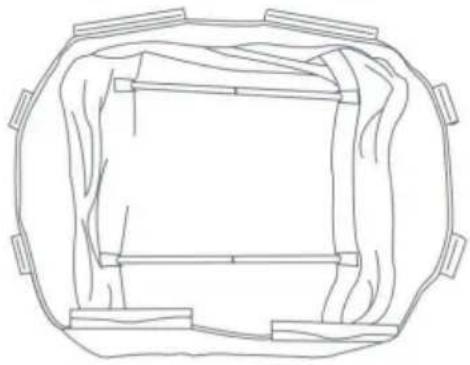
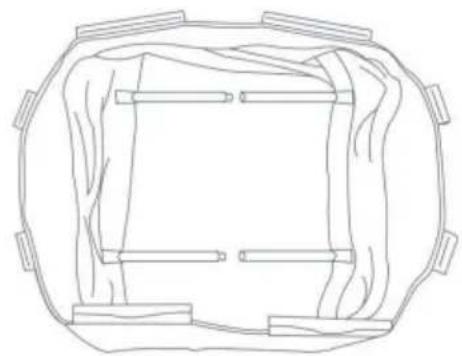
- Connect opposing mattress support tubes that are attached to the bottom of the bassinet.
- Before placing the mattress into the bassinet, make sure mattress supports are connected as seen.
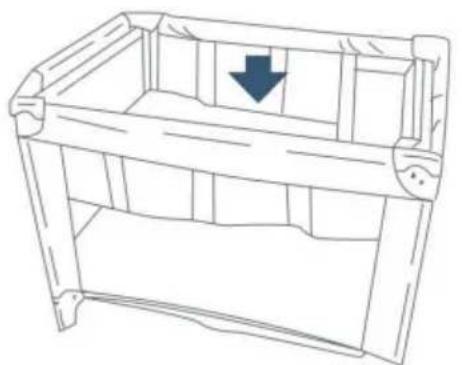
- Position the bassinet over and down into the fully assembled playpen.
The cradle and the game bed basket are fixed by zippers.
- Place the mattress into the bassinet with the padded side facing upward. • To remove the bassinet, remove mattress from the bassinet. Disconnect support tubes and unsnap all clips to lift out.
BASSINET METAL SUPPORT TUBES
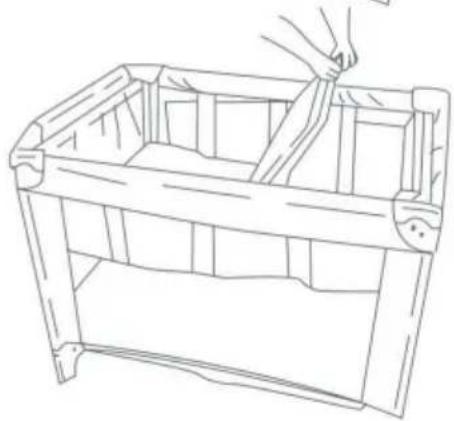
WARNING: Entrapment Hazard to prevent death from entrapment, bedside playpen must be properly secured to adult bed using the attachment straps.
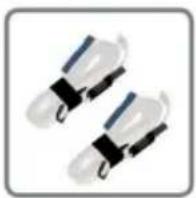
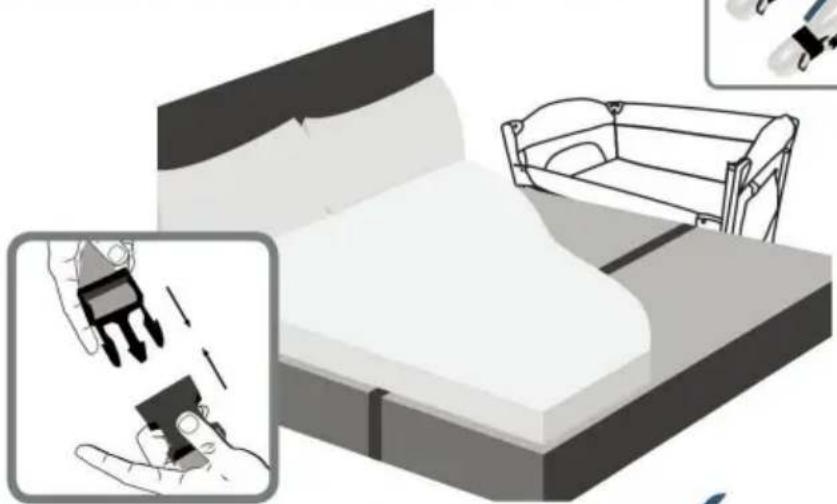
WARNING:
The 2 attachment straps must always be used in bedside playpen mode
WARNING:
Ensure your baby is not inside the crib when you detach the crib from your bed frame.
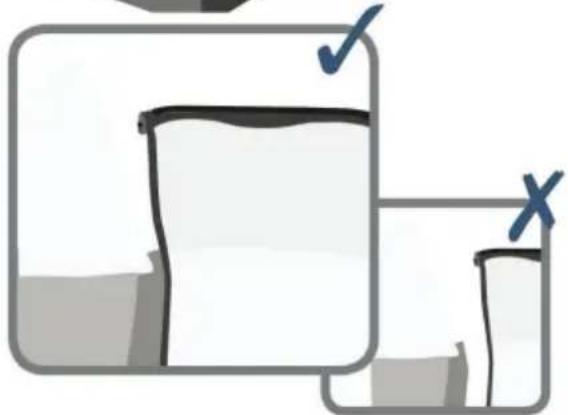
- There must be no more than 1/2 inch (13mm) gap between bedside playpen and adult bed.
- Check tightness before each use by pulling bedside playpen in a direction away from adult bed.
- If gap exceeds 1/2 inch (13mm), DO NOT use product. Do not fill the gap with pillows, blankets or other items that are suffocation hazards.
TO ASSEMBLE THE CHANGING TABLE
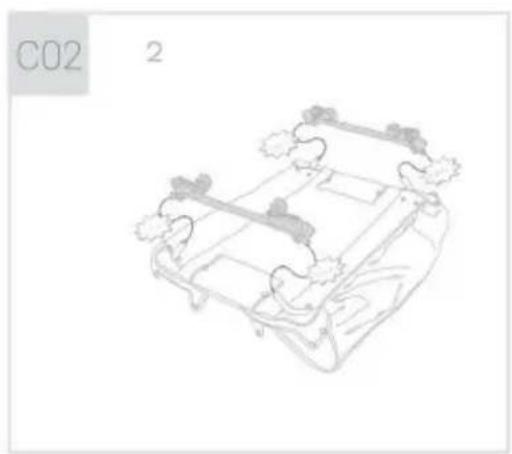
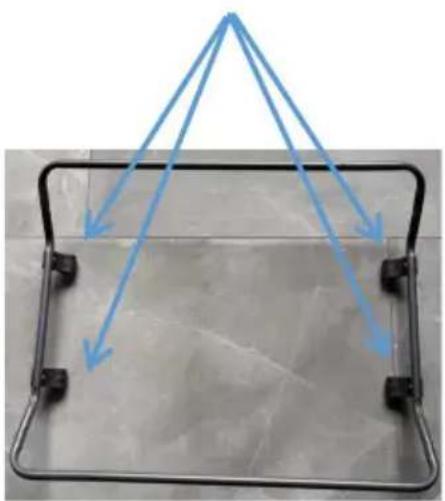
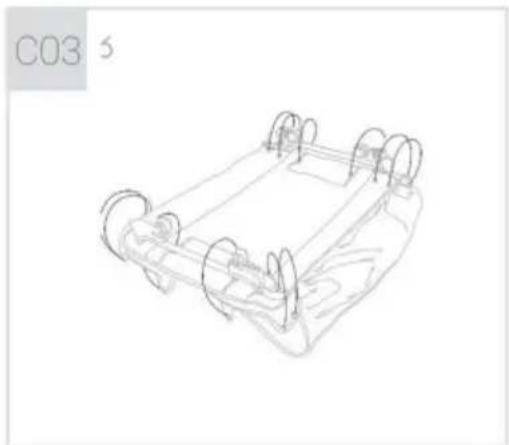
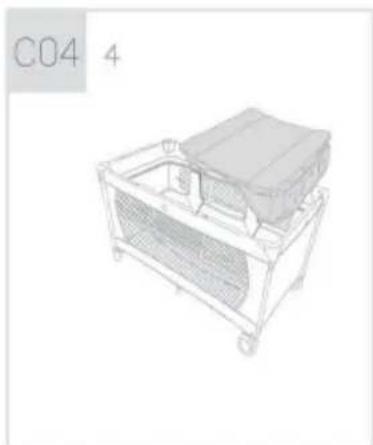
Three Toys To prevail in kind
Music Switch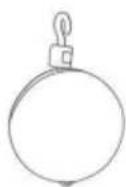
Base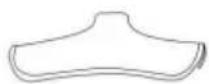
Base Bracket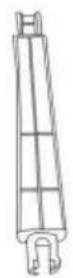
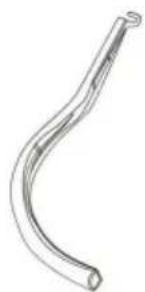
Splicer
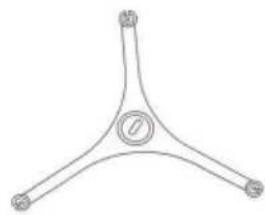
Toy Rack
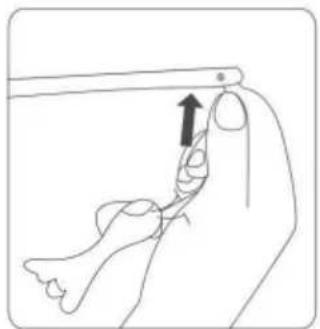
- Put toys on toy rack.
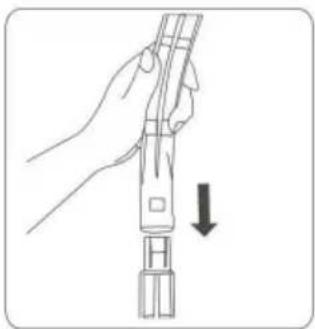
- Connect two splicers well.
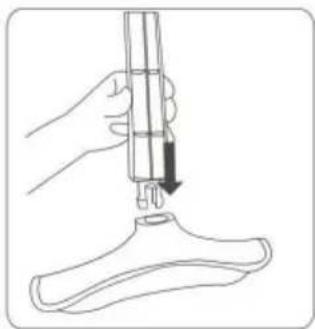
- Connect base and splicer well.
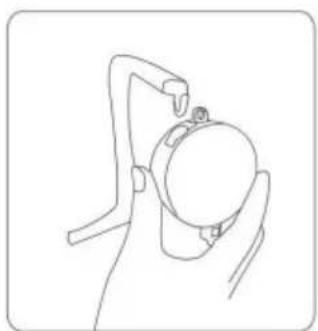
- Put on music switch.
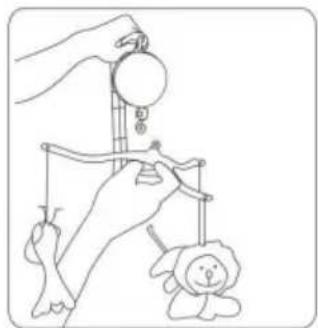
- Put on bracket with toys.
Insert the 3 toys, toy bars and music box as shown.
• DO NOT unlock top rail yet, centre of floor must be raised before top rails will unlock. - Rotate the centre handle and raise the centre as high as the top rail. Gather the legs and wheels together towards the centre as closed as possible so that they nearly touch.
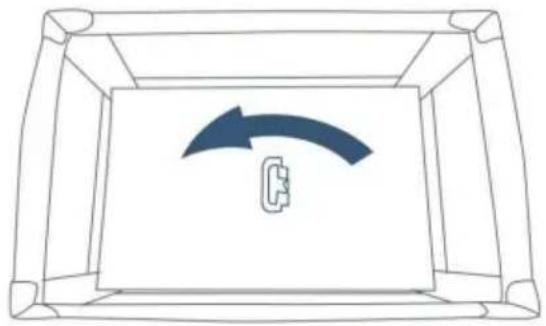
Rotate before lifting
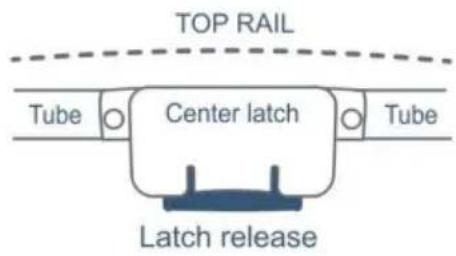
- Locate the rail latch release in the centre and bottom side of each rail. Squeeze the lever with two hands until the rail releases the two tubes, then push down.
- If the top rail does not release completely, DO NOT FORCE! Lift the centre of floor higher. Both tubes must be released for the top rail to fold.
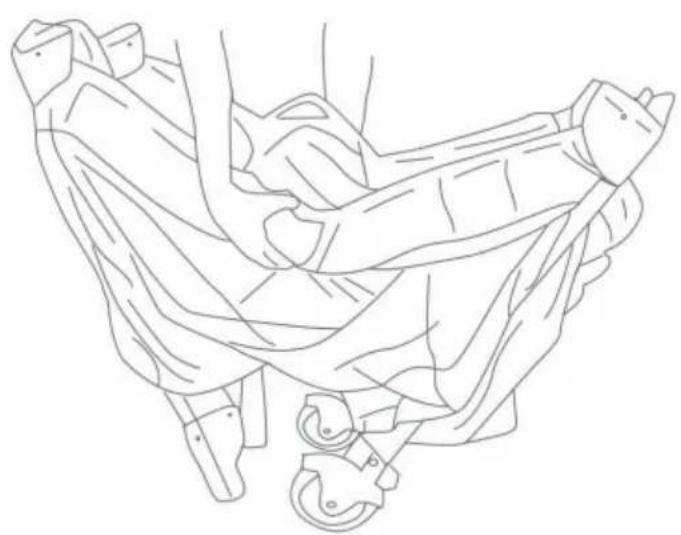
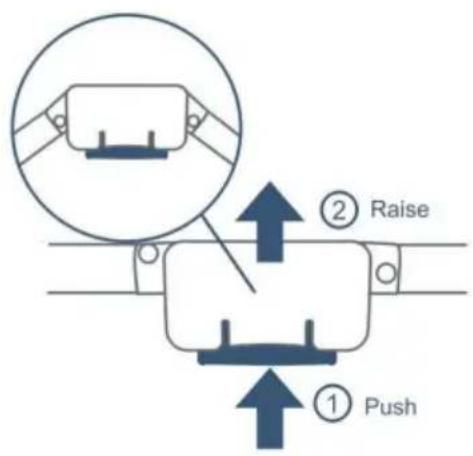
• Gather four corners and centre all together tightly. Wrap mattress around playpen frame with padded side facing inward. - Secure the hook and loop straps by feeding them through the loops on the end of the mattress and folding them back onto themselves. - Place folded playpen into carry bag.
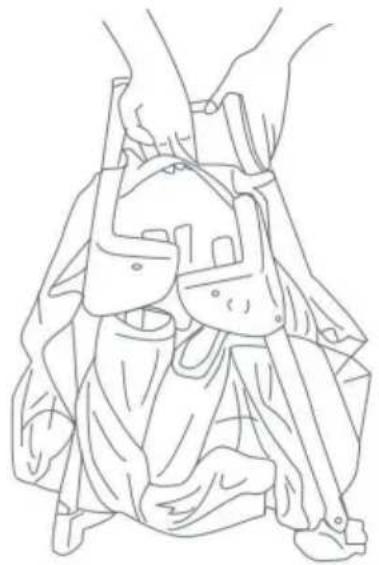
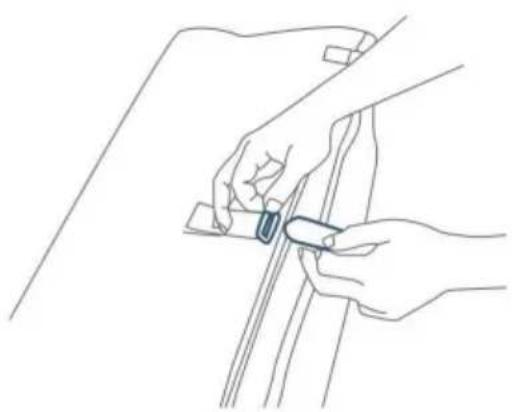
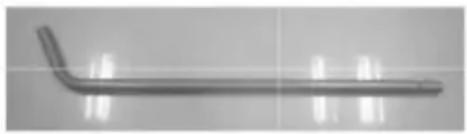
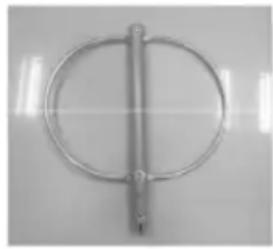
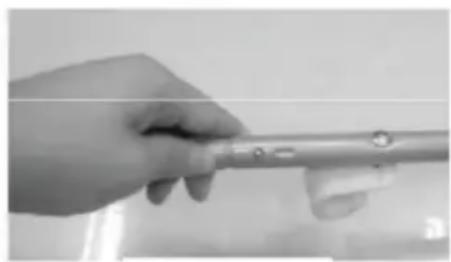
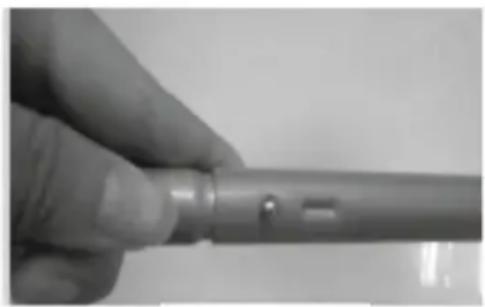
Fig.8
- Finally, connect the tube part 4 with the tube as shown in Fig. 8, making sure to press the shrapnel as shown in Fig. 9 and Fig. 10.
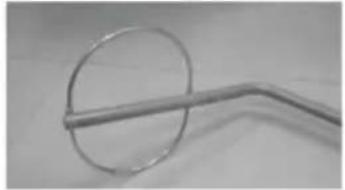
(Fig. 9)
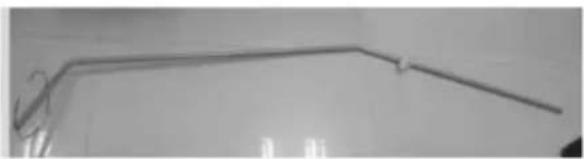
(Fig. 10)
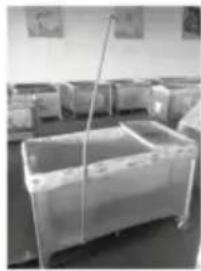
- Place the finished supporting tubes as shown in Fig. 10 into the pocket on the bottom side of the playpen (like in Fig. 11).
Then, attach the plastic hook on tube 1 to the handrail of the playpen as shown in Fig. 12 and Fig. 13.
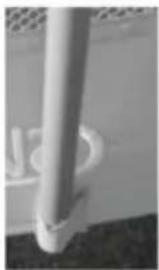
(Fig. 11)
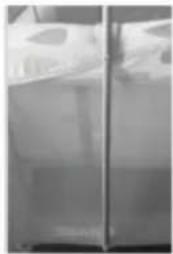
(Fig. 12)
(Fig. 13)
- Place the mosquito net over the round tube. Make sure the net completely covers the round tube (like in Fig. 14 and Fig. 15).
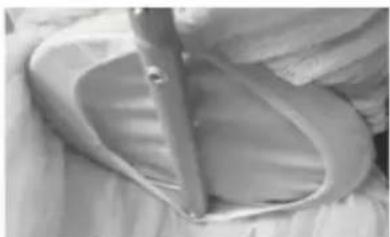
Fig. 14
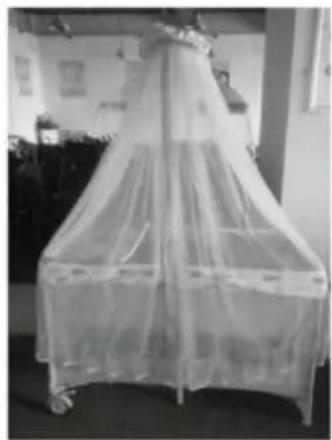
Fig. 15
Manufacturer: Shanghaimuxinmuyeyouxiangongsi
Address: Shuangchenglu 803nong11hao1602A-1609shi, Baoshan District, Shanghai 200000 CN.
Imported into Australia: SIHAO PTY LTD. 1 ROKEVA STREET, EASTWOOD NSW 2122, Australia
A/S YH Consulting Limited Bureau 147, Centurion
Maison, London Road, Staines-upon-Thames, Surrey, TW18 4AX
VEVOR®
TOUGH TOOLS, HALF PRICE
WARNING: STRANGULATION HAZARD
PLAYPEN*1
BED BASKET*1
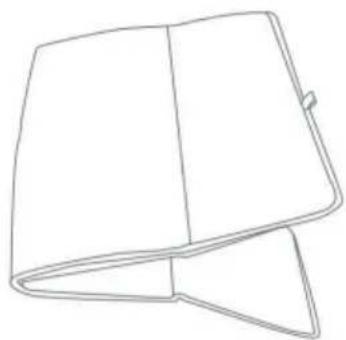
MATTRESS*1
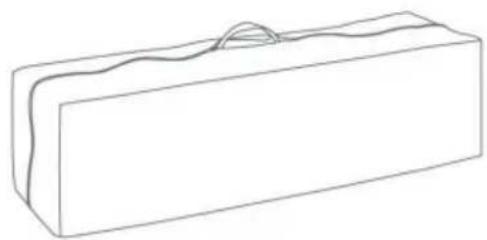
TRAVEL BAG*1
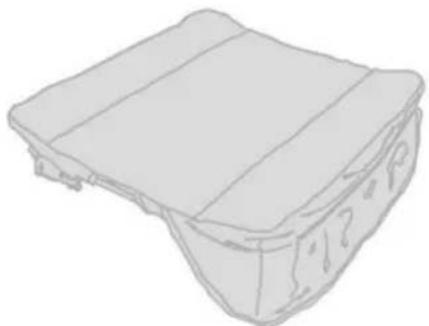
CHANGING TABLES*1
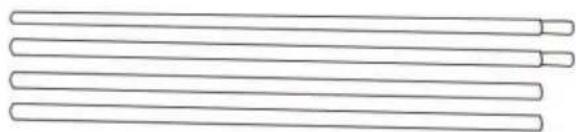
A BASSINET METAL SUPPORT TUBES*4
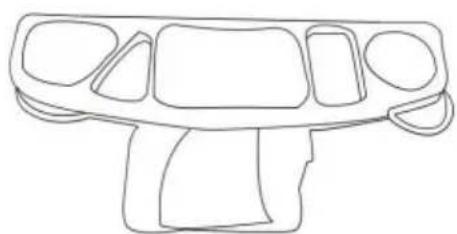
SHELF*1
SHELF HOLDER * 2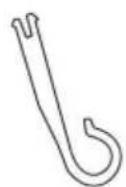
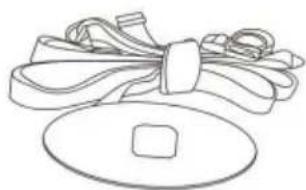
SAFETY BELT*1
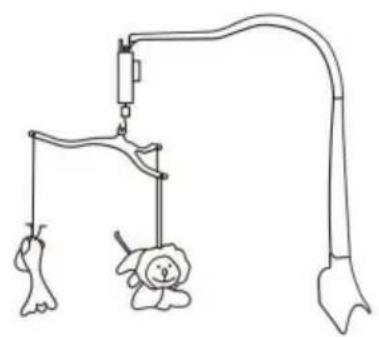
MUSIC & TOYS RACK*1
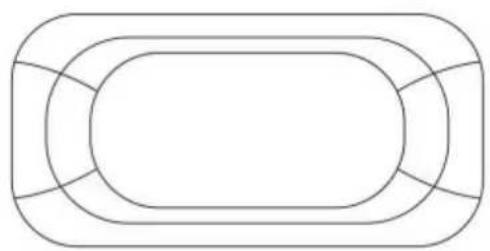
REPLACEABLE BED COVER*1
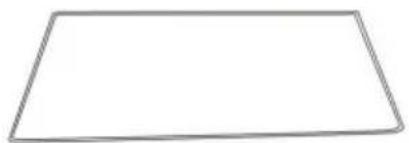
CHANGING TABLES CUSHION*1
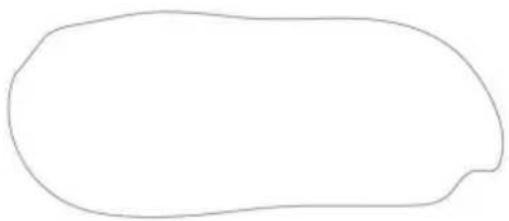
MOSQUITO NET*1
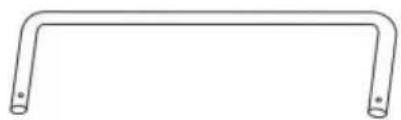

B CHANGING TABLE METAL SUPPORT TUBES*4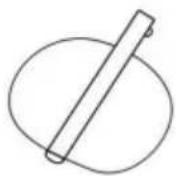

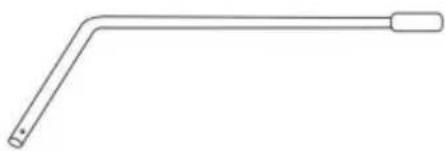
C MOSQUITO NET SUPPORT TUBES*3
ASSEMBLY
WARNING:
- The playpen must be fully assembled and securely locked before installing or using other accessories.
- Unzip the bag and remove the playpen frame. Undo the fastening straps and set the mattress aside.
DO NOT PUSH CENTER DOWN YET
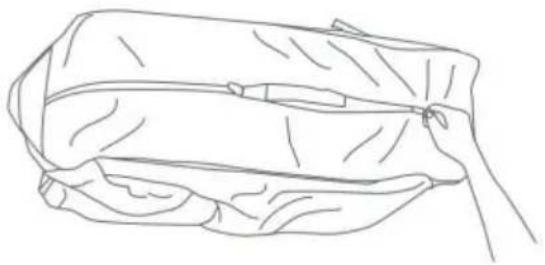
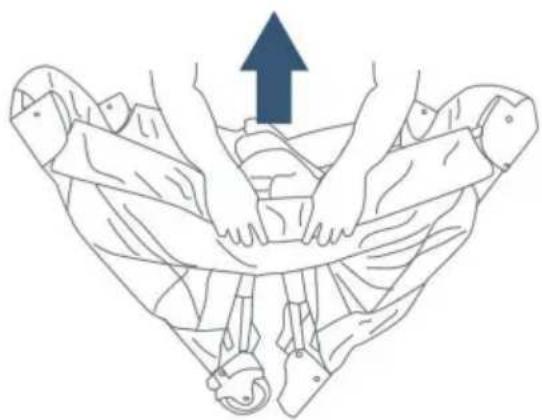
- The top rail must be fully erected and locked before lowering the center. Pull up one rail at a time, hold one hand on each side of the rail and pull up sharply. Do not pull from the middle where the center latch release is located. Make sure both tubes latch in place and each rail is rigid.
WARNING:
- The handle located in the center of the playpen floor MUST remain raised while locking the side rails in place. If the center is not raised, the rails will NOT lock.
- If you experience difficulty and one side of the rail will lock but the other side will not, then unlock the rail by squeezing the release in the center and try again.
- Once all 4 top rails are locked in place, push down on the center handle. The center mechanism will automatically lock in place.
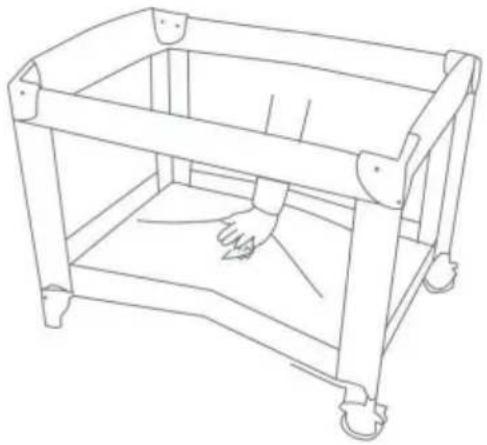
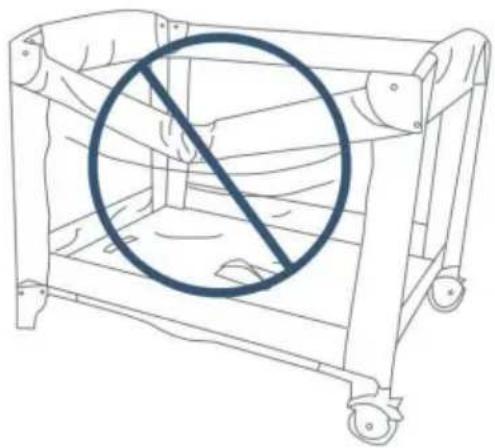
ATTENTION:
- Test each top tail by pushing down slightly to confirm each is rigid and securely in place before use.
- Place the mattress on the floor of the playpen with the padded side facing up.
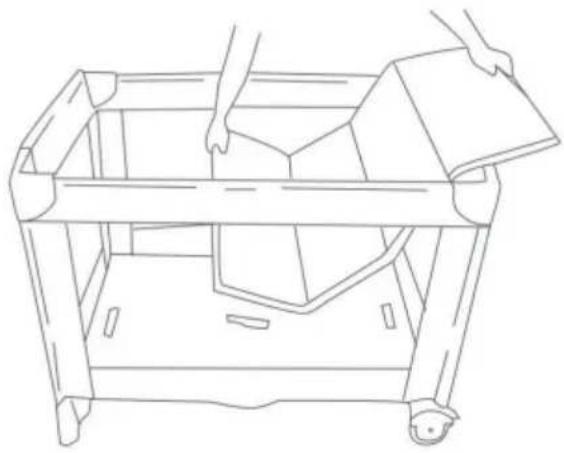
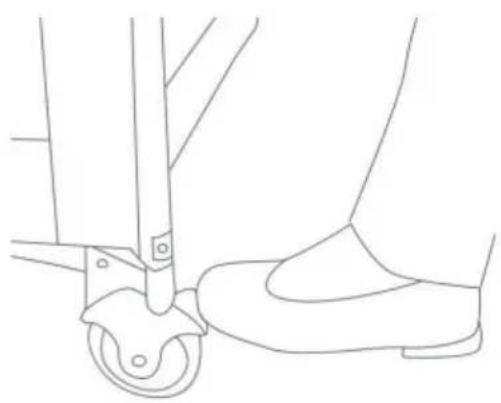
• To operate the brakes on the wheels, press downward on the brake levers. To release, lift upward on the lever.
- Playpen must be fully assembled and securely locked before installing or using the bassinet feature. You will need to remove the mattress from the bottom of the playpen to use inside your bassinet.
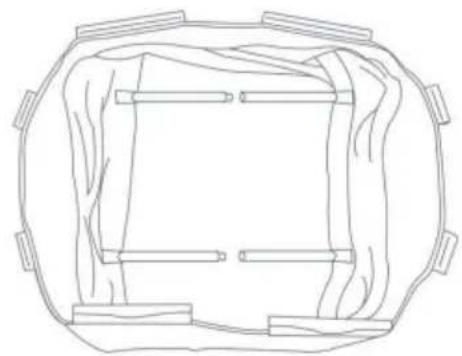
- Connect opposing mattress support tubes that are attached to the bottom of the bassinet.
- Before placing the mattress into the bassinet, make sure mattress support are connected as seen.
- Position the bassinet over and down into the fully assembled playpen.
The cradle and the game bed basket are fixed by zippers.
- Place the mattress into the bassinet with the padded side facing upward. • To remove the bassinet, remove mattress from the bassinet. Disconnect support tubes and unsnap all clips to lift out.
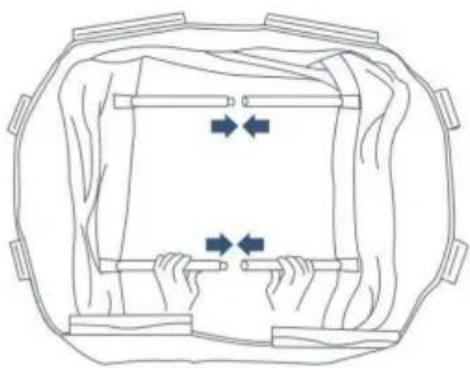
BASSINET METAL SUPPORT TUBES
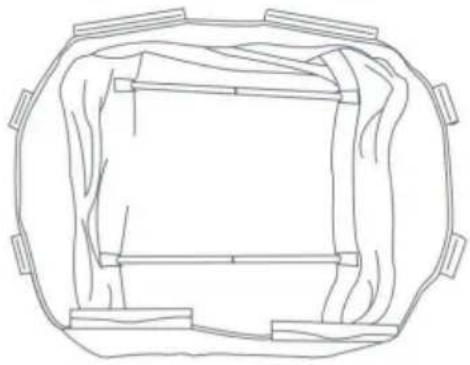
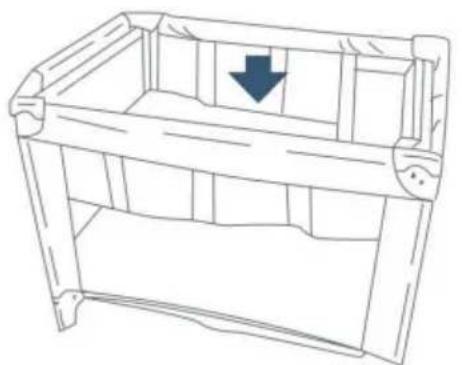
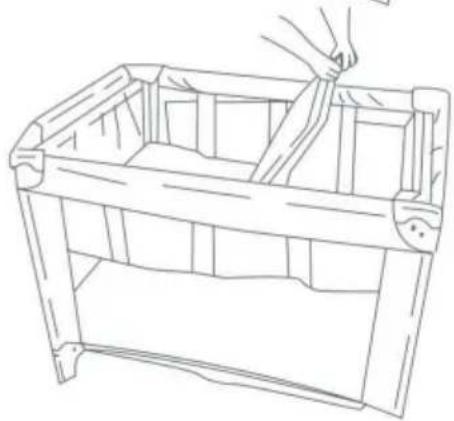
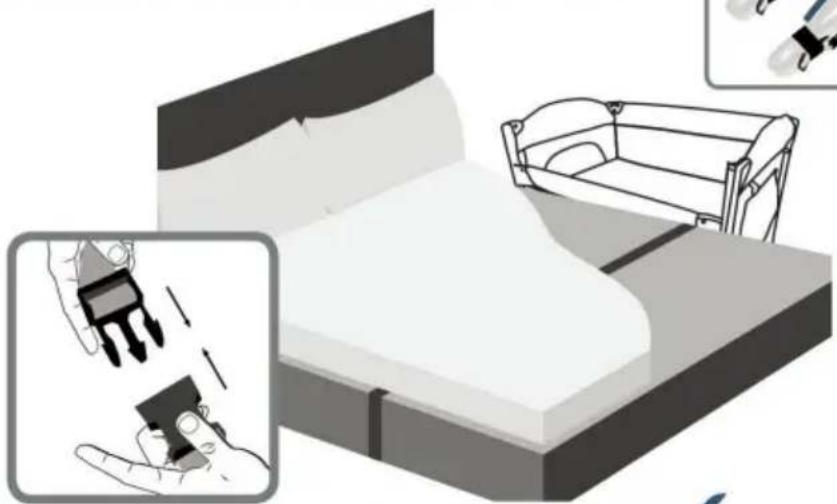
WARNING: Entrapment Hazard to prevent death from entrapment, bedside playpen must be properly secured to adult bed using the attachment straps.
WARNING:
The 2 attachment straps must always be used in bedside playpen mode
WARNING:
Ensure your baby is not inside the crib when you detach the crib from your bed frame.
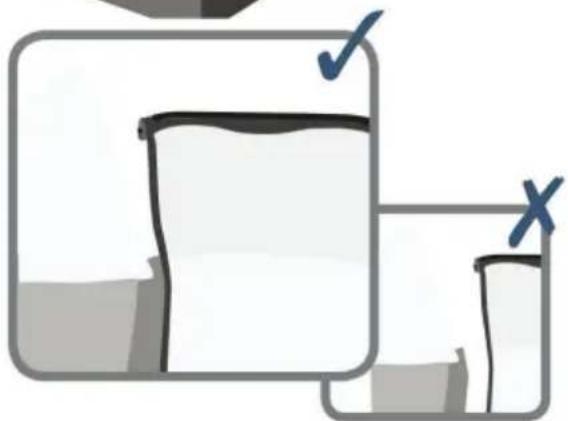
- There must be no more than 1/2 inch (13mm) gap between the bedside playpen and the adult bed.
- Check tightness before each use by pulling the bedside playpen in a direction away from the adult bed.
- If the gap exceeds 1/2 inch (13mm), DO NOT use the product. Do not fill the gap with pillows, blankets, or other items that are suffocation hazards.
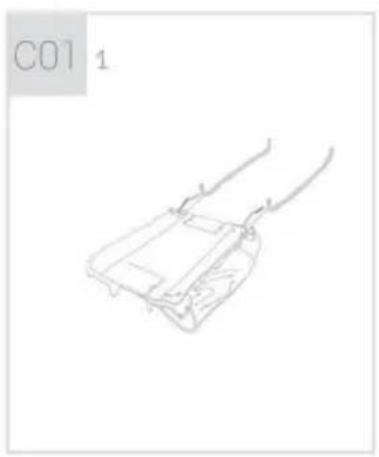
FOR ASSEMBLING THE CHANGING TABLE
Three Toys To prevail in kind
Music Switch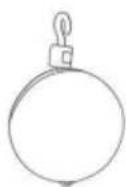
Base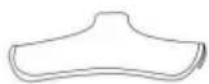
Base Bracket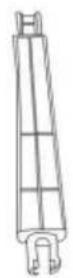
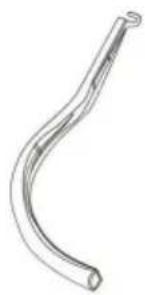
Splicer
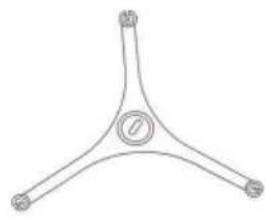
Toy Rack
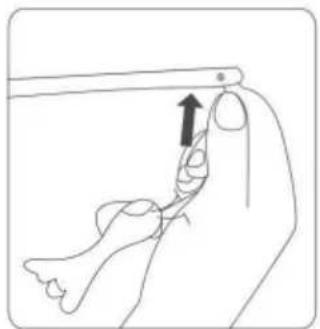
- Put toys on toy rack.
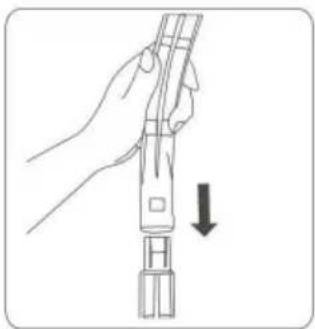
- Connect two splicers well.
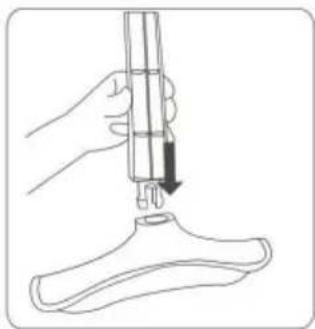
- Connect base and splicer well.
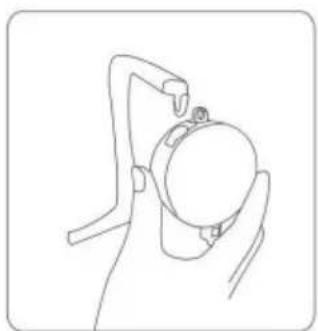
- Put on music switch.
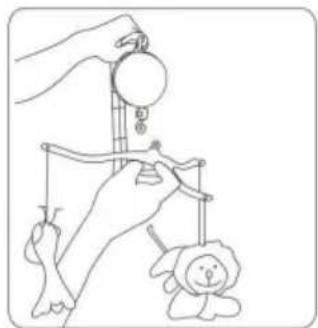
- Put on bracket with toys.
Insert the 3 toys, toy bars and music box as shown.
TO ASSEMBLE THE SHELF
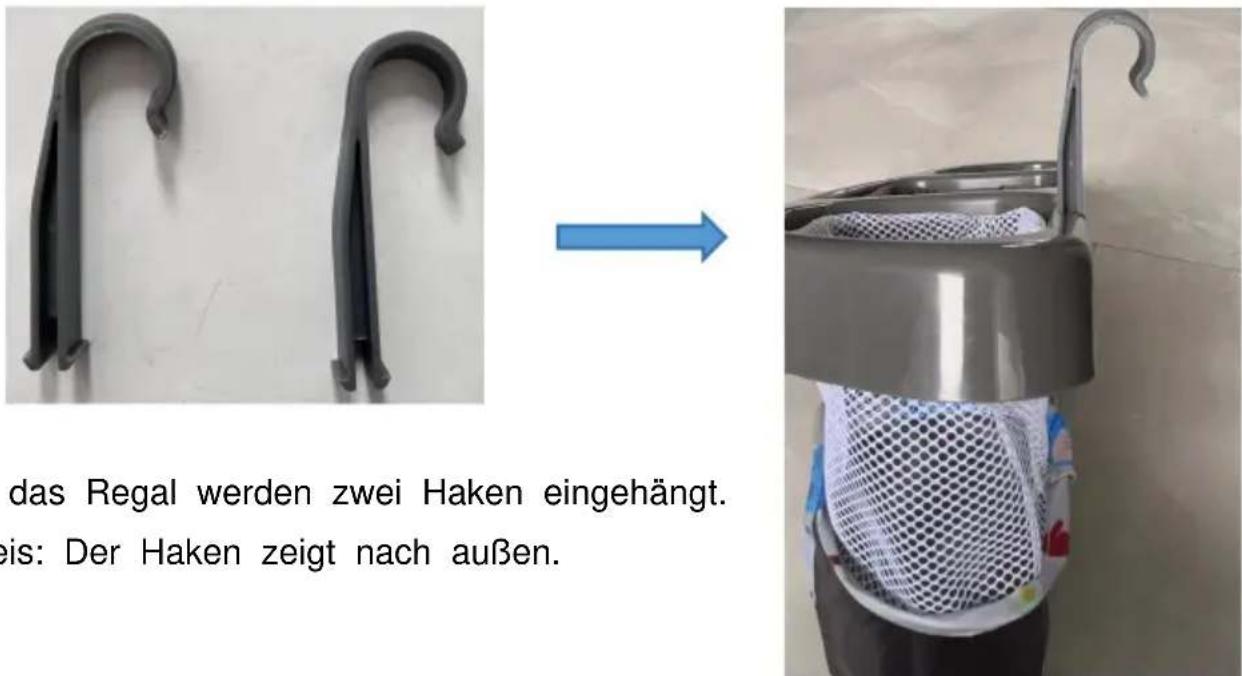
• DO NOT unlock top rail yet, centre of floor must be raised before top rails will unlock. - Rotate the centre handle and raise the centre as high as the top rail. Gather the legs and wheels together towards the centre as closed as possible so that they nearly touch.
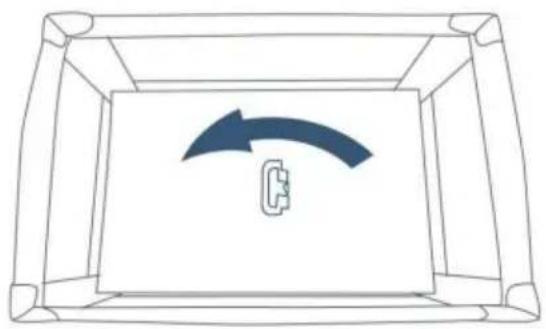
Rotate before lifting
- Locate the rail latch release in the centre and bottom side of each rail. Squeeze the lever with two hands until the rail releases the two tubes, then push down.
- If the top rail does not release completely, DO NOT FORCE! Lift the centre of floor higher. Both tubes must be released for the top rail to fold.
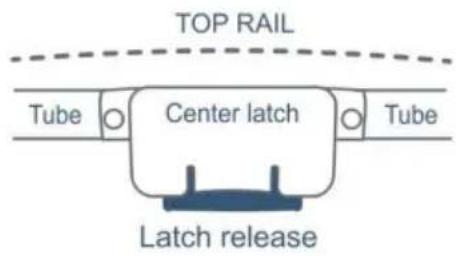
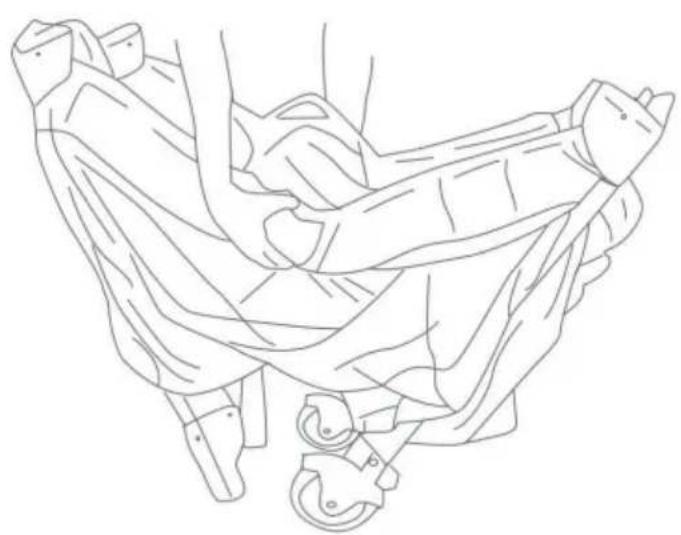
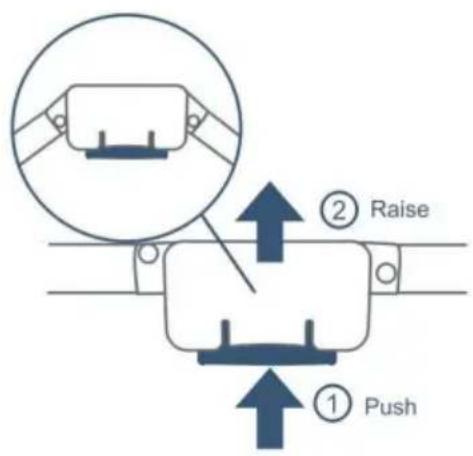
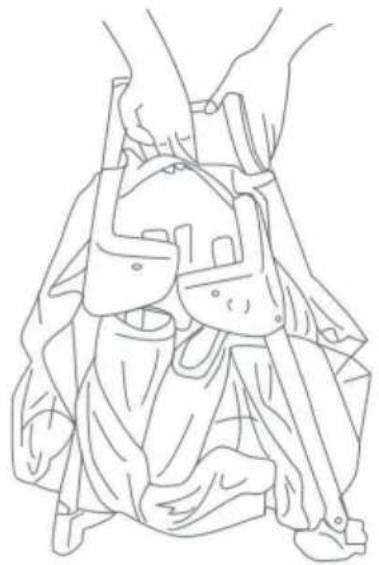
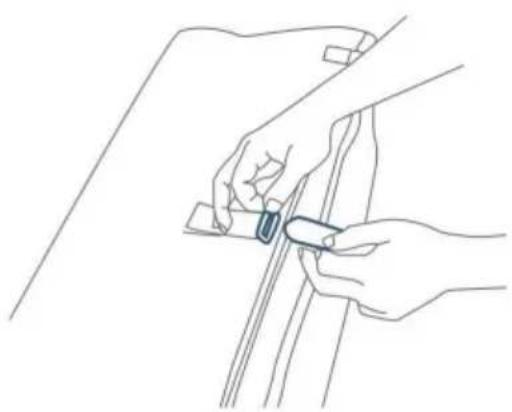
• Gather four corners and centre all together tightly. Wrap mattress around playpen frame with padded side facing inward. - Secure the hook and loop straps by feeding them through the loops on the end of the mattress and folding them back onto themselves. - Place folded playpen into carry bag.
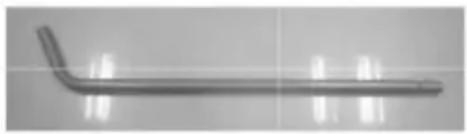
Part 1
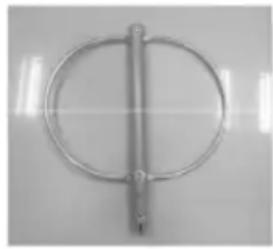
Part 2
Part 3
Fig.5
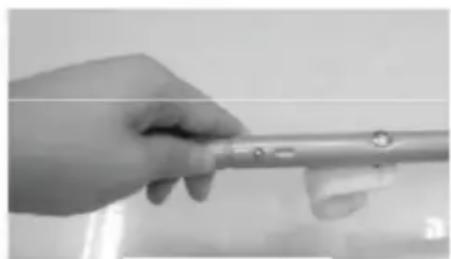
Fig.6
Fig.7
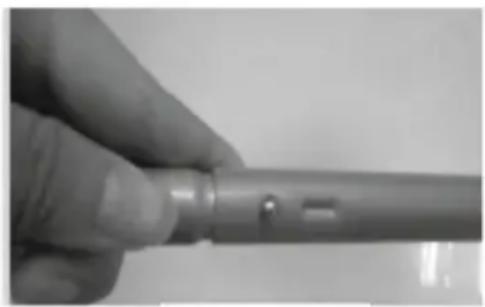
Fig.8
- Finally, connect the tube part 4 with the tube as shown in Fig. 8, being sure to press the shrapnel as shown in Fig. 9 - Fig. 10.
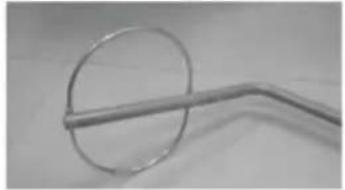
(Fig. 9)
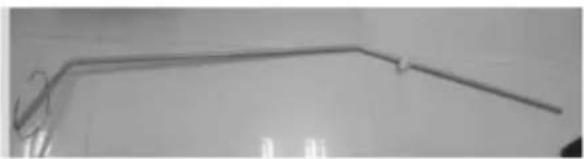
(Fig. 10)
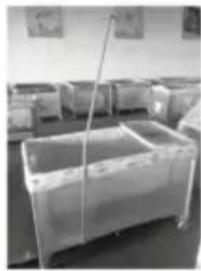
- Put the finished supporting tubes as shown in Fig. 10 into the pocket on the bottom side of the playpen (like Fig. 11).
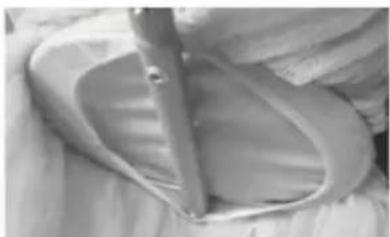
Then join the plastic hook at tube 1 with the handrail of the playpen as shown in Fig. 12 - Fig. 13.
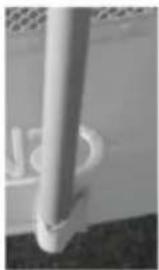
(Fig. 11)
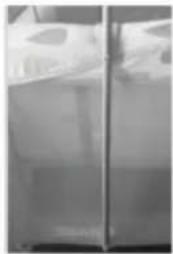
(Fig. 12)
(Fig. 13)
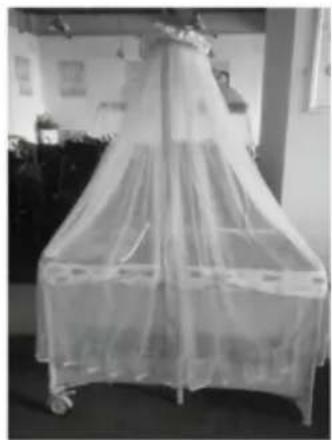
- Put the mosquito net on the round tube. Be sure to make the net cover the round tube completely (like Fig. 14 - Fig. 15).
(Fig. 14)
(Fig. 15)
Manufacturer: Shanghaimuxinmuyeyouxiangongsi
Address: Shuangchenglu 803nong11hao1602A-1609shi, baoshanqu, Shanghai 200000 CN.
Imported into Australia by: SIHAO PTY LTD. 1 ROKEVA STREETEASTWOOD NSW 2122 Australia
Imported into the USA by: Sanven Technology Ltd. Suite 250, 9166 Anaheim Place, Rancho Cucamonga, CA 91730
| Vertreter der EG |
E-CrossStu GmbH
Mainzer Landstr. 69, 60329 Frankfurt am Main.
| UK | REP |
YH CONSULTING LIMITED.
C/O YH Consulting Limited Office 147, Centurion
Haus, London Road, Staines-upon-Thames, Surrey, TW18 4AX
VEVOR®
TOUGH TOOLS, HALF PRICE
www.vevor.com/support
VEVOR®
TOUGH TOOLS, HALF PRICE
PLAYPEN*1
BED BASKET*1
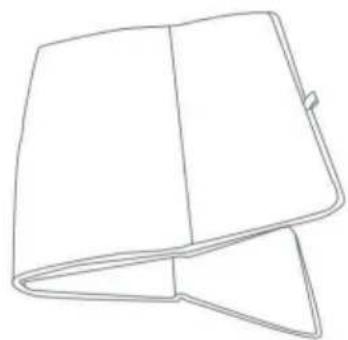
MATTRESS*1
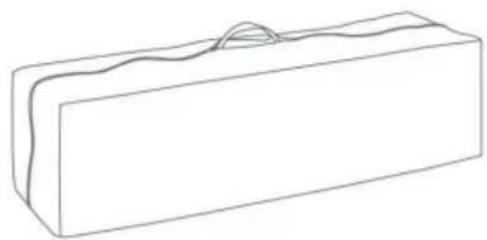
TRAVEL BAG*1
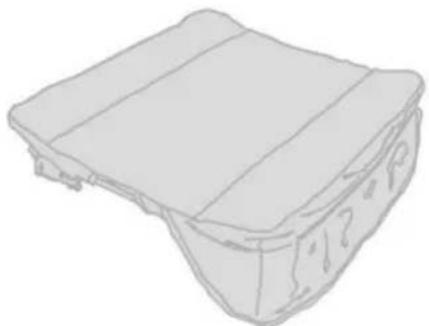
CHANGING TABLES*1
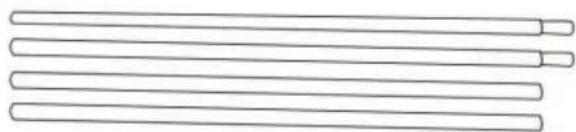
A METAL BASSINET SUPPORT TUBES*4
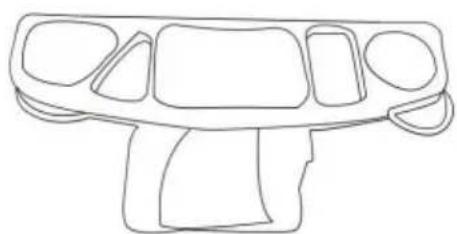
SHELF*1
SHELF SUPPORT*2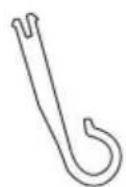
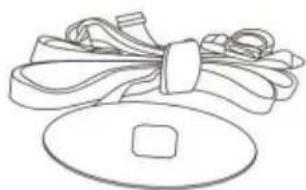
SAFETY BELT*1
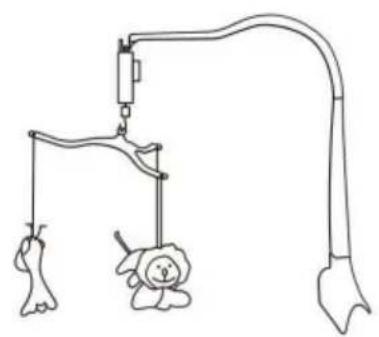
MUSIC & TOYS RACK*1
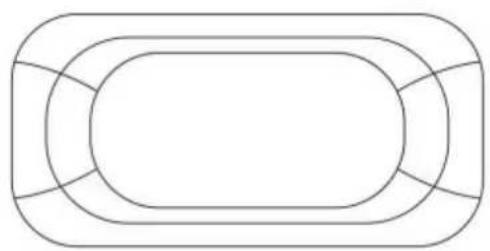
REPLACEABLE BED COVER*1
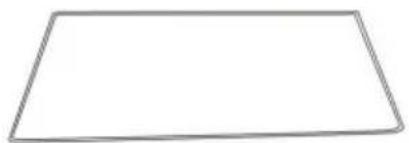
CHANGING TABLE CUSHION*1
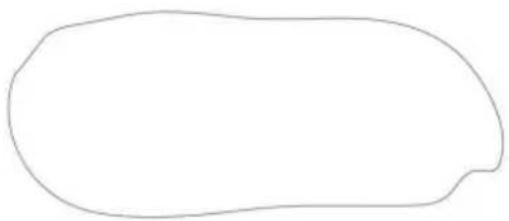
MOSQUITO NET*1

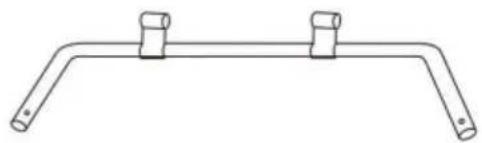
B CHANGING TABLE METAL SUPPORT TUBES*4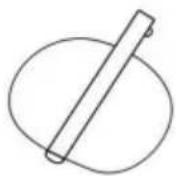

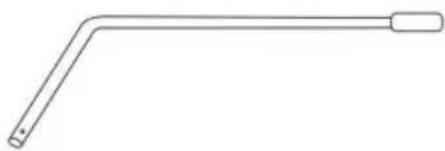
C MOSQUITO NET SUPPORT TUBES*3
ASSEMBLY
WARNING:
- Playpen must be fully assembled and securely locked before installing or using other accessories.
- Unzip bag and remove playpen frame. Undo the fasten straps and set the mattress aside.
DO NOT PUSH CENTRE DOWN YET
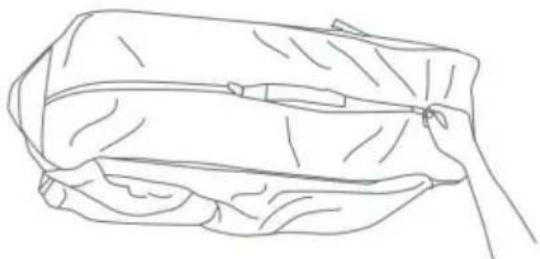
- Top rail must be fully erected and locked before lowering centre. Pull up one rail at a time, hold one hand on each side of the rail and pull up sharply, do not pull from the middle where the centre latch release is located, make sure both tubes latch in place and each rail is rigid.
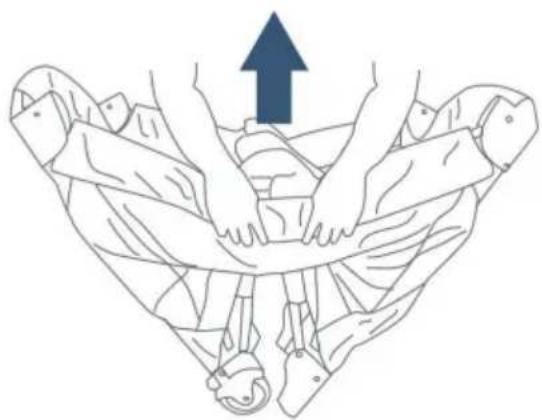
ATTENTION:
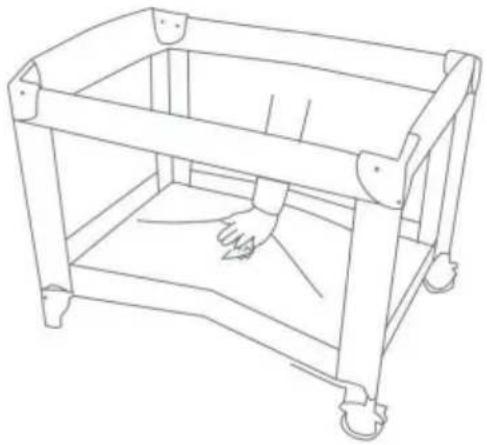
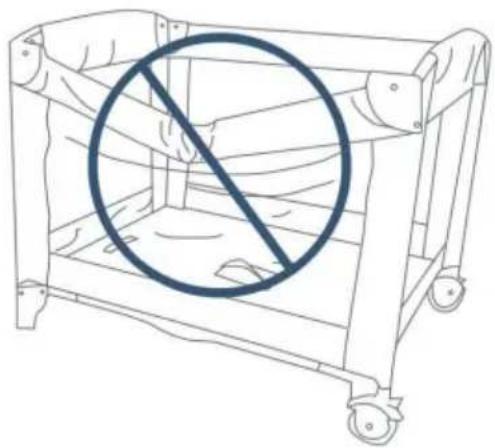
- The handle located in the centre of the playpen floor MUST remain raised while locking the side rails in place. IF the centre is not raised the rails will NOT lock.
- If you experience difficulty and one side of the rail will lock but the other side will not then, unlock the rail by squeezing the release in the centre and try again.
- Once all 4 top rail are lock in place, push down on the centre handle. The centre mechanism will automatically lock in place.
ATTENTION:
- Test each top tail by pushing down slightly to confirm each is rigid and securely in place before use.
- Place the mattress on the floor of the playpen with the padded side facing up.
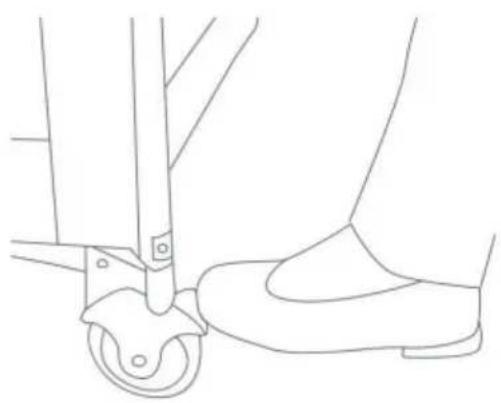
• To operate the brakes on the wheels, press downward on the brake levers. To release, lift upward on the lever.
- Playpen must be fully assembled and securely locked before installing or using the bassinet feature. You will need to remove the mattress from the bottom of the playpen to use inside your bassinet.
- Connect opposing mattress support tubes that are attached to the bottom of the bassinet.
- Before placing the mattress into the bassinet, make sure mattress support are connected as seen.
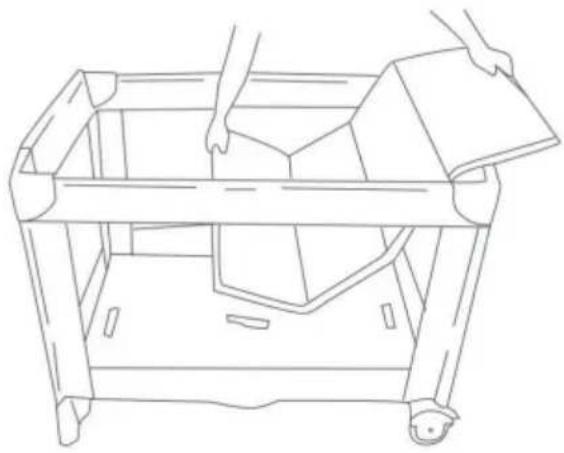
- Position the bassinet over and down into the fully assembled playpen.
The cradle and the game bed basket are fixed by zippers.
- Place the mattress into the bassinet with the padded side facing upward. • To remove the bassinet, remove mattress from the bassinet. Disconnect support tubes and unsnap all clips to lift out.
BASSINET METAL SUPPORT TUBES
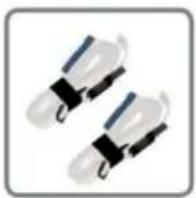
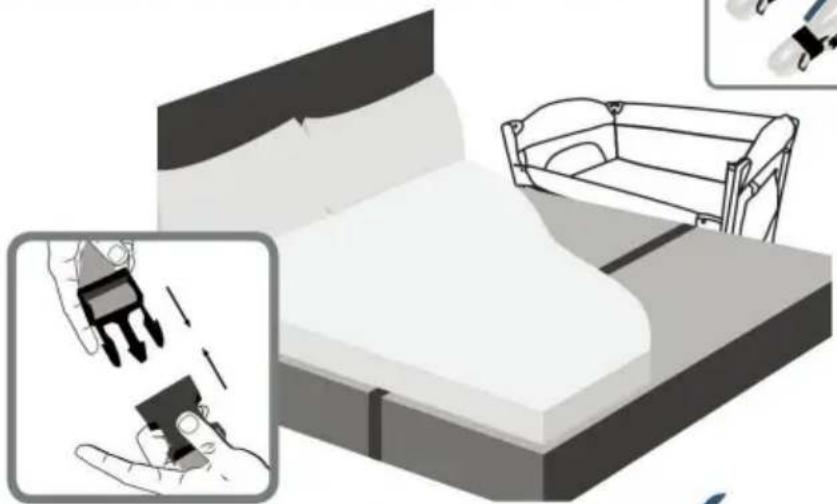
WARNING: Entrapment Hazard to prevent death from entrapment, bedside playpen must be properly secured to adult bed using the attachment straps.
WARNING:
The 2 attachment straps must always be used in bedside playpen mode
WARNING:
Ensure your baby is not inside the crib when you detach the crib from your bed frame.
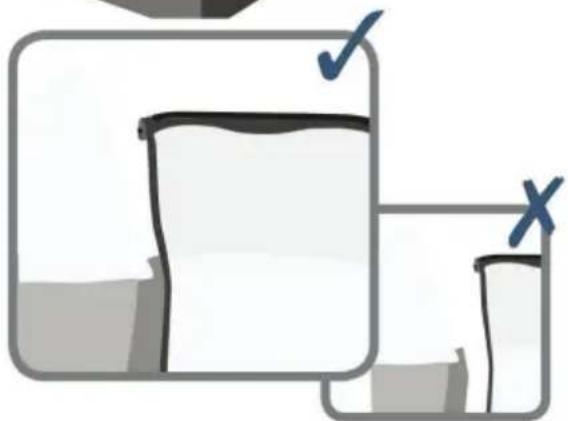
- There must be no more than 1/2 inch(13mm) gap between bedside playpen and adult bed.
- Check tightness before each use by pulling bedside playpen in a direction away from adult bed.
- If gap exceeds 1/2 inch(13mm), DO NOT use product. Do not fill the gap with pillows, blankets or other items that are suffocation hazards.
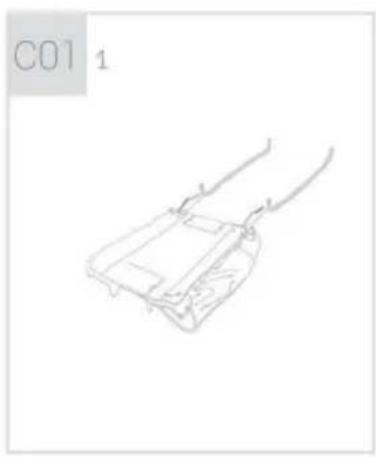
TO ASSEMBLE THE CHANGING TABLE
Three Toys To prevail in kind
Music Switch
Base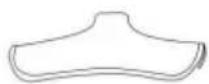
Base Bracket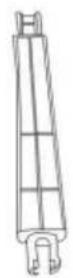
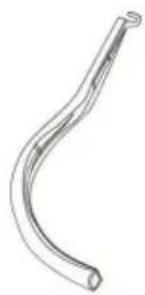
Splicer
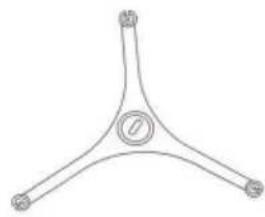
Toy Rack
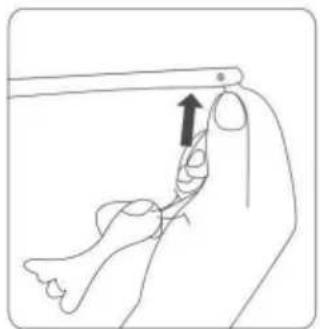
- Put toys on toy rack.
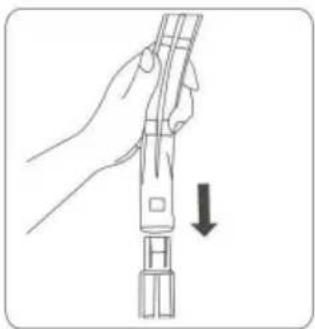
- Connect two splicers well.
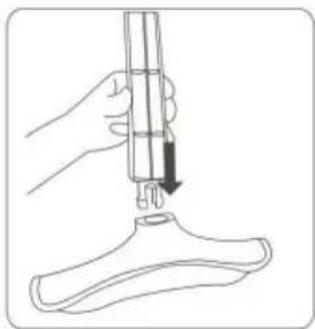
- Connect base and splicer well.
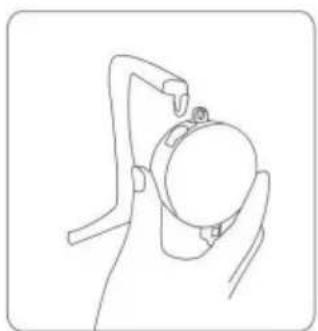
- Put on music switch.
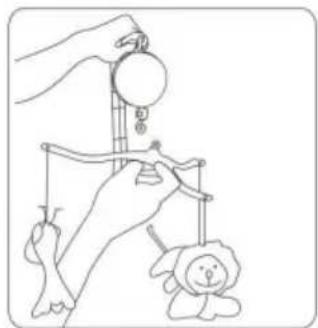
- Put on bracket with toys.
Insert the 3 toys, toy bars and music box as shown.
TO ASSEMBLE THE SHELF
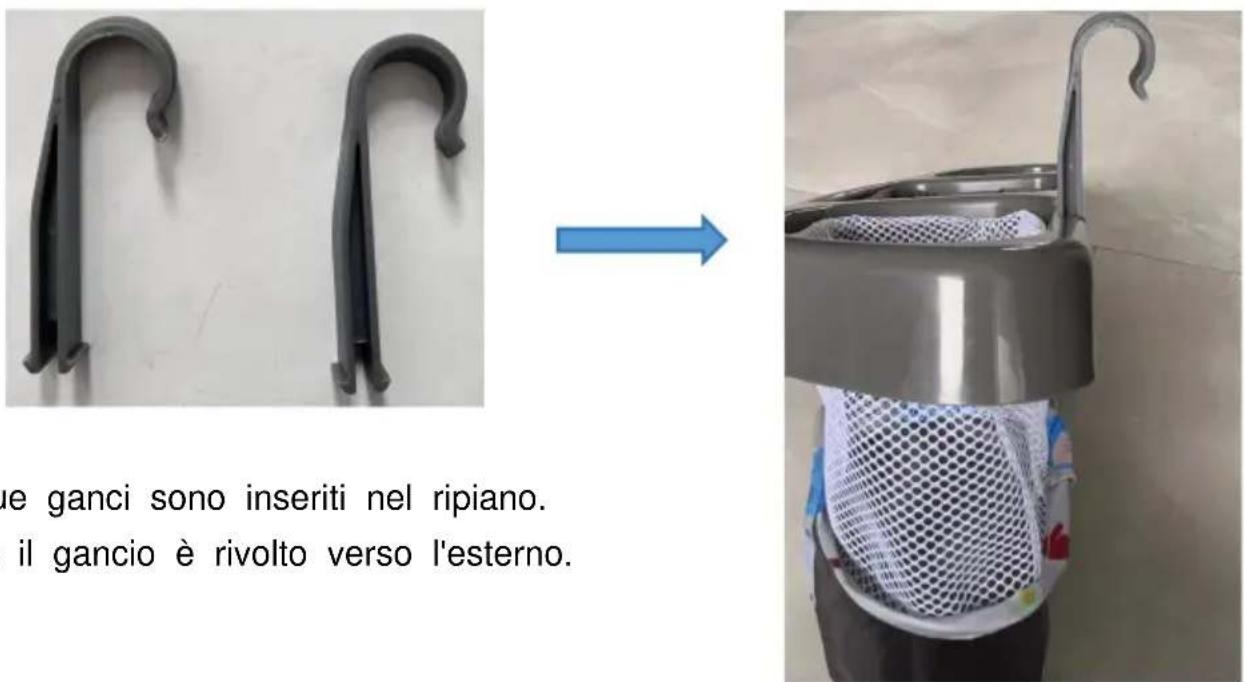
• DO NOT unlock top rail yet, centre of floor must be raised before top rails will unlock. - Rotate the centre handle and raise the centre as high as the top rail. Gather the legs and wheels together towards the centre as closed as possible so that they nearly touch.
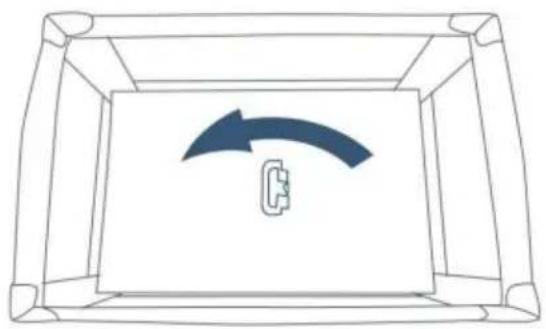
Rotate before lifting
- Locate the rail latch release in the centre and bottom side of each rail. Squeeze the lever with two hands until the rail releases the two tubes, then push down.
- If the top rail does not release completely, DO NOT FORCE! Lift the centre of floor higher. Both tubes must be released for the top rail to fold.
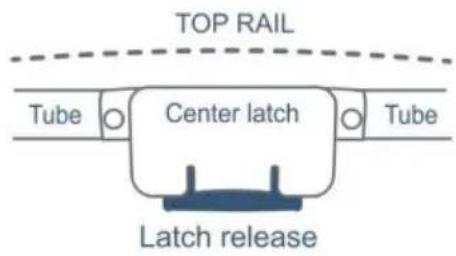
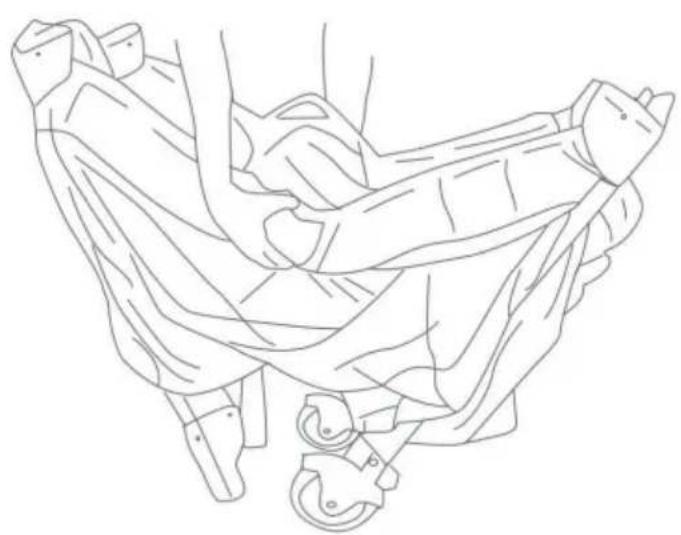
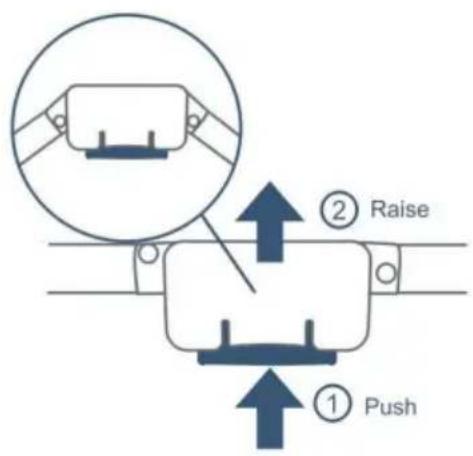
• Gather four corners and centre all together tightly. Wrap mattress around playpen frame with padded side facing inward. - Secure the hook and loop straps by feeding them through the loops on the end of the mattress and folding them back onto themselves. - Place folded playpen into carry bag.
Part 1
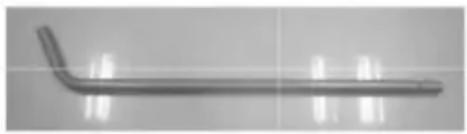
Part 2
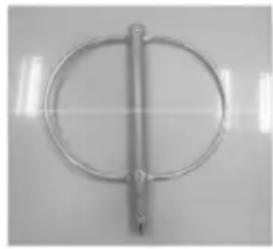
Part 3
How to assemble the tubes
Figure 5
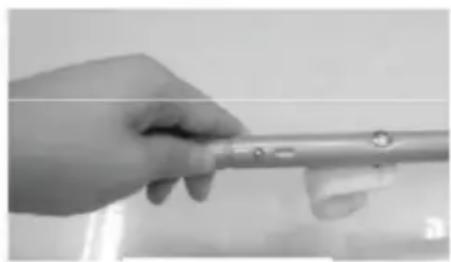
Figure 6
Figure 7
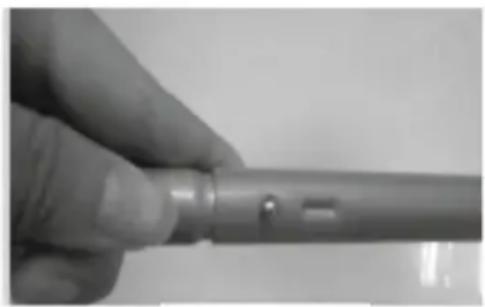
Figure 8
- Finally, connect the tube part 4 with tube Fig. 8, be sure to press the shrapnel as in Fig. 9 - Fig. 10
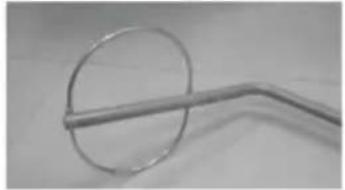
(Fig. 9)
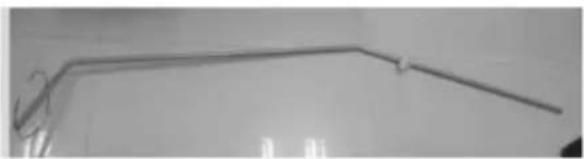
(Fig. 10)
- Put the finished supporting tubes as in Fig. 10 into the pocket on the bottom side of the playpen (like Fig. 11)
Then join the plastic hook at tube 1 with the handrail of the playpen like Fig. 12 - Fig. 13
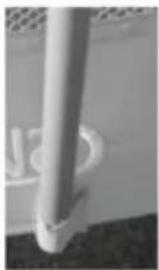
(Fig. 11)
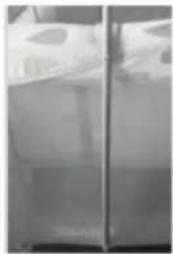
(Fig. 12)
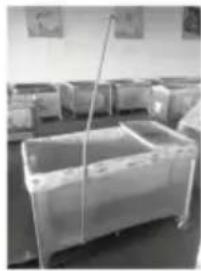
(Fig. 13)
- Put the mosquito net on the round tube. Be sure to make the net cover the round tube completely. (Like Fig. 14 - Fig. 15)
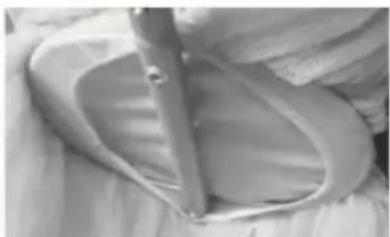
Figure 14 (Fig. 14)

Figure 15 (Fig. 15)
Imported into Australia: SIHAO PTY LTD. 1 ROKEVA STREET EASTWOOD
New South Wales 2122 Australia
Imported into the USA: Sanven Technology Ltd. Suite 250, 9166 Anaheim
Place, Rancho Cucamonga, CA 91730
C/O YH Consulting Limited Office 147, Centurion
House, London Road, Staines-upon-Thames, Surrey, TW18 4AX
VEVOR®
TOUGH TOOLS, HALF PRICE
PLAYPEN*1
BED BASKET*1
MATTRESS*1
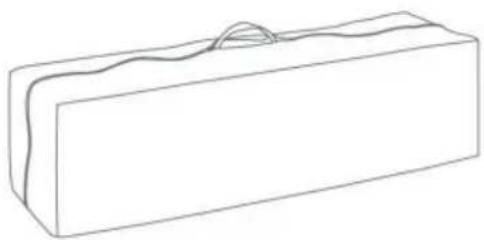
TRAVEL BAG*1
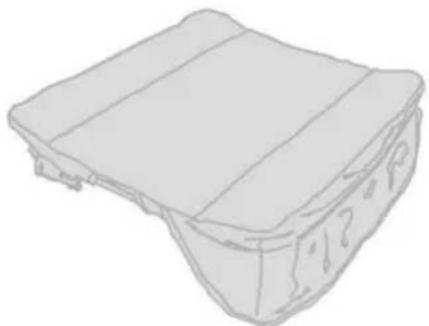
CHANGING TABLES*1
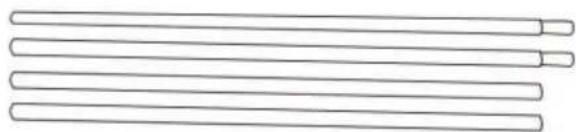
A BASSINET METAL SUPPORT TUBES*4
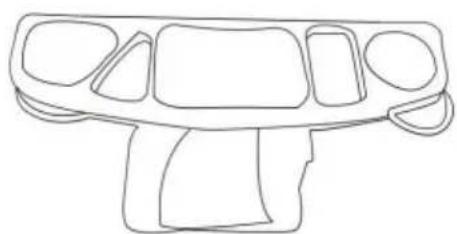
SHELF*1
ESTANTE HOOK*2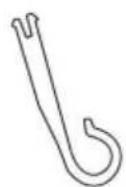
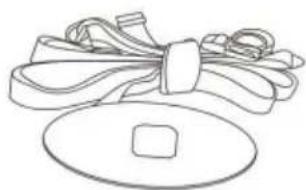
SAFETY BELT*1
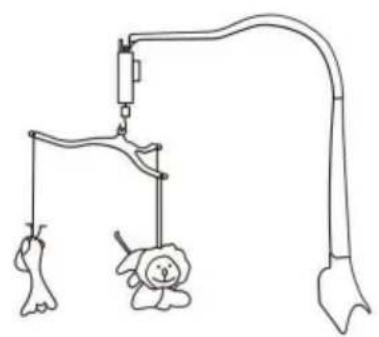
MUSIC & TOYS RACK*1
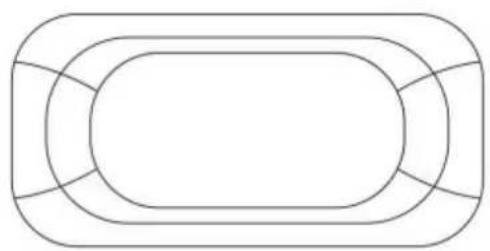
REPLACEABLE BED COVER*1
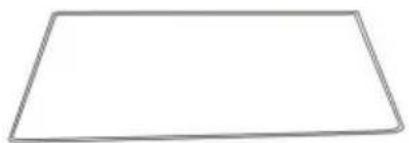
CHANGING TABLE CUSHION*1
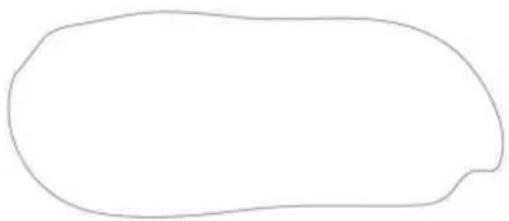
MOSQUITO NET*1
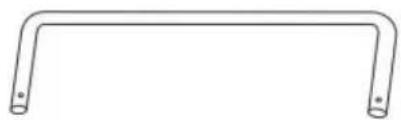
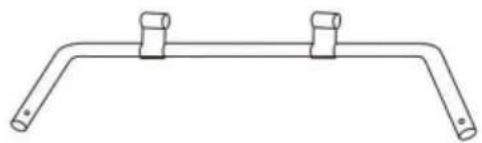
B CHANGING TABLE METAL SUPPORT TUBES*4, MOSQUITO NET SUPPORT TUBES*3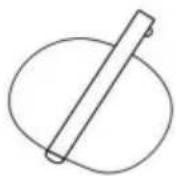

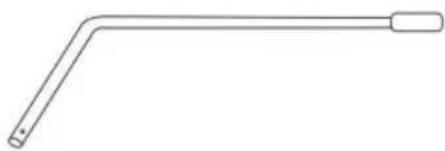
ARMAR
ATTENTION:
- Playpen must be fully assembled and securely locked before installing or using other accessories.
- Unzip bag and remove playpen frame. Undo the fasten straps and set the mattress aside.
DO NOT PUSH CENTRE DOWN YET
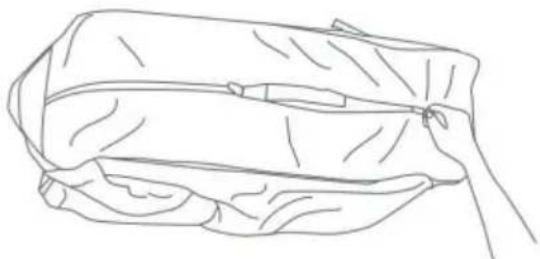
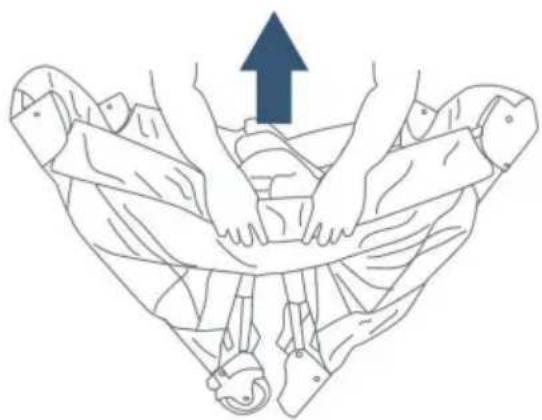
- Top rail must be fully erected and locked before lowering centre. Pull up one rail at a time, hold one hand on each side of the rail and pull up sharply, do not pull from the middle where the centre latch release is located, make sure both tubes latch in place and each rail is rigid.
ATTENTION:
- The handle located in the centre of the playpen floor MUST remain raised while locking the side rails in place. IF the centre is not raised the rails will NOT lock.
- If you experience difficulty and one side of the rail will lock but the other side will not then, unlock the rail by squeezing the release in the centre and try again.
- Once all 4 top rail are lock in place, push down on the centre handle. The centre mechanism will automatically lock in place.
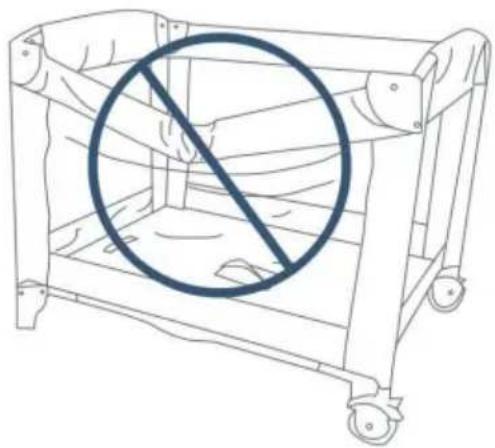
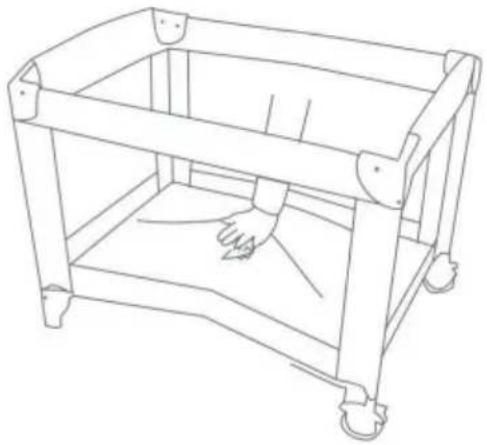
ATTENTION:
- Test each top tail by pushing down slightly to confirm each is rigid and securely in place before use.
- Place the mattress on the floor of the playpen with the padded side facing up.
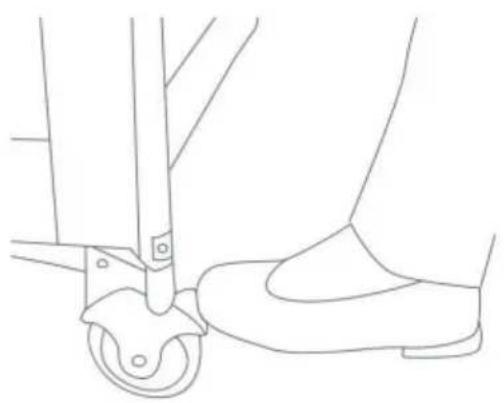
• To operate the brakes on the wheels, press downward on the brake levers. To release, lift upward on the lever.
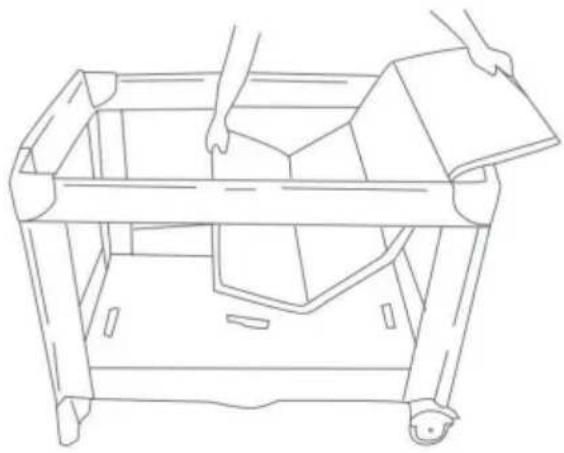
- Playpen must be fully assembled and securely locked before installing or using the bassinet feature. You will need to remove the mattress from the bottom of the playpen to use inside your bassinet.
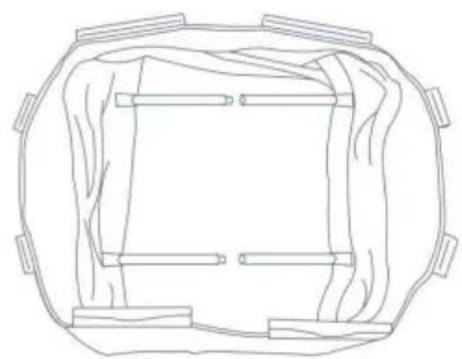
- Connect opposing mattress support tubes that are attached to the bottom of the bassinet.
- Before placing the mattress into the bassinet, make sure mattress support are connected as seen.
- Position the bassinet over and down into the fully assembled playpen.
The cradle and the game bed basket are fixed by zippers.
- Place the mattress into the bassinet with the padded side facing upward. • To remove the bassinet, remove mattress from the bassinet. Disconnect support tubes and unsnap all clips to lift out.
BASSINET METAL SUPPORT TUBES
WARNING: Entrapment Hazard to prevent death from entrapment, bedside playpen must be properly secured to adult bed using the attachment straps.
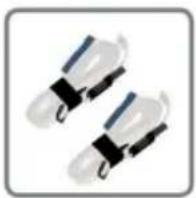
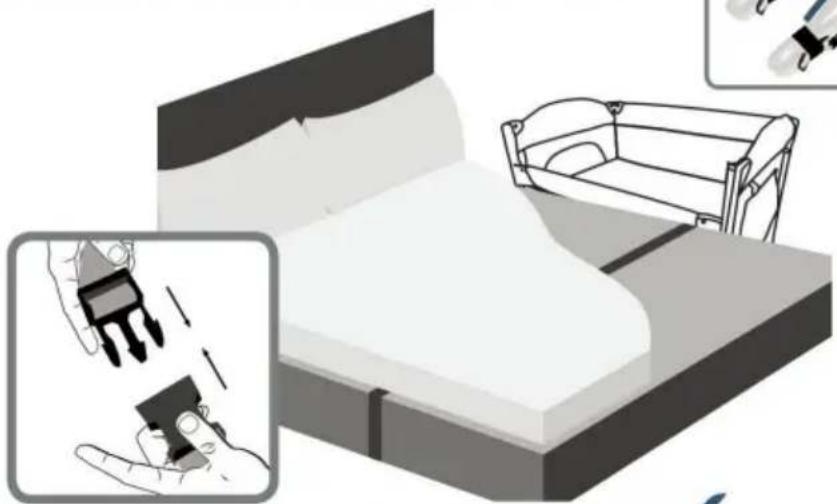
WARNING:
The 2 attachment straps must always be used in bedside playpen mode
WARNING:
Ensure your baby is not inside the crib when you detach the crib from your bed frame.
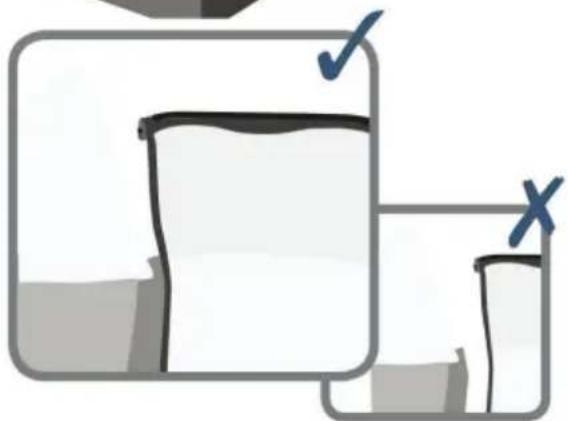
- There must be no more than 1/2 inch (13mm) gap between bedside playpen and adult bed.
- Check tightness before each use by pulling bedside playpen in a direction away from adult bed.
- If gap exceeds 1/2 inch (13mm), DO NOT use product. Do not fill the gap with pillows, blankets or other items that are suffocation hazards.
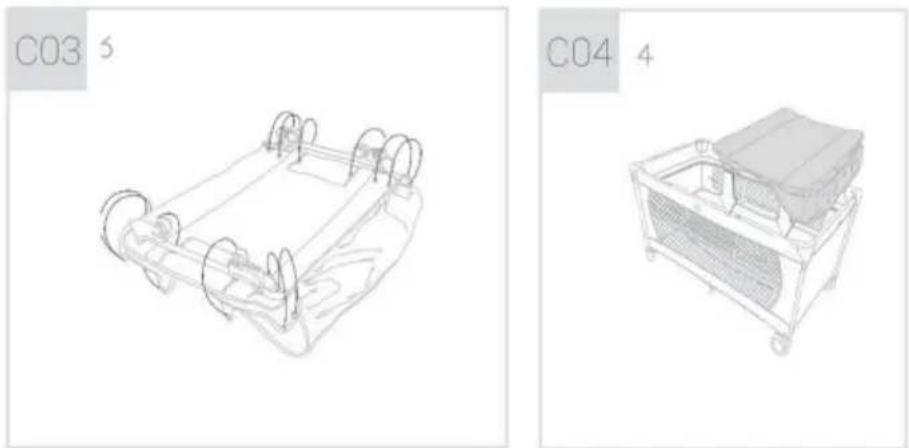
Three Toys To prevail in kind
Music Switch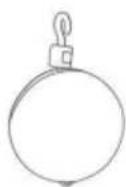
Base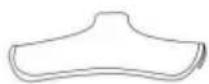
Base Bracket
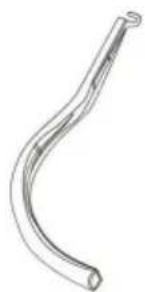
Splicer
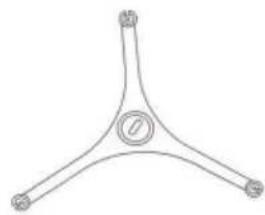
Toy Rack
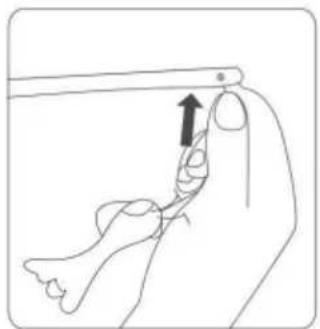
- Put toys on toy rack.
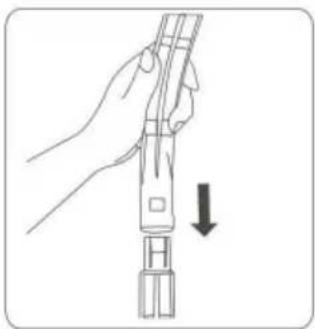
- Connect two splicers well.
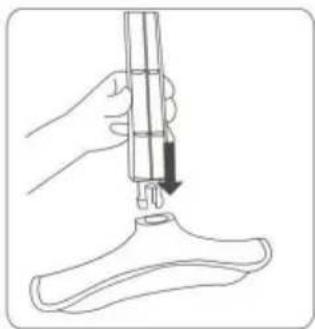
- Connect base and splicer well.
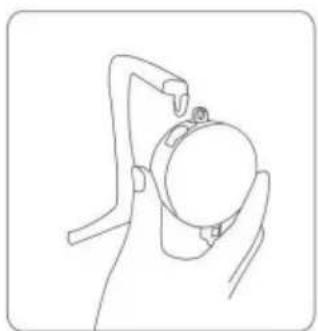
- Put on music switch.
- Put on bracket with toys.
Insert the 3 toys, toy bars and music box as shown.
TO ASSEMBLE THE SHELF
• DO NOT unlock top rail yet, centre of floor must be raised before top rails will unlock. - Rotate the centre handle and raise the centre as high as the top rail. Gather the legs and wheels together towards the centre as closed as possible so that they nearly touch.
Rotate before lifting
- Locate the rail latch release in the centre and bottom side of each rail. Squeeze the lever with two hands until the rail releases the two tubes, then push down.
- If the top rail do not release completely, DO NOT FORCE! Lift the centre of floor higher. Both tubes must be released for the top rail to fold.
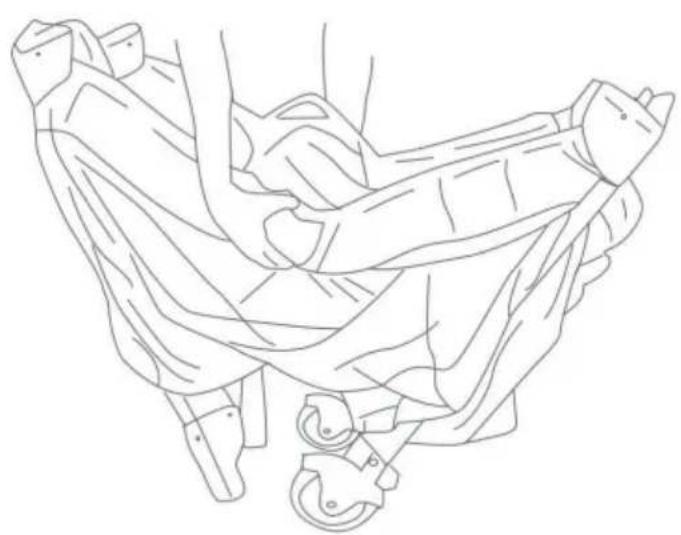
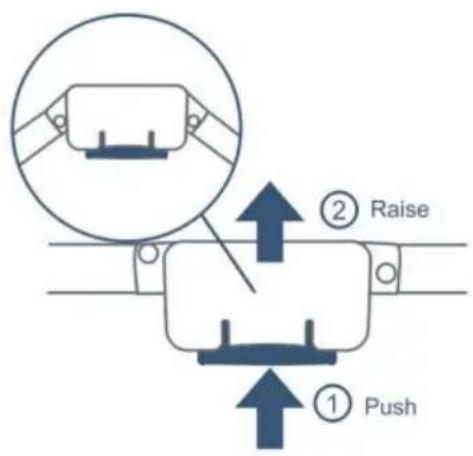
• Gather four corners and centre all together tightly. Wrap mattress around playpen frame with padded side facing inward. - Secure the hook and loop straps by feeding them through the loops on the end of the mattress and folding them back onto themselves. - Place folded playpen into carry bag.
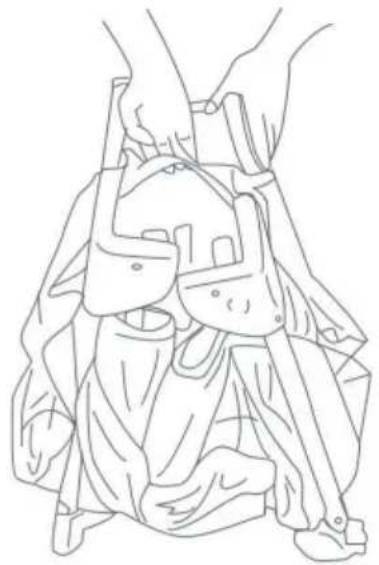
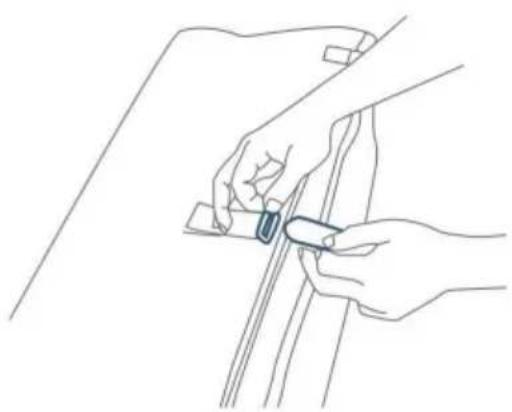
Part 1
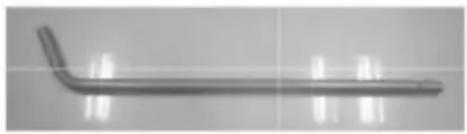
Part 2
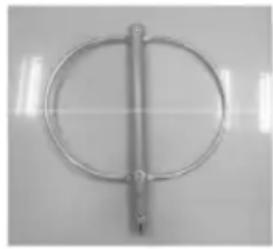
Part 3
Figure 5
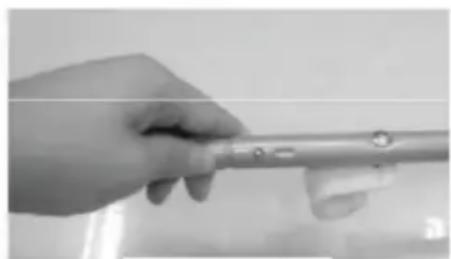
Figure 6
Figure 7
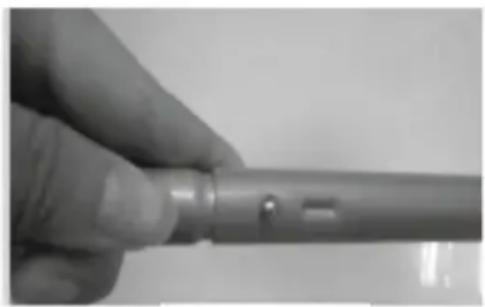
Figure 8
- Finally, connect the tube part 4 with the tube in Fig. 8, being sure to press the shrapnel as shown in Fig. 9 and Fig. 10.
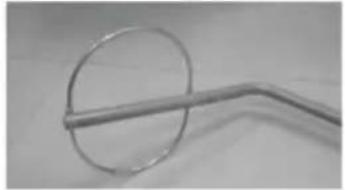
(Fig. 9)
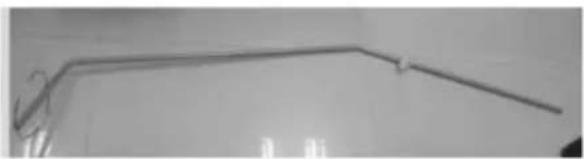
(Fig. 10)
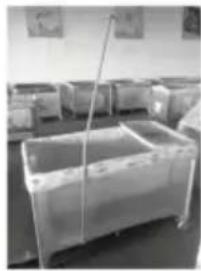
- Put the finished supporting tubes as in Fig. 10 into the pocket on the bottom side of the playpen (like Fig. 11).
Then join the plastic hook at tube 1 with the handrail of the playpen as shown in Fig. 12 and Fig. 13.
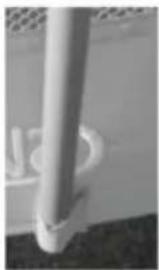
(Fig. 11)
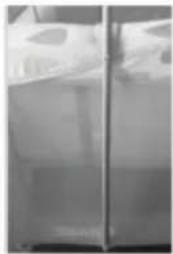
(Fig. 12)
(Fig. 13)
- Put the mosquito net on the round tube. Be sure to make the net cover the round tube completely (like Fig. 14–Fig. 15).
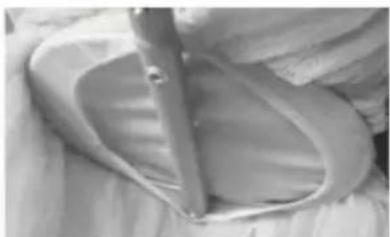
Fig. 14
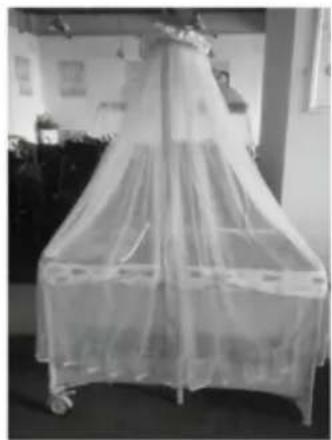
Fig. 15
Manufacturer: Shanghai Muxin Muye Youxian Gongsi
Address: Shuangchenglu 803nong11hao1602A-1609shi, Baoshan District, Shanghai 200000 CN.
Imported to Australia: SIHAO PTY LTD. 1 ROKEVA STREET EASTWOOD
House, London Road, Staines-upon-Thames, Surrey, TW18 4AX
VEVOR®
TOUGH TOOLS, HALF PRICE
NEED HELP? CONTACT US!
PLAYPEN*1
BED BASKET*1
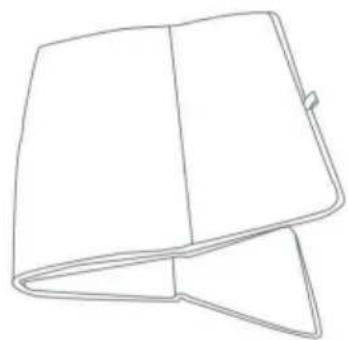
MATTRESS*1
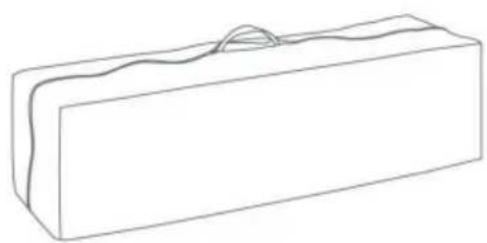
TRAVEL BAG*1
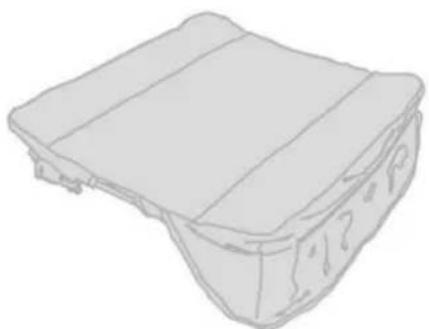
CHANGING TABLES*1
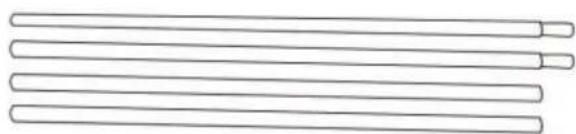
A BASSINET METAL SUPPORT TUBES*4
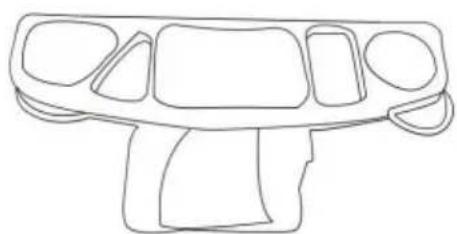
SHELF*1
SHELF HOOK*2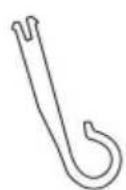
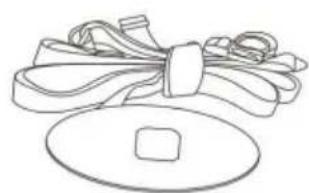
SAFETY BELT*1
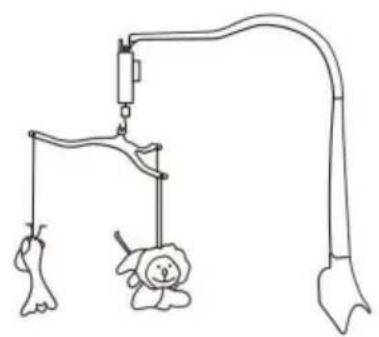
MUSIC & TOYS RACK*1
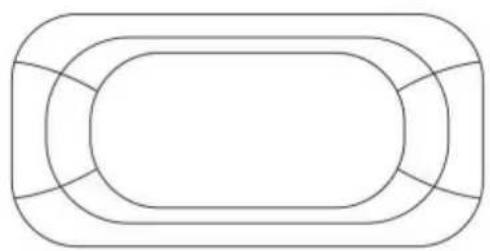
REPLACEABLE BED COVER*1
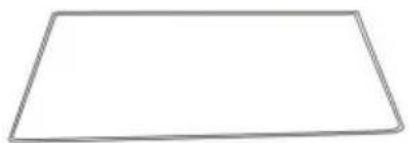
CHANGING TABLES CUSHION*1
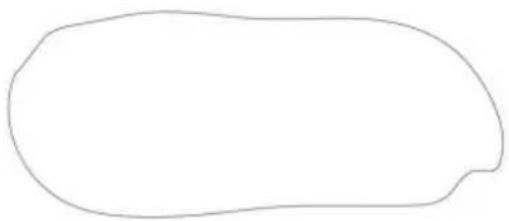
MOSQUITO NET*1
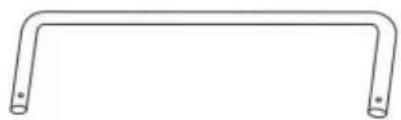
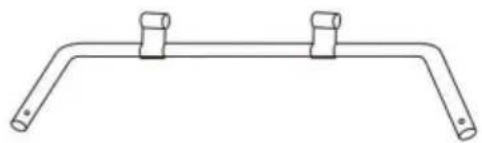
B CHANGING TABLE METAL SUPPORT TUBES*4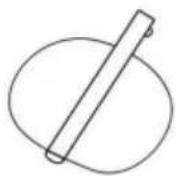

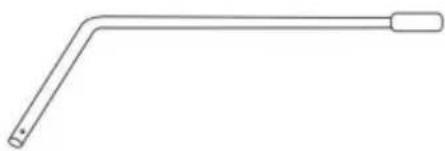
C MOSQUITO NET SUPPORT TUBES*3
GROMADZIĆ SIĘ
ATTENTION:
- Playpen must be fully assembled and securely locked before installing or using other accessories.
- Unzip bag and remove playpen frame. Undo the fasten straps and set the mattress aside.
DO NOT PUSH CENTRE DOWN YET
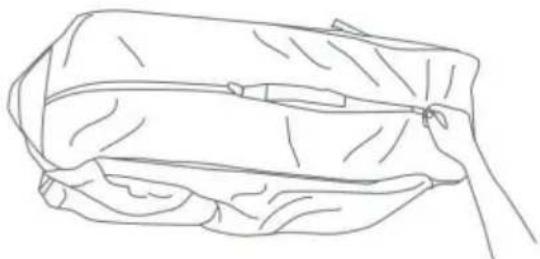
- Top rail must be fully erected and locked before lowering centre. Pull up one rail at a time, hold one hand on each side of the rail and pull up sharply, do not pull from the middle where the centre latch release is located, make sure both tubes latch in place and each rail is rigid.
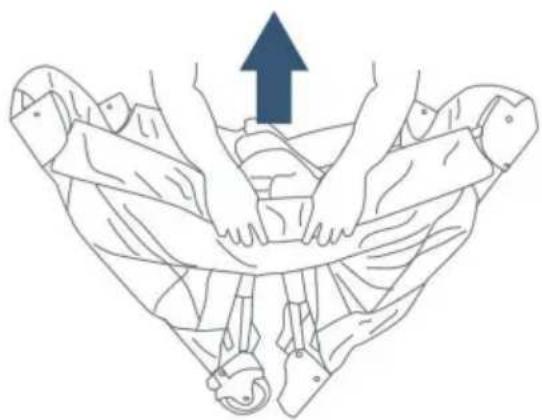
ATTENTION:
- The handle located in the centre of the playpen floor MUST remain raised while locking the side rails in place. IF the centre is not raised the rails will NOT lock.
- If you experience difficulty and one side of the rail will lock but the other side will not then, unlock the rail by squeezing the release in the centre and try again.
- Once all 4 top rails are locked in place, push down on the center handle. The center mechanism will automatically lock in place.
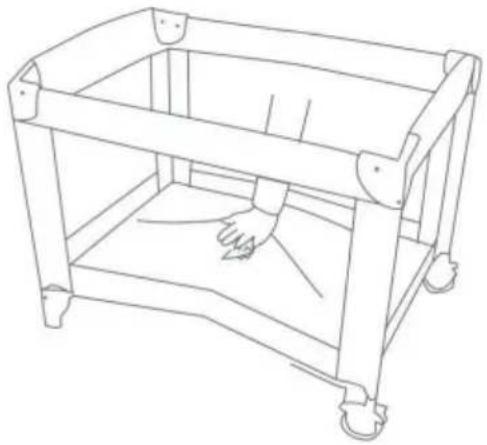
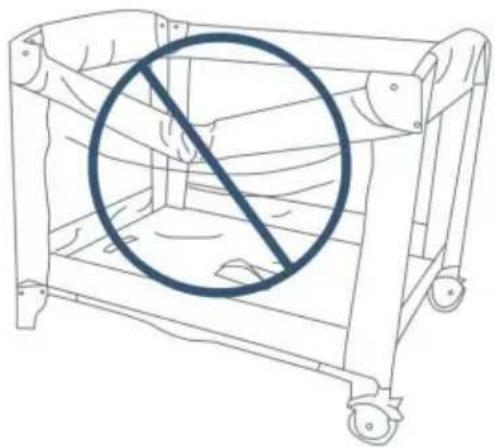
ATTENTION:
- Test each top rail by pushing down slightly to confirm each is rigid and securely in place before use.
- Place the mattress on the floor of the playpen with the padded side facing up.
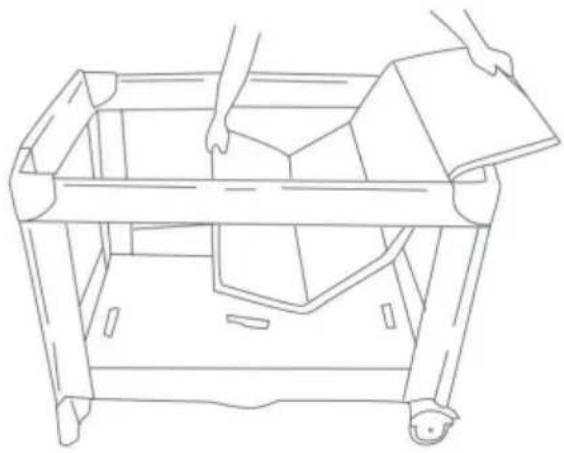
• To operate the brakes on the wheels, press downward on the brake levers. To release, lift upward on the lever.
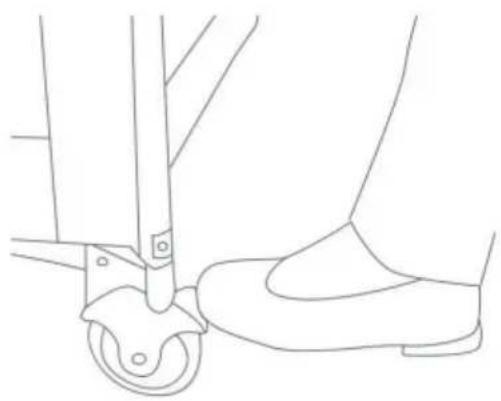
- Playpen must be fully assembled and securely locked before installing or using the bassinet feature. You will need to remove the mattress from the bottom of the playpen to use inside your bassinet.
- Connect opposing mattress support tubes that are attached to the bottom of the bassinet.
- Before placing the mattress into the bassinet, make sure mattress supports are connected as seen.
- Position the bassinet over and down into the fully assembled playpen.
The cradle and the game bed basket are fixed by zippers.
- Place the mattress into the bassinet with the padded side facing upward. • To remove the bassinet, remove mattress from the bassinet. Disconnect support tubes and unsnap all clips to lift out.
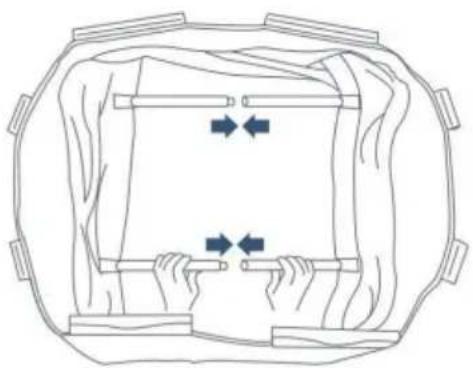
BASSINET METAL SUPPORT TUBES
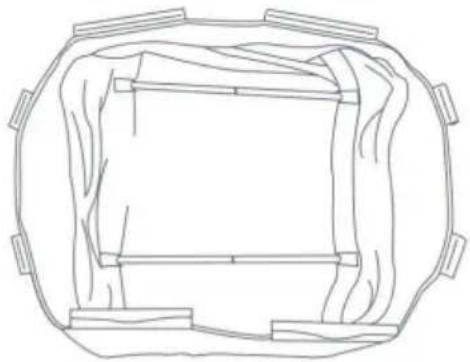
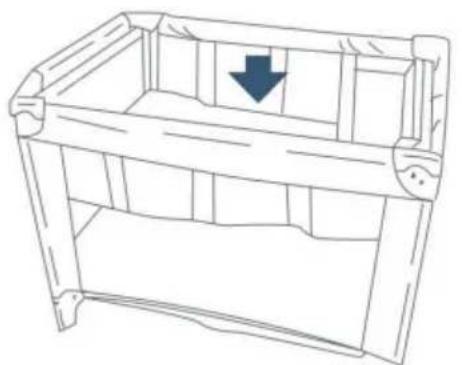
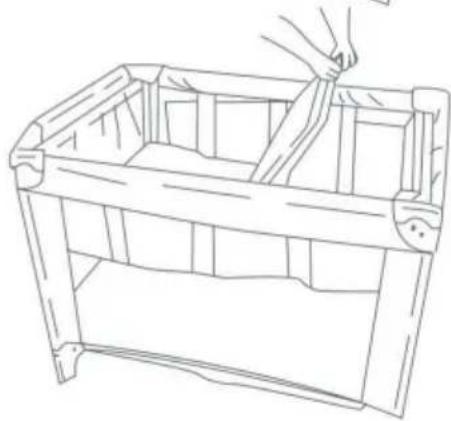
WARNING: Entrapment Hazard to prevent death from entrapment, bedside playpen must be properly secured to adult bed using the attachment straps.
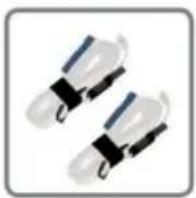
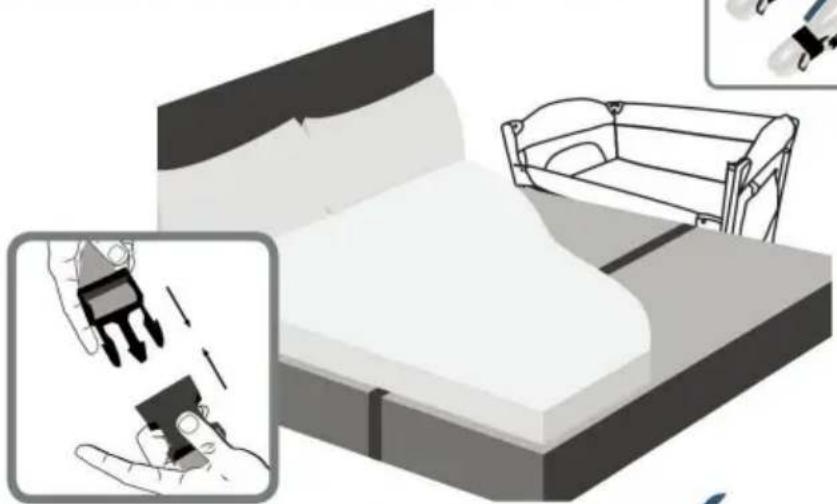
WARNING:
The 2 attachment straps must always be used in bedside playpen mode
WARNING:
Ensure your baby is not inside the crib when you detach the crib from your bed frame.
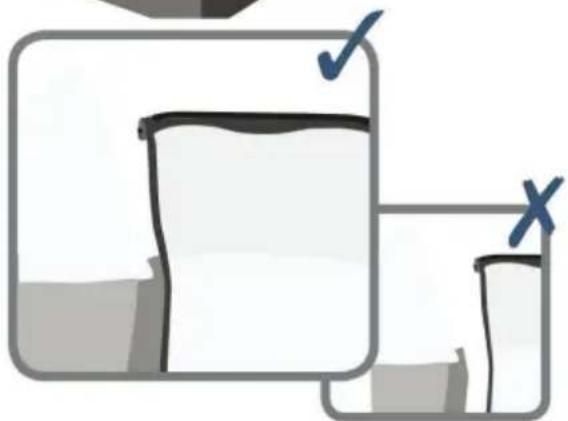
- There must be no more than 1/2 inch (13mm) gap between bedside playpen and adult bed.
- Check tightness before each use by pulling bedside playpen in a direction away from adult bed.
- If gap exceeds 1/2 inch (13mm), DO NOT use product. Do not fill the gap with pillows, blankets or other items that are suffocation hazards.
Three Toys To prevail in kind
Music Switch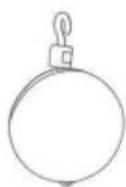
Base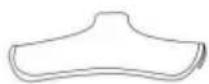
Base Bracket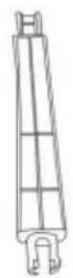
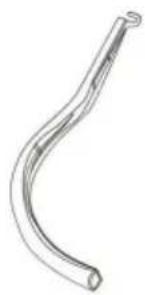
Splicer
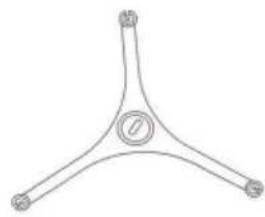
Toy Rack
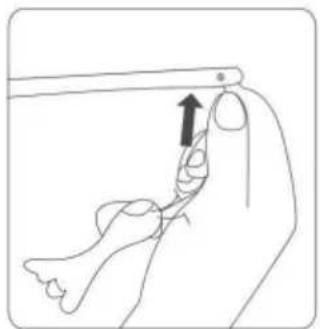
- Put toys on toy rack.
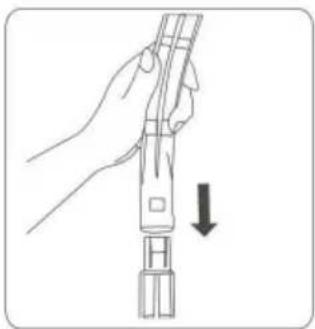
- Connect two splicers well.
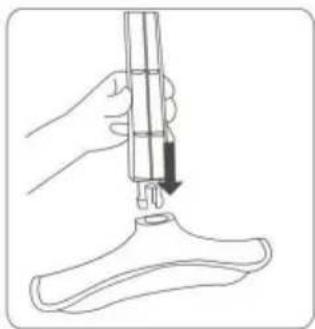
- Connect base and splicer well.
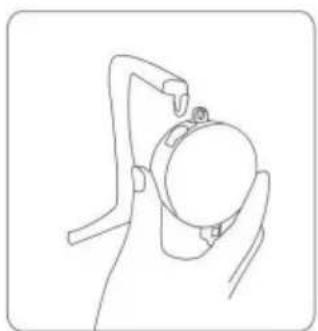
- Put on music switch.
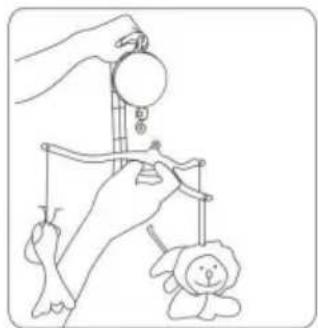
- Put on bracket with toys.
Insert the 3 toys, toy bars and music box as shown.
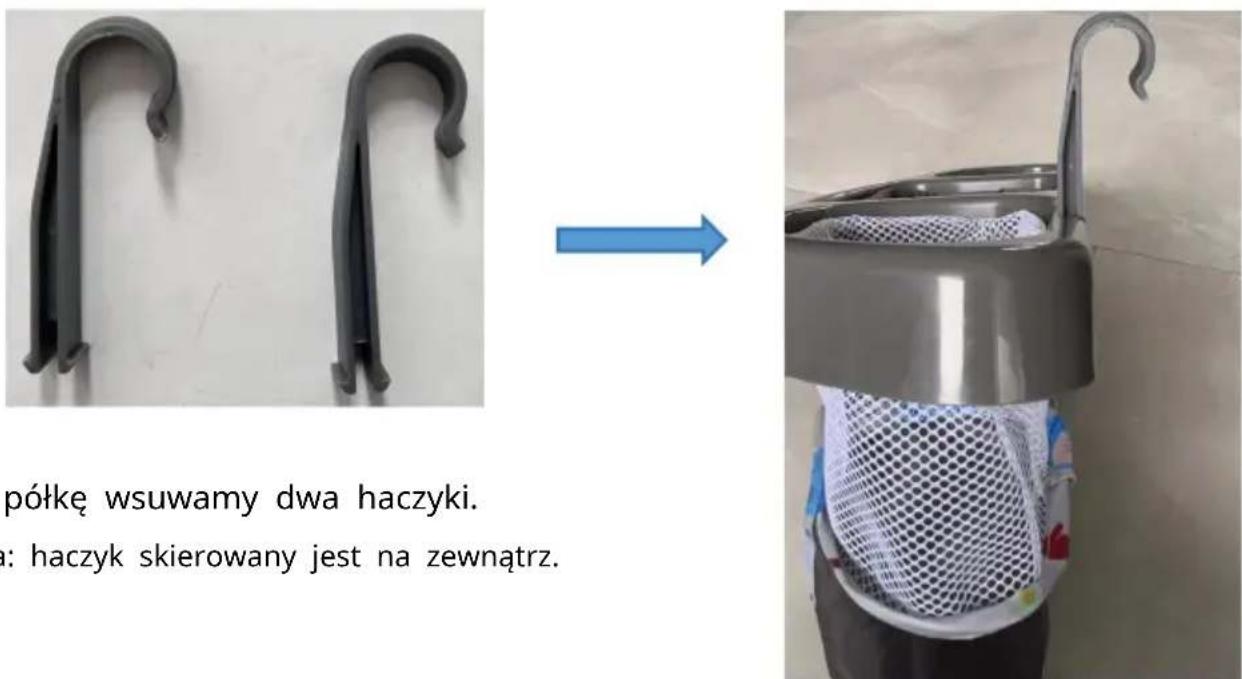
HOW TO ASSEMBLE THE SHELF
• DO NOT unlock top rail yet, centre of floor must be raised before top rails will unlock. - Rotate the centre handle and raise the centre as high as the top rail. Gather the legs and wheels together towards the centre as closed as possible so that they nearly touch.
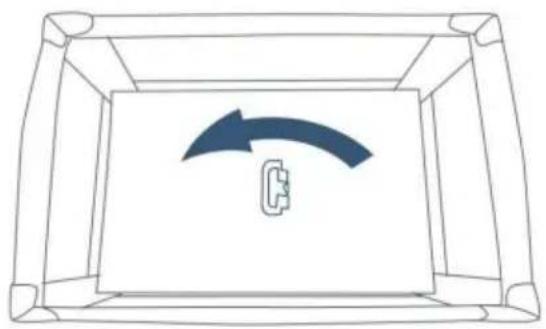
Rotate before lifting
- Locate the rail latch release in the centre and bottom side of each rail. Squeeze the lever with two hands until the rail releases the two tubes, then push down.
- If the top rail does not release completely, DO NOT FORCE! Lift the centre of floor higher. Both tubes must be released for the top rail to fold.
• Gather four corners and centre all together tightly. Wrap mattress around playpen frame with padded side facing inward. - Secure the hook and loop straps by feeding them through the loops on the end of the mattress and folding them back onto themselves. - Place folded playpen into carry bag.
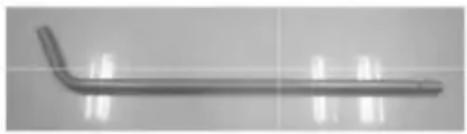
Part 1
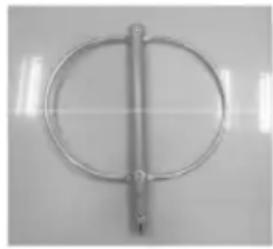
Part 2
Part 3
How to assemble the tubes
Fig.5
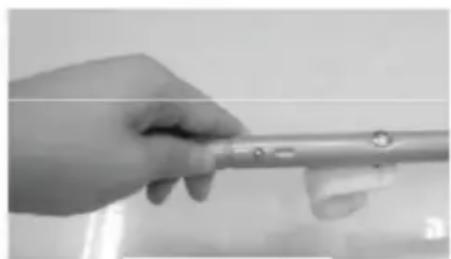
Fig.6
Fig. 7
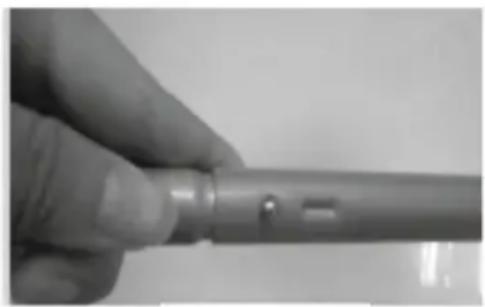
Fig. 8
- Finally, connect the tube part 4 with the tube as shown in Fig. 8, being sure to press the shrapnel as shown in Fig. 9 - Fig. 10.
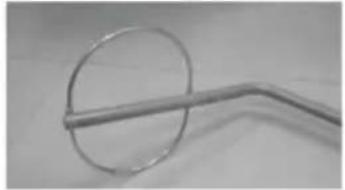
(Fig. 9)
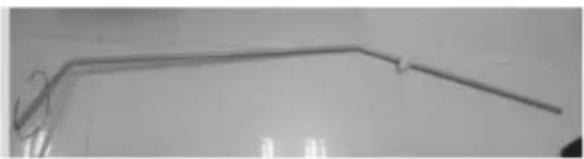
(Fig. 10)
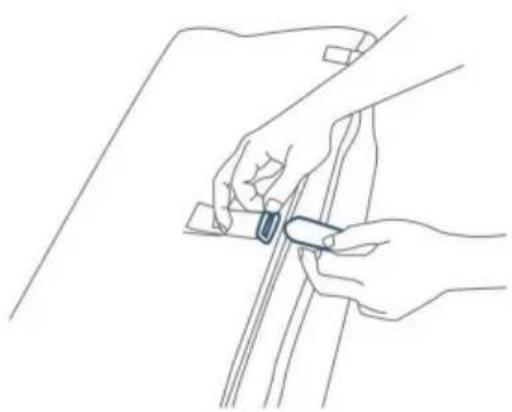
- Place the finished supporting tubes as shown in Fig. 10 into the pocket on the bottom side of the playpen (like Fig. 11).
Then join the plastic hook at tube 1 with the handrail of the playpen as shown in Fig. 12 - Fig. 13.
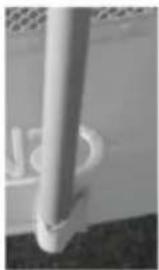
(Fig. 11)
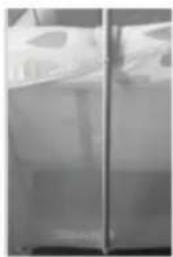
(Fig. 12)
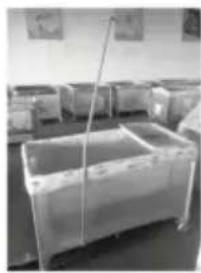
(Fig. 13)
- Put the mosquito net on the round tube. Be sure to make the net cover the round tube completely (like Fig. 14 - Fig. 15).
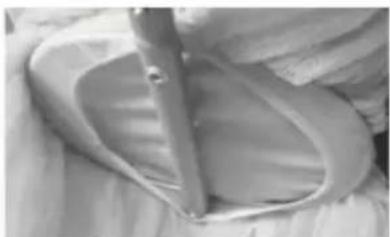
Fig. 14
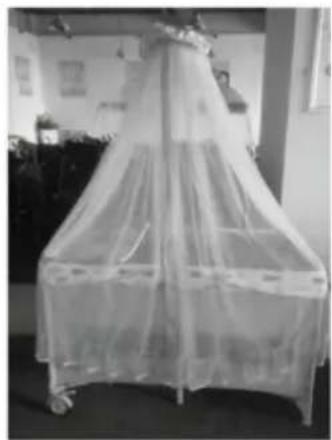
Fig. 15
Manufacturer: Shanghai Muxin Muye Youxiangongsi
Address: Shuangcheng Road 803, Lane 11, Room 1602A-1609, Baoshan District, Shanghai 200000, CN.
Imported into AUS: SIHAO PTY LTD. 1 ROKEVA STREET EASTWOOD NSW 2122 Australia
C/O YH Consulting Limited Office 147, Centurion
House, London Road, Staines-upon-Thames, Surrey, TW18 4AX
VEVOR®
TOUGH TOOLS, HALF PRICE
NEED HELP? CONTACT US!
PLAYPEN*1
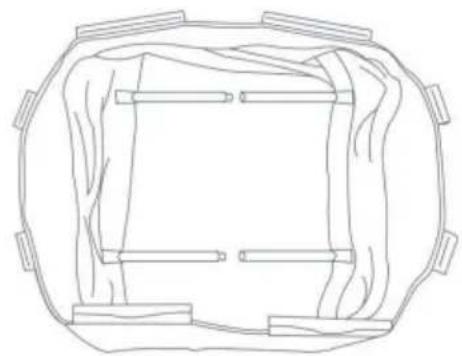
BED BASKET*1
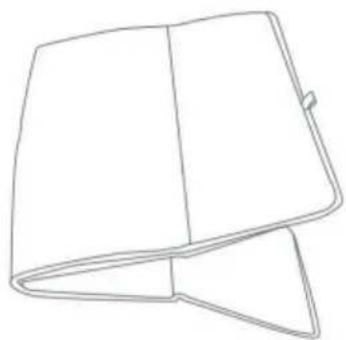
MATTRESS*1
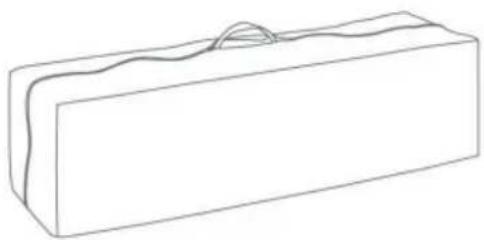
TRAVEL BAG*1
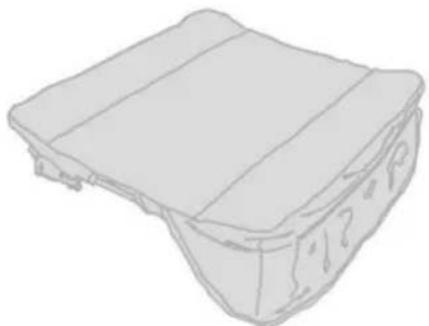
CHANGING TABLES*1
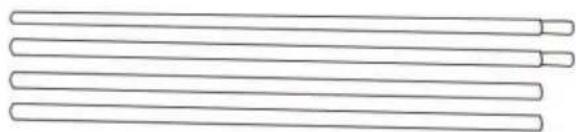
A BASSINET METAL SUPPORT TUBES*4
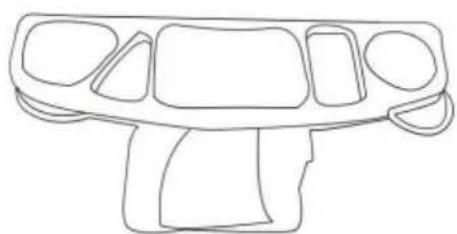
SHELF*1
PLANK HOLDER*2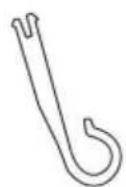
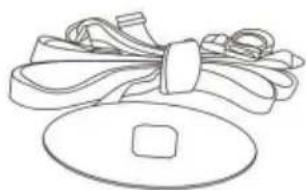
SAFETY BELT*1
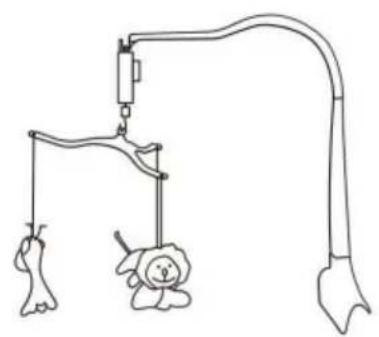
MUSIC & TOYS RACK*1
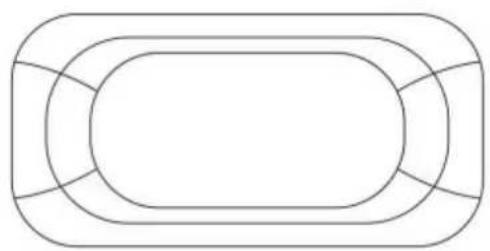
REPLACEABLE BED COVER*1
CHANGING TABLES CUSHION*1
MOSQUITO NET*1
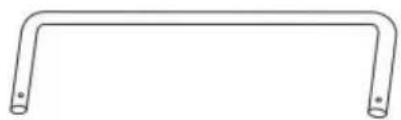
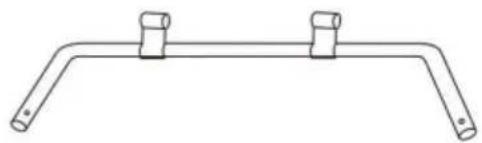
B CHANGING TABLE METAL SUPPORT TUBES*4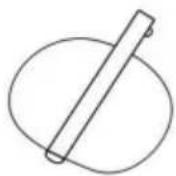

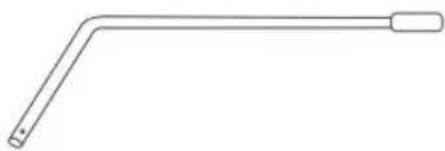
C MOSQUITO NET SUPPORT TUBES*3
MONTEREN
ATTENTION:
- Playpen must be fully assembled and securely locked before installing or using other accessories.
- Unzip bag and remove playpen frame. Undo the fasten straps and set the mattress aside.
DO NOT PUSH CENTRE DOWN YET
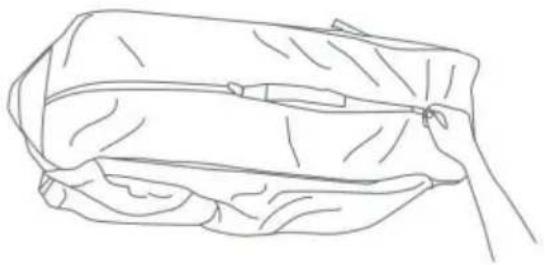
- Top rail must be fully erected and locked before lowering centre. Pull up one rail at a time, hold one hand on each side of the rail and pull up sharply, do not pull from the middle where the centre latch release is located, make sure both tubes latch in place and each rail is rigid.

ATTENTION:
- The handle located in the centre of the playpen floor MUST remain raised while locking the side rails in place. IF the centre is not raised the rails will NOT lock.
- If you experience difficulty and one side of the rail will lock but the other side will not then, unlock the rail by squeezing the release in the centre and try again.
- Once all 4 top rails are locked in place, push down on the centre handle. The centre mechanism will automatically lock in place.
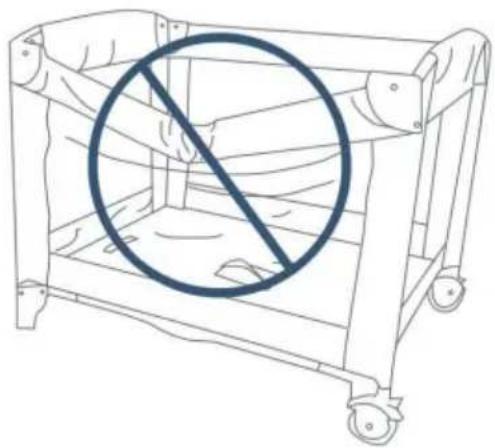
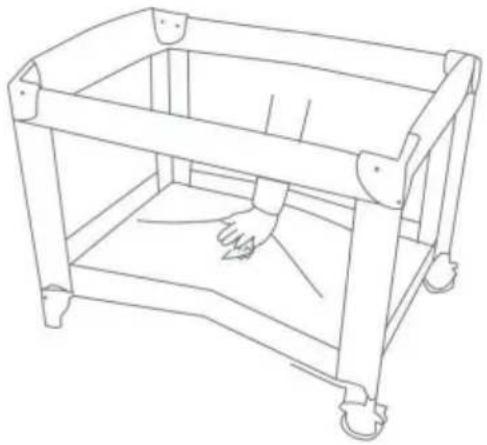
ATTENTION:
- Test each top rail by pushing down slightly to confirm each is rigid and securely in place before use.
- Place the mattress on the floor of the playpen with the padded side facing up.
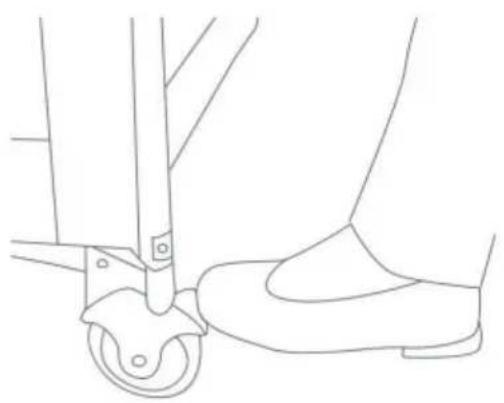
• To operate the brakes on the wheels, press downward on the brake levers. To release, lift upward on the lever.
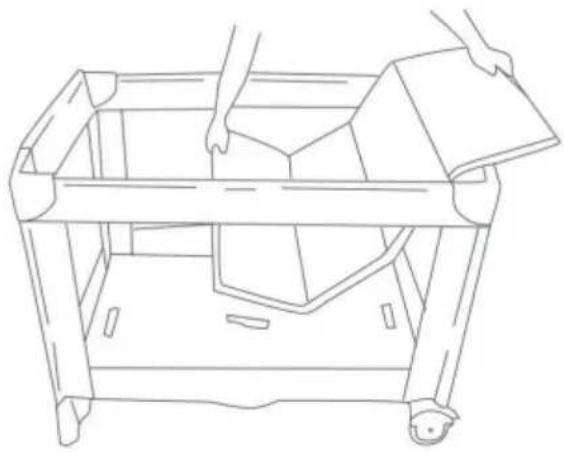
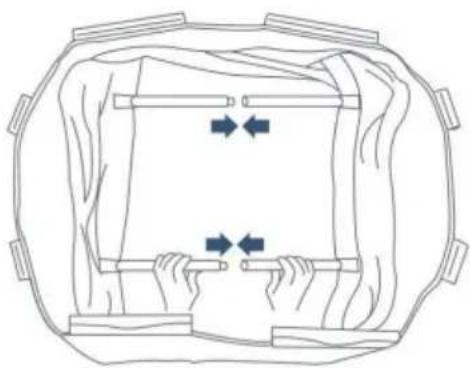
- Playpen must be fully assembled and securely locked before installing or using the bassinet feature. You will need to remove the mattress from the bottom of the playpen to use inside your bassinet.
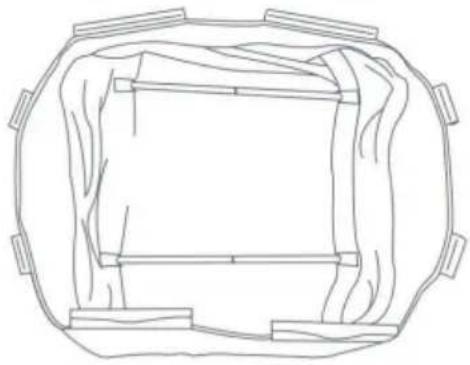
- Connect opposing mattress support tubes that are attached to the bottom of the bassinet.
- Before placing the mattress into the bassinet, make sure mattress supports are connected as seen.
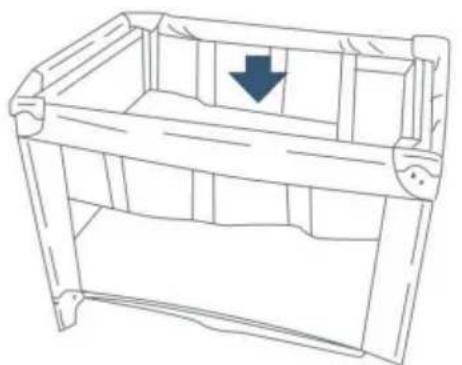
- Position the bassinet over and down into the fully assembled playpen.
The cradle and the game bed basket are fixed by zippers.
- Place the mattress into the bassinet with the padded side facing upward. • To remove the bassinet, remove mattress from the bassinet. Disconnect support tubes and unsnap all clips to lift out.
BASSINET METAL SUPPORT TUBES
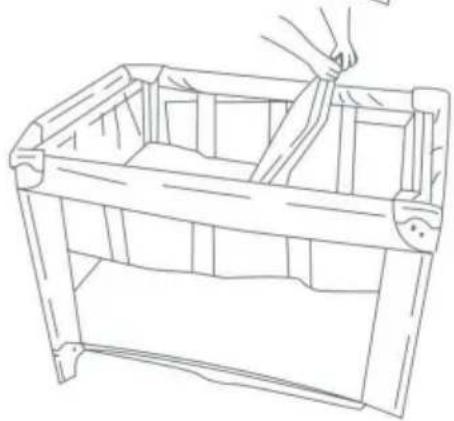
WARNING: Entrapment Hazard to prevent death from entrapment, bedside playpen must be properly secured to adult bed using the attachment straps.

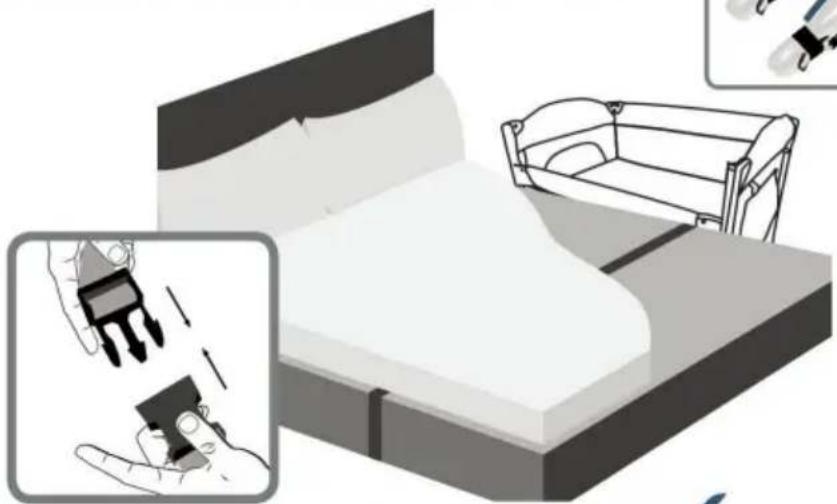
WARNING:
The 2 attachment straps must always be used in bedside playpen mode
WARNING:
Ensure your baby is not inside the crib when you detach the crib from your bed frame.
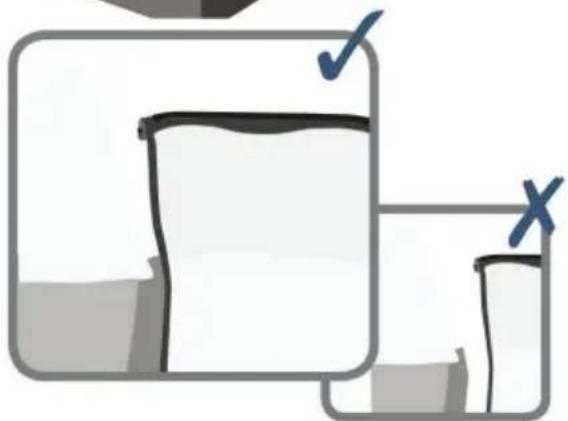
- There must be no more than 1/2 inch (13mm) gap between bedside playpen and adult bed.
- Check tightness before each use by pulling bedside playpen in a direction away from adult bed.
- If gap exceeds 1/2 inch (13mm), DO NOT use product. Do not fill the gap with pillows, blankets or other items that are suffocation hazards.
ASSEMBLING THE CHANGING TABLE
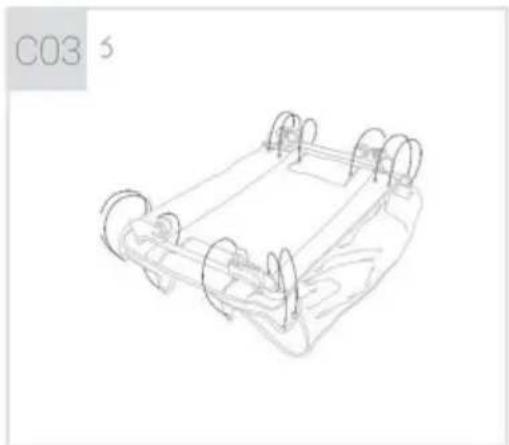
Three Toys To prevail in kind
Music Switch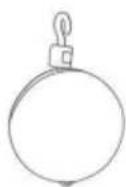
Base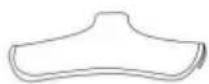
Base Bracket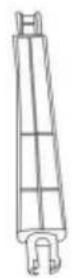
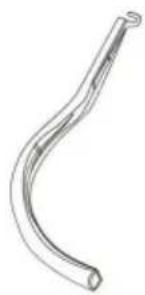
Splicer
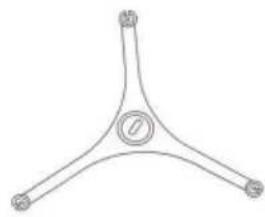
Toy Rack
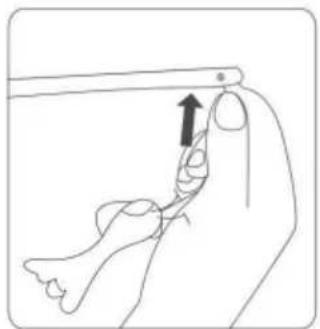
- Put toys on toy rack.
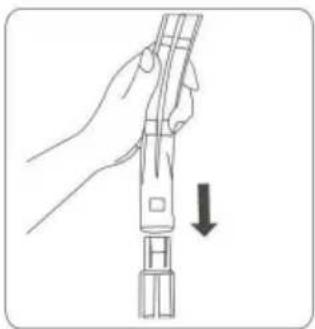
- Connect two splicers well.
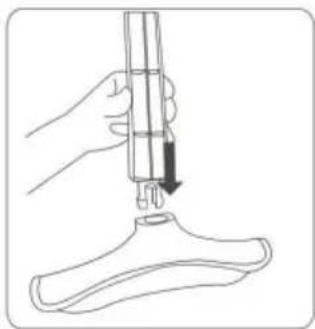
- Connect base and splicer well.
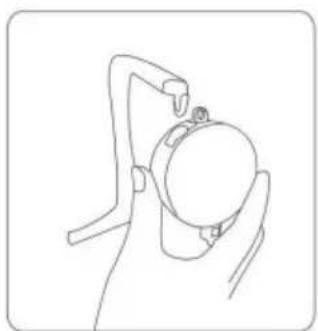
- Put on music switch.
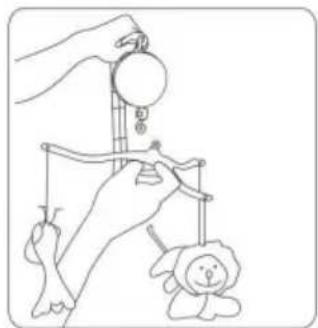
- Put on bracket with toys.
Insert the 3 toys, toy bars and music box as shown.
ASSEMBLING THE PLANK
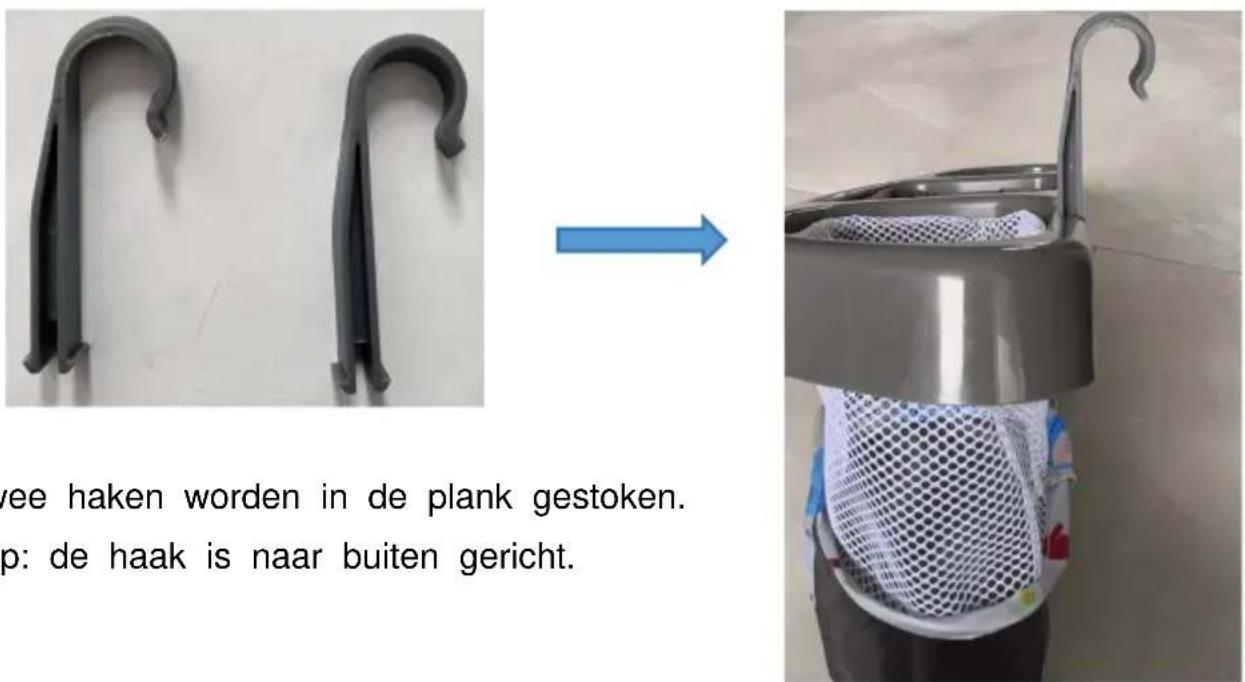
• DO NOT unlock top rail yet, centre of floor must be raised before top rails will unlock. - Rotate the centre handle and raise the centre as high as the top rail. Gather the legs and wheels together towards the centre as closed as possible so that they nearly touch.
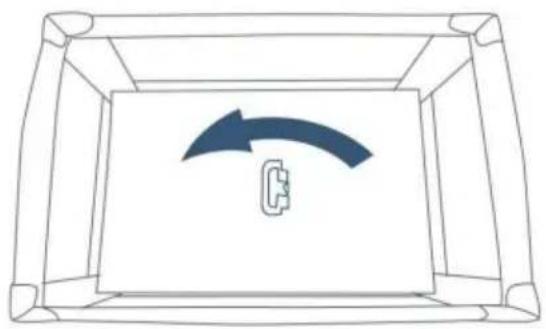
Rotate before lifting
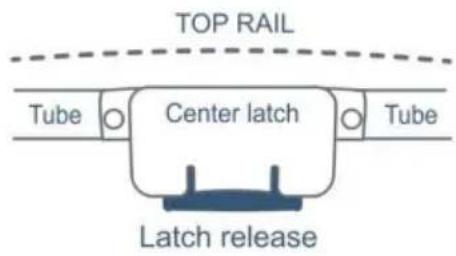
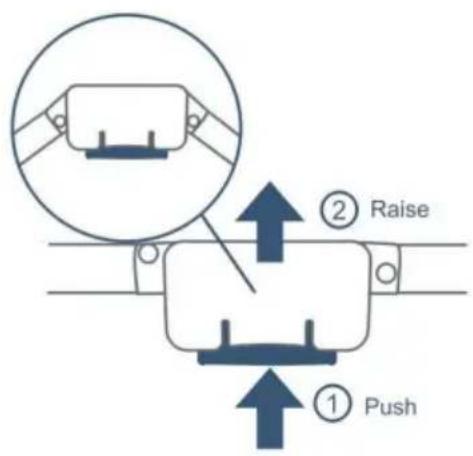
- Locate the rail latch release in the centre and bottom side of each rail. Squeeze the lever with two hands until the rail releases the two tubes, then push down.
- If the top rail does not release completely, DO NOT FORCE! Lift the centre of floor higher. Both tubes must be released for the top rail to fold.
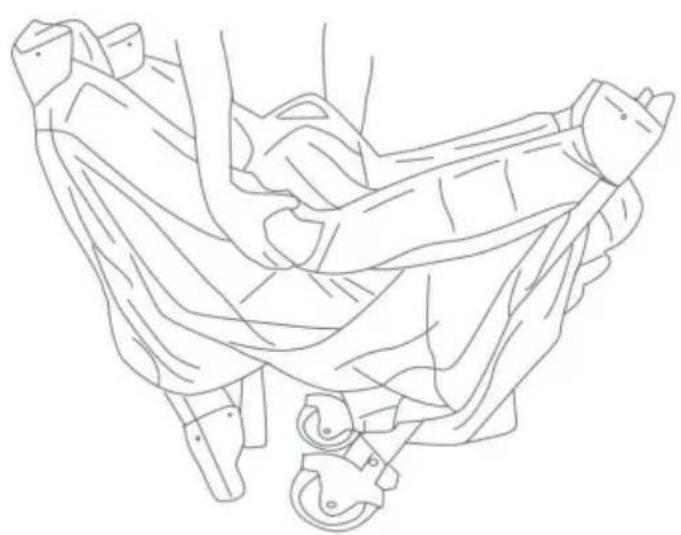
• Gather four corners and centre all together tightly. Wrap mattress around playpen frame with padded side facing inward. - Secure the hook and loop straps by feeding them through the loops on the end of the mattress and folding them back onto themselves. - Place folded playpen into carry bag.
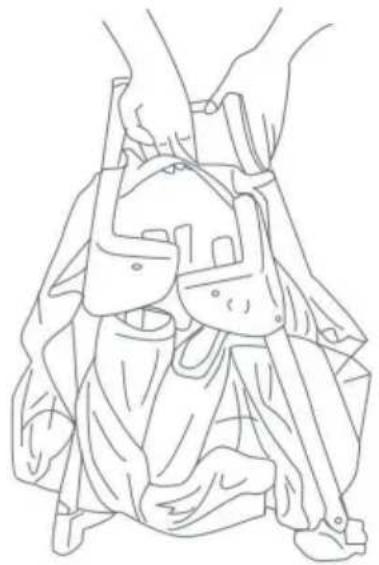
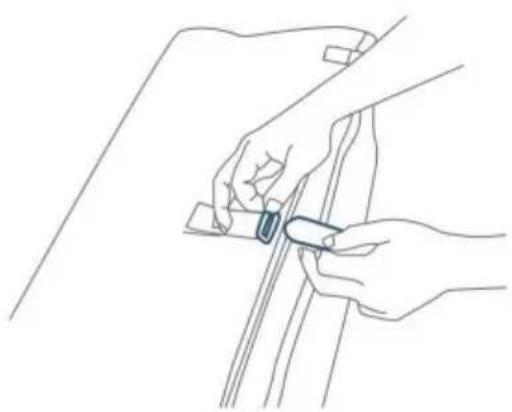
Part 1
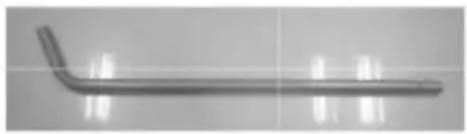
Part 2
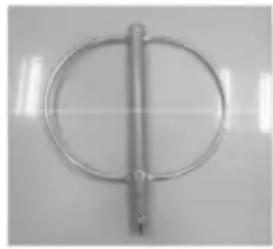
Part 3
Figure 5
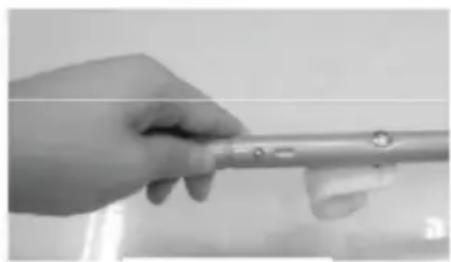
Image 6
Image 7
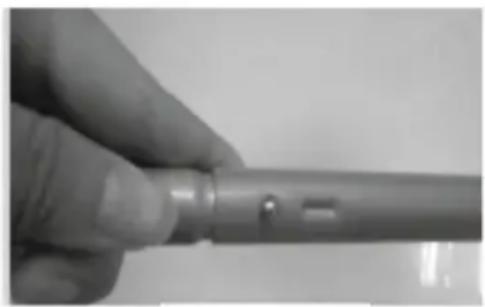
- Finally, connect the tube part 4 with the tube as shown in Fig. 8, being sure to press the shrapnel as shown in Fig. 9 and Fig. 10.
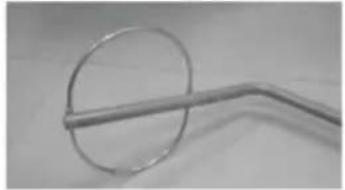
(Fig. 9)
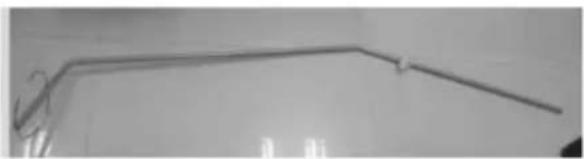
(Fig. 10)
- Place the finished supporting tubes as shown in Fig. 10 into the pocket on the bottom side of the playpen (like Fig. 11).
Then attach the plastic hook on tube 1 to the handrail of the playpen as shown in Fig. 12 and Fig. 13.
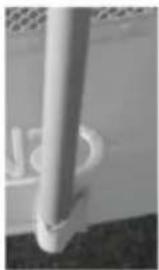
(Fig. 11)
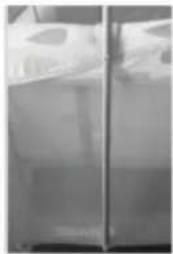
(Fig. 12)
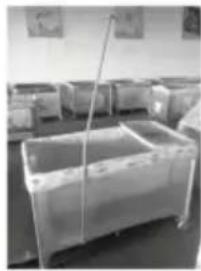
(Fig. 13)
- Put the mosquito net over the round tube. Make sure the net completely covers the round tube (like Fig. 14–Fig. 15).
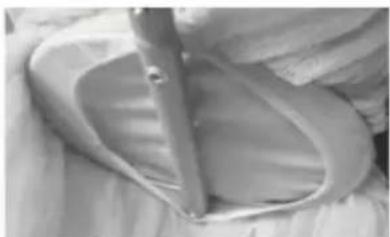
Fig. 14
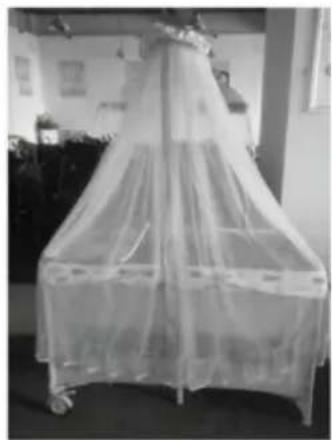
Fig. 15
Manufacturer: Shanghaimuxinmuyeyouxiangongsi
Address: Shuangchenglu 803nong11hao1602A-1609shi, baoshanqu, shanghai 200000 CN.
C/O YH Consulting Limited, Office 147, Centurion
Huis, London Road, Staines-upon-Thames, Surrey, TW18 4AX
VEVOR®
TOUGH TOOLS, HALF PRICE
Technical support and e-warranty certificate www.vevor.com/support
VEVOR®
TOUGH TOOLS, HALF PRICE
NEED HELP? CONTACT US!
PLAYPEN*1
BED BASKET*1
MATTRESS*1
TRAVEL BAG*1
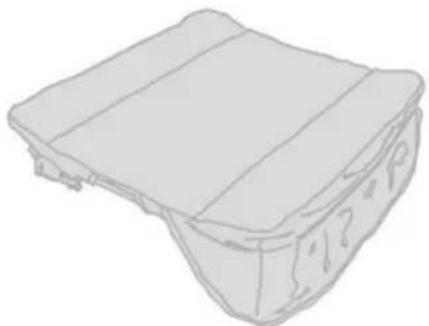
CHANGING TABLES*1
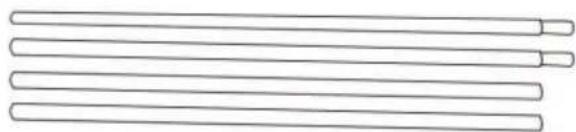
A BASSINET METAL SUPPORT TUBES*4
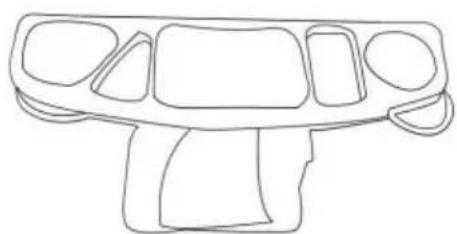
SHELF*1
SHELF HOLES*2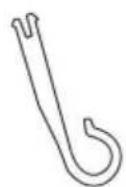
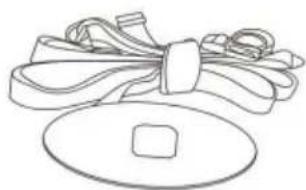
SAFETY BELT*1
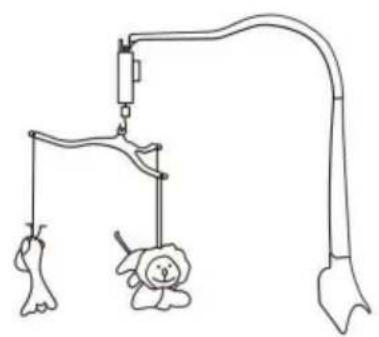
MUSIC & TOYS RACK*1
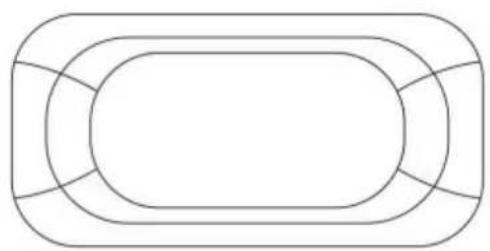
REPLACEABLE BED COVER*1
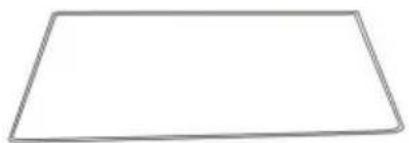
CHANGING TABLES CUSHION*1
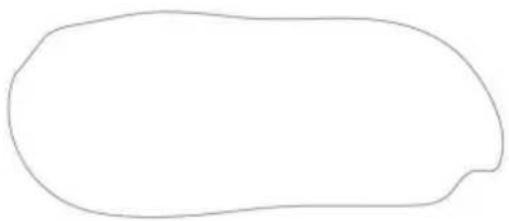
MOSQUITO NET*1
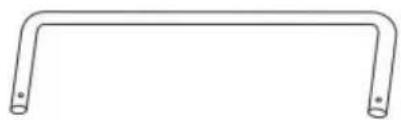
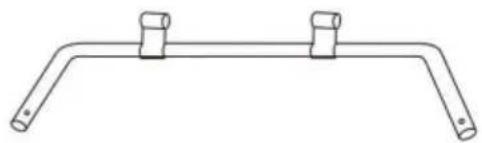
B CHANGING TABLE METAL SUPPORT TUBES*4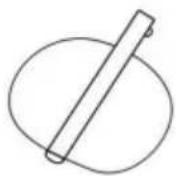

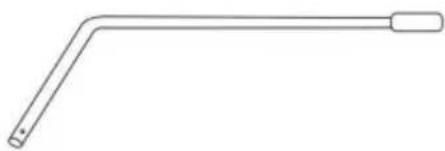
C MOSQUITO NET SUPPORT TUBES*3
MONTERA
ATTENTION:
- Playpen must be fully assembled and securely locked before installing or using other accessories.
- Unzip bag and remove playpen frame. Undo the fasten straps and set the mattress aside.
DO NOT PUSH CENTRE DOWN YET
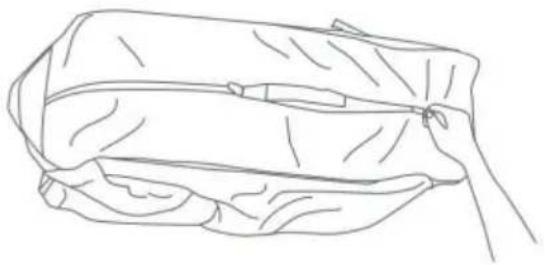
- Top rail must be fully erected and locked before lowering centre. Pull up one rail at a time, hold one hand on each side of the rail and pull up sharply, do not pull from the middle where the centre latch release is located, make sure both tubes latch in place and each rail is rigid.
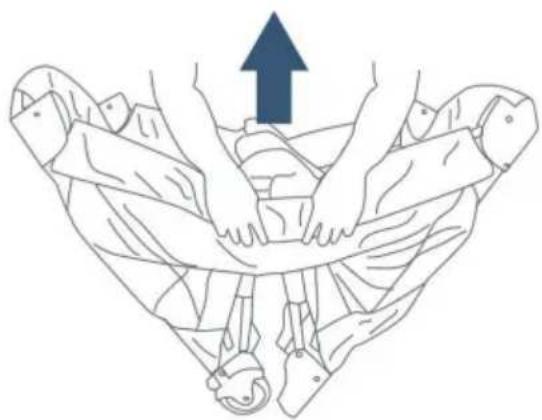
ATTENTION:
- The handle located in the centre of the playpen floor MUST remain raised while locking the side rails in place. IF the centre is not raised the rails will NOT lock.
- If you experience difficulty and one side of the rail will lock but the other side will not, then unlock the rail by squeezing the release in the centre and try again.
- Once all 4 top rails are locked in place, push down on the centre handle. The centre mechanism will automatically lock in place.
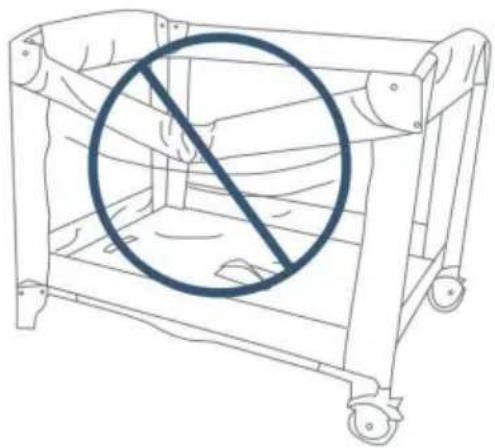
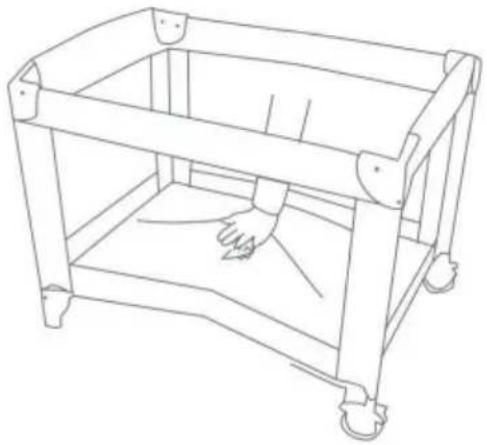
ATTENTION:
- Test each top rail by pushing down slightly to confirm each is rigid and securely in place before use.
- Place the mattress on the floor of the playpen with the padded side facing up.
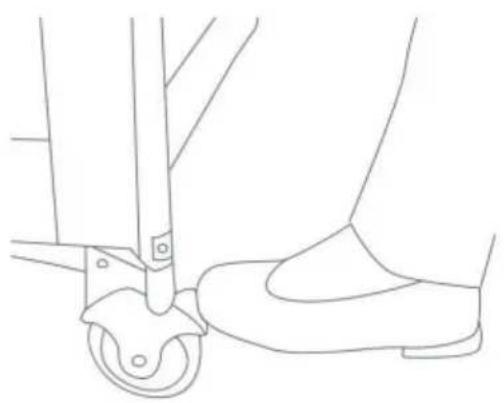
• To operate the brakes on the wheels, press downward on the brake levers. To release, lift upward on the lever.
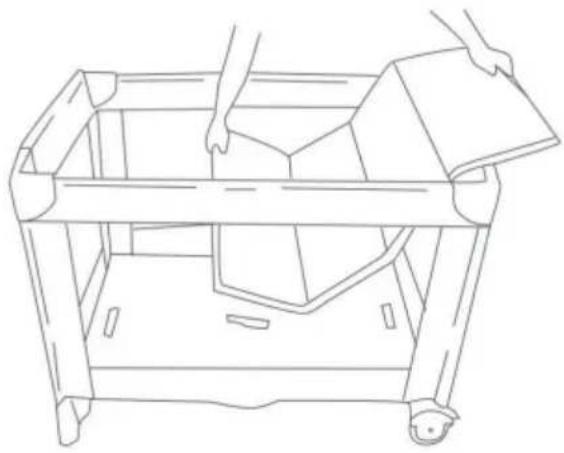
- Playpen must be fully assembled and securely locked before installing or using the bassinet feature. You will need to remove the mattress from the bottom of the playpen to use inside your bassinet.
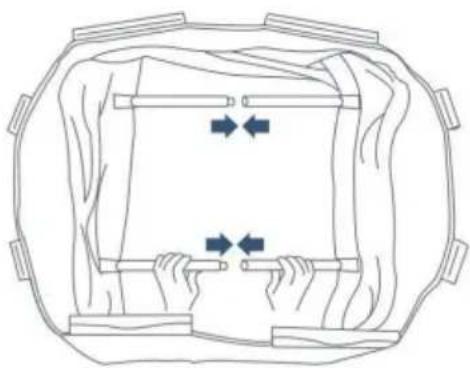
- Connect opposing mattress support tubes that are attached to the bottom of the bassinet.
- Before placing the mattress into the bassinet, make sure mattress supports are connected as seen.
- Position the bassinet over and down into the fully assembled playpen.
The cradle and the game bed basket are fixed by zippers.
- Place the mattress into the bassinet with the padded side facing upward. • To remove the bassinet, remove mattress from the bassinet. Disconnect support tubes and unsnap all clips to lift out.
BASSINET METAL SUPPORT TUBES
WARNING: Entrapment Hazard to prevent death from entrapment, bedside playpen must be properly secured to adult bed using the attachment straps.
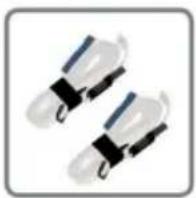
WARNING:
The 2 attachment straps must always be used in bedside playpen mode
WARNING:
Ensure your baby is not inside the crib when you detach the crib from your bed frame.

- There must be no more than 1/2 inch (13mm) gap between bedside playpen and adult bed.
- Check tightness before each use by pulling bedside playpen in a direction away from adult bed.
- If gap exceeds 1/2 inch (13mm), DO NOT use product. Do not fill the gap with pillows, blankets or other items that are suffocation hazards.
ATTACH THE TABLE
Three Toys To prevail in kind
Music Switch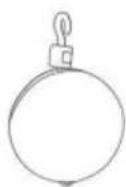
Base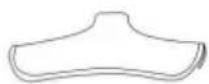
Base Bracket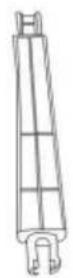
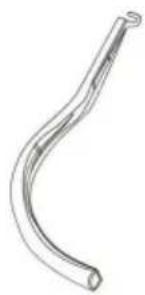
Splicer
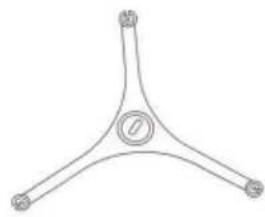
Toy Rack
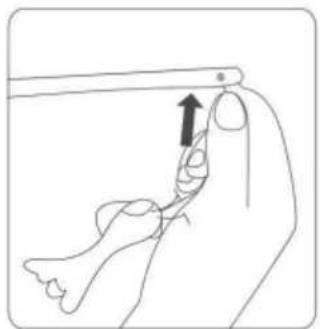
- Put toys on toy rack.
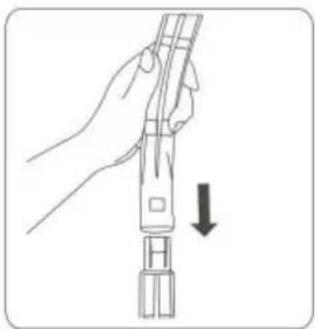
- Connect two splicers well.
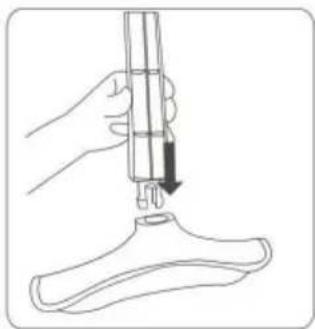
- Connect base and splicer well.
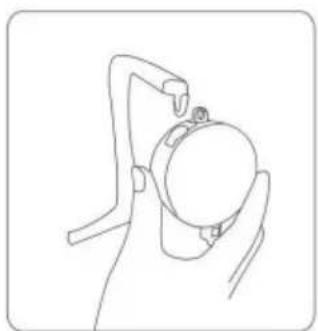
- Put on music switch.
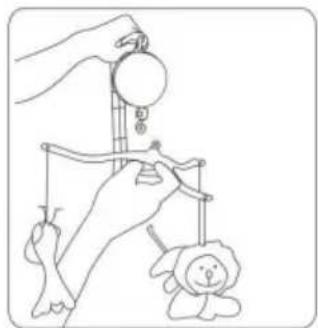
- Put on bracket with toys.
Insert the 3 toys, toy bars and music box as shown.
TO MOUNT THE SHELF
• DO NOT unlock top rail yet, centre of floor must be raised before top rails will unlock. - Rotate the centre handle and raise the centre as high as the top rail. Gather the legs and wheels together towards the centre as closed as possible so that they nearly touch.
Rotate before lifting
- Locate the rail latch release in the centre and bottom side of each rail. Squeeze the lever with two hands until the rail releases the two tubes, then push down.
- If the top rail does not release completely, DO NOT FORCE! Lift the centre of floor higher. Both tubes must be released for the top rail to fold.
• Gather four corners and centre all together tightly. Wrap mattress around playpen frame with padded side facing inward. - Secure the hook and loop straps by feeding them through the loops on the end of the mattress and folding them back onto themselves. - Place folded playpen into carry bag.
Part 1
Part 2
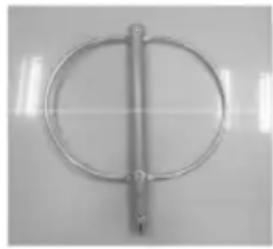
Part 3
Fig. 5
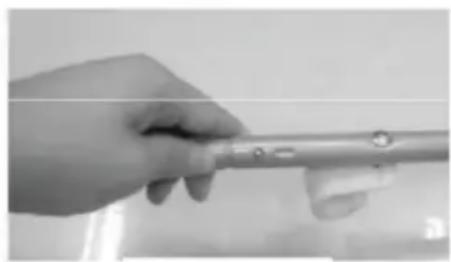
Fig. 6
Fig. 7
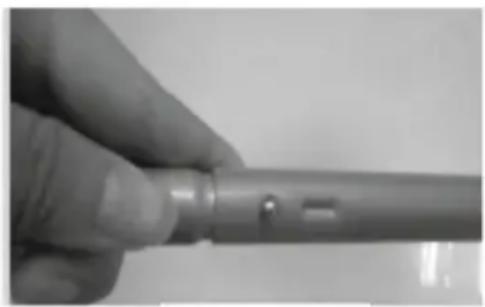
Fig. 8
- Finally, connect the tube part 4 with the tube as shown in Fig. 8. Be sure to press the shrapnel as shown in Fig. 9 and Fig. 10.
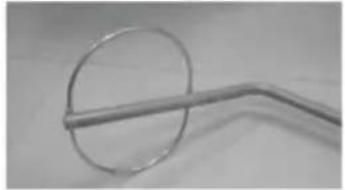
(Fig. 9)
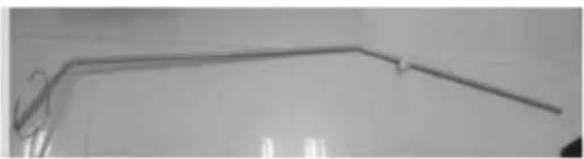
(Fig. 10)
- Place the finished supporting tubes as shown in Fig. 10 into the pocket on the bottom side of the playpen (like Fig. 11).
Then join the plastic hook at tube 1 with the handrail of the playpen as shown in Fig. 12 and Fig. 13.
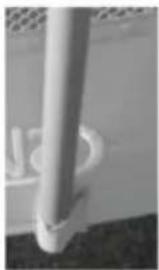
(Fig. 11)
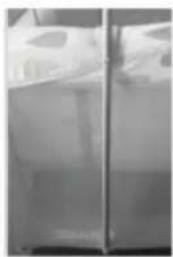
(Fig. 12)
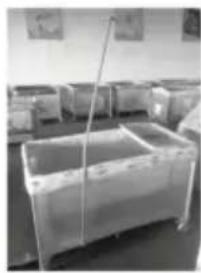
(Fig. 13)
- Put the mosquito net on the round tube. Be sure to make the net cover the round tube completely (like Fig. 14 and Fig. 15).
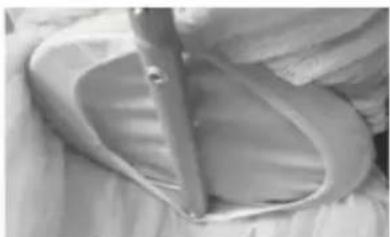
Fig. 14
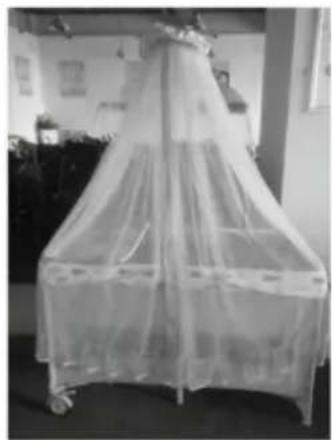
Fig. 15
Manufacturer: Shanghai Muxin Muye Youxian Gongsi
Address: Shuangcheng Road 803 Nong 11 Hao 1602A-1609 Shi, Baoshan District, Shanghai 200000 CN.
Imported to AUS: SIHAO PTY LTD. 1 ROKEVA STREET EASTWOOD
NSW 2122 Australia
Imported to USA: Sanven Technology Ltd. Suite 250, 9166 Anaheim
Place, Rancho Cucamonga, CA 91730
| EC | REP |
E-CrossStu GmbH
Mainzer Landstr.69, 60329 Frankfurt am Main.
| UK | REP |
YH CONSULTING LIMITED.
C/O YH Consulting Limited Office 147, Centurion
House, London Road, Staines-upon-Thames, Surrey, TW18 4AX
VEVOR®
TOUGH TOOLS, HALF PRICE
www.vevor.com/support
- BEDSIDE CRIBS
- USER MANUAL
- VEVOR®
- NEED HELP? CONTACT US
- WARNING
- INFANTS HAVE SUFFOCATED
- FALL HAZARD
- STRANGULATION HAZARD
- MAINTENANCE
- IMPORTANT
- PACKAGE CONTENTS
- ASSEMBLE
- ATTENTION
- DO NOT PUSH CENTRE DOWN YET
- TO ASSEMBLE THE CHANGING TABLE
- HOW TO ASSEMBLE MUSIC & TOYS RACK
- TO ASSEMBLE THE SHELF
- THE INSTALLED SHELF IS FIXED ON THE MAIN BODY THROUGH A HOOK
- STORAGE
- INSTRUCTION FOR HANGING MOSQUITO NET
- TOUGH TOOLS, HALF PRICE
- ASSEMBLER
- WARNING: STRANGULATION HAZARD
- ASSEMBLY
- DO NOT PUSH CENTER DOWN YET
- FOR ASSEMBLING THE CHANGING TABLE
- ARMAR
- GROMADZIĆ SIĘ
- HOW TO ASSEMBLE THE SHELF
- MONTEREN
- ASSEMBLING THE CHANGING TABLE
- ASSEMBLING THE PLANK
- MONTERA
- ATTACH THE TABLE
- TO MOUNT THE SHELF
Brand : Vevor
Model : P9070
Category : Baby bed