USER MANUAL KD-C8022 Vevor
Technical Support and E-Warranty Certificate www.vevor.com/support
ROCK TUMBLER
MODEL: KD-C8021, KD-C8022, KD-C8023
We continue to be committed to provide you tools with competitive price.
"Save Half", "Half Price" or any other similar expressions used by us only represents estimate of savings you might benefit from buying certain tools with us compared to the brands and does not necessarily mean to cover all categories of tools offered by us. You are kindly reminded to verify carefully when you are placing an order with us if you are actually saving half in comparison with the top major brands.
VEVOR®
TOUGH TOOLS, HALF PRICE
ROCK TUMBLER
MODEL: KD-C8021, KD-C8022, KD-C8023

Have product questions? Need technical support? Please feel free to contact Technical Support and E-Warranty Certificate www.vevor.com/support
This is the original instruction. Please read all manual instructions carefully before operating. VEVOR reserves a clear interpretation of our user manual. The appearance of the product shall be subject to the product you received. Please forgive us that we won't inform you again if there are any technology or software updates on our product.
 | Warning-To reduce the risk of injury, the user must read the in manual carefully. |
 | Warning- Be sure to wear eye protectors when using this produ |
 | This symbol, placed before a safety comment, indicates a kind precaution, warning, or danger. Ignoring this warning may lead t accident. To reduce the risk of injury, fire, or electrocution, plea follow the recommendation shown below. |
 | DISPOSAL INFORMATIONThis product is subject to the provision of European Directive 2012/19/EC. The symbol showing a wheelie bin crossed through indicates that the product requires separate refuse collection in European Union. This applies to the product and all accessories with this symbol. Products marked as such may not be discard normal domestic waste, but must be taken to a collection point recycling electrical and electronic devices |
CAUTION: Changes or modifications not expressly approved by the party responsible for compliance could void the user's authority to operate the equipment!
This device complies with Part 15 of the FCC Rules. Operation is subject to the following two conditions:
1) This product may cause harmful interference. 2) This product must accept any interference received, including interference that may cause undesired operation.
WARNING: Changes or modifications to this product not expressly approved by the party responsible for compliance could void the user's authority to operate the product.
Note: This product has been tested and found to comply with the limits for a Class B digital device pursuant to Part 15 of the FCC Rules. These limits are
designed to provide reasonable protection against harmful interference in a residential installation.
This product generates, uses and can radiate radio frequency energy, and if not installed and used in accordance with the instructions, may cause harmful interference to radio communications. However, there is no guarantee that interference will not occur in a particular installation. If this product does cause harmful interference to radio or television reception, which can be determined by turning the product off and on, the user is encouraged to try to correct the interference by one or more of the following measures.
- Reorient or relocate the receiving antenna.
- Increase the distance between the product and receiver.
- Connect the product to an outlet on a circuit different from that to which the receiver is connected.
- Consult the dealer or an experienced radio/TV technician for assistance.
GENERAL SAFETY RULES

WARNING:
Do not attempt to operate the machine until you have read thoroughly and understood completely all instructions, rules, etc. contained in this manual. Failure to comply may result in accidents involving fire, electric shock, or serious personal injury. Keep this owner's manual and review frequently for continuous safe operation.
- Know your machine. For your own safety, read the owner's manual carefully. Learn its application and limitations, as well as specific potential hazards pertaining to this machine.
- Keep guards in place and in working order. If a guard must be removed for maintenance or cleaning, make sure it is properly replaced before using the machine again.
- Keep your work area clean. Cluttered areas and workbenches increase the chance of an accident.
- Do not use in dangerous environments. Do not use power tools in damp
locations, or expose them to rain. Keep work areas well illuminated.
- Do not force the machine. It will do the job better and be safer at the speed for which it is designed.
- Use the right tools. Do not force the machine or attachments to do a job which they are not designed. Contact the manufacturer or distributor if there is any question about the machine's suitability for a particular task.
- Always use safety glasses. Normal spectacles only have impact resistant lenses. They are not safety glasses.
- Do not over-reach. Keep proper footing and balance at all times.
- Always wear a face or dust mask if operation creates a lot of dust and/or always operate the tool in a well ventilated area and provide for proper dust removal. Use a suitable dust extractor.
Before the First Use
Before you begin using your Advanced Rock Tumbler, please make sure that the necessary parts are included. If you are missing anything, please email us.
The Kit Includes:
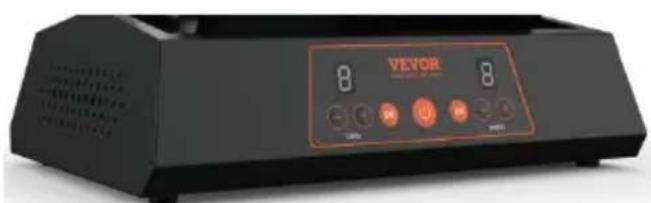
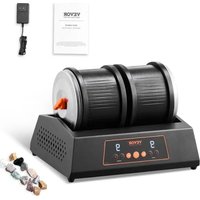
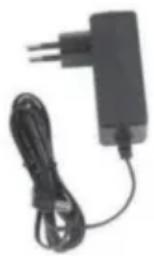
- Rock polishing motor 1 pc
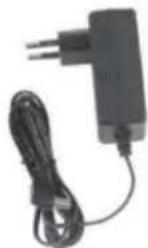
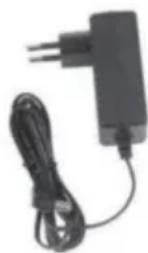
9. Power plug 1 pc
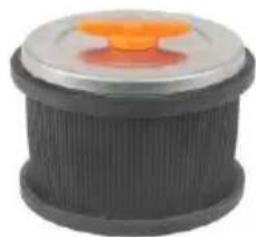
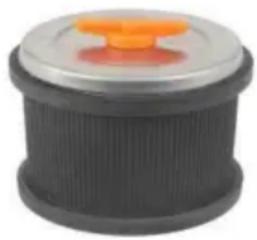
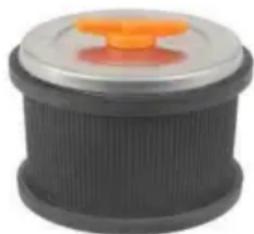
- Polishing barrel 2 pcs

- English manual 1 pc
Note: All contents do not exceed 8 lb. If over 8 lb, the machine will not re-speed 1-2. Need to raise the speed.
Overload function: Overload will stop working and show E1. It needs to power off and clear the overload and stuck place, then power on again. The machine works normally at the previous working time and speed.
If you don't put the bucket in or something gets stuck for 1 minute, it will show E2 error. After you put the bucket in or clear the stuck, press the start button to continue working.
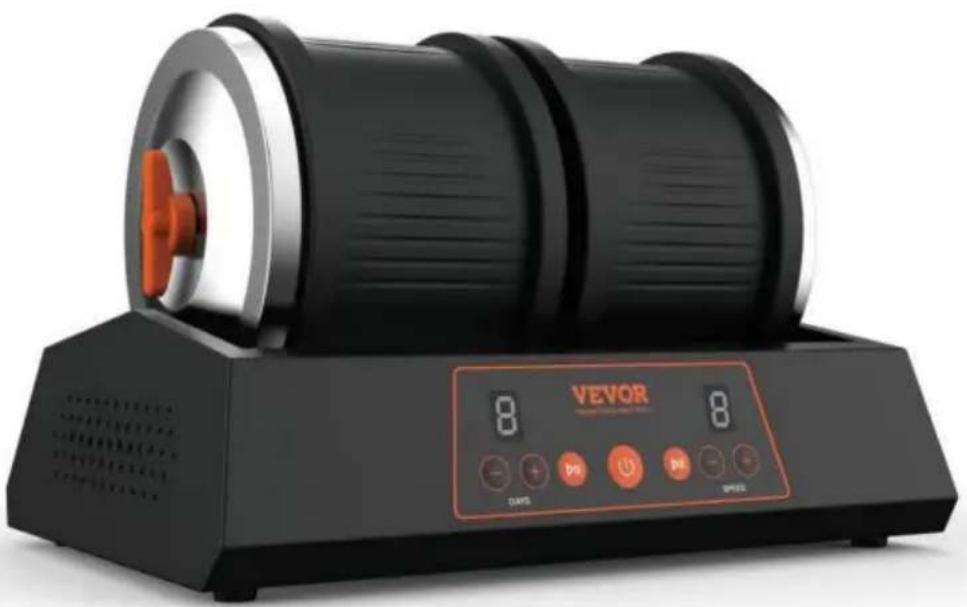
Control Panel Function
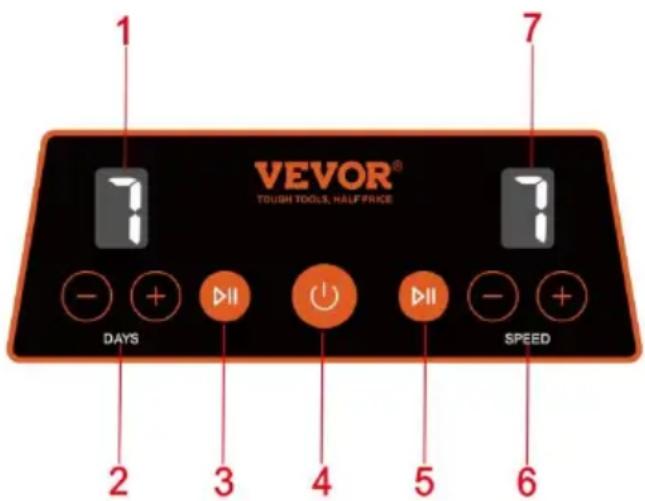
- The time display ranges from 1 day
- Add or subtract time button
- Start / Pause button
- Switch buttons
- Start / Pause button
- Speed plus or minus button
- Speed display 1st-9th gear select
Work-time function
- Machine without working function: 10 minutes without working, automatically shutdown
- Power outage memory function: For example, Set the machine starting work time with 3 days, and power outage occurs after 1.8 days of operation. When machine is powered on again, the machine will resume operation automatically and continue to run for the remaining 1.2 days to finish. (After setting the time again, clear the previous working time and work according to the new setting)
- Manually pause the memory function: For example, manually set the pause for 3 days, then manually pause the machine after running for 1.8 days; When restart the machine, it will automatically operate the remaining 1.2 days to the
(After setting the time again, clear the previous working time and work according to the new setting time)
- Whether you start one bucket or two buckets, the timing has started
- Time countdown function: The digital days number is displayed in the countdown form. When the machine is finished running according to the set number of days, the days number will display "0".
How to open the barrel lid
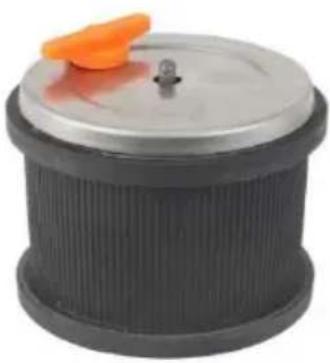 | 1. Unscrew the black knob at the top of barrel and remove it. |
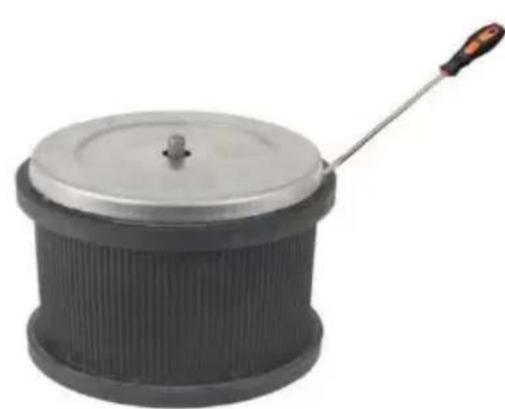 | 2. Detach the outer stainless steel cover. You may need to use something flat -lik regular screwdriver or cutlery handle - to loose. |
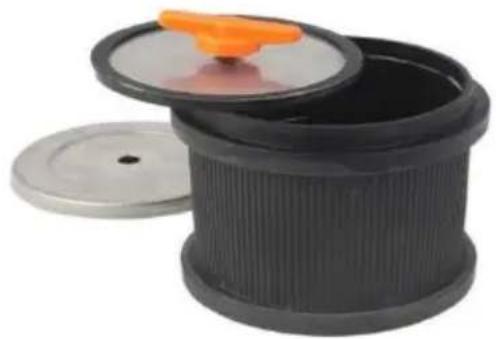 | 3. Remove the inner lid from the barrel: can try by squeezing the barrel to push the lid or screw the knob onto the lid a that as a handle to pull out the lid easi |
Polishing Your Gemstones
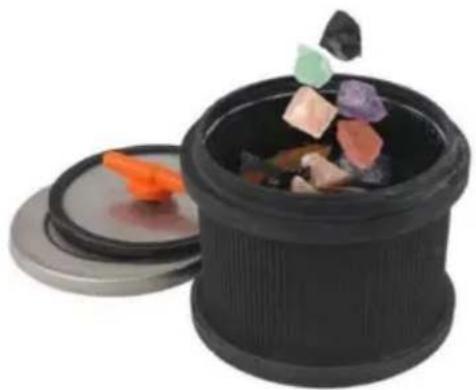
- Put rocks inside the tumbler barrel. (For example, stones about 300-400 grams, 40 grams of round abrasive and adding two-thirds of the barrel of water)
Don't overload it! If the tumbler barrel is full, the rocks won't move around enough to become polished. We recommend that you fill the barrel 1/2 to 2/3 full.
Note: If you overfill the barrel, the stones will hang over the edge of the barrel and won't be polished.

- Put the grit #1 packet into the barrel.
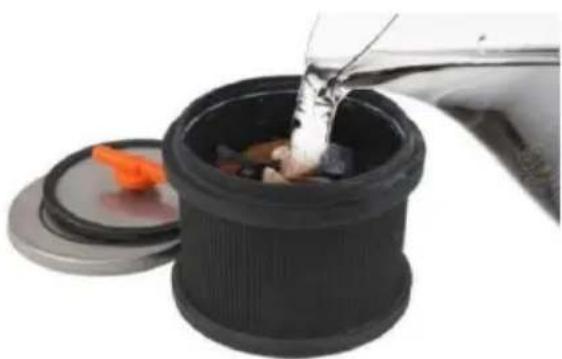
- Add water to the barrel until the water covers the top of the rocks.
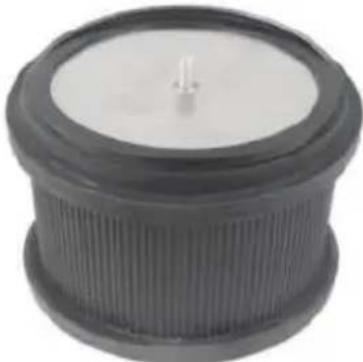 | 7. Place one side of the lid in the seal angle. |
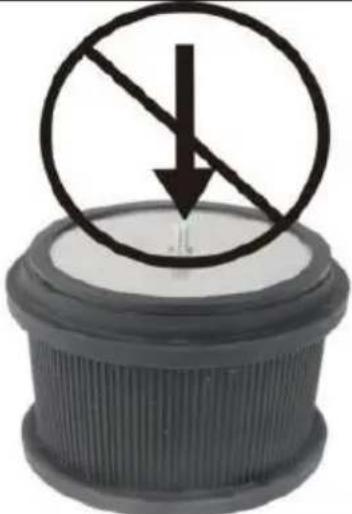 | 8. Do not press the entire lid directly in seal. |
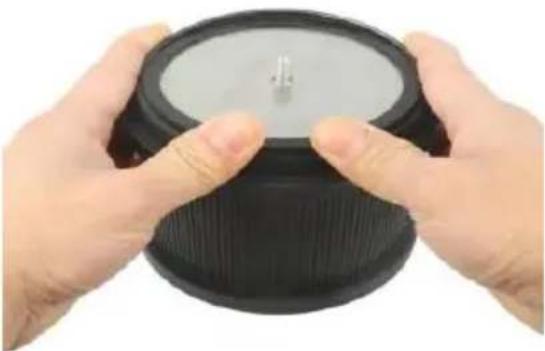 | 9. After confirming the push seal ring, th ring is inside the polishing barrel. |
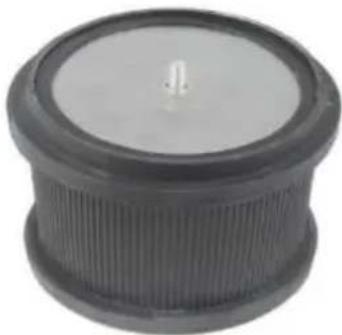  | 10. After confirming the push seal ring, t seal ring is inside the polishing barrel.11. Put back the stainless steel cover or of the inner lid and reattach the knob a tighten it. Make sure to tighten the best can to ensure the barrel does not leak water. |
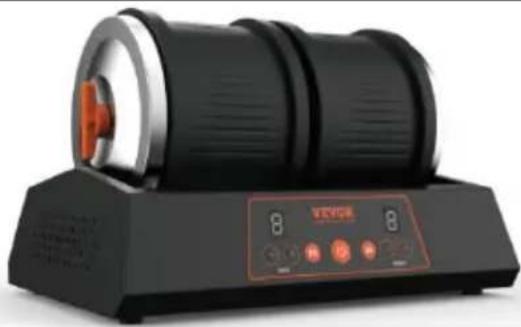 | 12. Place the tumbler barrel onto the turn base, with the lid facing to the right. |
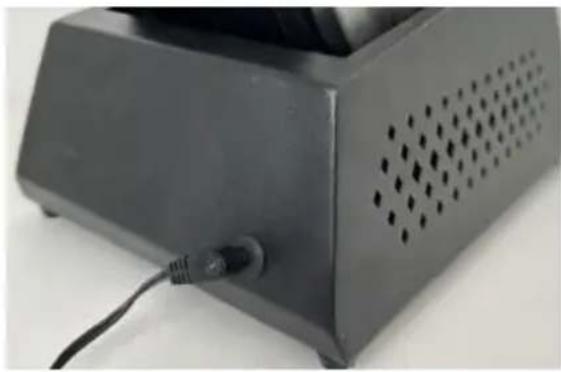 | 13. Plug in the machine, press the On/O button and select the appropriate number days and speed (refer to the Tumbling Guide on page 5), and let the machine job! |
 | 14. You can always pause the machine without losing the speed and timer setting pressing the Pause/Resume button. Press again to resume. |
Cycle Change
| 15. When the tumbler cycle is done, pou
the tumbler barrel into the mesh strainer
rinse the rocks and barrel with water to
remove all the grit. |

Caution! Never pour used grit down a drain inside your house - it can destroy the plumbing! Make sure to wash your stones and barrel outside instead of in your bathroom or kitchen.

Check before you discard! The purpose of each grit cycle is to gradually smooth the rocks and round out the edges. Whenever you finish a cycle, it's a good idea to wash off just a few of the rocks
to see if they are tumbled to your satisfaction before you dump the contents of the barrel. If they aren't polished enough, return them to the barrel and let them run longer. In general, the longer the cycle, the better the results.
Trust yourself. Use your own judgment to determine if the rocks are polished to your satisfaction. Some rocks are harder than others, so they may need more time in any grit cycle than is recommended here.
- Repeat the above steps with grits #2-4, in order. By doing so, you will polish the rough rocks into smooth gemstones.
Feel free to experiment with the duration of your tumbling. Each rock you use is made of different material and so will respond differently. This is a great way to inspire experimentation!
Next Steps

Use mineral oil for extra shine! If you want your finished stones to be really shiny, coat and polish the stones with mineral oil.
You can use the included jewelry hardware to make a necklace, ring, key chain, and a pair of clip-on earrings or pins with your polished stones.
To make a key chain or necklace, simply insert the stone into the key chain/necklace cages, without using glue, by forcing it into
the cage.
To make a ring or earrings, you'll need to glue the stone by using a hot glue gun or an all-purpose adhesive sealant. Please have an adult help you if you are using glue!
Imitating Nature
The original rock tumbler is all natural - it's water! If you've ever picked up rocks on the beach or near a river, you know what this means. Those rocks have been smoothed and rounded by water over long periods of time to make them look and feel the way they do.

Here's how it works: Over tens, hundreds, and even thousands of years, rocks are tossed around in the waves and currents of rivers and seas, banging against each other. The sand and sediment act as abrasives and further smooth the rocks. When the rocks are wet, the sheen gives stones a highly polished look.

Since the beginning of civilization, humanity has tried to find ways to polish faster than nature. In ancient Egypt, slaves would take roughly-cut rocks and rub them back and forth in troughs filled with sand and water - a process that took months - to achieve polished stones.
In India, stones cut into preliminary shapes were put in goatskin bags with water and roughly-ground rocks. Then, workers would roll the bag on the ground for weeks at a time.
Perhaps the first rock tumbler "machine" was invented in ancient India, where a teeter-totter board rolled jars filled with pre-cut beads, water, and abrasives to create polished beads.
The problem with all of these methods is that they took extremely long amounts of time to achieve results and only a few rocks could be polished at once.
More Successful Methods
Modern rock tumbling began in the 1950s in Los Angeles. A rock dealer named Edward Swoboda started selling hand polished irregular shaped rocks - called baroque stones - in simple settings. They became very popular. To keep up
with demand, he partnered with a friend, Warren Jones, to build a tumbling machine that was able to polish a larger quantity of stones in a short amount of time with little labor.
Spurred by Swoboda's success, other inventors started producing their own versions of tumbler machines that, over time, became quieter, more durable, able to polish larger numbers of rocks, even large enough to support wholesale efforts. By the early 1960s, a rock polishing craze had taken over the U.S. Rock tumbler machines could be found in homes across the country.
What Can You Do With Polished Stones?
You've spent the past month polishing stones. Now what? Besides simply enjoying looking at them, there is a lot you can do:
Jewelry: The most common use of polished rocks is to make jewelry. You can use the jewelry fasteners included in this kit, or you can do it yourself! Wrap a wire around a single stone to create a pendant that can go on a chain, string ribbon to create a necklace. Or, you can go to a craft store and buy materials to create keychains, earrings, pins, rings and more.
Home décor: You also can use the polished rocks to create beautiful decor for your home. For instance, you can glue the rocks to picture frames, magnify tree ornaments. You can use larger stones to accent flower pots or vases. Fill a jar with rocks and create a candle holder. Use your imagination.
Manufacturer: Shanghaimuxinmuyeyouxiangongsi
Address: Shuangchenglu 803nong11hao1602A-1609shi, baoshanqu, shanghai 200000 CN.
Imported to AUS: SIHAO PTY LTD. 1 ROKEVA STREETEASTWOOD NSW 2122 Australia
Imported to USA: Sanven Technology Ltd. Suite 250, 9166 Anaheim Place, Rancho Cucamonga, CA 91730
YH CONSULTING LIMITED.
C/O YH Consulting Limited Office 147,
Centurion House, London Road,
Staines-upon-Thames, Surrey, TW18 4AX
E-CrossStu GmbH
Mainzer Landstr.69,
60329 Frankfurt am Main.
VEVOR®
TOUGH TOOLS, HALF PRICE
Technical Support and E-Warranty Certificate
www.vevor.com/support
VEVOR®
MODEL: KD-C8021, KD-C8022, KD-C8023
MODEL: KD-C8021, KD-C8022, KD-C8023
NEED HELP? CONTACT US!
C/O YH Consulting Limited Office 147,
Centurion House, London Road,
Staines-upon-Thames, Surrey, TW18 4AX
E-CrossStu GmbH
Mainzer Landstr.69,
60329 Frankfurt am Main.
VEVOR®
Imported in AUS: SIHAO PTY LTD. 1 ROKEVA STREET EASTWOOD
New South Wales 2122 Australia
C/O YH Consulting Limited Office 147,
Centurion House, London Road,
Staines-upon-Thames, Surrey, TW18 4AX
Centurion House, London Road,
Staines-upon-Thames, Surrey, TW18 4AX
E-CrossStu GmbH
Mainzer Landstr.69,
NEED HELP? CONTACT US!
- Polishing motor 1 pc
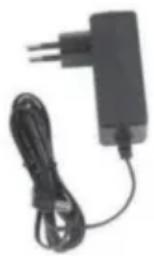
- Power plug 1 pc
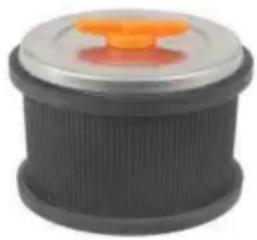
2. Polishing pads 2 pcs
- English manual 1 pc
C/O YH Consulting Limited Office 147,
Centurion House, London Road,
Staines-upon-Thames, Surrey, TW18 4AX
E-CrossStu GmbH
Mainzer Landstr.69,
60329 Frankfurt am Main.
VEVOR®
TOUGH TOOLS, HALF PRICE
- Rock polishing motor 1 pc
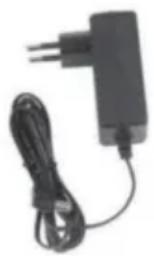
- Power plug 1 pc 10. English manual 1 pc
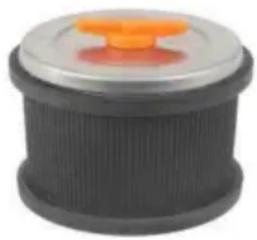
- Put stones into the drum of the tumbler.
C/O YH Consulting Limited Office 147,
Centurion House, London Road,
Staines-upon-Thames, Surrey, TW18 4AX
C/O YH Consulting Limited Office 147,
Centurion House, London Road,
Staines-upon-Thames, Surrey, TW18 4AX
E-CrossStu GmbH
Mainzer Landstr.69,
- Polishing drum 2 pcs

C/O YH Consulting Limited Office 147,
Centurion House, London Road,
Staines-upon-Thames, Surrey, TW18 4AX