FD-68DE - Oven Vevor - Free user manual and instructions
Find the device manual for free FD-68DE Vevor in PDF.

| Product Type | Countertop Convection Oven |
| Brand | Vevor |
| Model | FD-68DE |
| Dimensions (W x D x H) | 58 x 45 x 38 cm |
| Net Weight | 18 kg |
| Capacity | 68 liters |
| Power Supply | 220-240 V / 50 Hz |
| Power | 2500 W |
| Temperature Range | 100 °C to 250 °C |
| Timer | 0 to 60 minutes with automatic shut-off |
| Functions | Convection, roasting, baking, grill |
| Heating Type | Convection |
| Number of Racks | 2 |
| Material | Stainless Steel |
| Door | Double Glazing |
| Interior Light | Yes |
| Cleaning | Non-stick surfaces, easy to clean |
| Safety | Overheat protection, automatic shut-off |
| Included Accessories | Drip tray, rack, handle |
| Warranty | 1 year |
| Country of Origin | China |
| Certifications | CE, RoHS |
Frequently Asked Questions - FD-68DE Vevor
User questions about FD-68DE Vevor
0 question about this device. Answer the ones you know or ask your own.
Ask a new question about this device
Download the instructions for your Oven in PDF format for free! Find your manual FD-68DE - Vevor and take your electronic device back in hand. On this page are published all the documents necessary for the use of your device. FD-68DE by Vevor.
USER MANUAL FD-68DE Vevor
Technical Support and E-Warranty Certificate www.vevor.com/support
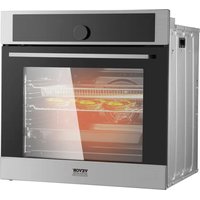
COUNTERTOP CONVECTION OVEN
MODEL:FD-68DE
We continue to be committed to provide you tools with competitive price. "Save Half", "Half Price" or any other similar expressions used by us only represents an estimate of savings you might benefit from buying certain tools with us compared to the major top brands and does not necessarily mean to co all categories of tools offered by us. You are kindly reminded to verify carefully when you are placing an order with us if you are actually Saving Half in comparison with the top major brands.
MODEL:FD-68DE
natural_image
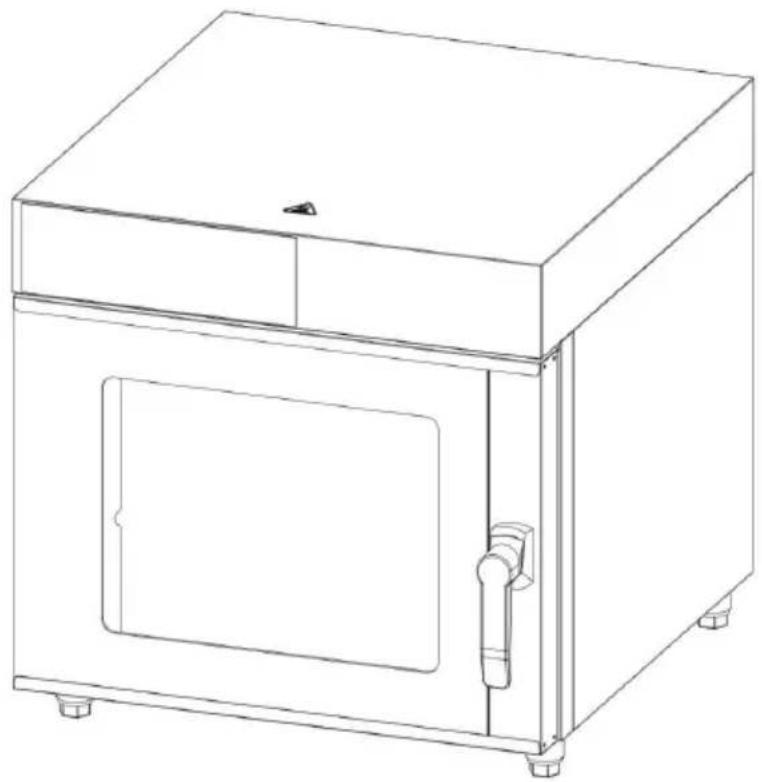
Line drawing of a simple kitchen appliance with a top panel and side door (no text or symbols)NEED HELP? CONTACT US!
Have product questions? Need technical support? Please feel free to contact us:
Technical Support and E-Warranty Certificate www.vevor.com/support
This is the original instruction, please read all manual instructions carefully before operating. VEVOR reserves a clear interpretation of user manual. The appearance of the product shall be subject to product you received. Please forgive us that we won't inform you and there are any technology or software updates on our product.
 | Warning-To reduce the risk of injury, user must re instructions manual carefully. |
 | This product is subject to the provision of European D 2012/19/EC. The symbol showing a wheelie bin cros through indicates that the product requires separate re collection in the European Union. This applies to the and all accessories marked with this symbol. Products as such may not be discarded with normal domestic w must be taken to a collection point for recycling electr electronic devices |
IMPORTANT SAFETY INFORMATION
When using electrical appliances, basic safety precautions should always be followed, including the following:
-
Read all instructions carefully and completely.
-
For commercial use only.
3.Do not touch hot surfaces.
-
Protect against electrical shock by keeping all cords, plugs, and other electrical components away from water or other liquids.
-
Unplug this unit when not in use and before cleaning.
-
Allow the unit to cool before putting on or taking off parts.
-
Do not operate this or any appliance with a damaged electrical core plug.
-
Do not operate this or any appliance after it has malfunctioned or damaged in any way.
9.Do not use outdoors.
-
Do not place on or near a hot gas or electric burner.
-
Attach plug to appliance first, then plug electrical cord into the wall outlet.
-
Disconnect the unit by turning the temperature and timer control to "OFF", then removing the electrical plug from the wall outlet.
-
Do not use appliance for any application other than intended use.
- Do not insert metal utensils or over sized foods into this unit as may cause a fire and heighten the risk of electrical shock.
- Do not store any item on top of this unit when in operation.
- Do not allow this oven to touch or be covered by flammable mate such as curtains, draperies, walls, etc., when in operation.
- Do not clean with metal scouring pads as pieces can break off an touch electrical components, heightening the risk of electrical shock
- Never place materials such as paper, cardboard, plastic, etc. in this oven.
- Do not cover interior of this unit with metal foil as it may cause to overheat.
- Avoid scratching the surface or nicking the edges of this unit's ten safety glass door. If the oven door has a scratch or nick, contact cu service before use.
- Turn the appliance off by turning the temperature and timer control the "OFF" position.
- Note that the use of accessories not recommended by the manufacturer may result in injury.
- Children should be supervised to ensure that they do not play with oven.
- This appliance is not intended for use by persons (including children with reduced physical sensory or mental capabilities, or lack of experience and knowledge, unless they have been given supervision or instruction concerning use of the appliance by a person responsible for their safety).
- When using the appliance in shops, snack bars, hotels etc., check voltage and outlet to make sure the appliance is correctly connected power.
- Place unit on a flat surface that is well ventilated. The appliances be supervised during operation, DO NOT leave appliance without power off.
NOTE: Save these instructions for future reference.
Identification of Key Parts

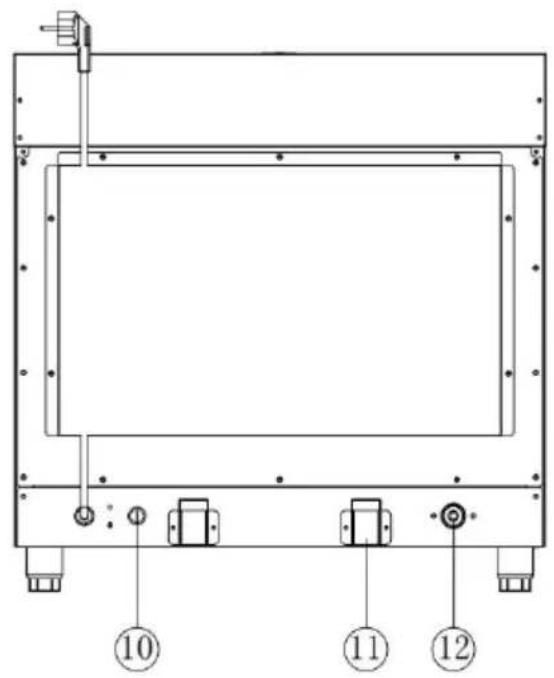
- Power Cord
- Control Panel
- Handle
- Door
5.Shelf rack - Door seal
- Tray
8.Foot - Door Switch
- Temperature limiter
- Space holder
- Water inlet
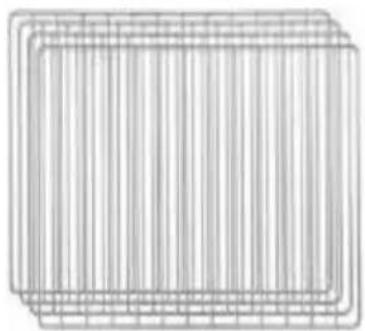
Identification of Accessories
natural_image
Pure geometric grid pattern with no text, numbers, or symbolsRoasting Racks 4pcs 460x330mm
natural_image
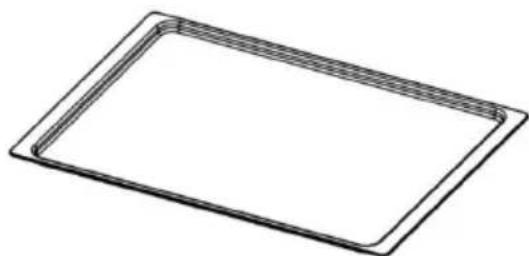
Simple line drawing of a rectangular frame with no text or symbolsSheet Pan 1pcs 430x325mm
natural_image
Close-up of a textured, diamond-patterned surface with no visible text or symbols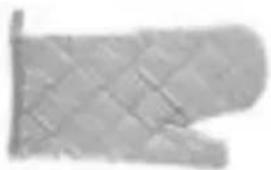
natural_image
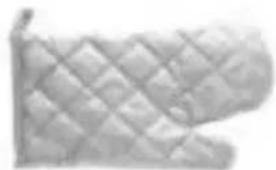
Close-up of a textured, mesh-like surface with no visible text or symbolsGloves 1 pair

natural_image
Close-up of a metallic tool with a pointed tip and red handle (no visible text or symbols)Bread Clip 1pcs
Specification
| Model No. | Voltage/ Rated Frequency (Hz) | Capacity | Power | Temp. Range | Timer Range | Size |
| FD-68 DE | 220-240V 50/60Hz | 58L | 2800W | 30-260°C | 0-99.5 min | W600 xD690 xH606 mm |
Electric Diagram
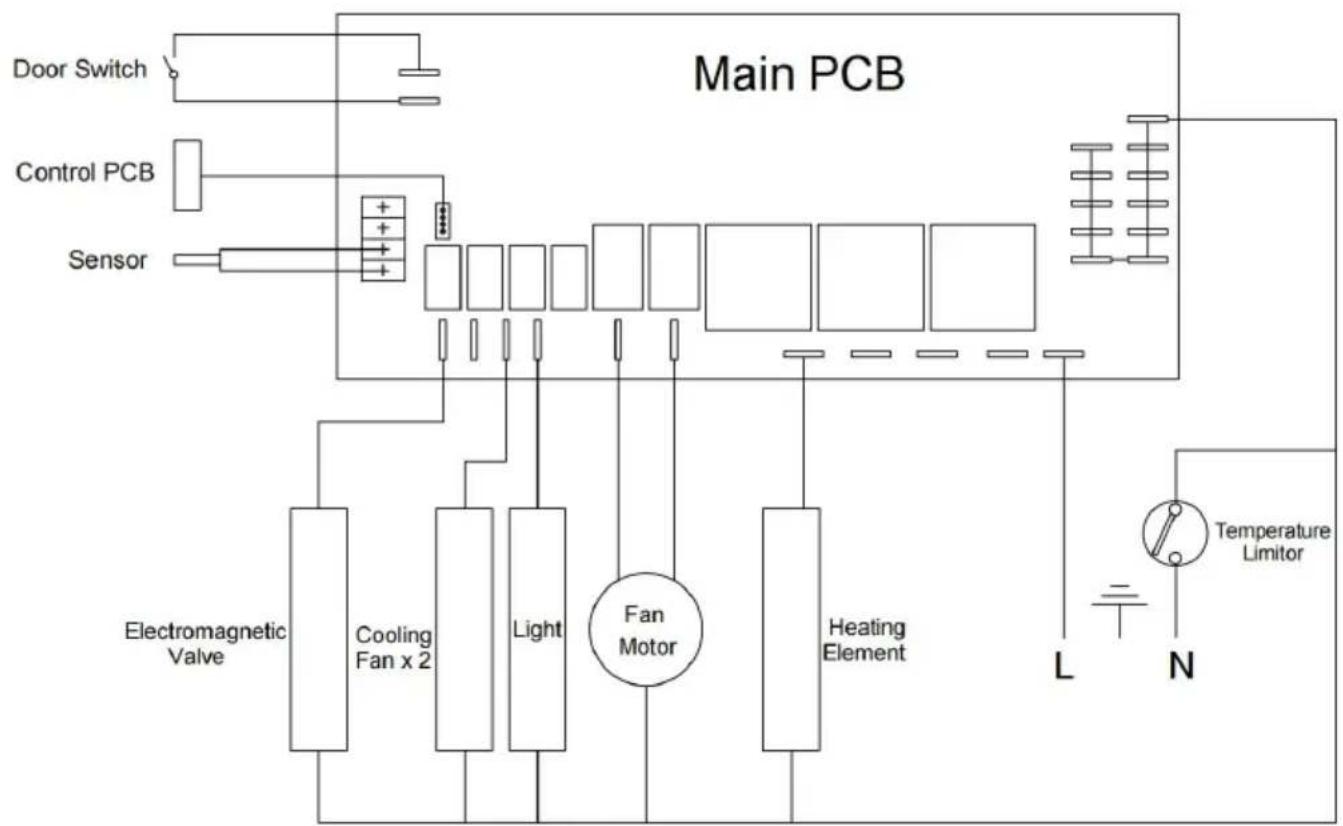
flowchart
graph TD
    A["Door Switch"] --> B["Main PCB"]
    C["Control PCB"] --> D["Sensor"]
    D --> E["Electromagnetic Valve"]
    E --> F["Cooling Fan x 2"]
    E --> G["Light"]
    E --> H["Fan Motor"]
    E --> I["Heating Element"]
    H --> J["L"]
    I --> K["N"]
    L["Temperature Limitor"] --> M["L"]
    L --> N["N"]
INSTALLATION OF YOUR OVEN
All electrical connections must comply with specification and power standard, the installation operation must be done by qualified personnel. All models are countertop type, put the oven in a flat surface, and I enough space (suggested 100mm&4") for the air ventilation.
Both models have humidity control function, please install the oven clock water source and connect the faucet well before using.
Before cooking anything in your oven for the first time, please follow simple instructions:
Using a small amount of detergent, wash the handle and roasting rad with soapy water. (NOTE: Do not use a spray or abrasive polishing Gently wipe down interior walls with a damp cloth. While washing this do not to touch the electric heating element. Do not soak the inside oven with water.
After washing and thoroughly drying the surfaces noted above, place roasting racks back inside the oven.
Close the oven door and preheat the oven to its highest temperature setting for 5 minutes.
Turn off the heating elements and open the oven door in order to re any smoky residue from inside the oven. The heating elements are w lubricated and this initial use will help burn off the extra grease. A I amount of smoke is normal during this
Using Your Oven
CAUTION: During the baking process, make sure that no metal access comes in contact with the electric heating elements.
CAUTION: Foods baked in this oven will be hot. Wear protective har coverings when reaching into oven to retrieve food.
1. Display Window
| INNER TEMP | Display actual internal temperature oven. |
| SETTING TEMP | Display setting temperature of over |
| H/M M/S | Display time of oven with countdow |
2.Function Buttons
| On/Off | On/Off | Open or close oven. |
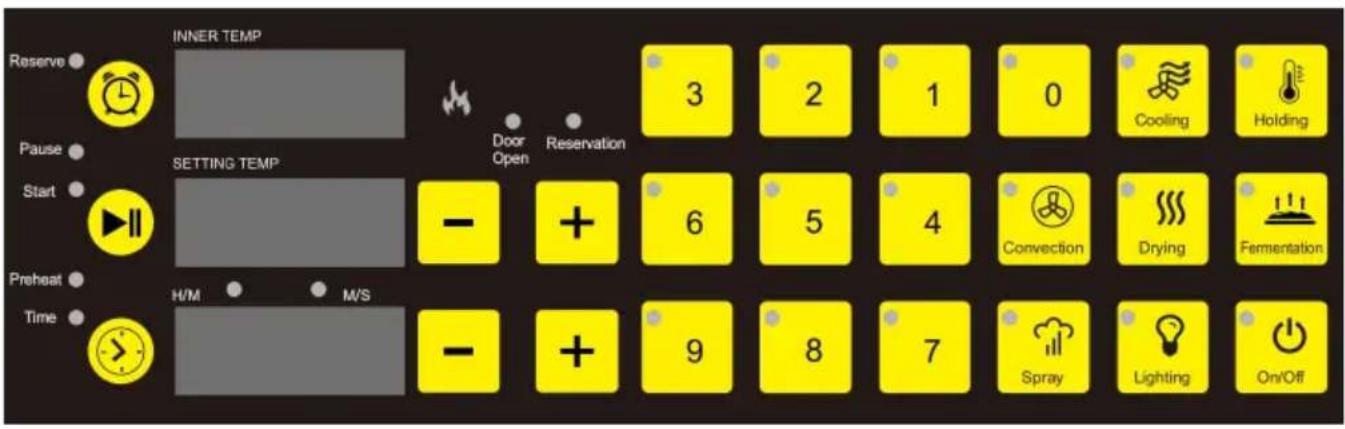
 | Lighting | Turn on or turn off the light when power not turn off the light after turning on, the automatically turn off after one minute. |
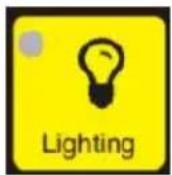
 | Spray | Steam function only valid when inner temperature over 150 degree. Each press 1 second humidity with 20g water come more humidity needed, press more times press and hold the button to spray water loose. |
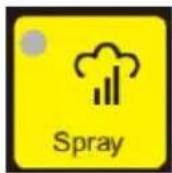
 | Fermentation | Default proofing temperature is 38 °C (adjustment range: 30 °C ~ 50 °C). |
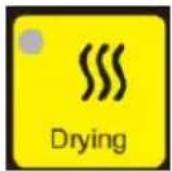 | Drying | Default drying temperature is 85 °C (adjust range: 30 °C ~ 100 °C). |
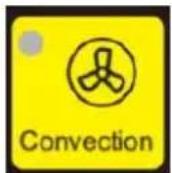 | Convection | Convection hot air heating (adjustment range: 30 °C ~ 260 °C). |
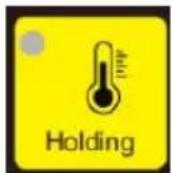 | Holding | Holding and keeping warm, default tempera is 65 °C with 1 hour. |
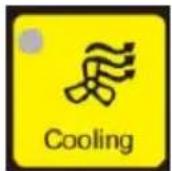 | Cooling | The cooling function must open the door and the fan will work after door opened. |
 | Reserve Button | Time reserve will show on time display w press “+” or “-” to adjust parameter. Over stop working during reservation setting. |
 | Working Button | Start or pause oven. |
 | Timer Button | Indefinite time: Both indicators are off.Preheat: When temperature reaches to set parameter, the buzzer will sound. Press the timer button to turn off the buzzer and s countdown according to the set time.Time: Start countdown directly when oven working. |
 | Menu Button | Menu from 0 ~ 9 button, used to store a recall a set of temperature and time para after selecting the menu, adjust the param (if necessary), wait for the flashing display stop, the menu starts to run and automat memorizes the parameters for the next rec |
3. Using Oven
(1) Plug power cord and press power button, select function button o memorized menu.
(2) Select time mode (no time setting / preheat / time).
(3) If light needed, turn on or turn off light button.
(4) If need reserve, press reserve button, set preserve time to start working.
(5) Except for the menu button, other function parameters can be adj but not saved.
4.Error Code
(1) Err1: Sensor problem of oven.
(2) Err9: Control PCB and Main PCB not connected.
Protection Component
If the temperature of this oven reaches an unsafe limit, the electrical components will shut off and it will stop operating in order to prevent overheating.

natural_image
Close-up of a wall-mounted electrical outlet with black connectors and a vertical arrow indicator (no text or symbols)Possible cause: Reset switch tripped. This switch is a safety switch designed to prevent the oven from overheating. If it was triggered the was run at too high of a temperature for too long.
Solution: The reset switch is located on the back of the oven, cover black plastic screw cap. Remove the cap, press the switch.
Cleaning & Maintaining Your Oven
To clean, first remove the power cord's plug from the wall outlet. Wa the oven to cool. Use a damp cloth or sponge to gently wipe down inside of the oven. Avoid soaking the inside of the oven or washing running water as this will cause serious damage to the unit.
Troubleshooting
Problem: The oven does not become hot after being switched on.
- Be sure that the time is set.
- Be sure that the temperature is set.
Problem: There is a metallic sound when the oven is in use.
- Do not attempt to dismantle the oven.
- Contact your service agent right away to examine the fan.
Problem: Food is often overcooked or burned, even when cooked according to the recipe.
- Check that the fan motor is operating normally.
- Contact your service agent to examine the temperature control knob
VEVOR®
TOUGH TOOLS, HALF PRICE
Technical Support and E-Warranty Certificate
www.vevor.com/support