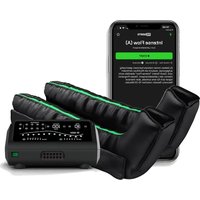
One Pro - Massage device Reboots - Free user manual and instructions
Find the device manual for free One Pro Reboots in PDF.


| Product type | Compression massage device |
| Brand | Reboots |
| Model | One Pro |
| Dimensions (L x W x H) | 30 x 25 x 16 cm |
| Weight | 5 kg |
| Power supply | 220-240 V, 50/60 Hz |
| Power | 78 W |
| Massage programs | 8 (A-H : Flow, Intense, Double, Impulse, Intense Flow, Intense x Double, Flow x Double x Impulse, Flow x Double x Intense Flow x Intense) |
| Number of air chambers | 12 |
| Adjustable pressure | 30-240 mmHg |
| Pump capacity | 20-25 l/min |
| Timer | 5 to 99 minutes |
| Protection class | II |
| Fuse | T 0.315 A H (5x20 mm) |
| Operating temperature | 10-40 °C |
| Operating humidity | 30-85 % |
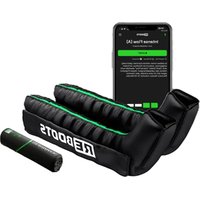
| Box contents | Control unit, sleeves, tubes, multi-connector, power supply |
| Maintenance | Disinfection with Descosept pur or similar product |
| Warranty | 24 months on the control unit |
| Manufacturer | Wellcosan GmbH, Schlüchtern, Germany |
| Customer service | +49 (0) 6 66 17 48 91 06 / hallo@reboots.de |
| Note | Consult a doctor in case of contraindications (page 33 of the manual) |
Frequently Asked Questions - One Pro Reboots
User questions about One Pro Reboots
0 question about this device. Answer the ones you know or ask your own.
Ask a new question about this device
Download the instructions for your Massage device in PDF format for free! Find your manual One Pro - Reboots and take your electronic device back in hand. On this page are published all the documents necessary for the use of your device. One Pro by Reboots.
USER MANUAL One Pro Reboots
DE/EN/FR/ES/IT
VORBEMERKUNG
DIE DREI ZIPPER
Manschetten
ENGLISH
PRELIMINARY REMARK
Congratulations on the purchase of this device! You will enjoy your Reboots very much! If you are satisfied with your Reboots Product, we would be very pleased if you submitted a review.
This guide includes details that should be taken into account by the user, to avoid risks, and to enable the safe use of the device.
Should you have any questions about its application, its accessories, or if you have suggestions, please do not hesitate to contact us! We are also happy to help you with any complications that develop during or after using the product.
Telephone: +49 (0) 666 174 891 06
Whatsapp: +49 1573 5990081
Mail: hallo@reboots.de
Web: www.reboots.com
HelpDesk: help.reboots.com
BEFORE YOU GET STARTED
- Please read the operating instructions carefully before using the device.
- Keep this user manual so you can consult it, if necessary.
- Reboots may not be used if you suffer from certain health conditions. Please read the list of contraindications carefully on last page.

STEP 1: BEFORE USE
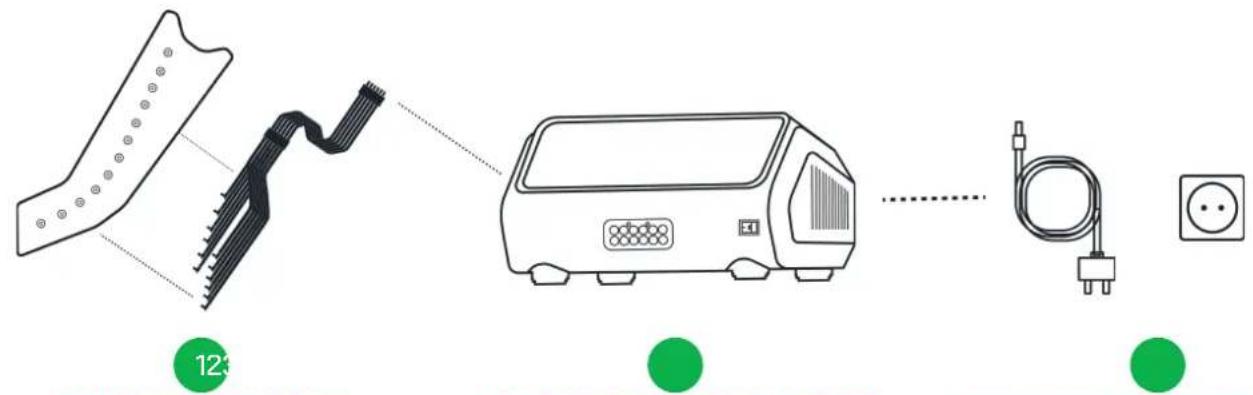
CONNECT THE HOSE SET AND CUFFS
Connect the tubes to the connectors on the cuffs. Make sure the longest tube goes to the foot air chamber.
Note: We recommend that you do not detach the connectors after setup.
CONNECT THE TUBE SET AND THE CONTROL UNIT
There are two clips on the side of the multi-plug. Depress the clips then insert the multi-plug into the control unit.
Note: Please insert the small fittings of the multi-plug into the openings found above the air outlets.
CONNECT THE POWER SUPPLY TO THE CONTROL UNIT
Connect the power supply to both the control unit and an outlet to ensure power.
Note: To keep the device clean, we recommend wearing thin jogging pants or leggings. Keep pockets empty. Zip the cuffs completely closed to avoid sudden opening. Be careful not to kink the tubing during use.
STEP 2: OPERATION
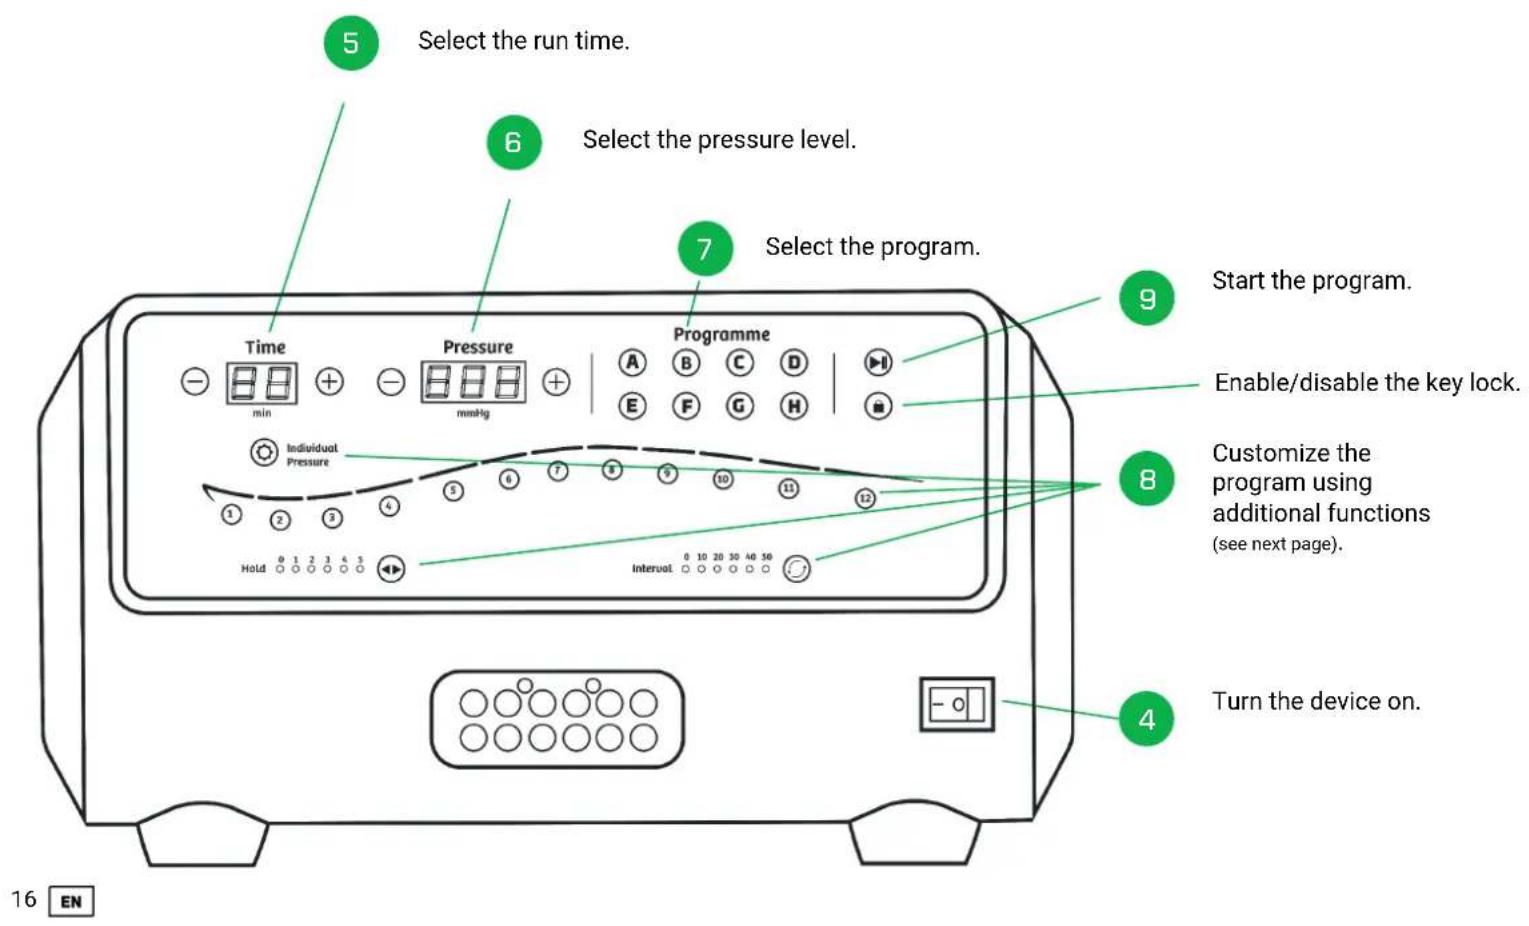

STEP 2: OPERATION - ADDITIONAL FUNCTIONS
DEACTIVATE AIR CHAMBERS
- To deactivate individual chambers, press the number button below the chamber.
- The air chamber is deactivated once the number button beneath the chamber is no longer illuminated.
INDIVIDUAL CHAMBER PRESSURE SETTING (INDIVIDUAL PRESSURE)
- Adjusts the desired pressure for each selected chamber.
- Activate this function by holding the button until all number buttons below the chambers start blinking.
- Then select the desired chamber and enter the preferred pressure.
- Repeat these steps for each chamber as desired.
- Long press the button to save your settings.
- The flashing icon confirms that you successfully activated the function.
INTERVAL TIMER SETTINGS (INTERVAL)
- Set the pause duration between two message intervals.
- The interval timer starts after the hold timer of the last chamber(s) message interval of any program has ended.
- The duration can be set from 0-50s in 10-second increments by button press.
HOLD TIMER SETTINGS (HOLD)
- Maintain the desired pressure for a specified duration in an active chamber
- The hold timer starts when the chamber target pressure is reached.
- The duration can be adjusted from 0-5s in 1-second increments by button press.
STEP 3: ENJOY THE MESSAGE
MESSAGE PROGRAMS A-H:
The air chambers in the leg cuffs are filled based on the selected program. This creates an optimal and relaxing gliding pressure message on both legs. Duration and pressure, in addition to optional additional functions can also be adjusted during the message.
| A Flow |
| B Intense |
| C Double |
| D Impulse |
| E Intense Flow |
| F Intense x Double |
| G Flow x Double x Impulse |
| H Flow x Double x Intense Flow x Intense |
![graph TD subgraph Stage A A1["Green flag icon"] --> A2["Gray flag icon"] A3["Gray flag icon"] --> A4["Green flag icon"] A5["Gray flag icon"] --> A6["Green flag icon"] A7["Gray flag icon"] --> A8["Green flag icon"] A9["Gray flag icon"] --> A10["Green flag icon"] A11["Gray flag icon"] --> A12["Green f…](/content/2026/04/715560/images/241a1d76993180f21a9bfe1a2496249ed6c3323abc2189db6b1ae2b3c658b15c.jpg)
STEP 4: STOPPING AND DISASSEMBLY
After the set time has elapsed or after pressing the off switch, remove the multi-plug from the device. If you don't feel well during the message, you can switch the system off at any time.
Once turned off, you can open the cuffs. To quickly deflate the air chambers after use, press on the air chambers with both hands.
The gray tube cuff connectors can be left permanently connected.
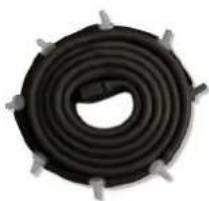
For storage, place the cuffs (incl. tubes) on top of each other. Then roll them loosely together.
The cuffs can be cleaned using a damp cloth and mild detergent. Allow the cuffs to dry thoroughly.
Disinfectants such as Descosept pur or comparable products with a similar composition are suitable for disinfecting the cuffs.
TROUBLESHOOTING
AIR IS ESCAPING (AUDIBLY)
- Check the tubes and connectors for damage or kinks that could cause air to be trapped.
- Make sure the multi-plug is seated correctly in the control unit.

TROUBLESHOOTING
THE DEVICE DOES NOT TURN ON
- Make sure the power supply is seated correctly in the unit and plugged into an outlet.
- If the device still won't turn on, remove the power supply from the device. Turn the device over and remove the fuse holder labeled "FUSE" on the bottom of the device using a screwdriver. Check whether the fuse is inside is intact.
- If the fuse is intact, screw it fully back into the device and contact our customer service team. If the fuse is damaged, replace it with a commercially available thin wire fuse (slow blow (TR); 3.15A; 5x20mm).
THE CUFFS INFLATE IN THE WRONG ORDER
- Make sure the multi-plug is inserted in the control unit using the correct orientation. The multi-plug is seated correctly if the small fittings of the multi-plug are in the openings found above the air outlets.
THE CONTROL UNIT IS UNUSUALLY LOUD
- Unusually loud means that you're unable to carry on a conversation or relax during use or that the device's volume level exceeds 75dB.
- This can also happen if the security screw included during transportation has not been removed. We normally remove the transportation security screw prior to delivery, however if your device still has one you can easily remove it yourself.
- To do this, open the cover on the bottom then remove and dispose of the transportation screw.
INDIVIDUALISING YOUR REBOOTS PANTS 2.0
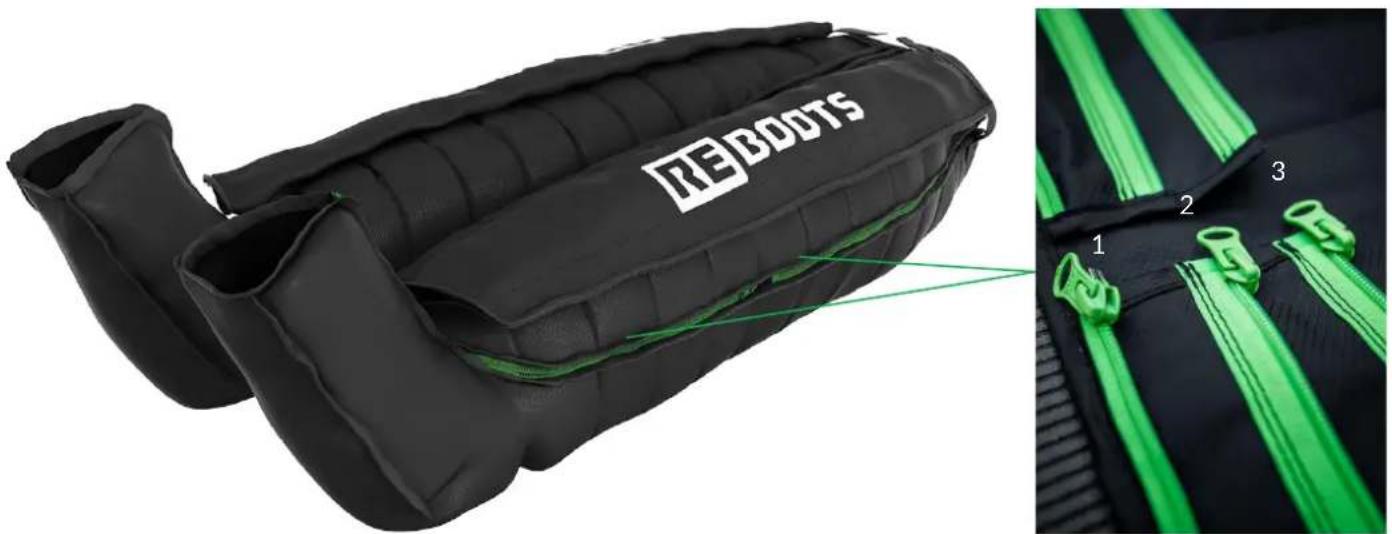
THE THREE ZIPPERS
Position 1 = outer zipper = narrowest position = for low leg circumferences Position 2 = middle zipper = middle position = for medium leg circumferences Position 3 = inner zipper = widest position = for large leg circumferences
There are separate zippers for thighs and lower legs, so you can adjust the trousers very individually.
If none of the possible settings fits exactly, you can create further size gradations with our extensions. Just have a look in our shop.

CONTENT & TECHNICAL DETAILS
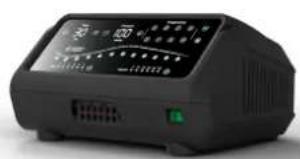
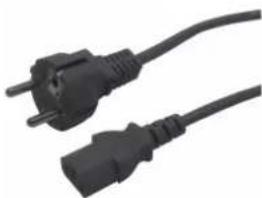
Device Power plug
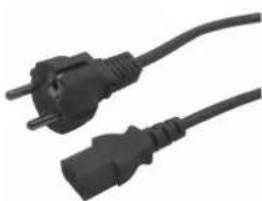
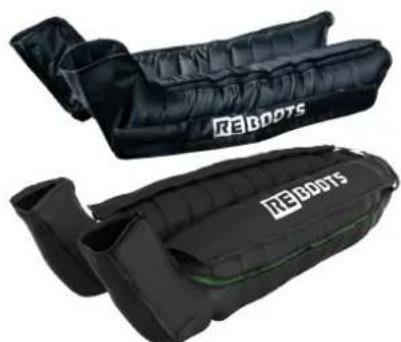
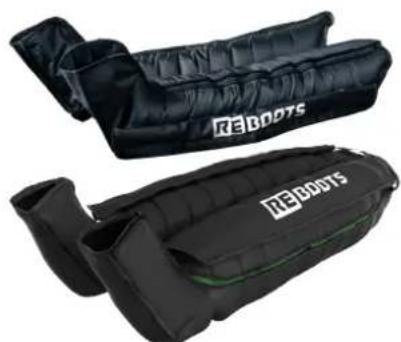
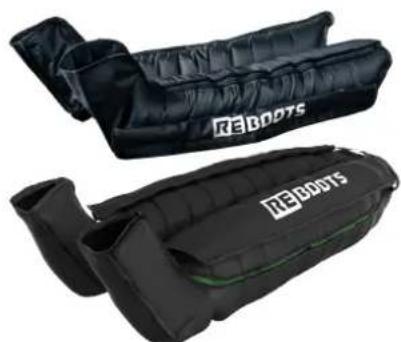
Cuffs
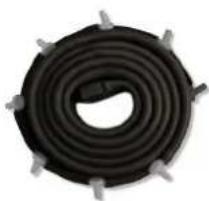
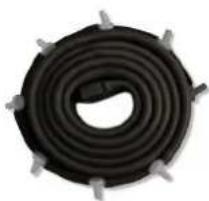
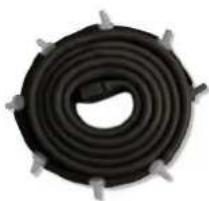
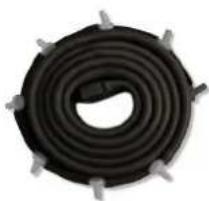
Multi-Plug air hose set

| Number of programmes 8 | |
| Number of air chaimbers 12 | |
| Weight [in kg]~5 | |
| Power output [in W] 78 | |
| Mains frequency [in Hz] 50 / 60 | |
| Voltage [in V] AC220-240 | |
| Timer setting [in min] 5-99 | |
| Pump output [in l/min] 20-25 | |
| Pressure [in mmHg] 30-240 | |
| Dimensions [in cm] 30 x 25 x 16 | |
| Protection class II/ | |
| Temperature range [in °C](use and storage) | 10-40 |
| Humidity [in %](use and storage) | 30-85 |
| Fuse T 0,315 A H |
SAFETY INSTRUCTIONS
Keep these operating instructions in a safe place! Do not disassemble or burn the unit. Repairs to the control unit may only be carried out by specialists authorised by Wellcosan GmbH, otherwise the warranty may be voided. In case of damage to the unit, pull out the mains plug and switch off the unit. Also disconnect the mains plug and switch it off if the unit has come into contact with water or other liquids. Do not use the unit in damp rooms. Ensure that the unit is standing securely. Do not subject the device to shocks or throw them. The unit must not be covered by other objects during operation. Make sure that the hoses do not twist or kink during use and storage. Keep the unit away from sources of heat (e.g. direct sunlight, radiators and others). When you are not using the unit, the unit must be switched off. The unit switches itself off after 10 minutes of inactivity.
WARRANTY
We grant 24 months on the control unit. In the event of a malfunction, it may be necessary to send the unit in for inspection. In this case, please ensure that the shipping carton is appropriately padded in order to avoid possible transport damage. Unfortunately, no warranty claims can be made for defects that are due to improper shipping. Warranty conditions: Insofar as there is a legal obligation to provide a warranty, either a replacement will be provided free of charge or the manufacturer will be given the opportunity to rectify the defect, to the exclusion of the right to rescission or reduction. Should the rectification of defects fail despite several attempts or should a replacement unit also be afflicted with a defect for which the manufacturer is responsible, the customer shall be entitled to rescission or reduction.
When not in use also unplug the appliance from the mains. Always unplug the appliance from the mains before cleaning. Keep the product away from children or persons who have not been instructed in its use.

With the CE marking, the manufacturer or importer confirms the conformity of the product with the applicable EC directives and compliance with the "essential requirements" specified therein.
This marking on the unit means that you must not dispose of it in normal household waste at the end of its service life. Please have it disposed of by an electronic waste disposal company.

The abbreviation UKCA stands for UK Conformity Assessed. The marking is a prerequisite for the marketing of products within Great Britain.

Warranty exclusion: Excluded from the warranty are defects caused by forcible damage, improper operation, external force or third party modification and repair measures, such as defects caused by incorrectly dimensioned or short-circuited fuses or defects attributable to normal wear and tear. Warranty requirement: The warranty claim exists only in conjunction with the original proof of purchase (invoice). Therefore, keep the purchase receipt in a safe place.
If you have any problems or questions when using the system, please do not hesitate to contact us at +49 (0) 666 174 891 06 or hallo@reboots.de.
LIABILITY DISCLAIMER
The product should ideally only be used after consultation with your doctor.
Possible contraindications may include: Decompensated heart failure, cardiac output disorders with water in the legs, inflammation of the treated areas of the body, known or suspected leg vein thrombosis, phlebitis and arterial disease, gangrene, dermatitis, arteriosclerosis or venous circulatory disorders, open, untreated or infected wounds and injuries, for leg pain, skin lesions, acute inflammation, malignant tumours, pulmonary oedema, hypertension, extensive thrombophlebitis, thrombosis or suspected thrombosis, erysipelas, severe uncontrolled hypertension, acute soft tissue trauma of the extremities, neuropathy or occlusive processes in the lymphatic drainage system.
Purpose: The product is designed to help you feel better and relax.
NOTICE:
Your Reboots Product is not a medical device and is not intended for self-treatment. If you are unsure, please consult your doctor.
MANUFACTURER:
FRANCÉS
CHER UTILISATEUR DE REBOOTS
RELIEZ LE BLOC DE TUYAUX ET LES MANCHONS
PARAMÉTRAGE LA MINUTERIE "HOLD" (HOLD)
LES TROIS FERMETURES ÉCLAIR

Bottes
ESPAÑOL
CONECTA EL SET DE TUBOS CON LOS MANGUITOS
LAS TRES CREMALLERAS
ITALIANO
PREFAZIONE
LE TRE CERNIERE
Cavigliere
- VORBEMERKUNG
- DIE DREI ZIPPER
- PRELIMINARY REMARK
- BEFORE YOU GET STARTED
- CONNECT THE HOSE SET AND CUFFS
- CONNECT THE TUBE SET AND THE CONTROL UNIT
- CONNECT THE POWER SUPPLY TO THE CONTROL UNIT
- STEP 2: OPERATION - ADDITIONAL FUNCTIONS
- DEACTIVATE AIR CHAMBERS
- INDIVIDUAL CHAMBER PRESSURE SETTING (INDIVIDUAL PRESSURE)
- INTERVAL TIMER SETTINGS (INTERVAL)
- HOLD TIMER SETTINGS (HOLD)
- STEP 3: ENJOY THE MESSAGE
- MESSAGE PROGRAMS A-H
- STEP 4: STOPPING AND DISASSEMBLY
- TROUBLESHOOTING
- AIR IS ESCAPING (AUDIBLY)
- THE DEVICE DOES NOT TURN ON
- THE CUFFS INFLATE IN THE WRONG ORDER
- THE CONTROL UNIT IS UNUSUALLY LOUD
- INDIVIDUALISING YOUR REBOOTS PANTS 2.0
- THE THREE ZIPPERS
- SAFETY INSTRUCTIONS
- WARRANTY
- LIABILITY DISCLAIMER
- NOTICE
- MANUFACTURER
- CHER UTILISATEUR DE REBOOTS
- RELIEZ LE BLOC DE TUYAUX ET LES MANCHONS
- PARAMÉTRAGE LA MINUTERIE "HOLD" (HOLD)
- LES TROIS FERMETURES ÉCLAIR
- CONECTA EL SET DE TUBOS CON LOS MANGUITOS
- LAS TRES CREMALLERAS
- PREFAZIONE
- LE TRE CERNIERE
Brand : Reboots
Model : One Pro
Category : Massage device