TAIPAN - Firearm Pro Tuning - Free user manual and instructions
Find the device manual for free TAIPAN Pro Tuning in PDF.


User questions about TAIPAN Pro Tuning
0 question about this device. Answer the ones you know or ask your own.
Ask a new question about this device
Download the instructions for your Firearm in PDF format for free! Find your manual TAIPAN - Pro Tuning and take your electronic device back in hand. On this page are published all the documents necessary for the use of your device. TAIPAN by Pro Tuning.
USER MANUAL TAIPAN Pro Tuning
natural_image
Close-up of hands holding a black semi-automatic pistol on a green surface (no text or symbols visible)Abb. 3: Ladevorgang
natural_image
Close-up of hands holding a black handgun on a green mat, with another hand visible in the background (no text or symbols)natural_image
Black semi-automatic pistol resting on a green surface (no visible text or markings)natural_image
Close-up of hands holding a metallic mechanical component against a green background (no text or symbols visible)Abb. 6: Bushing
natural_image
Close-up of hands holding a small mechanical device against a green background (no visible text or symbols)Abb. 7: Federhülse
natural_image
Close-up of hands holding a black semi-automatic pistol against a green background (no text or symbols visible)natural_image
Close-up of a mechanical assembly with metal components and a tool, no visible text or symbolsnatural_image
Close-up of hands using a tool to adjust or install a mechanical component (no visible text or symbols)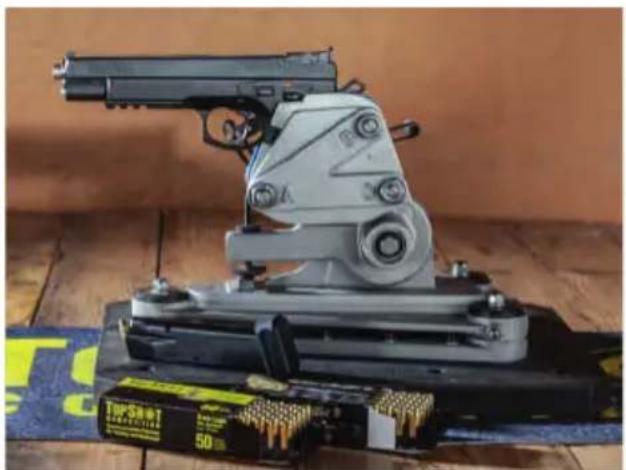
natural_image
Close-up of a handgun mounted on a base with ammunition belt and timer visible (no text or symbols)natural_image
Person assembling a black electronic device in a retail store (no visible text or symbols)
TAIPAN
natural_image
Close-up of a black plastic mechanical component with ventilation slots (no visible text or symbols)
natural_image
Close-up of a black mechanical component with a cylindrical shaft and flange (no visible text or symbols)
natural_image
Close-up of a black mechanical component with cylindrical ports and a threaded shaft (no visible text or symbols)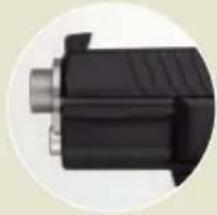
natural_image
Close-up of a black mechanical component with a cylindrical shaft and threaded end (no visible text or symbols)FRANKONIA
OPERATING AND SAFETY INSTRUCTIONS
CONTENTS
1. General information 26
2. Safety instructions 27
2.1. Safety notice 28
3. Product description 29-31
3.1. Main components 29
3.2. Main features 30
3.3. Technical data 31
3.4. Scope of delivery 31
4. Transporting the weapon 32
5. Instructions for use 32-35
5.1. Ammunition 32
5.2. Removing the magazine 33
5.3. Filling the magazine 33
5.4. Loading the pistol 33
5.5. Reloading while firing 34
5.6. Unloading the pistol 34
5.7. Pistol safety 34
5.8. Setting the sighting 35
6. Disassembling the weapon 36
7. Maintenance instructions 37-39
7.1. Disassembling for cleaning 37
7.2. Replacing wearing parts 37
7.3. Disassembling the magazine 37
7.4. Cleaning the pistol 38
7.5. Cleaning other pistol parts 39
7.6. Storage 39
7.7. Waste disposal 39
8. List of components 40-41
9. Safekeeping and storing the pistol 42
10. Eliminating malfunctions 42
1. GENERAL INFORMATION
Carefully read these instructions before handling the ProTuning pistol.
You must familiarise yourself with the information contained in these instructions, and properly implement them. This is necessary for correct commissioning and safe handling, servicing, and maintenance of the ProTuning pistol. Do not use the pistol until you have fully understood all operating and safety instructions. Should you require further information, contact your dealer, importer, or the manufacturer. Observe local and national laws that regulate the possession, carrying, and using firearms. Please note that these pistols, like all firearms, are dangerous. The pistol described in these operating and safety instructions is sold subject to the explicit condition that the manufacturer and the importer of the pistol do not accept any liability for any consequences of handling or using the pistol. This applies in particular to liability for physical injury or material damage, which are caused in part or in full by:
- Acting with a criminal intent or negligence
- Improper or careless handling
- Defective, incorrect, manually loaded or reloaded ammunition
• Insufficient maintenance of the pistol (e.g. rust, damage)
• Disregarding malfunctions
• Resale contrary to regional laws and regulations - Other factors that are beyond our direct and immediate control.
These restrictions shall apply regardless of whether a liability is asserted based on a contract, negligence, or strict liability (including failure to provide warning). The manufacturer and the importer do not accept liability for accidental or consequential damages, such as loss of use of property, commercial losses, or loss of wages and profits.
2. SAFETY INSTRUCTIONS
- Never use the pistol under the influence of drugs or alcohol, while ill or suffering other such difficulties. These conditions may affect your judgement and reflexes.
- Always treat the pistol as though it is loaded and with the safety off until you have established that it is unloaded (see Section 5.6).
- Always keep the muzzle pointed in a safe direction when handling the pistol. A safe direction is towards an area where there are no people, other life forms, or third-party property.
- Never point the gun at doors, panes of glass, walls, concrete, stone or flat surfaces (water included). A bullet can penetrate such surfaces or be ricocheted in an unsafe direction.
- Never aim at yourself or other living beings.
- Never rely on safety mechanisms alone. All safety devices may develop defects or malfunction. You are the ultimate safety device!
• Always treat your pistol as if its safety mechanisms were out of order. - Correct, skilled, and safe use of the pistol is the best safety measure.
- Never fire a pistol if it is contaminated with water, sand, dirt, or other foreign matter.
- Never uncock the hammer by holding it and pulling the trigger at the same time.
- Never let a loaded pistol out of your hand.
- Always unload the pistol immediately after firing before putting it away, putting it into a holster, or handing it to another authorized person.
- Never give the pistol to a person that has not thoroughly familiarized himself or herself with the safety instructions and handling of the pistol by reading the corresponding instructions.
- Never leave the pistol unattended and protect it from unauthorized access.
- Never store the gun loaded, but rather remove the magazine and ensure that no cartridge is left in the chamber of the barrel (see Section 5.6).
- Always store the pistol and ammunition in accordance with legal regulations and ensure that neither is accessed by unauthorized persons or children.
2.1. Safety instructions
The following safety instructions draw your attention to potential hazards in the individual sections of this regulation:

WARNING!
Information about hazards that could cause serious injury or death if instructions are not followed in detail.

CAUTION!
Information about hazards that could result in injury or damage to the pistol if instructions are not followed in detail.
CAUTION!
Information on technical requirements.
Each safety instruction consists of the following:
- A header with a signal word, a pictogram, and a corresponding colour shade
• Information on the type and source of hazard - An indication of potential consequences if the safety instruction is not followed
• Information on measures and prohibitions to avoid hazards
Other information symbols:

Explanations or additional information
3. PRODUCT DESCRIPTION
3.1. Main components
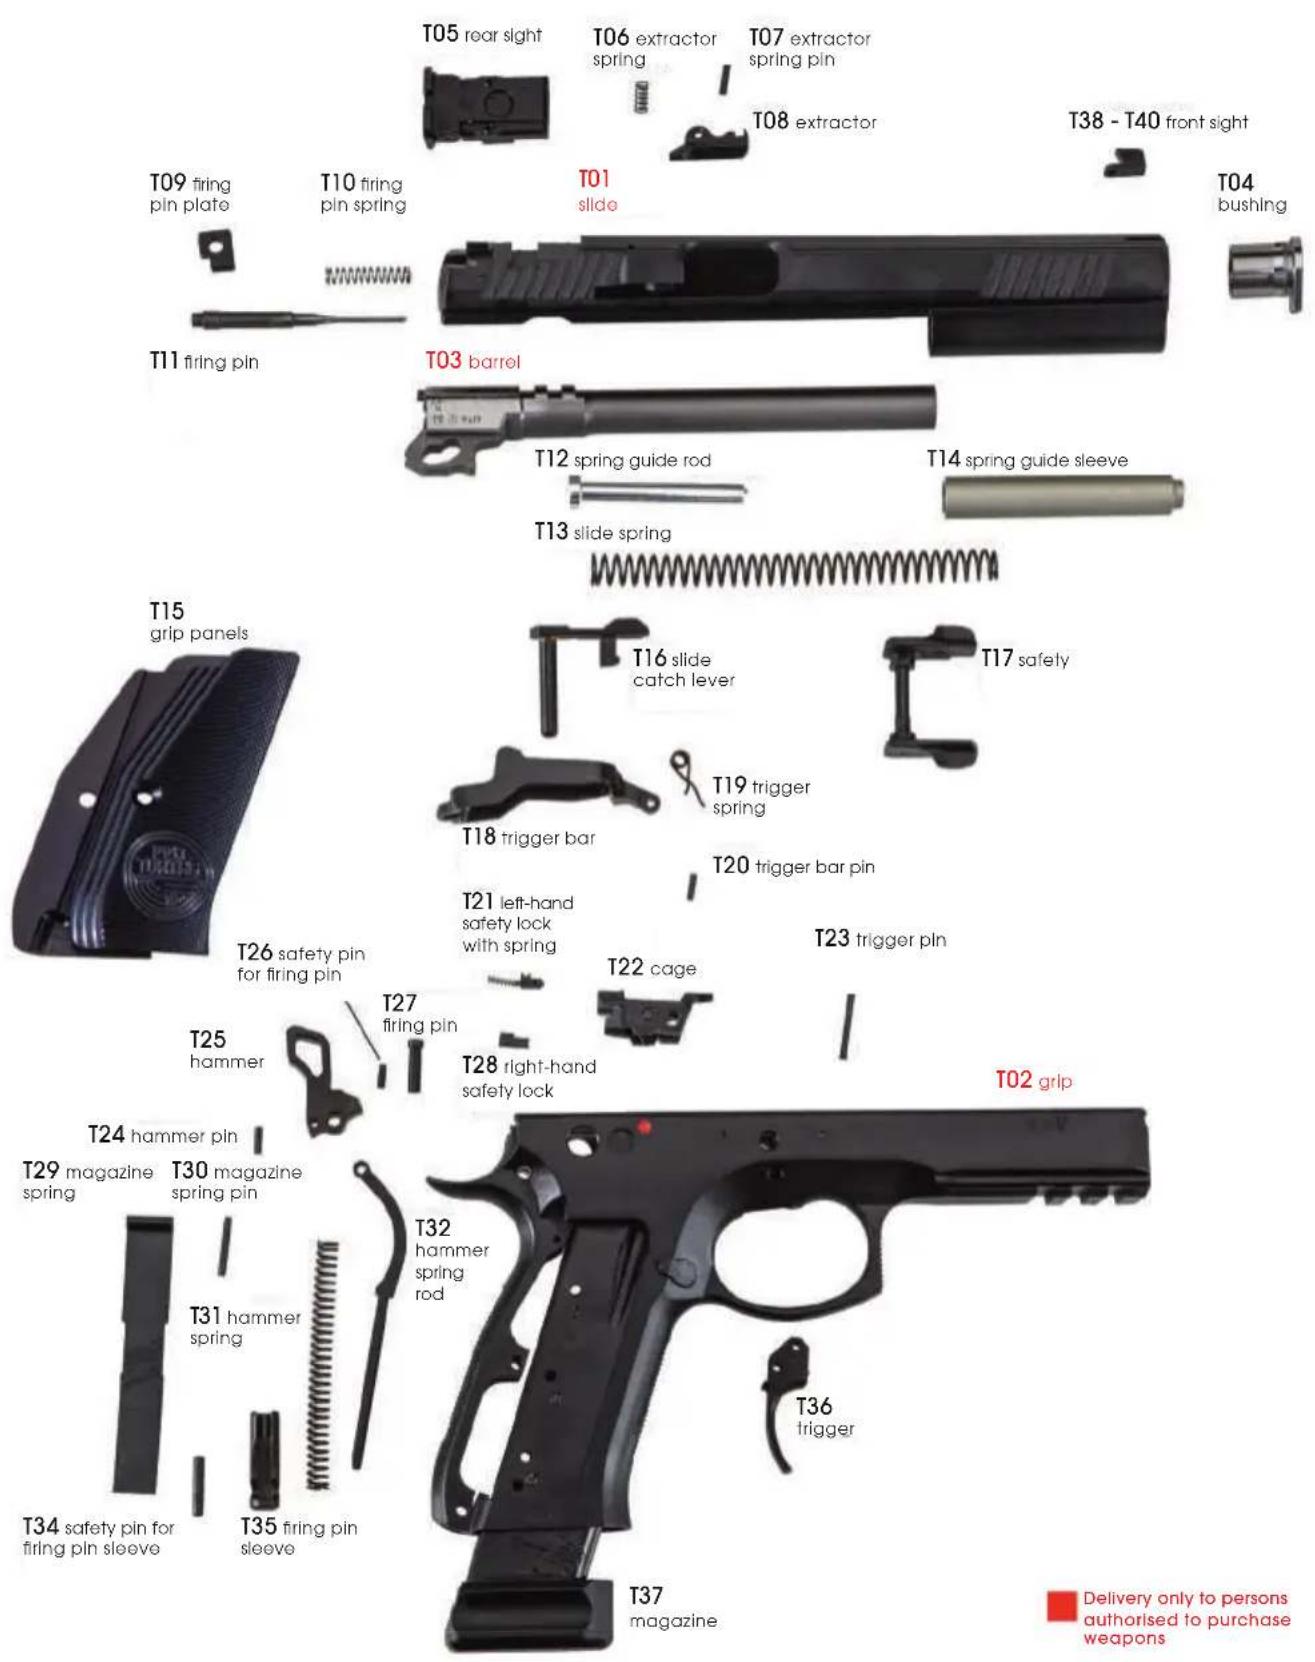
text_image
T05 rear sight T06 extractor spring T07 extractor spring pin T08 extractor T38 - T40 front sight T01 slide T04 bushing T09 firing pin plate T10 firing pin spring T11 firing pin T03 barrel T12 spring guide rod T14 spring guide sleeve T13 slide spring T15 grip panels T16 slide catch lever T17 safety T18 trigger bar T20 trigger bar pin T21 left-hand safety lock with spring T22 cage T23 trigger pin T24 hammer pin T25 hammer T26 safety pin for firing pin T27 firing pin T28 right-hand safety lock T29 magazine spring T30 magazine spring pin T31 hammer spring T32 hammer spring rod T33 magazine T34 safety pin for firing pin sleeve T35 firing pin sleeve T36 trigger T37 magazine T02 grip Delivery only to persons authorised to purchase weaponsFig. 1: Overview
3.2. Main features
The designations of the basic pistol components used in this manual can be found in Sections 3.1 and 8.
The names of all pistol components can be found in Section 8.
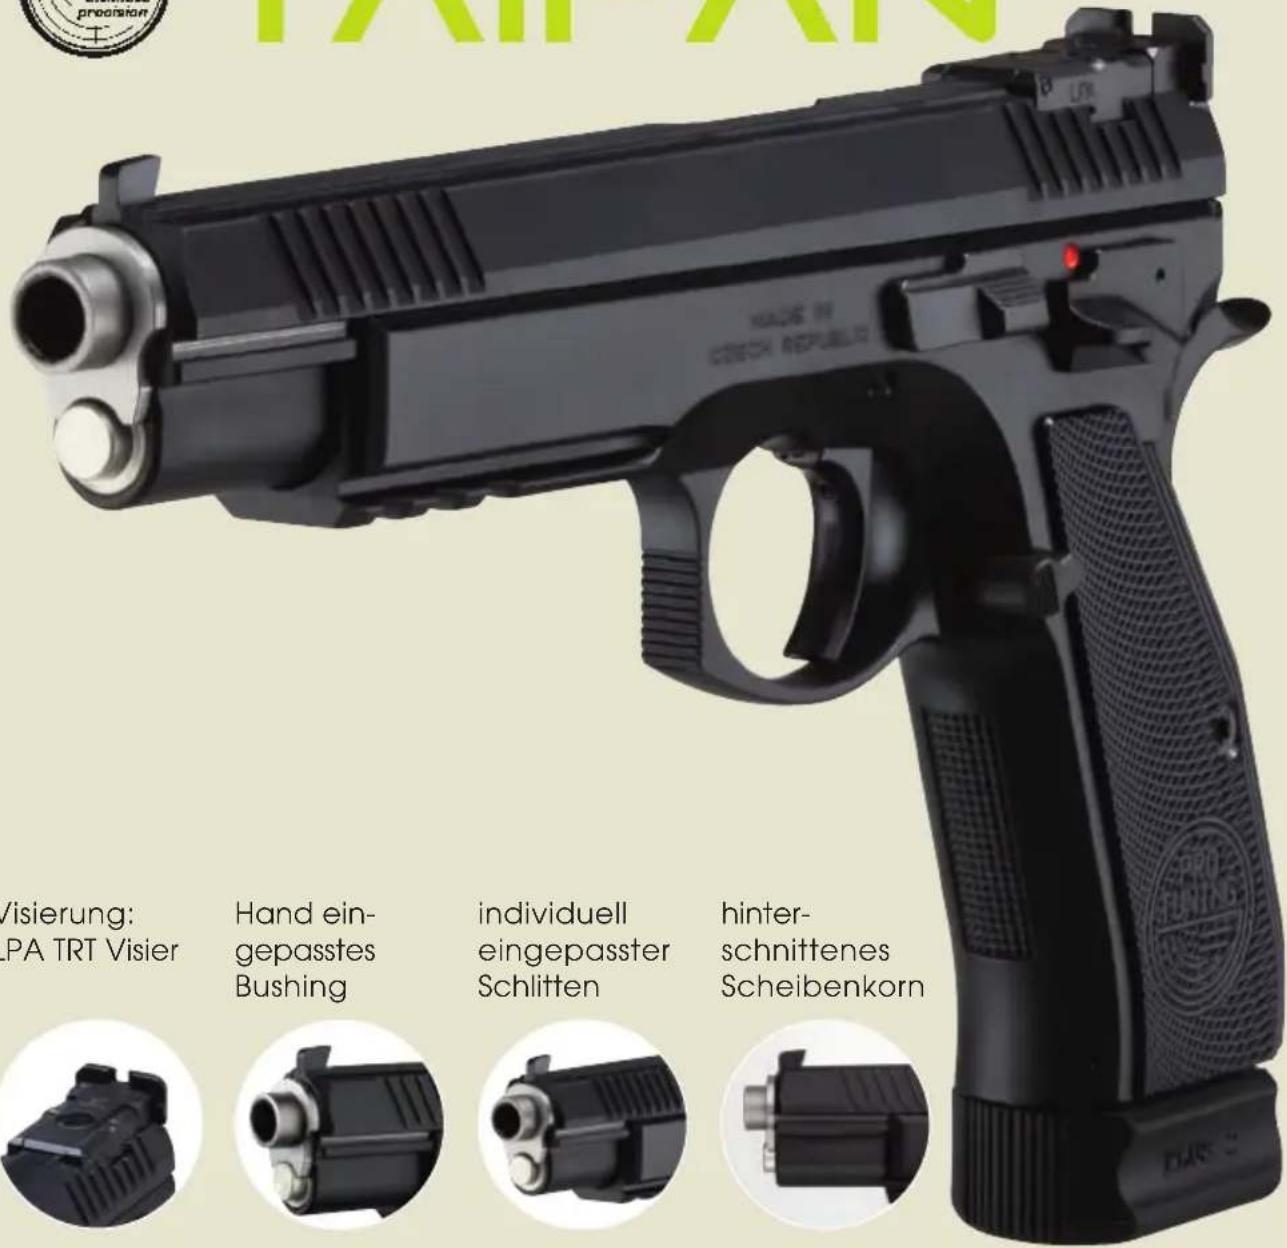
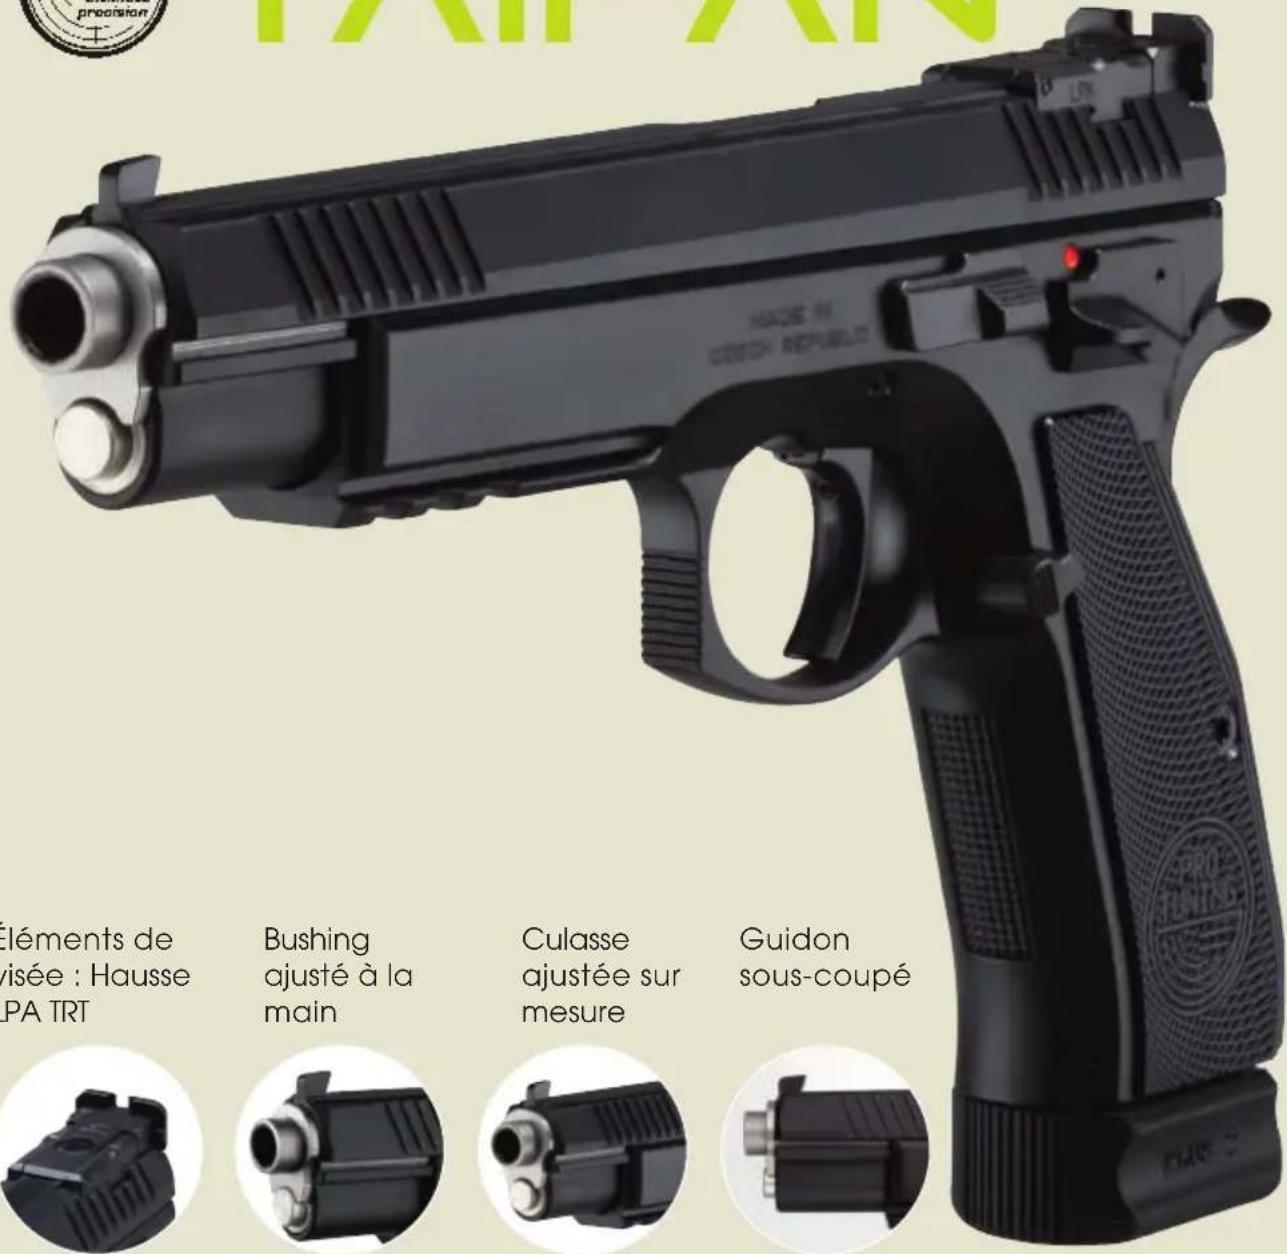
The Taipan is based on the CZ SP01 Shadow system, which is intended for use in shooting sports for firing at a distance of up to 50 meters. It is equipped with a SAO trigger mechanism with a safety notch on the hammer, and a manual safety on both sides.
The characteristic features of the pistol include:
• SAO trigger mechanism (Single Action Only)
• Double-row magazine with 17 standard capacity
• Comfortable bimanual handling
- Low trigger weight
- The trigger stop is set using a spacer screw (set by the manufacturer and should only be modified by a gunsmith)
- High level of reliability even when using different types of bullets
- The slide remains open after the last cartridge has been fired
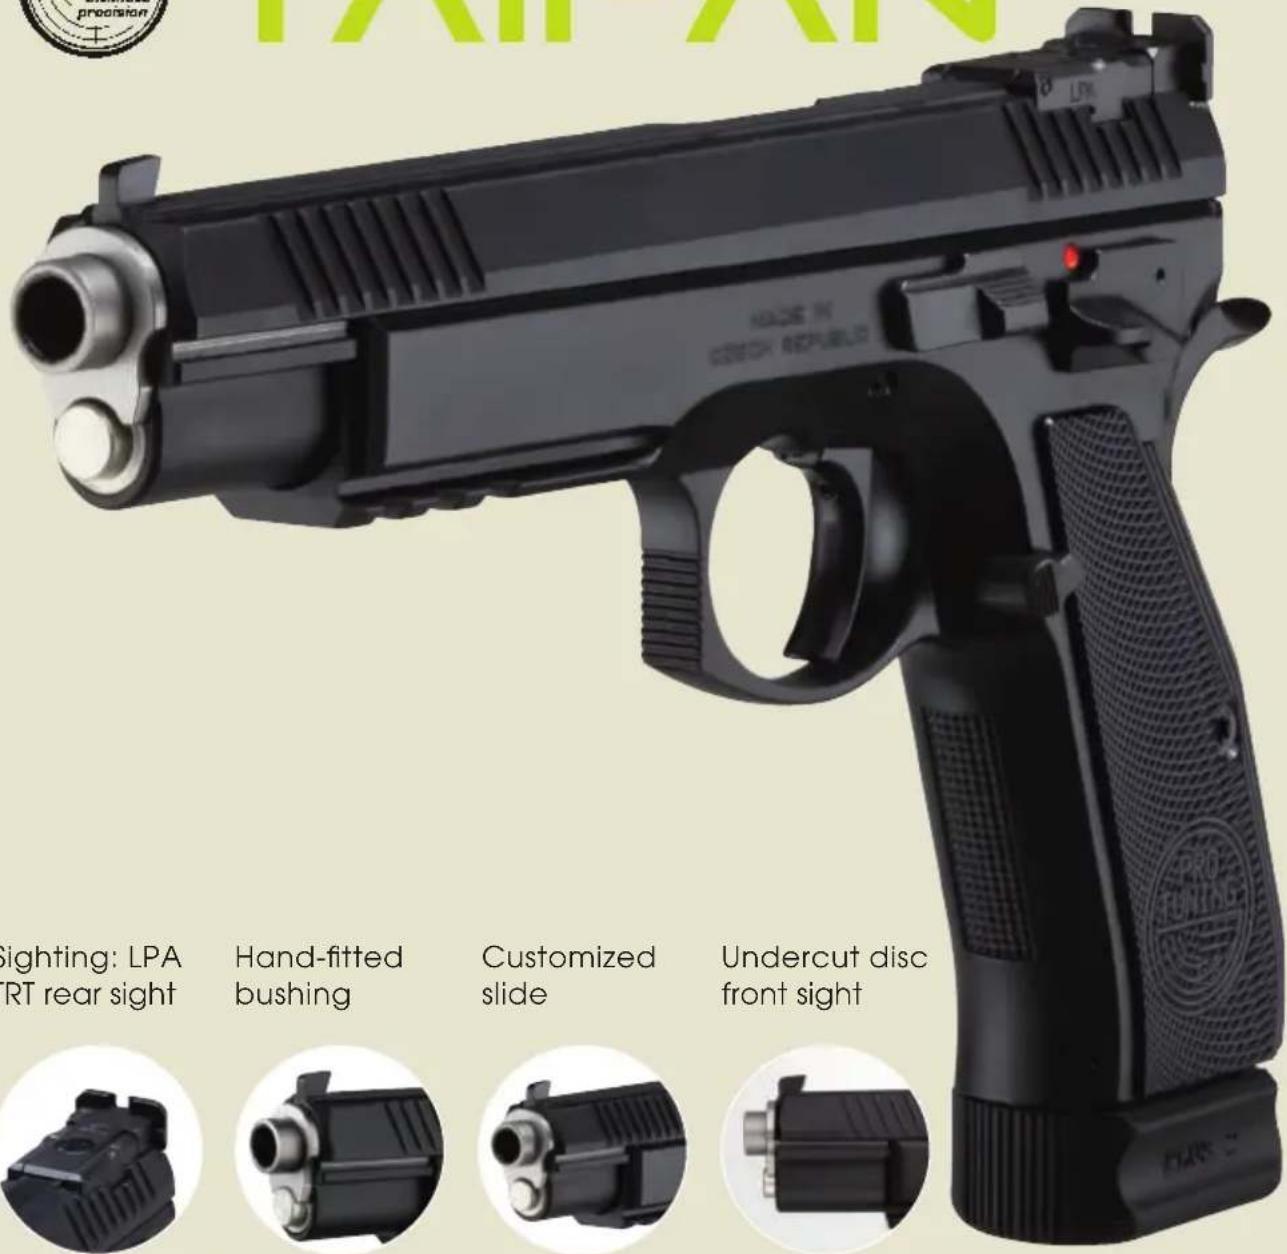
- Sightings with undercut front sight and LPA micrometer rear sight that can be finely adjusted
- Mounting rail according to MIL-STD-1913 for attaching special accessories

Explanation SA (Single Action)
Single-acting function of the trigger mechanism. The hammer is cocked manually and the pistol is fired after the trigger is pressed. The path of the trigger is short, and the trigger weight is low. The trigger is cocked after each shot.

Note on the safety notch
An indentation on the hammer that prevents accidental firing in the event that the hammer is stripped and caught by the safety notch during manual cocking. When the hammer is caught in the safety notch, it does not rest on the firing pin.
3.3. Technical data
- Calibre: 9 mm Luger
- Trigger: Single-action-only trigger and SAO hammer
- Trigger pull: 1320g
- Sighting: LPA TRT rear sight
- Grip panels: Aluminium
- Barrel length: 6" (153 mm)
• Length between sights: 200 mm
• Weight without the magazine: 1164 g
• Weight including the magazine: 1270 g
3.4 Scope of delivery
The scope of delivery includes:
- 1 pistol
- 2 magazines
• 1 bushing spanner (dismantling tool)
• 1 Manual with instructions for use and safety
• 1 Original target pattern with serial number and ammunition used
4. TRANSPORTING THE WEAPON

WARNING!
Unintentional firing of a shot Possible death or serious injury
- For your own safety and the safety of others, always transport the pistol unloaded (see Section 5.6), uncocked, and locked.
- Never carry the pistol with a cartridge in the chamber and with the hammer cocked.
• Always carry the pistol in such a way that you have the direction of the muzzle under control in the event of a fall, slipping, and the like. - Transport the pistol in a locked case, separately from the ammunition.
- The pistol and ammunition must not be accessible to children and other inexperienced or unauthorized persons.
- Follow all regional and national laws regarding the transport of firearms.
5. INSTRUCTIONS FOR USE
5.1. Ammunition - calibre 9 mm Luger (9×19)

WARNING!
Always use ammunition that is tested acc. to CIP and complies with the relevant standards. Using other cartridges and/or re-using cartridges may damage the pistol or cause injury to the shooter or other persons. Weapons of the ProTuning series are safe to use with factory ammunition and standard loads. Make sure that the ammunition you plan to use matches the calibre of your weapon. Commercially produced ammunition has the calibre clearly indicated on the bottom or on the lower edge of each cartridge.
5.2. Removing the magazine
Hold the pistol in your right (left) hand and use your thumb (middle finger) to push the magazine catch. The magazine is released and falls out of the grip. The pistol is equipped with a universal magazine catch that can be adjusted by the gunsmith for use with the right or left hand.
5.3 Filling the magazine
Hold the magazine with the opening facing up. Place the cartridge on the front section of the follower and push it down and towards the back until it touches the rear wall of the magazine. Place the next cartridge on top of the previous one and insert it in the same way. If the magazine already contains a lot of cartridges, push the cartridge column down a little with the thumb of the hand holding the magazine. You can see how many cartridges there are in the magazine through the inspection openings. Do not attempt to exceed the magazine capacity! This may cause the first cartridge to be misaligned as it is being fed into the chamber.

WARNING!
Caution: Make sure to always use the correct calibre. Wrong ammunition may cause malfunctions and injuries!
5.4 Loading the pistol
Always aim in a safe direction when loading the pistol!
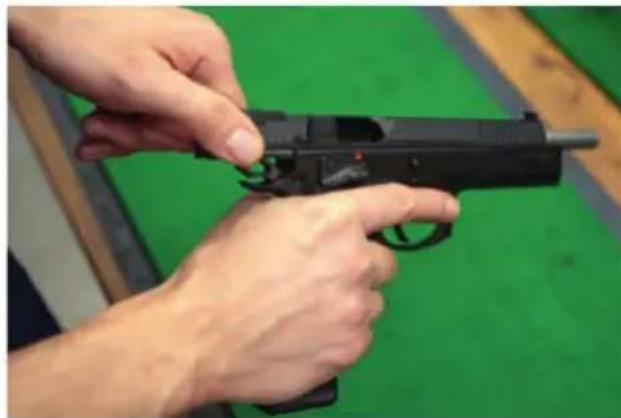
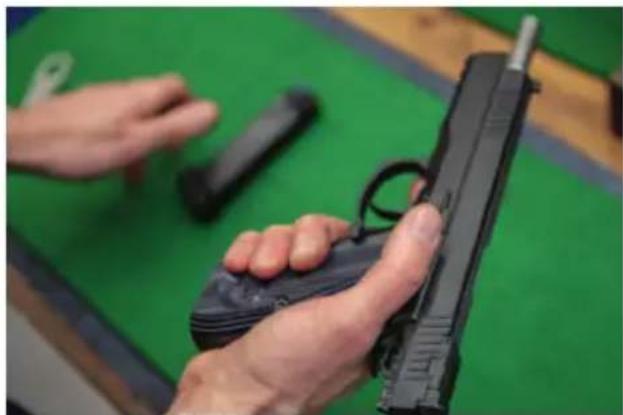
Slide the full magazine into the pistol and make sure that it is locked in place by the magazine catch. Hold the pistol by the grip with one hand. Grasp the fluted end of the slide between the thumb and the index finger of your second hand. Pull the slide all the way to the rear and and allow it to slide forward (Fig. A3). The trigger is cocked and a cartridge is inserted into the chamber. The pistol is now ready for firing. If you do not intend to shoot immediately, secure the pistol as described in the Section "Securing the pistol" (5.7).
5.5 Reloading the pistol
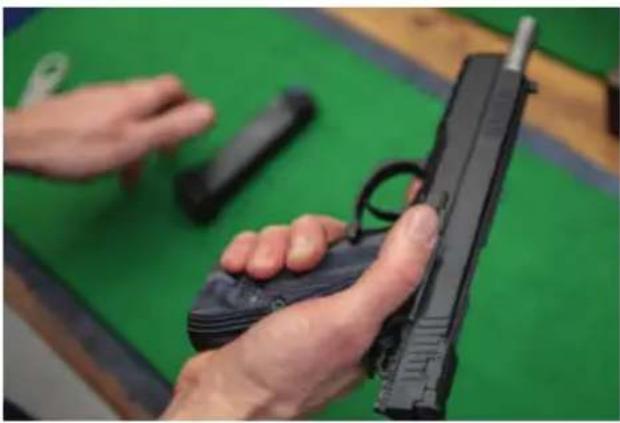
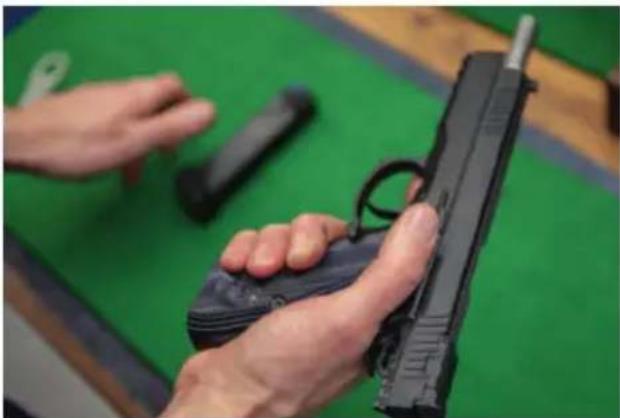
The slide remains open after the last cartridge has been fired. Take out the empty magazine and insert a full magazine into the magazine well. Pull the slide stop downwards with your firing hand (Fig. 4), or use the other hand to pull back the slide and allow it to slide forward (Fig. 3). The pistol is loaded again and ready to fire.
5.6 Unloading the pistol
Aim in a safe direction!
- Remove the magazine
- Pull the slide back and make sure that the cartridge chamber is empty.
- Allow the slide to slide forward.
• Pull the trigger, uncock the hammer
5.7 Pistol safety
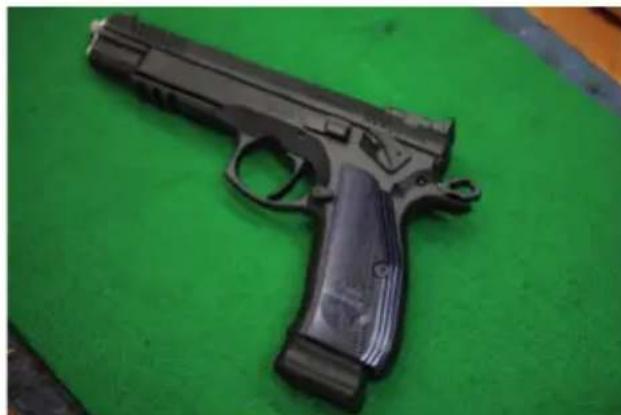
Push the safety upwards into the safe position (Fig. 5) until the red dot is covered. This blocks the trigger mechanism and the slide, making it impossible to pull the trigger or move the slide. Thanks to special adjustments to the trigger mechanism, the safety can be swivelled to the SAFE position, even when the hammer is positioned on the safety lug. In these cases, however, it is explicitly not recommended to secure the pistol because the trigger mechanism can be damaged if the hammer is forcibly cocked or the trigger is actuated. If the trigger mechanism is damaged, it must be repaired by a gunsmith. Remember that the safest way to secure the pistol is to unload and store it in a safe place!
5.8 Setting the sighting
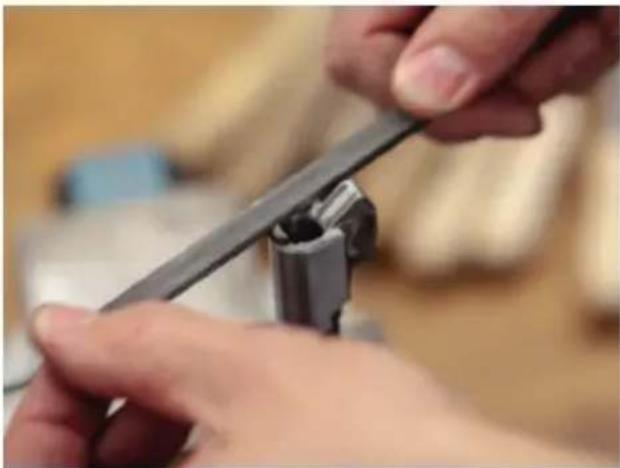
The pistol was sighted in our tuning centre at a distance of 25 m. The weapon features an adjustable sighting. It can be adjusted using height and side adjusting screws. The front sight is secured with a setscrew.
natural_image
Close-up of hands holding a black semi-automatic pistol on a green surface (no text or symbols visible)Fig. 3: Loading procedure
natural_image
Close-up of hands holding a black handgun on a green table, with no visible text or symbolsFig. 4: Slide release
natural_image
Black semi-automatic pistol resting on a green surface (no visible text or markings)Fig. 5: Safety is secured
6. DISASSEMBLING THE WEAPON
Make sure that the weapon and the magazine are unloaded (Section 5.6)! Keep the muzzle pointed in a safe direction!
- Remove the magazine by pressing the magazine knob.
- Check that the cartridge chamber is empty by pulling back the slide.
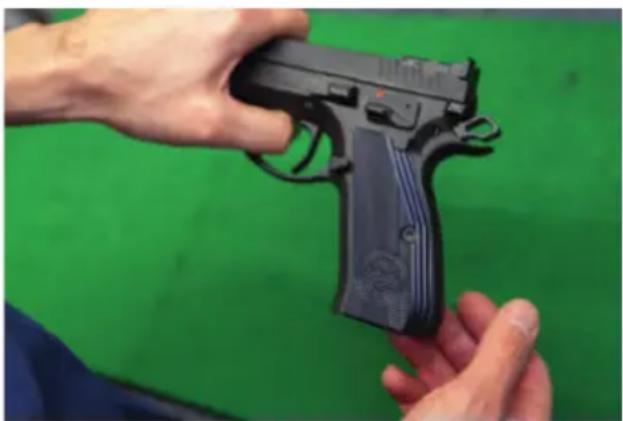
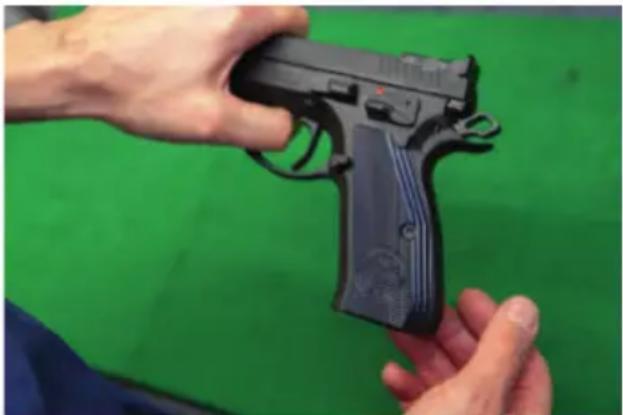
- Place the rearmost slide edge exactly above the release notch on the grip. Push the slide catch lever out to the left applying light pressure. (Abb.8)
- Now the slide can be easily pulled out towards the front.
- Remove the spring by pushing it towards the muzzle and bending it at an angle.
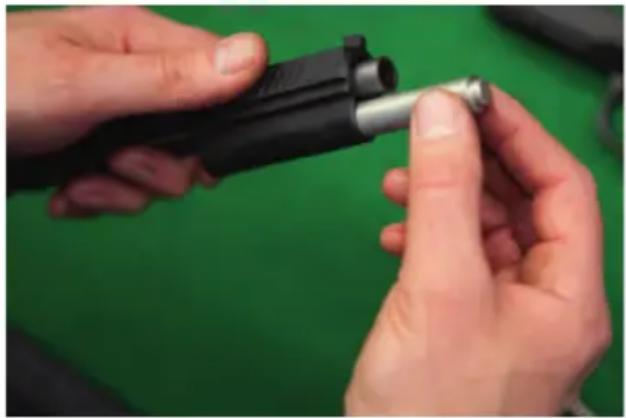
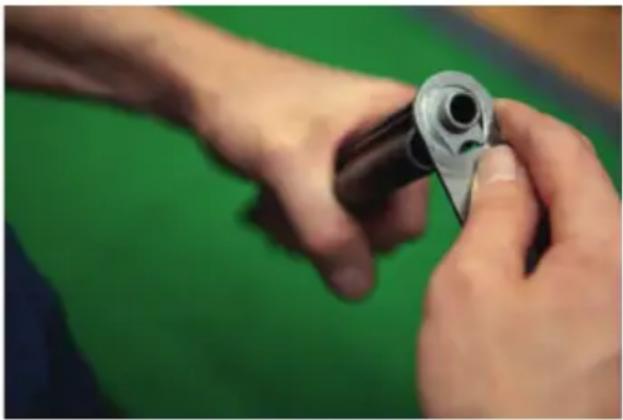
- The bushing can be pulled out towards the muzzle by turning the bushing counter-clockwise by 75^ - 80^ using the bushing spanner. (Fig. 6)
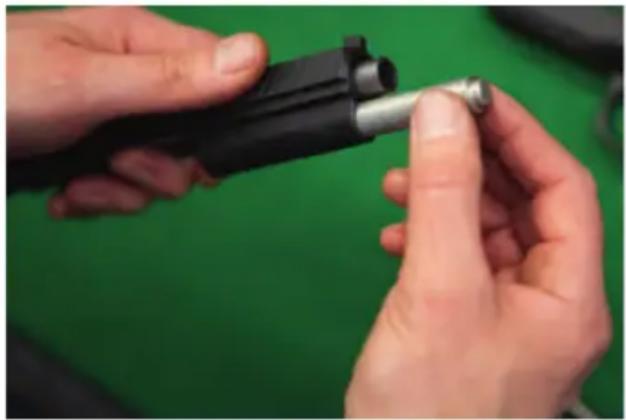
- The spring guide sleeve can now be removed at the front. (Fig. 7)
- The barrel can be removed in the direction of the breech block by bending it downwards.
Assemble in reverse order.
natural_image
Close-up of hands holding a cylindrical mechanical component against a green background (no text or symbols visible)Fig. 6: Bushing
natural_image
Close-up of hands holding a small mechanical component against a green background (no text or symbols visible)Fig. 7: Spring sleeve
natural_image
Close-up of hands holding a black handgun against a green background (no text or symbols visible)Fig. 8: Remove the slide
7. MAINTENANCE INSTRUCTIONS
7.1. Disassembling for cleaning
See Section 6 Disassembling the weapon.
7.2. Replacing wearing parts
Firing pin
Disassemble the weapon and slide the slide off the grip. Use a commercial punch to push the firing pin in the firing direction until the firing pin plate is free. It can now be pushed down. The firing pin is free and can be removed with the firing pin spring.
Cartridge extractor
Remove the retaining bolt from top to bottom (important! the borehole is 1/10 smaller at the upper end!) to change the extractor. Note that the extractor spring is pressurised.
7.3. Disassembling the magazine
Move the bottom latch of the magazine in the disassembly position.
For other designs, press on the bottom latch through the opening in the magazine bottom and push the magazine bottom forward by about 5 mm.
Then place your thumb over the bottom plate so that you hold the spring with the plate, and use your second hand to push the plate out of the guiding grooves. Be very careful when disassembling the gun so that the pressurised magazine spring does not cause injuries.
NOTE:
Do not disassemble any other pistol parts. If you think your pistol requires an overhaul or repair, bring it to a specialist workshop!
7.4. Cleaning the pistol
- Clean the pistol after each use
• Whenever it gets wet
• As soon as possible after firing
• In mild climatic conditions, at least once a year
• In harsh climatic conditions, at least once a month
i Note:
If you use acids or caustic substances, rinse thoroughly and lubricate the gun afterwards, otherwise the weapon may malfunction.
If the pistol has not been fired for a long time or only a few cartridges have been fired, wipe the muzzle and the cartridge chamber with a dry rag or a wool brush attached to a cleaning rod. Repeat this process until all residues and oils have been removed. If the muzzle is very dirty, apply a cleaning solution with the brush and let it soak in for approx. 10 minutes (the soaking time may vary for different cleaning agents). This also applies to the cartridge chamber. Repeat the procedure if necessary. Slide the cleaning rod and the brush from the cartridge chamber into the barrel in order not to damage the muzzle. Push the brush through the entire barrel before changing the direction of movement.
7.5 Cleaning other pistol parts
Clean the other parts of the pistol (including the outer surface of the barrel) with a dry cloth, an old toothbrush, a wool brush, or a microfibre cloth.
You may also use preservative oil for cleaning.
However, never use acidic or caustic solutions for cleaning the muzzle or the inside of the barrel without thoroughly rinsing them! These solutions could remain in the joints between the components and cause corrosion over time. Make sure that no fibres or wool residues are stuck in or on pistol parts.
7.6. Storage
When the muzzle, cartridge chamber, and all accessible components are clean and dry, coat these parts using a cloth soaked in preservative oil, or use an oil spray. Wipe off the oil residue. Wipe the barrel dry before firing. If you use the gun at low temperatures, remove the oil from all accessible parts or use a lubricant specially designed for these conditions. Use preservative petroleum jelly only for long-term storage in demanding climatic conditions and remove it thoroughly before using the pistol.
7.7. Disposal
All essential parts of the weapon must be destroyed and disposed of by a certified gunsmith. Contact your relevant law enforcement agency if required. When used correctly, the product and packaging materials have no negative impact on human health or the environment. If you need to dispose of the product or its packaging, separate the metal components (steel and non-ferrous metals), plastics, wood, paper, and cardboard and dispose of them in accordance with legal regulations.
8. LIST OF COMPONENTS
| Part number Designation Article number | ||
| T01* Slide, Taipan 66 | 8922 EWB | |
| T02* Grip 646800 EWB | ||
| T03* Barrel 90205001 | EWB | |
| T04 Bushing | ||
| T05 Rear sight 95500 | ||
| T06 Extractor spring | ||
| T07 Extractor pin | ||
| T08 Extractor | ||
| T09 | Firing pin plate | 174883 |
| T10 | Firing pin spring | |
| T11 | Firing pin | |
| T12 | Spring guide rod | 174885 |
| T13 | Slide spring | 146464 |
| T14 | Spring guide sleeve | |
| T15 | Grip panels | 144823 |
| T16 | Slide catch lever | 95715 |
| T17 | Safety | |
| T18 | Trigger bar | |
| T19 | Trigger spring | |
| T20 Trigger bar pin | ||
| T21 | Left-hand safety lock with spring | |
| T22 Cage | ||
| T23 Trigger pin | ||
| T24 | Hammer pin | |
| T25 | Hammer | 182438 |
| T26 | Safety pin for hammer axis | |
| T27 Firing pin | ||
| Part number Designation Article number | |
| T28 Right-hand safety lock | |
| T29 Magazine spring | |
| T30 Magazine spring pin | |
| T31 Hammer spring | |
| T32 Hammer spring rod | |
| T34 | Safety pin for firing pin sleeve |
| T35 Firing pin sleeve | |
| T36 Trigger 180831 | |
| T37 Magazine | |
| T38 Front sight 3.2 mm | |
| T39 Front sight 3.4 mm | |
| T40 Front sight 3.6 mm | |
| T43 Bushing spanner | |
| * Essential parts require a license to purchase or possess firearms! | |
9. SAFEKEEPING AND STORING THE PISTOL
• Always store your gun unloaded and in clean condition.
- Store your gun separately from its ammunition and under lock and key.
- The pistol and ammunition must not be accessible to children and other inexperienced or unauthorized persons.
10. TROUBLESHOOTING AND RECTIFYING MALFUNCTIONS
Proper handling of the pistol should help avoid malfunctions (cleaning and inspection). However, should the pistol malfunction during firing, proceed as follows:
Procedure:
- Remove and safeguard the magazine.
- Pull the slide, Figure 3 or part T01, back as far as possible and hold it in the open position by pushing up the slide stop lever T16.
- Check (visually or using an aid) that there is no bullet, cartridge, cartridge case, or foreign bodies in the cartridge chamber or barrel. If a projectile (bullet in the barrel) is found, strip the pistol (see Section 6) and have the blockage removed with a suitable tool by a qualified gunsmith.
- Remove the cartridge, cartridge case, or foreign body. Clean, lubricate and assemble the pistol (see Sections 7.4 and 7.5).
- Have the pistol inspected by a gunsmith.
Note: Subject to technical and optical changes.
TAILOR-MADE HANDICRAFT FROM OUR MASTER WORKSHOP!
Our gunsmiths and technicians will provide advice and assistance should you have any questions about the care and maintenance of your weapon, or if you need a repair or spare parts.
Gunsmith workshop:
Phone: +49 9302 20200
Email: rottendorf-bm@frankonia.de
natural_image
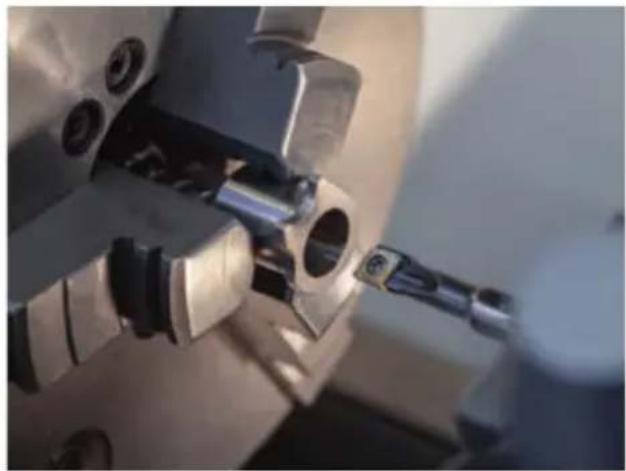
Close-up of a mechanical assembly with metallic components and mounting holes (no visible text or symbols)Manufacture Manual adjustment
natural_image
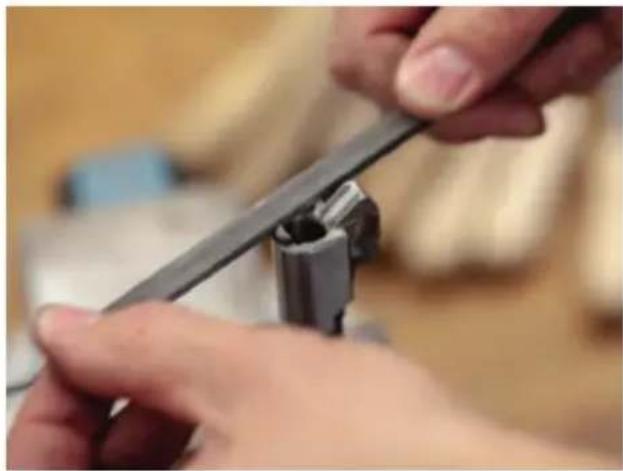
Close-up of hands using a tool to adjust or install a mechanical component (no visible text or symbols)
natural_image
Close-up of a firearm on a mat with ammunition and a 50 mm weight, against a plain wall (no visible text or symbols)Test firingFinal check
natural_image
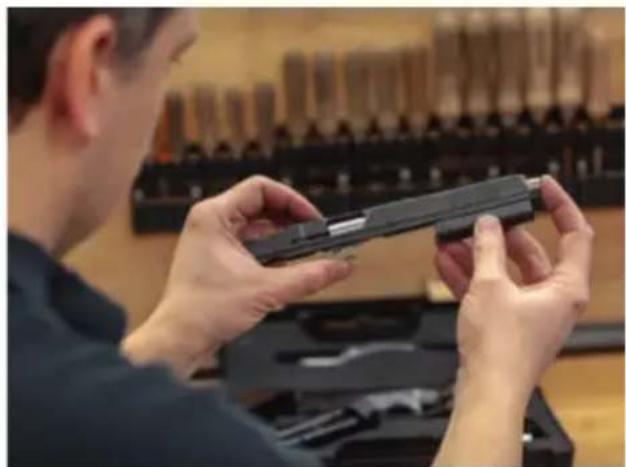
Person holding a black electronic device in a retail store (no visible text or symbols)
TAIPAN
text_image
Sighting: LPA RT rear sight Hand-fitted bushing Customized slide Undercut disc front sight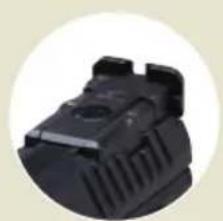
natural_image
Close-up of a black plastic component with ventilation slots and a circular frame (no visible text or symbols)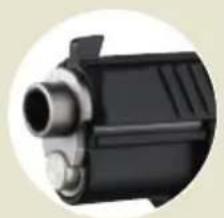
natural_image
Close-up of a black mechanical device with a cylindrical port and metallic handle (no visible text or symbols)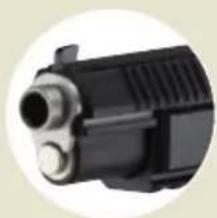
natural_image
Close-up of a black mechanical component with threaded ports and a cylindrical body (no visible text or symbols)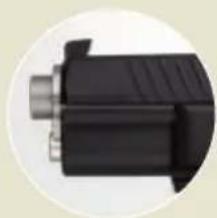
natural_image
Close-up of a black mechanical component with a cylindrical shaft and threaded end (no visible text or symbols)FRANKONIA
natural_image
Close-up of hands holding a black handgun on a green surface (no visible text or symbols)Fig. 3: Chargement
natural_image
Close-up of hands holding a black handgun on a green table, with another hand visible in the background (no text or symbols)natural_image
Black semi-automatic pistol resting on a green surface (no visible text or markings)natural_image
Close-up of a mechanical tool with metallic components and a cylindrical part (no visible text or symbols)Production Adaptation manuelle
natural_image
Close-up of hands using a tool to adjust or install a mechanical component (no visible text or symbols)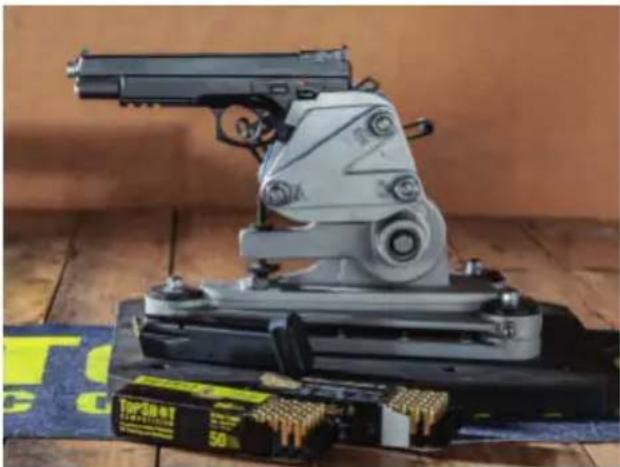
natural_image
Close-up of a firearm on a wooden surface with ammunition boxes and a ruler (no visible text or symbols)natural_image
Person assembling a black electronic device in a retail store (no visible text or symbols)
TAIPAN
natural_image
Close-up of a black mechanical component with ventilation slots (no visible text or symbols)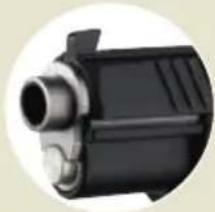
natural_image
Close-up of a black mechanical component with a cylindrical shaft and flange (no visible text or symbols)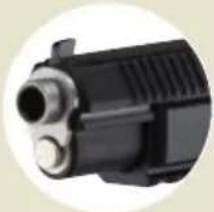
natural_image
Close-up of a black mechanical component with cylindrical ports and a metallic end (no visible text or symbols)