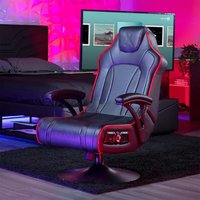
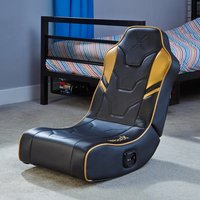
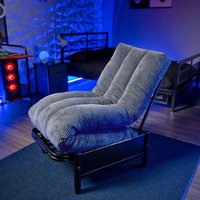
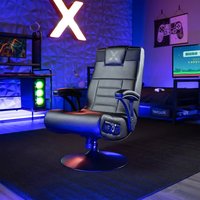
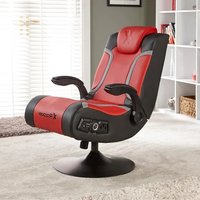
USER MANUAL CXR3 LED X Rocker
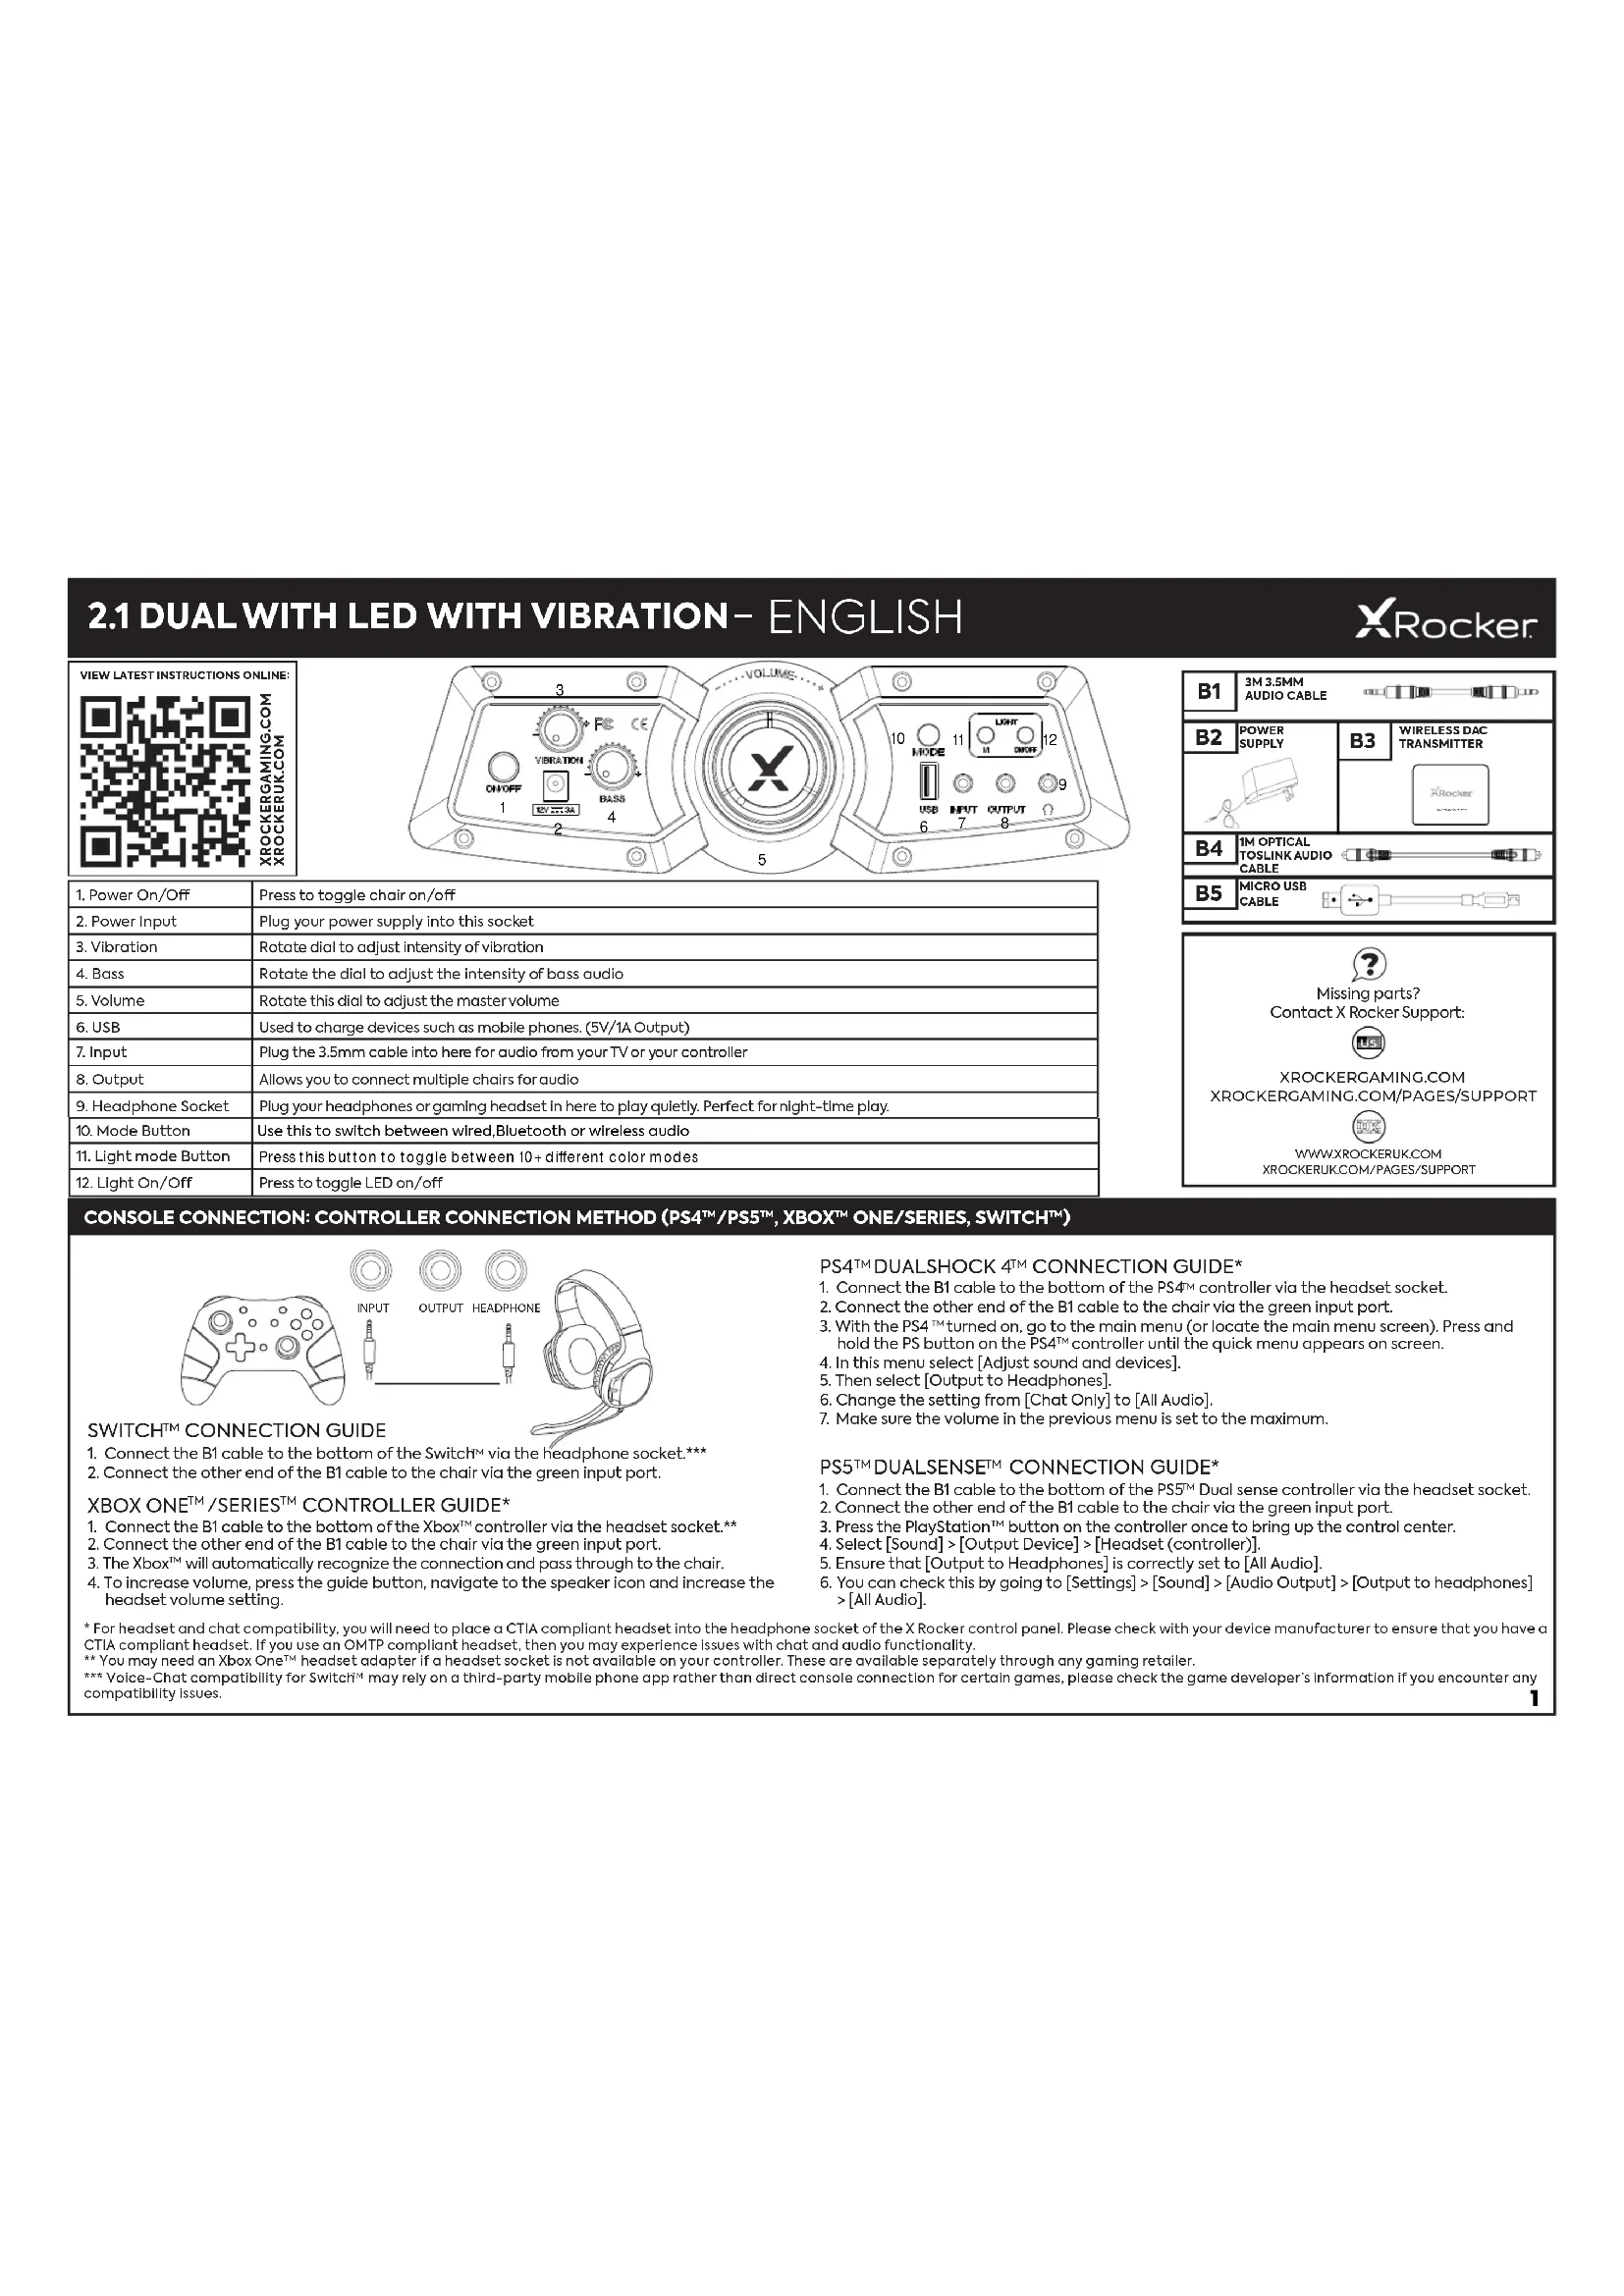
2.1 DUAL WITH LED WITH VIBRATION- ENGLISH
XRocker
VIEW LATEST INSTRUCTIONS ONLINE:
| 1. Power On/Off | Press to toggle chair on/off |
| 2. Power Input | Plug your power supply Into this socket |
| 3. Vibration | Rotate dial to adjust intensity of vibration |
| 4. Bass | Rotate the dial to adjust the intensity of bass audio |
| 5. Volume | Rotate this dial to adjust the master volume |
| 6. USB | Used to charge devices such as mobile phones. (5V/1A Output) |
| 7. Input | Plug the 3.5mm cable Into here for audio from your TV or your controller |
| 8. Output | Allows you to connect multiple chairs for audio |
| 9. Headphone Socket | Plug your headphones or gaming headset in here to play quietly. Perfect for night-time play. |
| 10. Mode Button | Use this to switch between wired,Bluetooth or wireless audio |
| 11. Light mode Button | Press this button to toggle between 10+ different color modes |
| 12. Light On/Off | Press to toggle LED on/off |

CONSOLE CONNECTION: CONTROLLER CONNECTION METHOD (PS4TM/PS5TM, XBOXONE/SERIES, SWITCHTM)
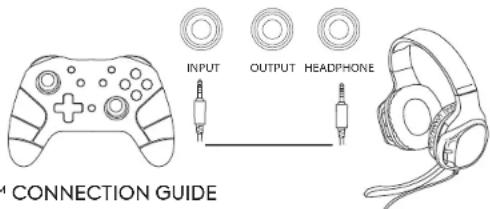
SWITCH™ CONNECTION GUIDE
- Connect the B1 cable to the bottom of the Switch via the headphone socket.
- Connect the other end of the B1 cable to the chair via the green input port.
- Connect the B1 cable to the bottom of the XboxTM controller via the headset socket.**
- Connect the other end of the B1 cable to the chair via the green input port.
- The XboxTM will automatically recognize the connection and pass through to the chair.
-
To increase volume, press the guide button, navigate to the speaker icon and increase the headset volume setting.
-
For headset and chat compatibility, you will need to place a CTIA compliant headset into the headphone socket of the X Rocker control panel. Please check with your device manufacturer to ensure that you have a CTIA compliant headset. If you use an OTMP compliant headset, then you may experience Issues with chat and audio functionality.
** You may need an Xbox One™ headset adapter if a headset socket is not available on your controller. These are available separately through any gaming retailer.
Vice-Chat compatibility for SwitchTM may rely on a third-party mobile phone app rather than direct console connection for certain games, please check the game developer's Information if you encounter any compatibility issues.
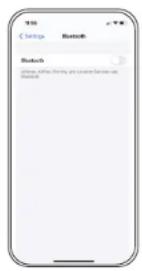
BLUETOOTH CONNECTION
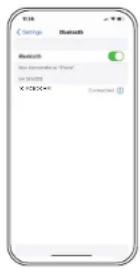
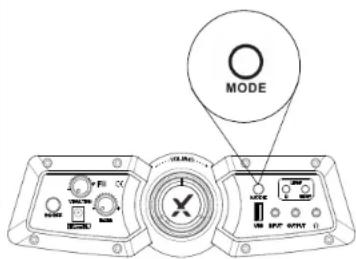
- Switch the Bluetooth button to the on position
- On the audio output device, go into the Bluetooth settings, turn Bluetooth on if it is not on already, and search for X ROCKER. Upon finding this, select the X ROCKER option.
If a password is required, the four digit code will be '0000'
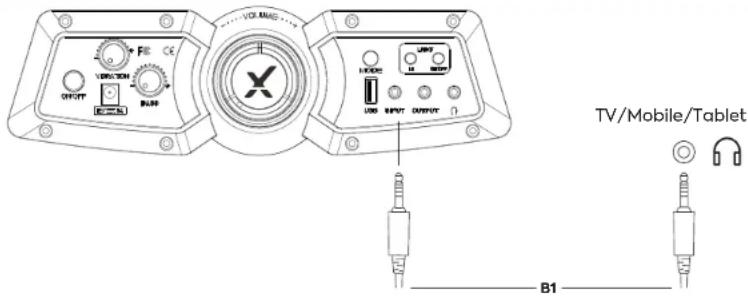
CONNECT TO TV (Wired)
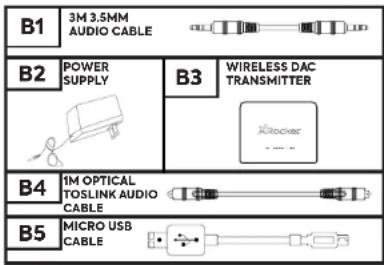
- Connect the B1 cable to X Rocker control panel INPUT socket.
- Connect other end of the B1 3.5mm end into the headphone socket of your television.*
- Once connected to your TV, increase volume to 50% of the maximum for the best sound level.**
If your TV does not feature a headphone socket then you may need to purchase an additional TOSLink adapter to get connected directly to a console for audio.
*Depending on your TV, you may need to increase the headphone volume separately in the TV sound settings.
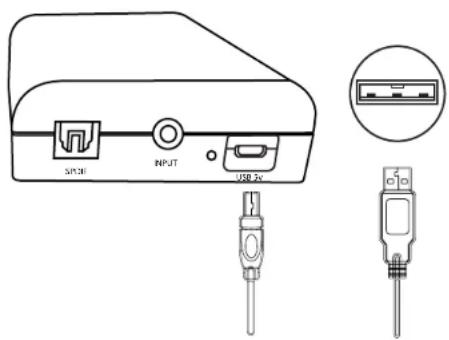
OPTICAL CONNECTION GUIDE PS4TM AND PS4 PROTM
Control Panel DAC
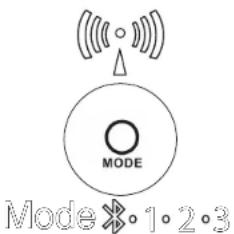
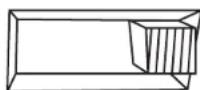
Aux·1·2·3
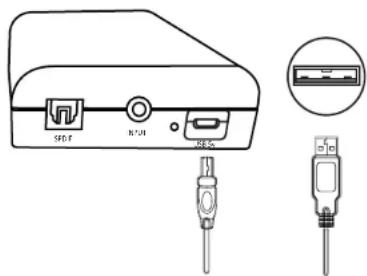
- Make sure that the PS4TM system is switched OFF. Insert the micro-USB cable into the X Rocker DAC converter and the other end into one of the front USB ports on the PS4TM system.
Remove the clear plastic covers from both ends of the optical cable. Input one end of the optical cable into the X Rocker Wireless DAC (Slot titled SPDIF) and the other into the Optical
SPDIF connector on the PS4TM system.
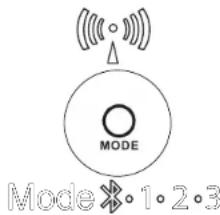
- Turn the PS4TM system back on. Select one of the wireless bands (1,2,3) on the wireless DAC and then switch to the corresponding band on the chair.
- On the main PS4TM menu screen Select (Settings) > [Sound and Screen] > [Audio Output Settings] > [Primary Output Port] Change this to [Digital Optical]
OPTICAL CONNECTION GUIDE XBOX™ ONE
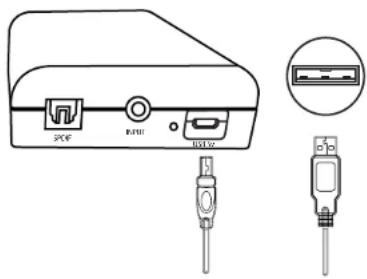

Control Panel DAC
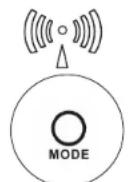
ModeX·1·2·3
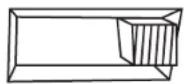
Aux·1·2·3
- Make sure that the Xbox One™ system is switched OFF. Insert the micro USB cable into the X Rocker DAC converter and the other end into one of the back USB ports on the Xbox One™ system. Remove the clear plastic covers from both ends of the optical cable. Input one end of the optical cable into the X Rocker Wireless DAC Slot (labelled SPDIF) and another into the Optical SPDIF connector on the Xbox One™ system.
- On the Xbox One™ menu screen, Select [Settings] > [General] > [Volume and Audio Output] > [Audio Output] > under [Digital Audio], select [Optical Audio] and set it to [Stereo Uncompressed]
USB CONNECTION FOR PS4TM & PS5TM
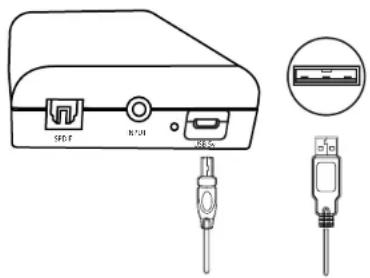
Control Panel DAC
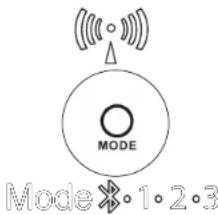
Aux·1·2·3
- Insert the micro USB cable into the X Rocker DAC transmitter and the other end into one of the front USB ports on any PS4, PS5.
- Select one of the wireless bands (1,2,3) on the wireless DAC and then switch to the corresponding band on the chair.
- FOR PS4TM On the PS4TM menu screen select [Settings] > [Devices] > [Audio Devices] > [Output Device].
- FOR PS5™ From the menu screen, go to [Settings] > [Sound] > [Output Device]
- Select [USB headphones] and change the setting in [Output to headphones] from [Chat audio] to [All Audio].
USB CONNECTION FOR SWITCH™ DOCK
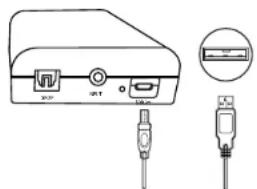
Control Panel DAC

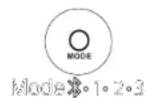
Aux·1·2·3
- Insert the micro USB cable into the X Rocker DAC converter and the other end into one of the Switch system dock.
- Select one of the wireless bands (1,2,3) on the wireless DAC and then switch to the corresponding band on the chair.
TROUBLESHOOTING TIPS
Make sure the power cable is connected correctly.
Make sure that the power source is working correctly.
With the chair turned to the ON position, give the power cable a slight wiggle in the port. If any light flickers (or not) please contact support
(UK: xrockeruk.com/pages/support).
NO SOUND
Connect a mobile phone to the X Rocker using the phone connection guidelines in the manual to test the chair for sound.
- Confirm that the device/system is correctly configured as per previous connection guide.
Make sure that you indeed have a headache socket on your TV. This will typically be marked with a headache symbol or "H/POUT".
STEREO SPEAKERS DO NOT PRODUCE SOUND/SOUND IS FAINT
- Please make sure the volume of the source device is at a higher level to strengthen the audio signal.
THE CABLES CONNECTED TO MY X ROCKER HAVE BEEN BROKEN ACCIDENTALLY
- Please contact X Rocker support (details below) regarding this issue.
DON'T HAVE A HEADPHONE SOCKET ON YOUR TV?
You may need to purchase a TOSlink adapter. If you are unsure as to which to purchase, please contact X Rocker support (details below) regarding this issue.

WWW.XROCKERGAMING.COM XROCKERGAMING.COM/PAGES/SUPPORT

WWW.XROCKERUK.COM XROCKERUK.COM/PAGES/SUPPORT
For the first time use and installation of your X Rocker product, please ensure that cables and power supplies are handled by a adult to ensure safe and correct usage.
Make sure to unplug the X Rocker Power supply from the mains socket before cleaning.
- Avoid direct contact with liquids. To clean, wipe with a damp cloth. If a spillage occurs, switch off the X Rocker and wait for the product to dry before reusing.
- Do not use any type of abrasive pad or abrasive cleaning solutions as these may damage the X Rocker surface material.
- Please consult X Rocker Support before unscrewing and disassembling any of the electrical components or undertaking any changes to the chair. If any unauthorized modifications or repairs are made before consultation, then this will void your warranty.
- To reduce potential trip hazards or entanglement hazards, arrange and secure any cables so that people and pets are not likely to trip over or accidentally pull on them as they move around or walk through the area.
- Please be careful when rotating and swiveling the X Rocker when in use. Cables and wires may be pulled or damaged in the process and cause damage to the X Rocker control panel or cable.
If any of the cables or electrical equipment become damaged in any way, stop using Immediately and contact X Rocker for more details on how to replace the component.
- Do not stand on the chair at any time or exceed the 120kg weight limit via other means
- Do not lean back on the chair or force the chair to the point in which the pedestal would lift off the ground as this will potentially cause damage to the product or injury to the user.
ensure long term durability.
Do not use the X Rocker speakers at high volume for any extended period. To avoid hearing damage, use your speaker at a comfortable, moderate volume level. Parents, please monitor
your child's usage to avoid long term hearing loss or discomfort
- When not in use, keep cables and power supplies out of reach of children. Please also ensure that these are not subject to harsh impacts such as dropping or throwing the components.
- Never place any type of candle or naked flame on or near the X Rocker at any time. While X Rocker products are compliant with UK and European fire safety regulations, prolonged exposure to naked flames will result in damage to the product and other safety hazards.
ATTENTION:
A. To reduce the risk of fire, electric shock or product damage, do not expose the X Rocker power supply to rain, moisture, dripping or splashing. No objects filled with liquids, such as vases, should be placed near the power supply. If you spill any liquid into the power supply, it can cause serious damage. Switch it off at the mains immediately. Withdraw the power supply and consult your dealer.
B. Always disconnect the power supply from the mains before connecting/disconnecting other devices or moving the X Rocker.
C. Only use the supplied cables, power supplies and accessories specified by and manufactured by X Rocker.
D. Avoid extreme degrees of temperature, either hot or cold. Place the unit well away from heat sources such as radiators or gas/electric fires.
E. Avoid exposure to direct sunlight and other sources of heat.
F. Ensure that cables and power supplies are kept in a safe location, out of the reach of children to avoid any potential hazards that include; dropping, throwing, tripping over, cutting etc. If you encounter any visible notches or cuts in the power supply or other cables, avoid using the product and contact X Rocker Support for more assistance.
Power Supply unit trademark: Bl
Model name: BI36L-120300-AdL
Input: AC 100-240V ~ 50/60Hz 1.2A
Output: DC 12V---3.0A

WWW.XROCKERGAMING.COM XROCKERGAMING.COM/PAGES/SUPPORT

WWW.XROCKERUK.COM XROCKERUK.COM/PAGES/SUPPORT
WWW.XROCKERGAMING.COM
XROCKERCAMING.COM/PAGES/SUPPORT

WWW.XROCKERUK.COM
XROCKERUK.COM/PAGES/SUPPORT
WWW.XROCKERGAMING.COM XROCKERGAMING.COM/PAGES/SUPPORT

WWW.XROCKERUK.COM XROCKERUK.COM/PAGES/SUPPORT
- Make sure that the Xbox One™ system is switched OFF. Insert the micro USB cable into the X Rocker DAC converter and the other end into one of the back USB ports on the Xbox One™ system. Remove the clear plastic covers from both ends of the optical cable. Input one end of the optical cable into the X Rocker Wireless DAC Slot (labelled SPDIF) and another into the Optical SPDIF connector on the Xbox One™ system.
-
- On the Xbox OneTM menu screen, Select [Settings] > [General] > [Volume and Audio Output] > [Audio Output] > under [Digital Audio], select [Optical Audio] and set it to [Stereo Uncompressed]
CONEXION USB PARA PS4TM Y PS5TM
Panel de control DAC
Aux·1·2·3
WWW.XROCKERGAMING.COM XROCKERGAMING.COM/PAGES/SUPPORT

WWW.XROCKERUK.COM XROCKERUK.COM/PAGES/SUPPORT
WWW.XROCKERGAMING.COM XROCKERGAMING.COM/PAGES/SUPPORT

WWW.XROCKERUK.COM XROCKERUK.COM/PAGES/SUPPORT
FCC RADIATION EXPOSURE STATEMENT/IC RADIATION EXPOSURE STATEMENT
Caution: The user is cautioned that changes or modifications not expressly approved by the party responsible for compliance could void the user's authority to operate the equipment. FCC NOTE: This equipment has been tested and found to comply with the limits for a Class B digital device, pursuant to Part 15 of the FCC Rules. These limits are designed to provide reasonable protection against harmful interference in a residential installation. This equipment generates, uses and can radiate radio frequency energy and, if not installed and used in accordance with the instructions, may cause harmful interference to radio communications. However, there is no guarantee that interference will not occur in a particular installation. If this equipment does cause harmful interference to radio or television reception, which can be determined by turning the equipment off and on, the user is encouraged to try to correct the interference by one or more of the following measures:

-
Reorient or relocate the receiving antenna.
-
Increase the separation between the equipment and receiver.
-
Connect the equipment into an outlet on a circuit different from that to which the receiver is connected.
-
Consult the dealer or an experienced radio/TV technician for help.
FCC Radiation Exposure Statement:
This equipment complies with FCC radiation exposure limits set forth for an uncontrolled environment.
This transmitter must not be co-located or operating in conjunction with any other antenna or transmitter.
IC Radiation Exposure Statement:
This equipment complies with Canada radiation exposure limits set forth for uncontrolled environments. This transmitter must not be co-located or operating in conjunction with any other antenna or transmitter.