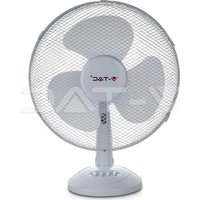
VT-4017-3 - Fan V-TAC - Free user manual and instructions
Find the device manual for free VT-4017-3 V-TAC in PDF.




| Product type | Pedestal fan |
| Brand | V-TAC |
| Model | VT-4017-3 |
| Number of speeds | 3 (low, medium, high) |
| Oscillation | Yes, mechanical control |
| Tilt adjustment | Yes, manual tilt |
| Protection devices | Front and rear grille |
| Control type | Push buttons |
| Intended use | Indoor, domestic |
| Maintenance | Wipe with a damp cloth; do not immerse |
| Assembly | Required, parts provided |
| Housing material | Plastic |
| Color | Not specified |
Frequently Asked Questions - VT-4017-3 V-TAC
User questions about VT-4017-3 V-TAC
0 question about this device. Answer the ones you know or ask your own.
Ask a new question about this device
Download the instructions for your Fan in PDF format for free! Find your manual VT-4017-3 - V-TAC and take your electronic device back in hand. On this page are published all the documents necessary for the use of your device. VT-4017-3 by V-TAC.
USER MANUAL VT-4017-3 V-TAC
When using electrical appliances, basic safety precautions should always be followed. These instructions should be saved for future reference:
- Read and familiarise yourself with all operating instructions before using this Pedestal Fan.
- Before plugging your unit into the mains, visually check that the unit is intact and has not suffered any transit damage.
- Do not use this product with a programmer, timer, separate remote-control system or any other device.
- Check that the voltage indicated on the data plate corresponds with that of the local network before connecting the appliance to the mains power supply.
- This appliance can be used by children aged from 8 years and above and persons with reduced physical, sensory or mental capabilities or lack of experience and knowledge if they have been given supervision or instruction concerning use of the appliance in a safe way and understand the hazards involved. Children shall not play with the appliance. Cleaning and user maintenance shall not be made by children without supervision.
- This appliance is not intended for use by persons (including children) with reduced physical, sensory or mental capabilities, or lack of experience and knowledge, unless they have been
given supervision or instruction concerning use of the appliance by a person responsible for their safety. And Children should be supervised to ensure that they do not play with the appliance
- Do not immerse the appliance or its cord in water or any other liquids.
- Do not leave the appliance unattended during use.
- Do not leave the appliance unattended whilst connected to the mains supply.
• Always use this appliance on a solid, level, surface.
- Do not use this appliance outdoors.
- It is imperative to unplug the power cord after the appliance has been used, before it is cleaned and whilst being repaired.
- Repairs to electrical appliances should only be performed by a qualified electrician. Improper repairs may place user at serious risk.
- Do not operate this appliance with a damaged plug or cord, after a malfunction or after being dropped or damaged in any way.
- Regular, periodic checks should be carried out on the mains cable to ensure no damage is evident. Should there be any signs of damage the appliance should not be used.
- If the power cable is damaged, it should only be replaced by the manufacturer or a suitable qualified after-sales-service in order to avoid a hazard.
- Do not allow the mains cable to hang over sharp edges or come in contact with hot surfaces.
- Do not run the mains cable under carpets, rugs, etc.
- This appliance is intended for household use only and should not be used for industrial purposes.
- Do not use any accessories or attachments with this appliance other than those supplied or recommended by the supplier.
- Do not use this appliance for anything other than its intended use.
- Do not push objects (including fingers) into the fan grill or any openings as this could risk injury, damage to the appliance and/or electric shock.
- Unplug after each use. Grasp the plug, not the cord.
- Please make sure to turn off the power before starting the installation.
- Installation should only be done by a certified electrician.
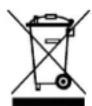
This marking indicates that this product should not be disposed of with other household wastes.

Caution, risk of electric shock.
INTRODUCTION
Thank you for selecting and buying V-TAC product. V-TAC will serve you the best. Please read these instructions carefully before starting the installation and keep this manual handy for future reference. If you have any another query, please contact our dealer or local vendor from whom you have purchased the product. They are trained and ready to serve you at the best.
WEEE Number: 80133970
INSTRUCTION MANUAL
DESK FAN
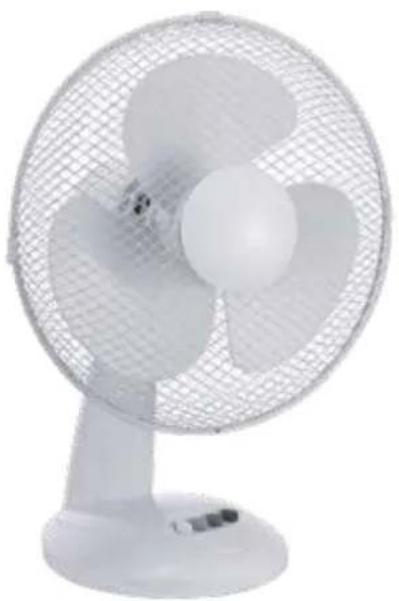
natural_image
White electric fan with three blades and a mesh grille, mounted on a stand (no text or symbols visible)TECHNICAL DATA
| VT-4012-3 | VT-4017-3 |
| 40W | 40W |
| 12” DESK FAN | 16” DESK FAN |
| 3 FAN SPEED CONTROL [LOW, MEDIUM, HIGH] | |
| OSCILLATION FUNCTION [LOW, MEDIUM, HIGH] | |
| G.W. 2.0 KGS | G.W. 2.15 KGS |
| Size: 340x260x480mm | Size: 410x260x510mm |
| AC: 220-240V~, 50/60Hz | AC: 220-240V~, 50/60Hz |
MULTI-LANGUAGE MANUAL QR CODE

Please scan the QR code to access the manual in multiple languages.
DESCRIPTION OF PARTS
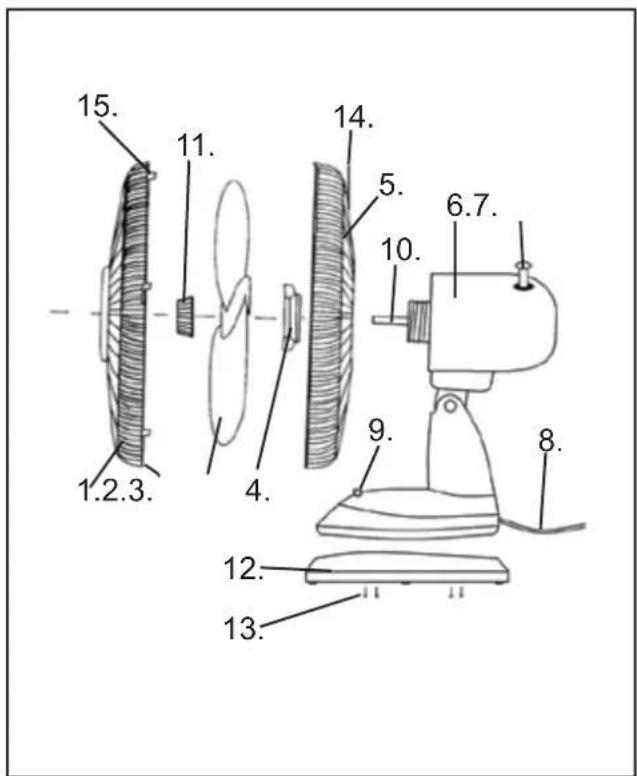
- Front Guard
- Guard Nut and Screw
- Fan Blade
- Rear Guard Fixing Nut
- Rear Guard
- Motor Housing
- Oscillating Control
- Power cord
- Speed Control Switches
- Motor Spindle
- Blade Retaining Nut
- Base Surround
- Base Fastening Screws
- Carry Handle
- Guard Fastening Clips
ASSEMBLY
natural_image
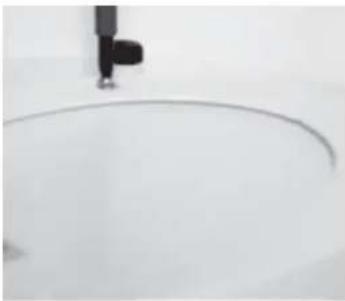
Close-up of a curved surface with a small black object above it, possibly part of a device or tool (no visible text or symbols)1: First attach the Base Surround (12) to the base of the fan using the four pozid-rive screws supplied (13) Take care not to overtighten the screws
natural_image
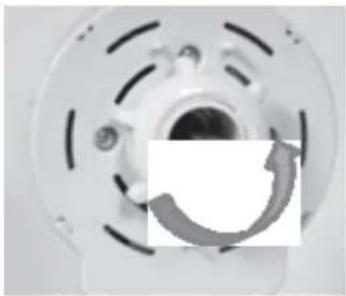
Close-up of a mechanical component with a circular cutout and radial grooves (no visible text or symbols)2: Next place the fan on its base and remove the Rear Guard Fixing nut (4) from the Motor Housing (6) by unscrewing anti-clockwise (arrowed).
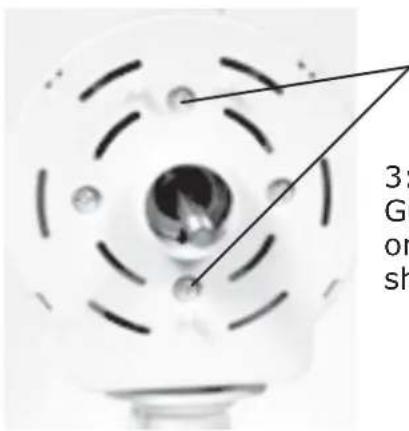
Rear guard locating pins
3: Note the two Rear Guard locating pins on the Motor Housing shown right.
natural_image
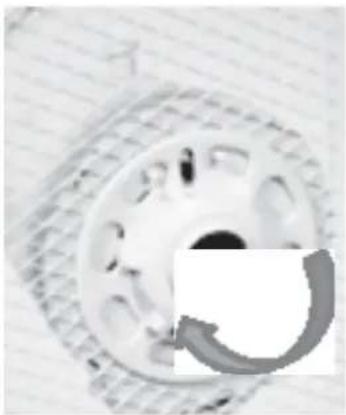
Close-up of a metallic tire with a circular arrow indicating rotation (no text or symbols)- Place the Rear Guard(5) over the two pins on the Motor Housing(6) and replace the Rear Guard Fixing nut(4) and screw it back on clockwise. NB ensure that the guard is fitted such that Carry Handle(14) is at the top.
natural_image
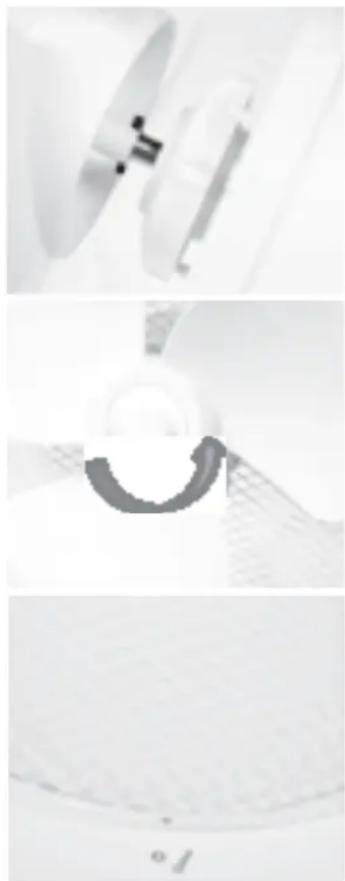
Three-panel grayscale image showing a medical device with a tool and a circular component, no visible text or symbols.- Take the Fan Blade(3); slide it onto the Motor Spindle(10), after first removing the plastic spindle cover. Ensure that the notch on the rear of the fan blade fits over the splines on the spindle (arrowed right).
NB Rear Guard removed for clarity.
- Secure the fan blade to the motor spindle by screwing on the Blade Retaining Nut(11) in an anticlockwise direction.
NB the retaining nut is reverse threaded.
- Remove the small Guard Nut & Screw from the Front Guard.
natural_image
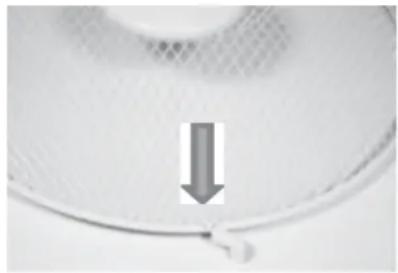
Close-up of a white circular object with a downward arrow and a small mark, no visible text or symbols.- Move the Clips(15) at the edge of the front guard outwards.
natural_image
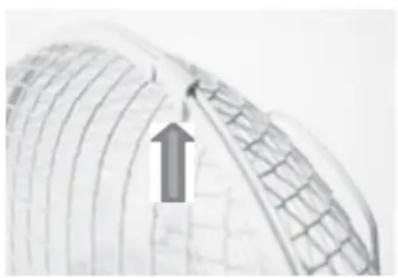
Close-up of a curved, mesh-like structure with an arrow pointing upward (no text or symbols visible)- Hang the front guard(1) by its hook over the top of the rear gaurd(5).
natural_image
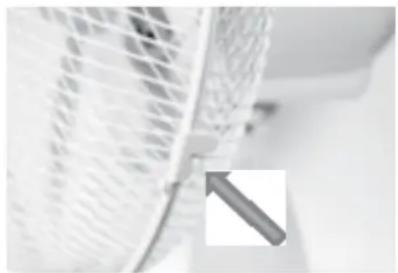
Close-up of a white plastic bag with a metallic screwdriver inserted, showing texture and shading (no text or symbols visible)- Bring the front guard down to meet the rear guard and push the clips inwards until the front guard is fastened to the rear guard.
natural_image
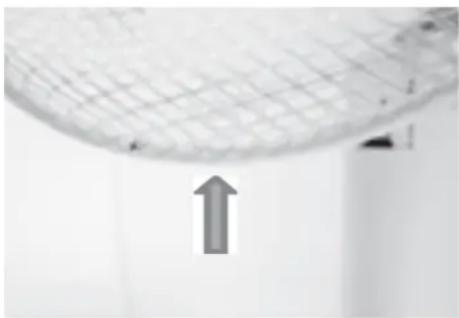
Close-up of a curved grid structure with an upward arrow, no visible text or symbols- Finally fit the Guard Nut and Screw(2-arrowed) through the holes in the bottom edge of the guard and tighten with a suitable pozidrive screwdriver (not supplied).
NB this screw and nut must be fitted so that the guard cannot be removed accidentally
- Place the fan in the desired position ensuring that it is stable.
- If desired, the fan guard can be tilted up and down to alter the direction of the airflow. NB do not adjust the fan whilst connected to the mains and/or switched on.
- Press the '0' button on the base to ensure the fan is off.
- Insert the mains plug into the nearest socket.
- Press the 1 button for the low speed.
- Press the 2 button for the medium speed Press the 3 button for the high speed NB Press the '0' button to switch the fan off.
- Press the oscillation control (7) down to enable the fan to oscillate from side to side.
- Pull the control up to stop the fan oscillating.
CARE AND USE OF YOUR FAN
- Ensure that the fan is not connected to the mains supply before cleaning.
- Wipe the fan body clean with a clean, soft damp cloth.
- Do not immerse the fan or its cord in water or any other liquid.
In case of any query/issue with the product, please reach out to us at: support@v-tac.eu For More products range, inquiry please contact our distributor or nearest dealers. V-TAC EUROPE LTD. Bulgaria, Plovdiv 4000, bul.L.Karavelow 9B
MESURES DE SÉCURITÉ
[FR] INTRODUCTION & GARANTIE
[PL] WSTEP I GWARANCJAD
[RO] INTRODUCERE, GARANTIA

Brand : V-TAC
Model : VT-4017-3
Category : Fan