
527009 - Deep fryer Stilfer - Free user manual and instructions
Find the device manual for free 527009 Stilfer in PDF.

| Product type | Professional freestanding or cabinet deep fryer |
| Brand | Stilfer |
| Model | 527009 |
| Tank capacity | 6 liters (bench model) |
| Nominal frying capacity | 1.2 kg |
| Recommended maximum temperature | 180 °C |
| Power supply | Single-phase or three-phase (depending on version) |
| Power | Not specified in the manual, estimated ~2.5 kW |
| Dimensions (W x D x H) | Not specified, approximately 40 x 40 x 30 cm (estimate) |
| Weight | Not specified, approximately 15 kg (estimate) |
| Tank material | Stainless steel |
| Thermostat type | Adjustable control thermostat + safety thermostat with manual reset |
| Indicator lights | Green light (power on) and white light (heating) |
| Drain valve | Yes, with safety device against accidental opening |
| Adjustable feet | Yes, for leveling |
| Installation type | On work surface, under recommended extractor hood |
| Cleaning | Tank washable with hot water and mild detergent; do not immerse head |
| Maintenance | Daily draining and filtering of oil recommended |
| Safety | Safety thermostat, mandatory omnipolar upstream disconnection, grounding and equipotential bonding |
| Maintenance | Reserved for qualified personnel |
Frequently Asked Questions - 527009 Stilfer
User questions about 527009 Stilfer
0 question about this device. Answer the ones you know or ask your own.
Ask a new question about this device
Download the instructions for your Deep fryer in PDF format for free! Find your manual 527009 - Stilfer and take your electronic device back in hand. On this page are published all the documents necessary for the use of your device. 527009 by Stilfer.
USER MANUAL 527009 Stilfer
INSTRUCTION FOR THE INSTALLATION, USE AND MANTEINANCE INSTRUCTION POUR L'INSTALLATION, L'UTILISATION ET L'ENTRETIEN INSTRUKTIONEN F R DIE INSTALLIERUNG, BENUTZUNG UND UNTERHALT
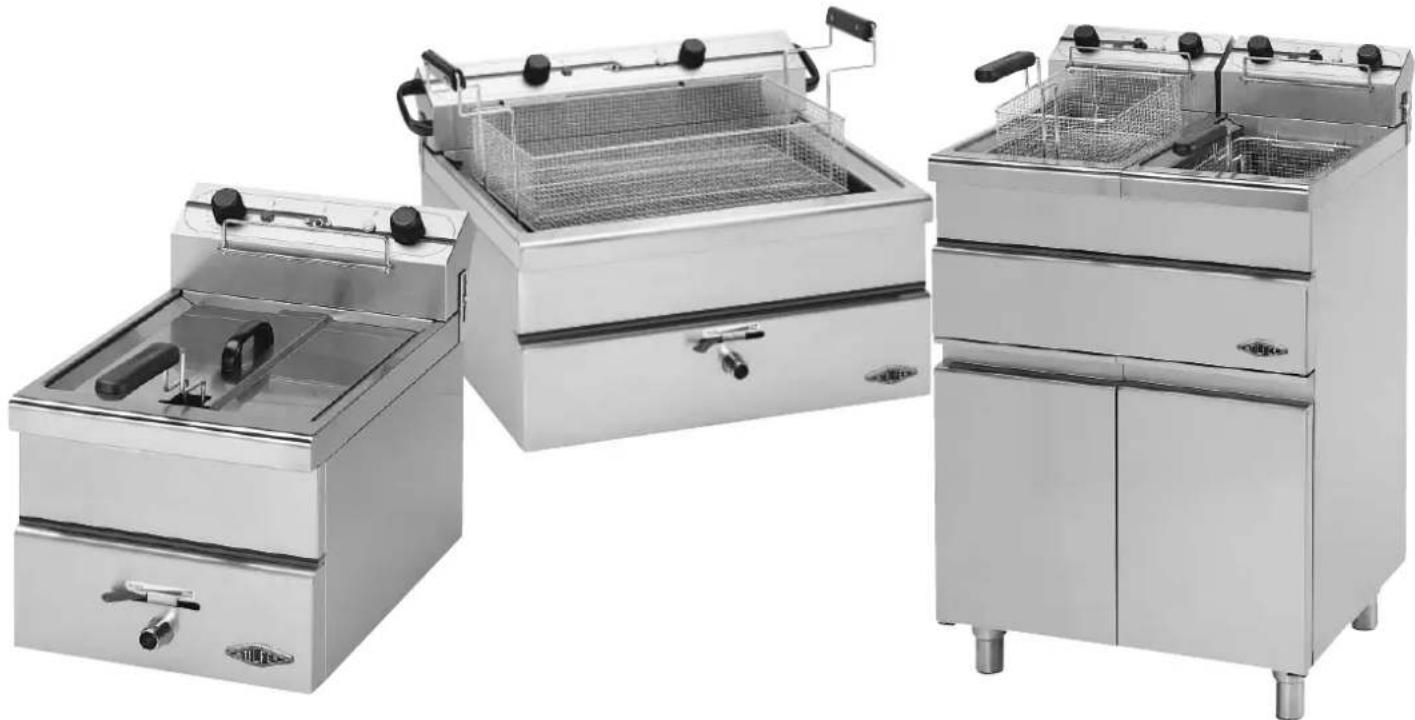
natural_image
Three stainless steel kitchen cabinets with freaters and grilles, displayed against a white background (no text or symbols visible)*527.009*527.209*527.112*527.212*527.026
*527.109*527.115*527.309*527.315*527.312
*527.412*527.126*527.060*527.260*527.061
*527.261
ELECTRIC FRYERS FRITEUSES ELECTRIQUES ELEKTRISCHE FRITEUSEN
ELECTRIC FRYERS
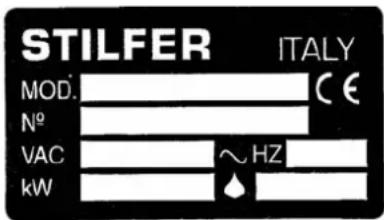
1. TECHNICAL DATA
The data plate is on the back of the fryer and lists all the data needed for connecting up to the mains.
2. INSTALLATION
The equipment must be positioned using a spirit level and adjusting the legs (screw/unscrew).
The main power switch or power outlet must be near the equipment in an easily accessible position.
We recommend installing the machine under an extractor hood so that vapours can be removed rapidly.
The machine should only be placed near walls, partitions or other kitchen furniture that are made of flameproof materials.
Fire regulations must be strictly adhered to.
2.1 LEGAL REQUIREMENTS
Installation must be to the following standards:
- current accident prevention laws;
- CEI installation standards.
2.2 INSTALLATION
Installation, set-up and maintenance must be carried out by qualified personnel. All installation work must be done in compliance with current regulations.
The manufacturer will accept no liability in relation to faulty operation due to defective or non compliant installation.
WARNING! As required by international law, the equipment should only be connected up to the mains if there is a omnipolar* circuit breaker upstream with a contact opening of at least 3 mm.
2.2.1 ELECTRICAL CONNECTION
The equipment is supplied with a power cable.
If you have to replace this cable, make sure you use a H07 RN-F type and that its cross section is sufficient for the equipment's power rating.
To change the cable, pass it through the cable lead and connect the wires to the terminal block, which is located in the cable lead on single phase machines and inside the equipment on three-phase machines.
Make sure the wires are connected to the terminal block correctly and tightly and then close the cable lead. The yellow-green wire must be connected to the earth terminal.
2.2.1.1 UNIPOTENTIAL
The equipment must be connected to a unipotential system.
The connection screw is located in the rear of the housing and marked by the sign WARNING! The manufacturer accepts no liability and will not refund under guarantee any damage caused through installation that is improper or not compliant with the instructions.
2.3 SET UP
The machine must be carefully cleaned (especially the tank, see section 4: Cleaning) before frying for the first time.
3. INSTRUCTION FOR USE
3.1 OPERATION
WARNING! never use the equipment unless under supervision.
Used frying fat or oil involves greater fire risks, so we recommend using fresh fat or oil.
Fries must be dry. Damp or wet fries cause foam and the risk of overflow.
Large quantity frying can also cause foam, so keep to the values listed below.
When the oil level falls below the minimum mark, the risk of fire is greater.
Never power up the equipment without oil.
Recommended frying quantities: 6 Its. Models - Nominal capacity = Kg. 1,2
| 9 | Its. | Models | - | Nominal | capacity | |
| 10 Its. Models - Nominal capacity = Kg. 1,8 | ||||||
| 12 | Its. | Models | - | Nominal | capacity | = |
| 14 | Its. | Models | - | Nominal | capacity | |
| 15 | Its. | Models | - | Nominal | capacity | |
| 26 | Its. | Models | - | Nominal | capacity | |
3.2 POWER UP
Make sure the oil discharge tap is closed and fill the tank to maximum. Plug into the power outlet.
We recommend that before frying each day you pre-heat the oil for 15 minutes at 140-160°C so that the working temperature is reached uniformly. If the thermostat is initially set at 200°C, the Safety Thermostat may intervene because the oil undergoes a brusque and irregular temperature rise. In this case you should reset the thermostat using the special button (see 3.3). After pre-heating set the temperature to the desired value (max. recommended value = 180°C).
The control leds come on.
The green led indicates that the equipment is powered up. When lit, the white Led indicates that heating element is on and when extinguished that the temperature has been reached and the fryer is ready for use.
To switch off the fryer, turn the knob back to "0".
3.3 FUNCTIONS
During operation the equipment is monitored by a control thermostat that intermittently feeds the heating elements according to the chosen position (choose the temperature by means of the thermostat knob).
The equipment is provided with an extra, manually resettable, safety thermostat that causes the fryer to be switched off in the event of further failures.
To reset the safety thermostat on the single phase models, unscrew the cap on the button located on the centre of the control panel and press it when the temperature has dropped 30/40^ C.
On three phase models, you do the same operation by pressing with a point the small button under the black cap (which you should remove with a screwdriver).
Contact your service centre immediately
3.4 EMPTYING THE TANK
The user should have a suitable container into which oil can be emptied from the counter top models (the floor-standing* models are equipped with a removable stainless steel oil container).
This container must be of a heat resistant material and made in such a way that there is no risk of overflow during emptying or other dangers.
We recommend filtering the oil everyday and changing it when necessary.
To empty the counter top models, the discharge pipe must be inserted and the container put in position.
Set the safety device against accidental opening to the up position and move the lever to the point "OPEN" to open and to "CLOSED" to close.
4. CLEANING
WARNING: during cleaning, do not wash the outside of the machine with direct or high-pressure jets of water.
Clean the equipment carefully at the end of work every evening. Daily cleaning of the equipment guarantees perfect operation and long life.
Power down the equipment before cleaning it..
The steel tank can be washed with hot water and a neutral detergent. It must be rinsed thoroughly so as to eliminate every trace of detergent. Then dry with a dry cloth. Do not use abrasive or corrosive detergents.
WARNING! Never wet the head* or the control panel.
To facilitate cleaning, remove the head but only when the item is cold.
Before these operation it must disconnect the plug or the general switch.
Dont dip the head in water.
4.1 WHAT TO DO AFTER A LONG PERIOD OF INACTIVITY
Carefully clean and dry the equipment as explained in the instructions and power down.
4.2 WHAT TO DO IN THE EVENT OF FAILURE
In the event of a failure, switch off the machine, disconnect the power and call customer service.
5 MAINTENANCE
All maintenance work must be done by qualified personnel.
5.1 ACCESS
To access all the electrical parts ( thermostats, connections, resistance, etc.), open the control panel.
The Manufacturer will accept no liability if the instructions in this booklet are not followed or if tampering by unqualified personnel is discovered.
FRITEUSES ELECTRIQUES
1 Thermostat
2 Safety Thermosat
3 Switch
4 Thermostat led control
5 Led control