PQRCFCS0 - Remote control LG - Free user manual and instructions
Find the device manual for free PQRCFCS0 LG in PDF.
| Product Type | Wired remote control for LG air conditioner |
| Model | PQRCFCS0 |
| Brand | LG |
| Dimensions (approx.) | 120 x 80 x 20 mm |
| Weight (approx.) | 150 g |
| Power supply | Via connection cable from indoor unit (5 V DC) |
| Display | LCD screen with backlight |
| Main Functions | On/Off, mode selection (cool, heat, auto, dehumidification, fan), temperature adjustment (16-30°C in heating, 18-30°C in cooling), fan speed (Lo, Med, Hi, Power), ambient temperature display, child lock (CL), operation test, central control addressing, ESP function (air volume adjustment) |
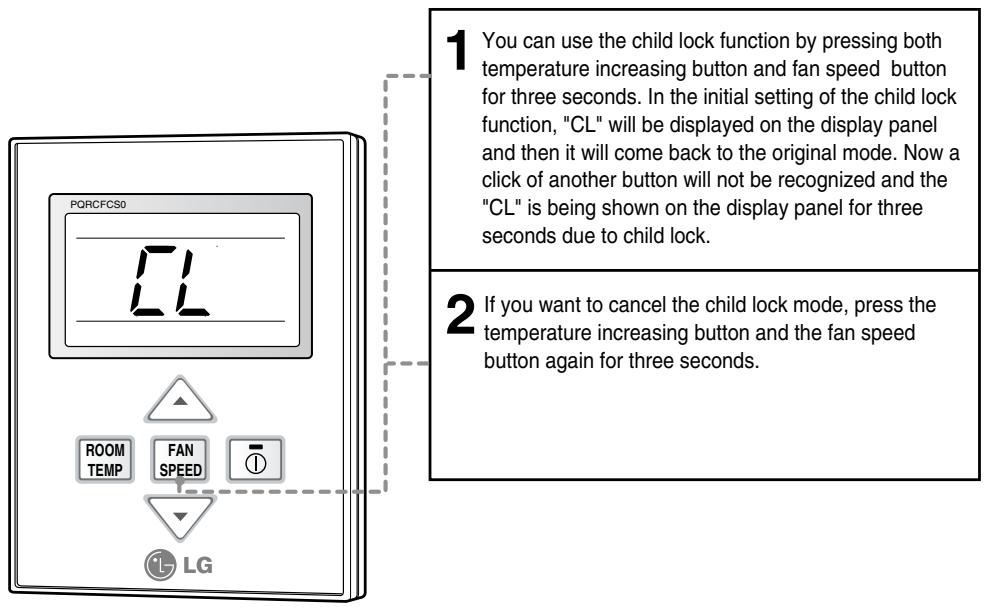
| Child Protection | Child lock via long press on Temperature increase and Fan speed buttons for 3 seconds |
| Maintenance and cleaning | Clean with a soft, dry cloth. Do not use solvents or abrasive products. |
| Safety | Do not expose to water, humidity or extreme temperatures. Do not disassemble. Have installation carried out by a qualified professional. |
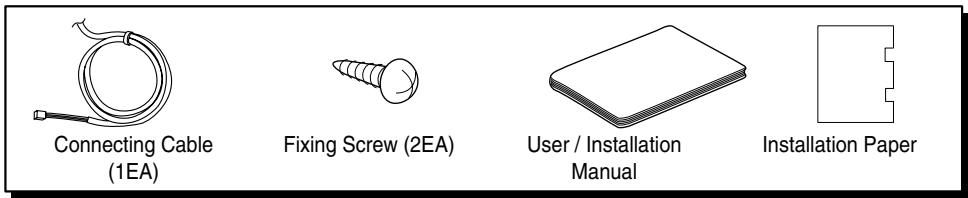
| Spare parts and repairability | Supplied accessories: connection cable (1), fixing screws (2), installation and user manual. For any repairs, contact LG after-sales service. |
| General information | Wired remote control designed for LG air conditioning systems. Installation must be carried out by a professional in accordance with current electrical standards. |
Frequently Asked Questions - PQRCFCS0 LG
User questions about PQRCFCS0 LG
0 question about this device. Answer the ones you know or ask your own.
Ask a new question about this device
Download the instructions for your Remote control in PDF format for free! Find your manual PQRCFCS0 - LG and take your electronic device back in hand. On this page are published all the documents necessary for the use of your device. PQRCFCS0 by LG.
USER MANUAL PQRCFCS0 LG
Simple Wired Remote Controller
Owner's & Installation Manual
Models: PQRCFCS0
IMPORTANT
- Please read this installation manual completely before installing the product.
- Installation work must be performed in accordance with the national wiring standards by authorized personnel only.
- Please retain this installation manual for future reference after reading it thoroughly.
TABLE OF CONTENTS
■ Safety Precautions....3\~4
■ Part Description ....5\~6
■ Installation Method ....7
■ Necessary functions before using 8\~10
- Trial Operation....8
- Setting the Central Control Address ....9
- ESP Function ....10
■ How to use the Mode Selection Button....11\~17
- Cooling Operation ....11
- Heating Operation ....12
• Auto-Operation 13
- Dry(Dehumidification) Operation....14
- Fan Operation 14
- Fan Speed Selection ....15
- Indoor Temperature Display....16
- Child Lock 17
Safety Precautions
- The installation requires expert skills, and it should be installed by the service center or other shops specialized in the installation and recognized by our company.
- For all the problems arising after installation by someone who has no relevant qualifications, LG will not provide free service.
- The following safety cautions are provided to prevent unexpected dangers or losses.
WARNING: If the user does not follow the mandatory items, it may result in serious injury or death.
▲CAUTION : If the user does not follow the mandatory items, it may cause personal injury or property damage.

: Warning and Caution are to call the user's attention to the possible danger. Read and follow them carefully in order to prevent a safety accident.

: Warning and Caution are indicated in this guide and the product itself to help protect the users from danger.
WARNING
■ Installation
Entrust installation of the product to the service center because improper installation may cause fire, an electric shock, explosion, and physical injury.
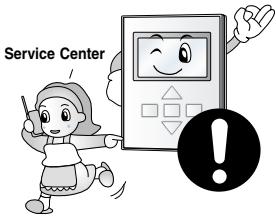
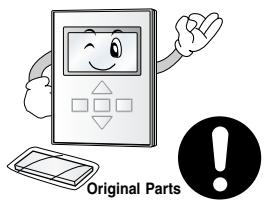
Use the original parts in order to prevent fire, an electric shock, explosion, and product breakdown.
natural_image
Illustration of a smiling remote control device with a warning symbol and a separate labeled card (no text or symbols on the device itself)Keep combustible and/or inflammable materials away from the product in order to prevent fire or product breakdown.

natural_image
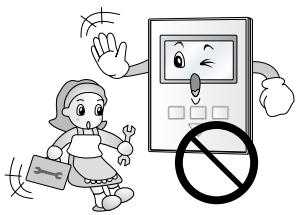
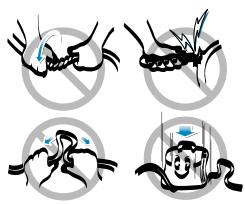
Illustration of three cartoon characters with a prohibition symbol, no text or symbols presentDo not disassemble, repair, or modify the product at your discretion in order to prevent fire or an electric shock.
Do not install the product in wet and humid areas in order to prevent product breakdown.
Do not expose the product to the sun in order to prevent product breakdown.
natural_image
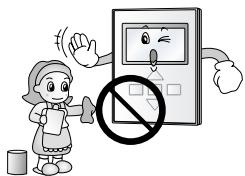
Cartoon illustration of a girl waving next to a device with a 'no' symbol (no text or labels)
natural_image
Simple line drawing of a prohibition symbol on a vertical pole (no text or labels)In-use
Do not modify or lengthen the power cable at your discretion. It may cause fire or an electric shock.
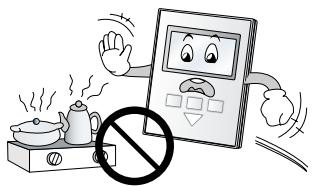
Do not place a heating device near the product. It may cause fire.
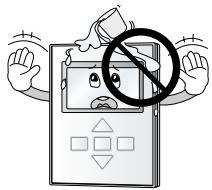
Do not drop water on to the product. It may cause an electric shock or product breakdown.
Do not place something heavy on the power cable. It may cause fire or an electric shock.
natural_image
Cartoon illustration of a calculator with a crossed-out 'no' symbol, accompanied by a steaming cup and coffee (no text or symbols on the calculator or background)Do not place a heavy thing on the product. It may cause product breakdown.
natural_image
Cartoon illustration of a computer monitor with a crossed-out screen and a 'no' symbol (no text or symbols present)If the product was submerged under water, ask the service center for instruction. It may cause fire or an electric shock unless you do that.

natural_image
Illustration of a chair with a diagonal line and a crossed-out no-smoking symbol (no text or labels)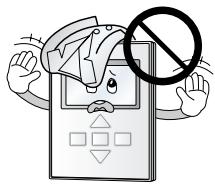
natural_image
Cartoon illustration of a person holding a device with a 'no' symbol, no text or symbols present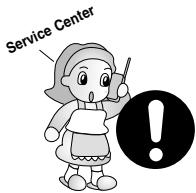
CAUTION
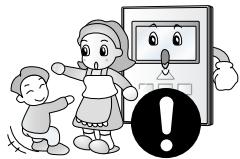
Make sure children or senior citizens use the product under proper observation in order to prevent safety accident.
Do not subject the product to shock. It will cause product breakdown.
Do not pick the product with a sharp tool. It may cause product breakdown with the damage to its parts.
natural_image
Illustration of a child and an adult interacting with a digital display device, with a large exclamation mark symbol (no text or labels present)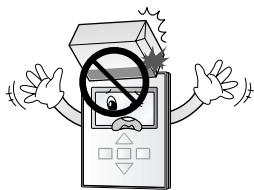
natural_image
Cartoon illustration of a hand holding a box with a prohibition symbol (no text or symbols present)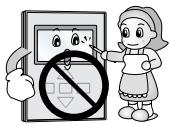
In-use
Do not clean the product with strong cleanser such as solvent. Use soft clothes in order to prevent fire or product deformation.
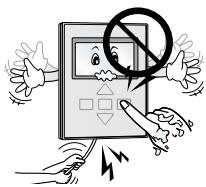
Do not touch the product with a wet hand. Do not pull the lead cable. It may cause product breakdown or an electric shock.
natural_image
Cartoon illustration of a computer monitor with a 'no' symbol and hands interacting, no text or symbols presentPart Description
Accessory
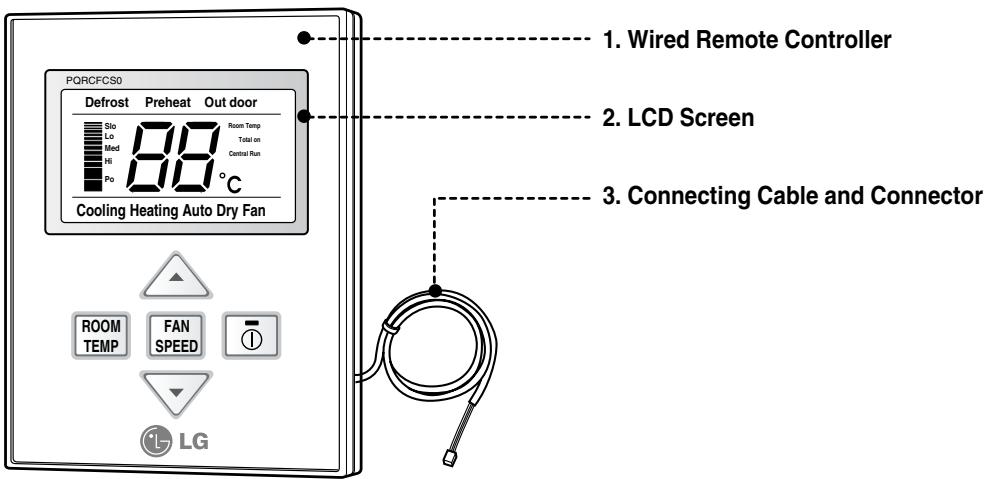
Simple Wired Remote Controller
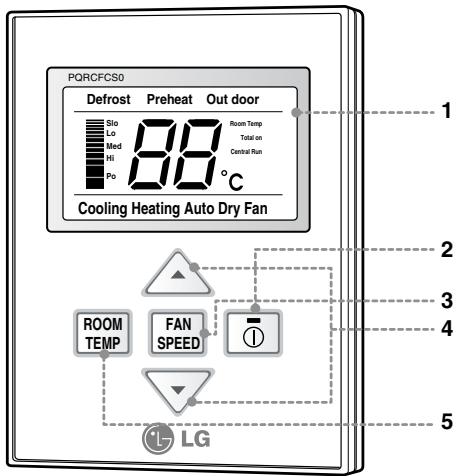
- Operation Display Panel
- On/Off Function
- Fan Speed Button
- Temperature Control Button
- Room Temperature Check Button
Each function will be shown on the display panel for three second or so when the power is applide at first.
Installation Method
1 Put the installation paper on the place and determine the position and height of the fixing screws of the wired remote controller.
- Refer to the printed side of the installation paper.
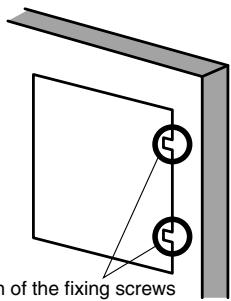
The position of the fixing screws
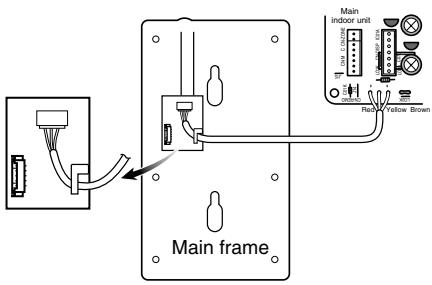
2 Plug the connecting cable into the indoor unit.
- The product is being shipped with the cable connected only to the remote controller. Fix the connecting cable with the cable rack.
3 Remove the installation paper before installing the remote controller so that it can fit at the right place.
Fixing the remote controller

natural_image
Diagram showing a tilted rectangular object with an arrow indicating rotation, next to a vertical surface (no text or symbols)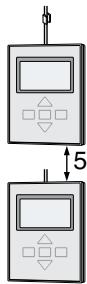
* Do not embed the remote controller into the wall. (It may cause the breakdown of the temperature sensor.)
* If you want to install a number of remote controller at the same place in a vertical line, install them at regular intervals of 5cm. (It may cause the breakdown of the temperature sensor.)
□ Supply the power after connecting wired remote controller.
When you need to change wired remote controller, switch off the main power and change it. If the wired remote controller is changed before switching off the main power, the option function of the indoor unit can't be used. (option function like "slo" fan speed selection)
Necessary functions before using
Trial Operation
The trial operation is to check the installation status of the product. The temperature will not be controlled during trial operation. Instead the product will operate in several modes such as cooling, strong wind, comp-on.
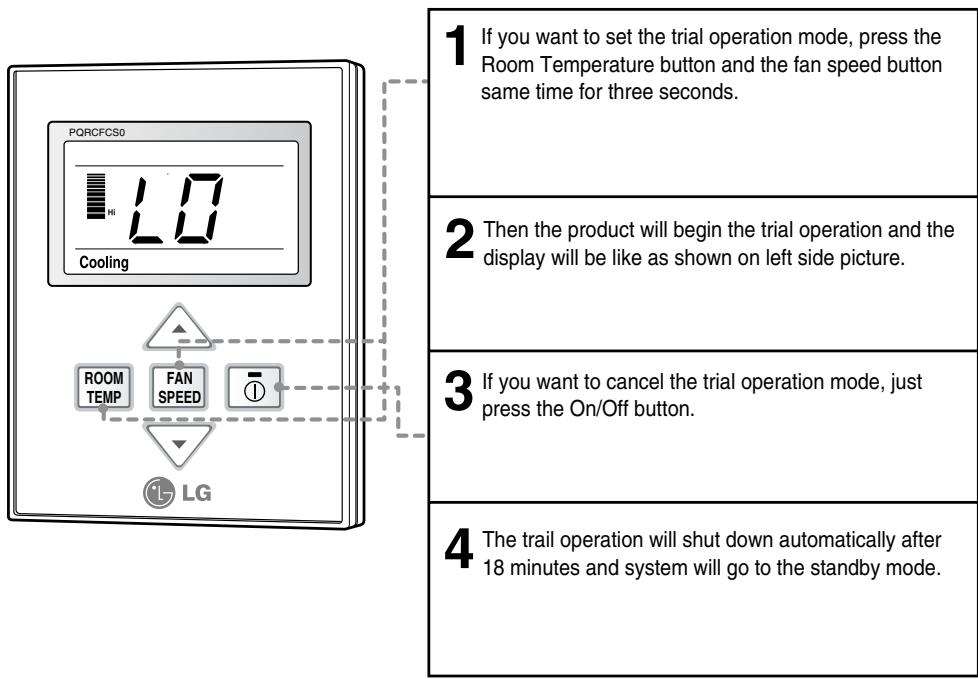
* This function might not be available for Multi Product like Multi V system.
Setting the Central-Control Address
Please set the address while using the central controller.
You don't need to set address if you don't use central controller.

- If you connect the indoor unit to the central controller, you should set the network address of the indoor unit so that the central controller could recognize it.
- The center-control address is composed of the group number and the indoor-unit number.
* If you set the control status of the group, that you can't the central control and wireless remote control.
ESP Function
E.S.P function is setting the volume of each fan speed. It is for the convenience of installation. It is recommended that you should not use this function while using the remote controller.
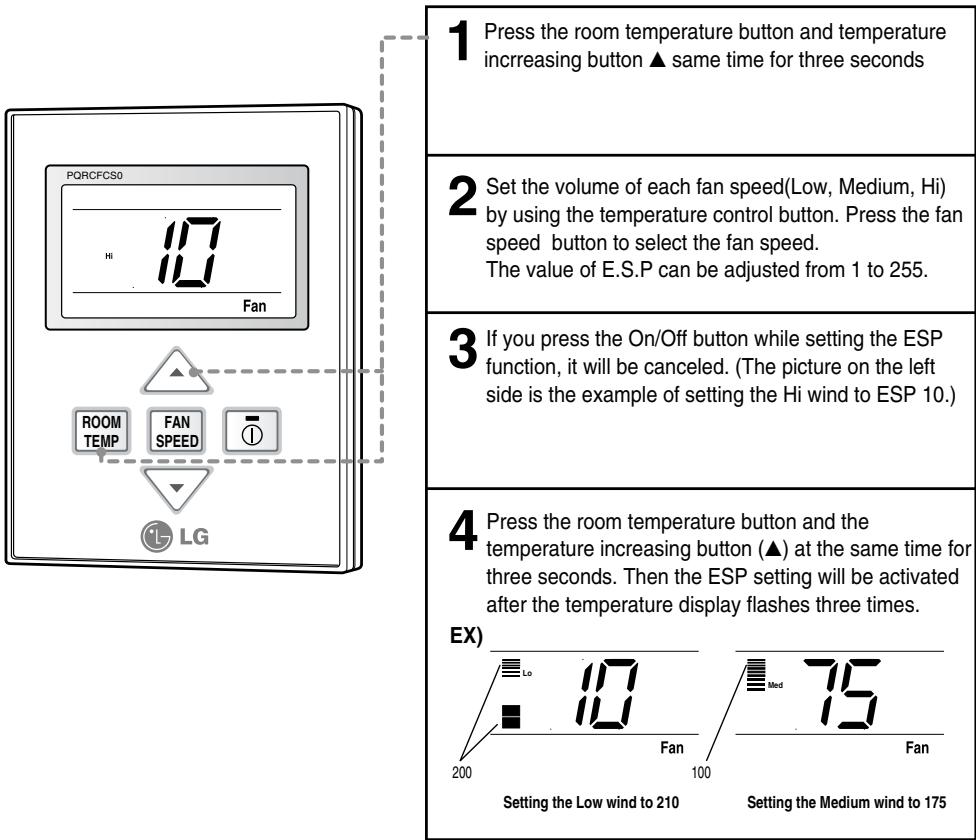
* The E.S.P value is set at the proper value at the factory. So it is highly recommended that you should do not change the E.S.P value at your discretion.
How to use the Mode Selection Button
Cooling Operation
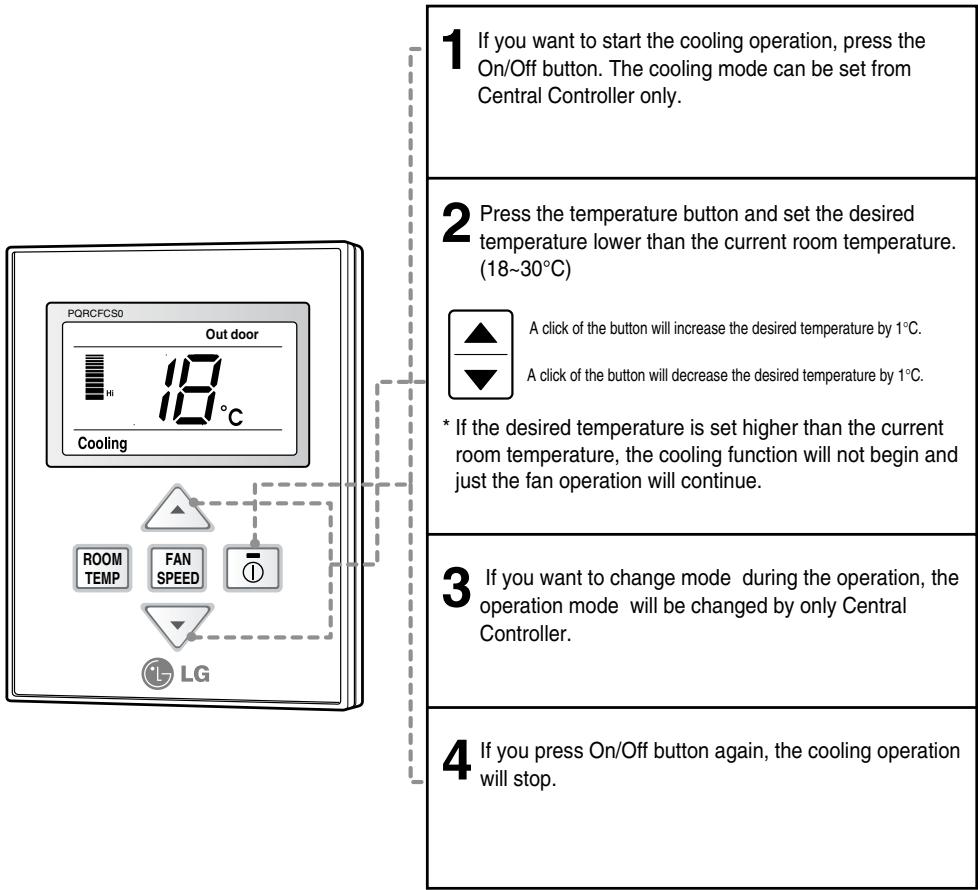
What is the three-minute delay function?
The function to protect the compressor delays the output of cool air when operating instantly after interrupting the cooling operation.
Cooling operation restarts after 3 minutes when the compressor starts to operate.
- You can choose the expected temperature from 18(C to 30(C.
- It is recommended that the ideal difference of the temperature between indoors and outdoors should be less than 5^ .
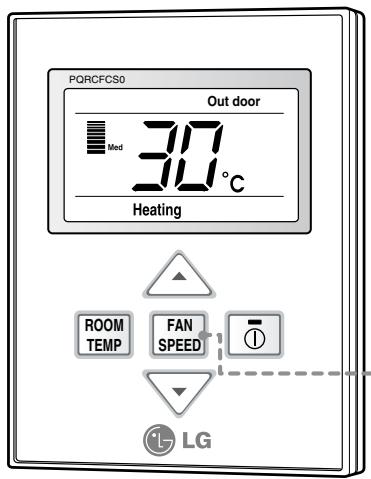
Heating Operation
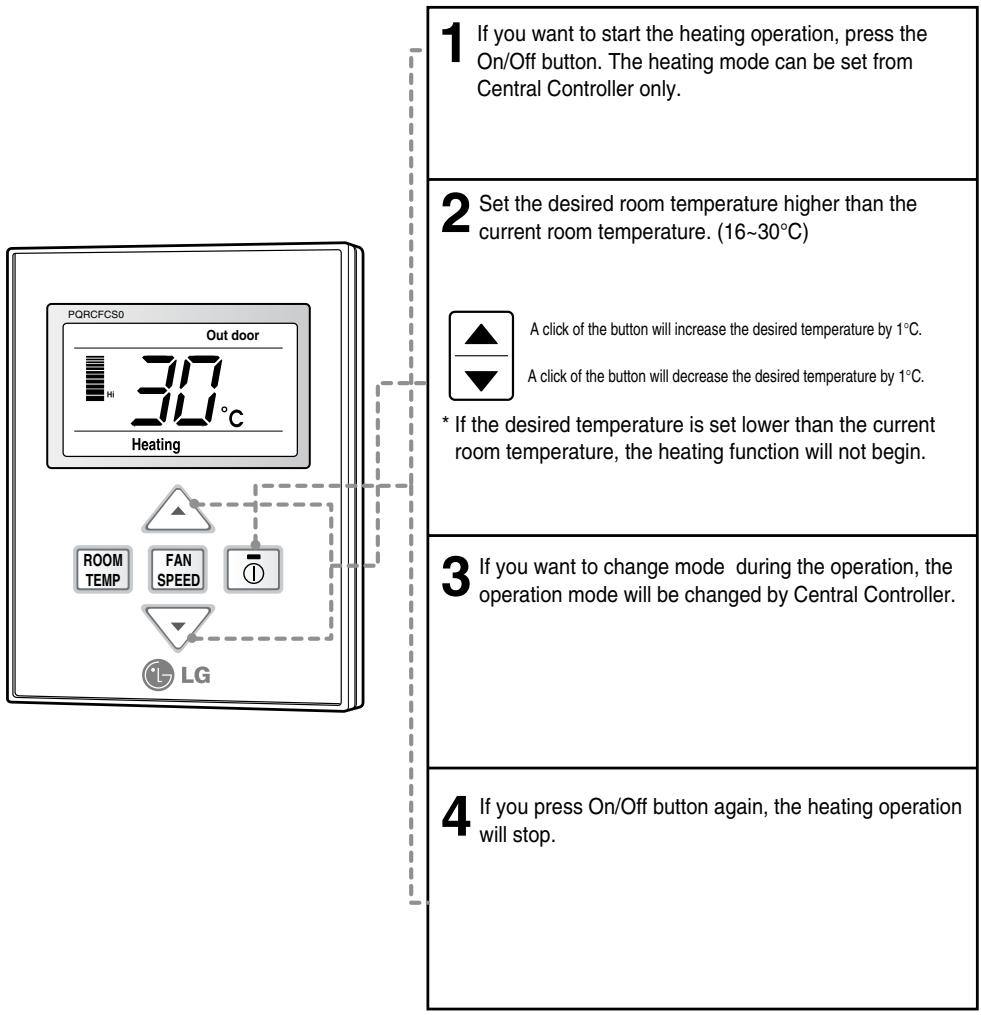
What is the three-minute delay function?
It will take a time for the product to blow warm air. The delay is just to protect the compressor. The room will be heated with warm air after three minutes when the compressor begins operation.
■ The cooling-only model will not do heating function.
Auto-Operation
![1 Set the operation mode to auto-operation by central controller after pressing the On/Off button. 2 When the room temperature is lower than the desired temperature: Heating Operation starts [For Heat Pump Models only] When the room temperature is higher than the desired temperature: Cooling Operation starts 3 If you want to change Mode during the operation, the operation mode will be changed by central controller.](/content/2025/01/68765/images/41ae172cec47b9690ad24ab0c682b6493a24f443479bd8d9c10ff7ab5ed49bac.jpg)
* This auto-operation is not related to "Auto Change Over" function.
Dry(Dehumidification) Operation
Dry(Dehumidification) by lowering temperature slightly
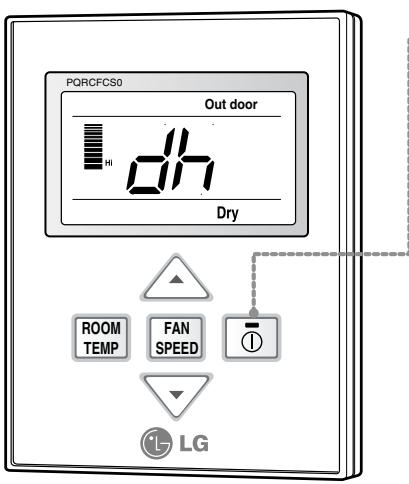
1 If you want to start the dry operation, press On/Off button. The dry operation can be set from Central Controller only.
2 When the dry operation is selected, "dh" will be shown on the display panel as shown on the left side.
3 If it is used during rainy season or high humidity, you can have both effective dehumidifying and air conditioning effect.
* Temperature control is not available during the dry operation.
Fan Operation

1 If you want to start the fan operation, press the On/Off button. The fan operation can be set from Central Controller only.
2 When the fan operation is selected, "Fn" will be displayed on the display panel.
3 • Fan operation does not give cold air, but just the fan air. • By giving out air that has no difference of temperature with the indoors, it allows circulation of the room.
* Temperature control is not available in the fan operation.
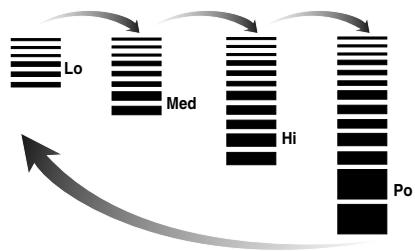
Fan Speed Selection
You can easily control the fan speed.
1 Select the proper fan speed which you want by pressing the fan speed button on the remote controller.
- If you press the fan speed button, the fan speed will change in the order of Low>Medium>Hi>Power.
- The initial fan speed is "Hi"
- If the product is not compatible with the fan speed control, it will not function as per your selection.
Fan Speed Selection in Cooling Operation
flowchart
graph TD
    A["Lo"] --> B["Med"]
    B --> C["Hi"]
    C --> D["Po"]
    style A fill:#f9f,stroke:#333
    style B fill:#ccf,stroke:#333
    style C fill:#cfc,stroke:#333
    style D fill:#fcc,stroke:#333
Fan Speed Selection in Heating, Dry, Fan and Auto-Operation
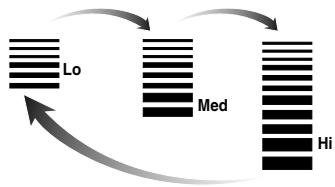
flowchart
graph TD
    A["Lo"] --> B["Med"]
    B --> C["Hi"]
    C --> A
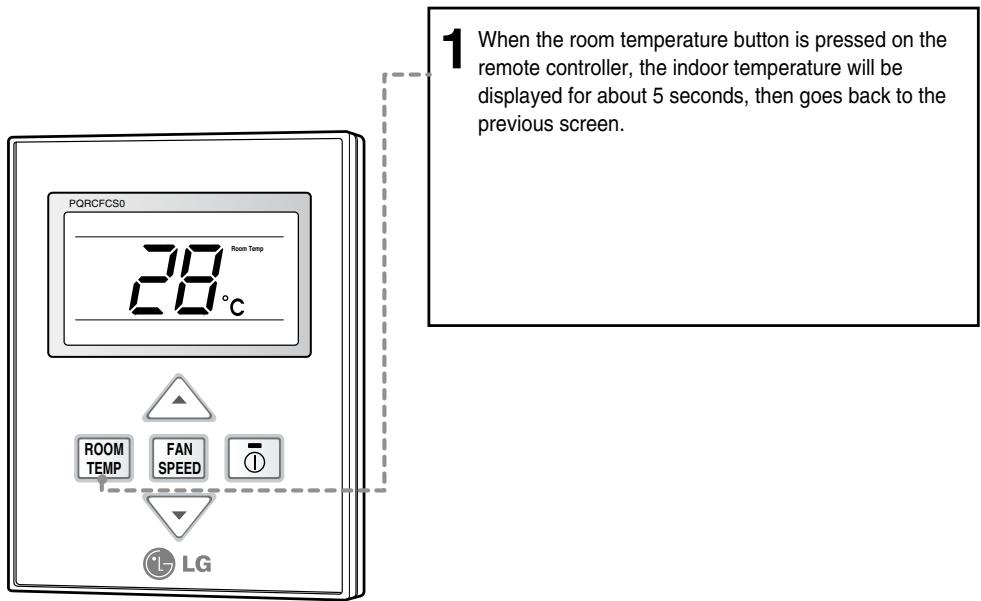
Indoor Temperature Display
Child Lock
This is a function to prevent tampering of settings by children or others.