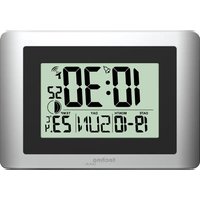
WS 8028 - Clock Techno Line - Free user manual and instructions
Find the device manual for free WS 8028 Techno Line in PDF.


| Product Type | Radio-controlled clock with alarm, indoor temperature and moon phases |
| Brand | Techno Line |
| Model | WS 8028 |
| Power Supply | 2 LR06 AA batteries (1.5 V) not included |
| Dimensions (approx.) | 200 x 200 x 40 mm (estimate) |
| Weight (approx.) | 200 g (with batteries) |
| Time Reception | Radio-controlled DCF-77, automatic synchronization |
| Time Format | 12/24 hour |
| Calendar | Up to year 2099 with day and date |
| Indoor Temperature | -9.9 °C to +50 °C, display in °C or °F |
| Moon Phases | 8 phases displayed automatically |
| Alarm | Daily with snooze (5 min), audible crescendo |
| Day Languages | German, English, French, Spanish, Italian, Dutch, Danish |
| Manual Setting | Possible if DCF signal absent |
| Reset | RESET button or battery removal |
| Maintenance | Clean with soft damp cloth and mild soap, do not open |
| Safety | Indoor use, avoid shocks and humidity, battery precautions |
| Intended Use | Display of time and indoor temperature |
Frequently Asked Questions - WS 8028 Techno Line
User questions about WS 8028 Techno Line
0 question about this device. Answer the ones you know or ask your own.
Ask a new question about this device
Download the instructions for your Clock in PDF format for free! Find your manual WS 8028 - Techno Line and take your electronic device back in hand. On this page are published all the documents necessary for the use of your device. WS 8028 by Techno Line.
USER MANUAL WS 8028 Techno Line
natural_image
Abstract black-and-white geometric symbol resembling a stylized eye or lens (no text or symbols)Neumond

natural_image
Abstract geometric logo with overlapping black and white circles (no text or symbols)natural_image
Simple black-and-white diagram of a crescent and circle divided by a chord (no text or symbols)Erstes Viertel

natural_image
Simple black crescent moon and partial circle diagram (no text or symbols)Zunehmender Mond
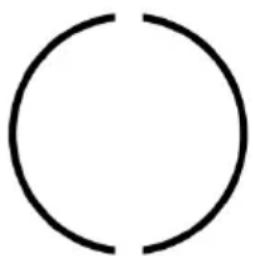
natural_image
Simple black circular outline on white background (no text or symbols)Vollmond
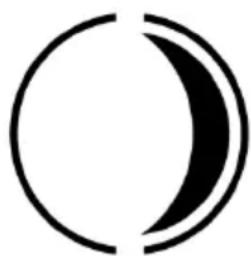
natural_image
Abstract black crescent moon symbol on white background (no text or symbols)Abnehmender Mond
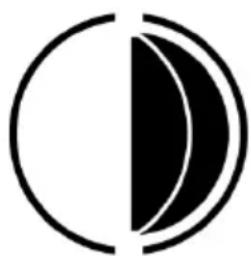
natural_image
Abstract geometric symbol with black and white semicircles (no text or symbols)Drittes Viertel

natural_image
Abstract geometric logo with overlapping black and white circles (no text or symbols)A5 – Month and date A6 – Signal reception icon
A7 – Moon phase icon A8 – Temperature
A9 – Weekday
B – Buttons and backcase
B1 – Hanging hole B2 – (SNOOZE) button
B3 – RESET button B4 – + / – buttons
B5 – Battery compartment cover B6 – (ALARM button)
B7 – ⚙️ (SET) button B8 – WAVE button
B9 – Ventilation openings B10 – Stands
Functions
• Radio controlled time via DCF-77 frequency.
• Manual time setting option.
• Time in 12/24 hour format.
• Calendar up to year 2099.
• Date and weekday display.
- Indoor temperature alternatively in ^ or ^ .
- Moon phase display
• Power: 2 x LR03 AA Mignon batteries (1.5V)
Initial operation
- Open the battery compartment cover of the clock. Insert 2 x AA batteries by observing the correct polarity (“+” and “−” marks) and close the battery compartment again.
- When you insert the batteries, all the icon on the LCD display will briefly light up for 2 seconds and you will hear a signal tone. The clock will detect the indoor temperature and enter the DCF77 radio controlled reception mode for 7 minutes.
Reception of the radio-controlled time signal
- The clock automatically starts the DCF-77 signal search on the batteries are changed. The radio mast symbol starts to flash.
- At 1:00 (AM) the radio controlled clock automatically carries out a synchronization attempt with the DCF-77 signal to correct any deviations to the exact time. If this synchronization attempt is unsuccessful. The radio mast symbol disappears from the display and the system will automatically attempt synchronization at the next full hour. This procedure is repeated automatically up to 5 times.
- Press the "WAVE" button to start manual DCF-77 signal reception. If no signal is received within seven minutes, then the DCF-77 signal search stops and the radio mast symbol disappears.
Notes:
- If the clock cannot receive the DCF-77 signal, because the distance is too great to receive a signal from the transmitter in Germany, you have the option of setting the time manually as mentioned in the next section. As soon as the reception of the DCF-77 signal is possible, then the clock is readjusted automatically.
- We recommend a minimum distance of 2.5 meters to all sources of interference, such as televisions or computer monitors. Radio reception is weaker in rooms with concrete walls and in offices. In such extreme circumstances, place the clock close to a window.
Manual time setting
- Press and hold down the “⚙️” button for 2 seconds and the 12/24 hour mode display starts to flash. Press the “+” or the “-” button to set the as 12hour or 24 hour mode.
- Press the “⚙️” button to confirm your setting and the time zone display starts to flash. Press the “+” or the “-” button to set the correct time zone.
- Press the “+” button to confirm your setting and the hour display starts to flash. Press the “+” or the “-” button to set the correct hour.
-
Press the “+” button to confirm your setting and the minute display starts to flash. Press the “+” or the “-” button to set the correct minute.
-
Press the “💡” button to confirm your setting and the year display “2009” starts to flash. Press the “+” or the “-” button to set the correct year.
- Press the “💡” button to confirm your setting and the month display starts to flash. Press the “+” or the “-” button to set the correct month.
- Press the “⚙️” button to confirm your setting and the date display starts to flash. Press the “+” or the “-” button to set the correct date.
- Press the “⚙️” button to confirm your setting, the weekday language display starts to flash. Press the “+” or the “-” button to set the correct language.
- Press the “⚙️” button to confirm your setting and to end the setting procedures and return to normal display mode.
Notes
- Don't press any button for 30 seconds and the clock automatically leaves the setting mode and returns to the normal display mode.
- Press and hold the “+” or the “-” button to quickly adjust the setting values.
- When choosing the “12Hr” time format, the “AM” or “PM” icons are displayed on the display to indicate the time before and after noon.
- The weekday can be displayed in the following 7 languages:
| Language / Week | German | English | French |
| DEU | ENG | FRA | |
| Monday | MON | MON | LUN |
| Tuesday | DIE | TUE | MAR |
| Wednesday | MIT | WED | MER |
| Thursday | DON | THU | JEU |
| Friday | FRE | FRI | VEN |
| Saturday | SAM | SAT | SAM |
| Sunday | SON | SUN | DIM |
| Language / Week | Spanish | Italian | Dutch | Danish |
| ESP | ITA | NED | DAN | |
| Monday | LUN | LUN | MAA | MAN |
| Tuesday | MAR | MAR | DIN | TIR |
| Wednesday | MIE | MER | WOE | ONS |
| Thursday | JUE | GIO | DON | TOR |
| Friday | VIE | VEN | VRI | FRE |
| Saturday | SAB | SAB | ZAT | LOR |
| Sunday | DOM | DOM | ZON | SON |
Setting of the alarms
Press the “💡” button once in normal time display to view the set alarm time and LCD displays the “💡” alarm icon. To activate or deactivate the daily alarm, briefly press the
“”button again and the “” alarm icon only stays displayed during normal time display when the alarm is activated.
- Press and hold down the “💡” button for 2 seconds and the alarm time is flashing and the alarm icon is displayed. The hour display of the alarm time starts to flash. Press the “+” or the “-” button to set the required hour.
- Press the “+” button to confirm your setting and the minute display of the alarm time starts to flash. Press the “+” or the “-” button to set the required minute.
- Press the “💡” button to confirm your setting and to end the setting procedure.
Notes:
- Don't press any button for 30 seconds and the clock automatically leaves the setting mode and returns to the normal display mode.
- Press and hold the “+” or the “-” button to quickly adjust the setting values.
- The alarm will sound for 2 minutes if you do not deactivate it by pressing any button. In this case the alarm will be repeated automatically after 24 hours.
- Rising alarm sound (crescendo) changes the volume 4 times whilst the alarm signal is heard.
Snooze function
- While the alarm is sounding, press the “ Z^Z ” button to activate snooze function. Then snooze function is active and the “ Z^Z ” icon appears on the display. The alarm tone will restart after 5 minutes.
- The snooze function can be interrupted by pressing any button, except the “ z^Z ” button.
°C/°F temperature display
Press the “-” button to switch between temperature display in °C or °F.
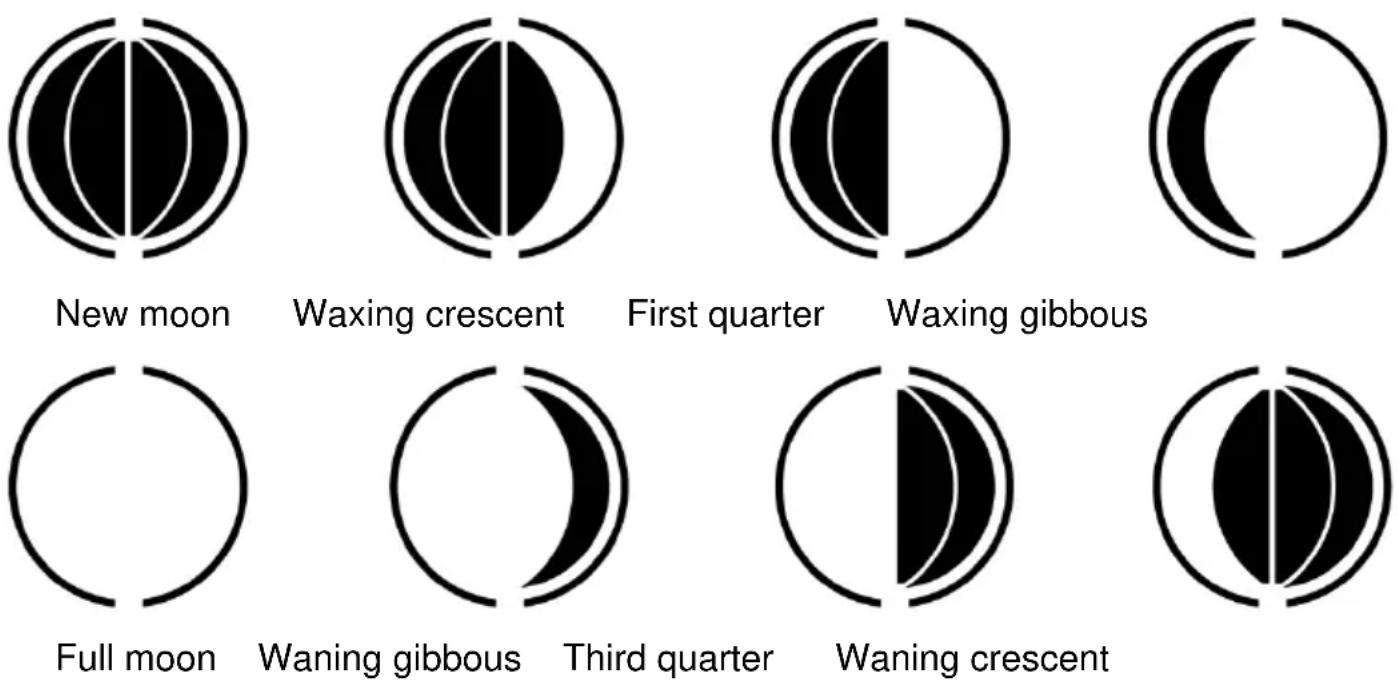
The moon phase
The moon phase icon will also display 8 different moon phase according to the set date, month and year:
Trouble shooting and Reset
- When the product cannot shows signs of an error and doesn't run normally, press the "RESET" key to reset the product to the initial factory setting.
- If your clock displays irrelevant time or does not function properly, which maybe caused by electro-static discharge or other interference, please follow the method below:
Open the battery cover and take out the batteries. Then reinstall the batteries by observing the correct +/- polarity. Your unit will be reset to default settings and you need to set it again. Waiting 2 to 4 hours before re-installing the batteries may help to reduce residual charge related problems.
- Using low energy batteries may as well cause reception or measuring problems.
Care of your product
- Place your unit on a stable surface, away from sources of direct sunlight or excessive heat or moisture.
- Protect your furniture when placing your units on a natural wood and lacquered finish by using a cloth or protective material between it and the furniture.
- Clean your unit with a soft cloth moistened only with mild soap and water. Stronger agents such as Benzine, thinner or similar materials can damage the surface of the unit. Make sure the unit is unplugged before cleaning.
- If the unit is not to be used for a prolonged period, such as a month or longer, remove the batteries to prevent possible corrosion. Should the battery compartment become corroded or dirty, clean the compartment thoroughly and replace the batteries.
- Do not open the inner back case or tamper with any components of this clock.
Hereby, Technotrade declares that this product WS 8028 is in compliance with the essential requirements and other relevant provisions of Directive 2014/53/EU and ROHS 2011/65/EC. The original EU declaration of conformity may be found at: www.technoline.de/doc/4029665080284
Specifications
- Time accuracy: ± 2 seconds per day (if not updated by DCF-77 signal)
Temperature - Indoor measuring range: -9.9°C (+14°F) \~ +50°C (+122°F)
• Temperature resolution: 0.1°C / °0.1°F
• Temperature accuracy: ±1°C (0 °C \~ +40°C), ±2°C (< 0 / > +40°C)
• LL.L °C(°F) will displayed if the indoor value is lower than -9.9°C (+14°F)
• HH.H °C(°F) will displayed if the indoor value is higher than +50°C (+122°F)
Power supply
- Clock: 2 x LR06 AA batteries (not included)
Environmental reception effects
The clock obtains the accurate time with wireless technology. Same as all wireless devices, the reception is maybe affected by the following circumstances:
- long transmitting distance
• nearby mountains and valleys - near freeway, railway, airports, high voltage cable etc.
- near construction site
- among tall buildings
• inside concrete buildings - near electrical appliances (computers, TV's, etc) and metallic structures
• inside moving vehicles
Place the clock at a location with optimal signal, i.e. close to a window and away from metal surfaces or electrical appliances.
Precautions
- This clock is intended to be used only indoors.
-
Do not subject the unit to excessive force or shock.
-
Do not expose the unit to extreme temperatures, direct sunlight, dust or humidity.
- Do not immerse in water.
- Avoid contact with any corrosive materials.
- Do not dispose this unit in a fire as it may explode.
- Do not open the inner back case or tamper with any components of this unit.
Batteries safety warnings
- Use only alkaline batteries, not rechargeable batteries.
• Install batteries correctly by matching the polarities (+/-).
• Always replace a complete set of batteries. - Never mix used and new batteries.
- Remove exhausted batteries immediately.
- Remove batteries when not in use.
- Do not recharge and do not dispose of batteries in fire as the batteries may explode.
- Ensure batteries are stored away from metal objects as contact may cause a short circuit.
- Avoid exposing batteries to extreme temperature or humidity or direct sunlight.
- Keep all batteries out of reach from children. They are a choking hazard.
Use the product only for its intended purpose!
Consideration of duty according to the battery law
Old batteries do not belong to domestic waste because they could cause damages of health and environment. You can return used batteries free of charge to your dealer and collection points. As end-user you are committed by law to bring back needed batteries to distributors and other collecting points!
Consideration of duty according to the law of electrical devices
This symbol means that you must dispose of electrical devices separated from the General household waste when it reaches the end of its useful life. Take your unit to your local waste collection point or recycling centre. This applies to all countries of the European Union, and to other European countries with a separate waste collection system.
Vue d'ensemble
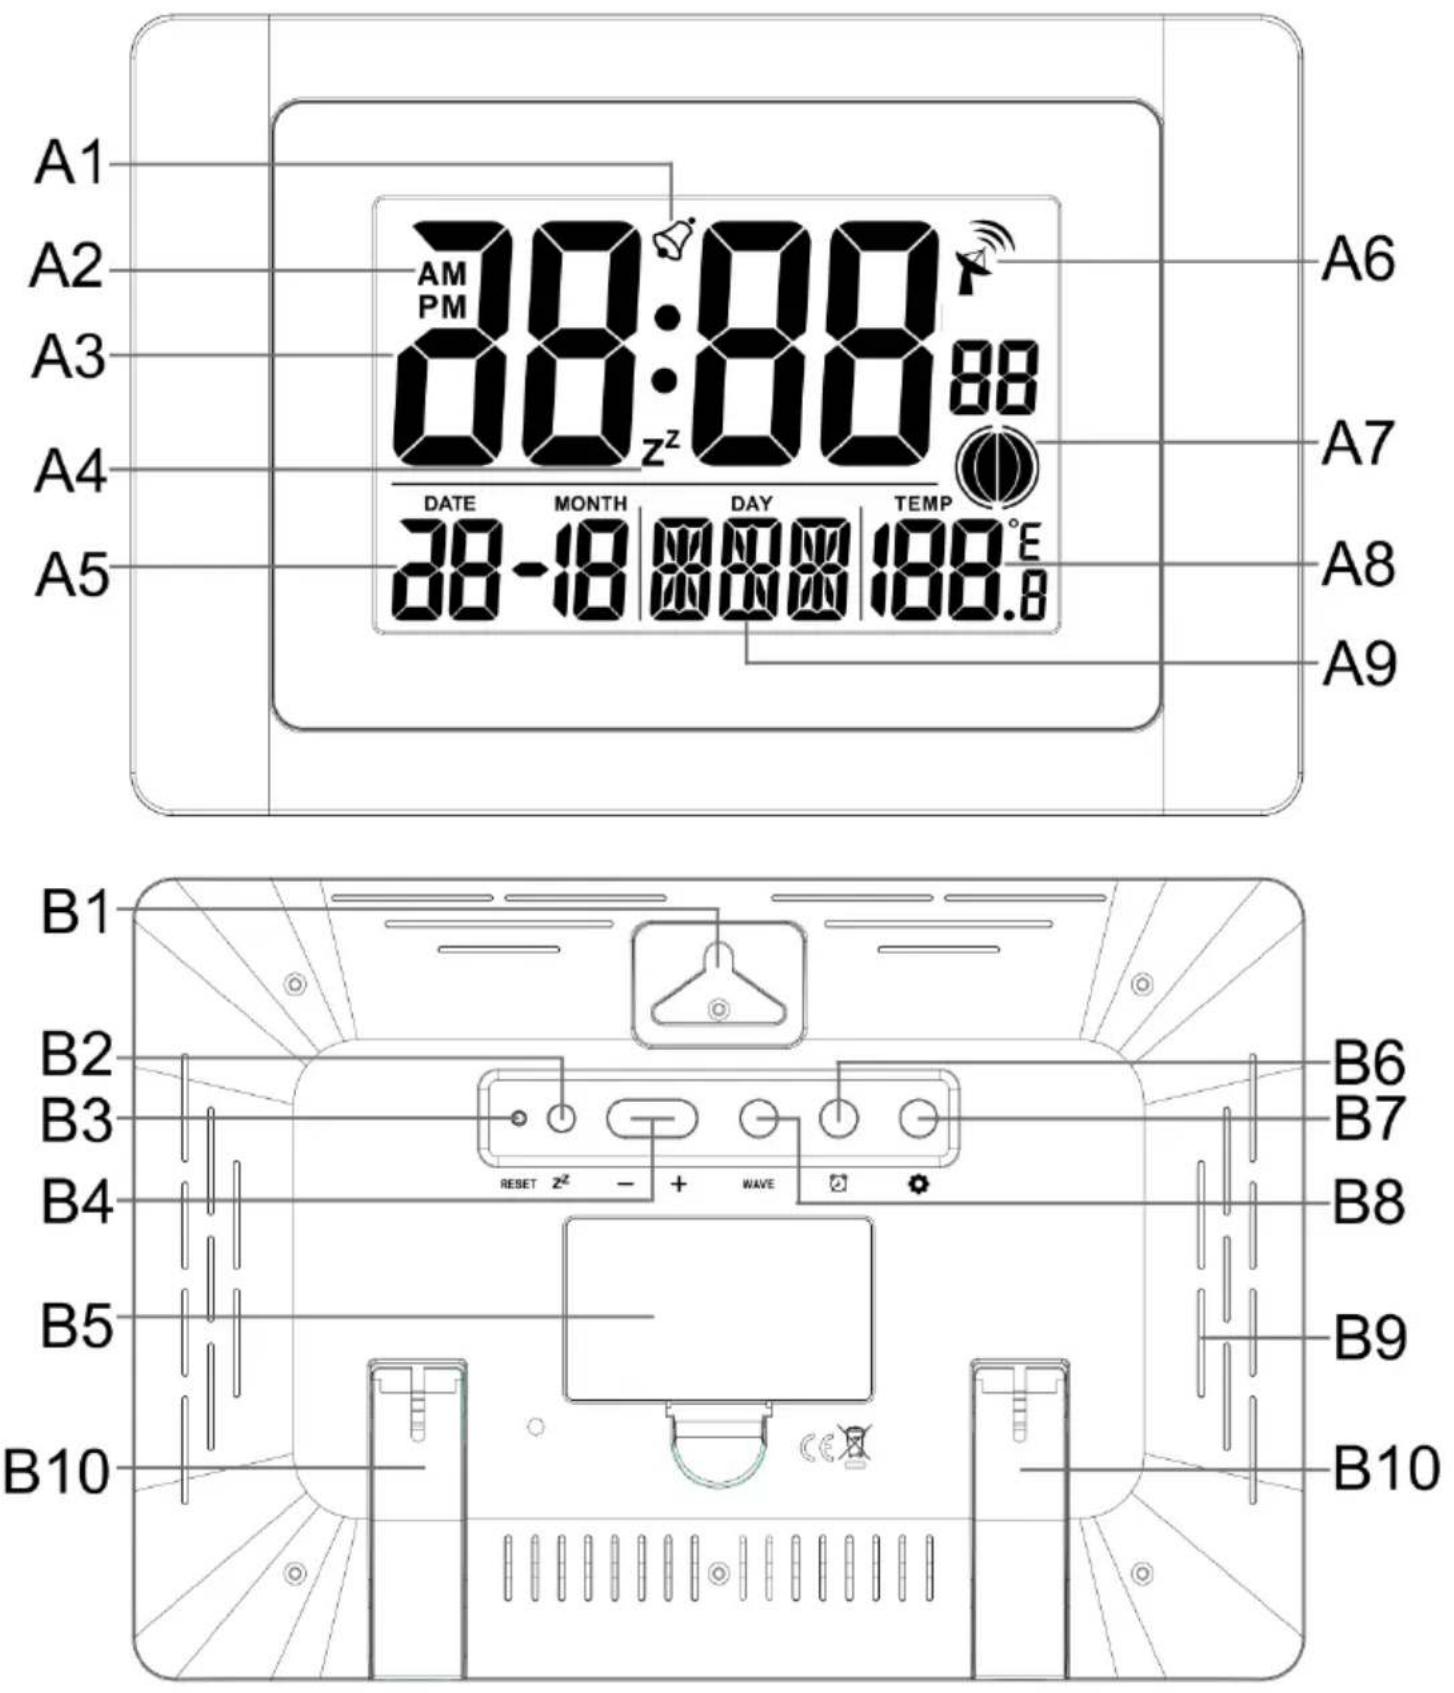
A – Affichage
A1 – Icône d'alarme
A2 – Icône AM/PM
A3 – Heure
natural_image
Abstract geometric symbol with two concentric circles and a vertical dividing line (no text or symbols)Nouvelle lune

natural_image
Abstract geometric logo with overlapping black and white circles forming a stylized shape (no text or symbols)Croissant cireux

natural_image
Abstract geometric symbol with black and white semicircles (no text or symbols)Premier quartier

natural_image
Abstract black crescent and circle graphic design (no text or symbols)Gibbeux cireux
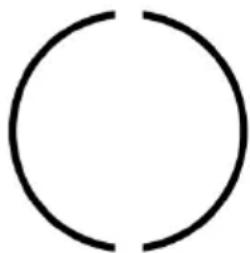
natural_image
Simple black circular outline on white background (no text or symbols)Pleine lune

natural_image
Abstract black crescent and curved line design on white background (no text or symbols)natural_image
Abstract geometric symbol with black and white semicircles (no text or symbols)natural_image
Abstract geometric logo with overlapping black and white circles (no text or symbols)natural_image
Abstract black-and-white geometric symbol resembling a stylized eye or vortex (no text or symbols)Luna nueva

natural_image
Abstract geometric logo with overlapping black and white circles (no text or symbols)Luna creciente

natural_image
Simple black-and-white diagram of a crescent and circle divided by a chord (no text or symbols)Cuarto creciente

natural_image
Simple black crescent moon symbol on white background (no text or labels)natural_image
Simple geometric diagram of two adjacent circles (no text or symbols)Luna llena

natural_image
Abstract black crescent moon symbol on white background (no text or symbols)Luna gibosa menguante

natural_image
Abstract geometric symbol with black and white semicircles (no text or symbols)Cuarto menguante

natural_image
Abstract geometric logo with overlapping circles and a vertical division (no text or symbols)Luna menguante
natural_image
Abstract black-and-white geometric symbol resembling a stylized eye or lens (no text or symbols)Nieuwe maan

natural_image
Abstract geometric symbol with overlapping black and white circles (no text or symbols)natural_image
Simple black crescent moon and partial circle diagram (no text or symbols)Toenemende maan
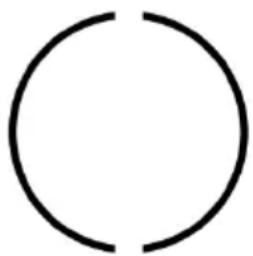
natural_image
Simple black circular outline on white background (no text or symbols)Volle maan

natural_image
Abstract black crescent moon symbol on white background (no text or symbols)Afnemende maan

natural_image
Abstract geometric symbol with black and white semicircles (no text or symbols)Derde kwartier

natural_image
Abstract geometric logo with overlapping black and white circles (no text or symbols)natural_image
Abstract geometric symbol with two concentric circles and a vertical division line (no text or symbols)Luna nuova

natural_image
Abstract geometric logo with overlapping black and white circles forming a stylized shape (no text or symbols)Luna crescente

natural_image
Abstract geometric symbol with black and white semicircles (no text or symbols)Primo quarto

natural_image
Simple black crescent moon and partial circle diagram (no text or symbols)Luna crescente gibbosa
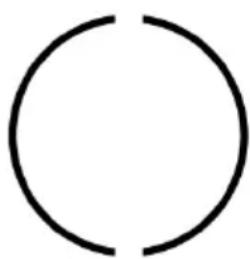
natural_image
Simple black circular outline on white background (no text or symbols)Luna piena

natural_image
Abstract black crescent moon symbol on white background (no text or symbols)Luna calante gibbosa

natural_image
Abstract geometric symbol with black and white semicircles (no text or symbols)Terzo quarto

natural_image
Abstract geometric logo with overlapping black and white circles (no text or symbols)Luna calante
natural_image
Abstract black-and-white geometric symbol resembling a stylized eye or lens (no text or symbols)Nov

natural_image
Abstract geometric logo with overlapping black and white circles (no text or symbols)Dorůstající srpek

natural_image
Abstract geometric symbol with black and white semicircles (no text or symbols)První čtvrt
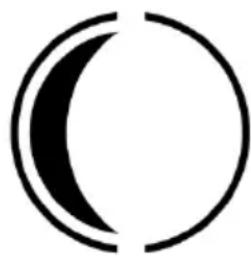
natural_image
Simple black crescent moon symbol on white background (no text or labels)natural_image
Simple geometric diagram of two adjacent circles (no text or symbols)Úplněk

natural_image
Abstract black crescent and curved line design on white background (no text or symbols)Ubývající čtvrt

natural_image
Abstract geometric symbol with a white circle and black semicircle divided by a line (no text or symbols)Třetí čtvrt

natural_image
Abstract geometric logo with overlapping black and white circles (no text or symbols)Couvající srpek
natural_image
Abstract geometric symbol with two concentric circles and a vertical division line (no text or symbols)Nów

natural_image
Abstract geometric logo with overlapping black and white circles (no text or symbols)Wzrastający sierp

natural_image
Simple black-and-white diagram of a crescent and circle with no text or symbolsPierwsza kwadra

natural_image
Simple black crescent moon symbol on white background (no text or labels)natural_image
Abstract geometric symbol with black and white semicircles (no text or symbols)Trzecia kwadra

natural_image
Abstract geometric logo with two overlapping circles and a vertical division line (no text or symbols)Malejący sierp
- B – Buttons and backcase
- Functions
- Initial operation
- Reception of the radio-controlled time signal
- Notes:
- Manual time setting
- Notes
- Setting of the alarms
- Snooze function
- °C/°F temperature display
- The moon phase
- Trouble shooting and Reset
- Care of your product
- Specifications
- Environmental reception effects
- Precautions
- Batteries safety warnings
- Consideration of duty according to the battery law
- Consideration of duty according to the law of electrical devices
- A – Affichage
Brand : Techno Line
Model : WS 8028
Category : Clock