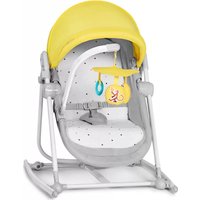
UNIMO UP - High chair Kindercraft - Free user manual and instructions
Find the device manual for free UNIMO UP Kindercraft in PDF.



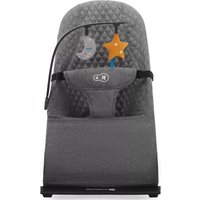
| Product Type | 3-in-1 convertible high chair (bed, recliner, chair) |
| Brand | Kindercraft |
| Model | UNIMO UP |
| Category | High chair |
| Maximum user weight (cradle) | 9 kg |
| Maximum user weight (chair) | 18 kg |
| Recommended age (cradle) | From birth up to 9 kg or until the child can sit up |
| Recommended age (chair) | 24 months and up |
| Functions | Rocking cradle, recliner, high chair with 3 recline positions |
| Main materials | Metal frame, washable textile cover |
| Adjustments | Reclining backrest (lying, semi-reclined, seated) via handle |
| Dimensions (chair, approx.) | Height 90 cm, Width 55 cm, Depth 70 cm |
| Dimensions (folded, approx.) | Height 25 cm, Width 50 cm, Depth 60 cm |
| Product weight (approx.) | 8 kg |
| Restraint system | 5-point harness (waist and crotch straps) |
| Included accessories | Play bar, mosquito net, canopy, rocking base pads |
| Cover care | Hand wash max 40°C, do not bleach, do not tumble dry |
| Care of play bar and frame | Clean with a damp cloth and mild soap |
| Safety | Do not use on an elevated surface, do not leave unattended |
| Warranty | 2 years, extendable to 10 years upon registration at kinderkraft.com |
| Spare parts | Available from the manufacturer (4Kraft Sp. z o.o.) |
| Power supply | None (non-electric product) |
Frequently Asked Questions - UNIMO UP Kindercraft
User questions about UNIMO UP Kindercraft
0 question about this device. Answer the ones you know or ask your own.
Ask a new question about this device
Download the instructions for your High chair in PDF format for free! Find your manual UNIMO UP - Kindercraft and take your electronic device back in hand. On this page are published all the documents necessary for the use of your device. UNIMO UP by Kindercraft.
USER MANUAL UNIMO UP Kindercraft

kinderkraft.com

/kinderkraftofficial

kinderkraft

@kinderkraftofficial
(AR) في 1 المتسكع
(CZ) LEHÁTKO 5 v 1
(DE) BABYWIPPE 5 in 1
(EN) RECLINED CRADLE 5 in 1
(ES) HAMACA 5 en 1
(FR) TRANSAT 5 en 1
(HU) PIHEHŐSZÉK 5 in 1
(IT) SDARIO 5 in 1
دليل الاستخدام
NÁVOD K OBSLUZE
BEDIENUNGSANLEITUNG
USER MANUAL
MANUAL DE USO
GUIDE D'UTILISATION
HASZNÁLATI ÚTMUTATÓ
ISTRUZIONI PER UTENTE
(NL) WIPSTOEL 5 in 1
(PL) LEŻACZEK 5 w 1
(PT) BERÇO 5 in 1
(RO) \$EZLONG 5 w 1
(RU) ШЕЗЛОНГ 5 in 1
(SK) LEŽADLO 5 V 1
(SV) LOUNGER 5 i 1
GEBRUIKSAANWIJZING
INSTRUKCJA OBSŁUGI
MANUAL DE INSTRUÇÕES
INSTRUCTIUNI DE UTILIZARE

A1.5
A2 A3
F4 G1
AR
عميلنا المحترم!
نشکرک على اقتاء منتجات شركة Kinderkraft.
Thank you for purchasing a Kinderkraft product. Our products are designed to help your child – we always care about safety and quality, thus ensuring the comfort of the best choice.
IMPORTANT! KEEP FOR FUTURE REFERENCE. Read carefully!
SAFETY INSTRUCTIONS AND PRECAUTIONS
WARNING!:
- It is dangerous to use this product on an elevated surface, e.g. a table.
- To avoid injury when folding and unfolding the product, make sure that children are not in the vicinity.
- Do not move or lift the product with the baby inside.
- Never use the toy bar to carry the product.
- Be aware of the risk of open fires and other sources of strong heat, such as electric bar fires, ets. In the near vicinity of the product.
- Do not use the product if any parts are damaged or missing.
- Do not use accessories or replacement parts other than those approved by the manufacturer.
For the Recliner/Rocker function : WARNING!:
- Never leave the child unattended.
- The Recliner/Rocker is suitable from birth (up to a maximum weight of 9 kg or when the child begins to sit independently).
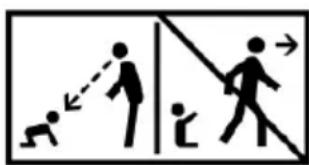
- This reclined cradle does not replace a cot or a bed. Should your child need to sleep, then its should be placed in a suitable cot or bed.
- This reclined cradle is not intended for prolonged periods of sleeping.
• Always use the restraint system.
For cot and crib functions: WARNING!
- Used as a cot or a crib, the product is designed for children up to 9 kg.
- Do not use this product without reading the instructions for use first.
- Stop using the product as soon as the child can sit or kneel or pull itself up.
- Placing additional items in the product may cause suffocation.
- Do not place the product close to another product, which could present a danger of suffocation or strangulation, e.g. strings, blind/curtain cords, etc.
- Do not use more than one mattress in the product.
- The product should be placed on a horizontal floor.
- Young children should not be allowed to play unsupervised in the vicinity of the crib.
- The crib should be locked in the fixed position when the child is left unattended.
- All assembly fittings should always be tightened properly.
- Care should be taken that no screws are loose, because a child could trap parts of the body or clothing (e.g. strings, necklaces, ribbons for babies' dummies, etc.), which would pose a risk of strangulation.
- Be aware of the risk of burning cigarettes, open fires and other sources of strong heat, such as electric bar fires, gas fires, etc. in the near vicinity of the crib
- DO NOT use crib if any parts are missing, damaged, or broken. Contact 4Kraft Sp. z o.o. for replacement parts and instructional literature if needed. DO NOT substitute parts.
- Only use the mattress sold with this crib, do not add a second mattress on this one, suffocation hazards.
For chair function: WARNING!
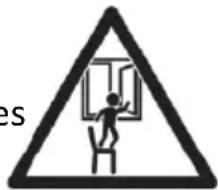
- DO NOT place this product near a window as it can be used as a step by the child and cause the child to fall out of the window.
- Be aware of the risk of open fires and other sources of strong heat in the vicinity of the product.
- DO NOT place this product near a window where cords from blinds or curtains could strangle a child.
- Recommended age: 24m+.
- All assembly fittings should always be tightened properly.
- Do not to use the seating if any part is broken, torn or missing.
- Use only spare parts approved by the manufacturer.
- The restraint system shall be removed/hidden/covered when the product is used as a seating
Main parts:
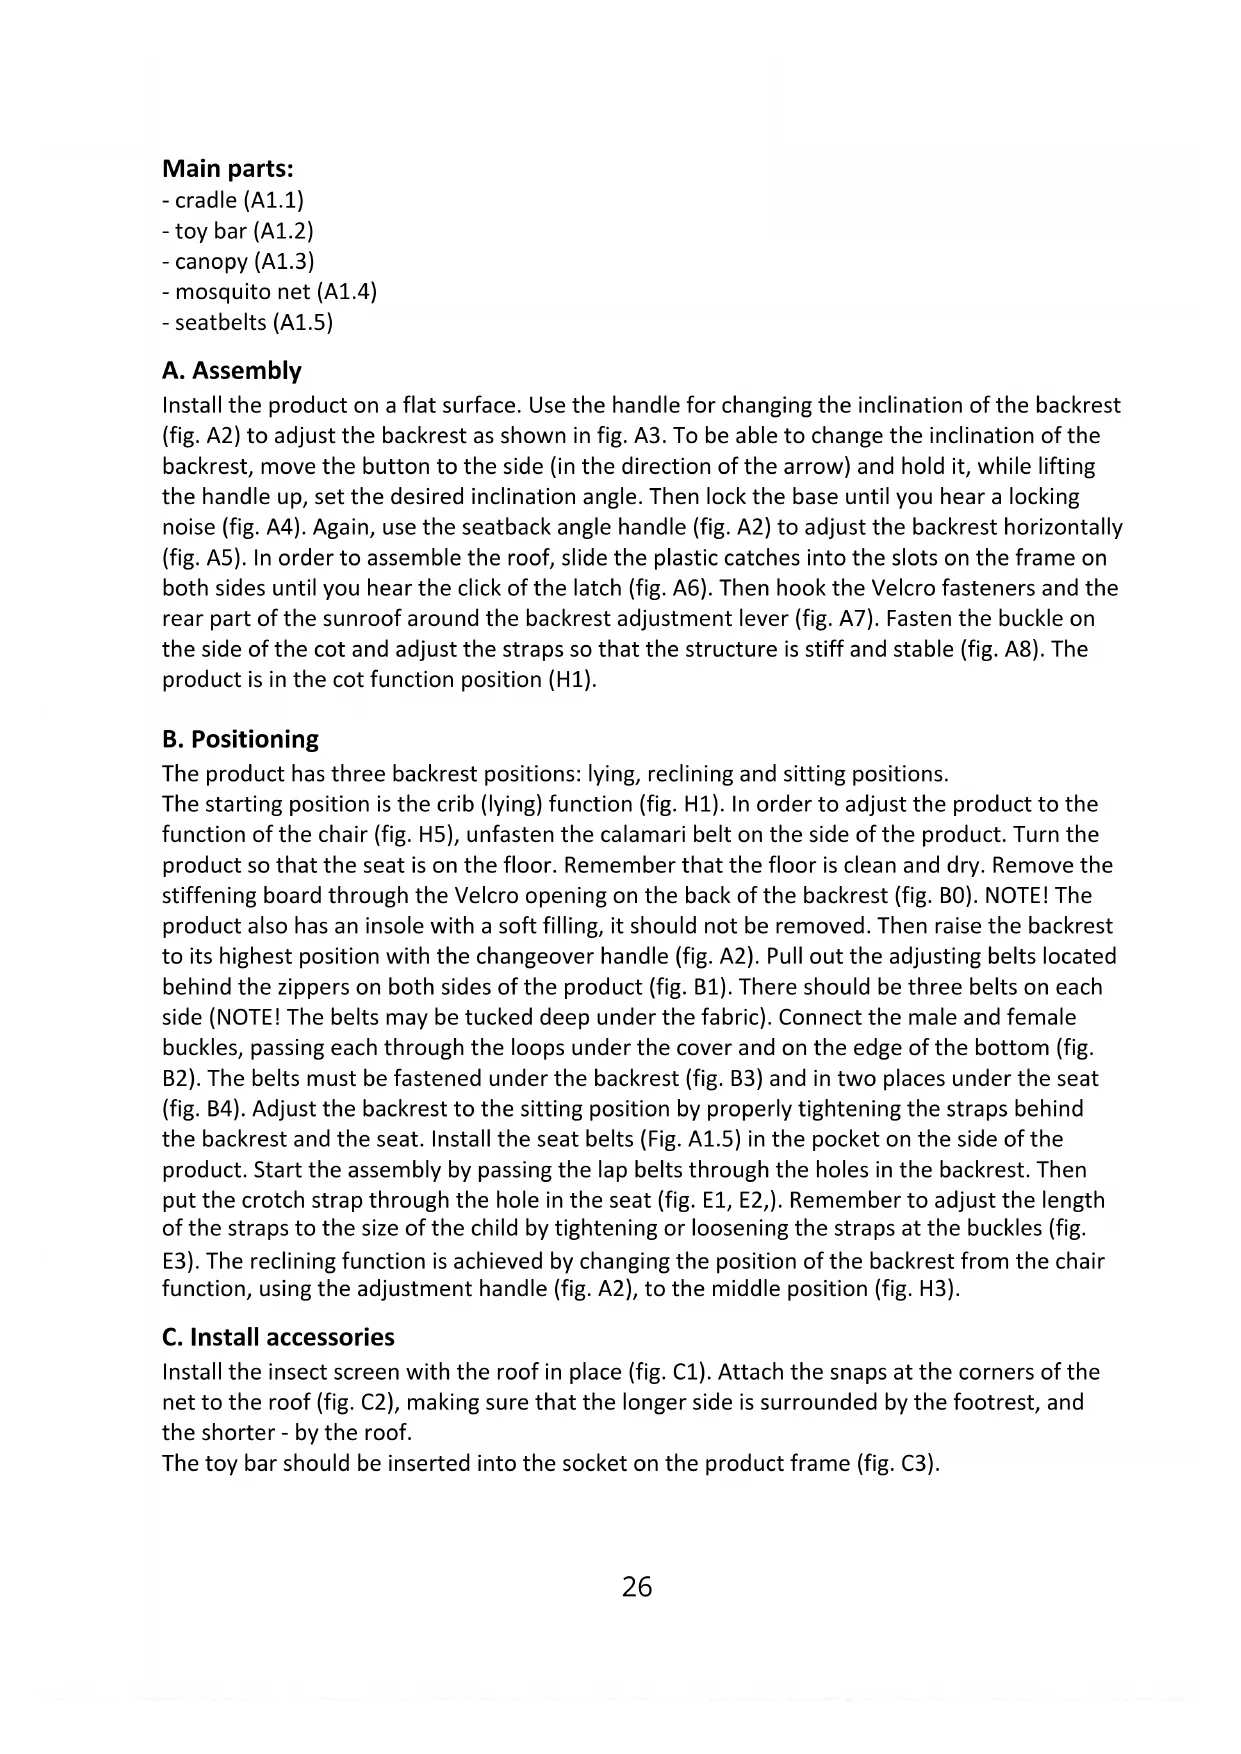
- cradle (A1.1)
- toy bar (A1.2)
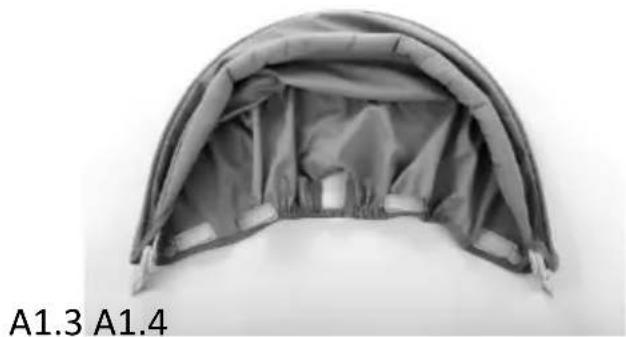
- canopy (A1.3)
- mosquito net (A1.4)
- seatbelts (A1.5)
A. Assembly
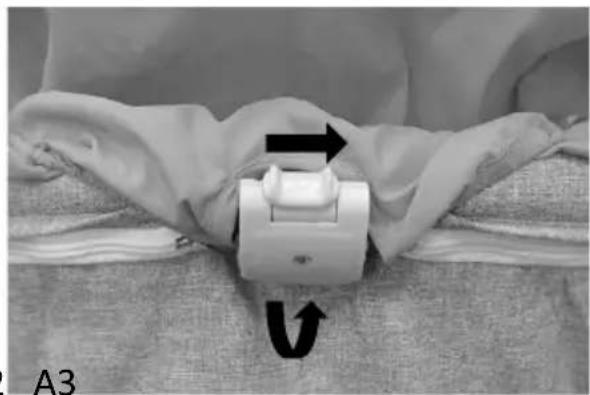
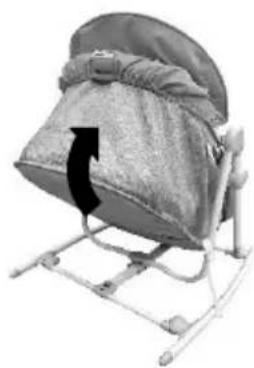
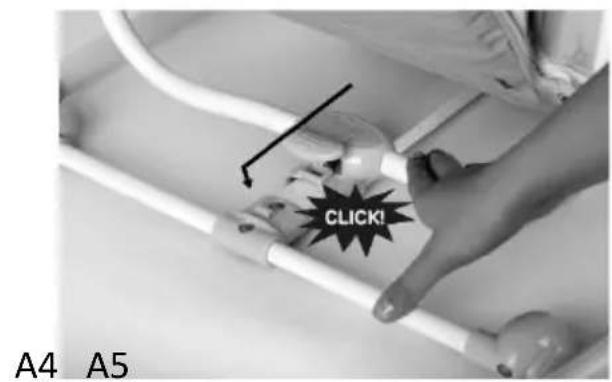
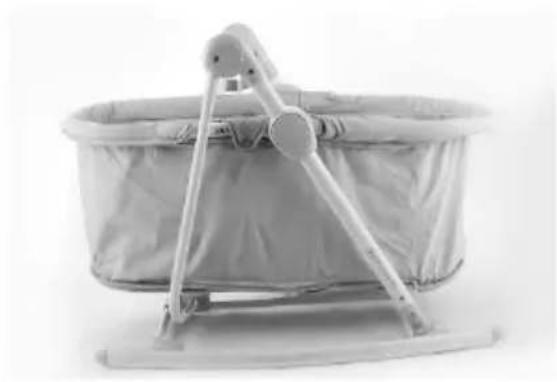
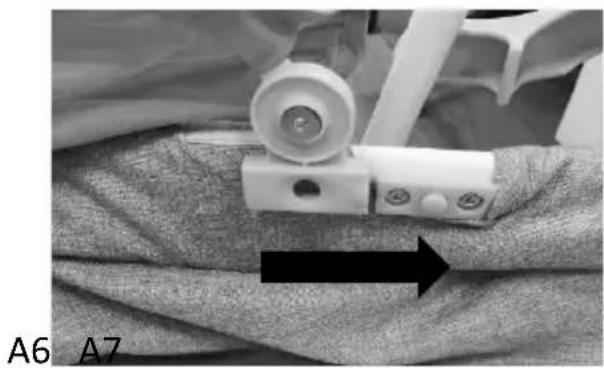
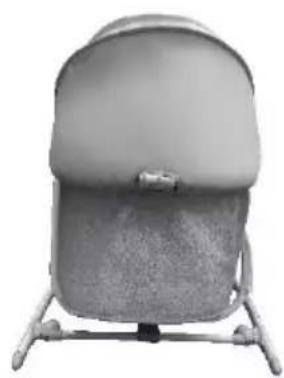
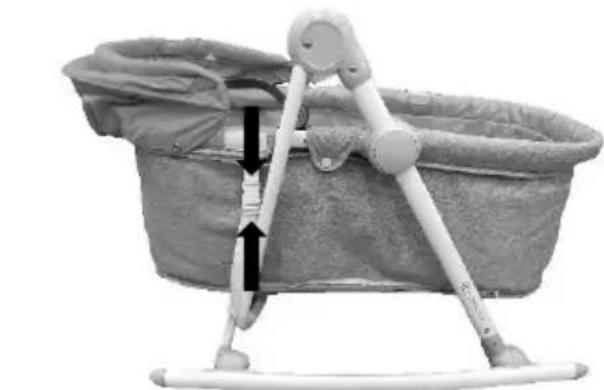
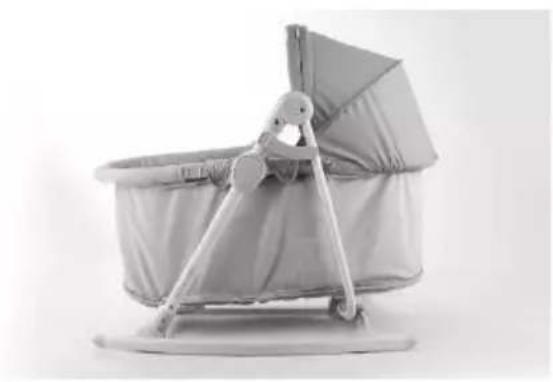
Install the product on a flat surface. Use the handle for changing the inclination of the backrest (fig. A2) to adjust the backrest as shown in fig. A3. To be able to change the inclination of the backrest, move the button to the side (in the direction of the arrow) and hold it, while lifting the handle up, set the desired inclination angle. Then lock the base until you hear a locking noise (fig. A4). Again, use the seatback angle handle (fig. A2) to adjust the backrest horizontally (fig. A5). In order to assemble the roof, slide the plastic catches into the slots on the frame on both sides until you hear the click of the latch (fig. A6). Then hook the Velcro fasteners and the rear part of the sunroof around the backrest adjustment lever (fig. A7). Fasten the buckle on the side of the cot and adjust the straps so that the structure is stiff and stable (fig. A8). The product is in the cot function position (H1).
B. Positioning
The product has three backrest positions: lying, reclining and sitting positions.
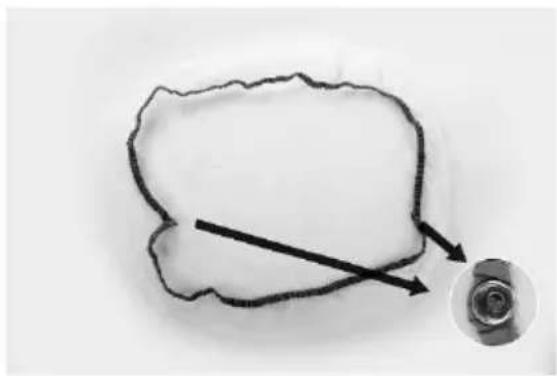
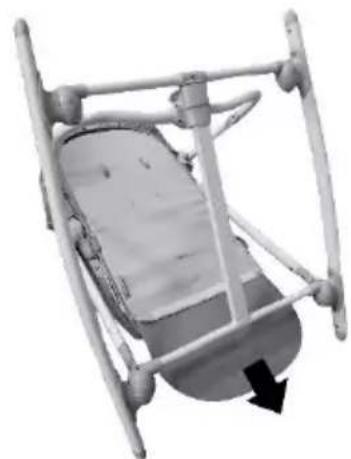
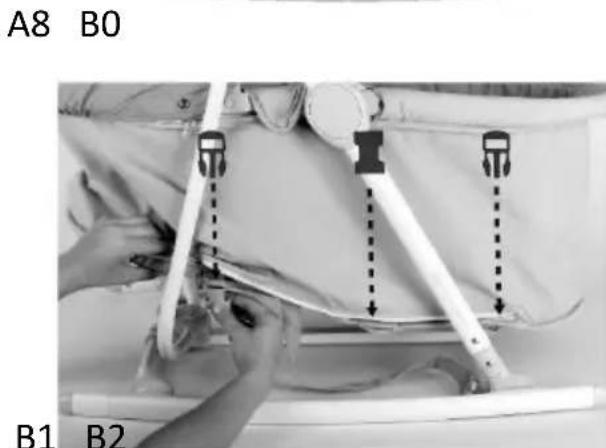
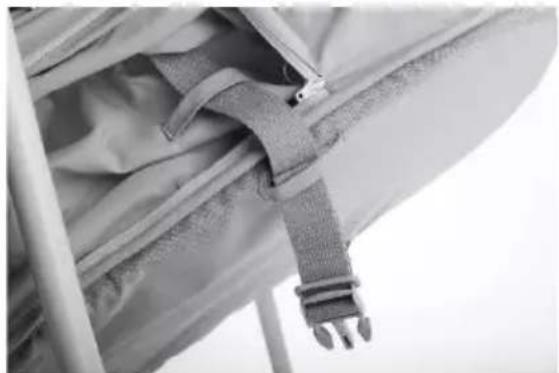
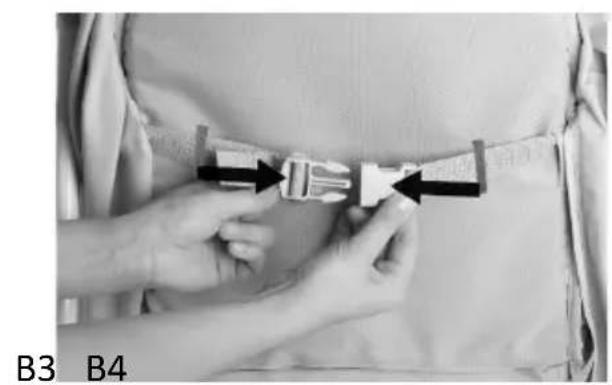
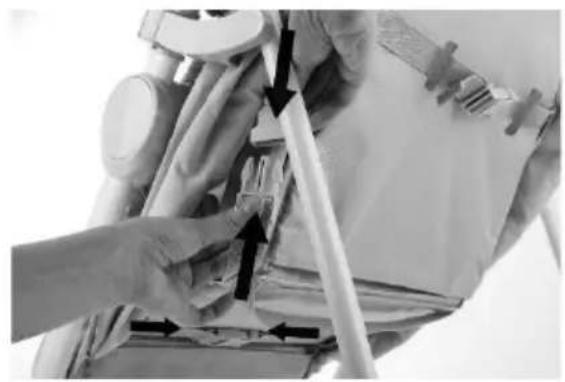
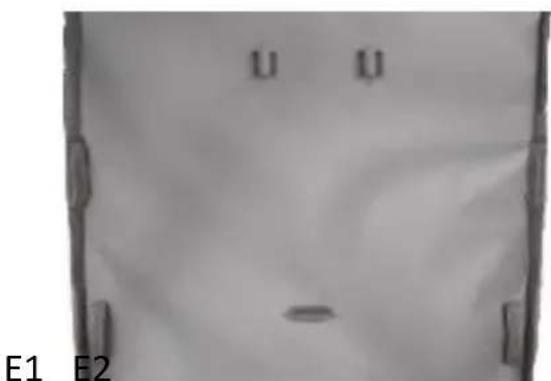
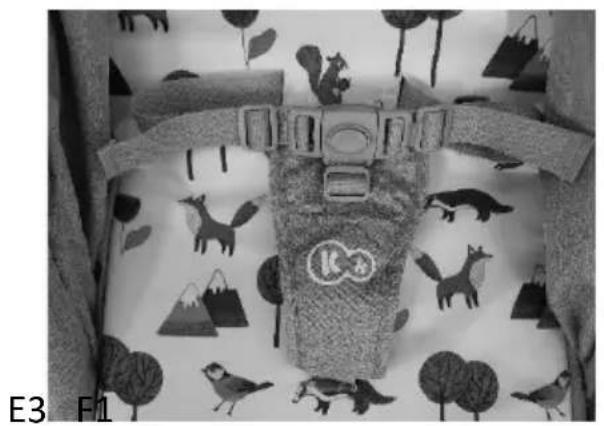
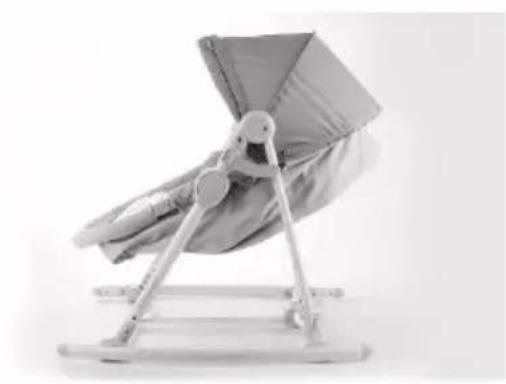
The starting position is the crib (lying) function (fig. H1). In order to adjust the product to the function of the chair (fig. H5), unfasten the calamari belt on the side of the product. Turn the product so that the seat is on the floor. Remember that the floor is clean and dry. Remove the stiffening board through the Velcro opening on the back of the backrest (fig. B0). NOTE! The product also has an insole with a soft filling, it should not be removed. Then raise the backrest to its highest position with the changeover handle (fig. A2). Pull out the adjusting belts located behind the zippers on both sides of the product (fig. B1). There should be three belts on each side (NOTE! The belts may be tucked deep under the fabric). Connect the male and female buckles, passing each through the loops under the cover and on the edge of the bottom (fig. B2). The belts must be fastened under the backrest (fig. B3) and in two places under the seat (fig. B4). Adjust the backrest to the sitting position by properly tightening the straps behind the backrest and the seat. Install the seat belts (Fig. A1.5) in the pocket on the side of the product. Start the assembly by passing the lap belts through the holes in the backrest. Then put the crotch strap through the hole in the seat (fig. E1, E2,). Remember to adjust the length of the straps to the size of the child by tightening or loosening the straps at the buckles (fig. E3). The reclining function is achieved by changing the position of the backrest from the chair function, using the adjustment handle (fig. A2), to the middle position (fig. H3).
C. Install accessories
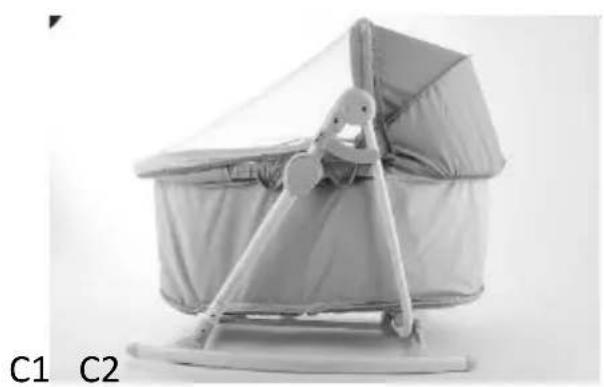
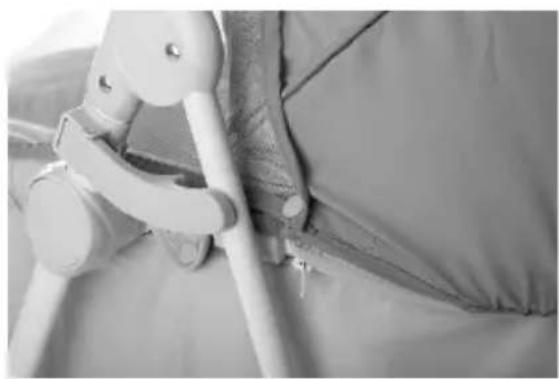
Install the insect screen with the roof in place (fig. C1). Attach the snaps at the corners of the net to the roof (fig. C2), making sure that the longer side is surrounded by the footrest, and the shorter - by the roof.
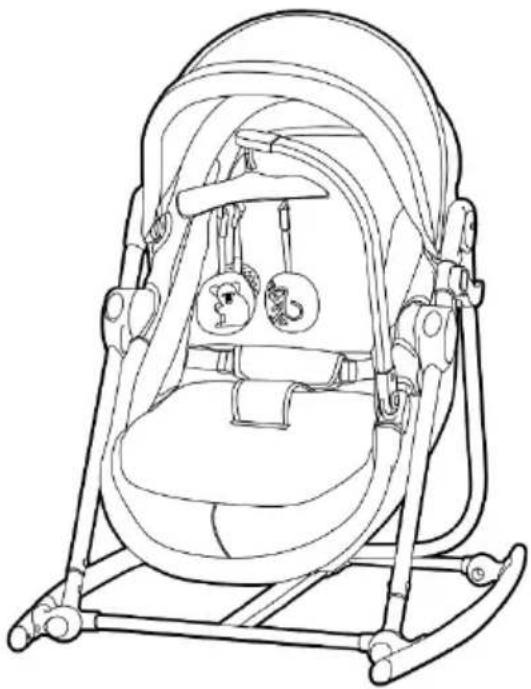
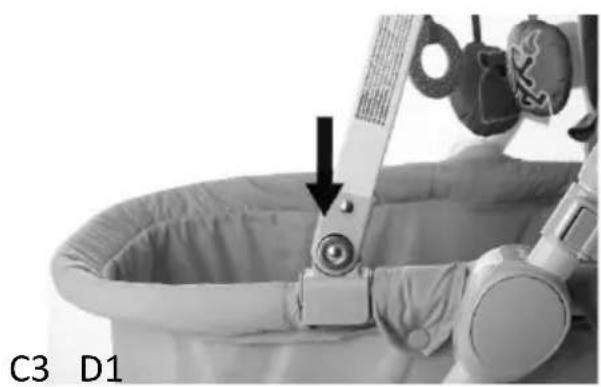
The toy bar should be inserted into the socket on the product frame (fig. C3).
D. Rocking skids
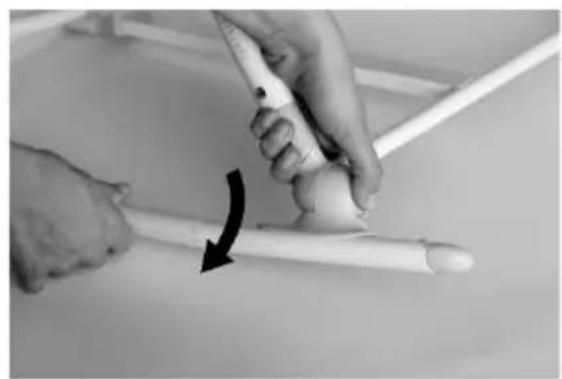
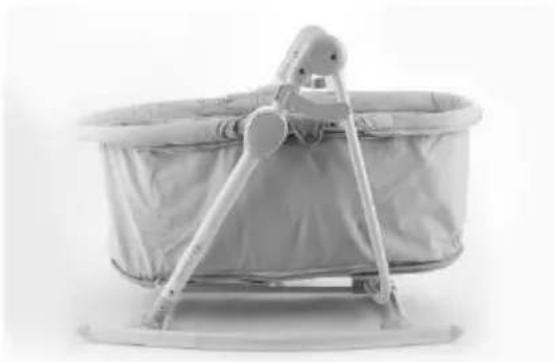
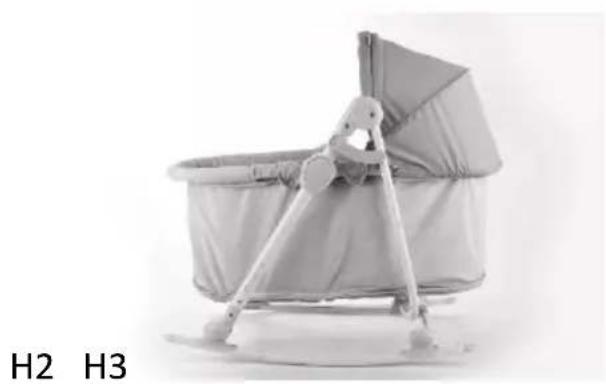
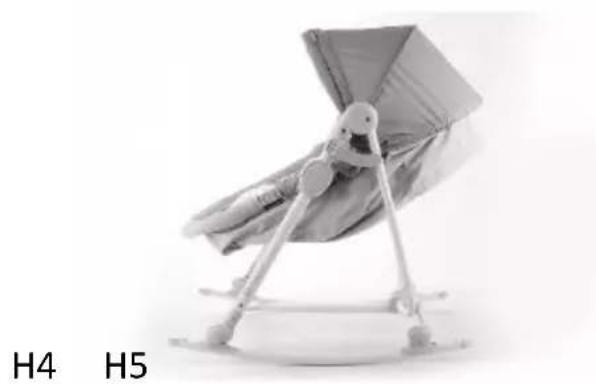
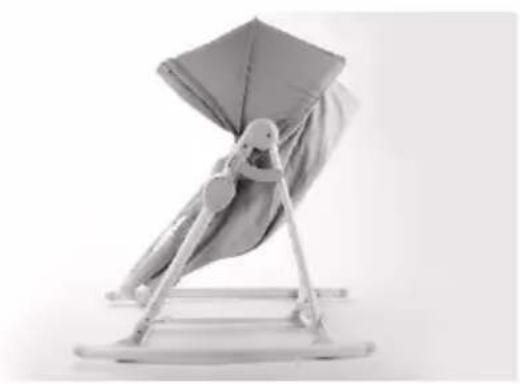
To use the product as a crib (Fig. H2) or a rocker (Fig. H4) change the position of the skids starting from the function of the cot and cradle respectively. Press the release button and change the position of the skids (fig. D1).
E. Fastening and unfastening the seat belts (fig. E.1).
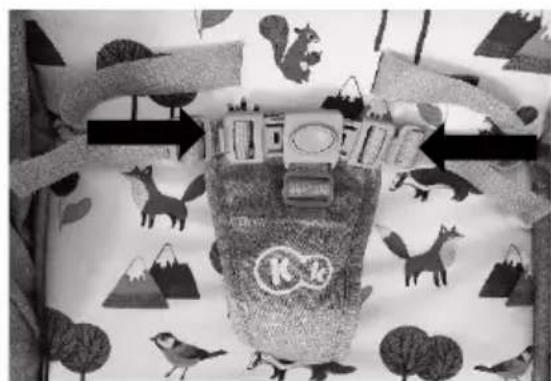
To attach the lap belts to the buckle of the crotch belt, fasten the buckle by inserting and pressing the buckle. Repeat on the other side of the crotch strap. Adjust the length of the straps to the size of the child by tightening or loosening the straps at the buckles.
Disassembly of the belts: to disassemble the belts, put the plastic elements at the ends of the belts through the holes on the back of the seat and backrest.
F. Folding
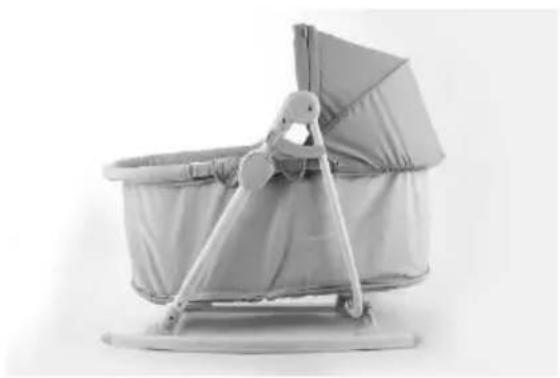
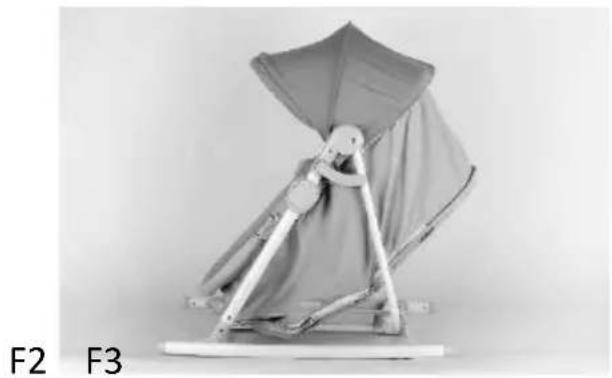
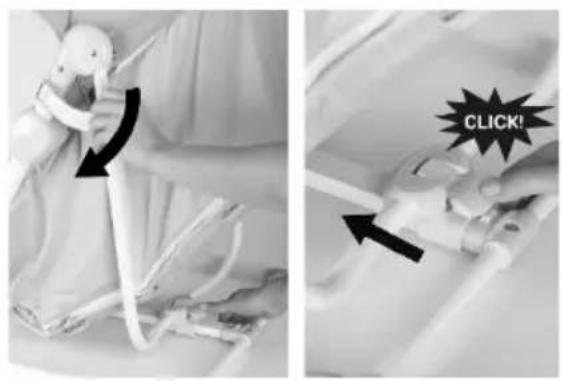
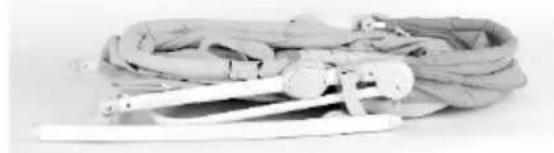
To fold the product, undo all the straps at the bottom, hide them and secure with locks. In addition, remove the baby bow and insect net, and spread the skids (Fig. F1). Then lift the backrest to its highest position (Fig. F2) using the adjuster (Fig. A2). Release the lock in two places: at the stroller frame and on the side of the product (Fig. F3). Fold the product (Fig. F4).
G. Cleaning
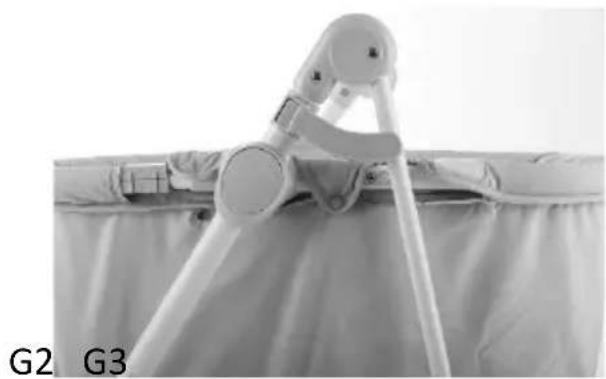
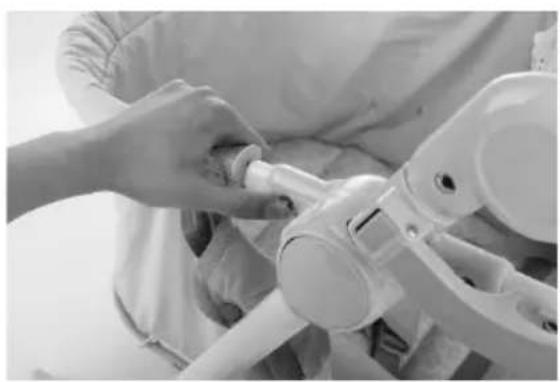
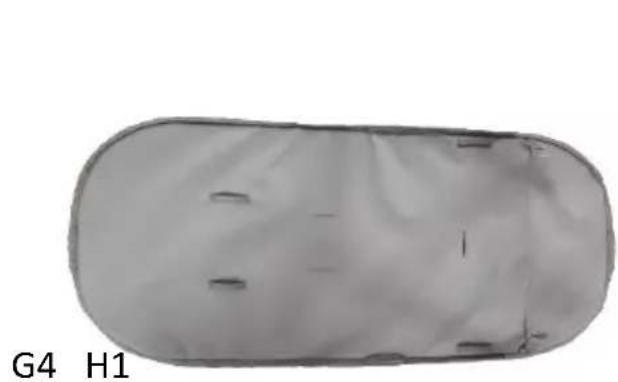
Remove the baby bow, insect net and cover. Release the straps under the high chair and backrest and secure it with a lock (Fig. G1). Undo the press studs on both sides of the frame and locks around the backrest (Fig. G2). Slide the cover in the direction of the footrest and unlock the latches on both sides of the footrest frame (fig. G3). Remove the cover and the stiffening boards hidden behind the Velcro fasteners (Fig. G4).
Maintenance and cleaning
Seat: Hand wash at max. 40° C. Do not bleach. Do not dry in a tumble dryer. Do not iron. Do not dry clean.
The baby bow and toys: Do not wash. Do not bleach. Do not dry in a tumble dryer. Do not iron. Do not dry clean. Clean with a clean and damp cloth using mild soap. Allow to air dry. Do not immerse in water.
Frame: Clean the metal frame with a soft, clean and damp cloth using mild soap.
Storage
Keep out of the reach of children.
Warranty
-
All Kinderkraft products are covered by a 24-month warranty. The warranty period begins on the date of releasing the product to the Buyer.
-
The warranty is valid for products sold in the following countries: France, Spain, Germany, Poland, United Kingdom, Italy.
-
In countries not listed above warranty terms and conditions are determined by the Seller.
-
It is possible to extend the warranty period to 120 months (10 years). Full text of the terms and conditions and warranty extension registration form are available at
WWW.KINDERKRAFT.COM
- The warranty is valid only in the country where the purchase was made.
- Complaints should be submitted by completing the form available at WWW.RMA.KINDERKRAFT.COM
- The warranty shall not cover:
a. claims arising from product specifications, as long as they comply with those specified by the manufacturer in the instruction manual or other documents of a legislative nature;
b. product damage caused by improper maintenance or use of inadequate chemicals;
c. colour change (discolouration) when the product has been exposed to direct sunlight against the instructions provided in the instruction manual;
d. tear, wear, crack of fabric/plastic that is the fault of the Customer;
e. reduction in the quality of the product and consumables due to normal wear and tear;
f. products which have not been used according to specifications;
- The warranty period for accessories attached to the device is 6 months from the date of sale, with the exception of mechanical damage.
- These guarantee terms and conditions are complementary to the Customer's rights in relation to 4KRAFT sp. z o.o. The warranty shall not exclude, limit or suspend the rights of the Customer arising from the provisions on the warranty for defects in the goods sold.
- Full text of Warranty Terms and Conditions is available at WWW.KINDERKRAFT.COM
All rights to this data are entirely reserved to 4Kraft Sp. z o.o. Any unauthorized use or misuse, including usufruct, copying, duplication and sharing, wholly or partially, without consent of 4Kraft Sp. z o.o. may result in legal consequences.
ES
¡Estimado Cliente!
ASIENTOS PARA NIÑOS
SEDUTE PER BAMBINI
LOCURI PENTRU COPII
(EN) In the interests of our Clients - we are at your disposal! If you have a problem with the product you received, contact us in the most convenient way for you!
- AR
- IMPORTANT! KEEP FOR FUTURE REFERENCE. READ CAREFULLY
- SAFETY INSTRUCTIONS AND PRECAUTIONS
- WARNING
- FOR THE RECLINER/ROCKER FUNCTION : WARNING
- FOR COT AND CRIB FUNCTIONS: WARNING
- FOR CHAIR FUNCTION: WARNING
- MAIN PARTS
- ASSEMBLY
- POSITIONING
- INSTALL ACCESSORIES
- ROCKING SKIDS
- FASTENING AND UNFASTENING THE SEAT BELTS (FIG. E.1)
- FOLDING
- CLEANING
- MAINTENANCE AND CLEANING
- STORAGE
- WARRANTY
- ES
- ¡ESTIMADO CLIENTE
- ASIENTOS PARA NIÑOS
- SEDUTE PER BAMBINI
- LOCURI PENTRU COPII
Brand : Kindercraft
Model : UNIMO UP
Category : High chair