SI3 - Scale Duronic - Free user manual and instructions
Find the device manual for free SI3 Duronic in PDF.
| Product type | Steam iron |
| Brand | Duronic |
| Model | SI3 |
| Power | 400 W |
| Supply voltage | 220-240 V ~ 50/60 Hz or 110-130 V ~ 50/60 Hz (selectable) |
| Water tank capacity | 35 ml |
| Dimensions (L x W x H) | 76 x 33 x 78 mm |
| Weight | 495 g |
| Temperature range | 60-230 °C |
| Cable length | 200 cm |
| Soleplate area | 7.3 cm² |
| Main functions | Dry and steam ironing, steam burst function, non-stick soleplate, heating indicator light, thermostatic control |
| Maintenance and cleaning | Clean the soleplate with a damp cloth after complete cooling. Empty the tank after use. |
| Safety | Automatic shut-off not mentioned; do not leave unattended; unplug before filling. |
| Spare parts and repairability | Filling jug and storage bag included. Repairs by professional only. |
| General information | 1-year warranty. Occasional domestic use. EU standards. |
Frequently Asked Questions - SI3 Duronic
User questions about SI3 Duronic
0 question about this device. Answer the ones you know or ask your own.
Ask a new question about this device
Download the instructions for your Scale in PDF format for free! Find your manual SI3 - Duronic and take your electronic device back in hand. On this page are published all the documents necessary for the use of your device. SI3 by Duronic.
USER MANUAL SI3 Duronic
Si3 - Travel Steam Iron
PLEASE READ ALL THE INSTRUCTIONS BEFORE USE
DURONIC
Contents
English Manual 5
13
Features and Specifications
| MODEL POWER | ER VOLTAGE | RATING | WATER TANK CAPACITY |
| Si3 400W 2 | 20-240V ~ | 50/60Hz | 35ml |
- Steam function
Water tank capacity: 35ml
Voltage switch: 110V/220V - Temperature range: 65 - 230^ C
-
Soleplate size: 7.3cm squared
-
Power light indicator: Red
Size: L33 x W76 xH78 mm
Weight: 495g - Power cable length: 200cm
Components
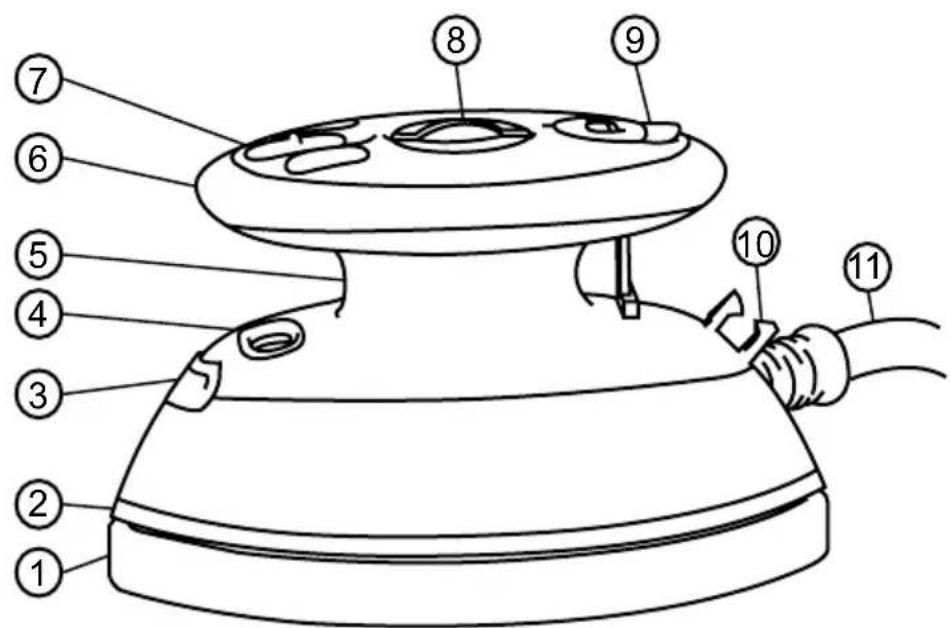

- Sole plate
- Body
- Power indicator light
- Voltage switch
- Water tank
- Handle
-
Steam on/off switch
-
Control dial
- Water inlet cap
- Cable clip
- Power cable
- Water filler jug
- Storage bag
- Silicone pad
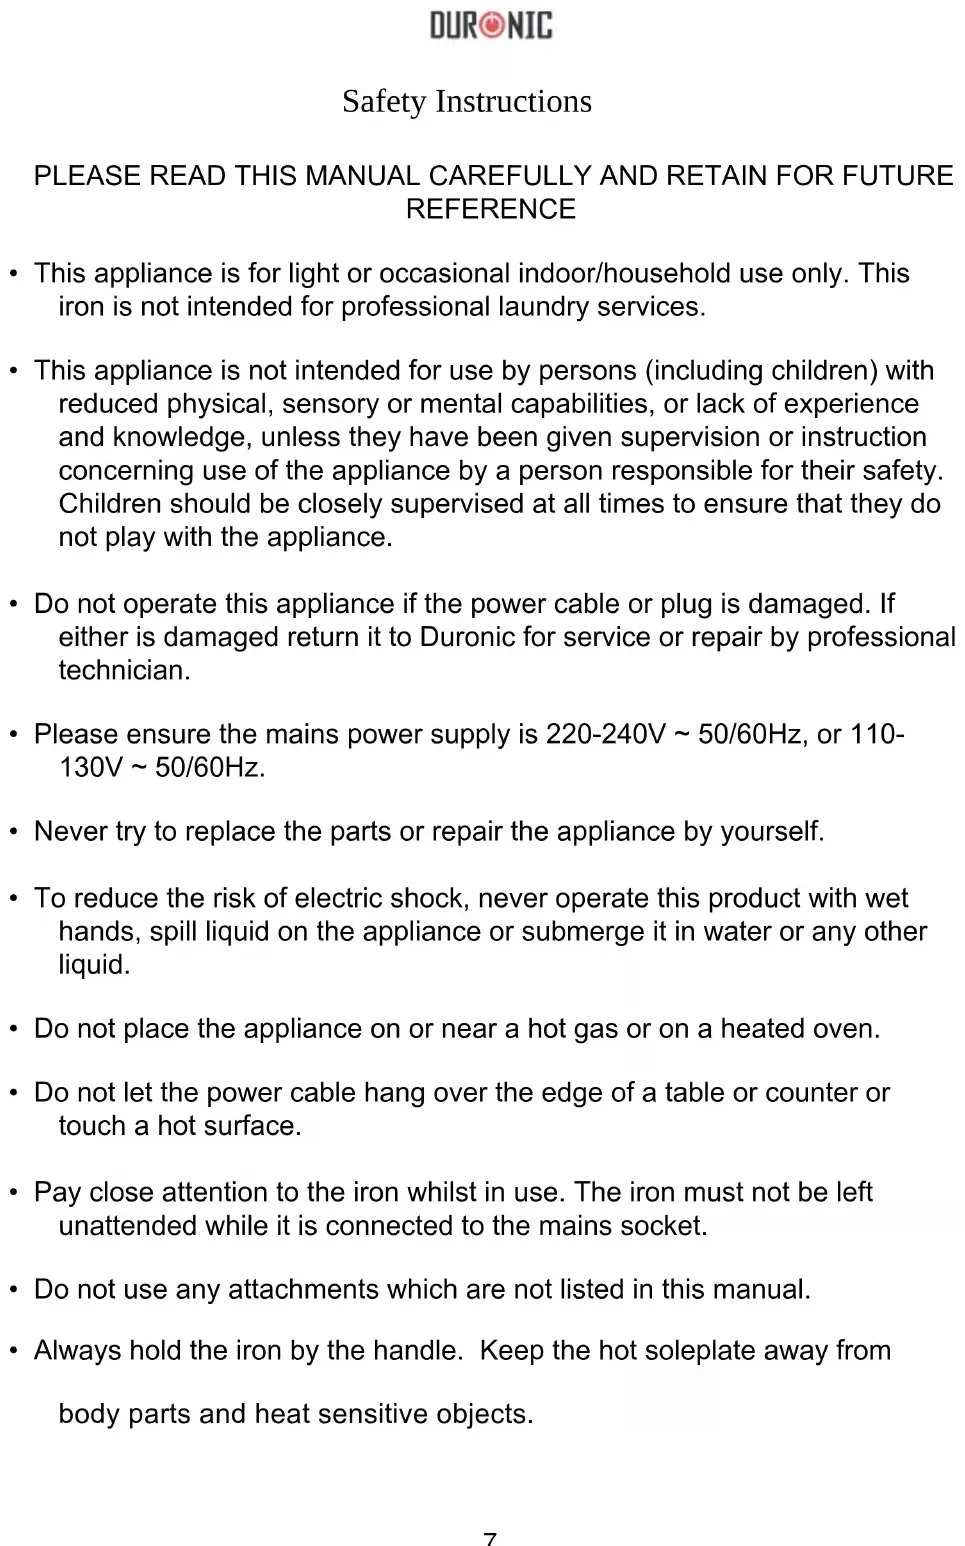
Safety Instructions
PLEASE READ THIS MANUAL CAREFULLY AND RETAIN FOR FUTURE REFERENCE
- This appliance is for light or occasional indoor/household use only. This iron is not intended for professional laundry services.
- This appliance is not intended for use by persons (including children) with reduced physical, sensory or mental capabilities, or lack of experience and knowledge, unless they have been given supervision or instruction concerning use of the appliance by a person responsible for their safety. Children should be closely supervised at all times to ensure that they do not play with the appliance.
- Do not operate this appliance if the power cable or plug is damaged. If either is damaged return it to Duronic for service or repair by professional technician.
- Please ensure the mains power supply is 220 - 240V 50 / 60Hz , or 110 - 130V 50 / 60Hz .
- Never try to replace the parts or repair the appliance by yourself.
- To reduce the risk of electric shock, never operate this product with wet hands, spill liquid on the appliance or submerge it in water or any other liquid.
- Do not place the appliance on or near a hot gas or on a heated oven.
- Do not let the power cable hang over the edge of a table or counter or touch a hot surface.
- Pay close attention to the iron whilst in use. The iron must not be left unattended while it is connected to the mains socket.
- Do not use any attachments which are not listed in this manual.
-
Always hold the iron by the handle. Keep the hot soleplate away from body parts and heat sensitive objects.
-
Do not turn the iron upside down; there may be hot water in the water tank.
- Do not leave water in the water tank when not in use - this can corrode and damage the soleplate.
Water will drip out of the iron if the temperature dial is not set. - Keep the appliance well away from surfaces and objects that can be damaged by heat.
- Ensure there is adequate space to operate the iron.
- When not ironing, place the iron down onto the silicone pad, on a level heatproof surface.
- Use this iron only with a purpose-built ironing board.
- Observe all of the ironing instructions and ironing temperature dot settings given by the garment manufacturer. These guidelines are normally on the label/s inside the garment.
- Always ensure the water filling does not exceed the MAX mark.
- Always unplug the iron when refilling the water reservoir.
- Do not iron buttons or fasteners. This could damage the iron.
- During operation do not use when the light is on. When the light turns off the iron has reached the correct temperature.
- Do not iron directly onto synthetic fabric - instead iron the fabric inside out or with the synthetic fabric covered by other material to protect it.
Ironing Temperatures
| Garment Label Fabric Type Thermostat | Regulation |
| Synthetic Low temperature | |
| Silk-wool Medium temperature | |
| Cotton-linen High temperature | |
| Fabric not to be ironed |
How to Use
FILLING THE IRON
Only fill the iron with water if you intend to use the steam function. For dry ironing, you do not need to fill the tank with water.
- Make sure the iron is switched off and unplugged from the mains socket.
- Fill the water jug with fresh water from the tap. If you live in a hard water area, it is advisable to use distilled water. Avoid using water containing softeners, perfumes or additives.
- Open the water inlet cap on the top of the iron and slowly pour the water in from the jug.
- Close the cap.
USING THE IRON
- Plug the cable into the mains socket and switch on.
- Place the silicone pad in a place that is easy to reach.
- Check the label inside the garment to find out what heat setting you require for the fabric.
DURONIC
- Turn the control dial to the temperature you require.
- Stand the iron on the silicone pad and wait for it to heat up. When it has reached the set temperature, the indicator light will go off.
- Iron your garment/fabric as you normally would.
- If the water level goes low and you haven't yet finished ironing, unplug the iron and refill it using the water jug provided. Then plug it back in and commence with ironing.
- If you need to put the iron down to handle the fabric, place the iron on the silicone pad provided.
- When you have finished ironing, turn the control dial to the MIN position. Unplug it from the mains socket.
- Stand the iron on the silicone pad and leave it to cool down. Once cool, empty the water tank.
- To store away, wrap the cable around the iron and secure with the cable clip. Store away using the storage bag provided.
STEAM FUNCTION
The steam function is mainly used for thick materials or fabrics with stubborn creases.
If you want to use the steam function, you will need to set the control dial to the MAX setting.
Switch the steam button on and hold the iron horizontally for a few seconds to allow the steam to flow through and clean the steam vents.
Place the iron onto the fabric and you will see the steam start to penetrate the fabric as you continue to iron.
Ironing Tips
For heat sensitive fabric, cover the clothing with a piece of cotton fabric to avoid damage.
If you are unsure about how the iron will work on a particular fabric, start by using a low heat setting first.
Use an ironing board - using any other type of board might damage the clothing, the board or the iron.
If the iron is too hot, it might leave yellow traces on your clothing. If this happens, humidify the stains with oxidised water, then rinse and dry.
When ironing black or dark coloured clothing, turn them inside out first before ironing. This will avoid leaving trace marks on the fabric.
Cleaning & Maintenance
If you need to clean your iron, unplug it and allow it to cool completely.
Using a damp well-wrung cloth wipe the soleplate and other parts.
Then use a dry cloth to dry off any dampness.
When not in use, place the silicone pad over the soleplate and store the iron in the bag provided.
DURONIC
Warranty
1 Year Guarantee from Shine-Mart Ltd, Trademark owners of Duronic Products. NOTE: THESE STATEMENTS DO NOT AFFECT YOUR STATUTORY RIGHTS AS A CONSUMER
This product has been manufactured under the strictest or quality control procedures, and using the highest quality of materials, to ensure excellent performance and reliability. It will give very good and long lasting service, provided it is properly used and maintained. The product is guaranteed for 1 years from the date of original purchase. If any defect arises due to a faulty materials or poor workmanship, the faulty product must be returned to the original place of purchase. Refund or replacement is at the discretion of that company. Duronic Products are offered with a 1 year guarantee under the following conditions:
- The product must be returned to the retailer with original proof of purchase.
- The product must be installed and used in accordance with the instructions contained in this operating manual.
- It must be used only for domestic purposes.
- It does not cover wear and tear, malicious damage, misuse, neglect, inexpert repairs or consumable parts.
- Shine-Mart Ltd has no responsibilities for accidental or consequential loss or damage.
- Shine-Mart Ltd are not liable to carry out any type of servicing work, under the guarantee
- Valid in the UK only
This product is fitted with CE:1363 plug and fuse. Imported by Shine-Mart Ltd, RM3 8SB
Information on waste Disposal for Consumers of
Electrical & Electronic Equipment.
This mark on a product and/or accompanying documents indicates that when it
is to be disposed of, it must be treated as Waste
Electrical & Electronic Equipment, (WEEE).
Any WEEE marked products must not be mixed with general household waste, but kept separate for the treatment, recovery and recycling of the materials used.
For proper treatment, recovery and recycling; please take all WEEE marked waste to your Local Authority Civic waste site.
where it will be accepted free of charge.
If customers dispose of Waste Electrical & Electronic Equipment correctly, they will be helping to save valuable resources and preventing any potential negative effects upon human health and the environment, of any hazardous materials that the waste may contain.
Follow Us

duronic.com

duronic

@duronicmedia

Duronic

aduronicmedia