HUT-220 - Humidifier HONEYWELL - Free user manual and instructions
Find the device manual for free HUT-220 HONEYWELL in PDF.
Download the instructions for your Humidifier in PDF format for free! Find your manual HUT-220 - HONEYWELL and take your electronic device back in hand. On this page are published all the documents necessary for the use of your device. HUT-220 by HONEYWELL.
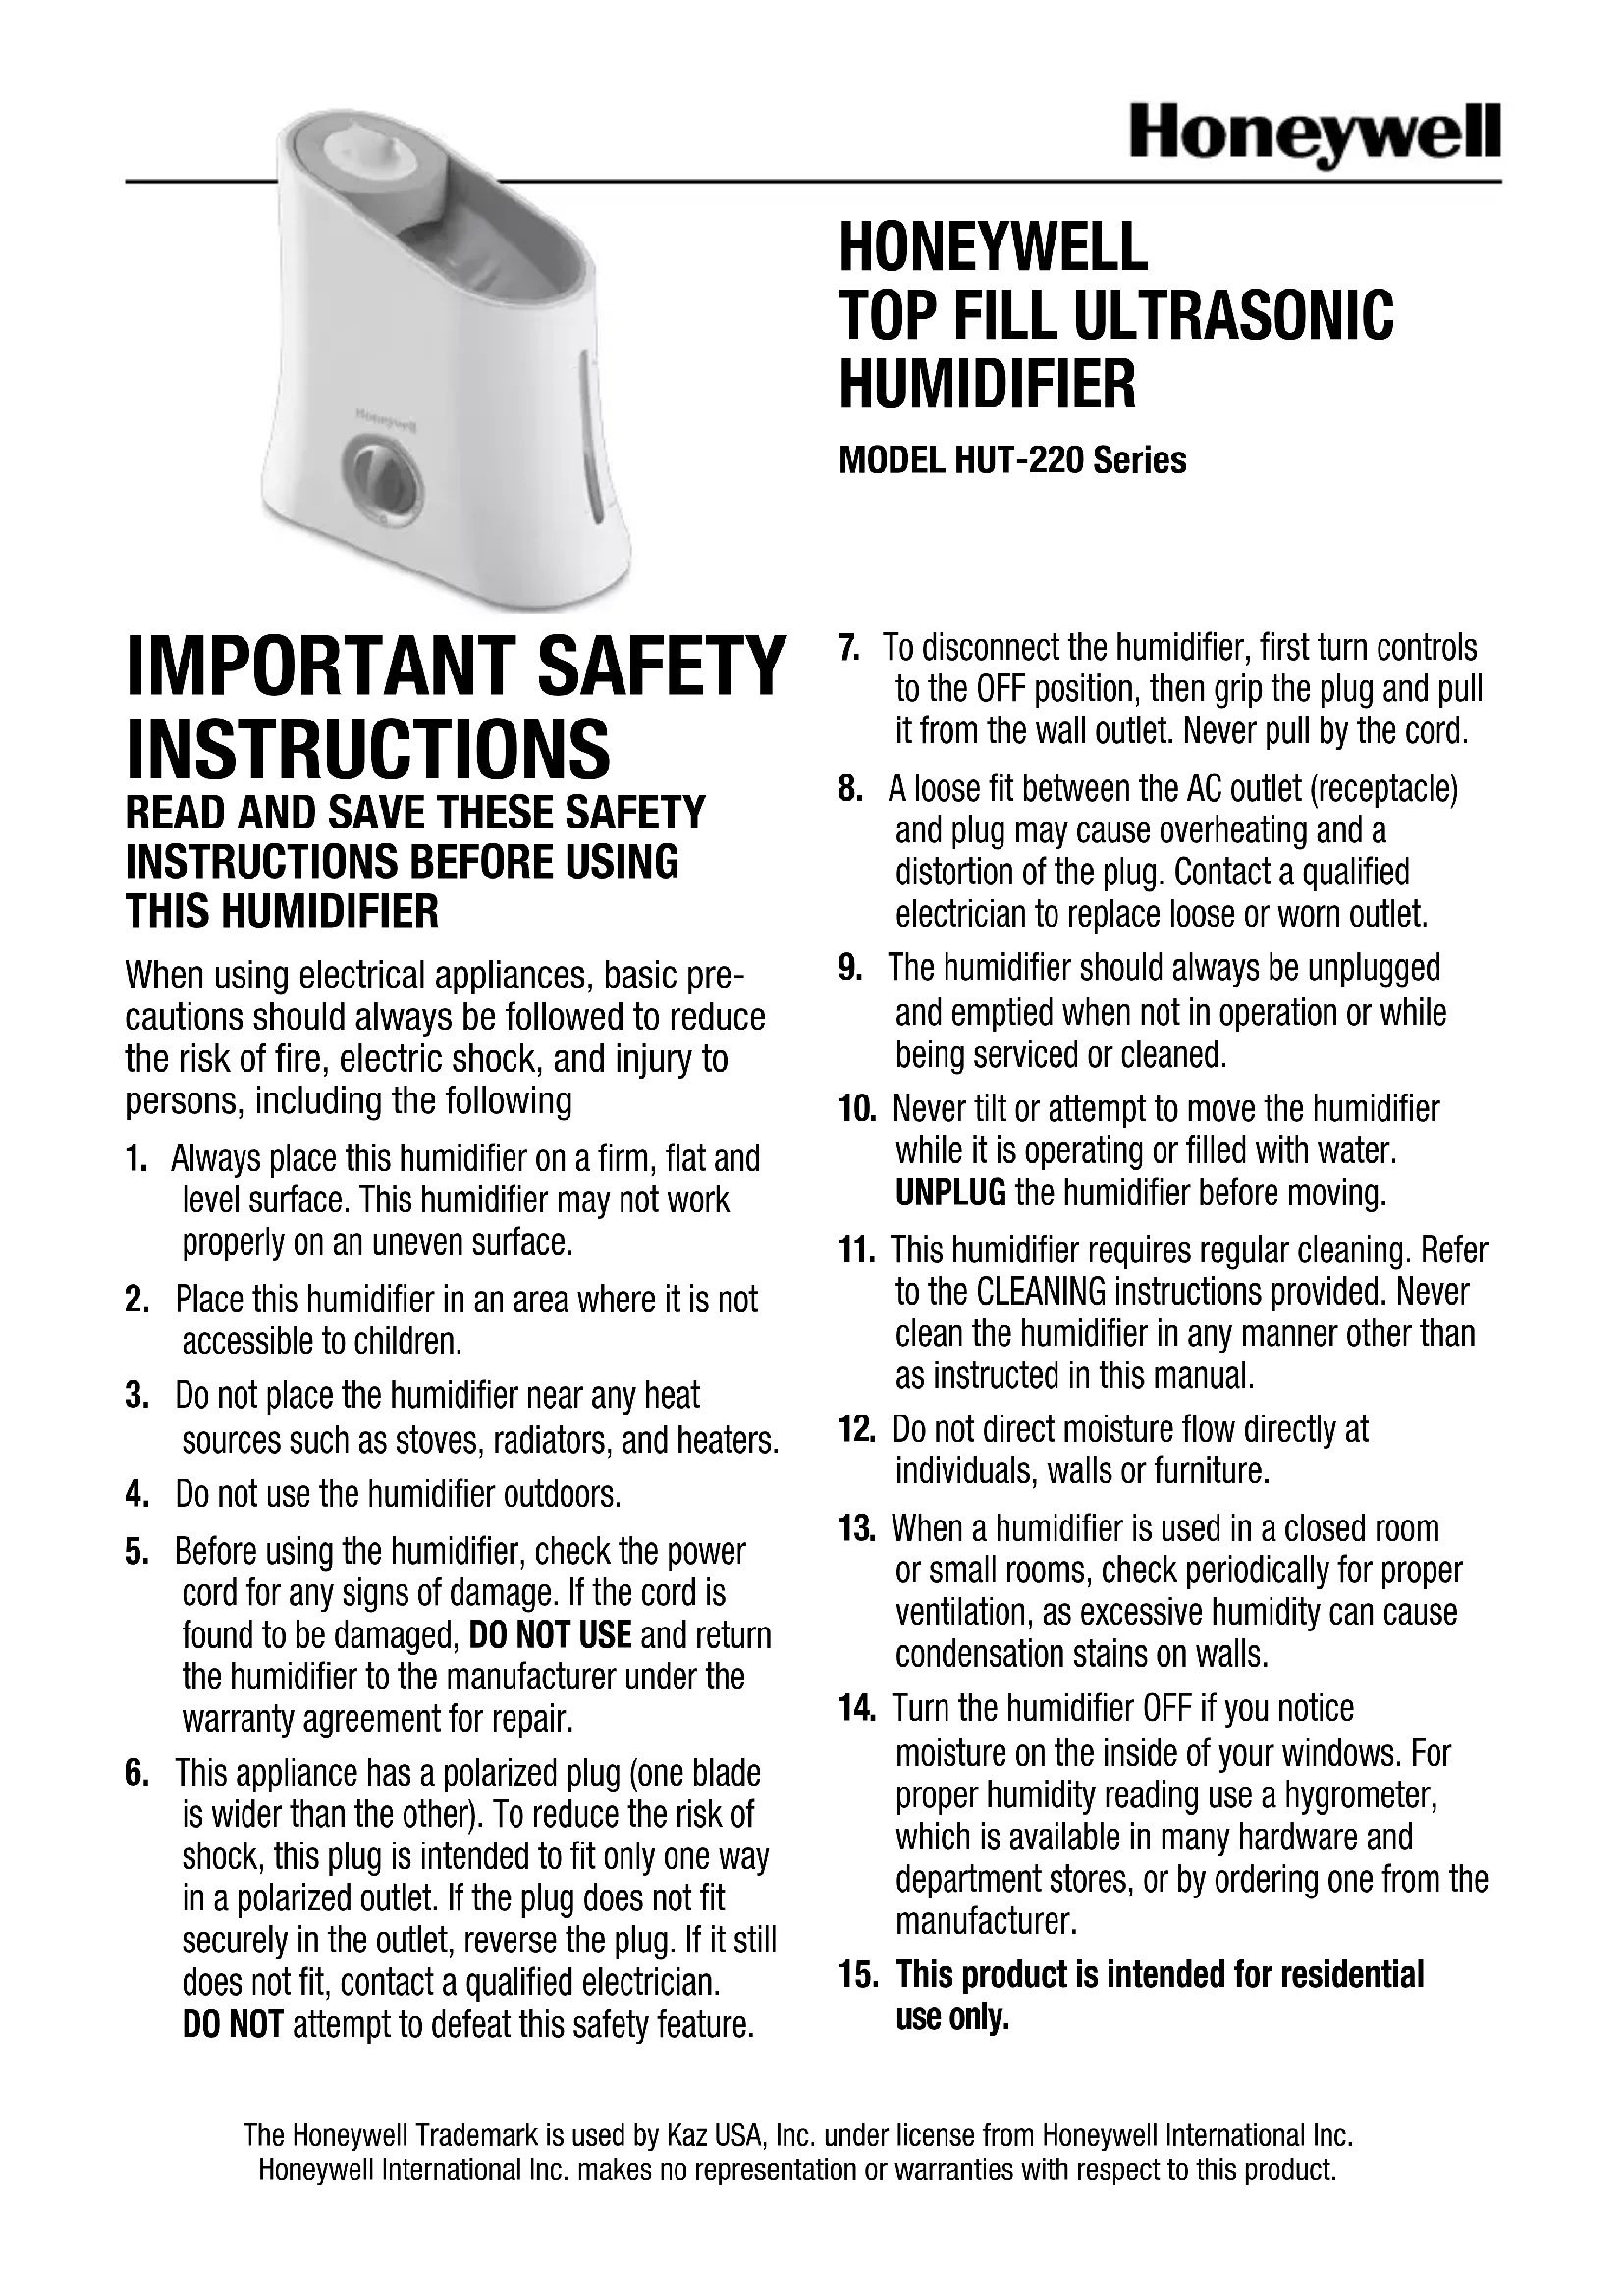
USER MANUAL HUT-220 HONEYWELL
READ AND SAVE THESE SAFETY
INSTRUCTIONS BEFORE USING
THIS HUMIDIFIER When using electrical appliances, basic pre- cautions should always be followed to reduce the risk of fire, electric shock, and injury to persons, including the following
1. Always place this humidifier on a firm, flat and
level surface. This humidifier may not work properly on an uneven surface.
2. Place this humidifier in an area where it is not
accessible to children.
3. Do not place the humidifier near any heat
sources such as stoves, radiators, and heaters.
4. Do not use the humidifier outdoors.
5. Before using the humidifier, check the power
cord for any signs of damage. If the cord is found to be damaged, DO NOT USE and return the humidifier to the manufacturer under the warranty agreement for repair.
6. This appliance has a polarized plug (one blade
is wider than the other). To reduce the risk of shock, this plug is intended to fit only one way in a polarized outlet. If the plug does not fit securely in the outlet, reverse the plug. If it still does not fit, contact a qualified electrician. DO NOT attempt to defeat this safety feature.
7. To disconnect the humidifier, first turn controls
to the OFF position, then grip the plug and pull it from the wall outlet. Never pull by the cord.
8. A loose fit between the AC outlet (receptacle)
and plug may cause overheating and a distortion of the plug. Contact a qualified electrician to replace loose or worn outlet.
9. The humidifier should always be unplugged
and emptied when not in operation or while being serviced or cleaned.
10. Never tilt or attempt to move the humidifier
while it is operating or filled with water. UNPLUG the humidifier before moving.
11. This humidifier requires regular cleaning. Refer
to the CLEANING instructions provided. Never clean the humidifier in any manner other than as instructed in this manual.
12. Do not direct moisture flow directly at
individuals, walls or furniture.
13. When a humidifier is used in a closed room
or small rooms, check periodically for proper ventilation, as excessive humidity can cause condensation stains on walls.
14. Turn the humidifier OFF if you notice
moisture on the inside of your windows. For proper humidity reading use a hygrometer, which is available in many hardware and department stores, or by ordering one from the manufacturer.
15. This product is intended for residential
use only. The Honeywell Trademark is used by Kaz USA, Inc. under license from Honeywell International Inc. Honeywell International Inc. makes no representation or warranties with respect to this product.2 Honeywell Ultrasonic Humidifier Model HUT-220 Series Kaz USA, Inc. 250 Turnpike Road Southborough, MA 01772 1-800-477-0457 This device complies with Part 18 of the FCC rules.
Warning: Changes or modifications to this unit not expressly approved
by the party responsible for compliance could void the user’s authority to operate the equipment. This equipment has been tested and found to comply with the limits for Consumer ISM equipment, pursuant to Part 18 of the FCC rules. These limits are designed to provide reasonable protection against harmful interference in a residential installation. This equipment generates, uses and can radiate radio frequency energy, and if not installed and used in accordance with the instructions, may cause harmful interference with radio communications. However, there is no guarantee that interference will not occur in a particular installation. If this equipment does cause harmful interference to radio or television reception, which can be de- termined by turning the equipment off and on, the user is encouraged to try to correct the interference by one or more of the following measures:
- Reorientorrelocatethereceivingantenna.
- Increasetheseparationbetweenequipmentandreceiver.
- Connecttheequipmentintoanoutletonacircuitdifferentfrom that to which the receiver is connected.
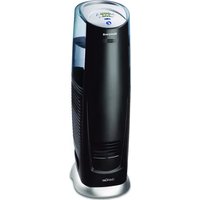
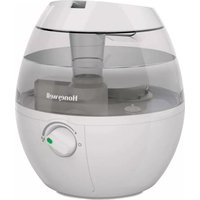
- ConsultthedealeroranexperiencedradioTVtechnicianforhelp.3 INTRODUCTION How it Works: The Easy to Care Ultrasonic Humidifier is designed to silently provide visible cool moisture. Water is pumped from the water reservoir through the demineralization cartridge which helps capture minerals in the water. Demineralized water flows into the misting tray where it is turned into a fine visible mist through the action of ultrasonic sound waves. The mist is then propelled into the air by a small fan providing relief from dry air. The unique top fill design makes filling as easy as watering a plant. This unit is also equipped with a water circulating feature which indicates when refilling is needed. Your humidifier is made up of these parts: Protective Clear Cover Water Hose Mist Nozzle Main Housing Power/Output Control Water Window Demineralization Cartridge Water Pump Top Housing/Tray Cartridge Inlet Pump Outlet Fill Funnel Auto Shut Off float switch4
SETTING UP YOUR HUMIDIFIER
Remove from box Remove packaging material. Remove and set aside instruction manual. Recycle box and packaging materials or save box for end of season storage. To prevent water pump from shifting during transportation it has been taped to the inside of your humidifier. Remove top housing and locate the water pump in the bottom of the main housing. Remove shipping tape located on water pump and place water pump back in slot. Make sure it is securely in place and hose is not bent or crimped or unit will not operate. Placement Select a firm, level location at least 6” (15cm) from any walls for proper airflow. Place the humidifier on a water- resistant surface, as water can damage furniture and some flooring. Kaz will not accept responsibility for property damage caused by water spillage. Filling Fill pitcher or jug with up to 1 gallon of cool water. Note: You can fill this humidifier with as much as 1 gallon of water or as little as a cup of water. Pour water into the fill funnel area located on the top of the unit. Note: Water can be added up to, but not exceed the Full line. Indications that your humidifier needs to be refilled are: - The humidifier has stopped producing mist - Water has stopped circulating over the top housing Figure 15 Replacement Demin- eralization Cartridge HDC-200 or Cartridge
With dry hands unplug humidifier and carry to kitchen or bathroom. Remove top housing and set aside. Remove water hose from demineralization cartridge by gently pulling and twisting. Remove old deminer- alization cartridge and discard. OPERATING: HUT-220 Series Variable mist control allows you to customize your humidifier output. Turn the mist control knob to the highest setting for fast moisture and lower setting for moisture maintenance. Output Direct moisture away from walls, furniture and bedding. Failure to do so could result in wetting of these items. Mist Direction The demineralization cartridge should be changed every 20-30 fillings depending on your water quality. Keep in mind, depending on your water quality, you may need to change your demineralization cartridge more frequently. Indications that you should change your cartridge are white colored particles/dust settling around the base of your humidifier. For areas of extreme hard water it is recommended that you use distilled water in your humidifier.
STEP 4 Power With the power switch in the OFF position, plug the filled humidi- fier into a polarized 120V outlet.
DO NOT FORCE THE POLARIZED
PLUG INTO THE OUTLET; It will only fit one way. DO NOT plug in humidifier with wet hands to avoid electric shock. NOTE: DO NOT OPERATE WITH TOP COVER REMOVED. Doing so could result in water spilling from humidifier.6 CLEANING: HUT-220 Series Replace with new de- mineralization cartridge by gently pressing into place. You will hear a click when it is fully seated. Reattach water hose making sure it is pushed on all the way and there are no kinks. Make sure water pump is securely in place. Replace top housing. STEP 5 STEP 6 Weekly Cleaning: To properly clean your humidifier we recommend the process of scale removal and disinfecting. DISHWASHER SAFE: The following parts are TOP RACK dishwasher safe for residential dishwashers operating at temperatures below 70°C/158°F. It is recommended that you run the dishwasher on the light duty or normal cycle. Do not wash humidifier parts with soiled articles/dishes. DO NOT USE DETERGENTS. If you use your dishwasher to clean the following parts you will not need to follow the disinfecting and scaling procedure. Please Note: Do not place parts on lower rack of dishwasher. Using the lower rack could cause damage to the humidifier parts and dishwasher. NOTE: It is recommended that all maintenance be done in the kitchen or bathroom on a water resistant surface. STEP 7 REPLACING DEMINERALIZATION CARTRIDGE (Continued) THE MAIN HOUSING, DEMINERALIZATION CARTRIDGE AND WATER HOSE ARE NOT DISHWASHER SAFE. Placing these parts in the dishwasher will damage your humidifier and render it unable to operate properly. Water Pump Main Housing Demineralization Cartridge Water Hose Protective Clear Cover Top housing Mist Nozzle7 CLEANING: HUT-220 Series (continued) Place pump components, mist nozzle, and protective clear cover inside main housing in the vinegar solution to soak or follow the dishwasher option. STEP 5 STEP 8 STEP 9 STEP 10 Scale Removal directions: Remove top housing, clear protective cover, water pump and water hose and set aside. Remove demineraliza- tion cartridge and set aside. DO NOT WASH OR SOAK IN VINEGAR. Fill water reservoir of main housing with 1 cup of vinegar. Disassemble Water Pump by gently turning the back cover counter-clockwise to unlock. Remove back cover and impeller disk inside. STEP 1 STEP 2 STEP 3 Note: For best cleaning results hose should be soaked in the base and then rinsed with clean, cool water until the smell of vinegar is gone. With your unit un-as- sembled, proceed to the disinfecting instructions. STEP 6 Wash hose with soap and warm water. Rinse hose thoroughly until all soap residue is removed. Gently wipe top housing and nebulizer with undiluted vinegar. Note: You can place the top housing in the dishwasher if you choose. Be sure to keep water level sensor clean. Gen- tly wipe with a soft cloth and undiluted vinegar. Soak for 20 minutes. Rinse base and parts not put in dishwasher until vinegar smell is gone. STEP 4 For tough stains, soak the hose in a bowl of white household vinegar for 30 minutes and rinse with warm water while flexing and crushing the soft hose to loosen any debris. Clean and wipe dry with a hand cloth. STEP 7 Gentle wipe area around “auto shut off float” to ensure any minerals are removed from this area.8 Disinfecting directions: Disinfect following scale removal
demineralization cartridge. Set aside top housing, clear protective cover, water pump and water hose.
Soak water pump components, mist nozzle and clear protective cover in water reservoir of the main housing if these parts were not cleaned on the top rack of dishwasher.
HUMIDIFIER. Add 1 TB of bleach to 1 gallon water. Add ½ to ¾ gallon of water/bleach solution to water reservoir of the main housing. Wipe top cover with remaining water bleach solution if these parts were not placed in dishwasher. Place hose in bleach solution. Soak for 15-20 minutes. Thoroughly rinse base and any parts not placed in dishwasher until the smell of bleach is gone. STEP 1 STEP 2 STEP 3 STEP 4 STEP 5 CLEANING: HUT-220 Series (continued) Note: For best cleaning results hose should be soaked in the base and then rinsed with clean, cool water until the smell of bleach is gone.9
END-OF-SEASON CARE AND STORAGE
Follow the CLEANING instructions when the humidifier will not be used for at least one week or more, or at the end of the season. At the end of the season, remove demineralization cartridge and allow to dry properly. Note: If demineralization cartridge has been used you should replace it with a new cartridge. Dry the humidifier completely before storing. DO NOT store with water inside the main housing water reservoir or water tube. Pack unit in original carton and store in a cool, dry location. Install new demineralization cartridge before next use. Replace mist nozzle by gently snapping into place. Note: Please be careful of clothing, rugs and other non bleach resistant materials when disinfecting. Spilling bleach on clothing, rugs and certain surfaces may cause damage. RE-ASSEMBLING: HUT-220 Series Reassemble pump by inserting impeller disk with blades facing front housing onto front hous
ing shaft. Replace back cover and turn clock
wise to lock in place. Do Not Re-Assemble Pump with impeller disk blades facing towards back cover. Incorrect assembly will not allow you to attach rear cover. Insert pump outlet into hose and gently press all the way on until it cannot go any further. Insert water pump/ hose assembly into slot in base. Note: please be sure pump is fully seated and there are no kinks in the hose. Replace top housing and protective clear cover. STEP 1 STEP 2 STEP 3 STEP 4 STEP 6 STEP 7 STEP 5 Insert demineralization cartridge into slot and gently press into place. Attach water hose opening to demineraliza- tion cartridge by gently inserting cartridge outlet into water hose opening.10
FREQUENTLY ASKED QUESTIONS
Question Answer How do I clean inside the water pump? You can clean the inside of the pump by turning the cover counter-clockwise. Remove the cover and you can clean the housing and disk. What parts are dishwasher safe? The water hose, water pump, top housing,and protective clear cover are all top rack dishwasher safe How do I assemble my humidifier after cleaning? See page 9 of your owners manual. Can I use dish soap to clean my humidifier? It is not recommended that you use dish soap to clean your humidifier as it is very hard to remove all the soap and this could cause damage to your humidifier. The only part that we recommend cleaning with soap is the water hose and this part should be rinsed until all soap residue is removed. Can I add water treatments to this humidifier? You should only add water treatments to your humidifier that are specifically made for ultra
sonic humidifiers such as the Protec
Cleaning Cartridge, model PC-1 or PC-2. Using water treat
ments that are not recommended for ultrasonic humidifiers could damage your humidifier. If you are concerned about hard water it is recommended you use distilled water in your humidifier. Cleaning ELECTRICAL RATINGS The Honeywell HUT-200 Series models are rated at 120V, 60 Hz. NOTE: IF YOU EXPERIENCE A PROBLEM, PLEASE CONTACT CONSUMER RELATIONS FIRST OR SEE YOUR WARRANTY. DO NOT RETURN THE HUMIDIFIER TO THE ORIGINAL PLACE OF PURCHASE. DO NOT ATTEMPT TO OPEN THE MOTOR HOUSING OR TAMPER WITH INTERLOCK SWITCH YOURSELF, DOING SO MAY VOID YOUR WARRANTY AND CAUSE DAMAGE TO THE PRODUCT OR PERSONAL INJURY. CONSUMER RELATIONS Mail questions or comments to: Kaz USA, Inc. Consumer Relations Dept. 250 Turnpike Road, Southborough, MA 01772 Please be sure to specify model number. Call us toll-free at: 1-800-477-0457 E-mail: consumerrelations@kaz.com Or visit our website at: www.kaz.com
TO ORDER REPLACEMENT PARTS
HUT-220-Tray HUT-220-Tray Cover HUT-220-Mist Nozzle HUT-220-Pump HUT-220-Hose HUT-220-Blank HUT-220B-Tray HUT-220B-Mist Nozzle11 Question Answer What setting should I put my humidifier on? You should run your humidifier on the highest setting if your room is very dry. Once you are at a more comfortable humidity you can turn your output setting to a lower setting. I ran my humidifier overnight in a very dry room and the humidity barely changed but my water level decreased quite a bit It may take a few days for your humidity to increase. Wood, rugs and other objects in your room will absorb moisture before you can feel the effects, if it is extremely dry. Can I run my humidifier without a demineralization cartridge? Yes but it is recommended that you use a deminer- alization cartridge to help reduce white dust. If you choose to not use a demineralization cartridge you will need to replace the demineralization cartridge in your unit with HUT-200-BLANK for it to operate. It is recommended that you use distilled water if you choose not to use a demineralization cartridge. How often should I change my demineralization catridge? In general the demineralization cartridge will last 20-30 fillings depending on water quality and usage. White dust on surrounding surfaces could indicate that your demineralization cartridge needs to be replaced. How do I know my humidifier is operating properly? You will see visible mist coming from your humidifier. Also, water will flow down the top housing and you will notice a decrease in the water level after 8 hrs of use. The water window is illuminated but I do not see any mist coming out of the mist nozzle. Make sure unit has water. See Troubleshooting Guide for more. There is no water running through the water flow area on the top housing. First check to make sure there is water in your humidifier. If yes, check your water pump to make sure it is properly seated in the holding area. Check to make sure the water hose is firmly attached to both the water pump and demineralization car- tridge. Last, check to ensure that the float switch moves freely and is not obstructed. Next, make sure there is nothing obstructing the water flow area on the top cover or water hose. If these steps do not help, please please see our Troubleshooting Guide or contact our customer service department at 1-800-477-0457. How much water does my humidifier hold? Your humidifier can hold up to 1.0 Gallon of water. It can be filled to the Full line. How long will my humidifier run when full? Your humidifier will run up to 22 hrs on high and 46 hrs on low. Operation FREQUENTLY ASKED QUESTIONS (Continued)12 TROUBLESHOOTING
1. Water is not flowing
a. Check to be sure there is water in the tank and it is covering the pump. b. Check hose to be sure there are no kinks. Hose should be pushed fully onto both the demineralization cartridge and pump. c. Make sure pump is fully seated properly in bottom of tank. d. Turn unit off, then back on to help clear any air in the system. e. If water still is not flowing, remove pump, disassemble and make sure pump wheel can spin freely and there is nothing blocking pump inlet or demineralization cartridge inlet.
2. Unit flows water but does not produce mist
a. Make sure control is rotated fully clockwise. b. Remove mist nozzle and check to see if there is water inside the nebulizer cham- ber which is the pocket located next to the demineralization cartridge. If there is no water in the nebulizer chamber, you may need to replace your demineralization cartridge. c. If there is water in the nebulizer chamber and steps 2a and 2b have been followed, you may need to call our toll free number for further instructions.
3. Pump makes a swishing sound
a. The pump may have sucked in air. Be sure there is enough water in the tank to cover the pump. b. After filling, turn the unit off for a few seconds, then turn it back on to clear the system of air.
4. Pump makes a whirring sound
a. The pump may not be properly seated. Be sure to push pump fully into tank. After seating the pump properly, turn the unit off for a few seconds, then turn it back on.13
2 YEAR LIMITED WARRANTY
You should first read all instructions before attempting to use this product. A. This 2 year limited warranty applies to repair or replacement of product found to be defective in material or workmanship. This warranty does not apply to damage resulting from commercial, abusive, unreasonable use or supplemental damage. It also does not apply to the filter or Protec
Cartridge. Defects that are the result of normal wear and tear will not be considered manufacturing defects under this warranty. KAZ USA, INC. IS NOT LIABLE FOR
INCIDENTAL OR CONSEQUENTIAL
DAMAGES OF ANY NATURE. ANY IMPLIED
TO THE DURATION OF THIS WARRANTY. Some jurisdictions do not allow the exclusion or limitation of incidental or consequential damages or limitations on how long an implied warranty lasts, so the above limitations or exclusions may not apply to you. This warranty gives you specific legal rights, and you also may have other rights which vary from jurisdiction to jurisdiction. This warranty applies only to the original purchaser of this product from the original date of purchase. B. At its option, Kaz USA, Inc. will repair or replace this product if it is found to be defective in material or workmanship. C. This warranty does not cover damage resulting from any unauthorized attempts to repair or from any use not in accordance with the instruction manual. D. Return defective product to Kaz USA, Inc. with a brief description of the problem. Include proof of purchase and a $10 US/$15.50 CAN check or money order for handling, return packing and shipping charges. Please include your name, address and a daytime phone number. You must prepay shipping charges. We suggest having tracking or delivery confirmation. Send to: In U.S.A.: Kaz USA, Inc. Attn: Returns Department 4755 Southpoint Drive Memphis, TN 38118 USA In Canada: Kaz Canada, Inc. Attn: Returns Department 510 Bronte Street South Milton, ON L9T 2X6 Canada Please go to www.kaz.com and register your product under the Customer Care Cen- ter and receive product information updates and new promotional offers. ©2012 Kaz USA, Inc . All Rights Reserved. P/N: 31IM200B19014 IMPORTANTES INSTRUC-