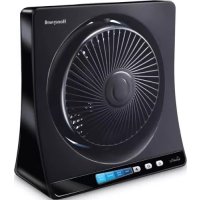
HSF1640 - Fan HONEYWELL - Free user manual and instructions
Find the device manual for free HSF1640 HONEYWELL in PDF.
Download the instructions for your Fan in PDF format for free! Find your manual HSF1640 - HONEYWELL and take your electronic device back in hand. On this page are published all the documents necessary for the use of your device. HSF1640 by HONEYWELL.
USER MANUAL HSF1640 HONEYWELL
When using electrical appliances, basic precautions should always be followed to reduce the risk of fire, electric shock, and injury to persons, including the following: FOR US MODELS ONLY - This product employs overload protection (fuse). A blown fuse indicates an overload or short-circuit situation. If the fuse blows, unplug the product from the outlet. Replace the fuse as per the user servicing instructions (follow product marking for proper fuse rating) and check the product. If the replacement fuse blows, a short-circuit may be present and the product should be discarded or returned to an authorized service facility for examination and/or repair.
1. Use this fan only as described in this
manual. Other use not recommended as it may cause fire, electric shock or injury to persons.
2. This product is intended for household
use ONLY and not for commercial, industrial or outdoor use.
3. To protect against electric shock, do not
place fan in window, immerse unit, plug or cord in water or spray with liquids.
4. This appliance has a polarized plug
(one blade is wider than the other). To reduce the risk of shock, this plug is intended to fit only one way in a polarized outlet. If the plug does not fit fully in the outlet, reverse the plug. If it still does not fit, contact a qualified electrician. DO NOT attempt to defeat this safety feature.
5. Close supervision is necessary when any
appliance is used by or near children.
6. Turn the fan OFF and unplug the fan from
the outlet when not in use, when moving the fan from one location to another and before cleaning.
7. To disconnect the fan, first turn the unit
OFF, grip the plug and pull it from the wall outlet. Never pull the plug by the cord.
8. DO NOT operate the fan in the presence
of explosive and/or flammable fumes.
9. DO NOT place the fan or any parts
near an open flame, cooking or other heating appliance.
10. DO NOT operate the fan with a damaged
cord or plug or if the product malfunctions, is dropped or damaged in any manner (see warranty).
12. Avoid contact with moving fan parts.
13. The use of attachments not recommended
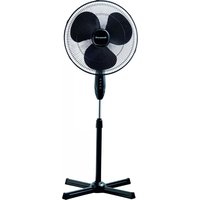
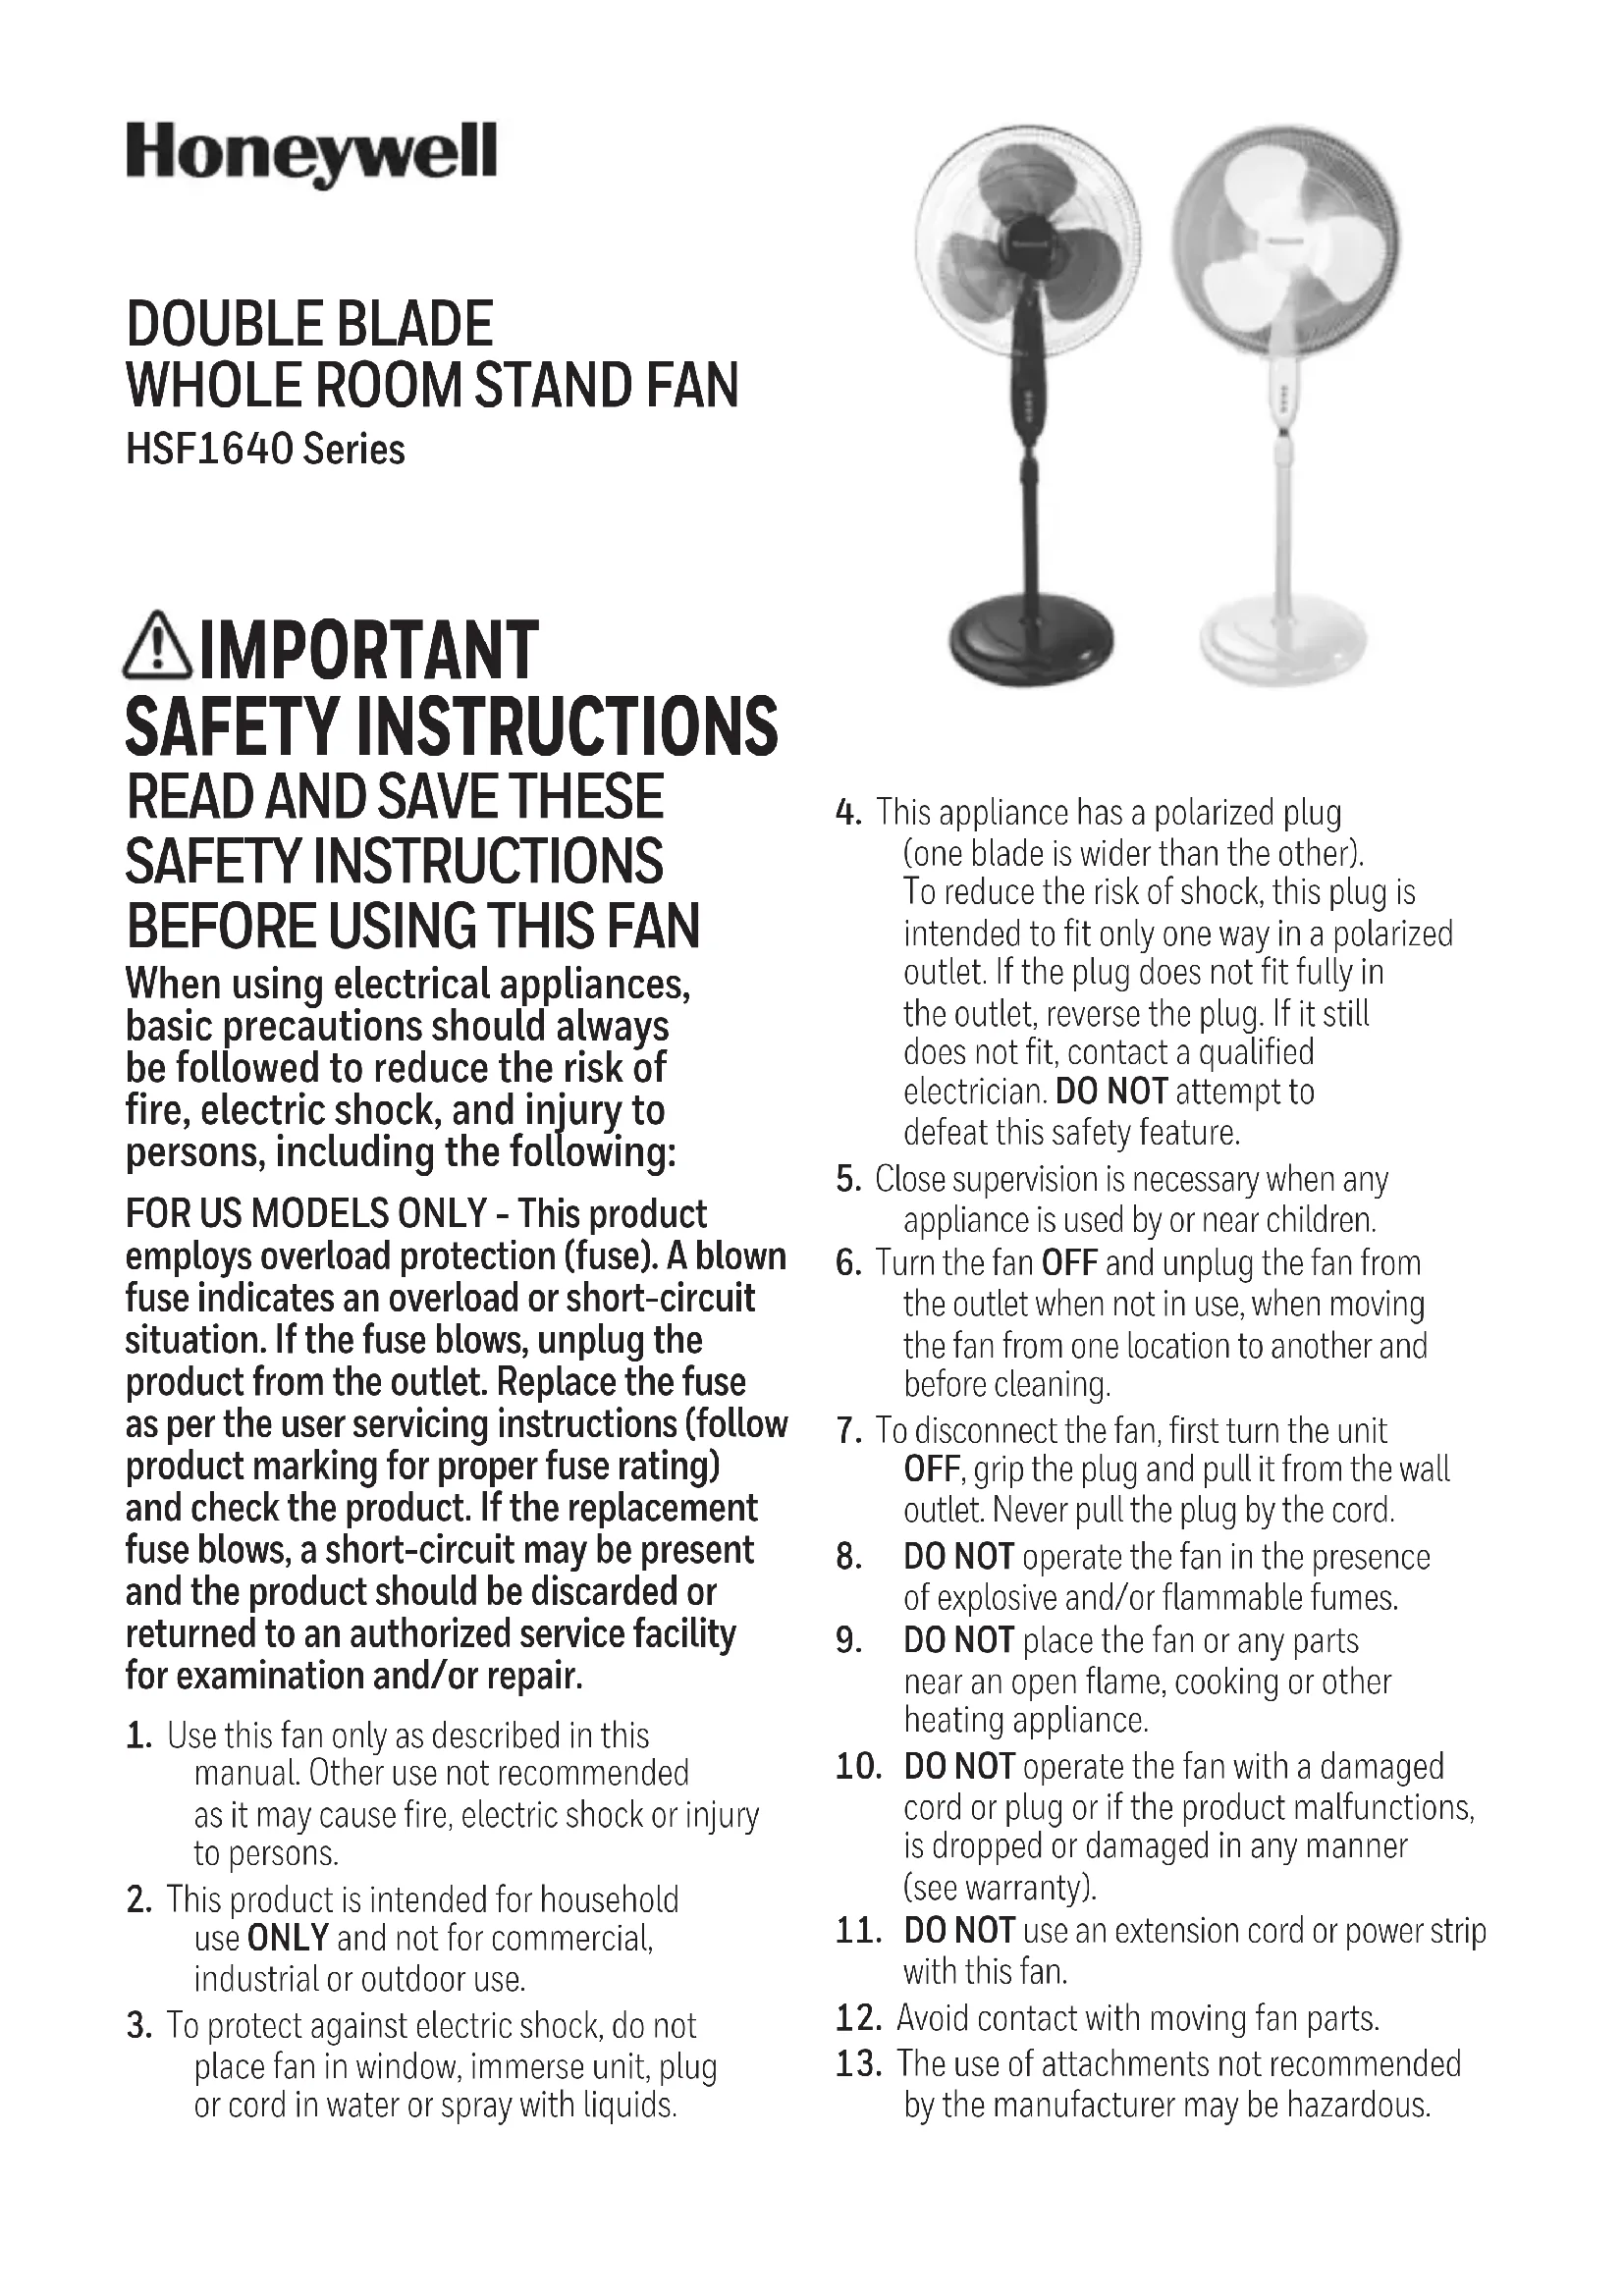
by the manufacturer may be hazardous. DOUBLE BLADE
WHOLE ROOM STAND FAN
HSF1640 Series2 3 PART GUIDE BASE ASSEMBLY
BLADE AND GRILLES ASSEMBLY
1. Align the pole in the base using tabs as a guide.2. Gently place base on its side. (Fig. 3)
3. Insert and tighten the L shaped bolt and washer
on the bottom of the fan base. (Fig. 4)4. Tighten by turning clockwise.The small blade is packaged separately in between cardboard apart from the large blade DO NOT THROW OUT!
1. Unscrew the blade nut clockwise and the plastic nut counterclockwise
and set aside. (Fig. 5)
2. Position the rear grille onto the fan head assembly making sure the two
alignment holes are aligned with the two prongs.
3. Screw on plastic nut tightly clockwise to attach rear grille. (Fig. 6)
4. Install the blade onto the shaft until the retaining
pin fits into the notch on the blade. Now place the small blade on to the shaft making sure the alignment pin is inserted into one of the three holes on the large blade.5. Screw blade nut to the motor shaft counterclockwise (tighten by turning to the left). (Fig. 7)6. Mount the front grille and secure using the locking clips.1 Front Grille2 Locking Clips 3 Blade Nut4 Small Blade 5 Large Blade6 Plastic Nut 7 Rear Grille 8 Fan Head Assembly9 Control Panel 10 Washer11 “L” Screw 12 Motor Shaft13 Alignment Prongs14 Locking Screw15 Extension Pole 16 Pole Locking Nut17 Lower Pole 18 Base19 Remote Control
17. A loose fit between the AC outlet (receptacle)
and plug may cause overheating and a distortion of the plug. Contact a qualified electrician to replace loose or worn outlet.
DO NOT operate any fan with a damaged cord or plug. Discard any damaged fan, return the fan to the retailer where the fan was purchased, or request a return authorization to return to Kaz, Inc. for examination and/or repair.
DO NOT run fan cord under carpeting.
NOT cover cord with throw rugs, runners, or similar coverings. DO NOT route cord under furniture or appliances. Arrange cord away from traffic areas and where it will not be tripped over.
WARNING: To Reduce The Risk of Fire or
- If your fan loses power and you suspect that the fuse on your fan has blown, grasp plug and remove from the receptacle or other outlet device. Do not unplug by pulling on cord.• Slide fuse cover, located on the top of the plug towards the prongs of the plug. (Fig. 1)• Carefully remove the blown fuse and snap a new fuse into place. To Reduce the Risk of Fire, replace fuse only with 2.5 Amp, 125 volt fuse. Fully close the fuse door by sliding back into place. (Fig. 2) Discard the blown fuse. The plug should now be ready for normal use.• To Reduce the Risk of Fire, do not replace attachment plug. Contains a safety device (fuse) that should not be removed. Discard product if the attachment plug is damaged.• If you need further information on how or when to replace the fuse in the safety plug, please contact Kaz Consumer Relations Department by visiting our website at www.honeywellpluggedin.com/fans or calling 1-800-477-0457.This fan features a fused safety plug which is designed to cut off electric current to the fan if an electrical fault occurs. Please see below for more information on how to properly use your fan and replace the safety plug fuse, if needed.Fig. 1Fig. 2 Fig. 3 Fig. 4 Fig. 5Fig. 6 Fig. 74 5 Remote Control Battery Installation Replacement Instructions A. Remove battery door by sliding downward in direction of arrow. B. Insert 2 AAA batteries into the remote following the directional guides in the recessed slots. Batteries are not included. C. Replace battery door by sliding upward opposite of arrow direction until door snaps in place. NOTE: DO NOT MIX OLD AND NEW BATTERIES. DO NOT MIX ALKALINE, STANDARD (CARBON-ZINC) OR RECHARGEABLE (NICKEL-CADMIUM) BATTERIES. SEE RECYCLERS IN YOUR AREA FOR PROPER DISPOSAL OF BATTERIES. On/Off To turn fan on, press the Power button ( ) located at the top of the control panel. (Fig. 10) Speed Control To adjust the speed up or down, press the Fan Speed button ( ) repeatedly to increase level of air speed. 1 (Low) 2 (Med.) 3 (High) and Off
Oscillation Press the Oscillation ( ) button to select or stop the oscillation. IMPORTANT NOTE: DO NOT try to manually change the fan head direction; otherwise the fan will be damaged.
Remote Button Function Fan Speed Selection, Timer, Oscillation, and Mode Select operate as described in Control Panel Operation section. OPERATION Tilt Control The airflow can be adjusted upward or downward by tilting the fan head as desired. To change the tilting angle of the fan head assembly, simply move the fan head to the desired angle. (Fig. 8) Height Adjustment Turn the pole locking nut counterclockwise to loosen the pole. Adjust the pole to the desired height and firmly tighten the locking nut in a clockwise direction. (Fig. 9) Fig. 9Fig. 8 Mode Press this key, to select from three featured air flow modes as desired. Variable: quiet, ideal for night time with a soothing intermittent hi/lo Breezy: natural air flow intermittent hi/lo Constant: normal steady air flow If no mode is selected a normal steady air flow will be on. Timer Choose from 1, 2, 4, or 8 hour settings by performing the following function (Fig. 10):
- 2 hours: Press the Timer button twice.
- 4 hours: Press the Timer button a third time.
- 8 hours: Press the Timer button a fourth time. Press the Timer button a fifth time to turn the Timer feature off. Cleaning and Storage
- Be sure your fan is in the OFF position.
- Unplug the fan before cleaning.
- Use only a soft, damp cloth to gently wipe the fan clean.
- DO NOT immerse the fan in water and never allow water to enter the Motor Housing.
- DO NOT use gasoline, paint thinner or other chemicals to clean the fan. Removal of the Front Grille for Cleaning
- Remove the Front Grille by releasing the Grille clips.
- Unscrew the Blade Knob by turning it CLOCKWISE (REVERSE THREAD).
- Pull the Fan Blade away from the Motor Housing.
- Gently wipe the Fan Blade and Grilles with a soft, damp cloth.
- Assemble the fan by following the last three steps in the ASSEMBLY INSTRUCTIONS. Storage
- For storage disassemble and clean the fan carefully as instructed. Store the fan in its original box. You may also leave the fan fully assembled and covered with plastic to protect it from dust. Store your fan in clean, dry place. Fig. 106 7 CONSIGNES DE
Série HSF1640 You should first read all instructions before attempting to use this product.A. This 1 year limited warranty applies to repair or replacement of product found to be defective in material or workmanship. This warranty does not apply to damage resulting from commercial, abusive, unreasonable use or supplemental damage. Defects that are the result of normal wear and tear will not be considered manufacturing defects under this warranty. KAZ IS NOT LIABLE FOR INCIDENTAL OR CONSEQUENTIAL DAMAGES OF ANY NATURE. ANY IMPLIED WARRANTY OF MERCHANTABILITY OR FITNESS FOR A PARTICULAR PURPOSE ON THIS PRODUCT IS LIMITED IN DURATION TO THE DURATION OF THIS WARRANTY. Some jurisdictions do not allow the exclusion or limitation of incidental or consequential damages or limitations on how long an implied warranty lasts, so the above limitations or exclusions may not apply to you. This warranty gives you specific legal rights, and you also may have other rights which vary from jurisdiction to jurisdiction. This warranty applies only to the original purchaser of this product from the original date of purchase.B. At its option, Kaz will repair or replace this product if it is found to be defective in material or workmanship. C. This warranty does not cover damage resulting from any unauthorized attempts to repair or from any use not in accordance with the instruction manual.Call us toll-free: 18004770457 or e-mail: consumerrelations@kaz.com Please be sure to specify a model number located on the box and the back and bottom of your unit. To register your product, please go to www.honeywellpluggedin.com/register to register your product under the Customer Care Center and receive product information updates and new promotional offers.NOTE: IF YOU EXPERIENCE A PROBLEM, PLEASE CONTACT CONSUMER RELATIONS FIRST OR SEE YOUR WARRANTY. DO NOT RETURN THE PRODUCT TO THE ORIGINAL PLACE OF PURCHASE. DO NOT ATTEMPT TO OPEN THE MOTOR HOUSING YOURSELF, DOING SO MAY VOID YOUR WARRANTY AND CAUSE DAMAGE TO THE PRODUCT OR PERSONAL INJURY. Questions or Comments Call us toll-free at: 18004770457 E-mail: consumerrelations@kaz.com Or visit our website at: www.HoneywellPluggedIn.com/fansPlease be sure to specify model number.8 9