RQ760N4SASE - Fridge HISENSE - Free user manual and instructions
Find the device manual for free RQ760N4SASE HISENSE in PDF.
Download the instructions for your Fridge in PDF format for free! Find your manual RQ760N4SASE - HISENSE and take your electronic device back in hand. On this page are published all the documents necessary for the use of your device. RQ760N4SASE by HISENSE.
USER MANUAL RQ760N4SASE HISENSE
$QZHLVXQJHQIROJHQ (LQHSRWHQ]LHOOJHIlKUOLFKH6LWXDWLRQVRGHQQVLHQLFKWYHUKLQGHUW
=XP6FKXW]GHV/HEHQVXQG(LJHQWXPVEHDFKWHQ6LHELWWHGLH
'DV6WURPNDEHOGDUIQLFKWYHUOlQJHUWZHUGHQ
*HUlWHDXIVWHOOXQJ]XJlQJOLFKLVW :DUWXQJ
(OHNWULVFKH9RUDXVVHW]XQJHQ
:$5181* 6WURPVFKODJJHIDKU
(VZLUGHPSIRKOHQHLQHVHSDUDWH6LFKHUXQJIUGLH
.RPSUHVVRU]XHUODXEHQVLFK]XEHUXKLJHQ
NLHVHOVWHLQJURH6WFNH]X]HUVSULQJHQ'LHVLVW
1LFKWEHDFKWXQJNDQQ]XP7RGRGHU]XHLQHP
YLHOHNOHLQHNLHVHOVWHLQJURH6WFNH]X
HLQJHVFKREHQVLQGEHYRU6LHHLQH7UVFKOLHHQ
(QGHGHV%RGHQVDP6FKLHQHQWUlJHUYRUEHLLVW
7HLOZHLVHHLQJHNDSVHOWHYHUDUEHLWHWH/HEHQVPLWWHOQLFKWHLQIULHUIlKLJH /HEHQVPLWWHO
6FKLPPHOELOGXQJLP*HUlW]XYHUPHLGHQ
DXVPLOGHP5HLQLJXQJVPLWWHOPLWZDUPHQ:DVVHU
HUODXEHQVLFK]XEHUXKLJHQ
:$5181* 6WURPVFKODJJHIDKU
'HU8QWHUEUHFKHUKlQJWRGHULVW DXVJHVFKDOWHWRGHUHLQH6LFKHUXQJLVW KLQDXVJHIORJHQ
'HU.KOVFKUDQNKDWHLQDXWRPDWLVFKHV$EWDX
/HEHQVPLWWHO]XJHIKUW
7HPSHUDWXUHLQVWHOOXQJHLQJHEHQ6LHGHU7HPSHUDWXU
(LQVWHOOXQJHLQUSER’S OPERATION MANUAL
Before operating this unit, please read this manual thoroughly, and retain for future reference. English
RQ-68W42ISQ/SH-001-001
Thank you for choosing Hisense. We are sure you will find your new refrigerator a pleasure to use. However, before you use the appliance, we recommend that you carefully read the instructions, which provide details about installing and using the product. Please keep this manual for future reference.
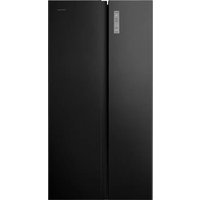
Freezer Middle Drawer Freezer Lower Drawer Freezer Door Bin Glass Shelf Cover Storage Drawer Convertible Compartment LED light Convertible Compartment Tray Convertible Compartment Middle Drawer Convertible Compartmente Lower Draw Leveling Leg
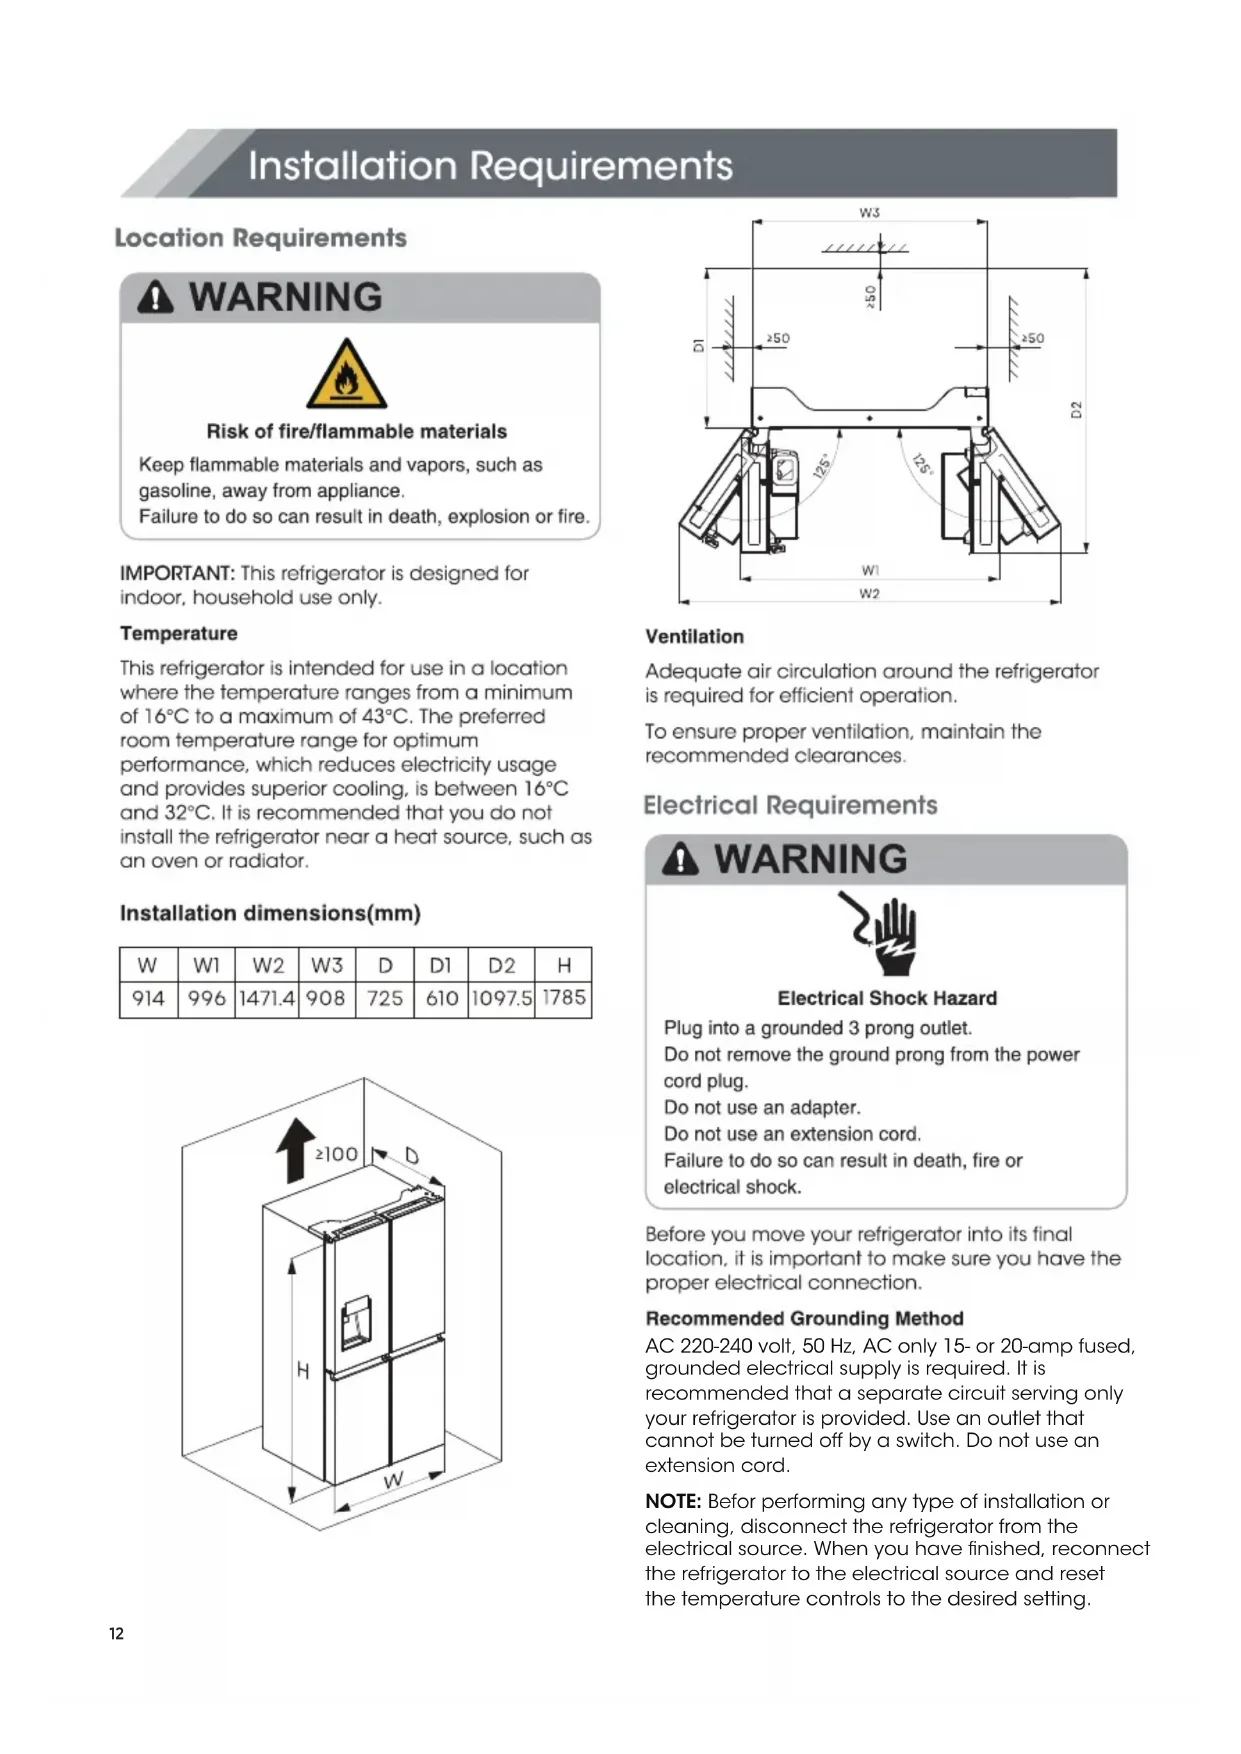
Water storage box12 AC 220-240 volt, 50 Hz, AC only 15- or 20-amp fused, grounded electrical supply is required. It is recommended that a separate circuit serving only your refrigerator is provided. Use an outlet that cannot be turned off by a switch. Do not use an extension cord. NOTE: Befor performing any type of installation or cleaning, disconnect the refrigerator from the electrical source. When you have finished, reconnect the refrigerator to the electrical source and reset the temperature controls to the desired setting.Unpack the Refrigerator Door Removal (only if needed)
,Use of water storage box 1 . The user pulls out the ice box in the direction of the arrow.2. Open the lid of the ice box and add water to it.
3. Close the lid and push back into the ice box in
the direction of the arrow.
1.The ice box can hold up to 4.2L of water. 2.If the water storage box is not in place, the icon“ ”on the control panel flashes. 3.If the user has more than 7 days of travel planned,it is recommended to clean the ice. 4.When the tank is repositioned,the pump will reverse the water from the ice maker. After about a minute,a few drops of water will fall out of the ice outlet,which is normal. Level Refrigerator if needed are your refrigerator to swing the doors open.and Super Cool function will be off. the "Eco" button,"Eco" function will be activated,
turn Leaving any door open for over 2 minutes will activate door alarm. The “ ” icon will flicker, the control panel will display “dr” , and you will hear a buzzer sound. The buzzer will sound 3 times per minute and will stop after 8 minutes. In case of alarm, you can touch the Alarm button to cancel door alarm, then the “ ” icon stops flickering and keeps on, the buzzer sound will stop at the same time. Also door alarm can be stopped by closing all the doors. To save energy, please avoid keeping doors open for a long time when using refrigerator. The control panel is shown in the diagram below. Press and hold "Alarm" for 3 seconds to lock the whole Control Panel including dispenser function If Control panel is locked, the icon “ ” will be on, and none of the buttons on the Control panel work. To unlock the Control panel, please press and hold “Alarm” for 3 seconds again. button again, and the icon “ ” will be off. NOTE: When the “ Ice Off” is on, it only turn off the ice maker not the dispenser. be illuminated, the fridge temperature setting will items in the Fridge, please touch and hold this You can touch “Ice Off” button to control the ice maker. When the Child Lock is off, you can touch the “ Ice Off ” button to turn off the ice maker, and the icon “ ” will be illuminated. If you want to turn on the ice maker, please touch the “ Ice Off ”This appliance may be controlled remotely with a When selecting the Super Freeze function,ensure If Eco mode is off, the icon“ “ will go off and the On the Super Freeze function,when you touch and Super Freeze mode will be off. convertible To freeze fresh food activate the Super Freeze function at least 24 hours before placing the food to complete pre-freezing The temperature of the fridge is automatically switched to 6°C and the freezer to -17°C. temperature setting will revert back to the previous setting. If the water tank is not installed in place,the icon will flicker.If the water tank is installed in place, the icon “ ” will be extinguished. When the icon “ ” flicker,long press the Eco button for 3 seconds to cancel tank alarm and the icon will be extinguished. If you need to make ice, you still need to put the tank in place. “ ” will be illuminated, the freezer temperature setting will display -24°C. Super Freeze can quickly lower the temperature and freeze your food faster than usual. This can retain more of the vitamins and nutrition in fresh food and keep your food longer. Super Freeze automatically switches off after 52 hours, and the freezer temperature setting will revert back to the previous setting. When the Super Freeze function is on, you can touch “Freezer” to switch off the Super Freeze function. The Super Freeze is used to perform pre-freezing and fast freezing in sequence of Freezer compartment This function accelerates the freezing of fresh food and,at the same time,protects foodstuffs already stored from undesirable warming. Demo mode is for store display,and it prevents the refrigerator from generating cool air. In this Cooling off Mode, the refrigerator may seem like it is working but it will not make cool air. The indicators on the control panel will show “OF”. To cancel this mode, press and hold “ Alarm” and “ Wi-Fi” buttons at the same time for 3 seconds and the buzzer will make a long sound. compartment temperature. When the Child Lock is on,the dispenser will not work.When the Child Lock is off,you can press the “Cubed”or “Crushed” option to choose the type of ice to be dispensed,and press the “Water” button will activate the water mode.If you choose the function of Cubed,the “ ” icon will be illuminated, choose the fuction of Crushed the “ ” icon will be illuminated,and the “ ” icon will be illuminated when Water function be choosed. the "Eco" button,"Eco" function will be activated,
Wi-Fi function smart phone or a tablet computer. If the appliance is not connected to the home network, it will function like a regular appliance. What do you need to connect the appliance?
- Signal from the local wireless network (Wi-Fi) should be sufficiently strong in the spot where the appliance is installed.
Home network router has to be connected to the internet, and the Wi-Fi function on the
appliance should be activated.
- The smart phone/tablet computer has to be
connected to the internet.
- Operating system on your smart phone/tablet computer should be compatible with the ConnectLife app.
there are no bottles in the freezer compartment. Bottles and cans may explode. You can touch this button to turn Eco mode on and off. When you turn Eco mode on, the Eco icon “ ” lights. r $0//&$5"11-*"/$&508J'J After activating the Wi-Fi function, connect your device to your home router in order to connect your appliance with the ConnectLife mobile app. Step 1: Set the appliance to normal operation. Touch the Wi-Fi key for approximately 3 seconds. "11-*"/$&8J'J45"5& 5IFSFBSFUISFF8J'JTUBUFTBTTIPXOCFMPX ZPVDBOBDUJWBUFUIFEJTQMBZCPBSE BDDPSEJOHUPUIFSFMFWBOUTUFQTtransmitting power in the operating frequency radiator and your body. - Transmitting frequency band(s) and max allowed You entered network connection menu when “ - - ”appears in the display. Step 2: Touch the Fridge key to select “ ” within 60 seconds. Step 3: Touch the Wi-Fi key to confirm the selection mode. The Wi-Fi symbol starts blinking and the network of this appliance is now open to connect to,for 5 miniutes. Step 4: When the Wi-Fi symbol “ ” is on, it means that the Wi-Fi connection is successful. The display will return to normal. Step 4: When the display returns to normal, it means the PAIR connection is successful. Step 4: After the device is unbound, it will automatically enter the distribution network state, the “ ” icon flashes, and the distribution network time is up to 5 minutes. r .6-5*64&31"*3"11-*"/$& The appliance can be paired with your mobile device. Simply pair another user to your appliance. This requires, that your appliance was already set up before and is connected to your home network. If not, go back and select SET UP APPLIANCE. Information! We recommend downloading and installing the mobile app and creating a ConnectLife account before attempting to set up the connection with your appliance. ConnectLife App The ConnectLife App is available to download free of charge from the Apple App Store or from the Google Play Store. Installing the ConnectLife app
1. Go to the App Store (on Apple devices),
AppGallery (on Huawei devices) or Google Play Store (on Android devices) on your phone/tablet computer. Step 1: Set the appliance to normal operation. Touch the Wi-Fi key for approximately 3 seconds. You entered network connection menu when “ - - ”appears in the display. Step 2: Touch the Fridge key to select “ ” within 60 seconds. Step 3: Touch the Wi-Fi key to confirm miniutes. selection mode. The PAIR network of this appliance is now open to connect to, for 5
6/#*/%"--64&340'"11-*"/$& By activating this function, UIFVTFS JOGPSNBUJPOTUPSFEJOUIFBQQMJBODFXJMMCF EFMFUFE BOE the appliance will be removed from all paired app user accounts. Step 1: Set the appliance to normal operation. Touch the Wi-Fi key for approximately 3 seconds. Step 2: Touch the Fridge key to select within 60 seconds. You entered network connection menu when “ - - ”appears in the display. Step 3: Touch the Wi-Fi key to confirm the selection mode to realize unbinding.
2. Search for “ConnectLife”.
3. Choose the ConnectLife app and install
0 dbm. - This equipment should be installed and operated with minimum distance 0 cm between the
2400-2483,5 band(s) MHz, less than or equal
8KSU\OTM8KVRGIOTMLXKK`KXJXG]KX
passes the rail support. select what you want to dispense. (1) (2)First, open the door at the maximum Angle.
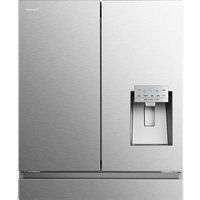
The water dispenser is located in the fridge door. To get water, push the water button. Then move your glass down to the dispenser lever (A) in the suggested position and press it. as required. Then move your glass down to the the water dispenser still installed even if the dispenser is not in use. To relocate the door baskets (B), slide them into the original location and push down until them sticks. To remove the glass shelves, tilt up the front of the sheelf shown in Page19 (1) ande lift it up vertically shown in Page19 (2). Then pull the shelf out. Clean regularly the surfaces that can come in Make sure the compliance is checked by regular inspections. When cleaning the shelf parts, remove the lower shelf parts and place them horizontally. Either front or back, to prevent the shelf support from falling off. If the shelf parts are placed at an angle,their sides will touch the ground.When the force applied for cleaning is not proper,the shelf bracket will easily fall off.
This product contains a light source of energy efficiency class G. Tape rubber or wooden blocks to the tops of the two doors, and let them open a sufficient distance to let air in. This stops odor and mold from building up. Seal the doors with tape and tape the powerRefrigerator operation