JDS1750EB - Cooker JENN-AIR - Free user manual and instructions
Find the device manual for free JDS1750EB JENN-AIR in PDF.
Document temporarily unavailable
The manual is currently being transferred to our new server. It will be accessible again in a few hours. Thank you for your patience.
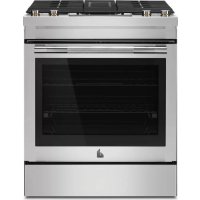
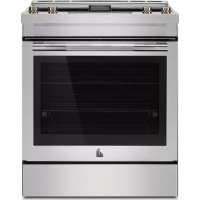
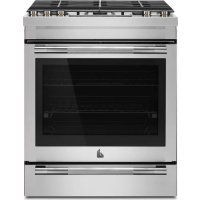
| Product type | Dual-fuel range (gas and electric) with downdraft exhaust |
| Brand | JENN-AIR |
| Model | JDS1750EB |
| Power supply | Natural gas or propane (surface burners) and 240 V (oven and controls) |
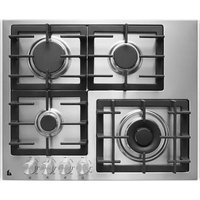
| Number of surface burners | 5 sealed burners (sizes: small, medium, large, extra-large) |
| Oven type | Single oven with manual and automatic convection technology |
| Oven capacity | Approximately 5.0 cu. ft. (estimate) |
| Cooking functions | Bake, broil, convection bake, roast, bread proof, keep warm, favorite recipe |
| Cleaning program | AquaLift® self-cleaning technology (low-temperature cleaning with water) |
| Exhaust system | Downdraft exhaust fan (high, low, auto-off speeds) |
| Controls | Electronic controls with digital display, timer, lock |
| Sliding rack | Yes, a sliding rack for easy access |
| Sabbath mode | Yes, maintains cooking without audible tones or temperature change display |
| Safety | Anti-tip bracket, automatic shut-off after 12 hours, control lock |
| Oven light | Standard 40W appliance bulb |
| Included accessories | Oven racks, broiler pan and grid, griddle (depending on model) |
| Optional accessories | Broiler kit, additional sliding oven rack, propane conversion kit, specific cleaners |
| Warranty | 2-year limited warranty (parts and labor for defects in materials or workmanship) |
Frequently Asked Questions - JDS1750EB JENN-AIR
User questions about JDS1750EB JENN-AIR
0 question about this device. Answer the ones you know or ask your own.
Ask a new question about this device
Download the instructions for your Cooker in PDF format for free! Find your manual JDS1750EB - JENN-AIR and take your electronic device back in hand. On this page are published all the documents necessary for the use of your device. JDS1750EB by JENN-AIR.