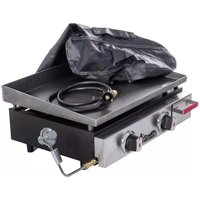
Patio Bistro 240 15601900 - Grill plate CHAR BROIL - Free user manual and instructions
Find the device manual for free Patio Bistro 240 15601900 CHAR BROIL in PDF.
Document temporarily unavailable
The manual is currently being transferred to our new server. It will be accessible again in a few hours. Thank you for your patience.
| Product type | Outdoor gas grill plate |
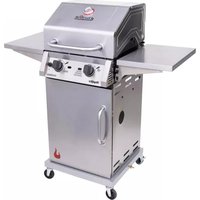
| Brand | CHAR BROIL |
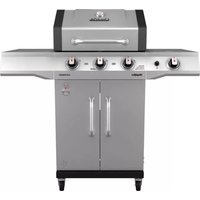
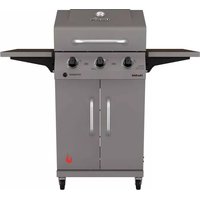
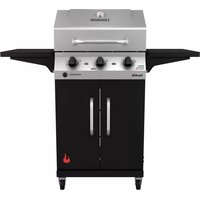
| Model | Patio Bistro 240 15601900 |
| Energy source | Propane gas (LPG) |
| Number of burners | 2 |
| Burner material | Stainless steel |
| Cooking grates material | Chrome-plated steel |
| Estimated total power | 24,000 BTU (approx. 7 kW) |
| Estimated dimensions (L x W x H) | 107 x 56 x 114 cm |
| Estimated weight | 32 kg |
| Ignition | Electronic (AA battery) |
| Cooking surface | Cooking grate, burner cover, warming rack |
| Heat indicator | Yes, built into lid |
| Storage bar | Yes, towel bar included |
| Safety | Overfill prevention device, emergency shutoff, leak test recommended |
| Grease tray | Removable with grease cup guide |
| Included accessories | Cleaning tool (scraper), match holder, battery |
| Warranty | Stainless steel burner: 5 years; lid: 2 years; other parts: 1 year |
| Color | Black (estimate) |
| Chassis material | Painted steel |
Frequently Asked Questions - Patio Bistro 240 15601900 CHAR BROIL
User questions about Patio Bistro 240 15601900 CHAR BROIL
0 question about this device. Answer the ones you know or ask your own.
Ask a new question about this device
Download the instructions for your Grill plate in PDF format for free! Find your manual Patio Bistro 240 15601900 - CHAR BROIL and take your electronic device back in hand. On this page are published all the documents necessary for the use of your device. Patio Bistro 240 15601900 by CHAR BROIL.