
SE5000HRWS00BNO4 - Solar panel SolarEdge - Free user manual and instructions
Find the device manual for free SE5000HRWS00BNO4 SolarEdge in PDF.

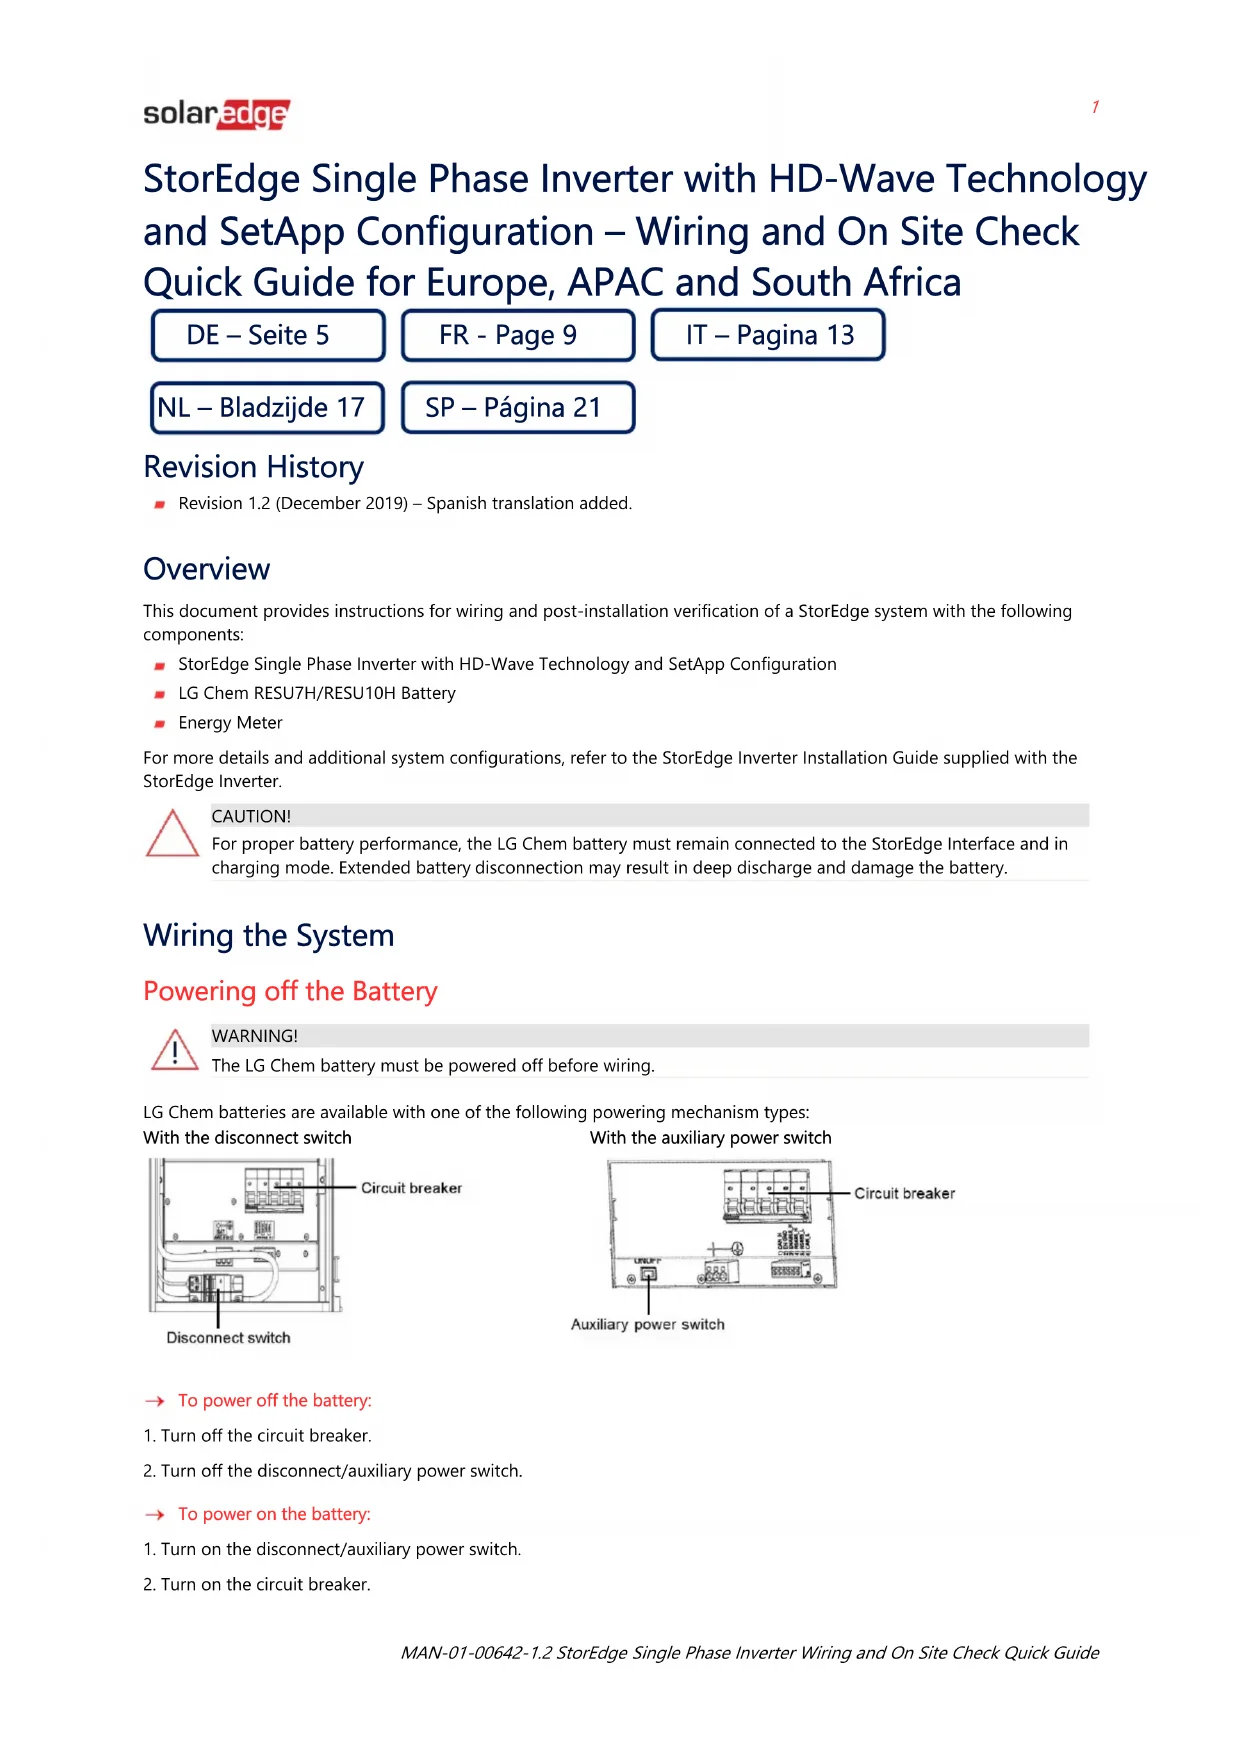


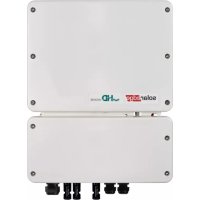
| Product type | Single-phase inverter with storage (StorEdge) |
| Brand | SolarEdge |
| Model | SE5000HRWS00BNO4 |
| Technology | HD-Wave (high frequency) |
| Configuration | SetApp (via mobile app) |
| Rated AC power | 5000 W |
| Max DC input voltage | 480 V |
| MPPT voltage range | 200-480 V |
| Dimensions (W x H x D) | 540 x 370 x 175 mm |
| Weight | 22 kg |
| Power supply | 230 V AC single-phase, 50/60 Hz |
| Main functions | DC/AC conversion, battery management (LG Chem RESU7H/10H), energy meter, maximum self-consumption, RS485 communication, online monitoring |
| Maintenance and cleaning | Clean the exterior with a dry cloth; check connections and cable condition periodically |
| Safety | ON/OFF/P switch, overvoltage protection, battery emergency stop, mandatory grounding |
| Spare parts and repairability | Contact SolarEdge technical support for any repair; parts available through authorized centers |
| General information | Manual available in multiple languages; compatible with SolarEdge power optimizers |
Frequently Asked Questions - SE5000HRWS00BNO4 SolarEdge
User questions about SE5000HRWS00BNO4 SolarEdge
0 question about this device. Answer the ones you know or ask your own.
Ask a new question about this device
Download the instructions for your Solar panel in PDF format for free! Find your manual SE5000HRWS00BNO4 - SolarEdge and take your electronic device back in hand. On this page are published all the documents necessary for the use of your device. SE5000HRWS00BNO4 by SolarEdge.
USER MANUAL SE5000HRWS00BNO4 SolarEdge
StorEdge Single Phase Inverter with HD-Wave Technology and SetApp Configuration – Wiring and On Site Check Quick Guide for Europe, APAC and South Africa
DE – Seite 5
FR - Page 9
IT – Pagina 13
NL - Bladzijde 17
SP – Página 21
Revision History
Revision 1.2 (December 2019) – Spanish translation added.
Overview
This document provides instructions for wiring and post-installation verification of a StorEdge system with the following components:
■ StorEdge Single Phase Inverter with HD-Wave Technology and SetApp Configuration
LG Chem RESU7H/RESU10H Battery
Energy Meter
For more details and additional system configurations, refer to the StorEdge Inverter Installation Guide supplied with the StorEdge Inverter.

CAUTION!
For proper battery performance, the LG Chem battery must remain connected to the StorEdge Interface and in charging mode. Extended battery disconnection may result in deep discharge and damage the battery.
Wiring the System
Powering off the Battery

WARNING!
The LG Chem battery must be powered off before wiring.
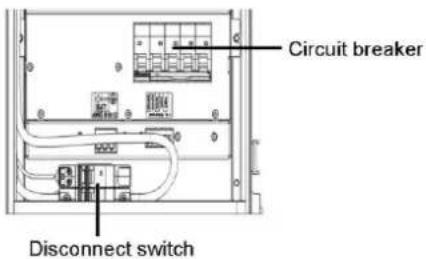
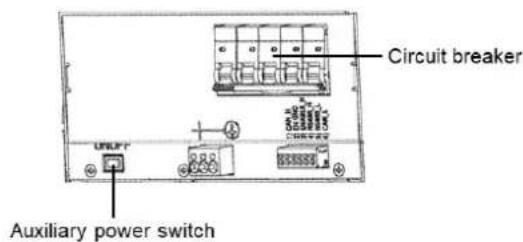
LG Chem batteries are available with one of the following powering mechanism types: With the disconnect switch With the auxiliary power swit
→ To power off the battery:
- Turn off the circuit breaker.
- Turn off the disconnect/auxiliary power switch.
→ To power on the battery:
- Turn on the disconnect/auxiliary power switch.
- Turn on the circuit breaker.
Connecting System Components
Connect the system components as shown in the diagram below.
Pay attention to:
Cable types
DIP switch setup
If no Energy Meter is connected, terminate the inverter's RS485 bus by switching the left DIP switch ON.
![graph TD A["LG Chem Battery"] --> B["Inverter"] B --> C["Energy Meter"] subgraph Inverter D["Left DIP > OFF"] E["B A G En"] F["G <> G"] G["B- <> B- and A+ <> A+ on the same twisted pair"] end subgraph Energy Meter H["RS-485"] I["Tu nV B"] J["A+"] K["G"] L["N/A"] M["L1 CT 0.333V~"] N["L2 CT 0.333V~"]…](/content/2026/04/632306/images/0bbe9260d0771fbf5bb96fa6e8fe05d2a540d7132e92beb6f5cb23c6b358a7c9.jpg)
Post Installation Verification and Configuration
Use the checklist below to verify that the system is properly connected and configured.
Installation and Wiring
- Make sure the distances between the system components are as specified in the installation guide.
- Take a picture of each of the system components after wiring them and send the pictures to SolarEdge support.
Inverter
StorEdge Interface
Battery
Energy Meter
- Make sure the battery splash cover is closed.
- Make sure the DIP switches of all components are set as shown in the connection diagram.
-
Make sure all DC, communication and AC cabling connections are completed as follows:
-
Check the AC wiring and the AC circuit breaker on the AC distribution panel.
- Check the string DC input voltage. Expect 1V per optimizer in a string.
■ Make sure all components are properly grounded. - Check the DC connections on the battery and StorEdge Interface.
- Check the RS485 connection between the battery and inverter.
-
Check the CT, AC and RS485 connections to the Energy Meter.
-
Check connection to Monitoring Platform:
In SetApp, select Commissioning > Status.
- Check that S_OK - Server Connected appears in the main inverter section.
Configuring the Battery and Meter
- Switch the inverter ON/OFF/P switch to OFF.
- Access SetApp and select Commissioning > Communication.
- From the Communication screen, select RS485-1 > Protocol > Modbus (Multi-Device).
- Return to the previous screen and select Add Modbus Device > Battery.
- Verify the battery information by selecting Battery 1 > Battery Information.
- In the RS485-1 screen, select Add Modbus Device > Meter.
- Set the meter's CT Rating according to the CT specifications. If the CT rating value returns to 0, check communication with the CT.
- Select Meter 1 > Meter Function > Export+Import (E+I).
9. Run a battery self-test:
■ Make sure the battery's circuit breaker switch is ON.
- Switch the inverter ON/OFF/P switch to ON.
In SetApp, select Commissioning > Maintenance > Diagnostics > Self-Test > Battery Self-Test > Run Test.
- Wait for all tests to complete and check the results in the summary table.
If any of the tests have failed, see the table below for possible solutions:
| Test Results | Solution |
| Charge failed | Check that the power and communication cables between the battery and inverter are properly connected. |
| Discharge failed | Check that the power and communication cables between the battery and inverter are properly connected. |
| Communication | Check that the communication cables between the battery and inverter are properly connected. |
| Inverter switch is off | Switch the inverter ON/OFF/P switch to ON. |

To show the last test results:
■ Select Commissioning > Maintenance > Diagnostics > Self-Test > Battery Self-Test > Show Last Results.
Setting up the Maximize Self-consumption (MSC)
- Access SetApp and select Commissioning > Power Control.
- Select Energy Manager > Energy Control > Maximum Self Consumption.


Support Contact Information
If you have technical queries concerning our products, please contact us:

http://https://www.solaredge.com/service/support
Before contact, make sure to have the following information at hand:
■ Model and serial number of the product in question.
The error indicated on the product mobile application LCD screen or on the monitoring platform or by the LEDs, if there is such an indication.
■ System configuration information, including the type and number of modules connected and the number and length of strings.
The communication method to the server, if the site is connected.
The product's software version as it appears in the ID status screen.
http://https://www.solaredge.com/service/support
http://https://www.solaredge.com/service/support
http://https://www.solaredge.com/it/service/support
■ Revisie 1.2 (December 2019)
Overzicht
http://https://www.solaredge.com/service/support
http://https://www.solaredge.com/service/support

- STOREDGE SINGLE PHASE INVERTER WITH HD-WAVE TECHNOLOGY AND SETAPP CONFIGURATION – WIRING AND ON SITE CHECK QUICK GUIDE FOR EUROPE, APAC AND SOUTH AFRICA
- REVISION HISTORY
- OVERVIEW
- CAUTION
- WIRING THE SYSTEM
- POWERING OFF THE BATTERY
- WARNING
- CONNECTING SYSTEM COMPONENTS
- POST INSTALLATION VERIFICATION AND CONFIGURATION
- INSTALLATION AND WIRING
- CONFIGURING THE BATTERY AND METER
- RUN A BATTERY SELF-TEST
- SETTING UP THE MAXIMIZE SELF-CONSUMPTION (MSC)
- SUPPORT CONTACT INFORMATION
- OVERZICHT
Brand : SolarEdge
Model : SE5000HRWS00BNO4
Category : Solar panel