
CM100 - Measuring equipment VOLTCRAFT - Free user manual and instructions
Find the device manual for free CM100 VOLTCRAFT in PDF.
| Product type | CO₂ measuring instrument |
| Brand | Voltcraft |
| Model | CM100 |
| Dimensions (device) | 173 x 68 x 42 mm |
| Dimensions (probe) | 185 x 38 x 26 mm |
| Probe cable length | Approx. 1 m |
| Weight | Approx. 470 g |
| Power supply | 6 micro batteries 1.5 V (AAA) or 9 V DC power supply, min. 150 mA (optional) |
| Power consumption | 10 - 128 mA |
| CO₂ measuring range | 0 - 4000 ppm |
| CO₂ resolution | 1 ppm |
| CO₂ accuracy | 0-1000 ppm: ±40 ppm; 1000-3000 ppm: ±5% of reading; 3000-4000 ppm: ±250 ppm |
| Temperature measuring range | 0 - 50 °C / 32 - 122 °F |
| Temperature resolution | 0,1 ° |
| Temperature accuracy | ±0,8 °C |
| Altitude compensation | 0 - 9000 m (manually adjustable) |
| Temperature compensation | Automatic |
| Measurement duration | Approx. 2 minutes (depends on air circulation) |
| CO₂ alarm function | Yes (threshold adjustable in Setup menu) |
| Value memory | Minima and maxima (REC) |
| Interface | RS232 (optional cable) |
| Auto power off | After approx. 10 minutes (can be deactivated) |
| Display | 2-line LCD |
| Operating temperature | 0 to +50 °C |
| Relative humidity | < 85% RH, non-condensing |
| Maintenance and cleaning | Clean with a dry, antistatic, lint-free cloth. Do not use abrasive or solvent-based products. |
| Battery replacement | Unscrew the cover on the back, replace with 6 AAA alkaline batteries observing polarity. |
| Safety | Do not use in explosive atmospheres. Avoid moisture, flammable gases. Keep out of reach of children. |
| Spare parts and repairability | Batteries and power supply available as options (references: 65 23 64 for batteries, 12 26 99 for power supply). Repairs by qualified technician. |
| General information | Manual available in FR, DE, EN, NL. Voltcraft technical support: +49 (0) 180/586 582 7 |
Frequently Asked Questions - CM100 VOLTCRAFT
User questions about CM100 VOLTCRAFT
0 question about this device. Answer the ones you know or ask your own.
Ask a new question about this device
Download the instructions for your Measuring equipment in PDF format for free! Find your manual CM100 - VOLTCRAFT and take your electronic device back in hand. On this page are published all the documents necessary for the use of your device. CM100 by VOLTCRAFT.
USER MANUAL CM100 VOLTCRAFT
Copyright 2009 by Voltcraft

Impressum /legal notice in our operating instructions
These operating instructions are a publication by Voltcraft, Lindenweg 15, D-92242 Hirschau/Germany, Phone +49 180/586 582 7 (www.voltcraft.de).
All rights including translation reserved. Reproduction by any method, e.g. photocopy, microfilming, or the capture in electronic data processing systems require the prior written approval by the editor. Reprinting, also in part, is prohibited.
These operating instructions represent the technical status at the time of printing. Changes in technology and equipment reserved.
Copyright 2009 by Voltcraft

Copyright 2009 by Voltcraft

Copyright 2009 by Voltcraft
01_0109_01/HK

These operating instructions belong with this product. They contain important information for putting it into service and operating it. This should be noted also when this product is passed on to a third party.
Therefore look after these operating instructions for future reference!
A list of contents with the corresponding page numbers can be found in the index on page 17.

Symbol Batteriewechsel
0 = ^ Celsius
1 =°Fahrenheit
Thank you for making the excellent decision to purchase this Voltcraft® product.
You have acquired a high-quality product with a name that stands for outstanding products in the field of measuring, charging and power technology which excels by professional competence and permanent innovation.
With Voltcraft®, you will be able to cope even with difficult tasks as an ambitious hobbyist just as much as a professional user. Voltcraft® offers reliable technology and exceptional value for money.
We are certain: your investment in a Voltcraft product will also be the start
of a long and good partnership.
We hope you will enjoy using your new Voltcraft® product!
Table of Contents
Introduction. 17
Intended Use 18
Safety Instructions 18
Delivery Contents 19
Controls 20
Display Symbols 20
Button Functions 21
Operation 21
Setup Menu 22
Performing Measurements 24
CO_2 and Temperature Measurement 24
CO_2 Alarm Operation 24
REC-Measured Value Memory 25
RS232-Interface 25
Maintenance and Cleaning 26
Replacing the Battery 26
Operation with Plug-in Power Unit. 27
Disposal 27
Troubleshooting 28
Specifications 29
Intended Use
The CM-100 is a portable measuring device for ascertaining the carbon dioxide concentration (CO_2) in the surrounding air using the exact and long-term stable NDIR measurement method (Non-Dispersive-Infrared-Absorption measurement). In addition the air temperature can be measured. Both measured values are shown in the display at the same time. The measurement interval is 2 minutes. This provides constantly current values. Threshold values can be individually adjusted by the user. An alarm is sounded when these threshold values are exceeded. The external sensor is compensated for altitude and temperature, so that the measured values are still exact at different altitudes and temperatures. The temperature compensation is carried out automatically, the operational altitude must be manually adjusted.
An RS-232 interface allows the further processing of the measuring data with an optional data cable.
The device is powered with 6 micro-batteries (type AAA, UM4). Operation with a power pack unit is also possible. Batteries and plug-in power pack are not included in delivery.
Measurements must not be carried out under unfavourable ambient conditions.
Adverse ambient conditions include:
-
Excessive dampness or humidity
-
Dust and combustible gases, vapours or solvents Use other than that described above will lead to damage to the product.
No part of the product must be modified or rebuilt!
The safety instructions must be observed!
Safety Instructions

Please read all of the operating instructions before using the product for the first time; they contain important information about correct operation.
The warranty/guarantee is rendered void in cases of damage resulting from failure to comply with these operating instructions! We do not accept any liability for consequential damages!
Nor do we assume liability for damage to property or personal injury caused by improper use or the failure to observe the safety instructions! In such cases the guarantee is voided.
This device left the factory in perfect condition in terms of safety engineering.
To maintain this condition and ensure safe operation, you, as the user, must comply with the safety instructions and warnings contained in these instructions. The following symbols must be observed:

An exclamation mark in a triangle shows important information in this user's manual that has to be observed.

This product has been CE-tested and meets the necessary European guidelines.

The "hand" symbol indicates special information and advice on operation of the device.
For safety and licensing reasons (CE), unauthorised conversion and/or modification of the device is not permitted.
Measuring instruments and accessories are not toys and have no place in the hands of children.
On industrial sites the accident prevention regulations of the association of the industrial workers' society for electrical equipment and utilities must be followed.
CO_2 is a colourless and odourless gas. Ensure your own safety during all measurements. In areas where measured concentrations may be high, only place the sensor in the media / area to be measured. In schools, training centres, computer and self-help workshops, handling of measuring instruments must be supervised by trained personnel in a responsible manner.
Do not switch the measuring instrument on immediately after it has been taken from a cold to a warm environment. The condensation generated could cause serious damage to the device. Allow the device to reach room temperature before switching it on.
Do not leave packaging material lying around carelessly. This could be a dangerous toy for children.
The operation of the product is not permitted in areas where there is a danger of explosion.
You should also heed the safety instructions in each chapter of these instructions.
Delivery Content
CM-100 CO_2 - measuring device
External measuring sensor
Plastic case
Operating instructions
Controls
(see fold-out page)
1 "SET" and "Next/forward" button
2 Button without function (opposite as well)
3 "POWER" button to turn the device on/off
4"HOLD"and“ESC”button
5 LCD display
6 Measuring connection for external sensor (15)
7 Taste "ENTER" and "REC" button
8 "ALARM" button and "Back/down" button
9 Power pack connection socket
10 RESET button
11 RS232 interface
12 Mounting bracket
13 Battery compartment
14 Tripod socket
15 Sensor connection plug
16 Sensor
Display symbols
CO2
chemical symbol for carbon dioxide
PPM Unit "parts per million"
°C/°F Temperature unit (°Celsius or °Fahrenheit)
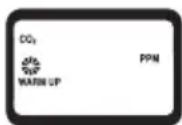
WARM UP Displays the warmup phase
REC Displays recording for minimum/maximum values
MAX Displays the maximum value
MIN Displays the minimum value
ALARM Displays alarm mode is active

Battery replacement symbol

Symbol for currently measuring
DATA Interface is active, data transfer in progress.
Button Functions
POWER Power switch; to switch the unit on and off
HOLD/ESC Measuring operation: The measured values can be held in the display by pressing the HOLD button.
Setup Menu: The menu is exited by pressing the ESC button. The parameters are not saved.
REC/ENTER Measuring operation: The Min-/Max measured values are saved by pressing the REC button, and every additional press of the button displays the Min/Max values one after the other.
Setup Menu: The parameter input will be saved (ENTER). The menu is then exited.
SET/▲ Opens the setup menu (SET). In the setup menu, allows you to switch forwards between menu items () and to change the parameter values (up).
ALARM/Activates the alarm mode (ALARM). In the setup menu, allows you to switch backwards between menu items () and to change the parameter values (down).
Initial Operation
Inserting the batteries
Before the initial operation of this meter, you must first install six new micro-batteries (alkaline AAA). A power pack unit can be used optionally. Battery insertion and power pack operation are described in the "Maintenance and Cleaning" section.
Connecting the measuring sensor
Connect the round plug of the sensor (15) with the socket "PROBE INPUT" (6) on the measuring device. The plug is protected against wrong polarity and only fits into the socket in the right direction. Observe the arrow marking on the plug. This marking points towards the back of the device. Make sure that the plug is firmly inserted otherwise inaccurate measurements will be made.
Setting up the measuring device
For better reading, the measuring device can be set up using the bracket on the rear (12).
The device can be mounted on a tripod using the tripod socket (14)
Automatic cutoff function
In order to avoid that the operating life of the battery is shortened unnecessarily, an automatic switch-off function has been implemented. The device is automatically switched off if no button has been pressed over a period of about 10 minutes. You can switch the device back on with the "Power" button (3).
The automatic cutoff function be turned on/off within the setup menu (PoFF). The setup menu is explained in the next chapter. This function is always deactivated in the REC mode.
HOLD function
When in measuring mode, the "HOLD" button allows the measured values for carbon dioxide and temperature to be held in the display. The "HOLD" symbol is shown in the display. Pressing the button again switches back to the normal measuring mode "HOLD" is no longer shown.
Switching the device on and off
Switch the device on using the "POWER" button (3). The measuring device stays in the warmup phase for approx. 45 seconds. This is signalled by "WARM UP" in the display. Wait until the carbon dioxide and temperature values appear and the "WARMUP" symbol disappears.
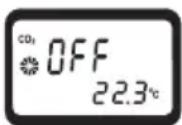
The measuring device is ready for operation. Switch the device off by
pressing the "POWER" button (3) again. "OFF" is shown in the display and the device switches off with a beep tone.
Setup Menu

Carry out the setup menu setting at first operation of the product. The "HOLD" and "REC" function must be deactivated to enter the setup menu. To deactivate the REC function press and hold the "REC" (7) button for approx. 2 seconds. Both symbols (HOLD and REC) should not be shown in the display.
The setup menu allows you to make basic settings which are necessary for correct operation and also to adjust additional parameters.
The menu is reached as follows:
- Switch on the device and wait until the "WARMUP" phase is complete.
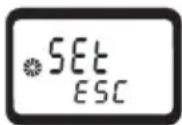
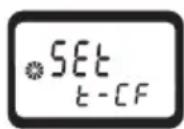
- Press and hold the "SET" (1) button for approx. 4 seconds. The display shows "SET"
- Use the SET (1) and ALARM (8) buttons to select individual menu items.
- Confirm your selection by pressing the "ENTER" (7) button. You can change the parameters.
- Use the SET (1) and ALARM (8) buttons to change the parameters.
- Confirm your selection by pressing the "ENTER" (7) button. The parameter is saved and the menu is then exited. If you don't want to save the setting, press the "ESC" button (4). The menu is ended.
- Repeat points 2 to 6 in order to set other menu item.
The following menu items can be selected:
PoFF To set automatic shutoff
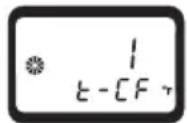
t-CF To set the temperature unit (^ / ^)
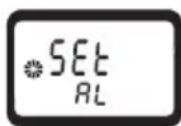
AL To set the upper threshold of the CO concentration alarm
ALt To set the correct altitude of the measuring location (in relation to sea level - above mean sea level (AMSL)).
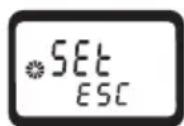
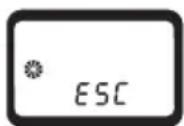
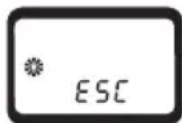
ESC The setup menu can then be exited.
PoFF Automatic Cutoff
Under the menu item "PoFF" you can turn on/off the automatic cutoff function.
- Confirm this menu item by pressing the "ENTER" (7) button.
- Use the "SET" (1) and "ALARM" (8) buttons to change the parameters.
0 = Automatic cutoff is deactivated
1 = Automatic cutoff is activated


- Confirm your selection by pressing the "ENTER" (7) button to save the value or to exit the menu without saving press the "ESC" (4) button.
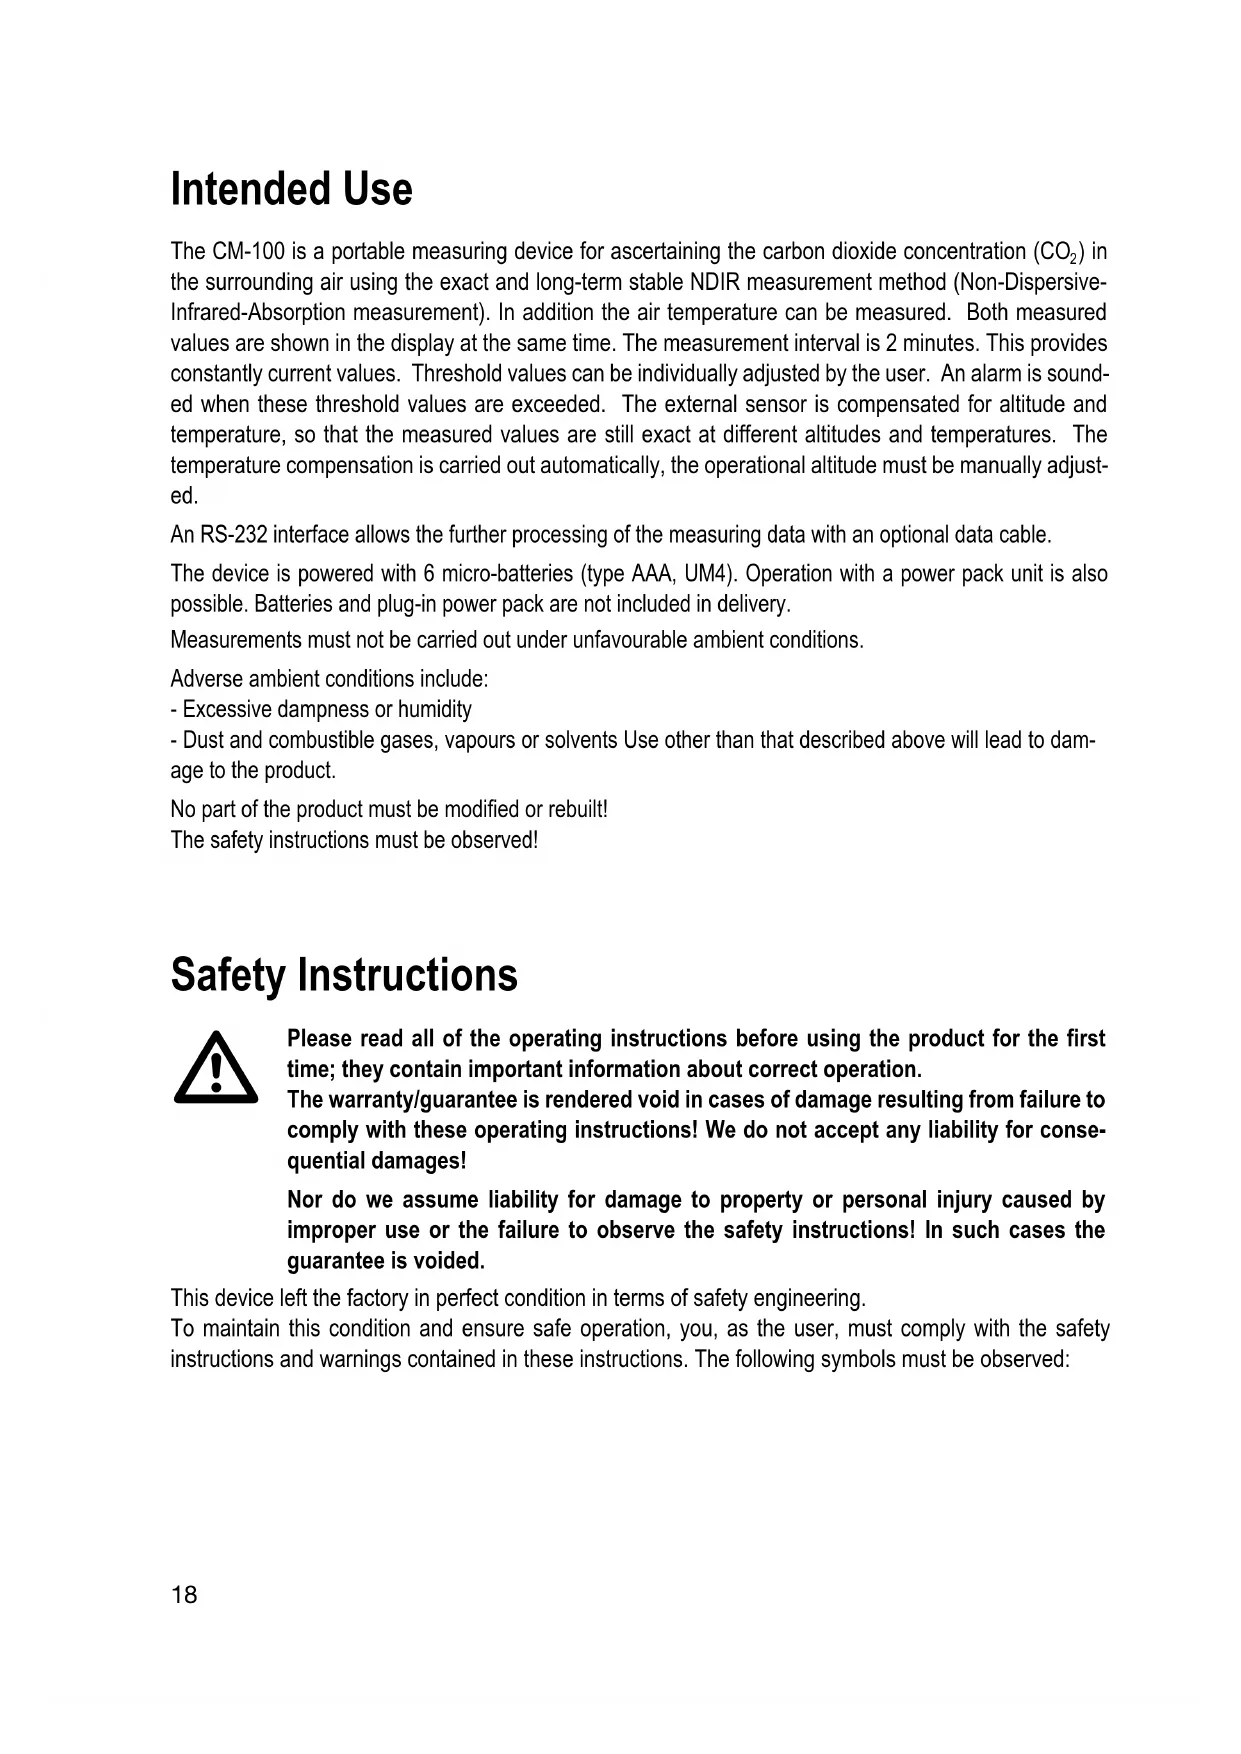
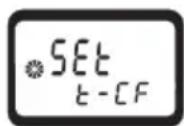
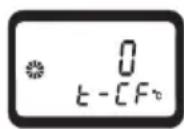
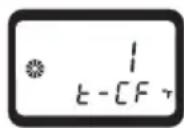
t-CF - To adjust the temperature unit
Under the menu item "t-CF" the temperature unit can be adjusted between ^ C elsius and the North American unit ^ Fahrenheit.
- Confirm this menu item by pressing the "ENTER" (7) button.
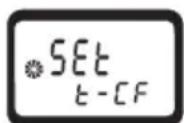
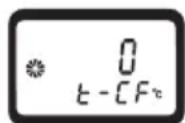
- Use the "SET" (1) and "ALARM" (8) buttons to change the parameters.
0 = ^ Celsius
1 =°Fahrenheit
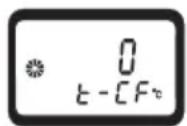
- Confirm your selection by pressing the "ENTER" (7) button to save the value or to exit the menu without saving press the "ESC" (4) button.
AL - Alarm threshold for the CO_2 value
Under the menu item "AL" you can set the carbon dioxide alarm. If this threshold value is reached or exceeded, there is a warning noise emitted with each measurement. To set, proceed as follows:
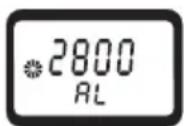
- Confirm this menu item by pressing the "ENTER" (7) button.
- Use the "SET" (1) and "ALARM" (8) buttons to change the threshold. This value can be adjusted across the whole measurement range of the device. If you hold down the button the adjustment occurs in increments of 10 (fast setting).
- Confirm your selection by pressing the "ENTER" (7) button to save the value or to exit the menu without saving press the "ESC" (4) button.
ALt - Set the height compensation
In order to obtain correct measurements, you need to set the operational altitude under the menu item "ALT". The setting is made as metres above mean sea level (AMSL). To set, proceed as follows:
- Confirm this menu item by pressing the "ENTER" (7) button.
- Use the "SET" (1) and "ALARM" (8) buttons to change the altitude in metres. The operational altitude can be adjusted between 0 and 9000 metres. If you hold down the button the adjustment occurs in increments of 10 (fast setting).
- Confirm your selection by pressing the "ENTER" (7) button to save the value or to exit the menu without saving press the "ESC" (4) button.
ESC - exit the setup menu
Under the menu item ESC you can exit the setup menu. Proceed as follows to exit:
- Confirm this menu item by pressing the "ENTER" (7) button 2x. The setup menu is then exited.
Carrying out a measurement

To obtain a correct measurement, first wait until the "WARM UP" sign disappears from the display.
CO_2 and Temperature Measurement
-
Switch the device on using the "POWER" button (3).
-
After a signal tone and a short initialisation phase, the measured values are displayed.
- Wait until "WARM UP" in no longer shown in the display.
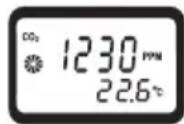
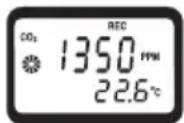
- The measured value for carbon dioxide can be read off the middle display line in "PPM". The lower display line shows the ambient temperature in the preset unit (^ or ^ F)

The rotating fan display signals measurement in progress. One rotation of the display fan indicates on measurement. The stable CO_2 display requires a measurement period of < 2 minutes.
CO_2 Alarm Operation
- The alarm function can be activated during measurement by pressing the "ALARM" (8) button.
- The symbol "ALARM" now appears in the display.
- If this threshold value (setup menu) is reached or exceeded, then there is a signal noise emitted with each measurement.
- The alarm function can be deactivated by pressing the "ALARM" (8) button again. The "ALARM" symbol disappears.

The alarm value can be preset in the setup menu. See the chapter "Setup Menu"
REC-Measured Value Memory
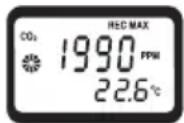
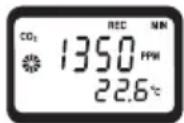
The measured value memory records the minimum and maximum carbon dioxide concentration values.
- The REC function can be activated during measurement by pressing the "REC" (7) button.
- The symbol "REC" now appears in the display accompanied by a beep tone.
- The recording is running. Automatic cutoff is deactivated
- You can view the max values by pressing the "REC" (7) button again. The display shows "MAX" and the value is loaded from the memory and displayed. Pressing the button again shows the min value along with the "MIN" in the display. The Min/Max display can be exited by pressing the "ESC" (4) button - this returns you to the "REC" measured value recording. The display now only shows "REC".
- To deactivate the REC function press and hold the "REC" (7) button for approx. 2 seconds. The "REC" symbol disappears.

The recorded measured values are only saved in REC measurement mode. If this function is ended or the measuring device is switched off, the memory is deleted.
RS232 interface
The measuring device is fitted with a serial interface (11) for exchanging data with a computer. This can be found on the right hand side under a cover. Open the cover with a pointed object. The interface is in the form of a 3.5mm mono jack plug socket and requires a compatible data cable, which is an optional extra.
The data cable has the following components:
| Jack plug 3.5 mm mono 9-pole D-SUB | socket for PC |
| Centre contact Pin 4 | |
| External contact Pin 2 | |
| 2.2 KOhm resistance is necessary between Pin 2 and Pin 5 a. |
The serial data signal is made up of 16 Bits in the following order: D15 D14 D13 D12 D11 D10 D9 D8 D7 D6 D5 D4 D3 D2 D1 D0
Each data bit has the following function:
| D15 Start bit = 02 | |
| D14 4 | |
| D13 Bit during display line sending: 1 = upper line, 2 = bottom line | |
| D11+D12 Measuring unit in the display: 01 = °C, 02 = °F, 19 = PPM | |
| D10 Polarity; 0 = positive, 1 = negative | |
| D9 Decimal point (DP) at the corresponding location from right to left; 0= no DP; 1=1DP; 2=2DP; 3=3DP | |
| D8 to D1 Measuring value | |
| D8 = largest digit (MSD), D1 = smallest digit (LSD). If 1234 is displayed, the bit batch is “00001234” | |
| D0 End digit = 0D | |
RS232 settings: Baud-Rate: 9600, Parity: No, number of data bits: 8, stop bit: 1 (9600, N, 8, 1)
Maintenance and Cleaning
The device is maintenance-free apart from the need to replace the batteries and cleaning it once in a while. Use a clean, lint-free, antistatic and dry cloth to clean the device. Do not use any abrasive or chemical agents or detergents containing solvents.
Battery Replacement
When starting operation for the first time and when the battery symbol appears in the display, the batteries must be inserted/changed.
Proceed as follows to replace the batteries:
- Switch off the measuring instrument
- Loosen the two screws on the reverse side of the battery cover and lift off the battery cover.
- Replace the flat batteries with new alkaline batteries of the same type (AAA) and brand.
- Make sure that the polarity corresponds with the labelling on the battery cover when inserting the batteries (+/-).
- Close the casing again carefully by proceeding in reverse order.


Do not leave flat batteries in the appliance. Even batteries protected against leaking can corrode and thus release chemicals which may be detrimental to your health or damage the appliance.
Batteries may not be charged, shorted out or thrown into fire. Batteries must not be recharged. There is danger of explosion.
Leaking or damaged batteries/rechargeable batteries can cause burns if they come into contact with the skin. It is therefore advisable to use suitable protective gloves.
Operation with Plug-in Power Unit
Optionally, the measuring device can also be operated with a suitable power pack unit. The power pack socket (9) is located on the right side of the casing beneath a flap. Open the cover with a pointed object. The matching plug has the following technical specifications:
External diameter 5.5mm inner hole 2.5mm
Polarity: Outside minus (-), inside plus (+)
Operating Specifications: Voltage: 9 VDC, current: at least 150mA
Suitable alkaline batteries can be obtained as item No 65 23 64 (please order 6). A suitable plug-in power unit can be ordered as item No 12 26 99.
Disposal
Electronic products are raw materials and do not belong in the household waste. When the device has reached the end of its service life, please dispose of it, according to the current statutory requirements, at your local collecting site. Disposal in the domestic waste is not permitted.
Disposal of spent batteries/rechargeable batteries!
You, as the end user, are legally obliged (Ordinance on the Return and Disposal of Used Batteries) to return all used batteries. Disposal in the household waste is prohibited!
Batteries/rechargeable batteries containing harmful substances are marked with the following symbols, they point out that they are not allowed to be disposed of in the domestic refuse. The symbols for dangerous heavy metal constituents are: Cd = cadmium, Hg = mercury, Pb = lead. You can return spent batteries/rechargeable batteries free of charge to any authorised disposal station in your area, in our stores or in any other store where batteries/rechargeable batteries are sold.
You thus fulfil the legal requirements and make your contribution to the protection of the environment!
Troubleshooting
In purchasing this measuring device, you have acquired a product which has been designed to the state of the art and is operationally reliable.
Nevertheless, problems or faults may occur.
For this reason, the following is a description of how you can eliminate possible malfunctions yourself:

Always observe the safety instructions!
| Error Possible cause Remedy | ||
| The device cannot Are the batteries spent? Check the battery status. be switched on. Reset the device by pressing the device by pressing the | Reset button (10). | |
| No stable measurement Wr value is displayed. You may | along measurement? Wait until "WARM still be in the longer shown in the disp "WARM UP" phase. | UP" in no ay. |
| The ambient conditions require The n o a slightly longer measurement time. a | normal measurement time is approximately 2 minutes. If there is poor air circulation this period may increase. Measure for a little longer. | |
| The device cannot Undefined be controlled. the Reset button (10). | pressing | |

Repairs other than those described should only be carried out by an authorised specialist.
If you have questions concerning use of the measuring device, our technical support service is available at the following telephone number:
Voltcraft, Lindenweg 15, 92242 Hirschau, tel. no. 0180 / 586 582 7
Technical Data
Display. 2-line LC display
Measured values .Carbon dioxide and temperature
Measuring time approx. 2 minutes (depending on air circulation)
Measurement range for CO_2 0-4000 ppm
Resolution CO2 1 ppm
Accuracy CO_2 0-1000 ppm: +/-40 ppm
1000-3000 ppm:+/-5% of reading
3000-4000 ppm: + / - 250 ppm (only for comparative use)
Reproducability CO_2 < 3000 ppm: +/- 20 ppm
Temperature measuring range .0 - 50 °C/32 - 122 °F
Temperature resolution 0.1^ 0,1°
Temperature accuracy. -0.8°C/-1.5°F
Altitude compensation .0-9000 m
Temperature compensation........Automatic
Auto power off time approx. 10 minutes
Interface.. Serial, RS232
Batteries 6 x 1.5 V micro batteries (AAA)
Optional plug-in power unit .9 V DC stabilised, min. 150 mA
Power input 10 - 128 mA
Operating temperature .0 to +50^
Rel. air humidity.< 85% rF, not condensing
Weight approx. 470 g
Dimensions (LxWxH mm) 173 x 68 x 42 (measuring device)
185× 38× 26 (sensor)
Sensor cable length........................ approx. 1 m

Introduction
Chere cliente, cher client,
0 = ^ Celsius
1 =°Fahrenheit
0 = ^ Celsius
1 =°Fahrenheit
- Impressum /legal notice in our operating instructions
- Thank you for making the excellent decision to purchase this Voltcraft® product.
- Table of Contents
- Intended Use
- Safety Instructions
- Delivery Content
- Controls
- (see fold-out page)
- Display symbols
- Button Functions
- Initial Operation
- Inserting the batteries
- Connecting the measuring sensor
- Setting up the measuring device
- Automatic cutoff function
- HOLD function
- Switching the device on and off
- Setup Menu
- The following menu items can be selected:
- PoFF Automatic Cutoff
- t-CF - To adjust the temperature unit
- AL - Alarm threshold for the CO_2 value
- ALt - Set the height compensation
- ESC - exit the setup menu
- Carrying out a measurement
- CO_2 and Temperature Measurement
- CO_2 Alarm Operation
- REC-Measured Value Memory
- RS232 interface
- Maintenance and Cleaning
- Battery Replacement
- Operation with Plug-in Power Unit
- Disposal
- Disposal of spent batteries/rechargeable batteries!
- Troubleshooting
- Technical Data
- Introduction
- Chere cliente, cher client,
Brand : VOLTCRAFT
Model : CM100
Category : Measuring equipment