
WWCM180 - Waffle Maker Waring Commercial - Free user manual and instructions
Find the device manual for free WWCM180 Waring Commercial in PDF.
| Product type | Professional waffle cone maker |
| Model | WWCM180 |
| Brand | Waring Commercial |
| Number of waffles per cycle | 1 cone at a time (one set of plates) |
| Plate coating | Non-stick |
| Temperature adjustment | Variable, knob control |
| Light indicators | Red light (power on), green light (ready/cooking complete) |
| Audible indicator | 6 beeps at temperature ready, 3 beeps at end of cooking |
| Functions | STANDBY button, START button, automatic shut-off at end of cycle |
| Included accessories | Cone mold and cone, removable drip tray |
| Optional | Tulip mold and tamper (CAC122) |
| Power supply | 120 V, 60 Hz (3-prong grounded plug) |
| Thermal protection | Overheat protection device |
| Cleaning | Wipe with a damp cloth, never immerse in water |
| Plate maintenance | Do not use metal utensils; lightly oil before first use |
| Warranty | 1 year against defects in material and workmanship |
| Storage temperature | Room temperature, avoid humidity |
| Country of manufacture | United States (Waring, Torrington, CT) |
Frequently Asked Questions - WWCM180 Waring Commercial
User questions about WWCM180 Waring Commercial
0 question about this device. Answer the ones you know or ask your own.
Ask a new question about this device
Download the instructions for your Waffle Maker in PDF format for free! Find your manual WWCM180 - Waring Commercial and take your electronic device back in hand. On this page are published all the documents necessary for the use of your device. WWCM180 by Waring Commercial.
USER MANUAL WWCM180 Waring Commercial
natural_image
Line drawings of two WAWCM180 electric wafers with control knobs and gaskets (no text or symbols on the devices themselves)WWCM200
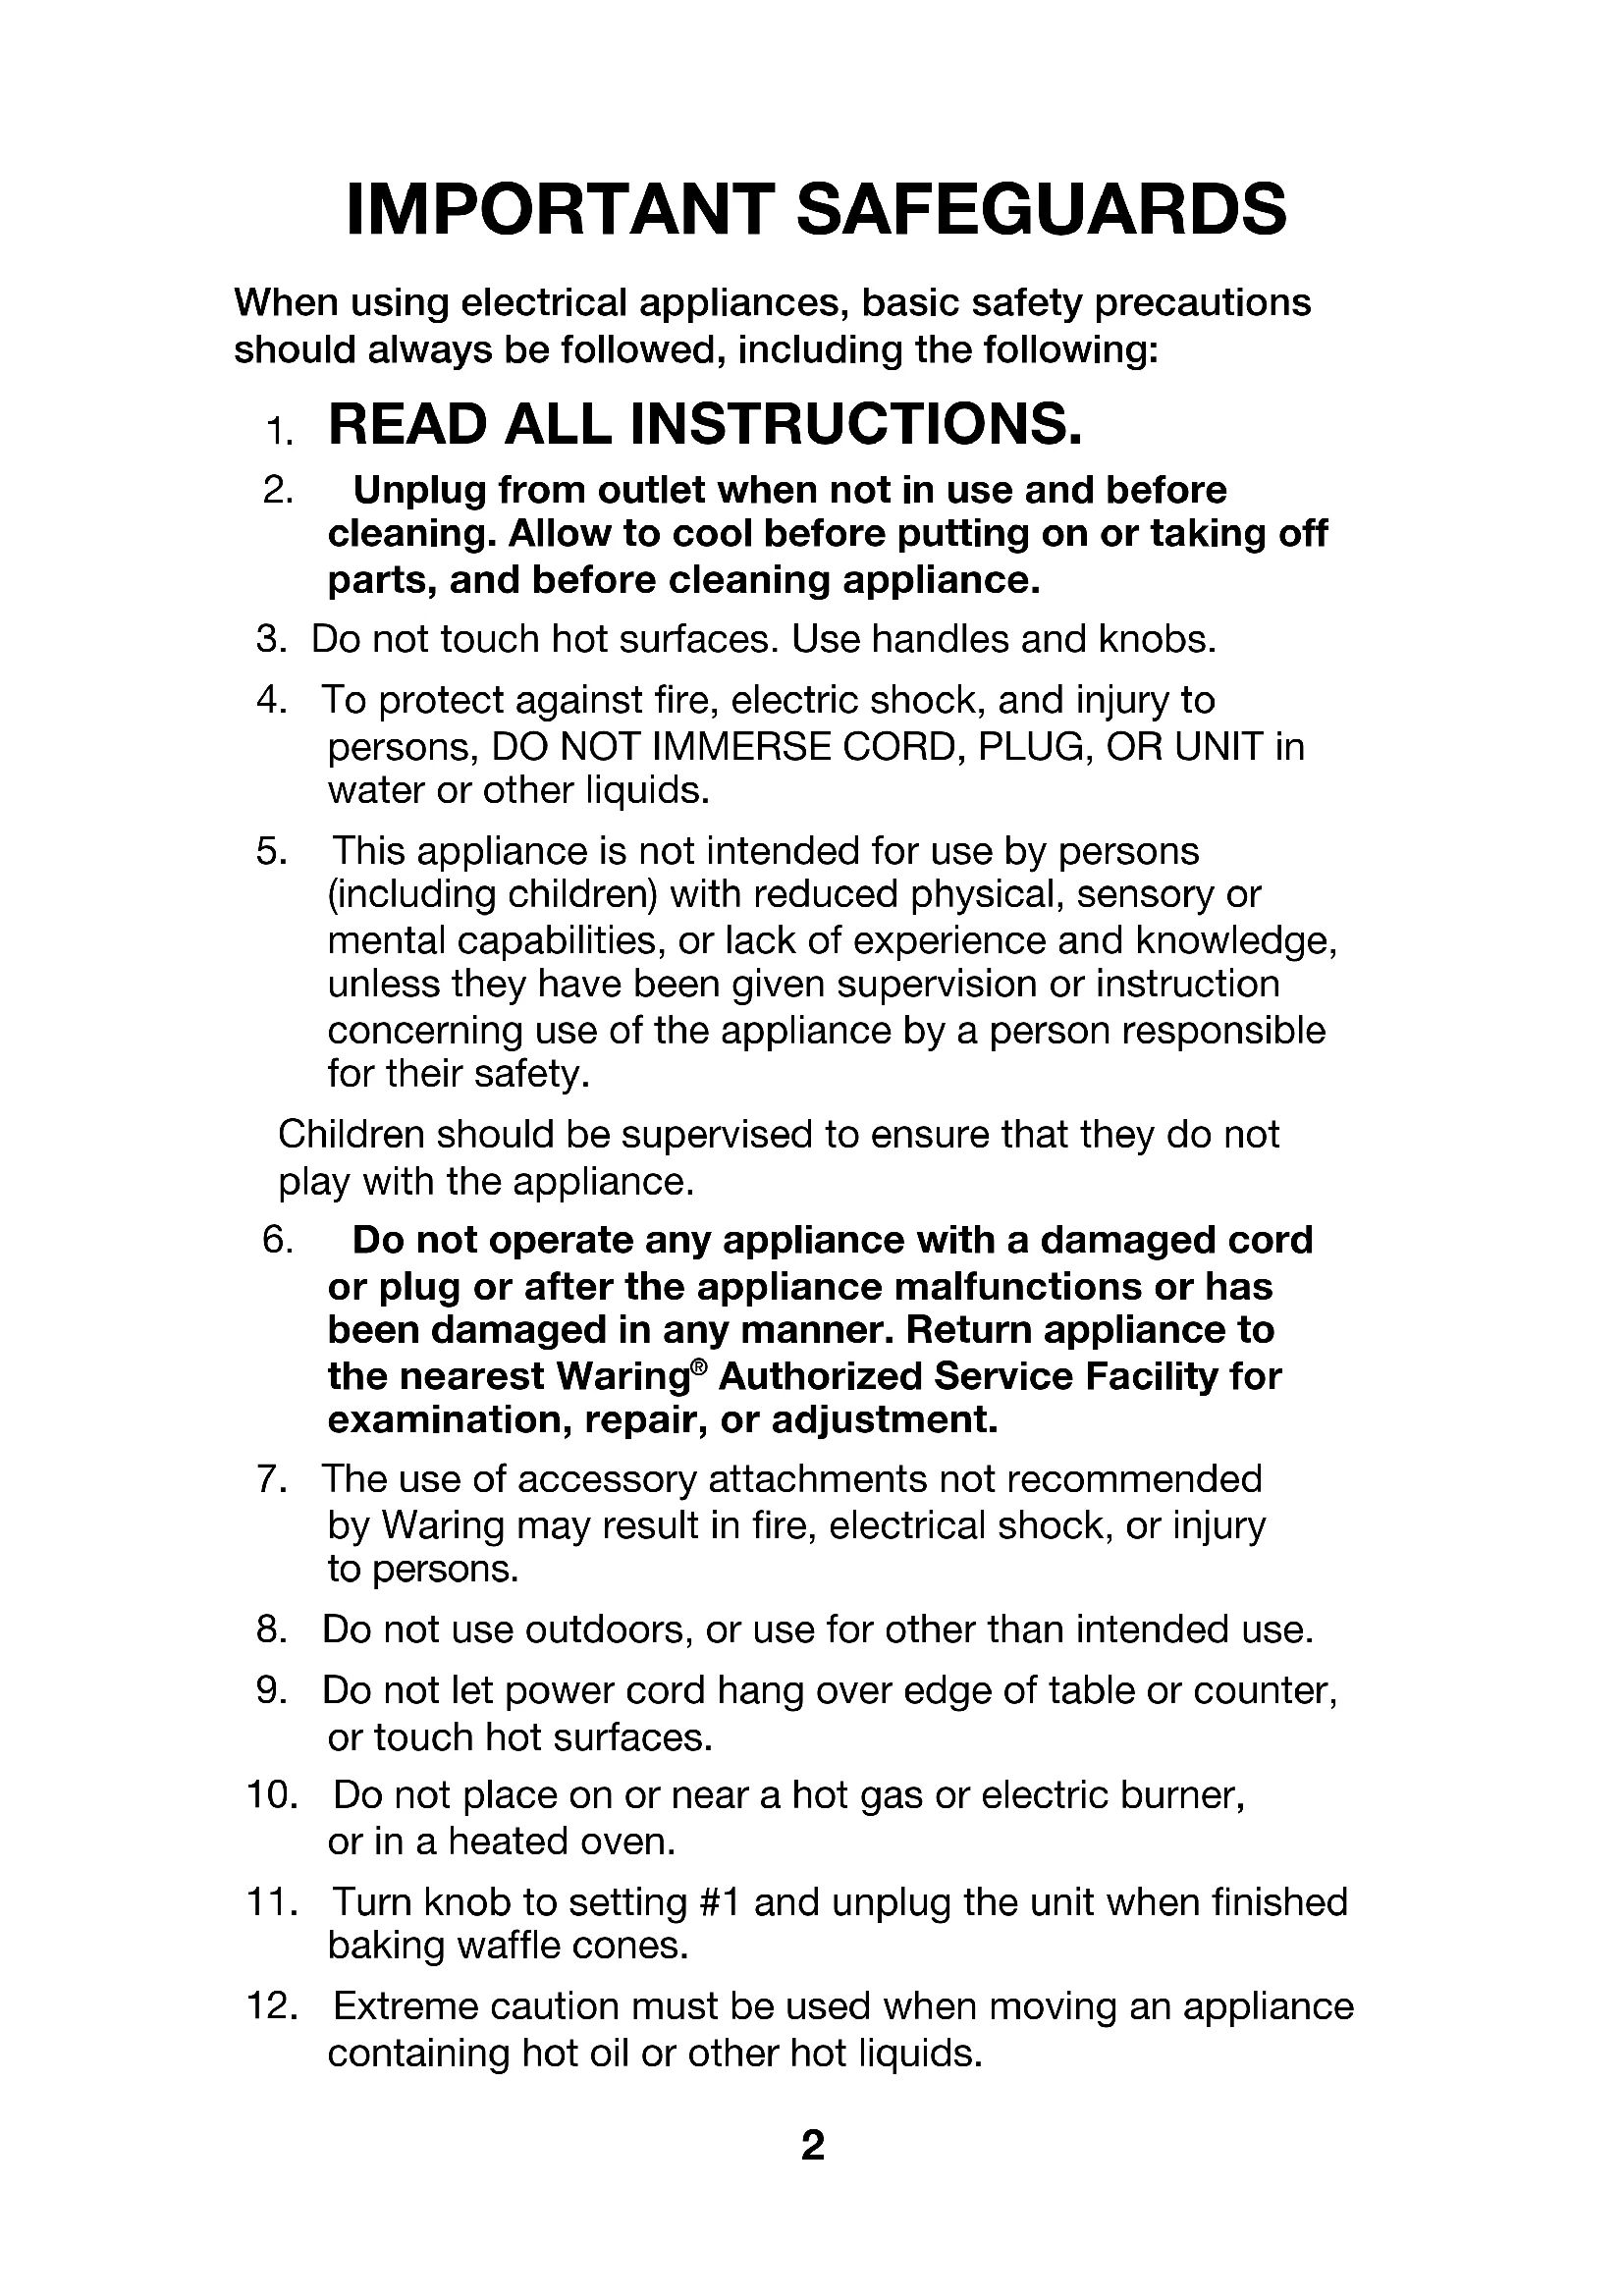
For your safety and continued enjoyment of this product, always read the instruction book carefully before using.
When using electrical appliances, basic safety precautions should always be followed, including the following:
- READ ALL INSTRUCTIONS.
- Unplug from outlet when not in use and before cleaning. Allow to cool before putting on or taking off parts, and before cleaning appliance.
- Do not touch hot surfaces. Use handles and knobs.
- To protect against fire, electric shock, and injury to persons, DO NOT IMMERSE CORD, PLUG, OR UNIT in water or other liquids.
- This appliance is not intended for use by persons (including children) with reduced physical, sensory or mental capabilities, or lack of experience and knowledge, unless they have been given supervision or instruction concerning use of the appliance by a person responsible for their safety.
Children should be supervised to ensure that they do not play with the appliance.
-
Do not operate any appliance with a damaged cord or plug or after the appliance malfunctions or has been damaged in any manner. Return appliance to the nearest Waring® Authorized Service Facility for examination, repair, or adjustment.
-
The use of accessory attachments not recommended by Waring may result in fire, electrical shock, or injury to persons.
-
Do not use outdoors, or use for other than intended use.
-
Do not let power cord hang over edge of table or counter, or touch hot surfaces.
-
Do not place on or near a hot gas or electric burner, or in a heated oven.
-
Turn knob to setting #1 and unplug the unit when finished baking waffle cones.
-
Extreme caution must be used when moving an appliance containing hot oil or other hot liquids.
-
Always begin by plugging appliance into wall outlet.
- WARNING: TO REDUCE THE RISK OF FIRE OR ELECTRIC SHOCK, REPAIRS SHOULD BE MADE ONLY BY AUTHORIZED PERSONNEL. DO NOT REMOVE THE BASE PANEL. NO USER-SERVICEABLE PARTS ARE INSIDE.
- To acquire another instruction manual go to: www.waringcommercialproducts.com
SAVE THESE INSTRUCTIONS
APPROVED FOR COMMERCIAL USE
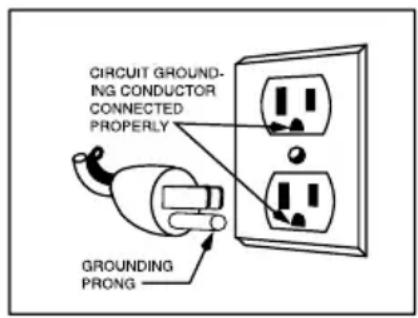
GROUNDING INSTRUCTIONS
For your protection, Waring® Commercial Waffle Cone Makers are supplied with a molded 3-prong grounding-type plug and should be used in combination with a properly connected grounding-type outlet as shown in the figure.
SPECIAL CORD SET INSTRUCTIONS
A short power-supply cord is provided to reduce the risks resulting from becoming entangled in or tripping over a longer cord. Longer extension cords may be used if care is exercised in their use.
If a long extension cord is used, the marked electrical rating of the extension cord should be at least as great as the electrical rating of the appliance, and the longer cord should be arranged so that it will not drape over the countertop or tabletop where it can be pulled on by children or animals, or tripped over.
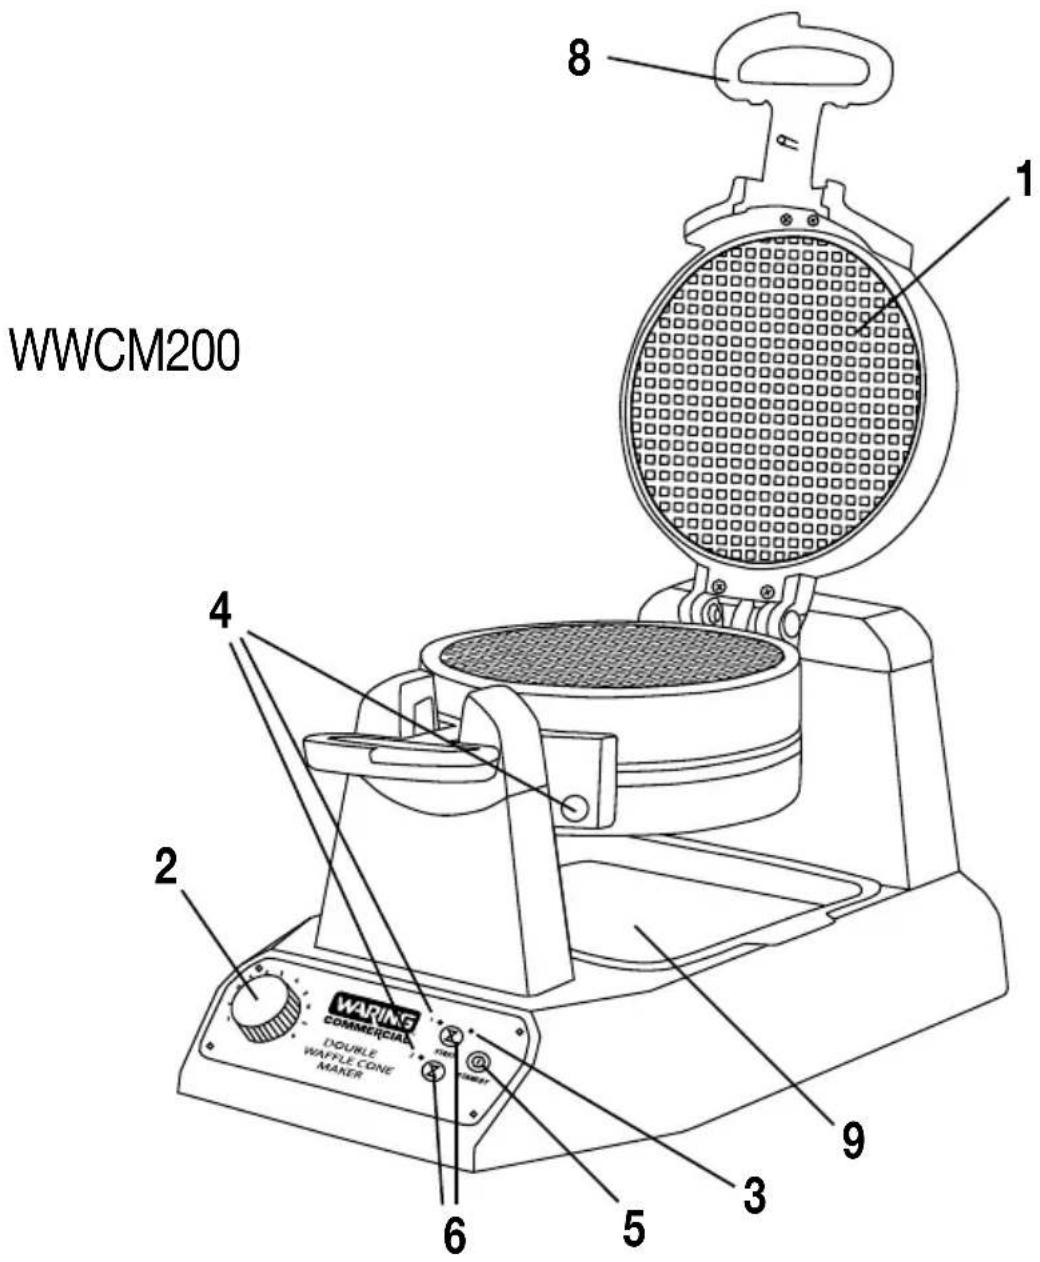
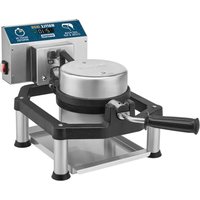
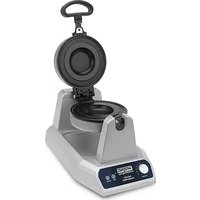
SPECIAL FEATURES
WWCM180
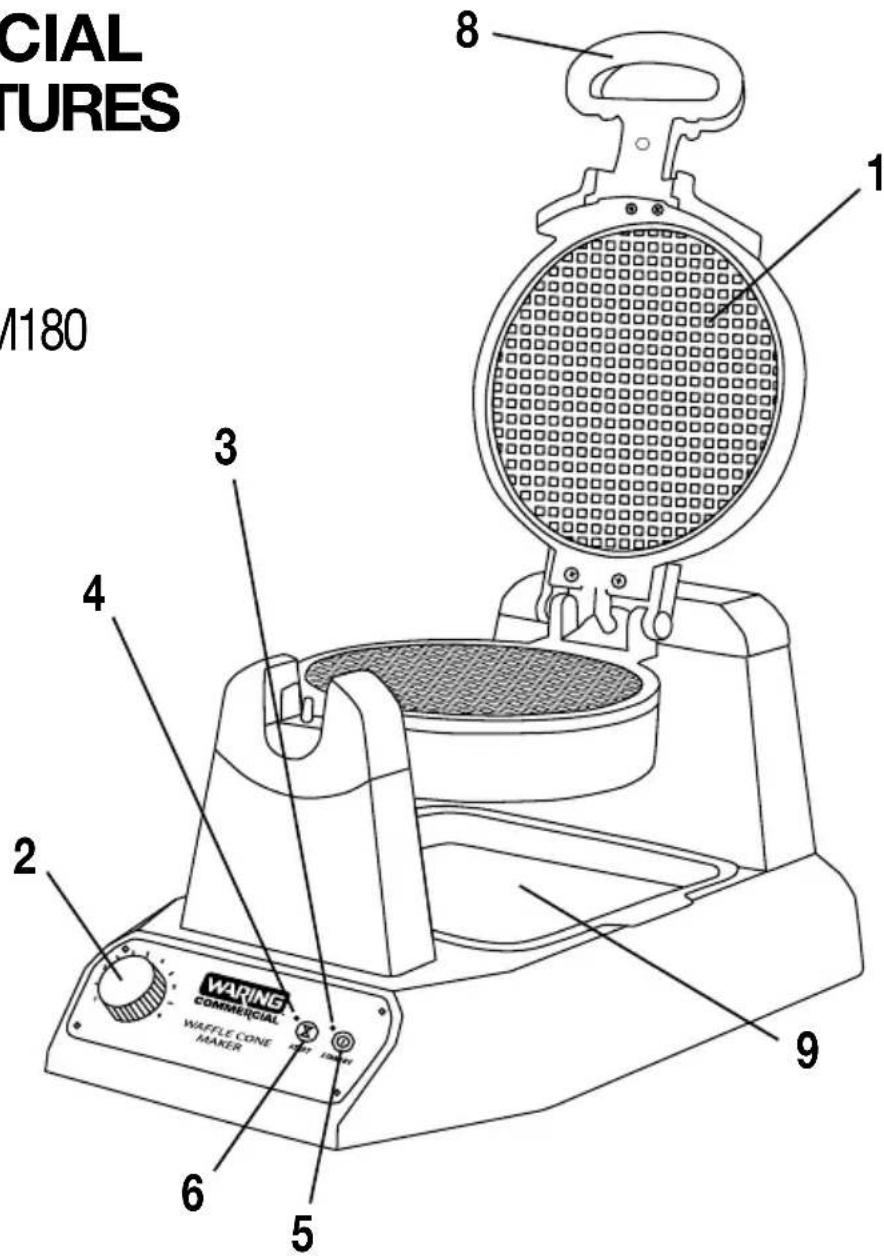
1. Waffle Cone Grids
WWCM180- Single grid set for making one waffle cone at a time
WWCM200- Double grid set for making two waffle cones at a time (only one set shown)
2. Browning Control Adjustment
- Adjustable for different batters and personal preference
3. Power Indicator Light
- Lights red when unit is on and heating up
4. Ready Indicator Lights (only 3 of 4 shown on WWCM200)
- Lights steady green when waffle cone maker is ready to bake
- Blinks green during baking cycle
- Lights steady green after baking cycle has completed
5. STANDBY Button
6. STARTButtons
- Starts baking cycle when pressed
7. IndicatorBeeps (not shown)
- Will beep 6 times when unit is ready to bake first waffle cone of every baking session
- Will beep 3 times when waffle cone is done
8. Handle
9. Removable Drip Tray
Waffle Cone
Forming and Rolling Tools
Waffle Bowl Mold/Pusher (optional accessory)
natural_image
Simple line drawing of a mechanical component or bracket (no text or symbols)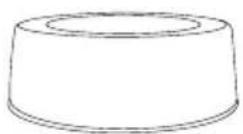


INSTRUCTIONS FOR MAKING WAFFLE CONES
- Before using your Waring® Commercial Waffle Cone Maker for the first time, remove any dust from shipping by wiping the plates with a damp cloth. Remove all protective paper and wrapping.
- Plug cord into wall outlet.
NOTE: The Wa®Commercial Waffle Cone Maker has been treated with a special nonstick coating. Before the first use, it is important that you preheat the grids and then season them by brushing with cooking oil. Wipe with a paper towel or pastry brush.
Press the STANDBY button. The Power Indicator light will illuminate (red) to signal that power is on. Preheat your Waring® Commercial Waffle Cone Maker on your preferred setting. It will now begin the preheating process. This should take about 5-10 minutes. The machine will sound 6 beeps and the Ready Indicator light (green) will go on to signal the unit is ready for baking. Season the waffle cone grids by spraying with cooking spray or brushing with a flavorless oil.
NOTE: The first time you use your waffle cone maker, it may have a slight odor and may smoke a bit. This is normal, and common to heating appliances.
-
Set desired bake time using the control knob. The higher the setting, the longer the waffle cone will bake. Drop 3 tablespoons of batter in the center of the grid and close. As the grids close, the batter will spread throughout the grid to form the appropriate shape. Rotate grids 180° to lock top and bottom grid together. Press the start button ☒ to begin the baking cycle. The GREEN LED light will blink while baking. When the baking cycle is finished, the waffle cone maker will sound three beeps and the green LED light will be steady. For best results, do not open waffle cone maker during baking process.
-
Once the waffle cone is ready and the waffle cone maker has beeped 3 times, open the lid and remove waffle cone by gently loosening the edges with a heat-proof plastic spatula. Never use metal utensils, as they may damage the nonstick coating. Remove the waffle cone completely and shape while hot.
-
With the WWCM200, one or two waffle cones can be baked at one time. For one waffle cone, simply follow previous instructions. For two waffle cones at once, pour batter into top waffle cone compartment grids, then rotate 180°. You will now be able to open the other waffle cone compartment. Pour the batter in the grids and rotate another 180° in the other direction. Once grid is closed, press the appropriate start button to begin the second baking cycle. Both waffle cones will now cook. The individual green Ready lights will illuminate when each waffle cone is ready, and when an empty compartment is ready to bake another waffle cone.
NOTE: For best results provide yourself 30 seconds in between the first and second waffle cone to allow for time to roll.
THERMAL PROTECTION
If power is lost during operation, unplug and let cool 10 minutes. plug in and continue use. Read instruction book before use.
WAFFLE CONE ROLLING DIRECTIONS
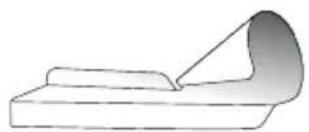
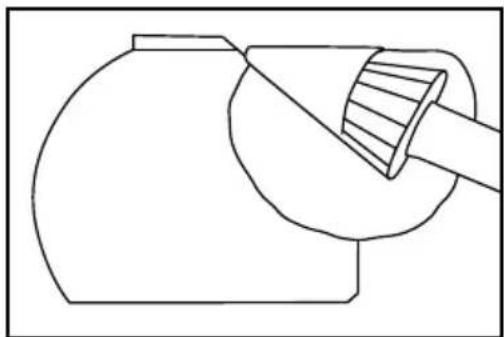
For WWCM180/WWCM200, once unit beeps and waffle cone is ready, remove hot flat waffle cone from grid and quickly roll into a cone shape before it cools, using the included cone forming and rolling tools. To roll, place the flat hot waffle cone in the forming tool, with the edge of the waffle as close to the smaller opening of the metal cone mold as possible. Insert the rolling tool fully into the larger opening of the metal cone mold and begin to rotate counterclockwise. The ribs on the rolling tool will pull the flat waffle up around the rounded area of the metal forming tool, creating a cone shape. Remove cone as soon as it reaches desired shape and hold cone in that shape until the cone cools completely. Once the cone has cooled, it will keep shape on its own. Caution: Take care during this process as the waffle cone will be hot.
CAUTION: The metal rolling tool and the flat forming tool can become extremely hot during rolling process. To limit heat exposure, follow these directions:
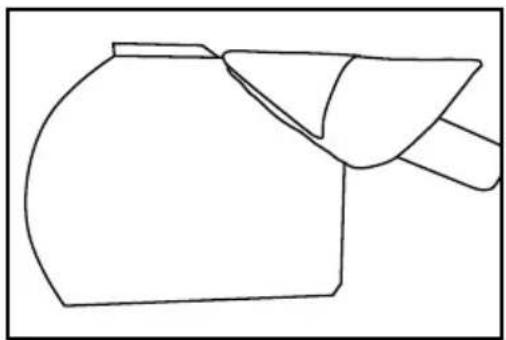
Place hot waffle cone on flat forming tool and line the top of the cone with the point of the cone mold as shown in figure 1.
natural_image
Pure technical line drawing of a mechanical component without any text, numbers, or symbolsfig. 1
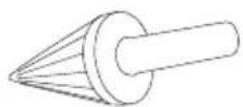
Press the rolling tool on the hot waffle cone and rotate counter clockwise as directed in figure 2.
natural_image
Simple line drawing of a mechanical component with no text or symbolsfig. 2
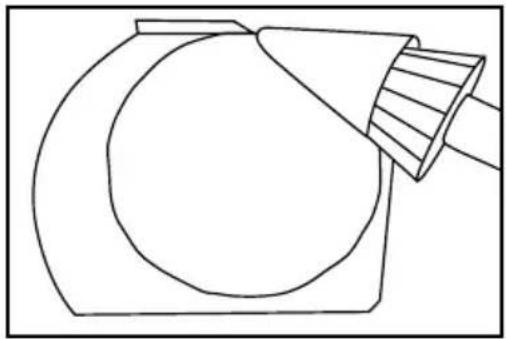
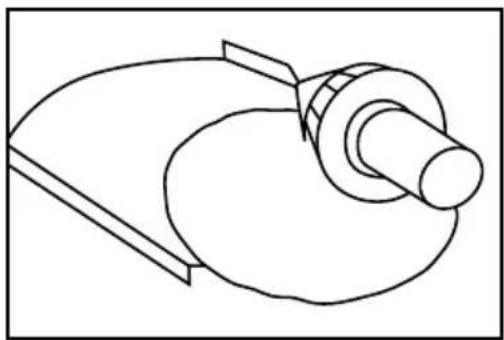
As you rotate apply pressure onto the hot waffle cone and feed it into the cone mold as shown in figures 3 and 4.
natural_image
Line drawing of a brush applying material to a container (no text or symbols)fig. 3

natural_image
Simple line drawing of a pitcher with a handle and spout (no text or symbols)fig. 4
- Remove the rolling tool immediately after each roll.
- Remove the waffle cone from the flat forming tool as soon as it is cool enough to maintain desired shape.
HINT: To limit heat exposure on flat forming tool, have a separate container available to store cones while cooling when rolling multiple cones.
TIPS FOR MAKING PERFECT WAFFLE CONES
For evenly filled waffle cones, place the batter in the center of the lower grid and close the grid immediately. Most batters will spread out evenly with the pressure of the upper grid. If you have a very thick batter, you may need to spread the batter out a little more, very quickly, with a heat-proof spatula.
While rolling the waffle cone, concentrate on keeping the edge of the waffle nearest to the tip of the rolling tool. This will become the tip of the cone and it is best to have a sealed tip when using ice cream.
Allow waffle cones to cool completely before placing ice cream or any other filling in the cone.
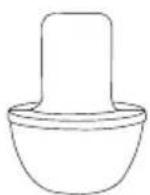
INSTRUCTIONS FOR MAKING WAFFLE BOWLS
The waffle bowl mold/pusher is available as an optional accessory. It is best to create a waffle bowl immediately after the baking cycle while the flat waffle is still hot. A cool waffle bowl is difficult to create without breaking. Caution: Take care during this process as the waffle will be hot. Once the waffle cone maker beeps and the ready light illuminates, open the grid and remove the hot flat waffle. Place the waffle bowl mold tool on a flat surface. Center the flat waffle in the bowl mold. Gently use the pusher to push the flat waffle fully into the mold, creating a bowl. Be careful not to push so hard that you break the waffle bowl. Leave the waffle bowl like this, between the mold and the pusher, to cool for about 20 seconds. Remove the pusher and carefully remove your waffle bowl.
Once you have finished baking, press the STANDBY button and remove plug from electrical outlet. Leave top lid open and allow grids to cool before cleaning (details follow).
CLEANING AND MAINTENANCE
Once you have finished baking, press STANDBY button and remove plug from electrical outlet. Leave top lid open and allow grids to cool before cleaning.
Never take your waffle cone maker apart for cleaning. Simply brush crumbs from grooves and absorb any excess cooking oil by wiping with a dry cloth or paper towel. You may clean the grids by wiping with a damp cloth to prevent staining and sticking from batter or oil buildup.
Be certain grids have cooled completely before cleaning.
If batter adheres to plates, simply pour a little cooking oil onto the baked batter and let stand approximately 5 minutes, allowing batter to soften for easy removal.
To clean exterior, wipe with a soft dry cloth. Never use an abrasive cleanser or harsh pad. NEVER IMMERSE CORD, PLUG OR UNIT IN WATER OR OTHER LIQUIDS.
The CAC121 rolling and forming tool and CAC122 bowl mold and pusher should be hand washed only. They are not dishwasher safe.
Any other servicing should be performed by an authorized service center.
LIMITED ONE YEAR WARRANTY
Waring warrants every new Waring ^® Commercial Waffle Cone Maker to be free from defects in material and workmanship for a period of one year from the date of purchase when used with foodstuffs, nonabrasive liquids (other than detergents) and nonabrasive semi-liquids, providing it has not been subject to loads in excess of the indicated rating.
Under this warranty, Waring will repair or replace any part which, upon our examination, is defective in materials or workmanship, provided the product is delivered prepaid to the Waring Service Center at: 314 Ella T. Grasso Ave. Torrington, CT 06790, or any Factory Approved Service Center.
This warranty does not: a) apply to any product that has become worn, defective, damaged or broken due to use or due to repairs or servicing by other than the Waring Service Center or a Factory Approved Service Center, or due to abuse, misuse, overloading or tampering; or b) cover incidental or consequential damages of any kind.
Warning: This warranty is void if appliance is used on Direct Current (DC).
WARING COMMERCIAL
314 Ella T. G
Torrington,

natural_image
Simple line drawing of a mechanical component with a circular base and triangular cutout (no text or symbols)Fig. 1
natural_image
Simple line drawing of a mechanical component with no text or symbolsFig. 2
natural_image
Simple line drawing of a tool applying material to a container (no text or symbols)Fig. 3

natural_image
Simple line drawing of a pitcher with a handle and spout (no text or symbols)Fig. 4
IMPORTANTES CONSIGNES DE SÉCURITÉ
natural_image
Simple line drawing of a mechanical component or bracket (no text or symbols)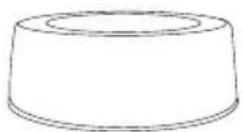
PRÉPARATION DE CORNETS
natural_image
Simple line drawing of a mechanical component with a circular base and triangular cutout (no text or symbols)Fig. 1
natural_image
Simple line drawing of a mechanical component with no text or symbolsFig. 2
natural_image
Simple line drawing of a brush applying paint to a container (no text or symbols)Fig. 3
natural_image
Simple line drawing of a pitcher with a handle and spout (no text or symbols)Fig. 4
GARANTIE LIMITÉE D'UN AN
©2014 Waring Commercial
314 Ella T. Grasso Ave.
Torrington, CT 06790
1-800-4-WARING
www.waringcommercialproducts.com
Printed in China
Impreso en la China
Imprimé en Chine
WWCM180/WWCM200 IB
14WC003732
IB-11780A


- SAVE THESE INSTRUCTIONS
- APPROVED FOR COMMERCIAL USE
- GROUNDING INSTRUCTIONS
- SPECIAL CORD SET INSTRUCTIONS
- SPECIAL FEATURES
- Waffle Cone Grids
- Browning Control Adjustment
- Power Indicator Light
- Ready Indicator Lights (only 3 of 4 shown on WWCM200)
- STANDBY Button
- STARTButtons
- IndicatorBeeps (not shown)
- Handle
- Removable Drip Tray
- INSTRUCTIONS FOR MAKING WAFFLE CONES
- THERMAL PROTECTION
- WAFFLE CONE ROLLING DIRECTIONS
- TIPS FOR MAKING PERFECT WAFFLE CONES
- INSTRUCTIONS FOR MAKING WAFFLE BOWLS
- CLEANING AND MAINTENANCE
- Be certain grids have cooled completely before cleaning.
- LIMITED ONE YEAR WARRANTY
- IMPORTANTES CONSIGNES DE SÉCURITÉ
- PRÉPARATION DE CORNETS
- GARANTIE LIMITÉE D'UN AN
Brand : Waring Commercial
Model : WWCM180
Category : Waffle Maker