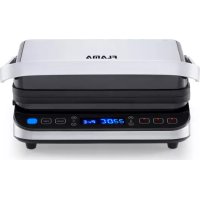
4585FL - Grill plate Flama - Free user manual and instructions
Find the device manual for free 4585FL Flama in PDF.



| Product type | Electric grill plate |
| Brand | Flama |
| Model | 4585FL |
| Supply voltage | 220-240 V ~ |
| Power | 2000 W (estimate) |
| Maximum temperature | 230 °C |
| Temperature range | 80 °C - 230 °C |
| Timer | 0.5 to 60 minutes |
| Plate material | Steel with non-stick coating |
| Number of plates | 2 removable plates (lower and upper) |
| Plate faces | Ridged and smooth (2 sides) |
| Drip tray | Removable, dishwasher safe |
| Display | Digital (temperature and time) |
| Cooking functions | Upper plate, lower plate, or both |
| Settings memory | Yes (last temperature and time) |
| Auto shut-off | Yes (after timer ends or inactivity) |
| Safety | Child lock not specified, hot surfaces indicated |
| Cleaning | Plates and tray dishwasher safe, wipe down appliance |
| Dimensions (W x D x H) | Approximately 40 x 30 x 15 cm (estimate) |
| Weight | Approximately 4 kg (estimate) |
| Warranty | 36 months |
| Spare parts available | Plates, drip tray (via Flama after-sales service) |
Frequently Asked Questions - 4585FL Flama
User questions about 4585FL Flama
0 question about this device. Answer the ones you know or ask your own.
Ask a new question about this device
Download the instructions for your Grill plate in PDF format for free! Find your manual 4585FL - Flama and take your electronic device back in hand. On this page are published all the documents necessary for the use of your device. 4585FL by Flama.
USER MANUAL 4585FL Flama
natural_image
Modern kitchen grater with digital display and black/gray casing (no visible text or symbols)4585FL
PT GRELHADOR DE PLACAS 1
ES GRILL DE CONTACTO 7
EN CONTACT GRILL 12
FR GRILLE-VIANDE
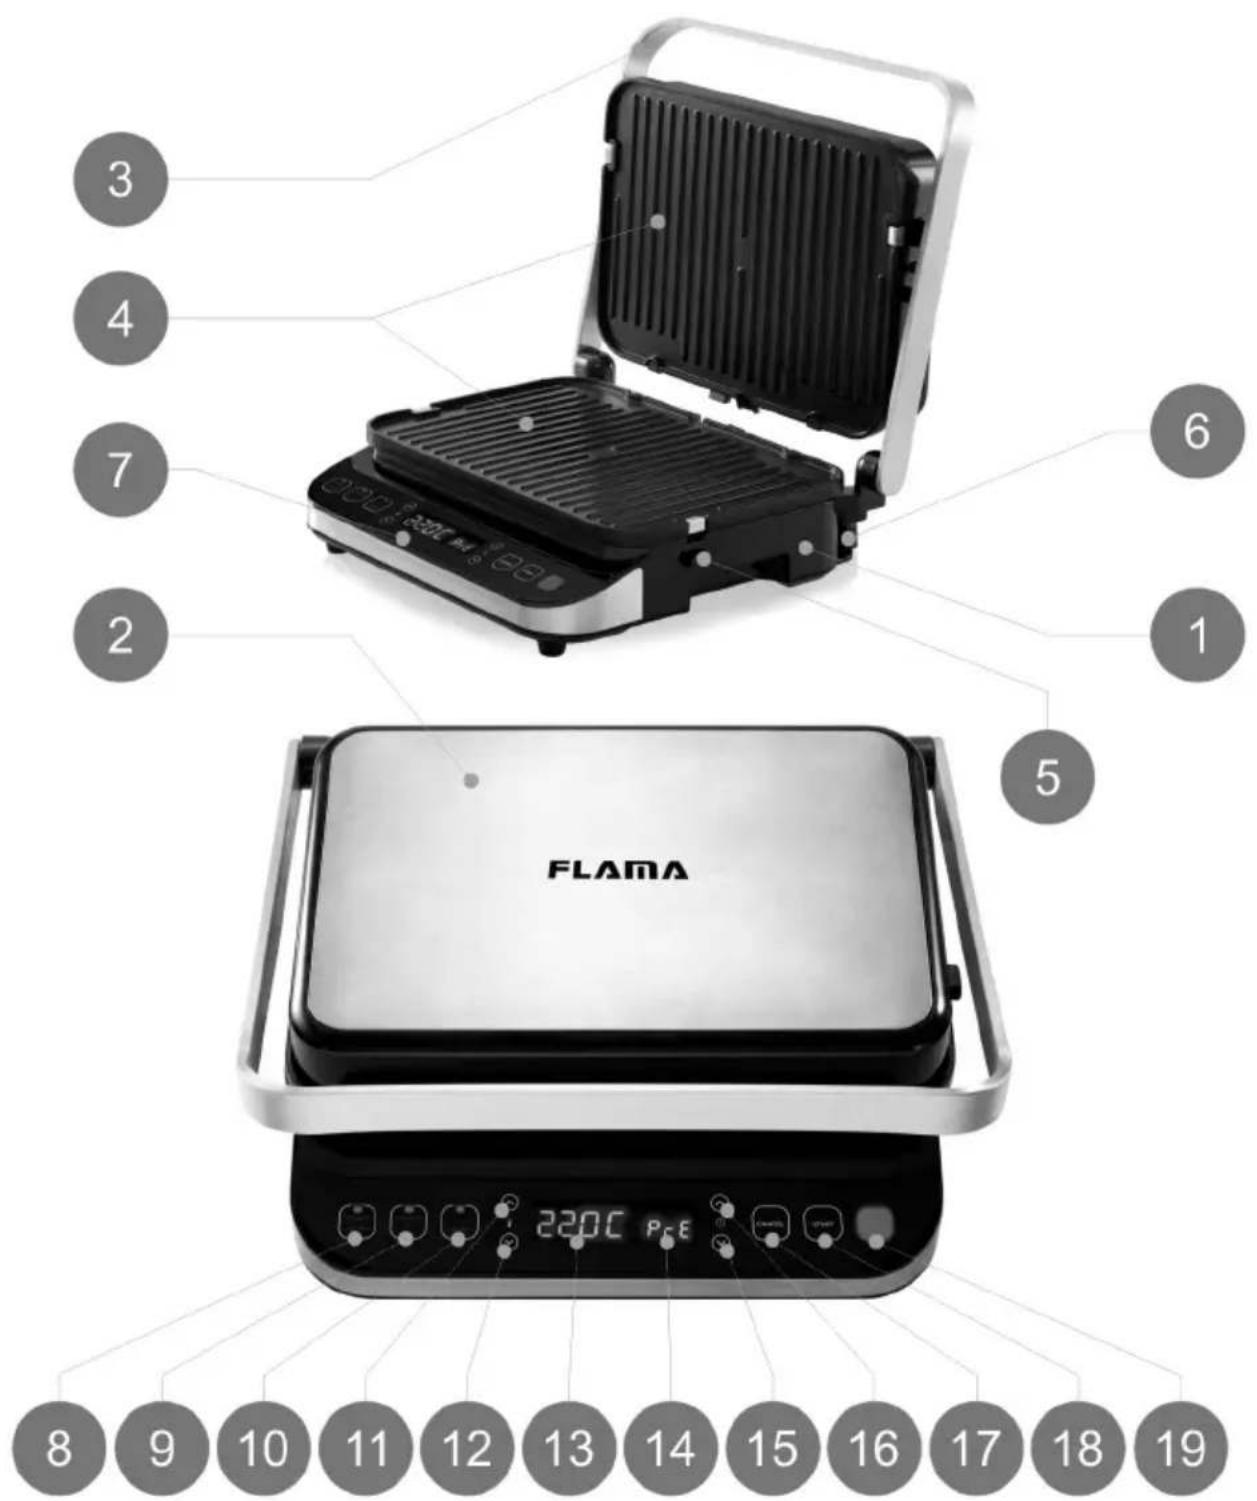
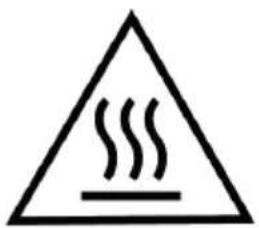
IEC 60417 - 5041
(DB:2002/10)
ATTENTION - HOT SURFACE - Accessible surface temperatures can be high during appliance operation.
Please read these instructions carefully before using the appliance for the first time and keep them for future reference.
FLAMA shall not be liable for any use that is not in accordance with the instructions.
Please check that the supply voltage of your home electrical system corresponds to the voltage on the appliance's rating plate.
This appliance must be connected to an earthed socket.
Please check that the circuit breaker to which the appliance will be connected is at least 10A.
This appliance was designed for household, indoor use only.
This appliance is intended for households and similar uses, such as:
- Staff kitchen areas in stores, workshops and other working environments;
- Cottages;
- Guests of hotels, motels and other residential environments;
- Hotel room-type environments.
This appliance may be used by children aged 8 and over and persons with physical, sensory or mental disabilities or lack of experience and knowledge if they have received supervision or instruction concerning the safe use of the appliance and understand the risks involved.
Children should be supervised to ensure they do not play with the appliance.
The appliance is not intended to be operated using an external timer or separate remote control system.
Before switching on the appliance, please make sure you place it on a flat, stable and horizontal surface.
The cleaning and maintenance of the appliance must not be
carried out by children unless they are over 8 years old and supervised.
Keep the appliance and its power cord out of the reach of children under the age of 8, when it is switched on or cooling down.
Warning - Temperatures of accessible surfaces may be high when the appliance is switched on.
Please disconnect the appliance from the power supply by removing the plug from the fixed power socket after each use and when cleaning. Please allow it to cool down before carrying out with any cleaning or storage operations.
Do not use the appliance if it is not working properly, or if it is in any way damaged. Any intervention other than cleaning must be carried out by an Authorized FLAMA Technical Assistance Service.
If the power cord is damaged, it must be replaced by the manufacturer, its after-sales service or similarly qualified personnel in order to avoid a hazard.
The appliance must never be used near flammable or combustible materials.
Never leave the appliance unattended.
Do not cover the appliance while it is switched on.
Do not disassemble the appliance.
The appliance must only be used for cooking food. Using it for other purposes may cause irreparable damage.
Never immerse the appliance in water or any other liquid. WARNING: Charcoal or other fuels should not be used with this appliance.
This product complies with the Low-Voltage and Electromagnetic Compatibility Directives.
This instruction manual is also available in PDF format at www.flama.pt.
DESCRIPTION
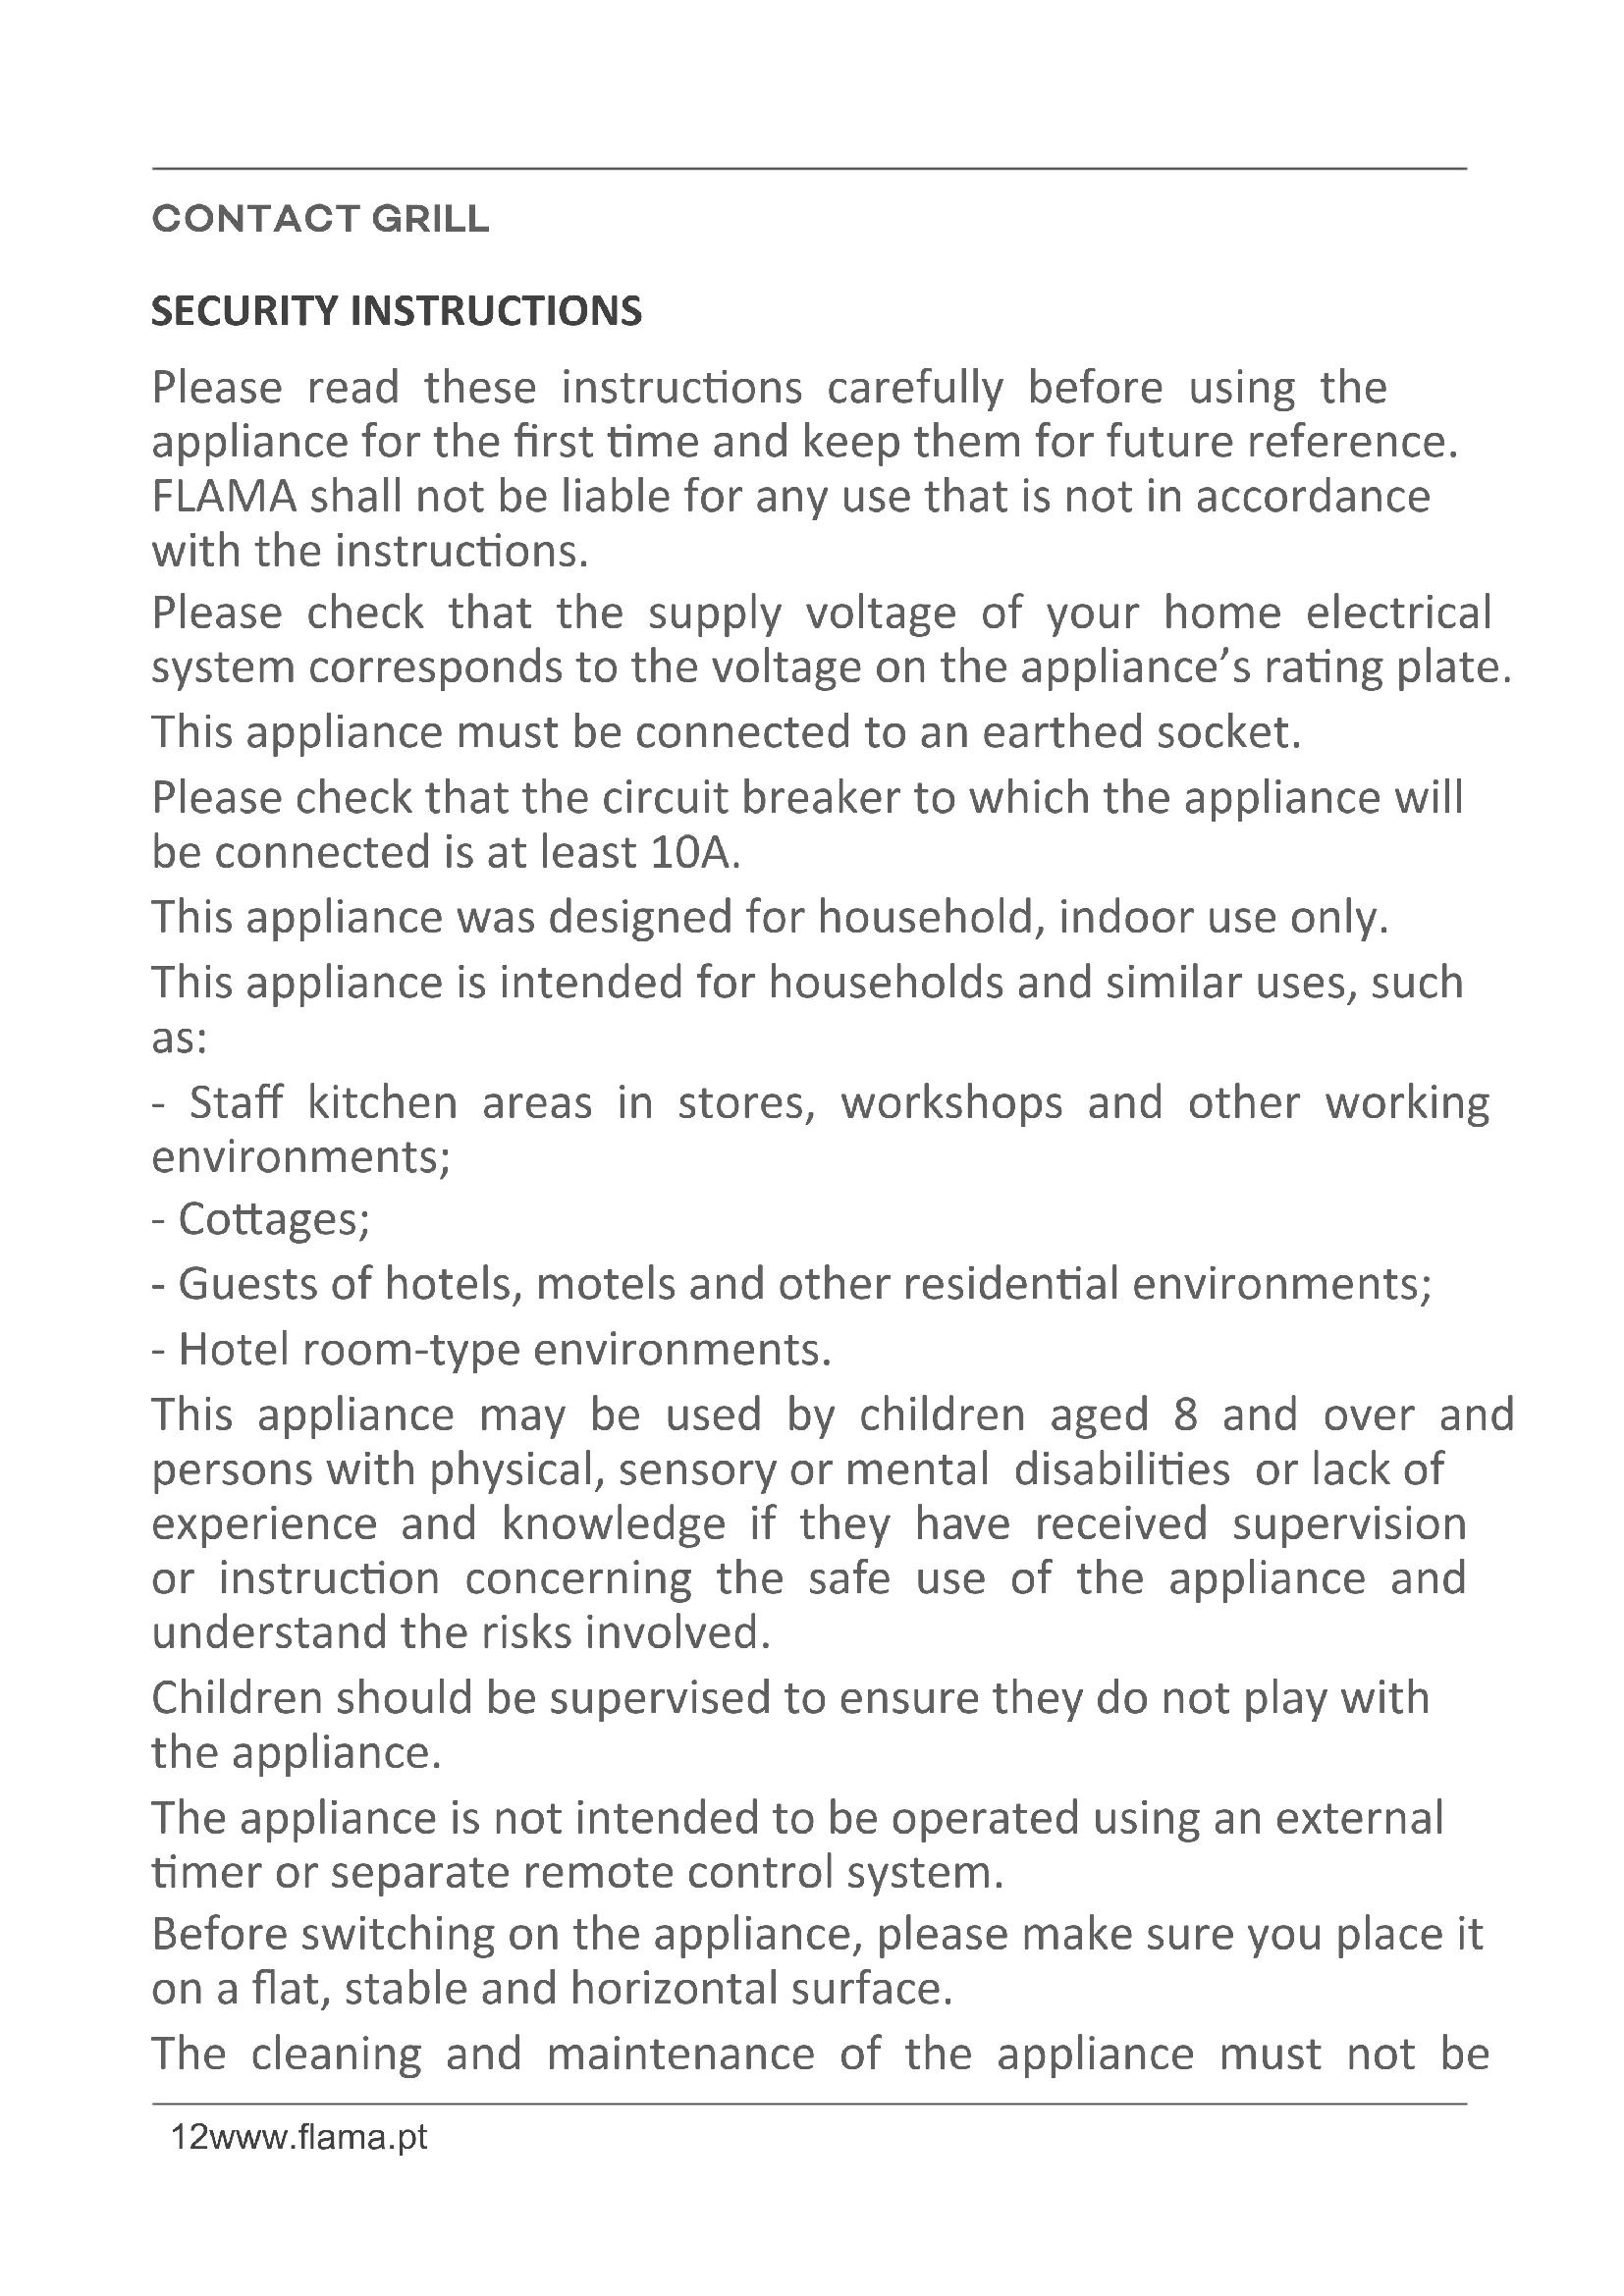
- Lower tray
- Upper tray
- Handle
- Plates
- Plate release button
- Soaker tray
- Control panel
- Cooking with lower and upper plate
- Cooking with upper plate
- Cooking with lower plate
- Increase cooking temperature
- Decrease cooking temperature
- Display - temperature indicator
- Display - time indicator
- Increase cooking time
- Decrease cooking time
- CANCEL/Standby
- START/Begin
- Operation indicator
IMPORTANT WARNINGS
Be careful when handling the appliance while cooking. Open and close the appliance using only the handle. Do not touch the upper tray during or immediately after cooking, as it may be hot.
The use of oven mitts when handling the appliance is recommended to avoid burns.
Never use metal utensils on the plates, as they can damage the non-stick coating.
Always allow the appliance to cool down for 30 minutes before cleaning it.
OPERATION
Before first use
Take the appliance out of the packaging and remove all packing material, except the appliance's rating plate.
Remove the plates by pressing the plate release button.
Before using the appliance for the first time, wash the plates with warm water and a neutral cleaning product. Then dry the plates very well.
Insert the plates, making sure they are put correctly in place.
The plate has two sides, one threaded and one smooth; choose the desired side when inserting the plate.
Make sure that the soaker tray is inserted correctly in the back of the appliance.
Usage
Plug the appliance in; the appliance will beep; all indicators will light up and then go off. The word 'OFF' will appear on the display.
Select the cooking function (lower and upper plate, upper plate, lower plate) by pressing the corresponding button; the default time and temperature appear on the display.
Adjust the temperature and cooking time by pressing the corresponding temperature and time increase or decrease buttons; the appliance beeps when the buttons are pressed.
Press the START button to start preheating; the word 'PRE' will appear on the display in the time display area, the temperature indicator in the temperature display area, and the operation indicator will turn blue.
When preheating is over, the set time will flash in the time indicator of the display. The appliance will beep and the operation indicator will turn green.
Press the START button.
NOTE - If the START button is not pressed within 15 seconds, the appliance will go on standby mode; The word 'OFF' will appear on the display.
Place the food on the plate and press the START button; countdown will start and the operation indicator will turn yellow.
When countdown is over, the device will beep, the word 'donE' will appear on the display, and the operation indicator will turn red.
Press the CANCEL button in standby mode and the word 'OFF' will appear on the display.
Open position (180°)
WARNING - Be very careful when placing the upper tray in the open position, as it is hot after preheating and can cause burns.
When preheating is over and the operation indicator is green, use the handle to move the upper tray to the open position.
Using a heat-protection glove (or similar), press the top tray to level it with the handle.
Then move the handle with the top tray to the open position.
NOTES:
For a better result, add some cooking oil or cooking spray to the food.
Close the grill to reduce the preheating time.
Use only the handle to open or close the top tray.
While cooking, you can press the CANCEL button to stop the grill operation and change which plate to use (upper, lower, or both).
While cooking, press the increase or decrease buttons to adjust the time and/or temperature; the appliance assumes the new time/temperature setting after 3 seconds.
When the appliance is on Standby mode, press the temperature increase and decrease buttons simultaneously for 3 seconds to change from degrees Centigrade (°C) to degrees Fahrenheit (°F).
The appliance memorizes the last setting, can memorize the last temperature and time setting; when turning on the unit and selecting the desired function, the temperature and time setting of the last use will appear on the display.
The appliance memorizes the last temperature and time setting; when turning on the appliance and selecting the desired function, the temperature and time setting of the last use will appear on the display.
TIMES AND TEMPERATURES
| Plate to use Standard display | Temperature interval | Time interval | |
| Upper and lower plate | 230°C 05:00 80°C | -230°C 0.5 - 60 minutes | |
| Upper plate 200°C | 10:00 80°C-220°C 0.5 | - 60 minutes | |
| Lower plate 200°C | 10:00 80°C-220°C 0.5 | - 60 minutes | |
CLEANING AND MAINTENANCE
Whenever the appliance is not in use and before performing cleaning and maintenance, disconnect the plug from the power outlet.
Before cleaning the appliance, allow it to cool down for about 30 minutes.
Use a wood or silicone scraping tool to remove residue from the plates. Do not use tools that can damage the non-stick coating.
Empty the soaker tray once it has cooled down.
Press the plate release button to remove it from the appliance. Make sure that the plate has cooled down completely before handling it.
After removing the plates, you can wash them in warm soapy water or in the dishwasher.
Remove the soaker tray from the back of the appliance and wash it with warm soapy water. Let it dry before inserting it again in the appliance.
The plates and the soaker tray can be washed in the dishwasher.
Note - before removing the soaker tray, make sure that the temperature of the waste is low, otherwise it can cause burns.
ANOMALIES AND REPAIR
In case of malfunction, please take the appliance to an authorized Technical Assistance Service. Do not attempt to disassemble or repair the appliance, as this may be dangerous.
PROTECTING THE ENVIRONMENT
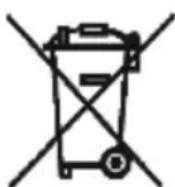
This symbol indicates the separate collection of electrical and electronic equipment.
The main objective of the separate collection of this waste is to reduce the quantity to be disposed of, promote re-
use, recycling and other forms of recovery in order to reduce its negative effects on the environment.
When it is no longer in use, this appliance must not be disposed of together with other unsorted municipal waste.
The user is responsible for delivering it free of charge to the selective collection facilities available for that purpose.
Pieces of equipment that are no longer in use can also be taken back at points of sale, by purchasing new pieces of equipment that are equivalent and have the same functions.
For more detailed information on collection points, please contact your City Council or a point of sale for this equipment.
GRILLE-VIANDE
CONSIGNES DE SÉCURITÉ
DYSFONCTIONNEMENTS ET RÉPARATIONS
natural_image
Symbol of a trash bin with crossed lines indicating no waste or discharge (no text or labels)- Keep the proof of purchase (receipt) for this product carefully. When a repair is made under these conditions, the technician will require proof of purchase. This assistance can only be provided once you have proven, with the proof of purchase, that your appliance is within the warranty period.
- The warranty period for this appliance is defined by the respective EU Directive in force on the date of purchase/delivery.
- Within the guarantee period, we will repair or replace, free of charge, any parts which, during the normal use of the appliance, have deteriorated as a result of a proven material or manufacturing defect.
- This warranty does not cover consumable items, light bulbs, easily breakable parts made of glass or plastic, or any other defects that do not impair its proper functioning.
- We accept no liability for damage caused by incorrect or careless use of the appliance, by its connection to an electrical current other than that indicated on the appliance's rating plate, by faulty electrical installation, or by atmospheric, chemical or electrochemical causes. Other claims or demands for compensation relating to objects which are not an integral part of the appliance will be denied.
- The provision of assistance under warranty does not extend the warranty period. Only within this period will assistance be provided under warranty. The right to assistance is only granted to the first purchaser of the device and cannot be transferred to a third party.
- The warranty expires when unauthorized persons have attempted to repair, modify or replace parts of the appliance.
- All expenses and risks of transportation to our factory or vice versa will always be borne by the buyer.
WARRANTY CONDITIONS
To benefit from the Technical Assistance service during the 36-month warranty period after the date of purchase, you will need to:
Present the Invoice/Proof of Purchase, stating the model and the manufacturing number of the product (whenever possible).
Note: Failure to present the aforementioned documents will be grounds for not providing services under warranty.
CONDITIONS DE GARANTIE
CONDITIONS DE GARANTIE
- DESCRIPTION
- IMPORTANT WARNINGS
- OPERATION
- Usage
- Open position (180°)
- WARNING - Be very careful when placing the upper tray in the open position, as it is hot after preheating and can cause burns.
- NOTES:
- CLEANING AND MAINTENANCE
- ANOMALIES AND REPAIR
- PROTECTING THE ENVIRONMENT
- GRILLE-VIANDE
- CONSIGNES DE SÉCURITÉ
- DYSFONCTIONNEMENTS ET RÉPARATIONS
- WARRANTY CONDITIONS
- CONDITIONS DE GARANTIE
Brand : Flama
Model : 4585FL
Category : Grill plate