PROF365IRTXT - Cooker BERTAZZONI - Free user manual and instructions
Find the device manual for free PROF365IRTXT BERTAZZONI in PDF.
Download the instructions for your Cooker in PDF format for free! Find your manual PROF365IRTXT - BERTAZZONI and take your electronic device back in hand. On this page are published all the documents necessary for the use of your device. PROF365IRTXT by BERTAZZONI.
USER MANUAL PROF365IRTXT BERTAZZONI
www.bertazzoni.com2FROM THE DESK OF OUR PRESIDENT Dear new owner of a Bertazzoni appliance, I want to thank you for choosing one of our beautiful products for your home. My family started manufacturing kitchen appliances in Italy in 1882, building a reputation for quality of engineering and passion for good food. Today, our products stand out because of their unique blend of authentic Italian design and superior appliance technology. It is our mission to make products that function perfectly and bring joy to their owners. By making beautiful products we respond to our customers’ flair for good design. By making them versatile and easy-to-use, cooking with Bertazzoni becomes a real pleasure. This manual will help you learn to use and care for your Bertazzoni appliance in the safest and most effective way, so that it can give you the highest satisfaction for years to come. Enjoy! Paolo Bertazzoni President
34USER MANUAL VALIDITY
The following manual is valid for all the product codes mentioned below:
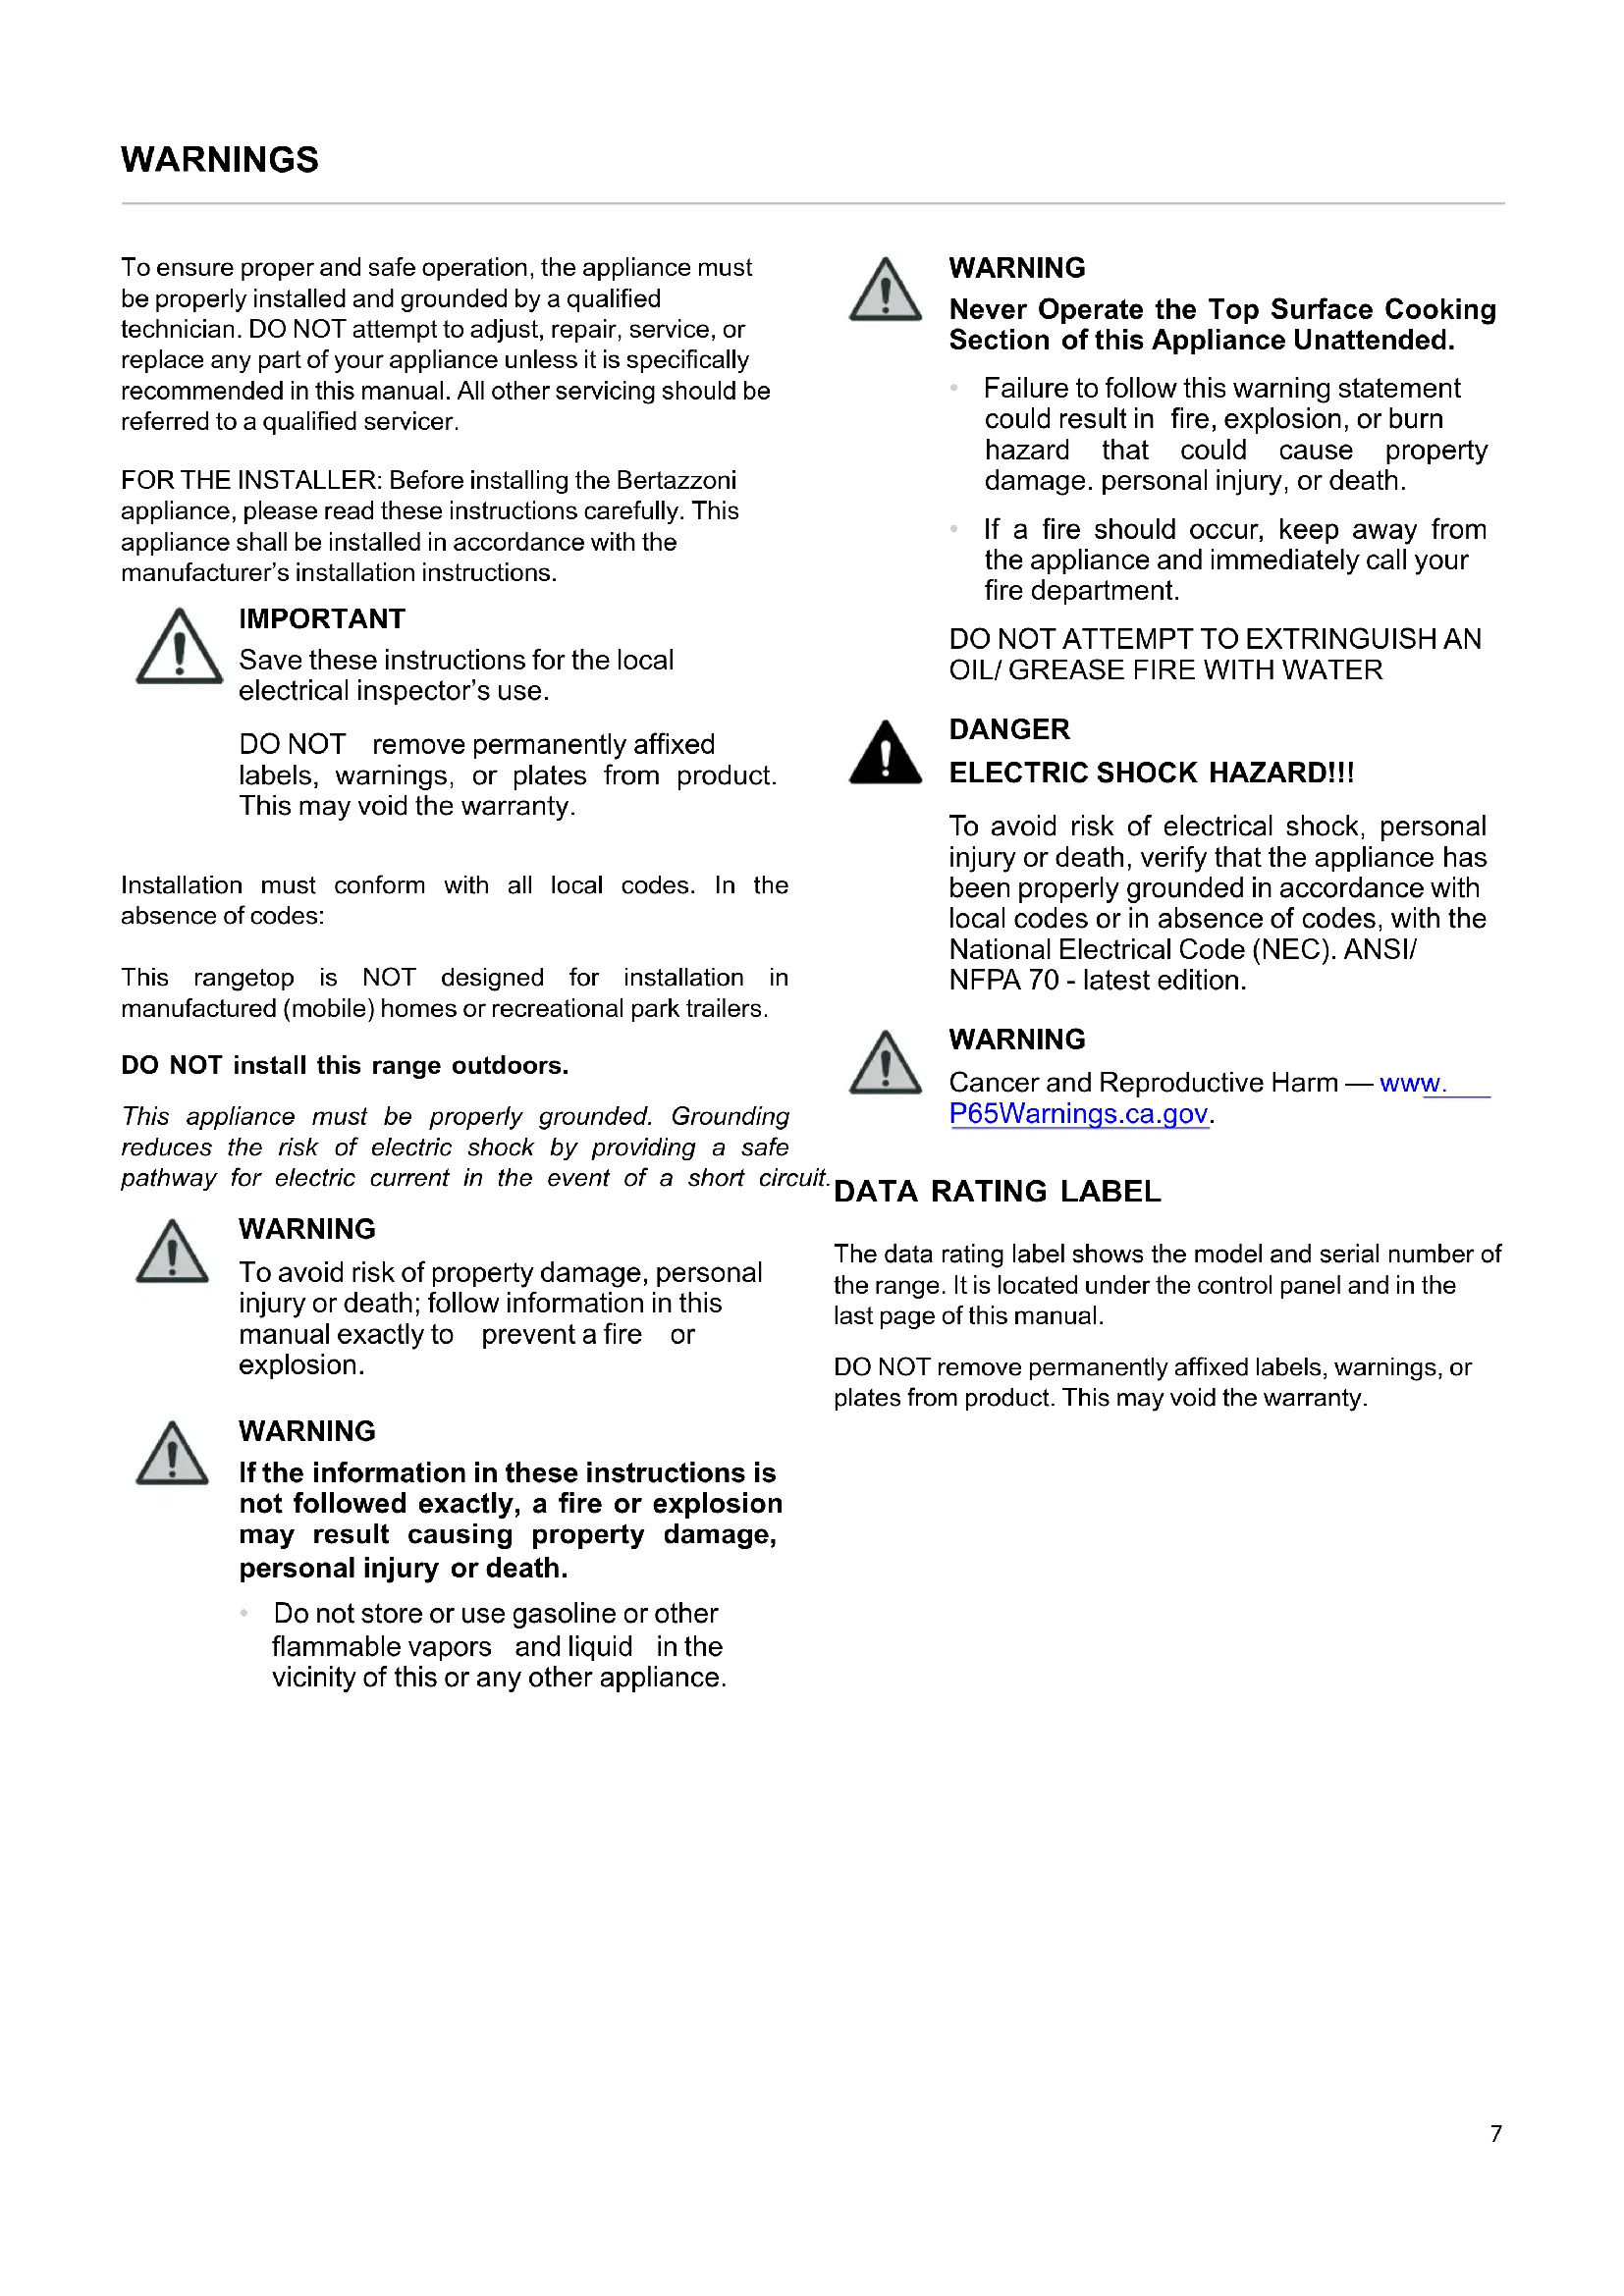
- Do not store or use gasoline or other flammable vapors and liquid in the vicinity of this or any other appliance. WARNING Never Operate the Top Surface Cooking Section of this Appliance Unattended.
- Failure to follow this warning statement could result in fire, explosion, or burn hazard that could cause property damage. personal injury, or death.
- If a fire should occur, keep away from the appliance and immediately call your fire department.
DO NOT ATTEMPT TO EXTRINGUISH AN
OIL/ GREASE FIRE WITH WATER
DANGER ELECTRIC SHOCK HAZARD!!! To avoid risk of electrical shock, personal injury or death, verify that the appliance has been properly grounded in accordance with local codes or in absence of codes, with the National Electrical Code (NEC). ANSI/ NFPA 70 - latest edition. WARNING Cancer and Reproductive Harm — www. P65Warnings.ca.gov.
The data rating label shows the model and serial number of the range. It is located under the control panel and in the last page of this manual. DO NOT remove permanently affixed labels, warnings, or plates from product. This may void the warranty. 7BEFORE INSTALLATION
- This appliance shall only be installed by an authorized professional.
- This appliance shall be installed in accordance with the manufacturer’s installation instructions.
- This appliance must be installed in accordance with the norms & standards of the country where it will be installed.
- The appliance, when installed, must be electrically grounded in accordance with local codes or, in the absence of local codes, with the National Electrical Code, ANSI/NFPA 70. ROOM VENTILATION An exhaust fan may be used with the appliance; in each case it shall be installed in conformity with the appropriate national and local standards. Exhaust hood operation may affect other vented appliances; in each case it shall be installed in conformity with the appropriate national and local standards. Do not use aerosol sprays in the vicinity of this appliance while it is in operation. Fig. 1 A Data rating labels location
8VENTILATION PREPARATION This rangetop will best perform when installed with Bertazzoni exhaust hoods. These hoods have been designed to work in conjunction with the Bertazzoni range and have the same finish for a perfect look. Before installation of the exhaust hood, consult local or regional building and installation codes for additional specific clearance requirements. Refer to the rangetop hood installation instructions provided by the manufacturer for additional information.
SELECT HOOD AND BLOWER MODELS
- For wall installations, the hood should be equal or larger width than the range. Where space permits, a hood larger than the range may be desirable for improved ventilation performance.
- For island installations, the hood width should overhang the range by a minimum of 3″ (76 mm) on each side. HOOD PLACEMENT
- For best removal of smoke and odors, the lower edge of the hood should be installed between 25 1/2″ (65 cm) and 31 1/2″ (80 cm) above the range cooking surface.
- If the hood contains any combustible materials (i. e. a wood covering), it must be installed at a minimum of 36″ (914 mm) above the cooking surface.
CONSIDER MAKE-UP AIR
Due to the high volume of ventilation air, a source of outside replacement air is recommended. This is particularly important for tightly sealed and insulated homes. A qualified heating and ventilating contractor should be consulted. 9SPECIFICATIONS Fig. 2
1) To ensure professional results, the cabinet and
countertop openings should be prepared by a qualified cabinet worker.
2) The clearances shown in figure are required.
3) The electrical supply must be located in an area that is
accessible without requiring removal of the cooktop. The appliance electrical power cord and gas pipe connection are located on the left rear.
- Prepare the finished opening for the rangetop according to dimensions shown in the illustration on the following page.
- The platform must include a cut-out at the right rear for electrical supply connections. It must be level to ensure the cooking surface is level. Refer to the chart below for minimum base support.
36″ rangetop 250 lb (113 kg) WARNING To prevent possible damage to cabinets and cabinet finishes, use only materials and finishes that will not discolor or delaminate and will withstand temperatures up to 230°F (110°C). Heat resistant adhesive must be used if the product is to be installed in laminated cabinetry. Check with your builder or cabinet supplier to make sure that the materials meet these requirements.
CABINETS This range may be installed directly adjacent to existing countertop high cabinets (36″ or 91.5 cm from the floor). For the best look, the worktop should be level with the cabinet countertop. This can be accomplished by raising the unit using the adjustment spindles on the legs. ATTENTION: the rangetop CANNOT be installed directly adjacent to kitchen walls, tall cabinets, tall appliances, or other vertical surfaces above 36″ (91.4 cm) high. The minimum side clearance in such cases is 6” (15.2 cm). Wall cabinets with minimum side clearance must be installed 18″ (45.7 cm) above the countertop with countertop height between 35 ½″ (90.2 cm) and 37 ¼″ (94.6 cm). The maximum depth of wall cabinets above the rangetop shall be 13″ (33.0 cm). CABINET
- e’ Electrical ELECTRICAL A properly-grounded horizontally- mounted electrical receptacle should be installed no higher than 27″ (68.6 cm) above the floor, no less than 2″ (5 cm) and no more than 15″ (38,1 cm) from the left side (facing product). Check all local code requirements.
Disconnect electrical power at the circuit breaker box or fuse box before installing the appliance. Provide appropriate ground for the appliance. Use copper conductors only. Failure to follow these instructions could result in serious injury or death. ELECTRICAL GROUNDING This appliance is equipped with a 4 ft (1.2 m) flexible metal cable with 3 wires ready for connection to a dedicated 2 pole, 3 wires grounded power supply. The appliance shall be connected to an electric line rated at 208 Vac or 240 Vac and 60 Hz frequency. Voltage Appliance rating Electrical supply 208V 44A 50A 240V 44A 50A WARNING 3 Wires connection:
- Connect the L1 receptacle terminal to the incoming BLACK electrical supply wire (L1-hot wire) -Connect the L2 receptacle terminal to the incoming RED electrical supply wire (L2-hot wire)
- Connect the GROUND receptacle terminal to the incoming GROUND (GREEN) electrical supply wire CAUTION Label all wires prior to disconnecting when servicing controls. Wiring errors can cause improper and dangerous operation. Verify proper operation after servicing. 13WIRING DIAGRAMThe electric wiring diagrams and schematics are attached behind the rangetop, and should not be removed except by aservice technician, then replaced after service.Fig. 6 L2L1M GROUND
- Remove all packing materials from the shipping pallet but leave the adhesive-backed foam layer over brushed- metal surfaces to protect it from scratches until the range is installed in its final position. Only the film on the side panels should be removed before inserting the range between the cabinets.
- Examine the appliance after unpacking it. In the event of transport damage, do not plug it. Take pictures of the damage and report it immediately to the freight forwarder.
- The grates, griddle plate, burner caps, and oven racks should be removed to facilitate handling. 15INSTALLATION
INSTALLING THE ISLAND TRIM
The island trim is only placed on the cooktop, remove all tape and packaging before installing it. Fig. 7 Fig. 8
16INSTALLATION CHECKLIST A qualified installer should carry out the following checks: Island trim or Backguard attached according to instruction Clearance to cabinet surfaces as manufacturer’s guideline Proper ground connection 17FINAL PREPARATION
- Before using the rangetop, remove any protective wrap from the stainless steel.
- All stainless steel body parts should be wiped with hot, soapy water and with a liquid stainless steel cleanser.
- If buildup occurs, do not use steel wool, abrasive cloths, cleaners, or powders!
- If it is necessary to scrape stainless steel to remove encrusted materials, soak with hot, wet cloths to loosen the material, then use a wood or nylon scraper.
- Do not use a metal knife, spatula, or any other metal tool to scrape stainless steel! Scratches are almost impossible to remove. 18BERTAZZONI SERVICE Bertazzoni is committed to providing the best customer and product service. We have a dedicated team of trained professionals to answer your needs. If you own a Bertazzoni appliance and need service in the US or Canada please use the following contact information: If located in the USA:
https://us.bertazzoni.com/more/support If located in CANADA:
https://ca.bertazzoni.com/more/support Make sure to keep the following information on hand. Our customer service team will require it to open a service ticket or troubleshoot.
- *Can be found on data plate 19WARNINGS Warning and Important Safety Instructions appearing in this manual are not meant to cover all possible conditions and situations that may occur. Common sense, caution, and care must be exercised when installing, maintaining, or operating the appliance. Read and follow all instructions before using this appliance to prevent the potential risk of fire, electric shock, personal injury or damage to the appliance as a result of improper usage of the appliance. Use appliance only for its intended purpose as described in this manual. Save this Manual for local electrical inspector’s use. Read and save these instructions for future reference. Observe all governing codes, ordinances and regulations. WARNING If the information in these instructions is not followed exactly, a fire or explosion may result causing property damage, personal injury or death.
- Do not store or use gasoline or other flammable vapors and liquid in the vicinity of this or any other appliance.
- Installation and service must be performed by a qualified installer, service agency or the gas supplier To ensure proper and safe operation: Appliance must be properly installed and grounded by a qualified technician. DO NOT attempt to adjust, repair, service, or replace any part of your appliance unless it is specifically recommended in this manual. All other servicing should be referred to a qualified servicer.
TO PREVENT FIRE OR SMOKE DAMAGE
- Be sure all packing materials are removed from the appliance before operating it.
- Never let clothing, potholders, or other flammable materials come in contact with or too close to any element, top burner or burner grate until it has cooled.
- If appliance is installed near a window, proper precautions should be taken to prevent curtains from blowing over burners.
- Never leave any items on the cooktop. The hot air from the vent may ignite flammable items and may increase pressure in closed containers which may cause them to burst.
- Many aerosol-type spray cans are EXPLOSIVE when exposed to heat and may be highly flammable. Avoid their use or storage near an appliance.
- Flammable materials should not be stored in an oven or near surface units.
Turn off appliance and ventilation hood to avoid spreading the flame. Extinguish flame then turn on hood to remove smoke and odor.
- Cooktop: Smother fire or flame in a pan with a lid or cookie sheet.
- NEVER leave children alone or unsupervised near the appliance when it is in use or is still hot.
- NEVER allow children to sit or stand on any part of the appliance as they could be injured or burned.
CAUTION Do not store items of interest to children in cabinets above the range or on the backguard of the range. Children climbing on the range to reach those items could be seriously injured. 20WARNINGS COOKING SAFETY
- Ensure that the kitchen is well-ventilated. Keep natural venting holes open or install a mechanical ventilation device. Prolonged or intensive use of the appliance may call for additional (such as opening a window) or more effective ventilation (such as increasing the level of a mechanical ventilation if present).
- To eliminate the hazard of reaching over hot surface burners, cabinet storage should not be provided directly above a unit. Temperatures may be unsafe for some items, such as volatile liquids, cleaners or aerosol sprays.
- ALWAYS place a pan on a surface burner before turning it on. Be sure you know which knob controls which surface burner.
- NEVER leave a surface cooking operation unattended especially when using a high heat setting or when deep fat frying. Boilovers cause smoking and greasy spillovers may ignite. Clean up greasy spills as soon as possible. DO NOT use high heat for extended cooking operations.
- DO NOT heat unopened food containers, build up of pressure may cause the container to explode and result in injury.
- ALWAYS let quantities of hot fat used for deep fat frying cool before attempting to move or handle.
- Use Only Dry Potholders - Moist or damp potholders on hot surfaces may result in burns from steam. Do not let potholder touch hot heating elements. Do not use a towel or other bulky cloth.
- Never Leave Surface Units Unattended at High Heat Settings -Boilover causes smoking and greasy spillovers that may ignite.
- Make Sure Reflector Pans or Drip Bowls Are in Place - Absence of these pans or bowls during cooking may subject wiring or components underneath to damage.
- Protective Liners - Do not use aluminum foil to line surface unit drip bowls or oven bottoms, except as suggested in the manual. Improper installation of these liners may result in a risk of electric shock, or fire.
- Glazed Cooking Utensils - Only certain types of glass, glass/ceramic, ceramic, earthenware, or other glazed utensils are suitable for rangetop service without breaking due to the sudden change in temperature.
- Utensil Handles Should Be Turned Inward and Not Extend Over Adjacent Surface Units - To reduce the risk of burns, ignition of flammable materials, and spillage due to unintentional contact with the utensil, the handle of a utensil should be positioned so that it is turned inward, and does not extend over adjacent surface units.
- Do Not Cook on Broken Cook-Top - If cooktop should break, cleaning solutions and spillovers may penetrate the broken cook-top and create a risk of electric shock. Contact a qualified technician immediately.
- Do not place metallic objects such as knives, forks, spoons and lids on the cooktop surface since they can get hot.
- DO NOT TOUCH SURFACE UNITS OR AREAS NEAR UNITS - Surface units may be hot even though they are dark in color. Areas near surface units may become hot enough to cause burns. During and after use, do not touch, or let clothing or other flammable materials contact surface units or areas near units until they have had sufficient time to cool. Among these areas are (identification of areas - for example, the cook-top and surfaces facing the cooktop). Do not connect any appliances to the plugs above or near to the induction cooktop; connection cable insulation can melt if in contact with heat, and this may result in an injury and a property damage. RECOMMENDED UTENSILS
- Use pans with flat bottoms and handles that are easily grasped and stay cool. Avoid using unstable, warped, easily tipped or loose-handled pans. Also avoid using pans, especially small pans, with heavy handles as they could be unstable and easily tip. Pans that are heavy to move when filled with food may also be hazardous.
- NEVER let a pan boil dry as this could damage the utensil and the appliance.
- Follow the manufacturer’s directions when using oven cooking bags.
- Only certain types of glass, glass/ceramic, ceramic or glazed utensils are suitable for rangetop surface or oven usage without breaking due to the sudden change in temperature. Follow manufacturer’s instructions when using glass.
- Bakeware, such as large casserole pans, cookie sheets, etc. should never be used on the rangetop.
- Placement of large stock pots should be staggered when used on the rangetop.
- Use Proper Pan Size - This appliance is equipped with one or more surface units of different size. Select utensils having fl at bottoms large enough to cover the surface unit heating element. The use of undersized utensils will expose a portion of the heating element to direct contact and may result in ignition of clothing. Proper relationship of utensil to burner will also improve efficiency. 21WARNINGS CLEANING SAFETY
- Turn off all controls and wait for appliance parts to cool before touching or cleaning them. DO NOT touch the induction areas until they have had sufficient time to cool.
- Clean the range with caution. Avoid steam burns; DO NOT use a wet sponge or cloth to clean the range while it is hot. Some cleaners produce noxious fumes if applied to a hot surface. Follow directions provided by the cleaner manufacturer.
- Clean Cook-Top With Caution - If a wet sponge or cloth is used to wipe spills on a hot cooking area, be careful to avoid steam burn. Some cleaners can produce noxious fumes if applied to a hot surface. WARNING Never use this appliance as a space heater to heat or warm the room. Doing somay result in carbon monoxid poisoning and overheating of the oven. ROOM VENTILATION An exhaust fan may be used with the appliance; in each case it shall be installed in conformity with the appropriate national and local standards. Exhaust hood operation may affect other vented appliances; in each case it shall be installed in conformity with the appropriate national and local standards.
ELECTRICAL SHOCK HAZARD
Make sure all controls are OFF and oven is COOL before cleaning. Failure to do so can result in burns or electrical shock. WARNING Cancer and Reproductive Harm — www. P65Warnings.ca.gov.
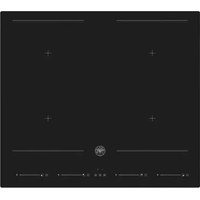
Left rear induction element
Central induction element
Right front induction element
Right rear induction element
COOKING WITH INDUCTION
Underneath each cooking zone there is a coil called an inductor. The inductor generates a variable magnetic field using electric power. When a pan is placed inside this magnetic field, the high frequency current radiates directly on the bottom of the pan and produce the heat needed to cook. After use the display can show the symbol H if there is residual heat. The symbol H go out when the temperature drops to below about 140℉/60℃.
TURNING ON THE INDUCTION ELEMENT
The symbol above each knob indicates which element that knob controls. The operation power is regulated through the knob and is shown by a display on the cooktop surface. To turn on the heating zone, press in the control knob (Fig. 10 ) and turn it clockwise. Settings range from a minimum of 1 to a maximum of 9. Fig. 10
USING SPECIAL FUNCTIONS
HEATING ACCELERATOR MODE
The Heating Accelerator mode allows each zone to be operated at peak power for a time proportional to the heating power selected.
- Turn the knob anti-clockwise, select setting “A” and then release. The letter A will appear on the display on the cooktop area
- After 3 seconds, you may select the heating setting of your choice. Once a setting between 1 and 9 has been selected, A and the chosen setting will flashing sequence on the display. While the heating accelerator is in operation, the heating level can be increased at any time. The “full power” time will be modified accordingly. If the power is reduced by turning the knob anticlockwise, option “A” is automatically deactivated. POWER MODE The power mode allows the user to operate each heating zone continuously at the maximum power for a time of no more than 10 minutes. This mode can be used to bring a large amount of water to the boil in a hurry, or to turn up the heat under meat.
- Turn the knob clockwise and set heating level to 9, then use the knob to set the “P” position and release it.
- The symbol P will appear on the corresponding zone display.
- After 10 minutes, the power will be reduced automatically to 9 and the P will disappear. The power mode can be turned off at any time by reducing the heating level. If a pan is removed from the cooking zone while the power function is on, the function is switched off. HOLDING MODE The holding mode keeps the temperature of the bottoms of pans at about 160℉/70℃. This allows foods to be heated gently and kept hot with optimal energy consumption. Holding mode can be kept in operation for up to 2 hours. The holding mode is and is indicated by the relevant symbol on the cooking zones. 24INDUCTION COOKTOP BRIDGE MODE The bridge mode allows to use the 2 right-side cooking zones as a single cooking zone. Power Mode is not allowed when the zones are operated in Bridge mode.
- Rotate both knobs, rear right and front right, at the same time in the “P” position and keep the knobs in that position.
- The symbol will blink in the display, then return to the power level.
- To control the bridge power level, use the knob 4 (front right zone). If you turn knob 3 (rear right zone) the display shows a horizontal segment and the bridge function ends.
When not in use, the cooktop area can be “locked out” to prevent children from accidentally switching it on. With the cooking zones off, turn the knobs of zones 1 and 2 to the left simultaneously until L appears on the power display and then release the knobs. To deactivate it, repeat the same procedure: the cooking zone displays will stop displaying the L, indicating that the cooking zone LOCK has been deactivated. PAN DETECTION Each cooking zone is equipped with a “pan detection” device, which ensures that cooking cannot start unless a suitable pan is present on the cooking zone and properly positioned. If the user attempts to switch on the cooking zone with the pan not positioned properly or with a pan which is not of suitable material, the symbol will appear a few seconds after the zone is switched on to warn the user that an error has been made. RESIDUAL HEAT Each cooking zone is equipped with a device which warns of residual heat. After any cooking zone is switched off, a flashing H may appear on the display, warning that the cooking zone is still very hot. Cooking can be restarted while the H is flashing.
SUITABLE INDUCTION COOKWARE
Induction technology requires iron or magnetic steel cookware in order to generate the magnetic field necessary for the heating process. Cookware made of glass, porcelain, ceramic or aluminum will not work on an induction cooktop. Pots made of glass, porcelain, ceramic are not suitable. Pots made with steel, aluminium or copper without magnetic bottom will also not work. Most suitable pans are marked for use with induction. To check whether a pan is suitable, simply place a magnet close to its bottom: if the magnet sicks to the bottom of the pan, the pan is suitable for induction cooking. If you don’t have a magnet handy, place a small of water in the pan, place the pan on any cooking zone and switch it on. If the symbol appears on the display, the pan is not suitable. Use only vessels specially designed for induction cooking, with thick, completely flat bottom. If these are not available, the pans used must not have a round (concave or convex) bottom. Pans that are not completely flat and have a recessed bottom leave an air gap between pot and cooktop, which during operation can reach high temperatures that can damage the glass top and the inductors below the glass. The pans must have certain minimum diameter to ensure optimal operation. Pans larger than the cooking zones can also be used: make sure that the bottom of the pan does not touch other cooking zones and that it is always centered over the inductor. Fig. 11 25INDUCTION COOKTOP
NOISE DURING OPERATION
A pulsating humming or buzzing sound during operation is normal, and can vary in intensity with different types of cookware. It is normal to hear a fan noise after switching the induction hob off. INDUCTION DIMENSION BURNER DIAM. (MM) DIAM. OF PAN UTILIZATION Auxiliary 50 mm Use with smaller pans for boiling and simmering and the preparation of sauces. Semi-rapid (and Griddle) 70 mm Use for normal frying and boiling in medium and small pans. Rapid 95 mm Use with large and medium pans of water for frying and rapid boiling. Dual inner/ outer 43/140
Use with woks, griddle’s and frying pans or for large pans and rapid boiling. RECOMMENDATIONS
- Always place your pan in such a way that its center is aligned with the centre of the element.
- Pick-up your cookware when moving them around. Do not slide them and avoid excessive rubbing of the top, as this may leave scratches on the glass surface.
- Never leave an empty pot/pan on an induction heating element, even when the element is turned OFF.
- Only use maximum power for boiling and frying.
- Avoid preheating your non-stick pans (e. g. with teflon coating) at maximum heat.
- Avoid storing solids and heavy items in the cabinets above your cooktop. They may accidentally be dropped and damage the glass top.
- Place extra care to avoid spilling sugar or sweet mixtures onto the cooktop area during cooking, and avoid materials or substances which might melt (plastic or aluminium foil) on it. If this occurs, turn the heating off immediately and clean with the scraper supplied while the cooking zone is still warm. If the ceramic cooktop area is not cleaned immediately, residues may form which may not be removed once the cooktop area has cooled.
26KEEPING YOUR BERTAZZONI CLEAN
BURN HAZARD Make sure the heating elements are turned off and allowed to cool completely before any cleaning and/or maintenance operation.
- Do not use a steam cleaner to clean the range: the steam could reach electrical components and cause a short.
- Do not spray liquids such as cleaning agents into the openings on the bottom and top of the oven cavity.
- All surfaces can discolor or be damaged if unsuitable cleaning agents are used.
CLEANING STAINLESS STEEL
All stainless steel parts should be wiped with hot water and soap solution at the end of each cycle. Wipe up spills and boilovers immediately. Use suitable, non-abrasive stainless cleaning products when water and soap solution will not do the job. DO NOT use steel wool, abrasive cloths, cleansers, or powders. If necessary, scrape stainless steel to remove encrusted materials, soak the area with hot towels to soften the residue, then use a wooden or nylon spatula or scraper. DO NOT use a metal knife, spatula, or any other metal tool to scrape stainless steel. DO NOT permit citrus or tomato juice to remain on stainless steel surface, as citric acid will permanently discolor stainless steel.
CLEANING PAINTED SURFACES
Clean with a soft cloth, warm water and non-abrasive dishwashing liquid. Whilst still damp, polish dry with a clean soft cloth.
CLEANING THE INDUCTION COOKTOP
Allow the glass to cool down until the residual heat indicator is off before cleaning. Never use scouring powders or paste, metal scourers, oven cleaners or any abrasive cleaning products on the hotplate. Clean spillovers before using the cooktop again. For light cleaning, wipe with a soft cloth, warm water and dishwashing liquid. For a streak free finish, polish dry with a microfiber cloth. For more stubborn marks and to condition the surface, use a good quality cooktop cleaner/conditioner, following the manufacturer’s instructions. For spillages with high sugar content such as jam, or the accidental melting of plastic or alloy materials, turn off the heating zone and remove the spillage immediately. Use caution because the heating area may be very hot. 27TROUBLESHOOTING Here are answer to common problems you may experience. You are also welcome to call our toll free Customer Service line to troubleshoot any issue with your Bertazzoni. If located in the USA
https://us.bertazzoni.com/more/support If located in CANADA
https://ca.bertazzoni.com/more/support 28CUSTOMER CARE For any warranty information and service request, contact us: In USA: https://us.bertazzoni.com/more/support In CANADA: https://ca.bertazzoni.com/more/support
https://ca.bertazzoni.com/more/support