
CZRD517C - Air Conditioning PANASONIC - Free user manual and instructions
Find the device manual for free CZRD517C PANASONIC in PDF.
Download the instructions for your Air Conditioning in PDF format for free! Find your manual CZRD517C - PANASONIC and take your electronic device back in hand. On this page are published all the documents necessary for the use of your device. CZRD517C by PANASONIC.
USER MANUAL CZRD517C PANASONIC
ACXF55-33862 Operating Instructions Wired Remote Controller Model No. CZ-RD517C 12:00,MonSET TEMP.FAN SPEED
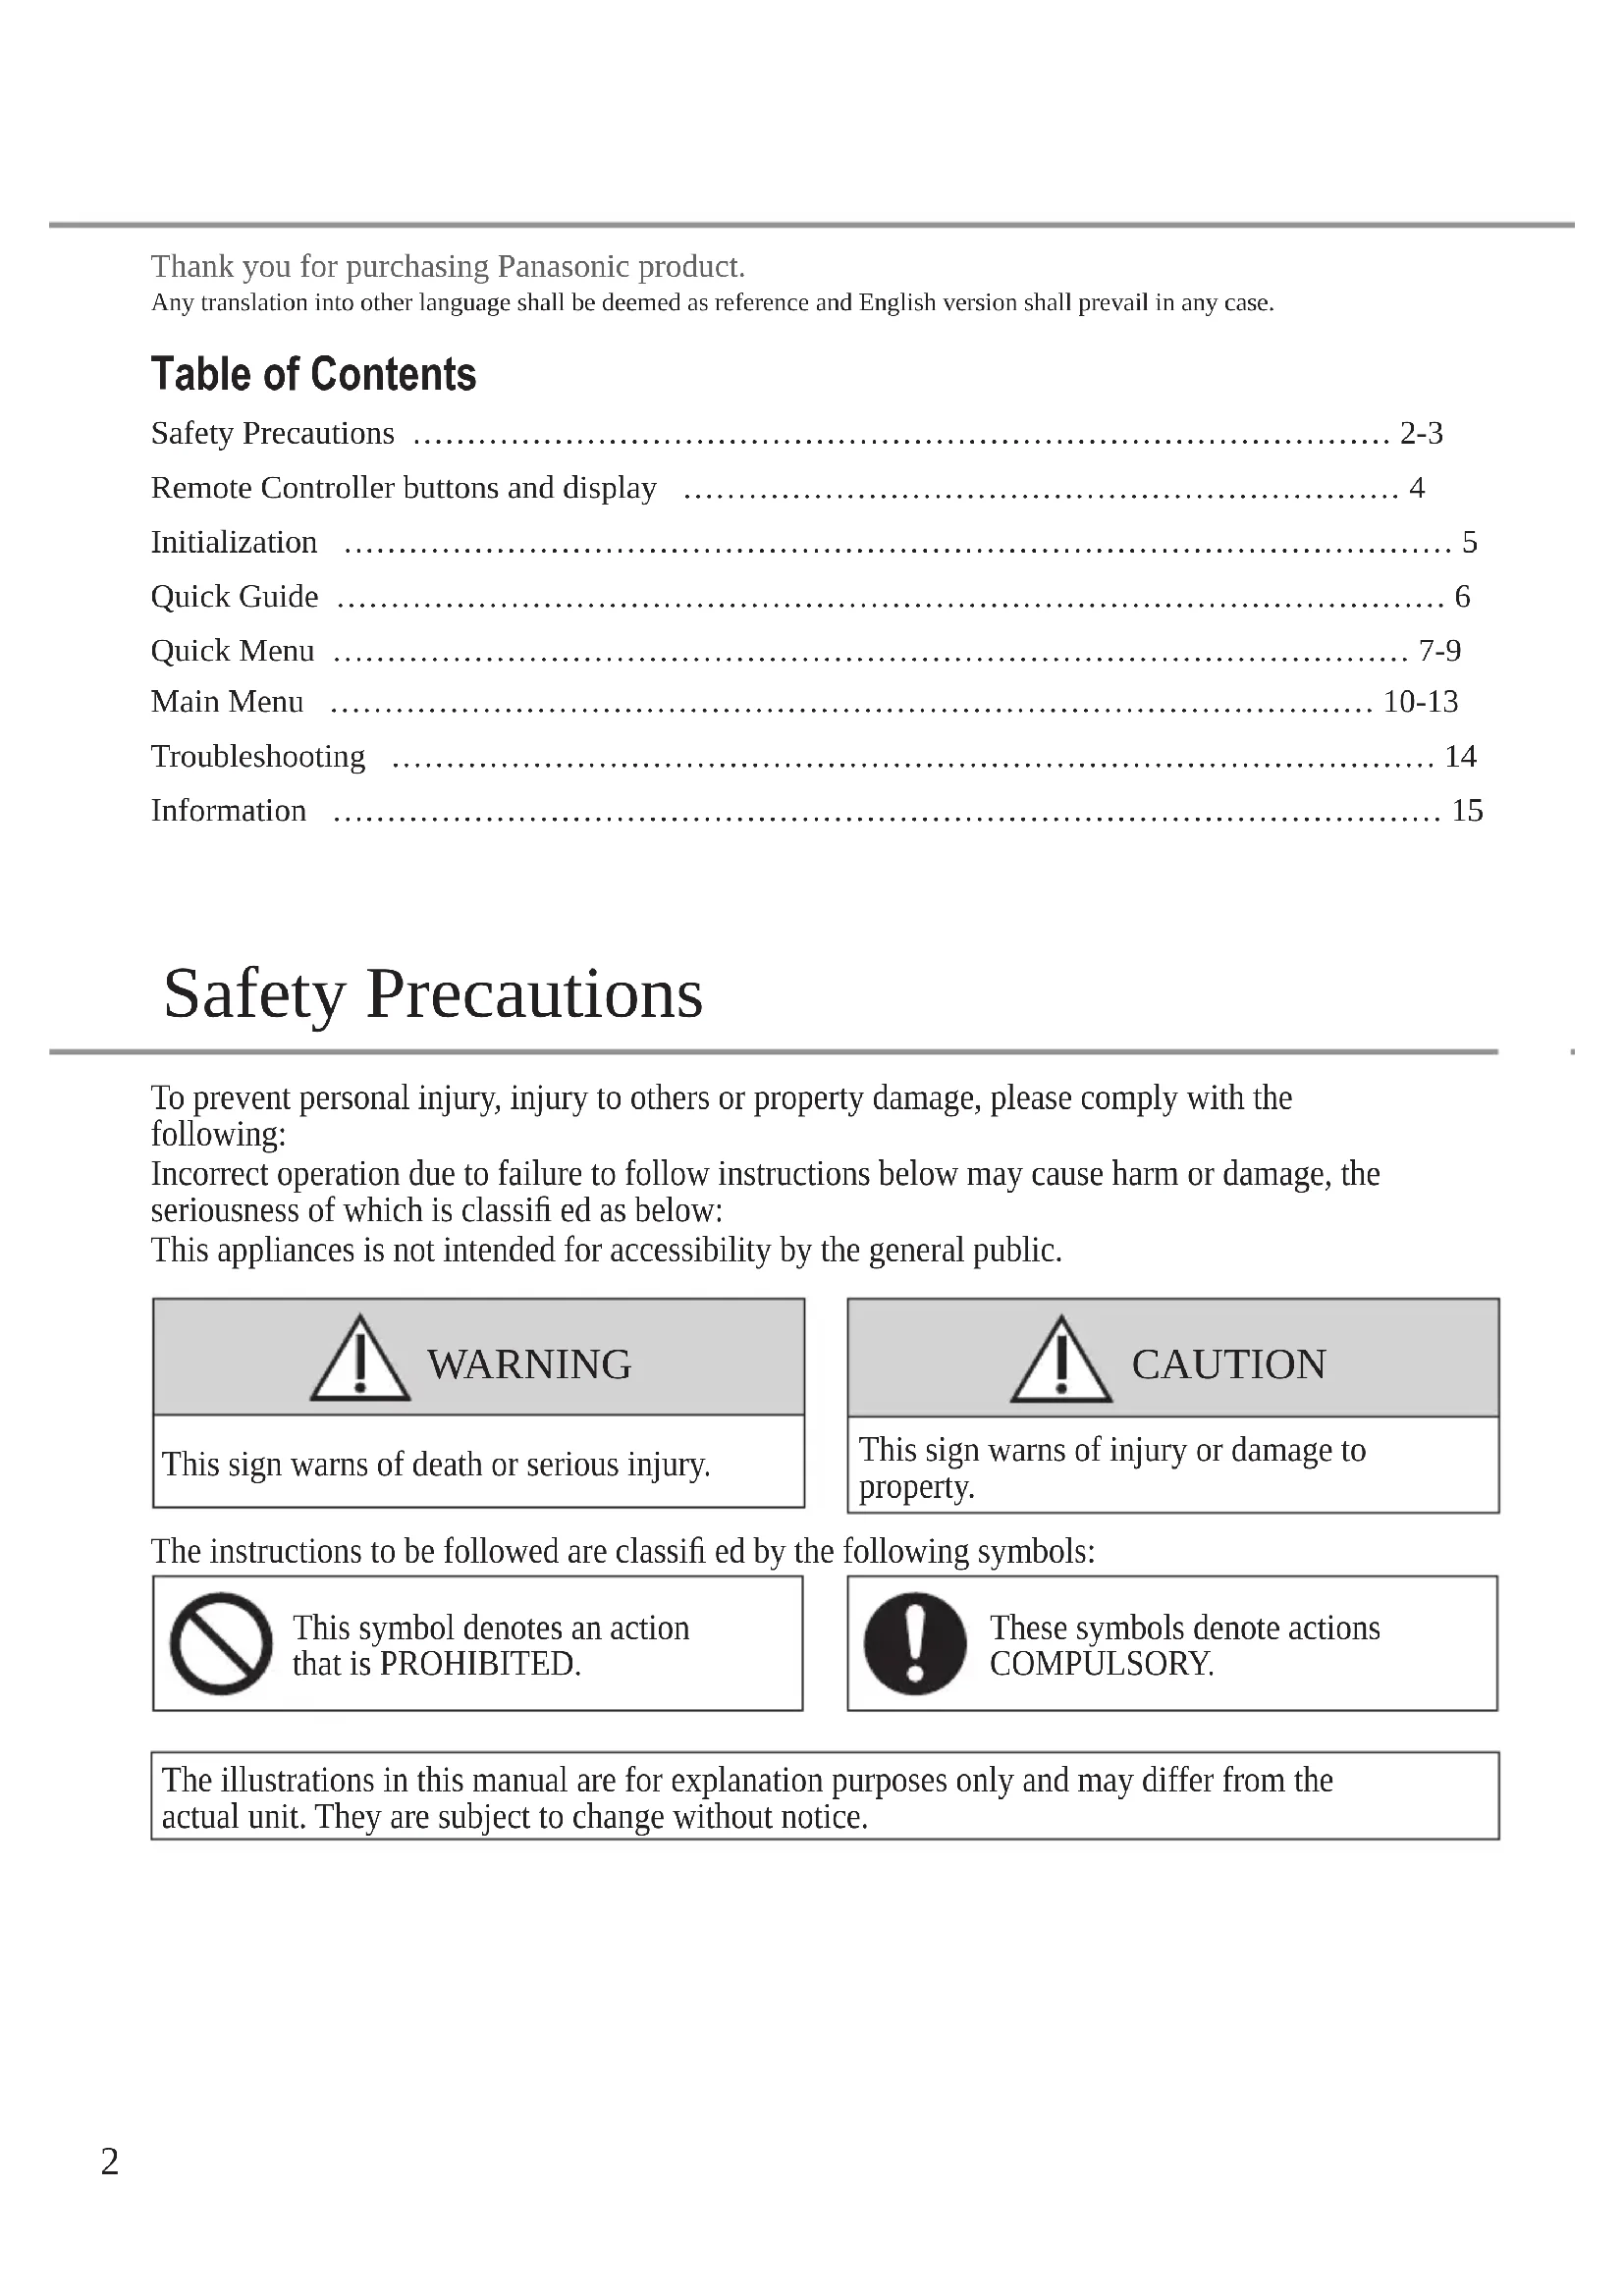
FLAP AUTO AUTO MODE AUTO Operating Instructions Wired Remote Controller 2-15 English Before operating the unit, please read these operating instructions thoroughly and keep them for future reference. Before installation, the installer must: Read the Installation Instructions, then request the customer keep them for future reference. Comment utiliser l’appareil Télécommande fi laire 16-29 Français Avant d’utiliser l’appareil, veuillez lire ce mode d’emploi dans son intégralité et conservez-le pour toute référence ultérieure. Avant de commencer l’installation, l’installateur doit: Lire les instructions d’installation, puis demander au client de les conserver pour plus tard. Instrucciones de funcionamientoMando a distancia con cable 30-43 Español Antes de utilizar la unidad, sírvase leer atentamente estas instrucciones de funcionamiento y conservarlas para futuras consultas. Antes de la instalación, el instalador debe: Lea las Instrucciones de instalación y pida al cliente que las conserve para futuras consultas. Bedienungsanleitung Kabelfernbedienung 44-58 Deutsch Bevor Sie das Gerät in Betrieb nehmen, lesen Sie bitte diese Bedienungsanleitung aufmerksam durch und bewahren Sie sie als künftige Referenz auf. Vor der Installation sollte der Installateur Folgendes tun: Die Installationsanleitung lesen und den Kunden bitten, diese als künftige Referenz aufzubewahren. Istruzioni di funzionamento Telecomando con fi lo 60-73 Italiano Prima di utilizzare l’unità, leggere attentamente le istruzioni e conservare questo opuscolo per potervi fare riferimento in futuro. Prima dell’installazione, l’installatore deve: Leggere le istruzioni d’installazione, quindi richiedere al cliente di conservarle per riferimento futuro.2 Table of Contents Safety Precautions ……………………………………………………………………………… 2-3Remote Controller buttons and display ………………………………………………………… 4Initialization ………………………………………………………………………………………… 5Quick Guide ………………………………………………………………………………………… 6Quick Menu ……………………………………………………………………………………… 7-9Main Menu …………………………………………………………………………………… 10-13Troubleshooting …………………………………………………………………………………… 14Information ………………………………………………………………………………………… 15Thank you for purchasing Panasonic product.Any translation into other language shall be deemed as reference and English version shall prevail in any case. Safety Precautions WARNING This sign warns of death or serious injury. CAUTION This sign warns of injury or damage to property. To prevent personal injury, injury to others or property damage, please comply with the following: Incorrect operation due to failure to follow instructions below may cause harm or damage, the seriousness of which is classifi ed as below: This appliances is not intended for accessibility by the general public. The instructions to be followed are classifi ed by the following symbols: This symbol denotes an action that is PROHIBITED. These symbols denote actions COMPULSORY. The illustrations in this manual are for explanation purposes only and may differ from the actual unit. They are subject to change without notice.3 English Safety Precautions WARNING This can cause electric shock or ignition.
- Do not disassemble or modify.
- Do not touch with wet hands.
- Do not wipe with wet cloths or wash in water. This application is not intended for use by persons (including children) with reduced physical, sensory or mental capabilities, or lack of experience and knowledge, unless under supervision or instruction concerning use of the appliance by a person responsible for their safety. Children should be supervised to ensure they do not play with the appliances. Request installation only from the place of purchase or an installer.
- Not doing so may cause electric shock or ignition. Shut off power supply when installing CNT cable.
- Not doing so may cause electric shock or ignition. Use only the specifi ed parts when installing CNT cable and perform the installation correctly by following the instructions.
- Not doing so may cause electric shock or ignition. Ensure cables are installed properly so that external forces cannot aff ect them.
- Not doing so may lead to overheating which can lead to ignition. Stop use as soon as any problems or malfunctions are detected and shut off the electric supply to connected appliances.
- Not doing so may cause smoke, ignition, electric shock, or burns.
- Examples of problems and malfunctions: - There is a burning smell - Water or foreign objects have gotten inside - Immediately request repair from the place of purchase or the installer. CAUTION Before connecting wires and cables, discharge any static electricity.
- Not doing so may cause malfunction. Check the following requirements in advance:
- There should be no abnormality in the air conditioner such as change of airfl ow. Ensure no object(s) which may be displaced easily due to the airfl ow blowing directly at it. The fallen or moved object(s) might lead to danger such as fi re, injury etc.4 Remote Controller buttons and display Buttons / Indicator1 Quick Menu button Back buttonReturns to the previous screen3 LCD Display Main Menu buttonFor function setup ON/OFF buttonStarts/Stops operation Operation indicatorIlluminates during operation, blinks during alarm. Press centre No glove No pen
Down Left Right12:00,MonSET TEMP.FAN SPEED
FLAP AUTO AUTO MODE AUTO5 English Initialization Please initiate the Remote Control by selecting the language of operation and set the date and time accordingly before setting up the operation menu preferences. During fi rst power ON, Remote Controller will automatically prompt setting screen as default. It can also be access from Personal Setup in the Main Menu. Blinking12:00,MonInitializationInitializing12:00,MonDefault dataEEPROM setup12:00,MonStart12:00,MonLanguageSelect ConfirmENGLISHESPAÑOLITALIANONEDERLANDS12:00,MonClock formatSelect Confirm 24h am/pm12:00,MonDate & TimeYear/Month/Day Hour : Min12 : 00 pm/ 01 / 01Select Confirm 12:00,MonSet temp. unitSelect Confirm
12:00,MonHeat modeSelect ConfirmEnableDisable12:00,MonStart Selecting the language Wait while the display is initializing.When initializing screen ends, it turns to normal screen.When any button is pressed, language setting screen appears. Scroll with and to select the language. Press to confi rm the selection. Setting the clock
Select with or to display the time, either 24h or am/pm format (for example, 15:00 or 3:00 pm). Press to confi rm the selection.
Use and to select year, month, day, hour and minutes. (Select and move with and press to confi rm.) Once the time is set, time and day will appear on the display even if the Remote Controller is turned OFF. Setting the temperature unit
Scroll with and to select the unit. Selecting the Heat mode
Scroll with and to select Enable or Disable.6 Quick Guide
Press to start/stop the operation. Press to select either mode, set temperature, fan speed or air swing section.• Use or to select setting.• Press to confi rm the selection.Mode sectionDefault setting for Mode is Auto.AUTO HEAT COOL DRYFANStand-alone operation.To access nanoe™ stand-alone while operation is OFF, press (Quick Menu) and select (nanoe™).Note:Set temperature is disabled and not displayed.Set temperature sectionSelection range: 16.0 °C ~ 30.0 °C / 60 °F ~ 86 °F.Fan speed section• When FAN AUTO is selected, the fan speed is adjusted automatically according to the operation mode.• Select the lowest fan speed to have a low noise operation. AUTO Flap (Air swing) section• Do not adjust the fl ap by hand.Up/Down Air Swing(Wall Mounted) (Floor Console)*not applicableLeft/Right Air SwingNote:• Not applicable for Floor Console.• To change the horizontal airfl ow direction for Floor Console, move the vertical vane manually before starting operation. Basic operation 12:00,MonSET TEMP.FAN SPEED
Press to turn on/off the select mode. To return to the Main Screen, Press or . Select each setting and confi rm the setting according to the instructions displayed at the bottom of the screen. (The icons refer to each selection key.) Quick Menu nanoe™ Powerful Quiet Weekly timer Filter check reset LED intensity dim R/C Lock AC Reset RC Reset nanoe™
Select this icon to operate nanoe™ mode. Press
to confi rm your selection. When nanoe™ mode is selected, an icon will appear on top left of Main Screen.
- Refer to "Remote Controller buttons and display"
- nanoe™ is OFF• nanoe™ is ON Powerful
Select this icon to operate Powerful mode. Press
to confi rm your selection. When Powerful mode is selected, an icon will appear on top left of Main Screen.
- Refer to "Remote Controller buttons and display"
- Powerful is OFF• Powerful is ON: To reach desired temperature quickly Note: Powerful is automatically stop after 20 minutes. Powerful will be disabled in below conditions:-
- when fan speed is changed,
- when Quiet is enabled.
Not available when 'Duty rotation' is turned on.8 Quiet
Select this icon to enjoy quiet operation. Quiet mode reduces airfl ow noise. Press
to confi rm your selection. When Quiet mode is selected, an icon will appear on top left of Main Screen.
- Refer to "Remote Controller buttons and display"
- Quiet is ON Note: Quiet is disabled when fan speed is changed or Powerful is enabled. Weekly timer
Select this icon to delete (cancel) or change the pre-set Weekly Timer. Press
to confi rm your selection. When Weekly Timer mode is selected, an icon will appear on top left of Main Screen.
- Refer to "Remote Controller buttons and display"
- Timer is set. After 1 sec delay. Yes NoDo you want to editWeekly timer pattern? Select “Yes”.
- Timer copy: Select to copy a timer setting. Sun Mon Tue Wed Thu Fri Sat [Example of a Timer setup] Select the day(s) which you wish to edit using buttons. Sun
1. 6:00am ON 25.0˚C2. 8:00am ON 25.0˚C3. 10:00am ON 25.0˚CMon Tue Wed Thu Fri
12:00,Mon Weekly timer 1 Select pattern “1” ~ “6”. 2 Set the hour and minutes of the Timer. 3 Select ON/OFF of the Timer. 4 Select the operation mode.
Set the temperature. All 6 patterns are not set!Do you want to edit?Yes No If all 6 patterns are not set in a day, this screen will be displayed. Note: If all entries are found to be reset to default, this could be due to 'Heat mode' setting is disable. Quick Menu
Not available when 'Duty rotation' is turned on.9 English Filter check reset
Filter Check Reset mode is disable by default. will appear on top left of remote control when air conditioner is operated at accumulated operation time and required to clean the fi lter.
- It is recommended to clean the air fi lter every 6 weeks.
- After the air fi lter is cleaned, press at the Quick Menu to reset. LED intensity dim
Select this icon to dim or restore the indicators’ brightness on the unit. R/C Lock Select this icon to lock the Remote Controller. Press
to confi rm your selection. (When the mode has been accepted, below screen will be displayed.) Yes NoDo you want tolock remote control? Select “Yes”. (The Main Screen will be locked.)
- If “No” is selected, the screen will return to the Quick Menu Screen. To unlock the Remote Controller Press any key. (When the mode has been accepted, below screen will be displayed.) Press or to scroll and choose the digits. Press or to move to adjacent digit. Press to confi rm the four-digit code. (if the number is correct, the screen will be unlocked). To reset forgotten password Press , and continuously for 5 seconds. (When the mode has been accepted, below screen will be displayed.) 12:00,MonReset passwordConfirmRequest Press
12:00,MonReset passwordConfirmRequestPassword is reset to 0000 and remote control unlocked Password will be reset after 3 seconds. Main screen will be unlocked. AC Reset
Select this icon to reset the air conditioner and turn it off . RC Reset Select this icon to reset the remote controller and perform initialization again.
Not available when 'Duty rotation' is turned on.10 Main Menu Select menus and determine settings according to the system available in the household.
- After initial installation, you may manually adjust the settings.
- The initial setting remains active until the user changes it.
- The Remote Controller can be used for multiple installations.
- The system may not work properly if set wrongly. Please consult an authorised dealer. To display <Main menu>: To select content: To confi rm the selected content: Press to return to main screen Menu Default Setting Setting Options / Display 1 Function setup
Not available when 'Duty rotation' is turned on.
This function will become hidden when unit is turned on.
'Heat mode' becomes hidden when 'Weekly timer' is activated and has entries with heat mode inside.11 English
Not available when 'Duty rotation' is turned on.
This function will become hidden when unit is turned on.
(Selected model only) In Duty Rotation, air-conditioning is managed by a running unit and backup unit which rotates between two units after rotation interval has elapsed.
- Only applicable if 2 indoor units are connected through optional part, Part No. CZ-RCC5 or equivalent.
To enable operations in the indoor unit AUTO OFF/ON switch. Select and retrieve Request 2 System check To perform failure diagnosis. If the Error code matches with the error encountered, you will hear a beeping sound. Select and retrieve 12:00,MonSystem checkNo memory of failure H00 3 Personal setup
Backlight To set the duration of screen backlight. 1 min 12:00,MonBacklightSelectConfirm OFF 15 secs1 min5 mins10 mins
Backlight intensity To set the screen backlight brightness.
Not available when 'Duty rotation' is turned on.13 English
For Greek, Bulgarian, Mandarin, Malay, Indonesian, Thai and Vietnamese, please refer to the English version
Unlock password 4 digit password for all the settings.
12:00,Mon Unlock password Select Con rm 4 Service contact
Not available when 'Duty rotation' is turned on.14 Troubleshooting 12:00,MonSET TEMP.FAN SPEED
FLAPAUTOAUTOMODEAUTO H11 Indoor/outdoor abnormal communication Error number (Please refer to Air Conditioner Operating Instructions) To retrieve an error code, go to 'System check' and press or button until you hear beep sound. When the display shows an error code as indicated below, contact the number registered in the Remote Controller or a nearest authorised installer. keys are disabled.15 English Information Information for Users on Collection and Disposal of Old Equipment This symbol on the products, packaging, and/or accompanying documents means that used electrical and electronic products must not be mixed with general household waste. For proper treatment, recovery and recycling of old products, please take them to applicable collection points in accordance with your national legislation. By disposing of them correctly, you will help to save valuable resources and prevent any potential negative eff ects on human health and the environment. For more information about collection and recycling, please contact your local authority. Penalties may be applicable for incorrect disposal of this waste, in accordance with national legislation. For Business users in the European Union and some other European countries If you wish to discard electrical and electronic equipment, please contact your dealer or supplier for further information. [Information on Disposal in other Countries outside the European Union] These symbols are only valid in the European Union. If you wish to discard these items, please contact your local authority or dealer and ask for the correct method of disposal. Federal Communications Commission Interference Statement This device complies with part 15 of the FCC Rules. Operation is subject to the following two conditions: (1) This device may not cause harmful interference, and (2) this device must accept any interference received, including interference that may cause undesired operation. This equipment has been tested and found to comply with the limits for a Class B digital device, pursuant to part 15 of the FCC Rules. These limits are designed to provide reasonable protection against harmful interference in a residential installation. This equipment generates, uses and can radiate radio frequency energy and, if not installed and used in accordance with the instructions, may cause harmful interference to radio communications. However, there is no guarantee that interference will not occur in a particular installation. If this equipment does cause harmful interference to radio or television reception, which can be determined by turning the equipment off and on, the user is encouraged to try to correct the interference by one or more of the following measures:
- Reorient or relocate the receiving antenna.
- Increase the separation between the equipment and the receiver.
- Connect the equipment to an outlet on a circuit different from that to which the receiver is connected.
- Consult the dealer or an experienced radio/TV technician for help. FCC Caution: To assure continued compliance, follow the attached installation instructions. Any changes or modifications not expressly approved by the party responsible for compliance could void the user’s authority to operate this equipment. Industry Canada Notice