NEON - DJ Equipment Reloop - Free user manual and instructions
Find the device manual for free NEON Reloop in PDF.
| Product Type | USB Modular DJ Controller |
| Brand | Reloop |
| Model | NEON |
| Category | DJ Equipment |
| Software Compatibility | Serato DJ (Plug-and-Play) |
| Approximate Dimensions | 300 x 200 x 50 mm |
| Approximate Weight | 1 kg |
| Power Supply | USB Bus (5V) |
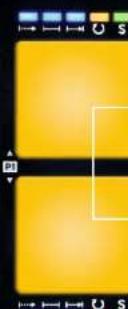
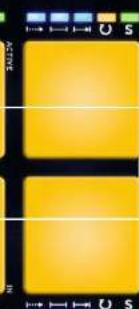
| Number of Pads | 8 RGB velocity-sensitive pads |
| Performance Modes | Hot Cue, Hot Loop, Slicer (Continuous/Looped), Sampler, Pad FX, Censor, Slip, Sync |
| Sample Control | 4 banks (A-D), One Shot/Toggle/Hold options, Repeat, Sync, individual volume |
| Loops | Manual and automatic mode, up to 8 stored loops per track, Loop Shift adjustment |
| Additional Functions | Navigation encoder, loop encoder, Shift/Maj keys for secondary functions |
| Connectivity | USB (bus power and data) |
| Maintenance | Clean with a soft, dry cloth; avoid moisture |
| Safety | Do not expose to water or excessive heat |
| Spare Parts and Repairability | Contact Reloop after-sales service for any repairs |
| General Information | Official Serato accessory; software updates at serato.com |
Frequently Asked Questions - NEON Reloop
User questions about NEON Reloop
0 question about this device. Answer the ones you know or ask your own.
Ask a new question about this device
Download the instructions for your DJ Equipment in PDF format for free! Find your manual NEON - Reloop and take your electronic device back in hand. On this page are published all the documents necessary for the use of your device. NEON by Reloop.
USER MANUAL NEON Reloop
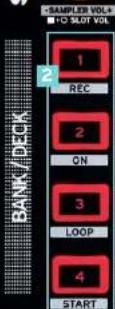
REC (SHIFT + DECK-BU TTON 1)
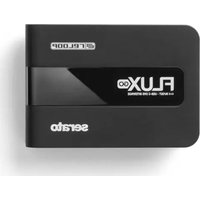
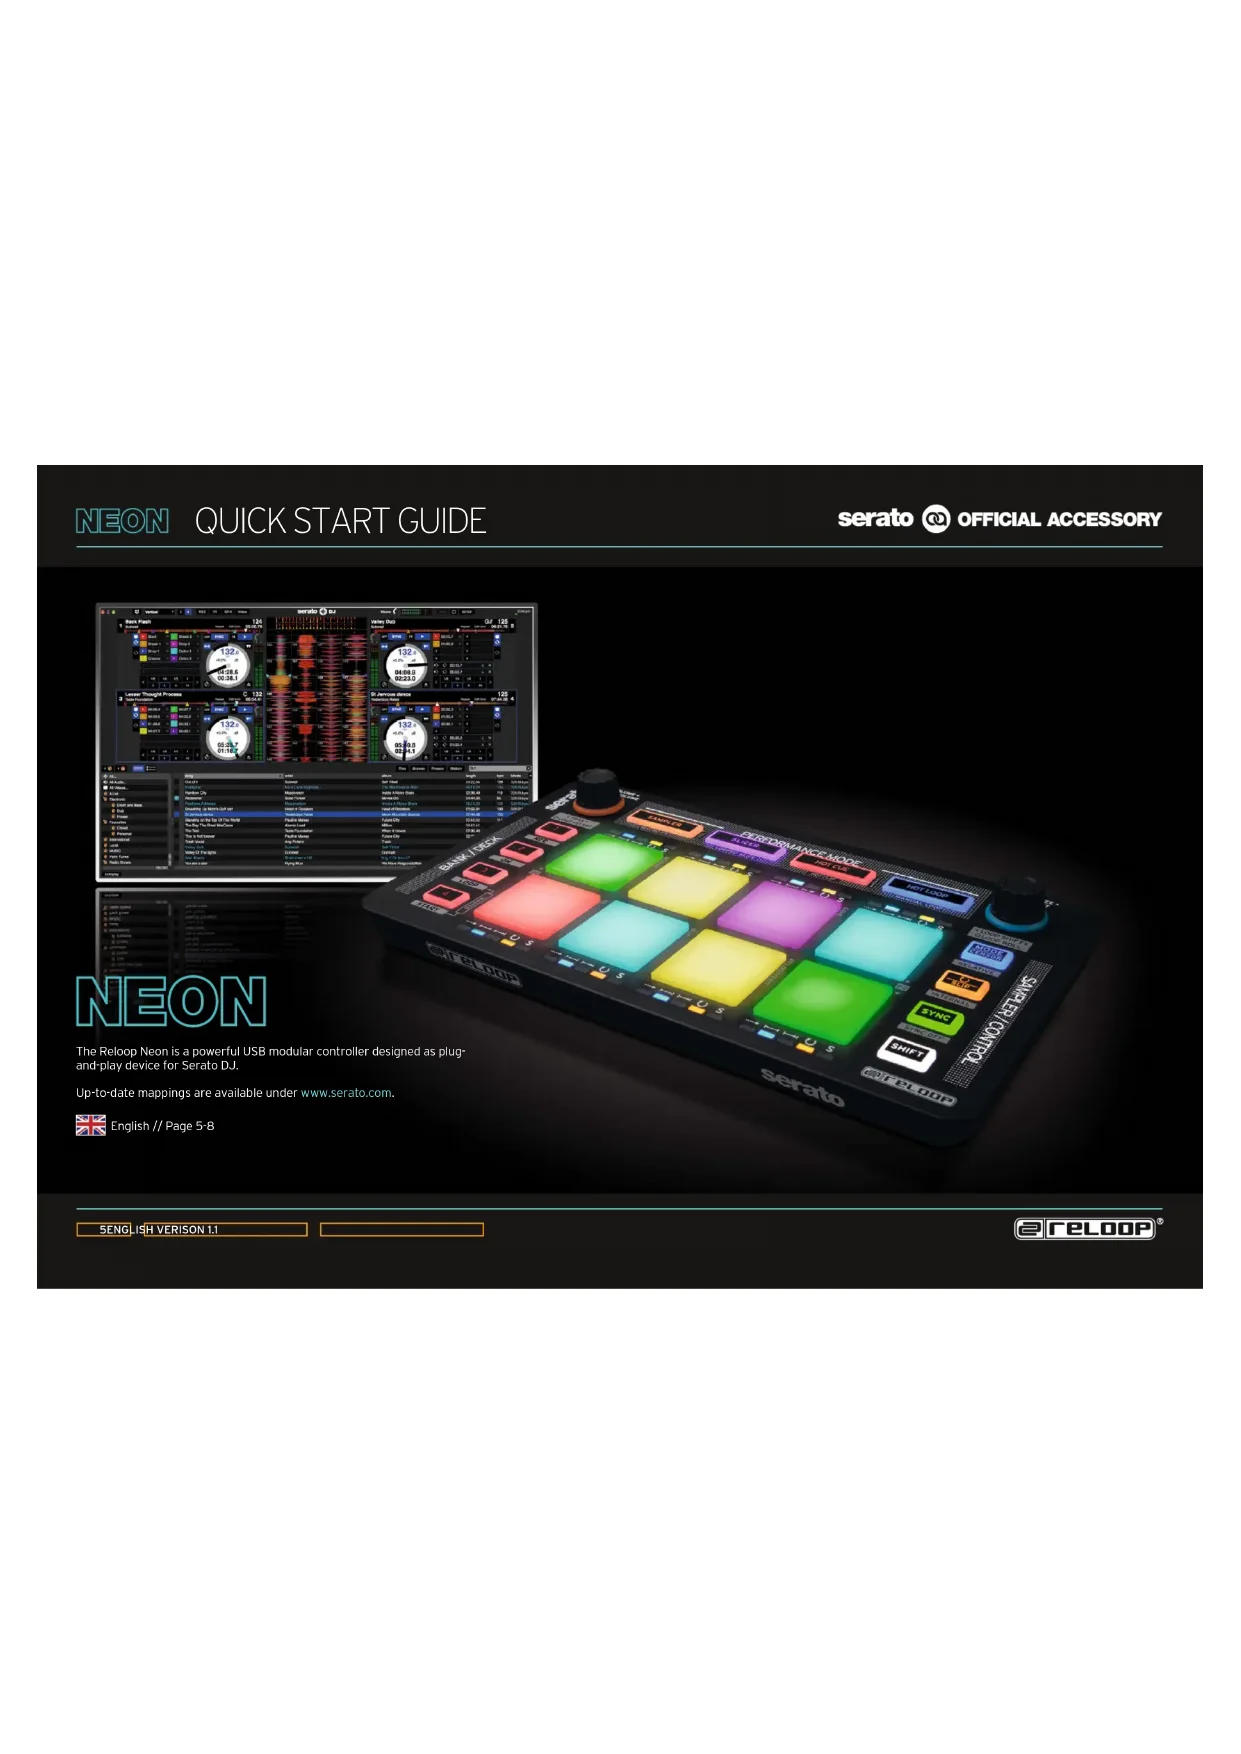
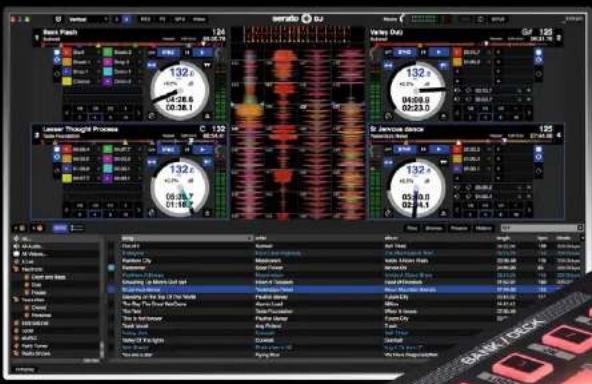
The Reloop Neon is a powerful USB modular controller designed as plug-and-play device for Serato DJ.
Up-to-date mappings are available under www.serato.com.

English // Page 5-8
5ENGLISH VERISON 1.1
eRELOOP
NEON QUICK START GUIDE
serato OFFICIAL ACCESSORY
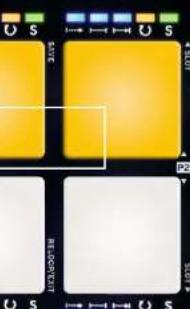
SAMPLER SECTION

MPLER MODE BUTTON:
Activates SP-6 sample control.
SHIFT+SAMPLER MODE BUTTON:
(De-)activates the drum pads'
touch-sensitivity.

BANK BUTTONS:
Selection of sample banks A - D.

SHET+BANK BUTTONS A-D:
Selection of SP-6 outo1 1-4
Assigns SP-6 to master

Holding the Mode Button + Pad 1-6 changes
the sample player mode of the respective
sample slot (One Shot, Toggle, Hold).

BUTTIN

the Repeat Button + Pad1-6
activates sample player repeat (reloop) of the
respective sample slot.

TTON

the Sync Button + Pad 1-6 activates
sample player sync of the respective sample
slot (Smart Sync has to be activated).

Holding the Shift
secondary functions (marked by gray frame).

MADPS

th-sensitive RGB colour drum pads.

essing an empty sample slot pad, the
selected track/sample will be loaded into the
respective slot.

MP R ENCODER:

turning the Sampler Encoder changes
global sampler master volume.


ng a sample slot pad + turning the

Sample Encoder changes the individual
sample slot volume.


6ENGLISH VERISON 1.1

TELOOP
1 2 = ( - 12) + 32 + 32
NEON
QUICK START GUIDE
serato

OFFICIAL ACCESSORY
PERFORMANCE MODES
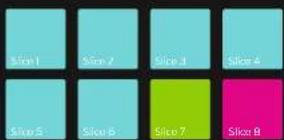
SLICER:
- Pressing the Slicer Button activates the Continuous Slicer mode.
- Pressing the button again activates Looped Slicer mode (Slicer Button flashes).
- Holding Shift and pressing Pads 1 & 5 or 4 & 8, respectively, changes slicer parameter 1 (domain) & parameter 2 (quantize), respectively.
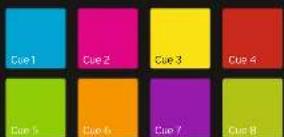
CUE:
- Pressing the Cue Button activates Hot Cue mode.
If a cue point is stored for a track, the corresponding pad will be illuminated in the colour previously selected in the software (freely assignable). - A set cue point can be triggered by pressing the button again.
- Holding the Shift Button and pressing a cue point deletes the cue point.
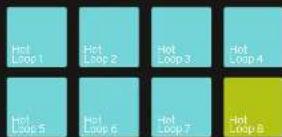
HOT LOOP:
Pressing the Hot Loop Button activates
Stored Loop mode, Up to 8 loops per track can be stored and played back.
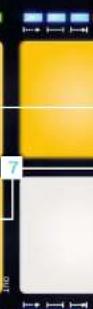
By pressing an empty loop slot pad while a loop is active, the loop will be saved in the chosen slot - depending on the set loop length (pad lights up in blue).
Pressing a loop slot again activates the previously set loop (loop active).
Holding the Shift Button and pressing a loop slot pad triggers a stored loop. Pressing the Hot Loop Button again activates Manual Loop mode (Hot Loop Button flashes)
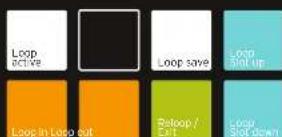
MANUAL LOOP:
In Manual Loop mode it is possible to control loops, as displayed in the drawing below.
To store a manually set loop or auto loop (Loop Encoder), select the hot loop slot via 'Slot Up/Down' and store via 'Save'. The in and out points of an active loop can be adjusted by repeated pressing (Pad flashes) and turning the Loop Encoder.
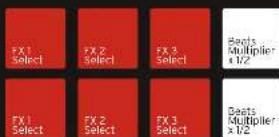
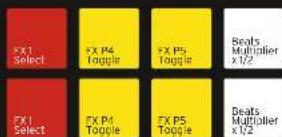
PAD FX:
- By pressing the Sampler Mode Button twice, Pad FX mode will be activated.
- Up to 6 different effects can be controlled, as displayed on the drawing below (effects work touch-sensitively).

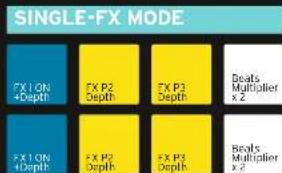
FXUnit1
SHIFT LAYERSHIFT LAYER
ROT FLIP:
- Pressing the Cue Button again activates Hot Flip mode (Cue Button flashes).
- If a flip has been stored, the corresponding pad will flash in the colour previously set in the software.
- A set flip can be activated by pressing the respective pad.
- Shift + pad jumps directly to the respective flip and starts it.
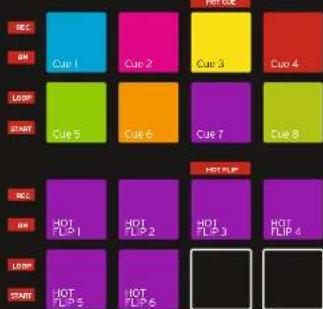
REC (SHIFT + DECK BUTTON 1)
Records the flip sequence. ON (SHIFT + DECK BUTTON 2)
LOOP (SHIFT + DECK BUTTON 3)
Loop the film sequence.
START (SHIFT + DECK BUTTON 4)
Triggers the flip sequence.
7ENGLISH VERISON 1.1
@reLOOP
NEON QUICK START GUIDE
serato OFFICIAL ACCESSORY
ADDITIONAL DECK CONTROLS: SLICER, CUE, HOT LOOP, PAD FX AND HOT FLIP MODES

RECO
MANCE MODE BUTTONS:
Select the active performance mode. Pressing a button twice activates secondary mode (Mode Button flag

BUTTONS:
Selects the active deck 1-4 for the performance section.

BUTTON:
Activates Censor mode (reverse mode).
SHIFT+CENSOR BUTTON:
Activates Relative DVS mode.

TTON:
ACTIVATE
ates Slip mode.
SHIFT+SLIP BUTTON:
Activates Internal DVS mode.

BUTTON:
Activates Deck Sync
SHIFT+SYNC BUTTON:
Deactivates Deck Sync.

T BUTTON:
Holding
the Shi
ft Button activates secondary functions
(marked by gray frame).

8 touch-sensitive RGB colour drum pads for the
respectively activated performance mode.

AVIGATION:
By turning the encoder it is possible to browse your track library.
Pushing the encoder loads a track into the active deck.
Shift+pressing the encoder takes you back one folder layer.

NCODER:
Orning the encoder selects the loop size.

he encoder activates a loop.
Shift+turning the encoder shifts the whole set loop.
Shift+pressing the encoder activates the loop roll function.

BENG LISH VERISON 1.1
eRELOOP
NEON
QUICK START GUIDE
serato

OFFICIAL ACCESSORY
NEON
MAJ+TOUCHES BANK C+D:
REC (MAJ+TOUCHE PLATINE 1)
enregistrre la sequence filpON ( MAJ+TOUCHE PLAT
Active la sequence Flip.
LOOP (MAJ+TOUCHE PLATINE 3)
lance la sequence Flip.
NEON QUICK START GUIDE
serato OFFICIAL ACCESSORY
COMMANDES DE PLATINE : SLICER, CUE, HOT LOOP, MODES HOT FLIP ET FX PAD

图1
UCHES PERFORMANCE MODE :
- In general, the functions of the form of the form of the form of the form of the form of the form of the form of the form of the form of the form of the form of the form of the form of the form of the form of the form of the form of the form of the form of the form of the form of the form of the form of the form of the form of the form of the form of the form of the form of the form of the form of the form of the form of the form

M FAD5
REC (BOTON SHIFT + DECK 1)
ON (BOTON SHIFT + DECK 2)
Activa la sequencia flip.
LOOP (BOTON SHIFT + DECK 3)
Repite la sequencia flip.
START (BOTON SHIFT + DECK 4)